Fatshark SharkByte TX5S.1 75mm 1S using Boost Regulator, V2
 By jason.gauruder on Oct 07, 2021
dont do this boost regular stuff anymore!!!
get the hdzero lite whoop bundle instead!!!
https://www.hd-zero.com/product-page/hdzero-whoop-lite-bundle
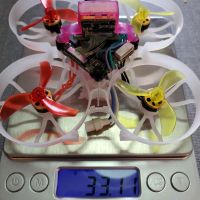
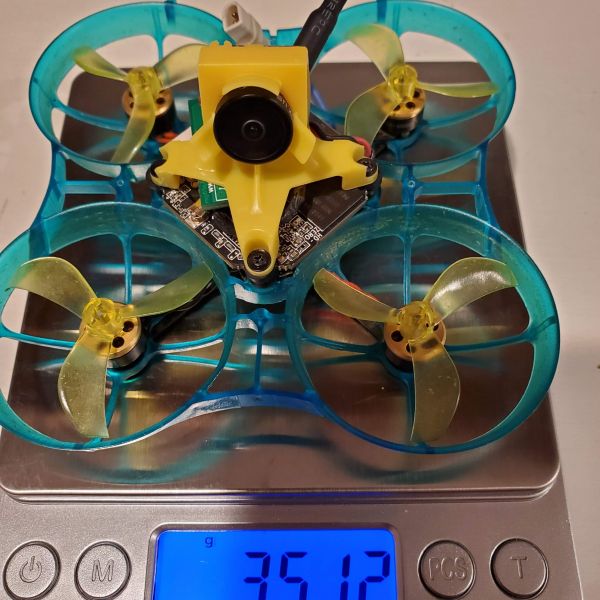
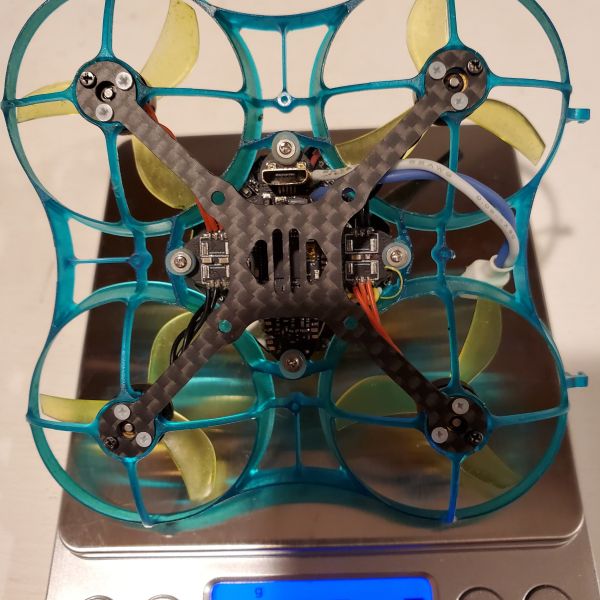
This is my 2nd attempt at a 1s Shark Byte build. In this attempt, I kept the same main NBD "Extreme-Durable" 75mm frame, but I make some significant changes to reduce weight and I believe, improve performance compared to my 1st attempt.
Parts List :
NBD Cockroach Brushless Extreme-Durable Frame 75mm
NewBeeDrone BeeBrain V2 Camera Color Mount
https://newbeedrone.com/collections/all/products/beebrainv2-camera-color-mount
NBD Hummingbird Pro 1s AIO FC,
Firmware "betaflight_4.2.9_HUMMINGBIRD_F4_PRO_BASE_NOBEESIGN_b75650c.hex" @ https://github.com/newbeedrone/nbd-betaflight/releases/tag/4.2.9-v1.0
Betafpv BT2.0 connector
NBD 0802 18000kv (direct soldered - really needed to allow for better 450mah battery clearance )
NBD Azi Tri-blade 40mm
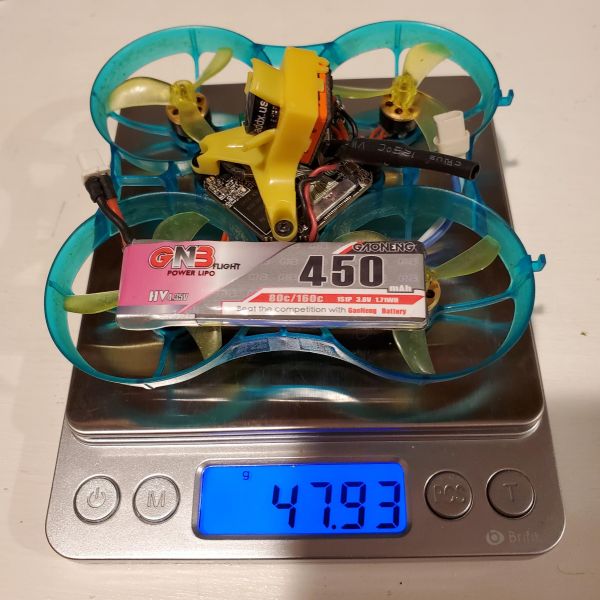
GND 450mah 1S w/ BetaFPV BT2.0
SB Whoop Board TX5S.1 w/ Dipole antenna (FIRMWARE 23072021)
RunCam Shark Byte Nano Digital FPV Camera, CADDX EOS2 LENS
default length (80mm) mipi cable
RENY (Natural) Micro Flat Head Screw (Phillips) M1.4 4mm (Item # RENYMF144 from solidspot.com)
Pololu Adjustable Boost Regulator 4-25V
https://www.pololu.com/product/799
note:I previously used the pololu model #791 which looks the same yet it has a lower max output voltage of ~9.5v . that #791 Regulator would only allow me to push a battery down to about 3.2v before video would give out. the #799 Regulator is superior in that I can drive a 1s battery down to 2.8v or lower. (not that it is good for a lipo cell, but I like to be able to drive the battery lower than 3.2 v)
Key Points :
I set Boost Regular to approx 60% of its max setting (approx 7V volts) using the built in trimmer potentiometer
The Pot has physical "stops" as you turn clockwise (higher voltage to ~25V max) or counterclockwise (lower voltage to ~4V min). You can test various settings on the upper limits and you will see at what setting the VTX board powers up (but does not output video) and gradually increase until the red and blue lights come on the VTX. Do not make changes using the POT while power applied (not sure what will happen, but I tried to avoid doing so). I estimate for me it was about 60% of the total available physical clockwise movement that is allowed.
Soldered Vin and GND to FC input leads
Soldered Vout to TX5S.1 "V" (Voltage) pad
GND is shared/common from input GND ("negative" on FC input lead) and TX5S.1 "G" (ground) pad
No Capacitor used in this application.
TX5S.1 using FC UART2 TX/RX pads (per SB instructions TXRX and RXTX)
The Caddx EOS2 lens was used NOT because it provides a superior image (it does not!) :
1) saves approx 1gram in weight over stock lens
2) does not stick out as much
3) works rather well with the NewBeeDrone BeeBrain V2 Camera Color Mount
Rotate FC 90 degrees clockwise (when looking at quad from above
Motors change position as follows
1 to 3
3 to 4
4 to 2
2 to 1
in my case, the motor resources were as follows
resource MOTOR 1 B09
resource MOTOR 2 B07
resource MOTOR 3 B06
resource MOTOR 4 B08
...motor resource remapped
resource MOTOR 1 none
resource MOTOR 2 none
resource MOTOR 3 none
resource MOTOR 4 none
resource MOTOR 1 B07
resource MOTOR 2 B08
resource MOTOR 3 B09
resource MOTOR 4 B06
save
-Use the runcam HD camera control function and change Horizontal and Vertical orientation so camera can be physically flipped for better mipi cable protection
Was stumped with how to get osd element "vtx channel" to work since canvas firmware 09042021. Was just getting the dreaded triple question marks "?:?:?" Instead of actual band:channel:power displayed. The hdzero discord group directed me to use SA (smart audio) which on face value makes no sense because you are not actually connecting a physical wire from a uart to a pad on the tx5s1. Nor is SA use mentioned in any official Fatshark sharkbyte user manual. The tx5s1 itself does not support SA. But SA function needs to be enabled in BF on an open free uart so that the vtxtable can be created. What a pain. But nonetheless it works with firmware 23072021 so now when I change channel or power, the osd now reflects the change. No more triple question marks.
Note just to make sure I had a free and clear uart1 for SA I flashed the NOBEESIGN hex file "betaflight_4.2.9_HUMMINGBIRD_F4_PRO_BASE_NOBEESIGN_b75650c.hex" from the github
Final Notes :
I tried 300mah batteries that i had and they just could not take the extra current draw. Punch outs would results in vtx brown out condition.
I tried 650mah batteries and although they work for the current draw and give better runtime than 450mah, they required me to mount them under the carbon plate/brace. not ideal.
450mah was/is the sweet spot for this setup as the battery can slide between the carbon brace and the whoop frame and if you rotate the FC 90 degrees, that gets the USB port off to the side and now the battery can slide back to front which i prefer over side to side mounting. I think the flight feel is better.
This 1s whoop and the other I built previously will NOT fly down to say 2.8 or 2.9V. The VTX will go out at approx 3.2volts.
I set my "warning" for battery at 3.30V and try to land by 3.25V. Sometimes I can fly down to 3.17 or 3.18 but really 3.2V I found to be the cutoff consistently. Also, hard hits when the battery is lower in voltage (say 3.4V) that cause betaflight to react to the hit (spinning motors aggressively, or like "wall suck" type of hits) may cause the VTX to go out due to brown out conditions. Remember, this is working due to a voltage regulating booster. so, it is definitely not perfect for true ideal 1s flight. BUT, it is cool to be able to fly 2m30 to 3m30s on 450mah 1s in Digital.


New Message for jason.gauruder