Background
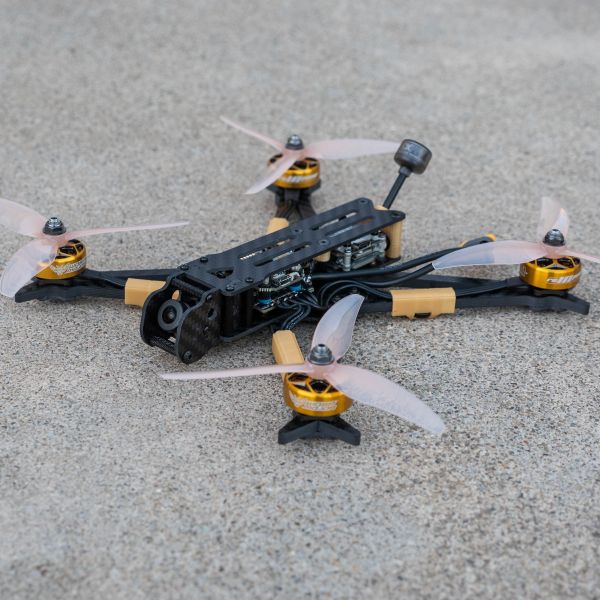
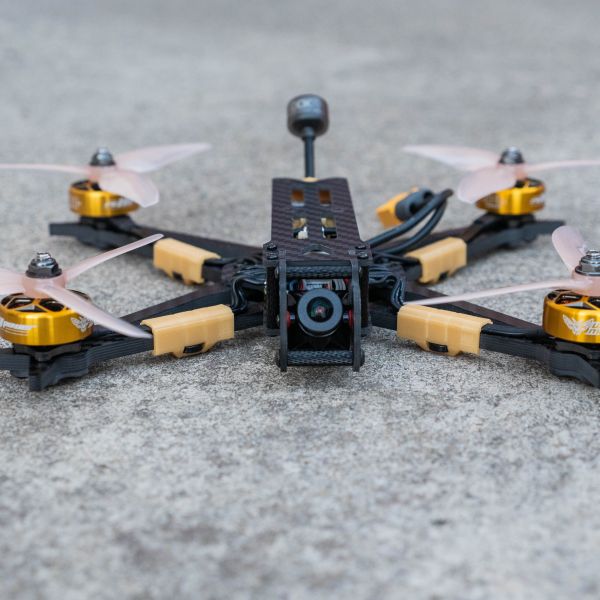
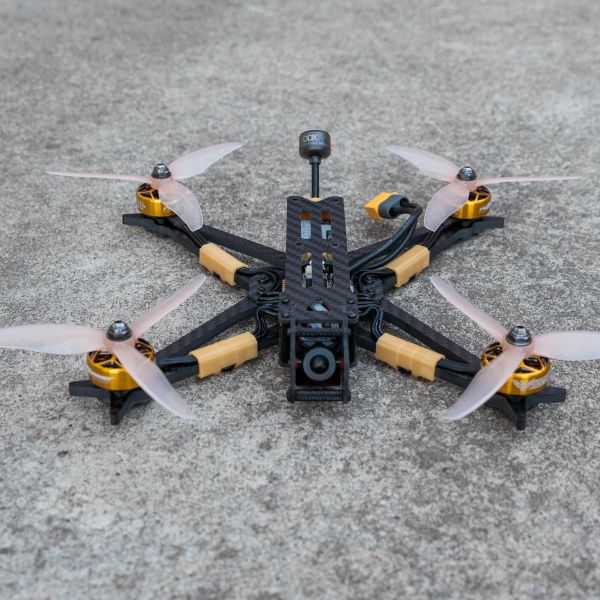
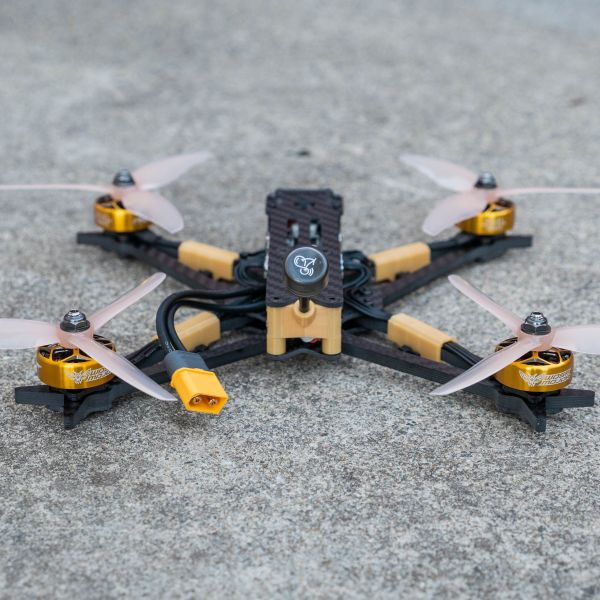
Time for a new 5" freestyle build! I've been flying my NewBeeDrone Vivid-based 5" quad for about 1.5 years now. While not the most interesting quad in my lineup, it's been super solid and the one I fly most often. I like Bob's work, so I figured why not try out his new Sonicare frame.
Why call it "Gold Edition"? Well, in this inflationary environment, it seems prudent to invest in Gold.... motors. And Gold TPU parts. Gold FTW! (Disclaimer: This is not investing advice; FPV parts depreciate like a rock once you fly them off the lot... or once you fly them at 65mph into a concrete parking lot that came out of nowhere...)
Frame
Note: At the time I purchased it, the Sonicare was in a prototype/early production run stage. It's possible the final product might be a bit different.
The unique thing about the frame is the arm structure/interface, designed to better manage frame resonance. Check out Bob's site for details. He aims to create a frame that most likely will fly well for most people right out of the gate using BF defaults (although good resonance management also means one should be able to push filters & gains to easily improve on that).
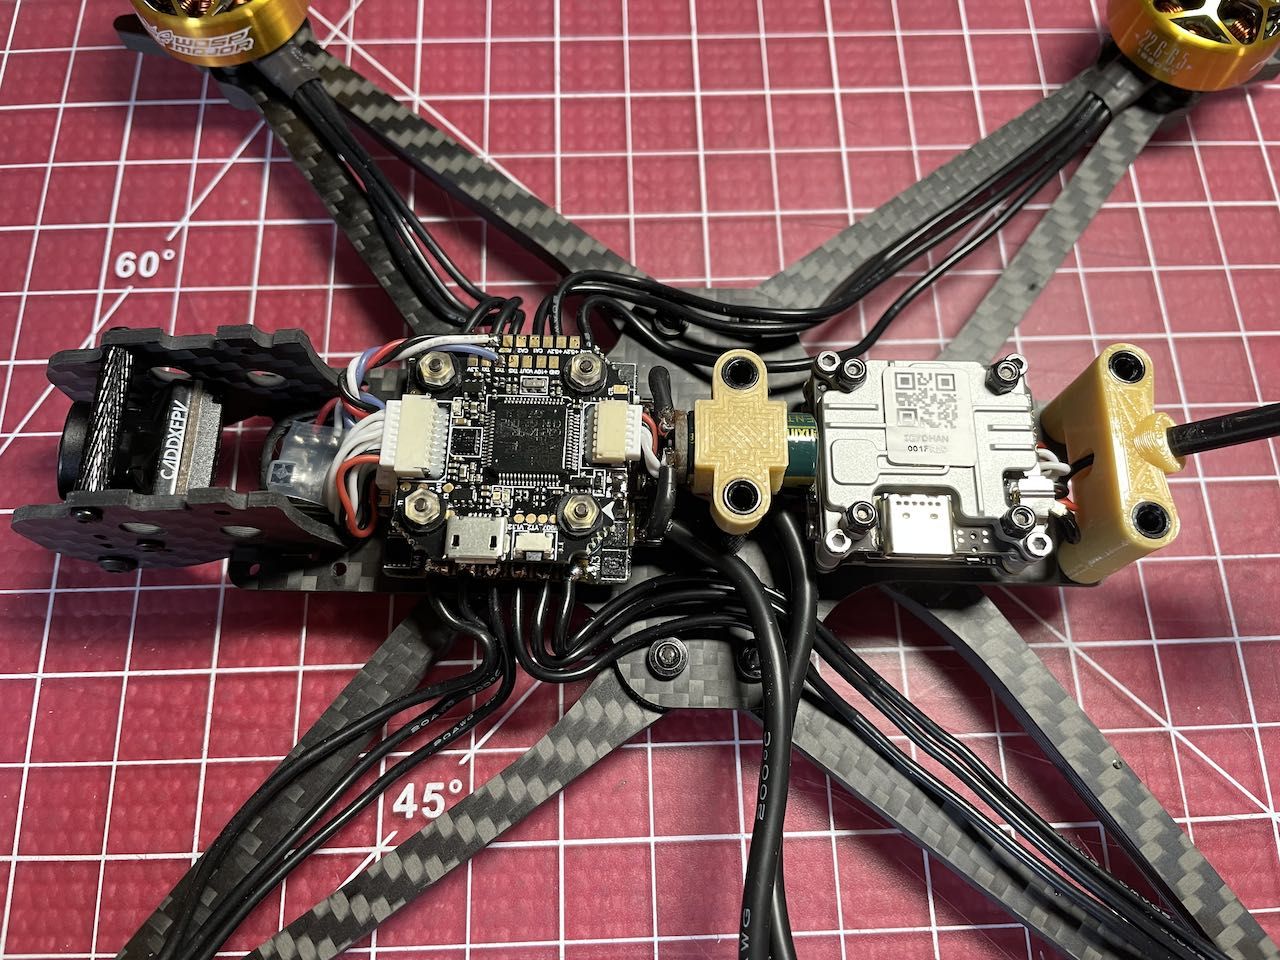
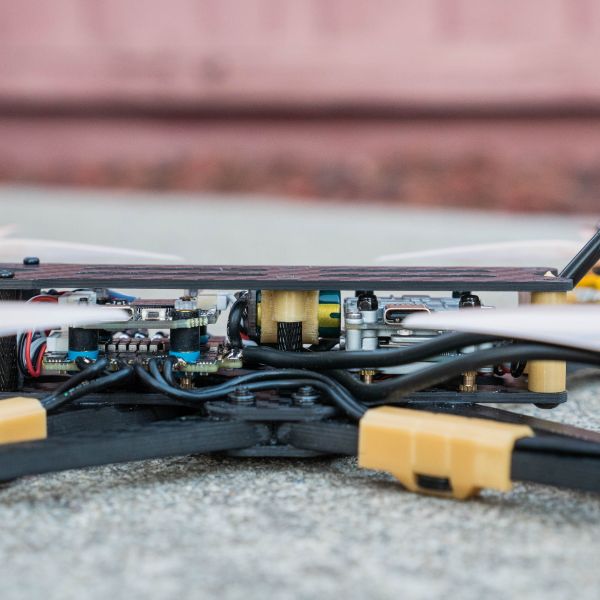
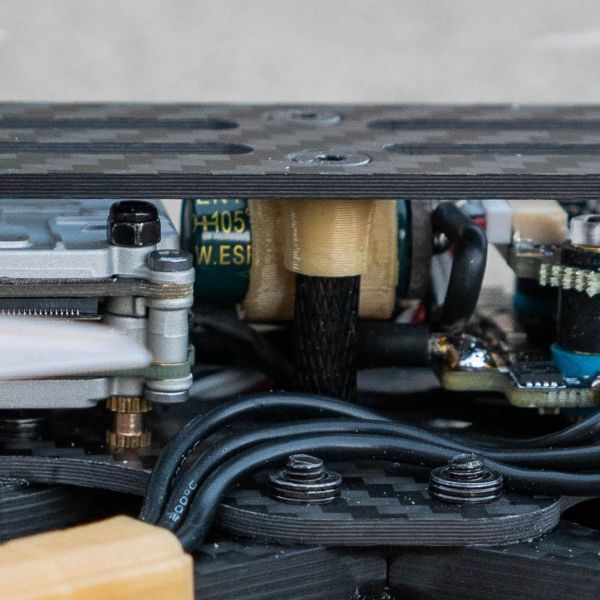
The rest of the frame seems to borrow elements from other FPVCycle frames. It's a fairly compact frame for a 5" without a ton of room to spare anywhere, so at times it felt like I was working on a micro quad. However, once it's all together it looks great with its efficient use of space. It uses a mix of M2 and M3 screws and standoffs. There's not much room to mount a sizeable capacitor inside the frame, and I'm not a huge fan of mounting it where it is exposed on the sides. I ended up designing a simple TPU holder that allows me to mount it on the middle standoffs. I usually prefer the Panasonic caps, but the only low-ESR capacitor I had around that would fit in that spot was from Chenxing and looks a bit small for its 680uF, 35V rating. I'm guessing it will be fine though.
The camera plates are separated 20mm, which leaves a tiny gap when using 19mm wide micro cams like the Nebula Pro. I printed a pair of thin shims in NinjaFlex material & attached them to the camera with thin double-sided tape, which works great. (Prior to this I used some slices of soft standoffs, which seemed to work at first, but ended up not providing enough friction to keep the camera angle fixed when bumped.)
Damping Grease
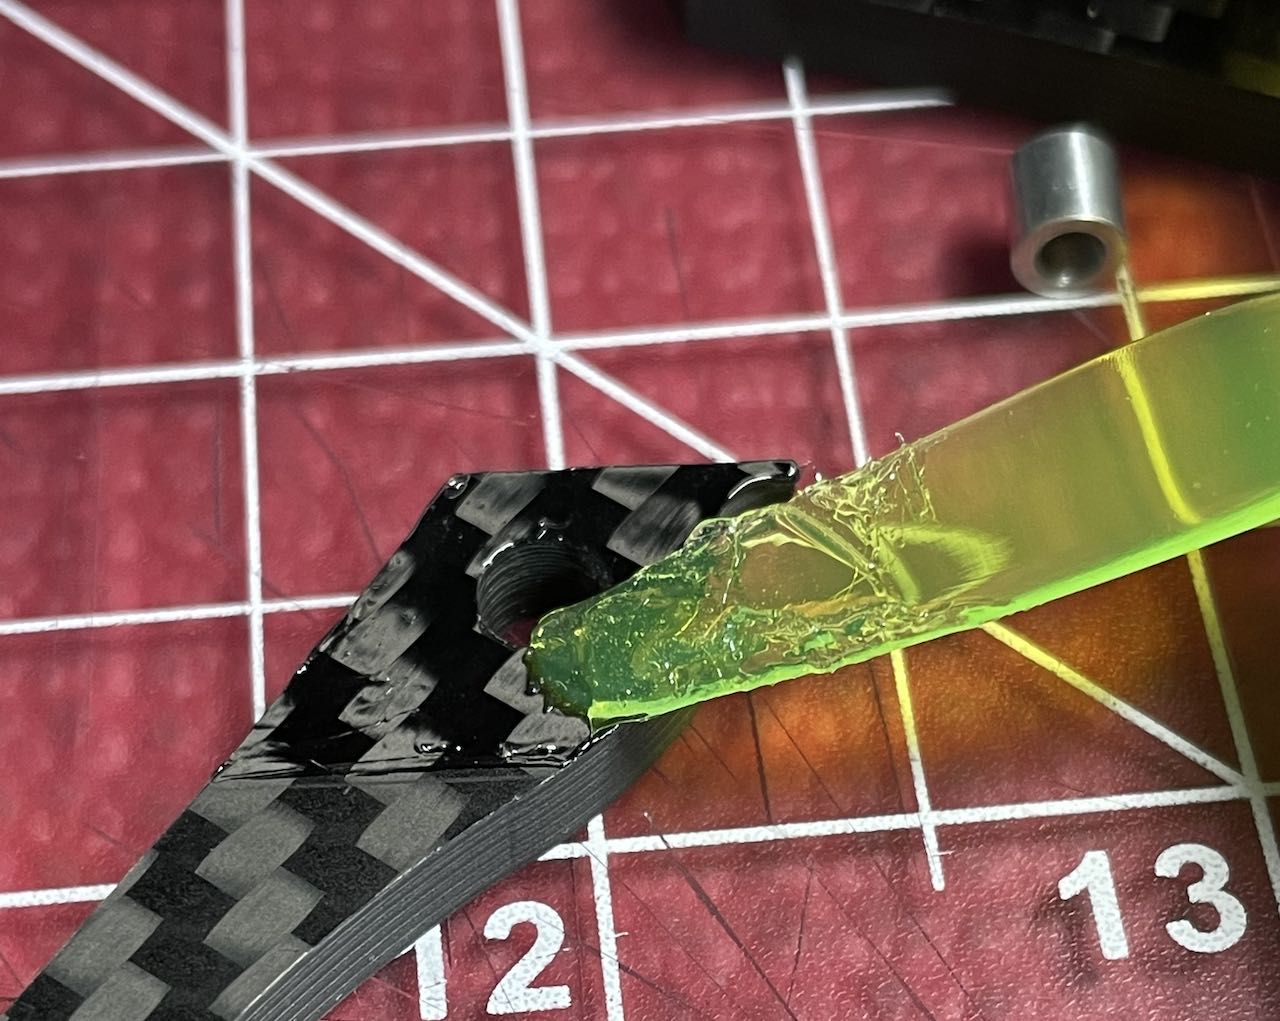
Since Bob designed the frame with the optional use of damping grease in mind, I figured I'd jump on that hype train and try it out. The specific grease I picked up also from Bob looks kind of like a super extremely sticky tree sap. I thought I was being careful, but it was still a bit of a mess. I used a prop blade to apply the grease to the target areas. Removing excess is a bit of a challenge, so I'd recommend going on the light side.
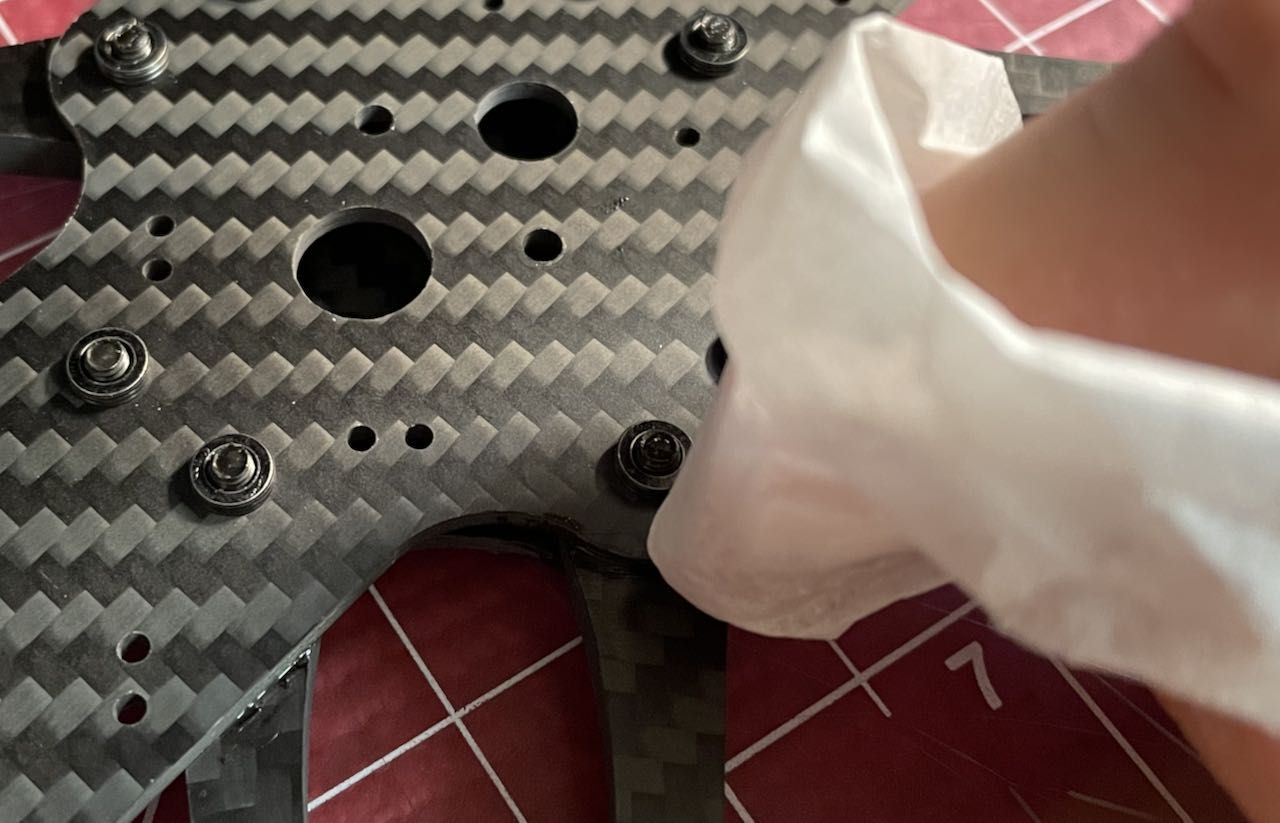
To remove excess, the thing that seemed to work best for me was to rub it off with a coffee filter. Keep moving to a new unused spot on the filter (otherwise you'll get fuzz from the filter as it wears).
I'll update this section with some BB log screen shots showing the noise profile when I have them.
Would I use grease again? Probably not. I really do not see this as becoming the new norm unless there are better ways to manage the mess. Even then, I think that frame design by itself plus some minimal filter tuning (which in the future might move more towards auto-tuning anyway) would be the way to go.
Motors
I went for these WASP Majors because RCINPOWER tends to have a good reputation for quality, and IMO they look great in gold (and they were also on sale!). Stator volume is between a 2306 and 2207. I don't intend to carry a GoPro, so I expect these to work well on this relatively light quad.
Electronics
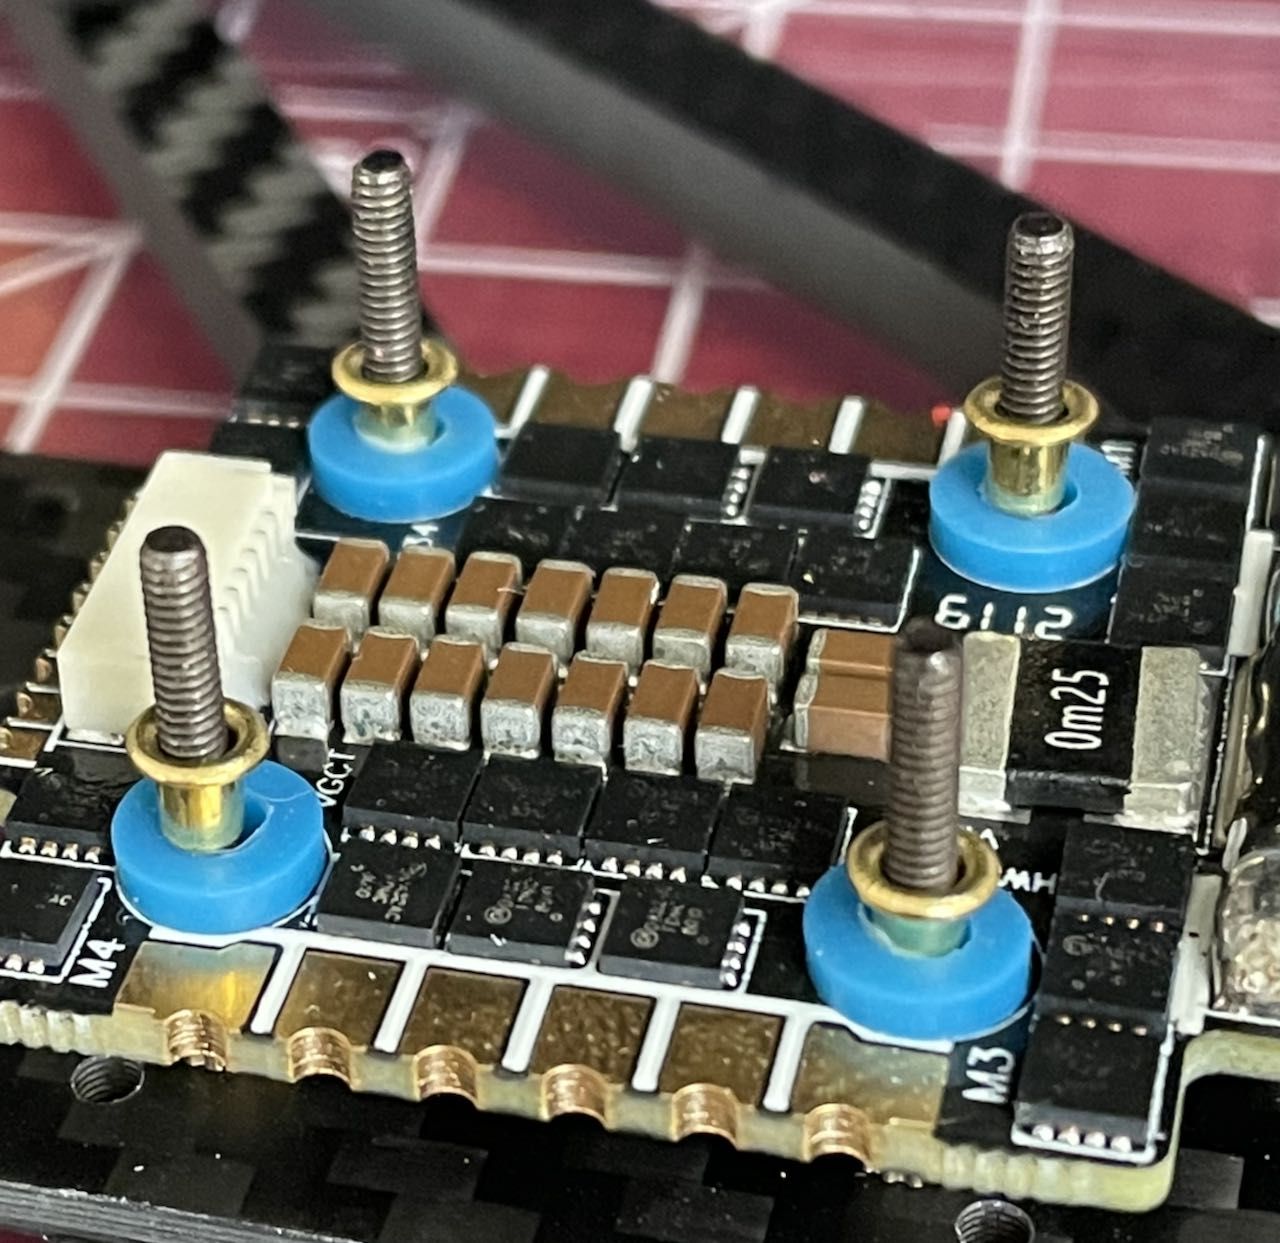
First time using this Hobbywing 20mm stack. I wasn't prepared for the fact that the stack expects M3 mounting screws, whereas the frame has holes for M2 screws. I ended up ordering some brass inserts to put in the gummies for the FC/ESC to sort of adapt it, but IMO this is a bit of an annoyance.
I've mostly moved over to ELRS now, and am using an EP2 receiver with intergrated antenna on this build. I taped it down in the space behind the camera. This spot is mostly surrounded by carbon fiber, which is probably not ideal. Based on experience with another build, I still expect this to work fine though. If not, I'll replace it with an EP1 with external antenna.
TPU parts
I've posted the TPU parts designs to Thingiverse:
- Capacitor holder (attaches to middle standoffs) - Link
- Antenna mount (for standard Vista antenna) - Link
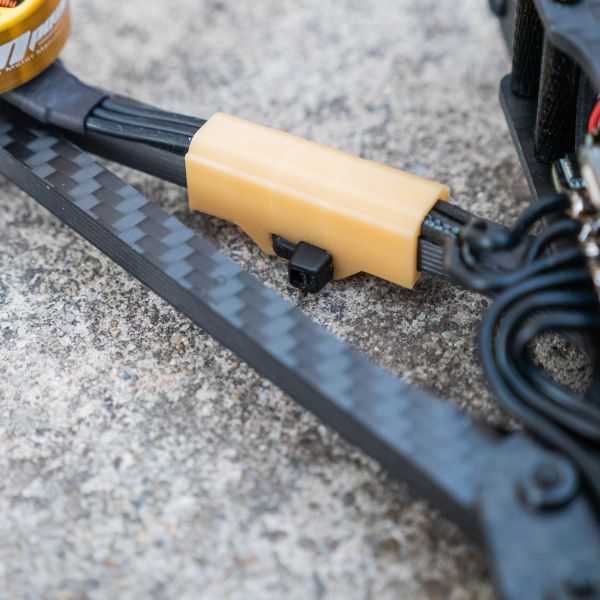
- Motor wire holders/protectors - Link
I'll have to find out how well the motor wire holders actually hold up in practice, as I haven't tried this kind of design in the past. They have little feet that are just a tiny bit longer than the screws on the bottom of the quad, so the quad can rest/slide around on these when I'm setting it down on a table to work on it. They aren't intended as landing cushions/pads (they are too small for that).
How does it fly?
TBD -- waiting on good weather & some free time to line up :)
Photos
Part List
Show stores (6)Guides & Reviews
AirbladeUAV has done it again and this time they've brought long range to the 5" class! Based on the popular Transformer Mini, the new Transformer 5" Ultralight adopts a lot of the same design philosophies with larger props and more payload capacity. It can fly upwards of 20 minutes on a 4 cell Li-Ion battery pack and in ideal conditions it's got a range of over 4 to 5 miles. In this guide I'll walk..
Read moreWith the release of the DJI FPV Drone cinematic FPV has become a lot more accessible, but you certainly don't want to crash a $750 drone! The QAV-CINE Freybott is a compact, lightweight cinematic FPV drone that can take a hit and keep going. It's a lot safer to fly indoors and around people. With a naked GoPro or the SMO 4k you can capture some great stabilized footage. In this guide I'll show you..
Read more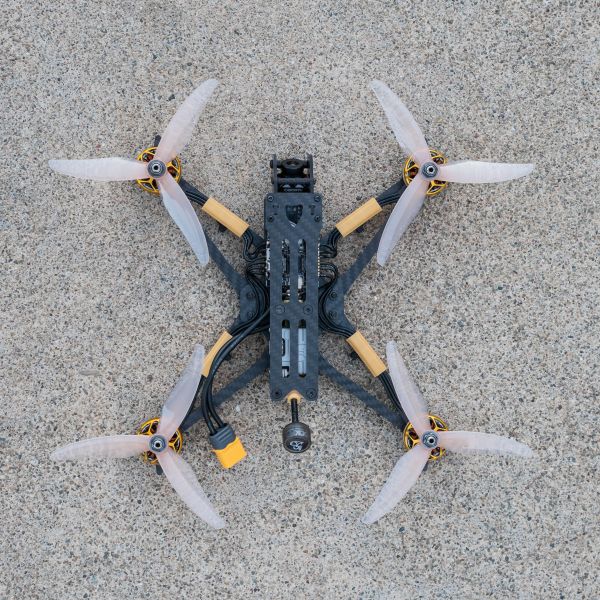


Gorgeous photos. Very well put together.