The Build
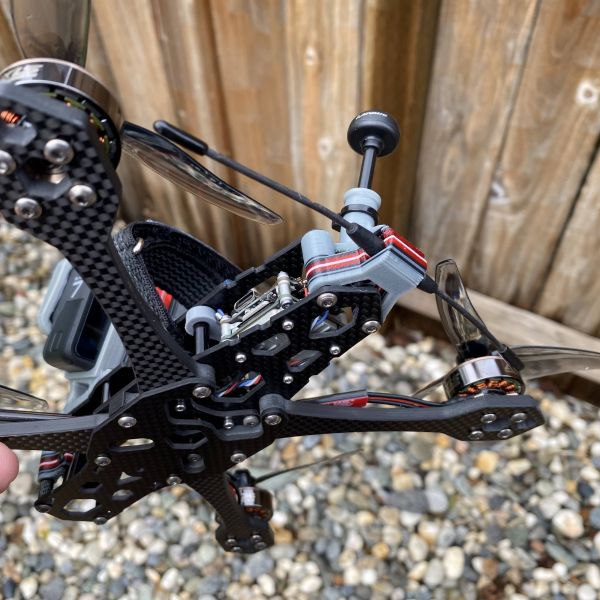
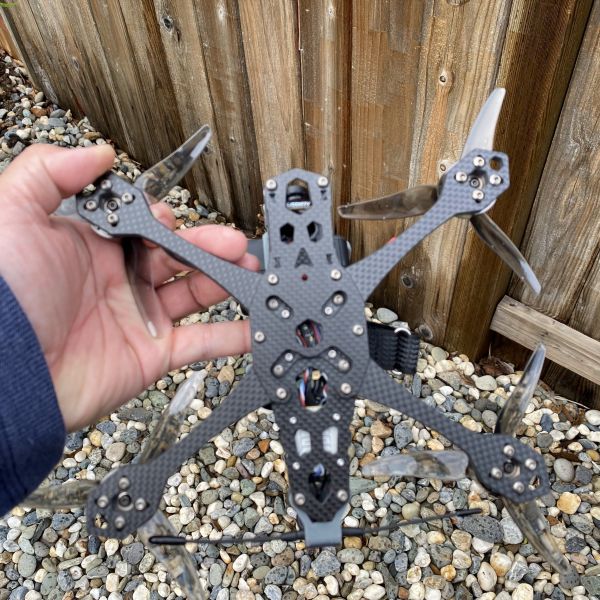
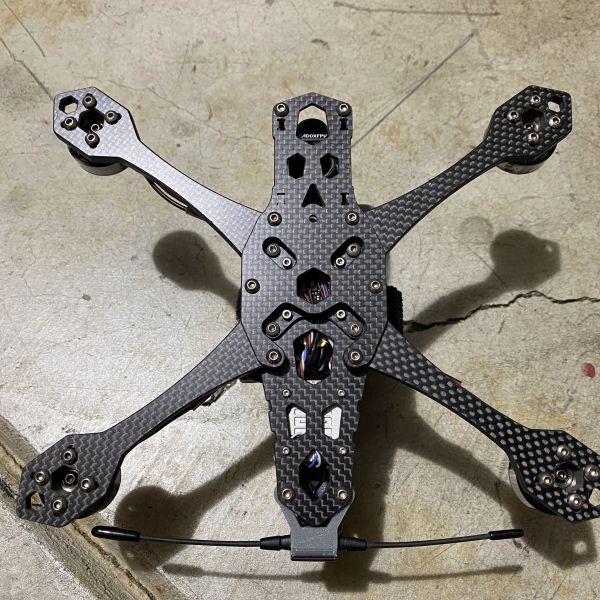
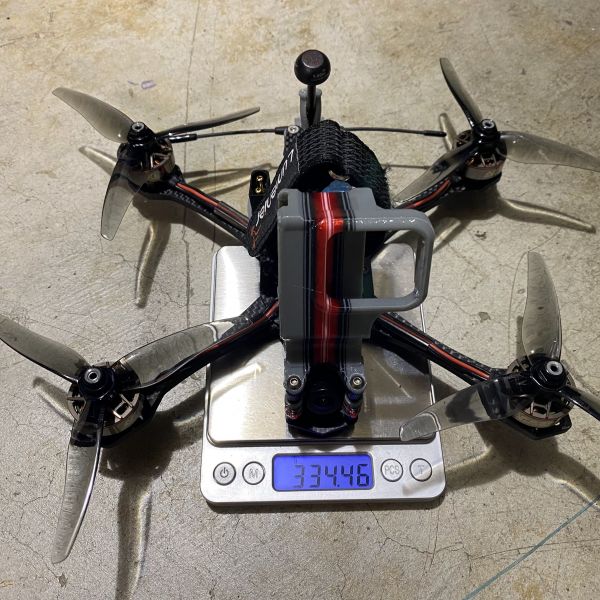
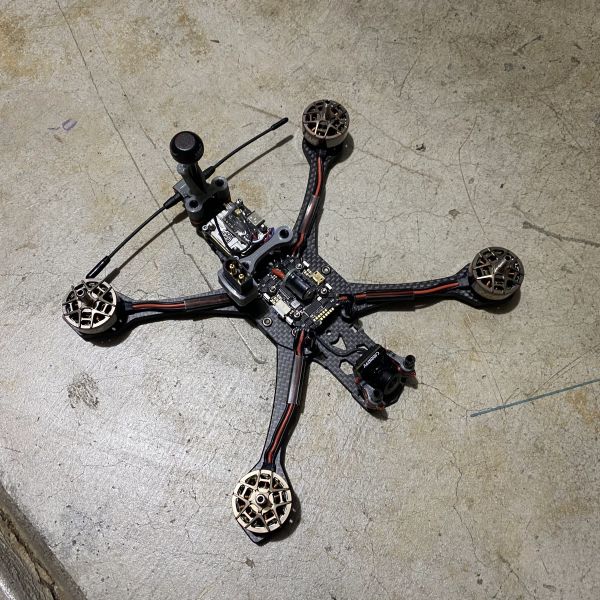
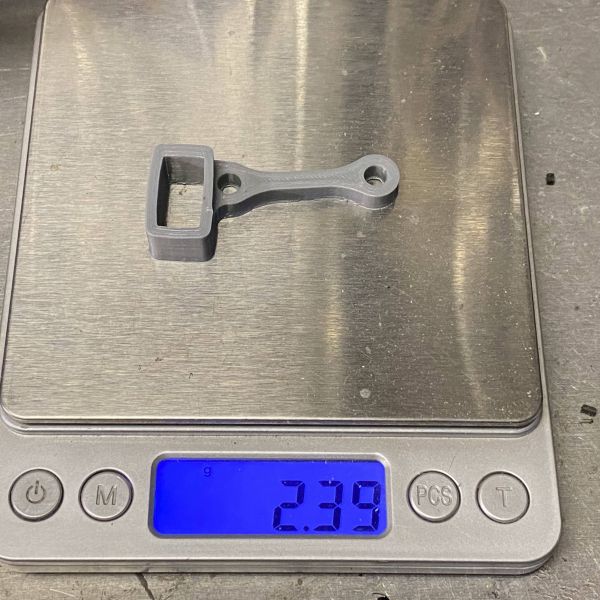
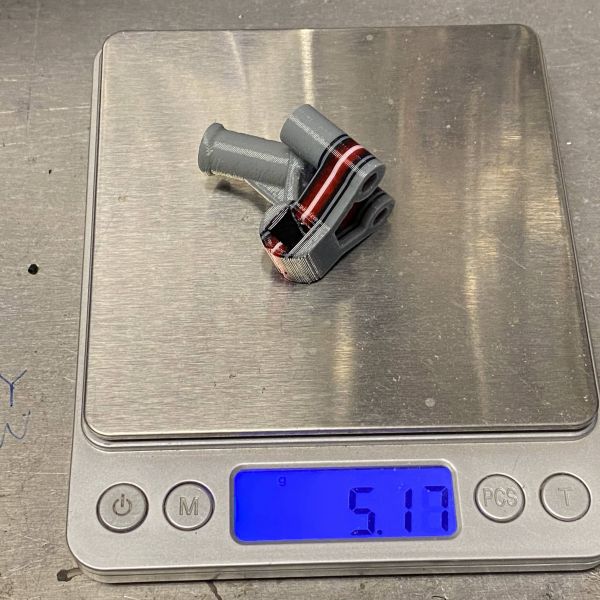
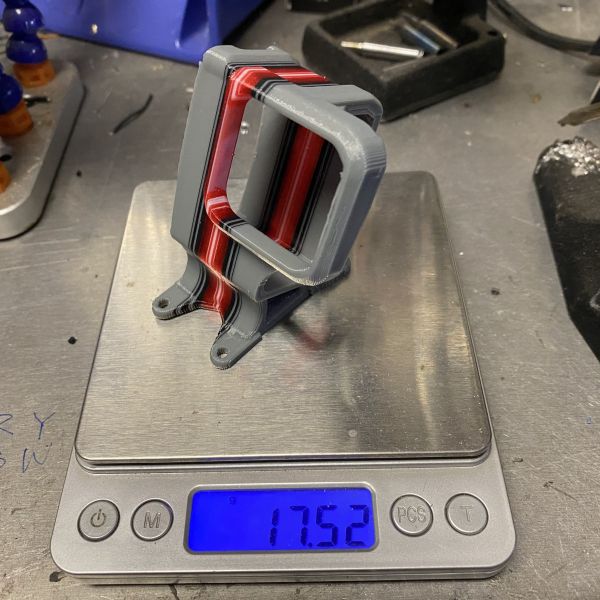
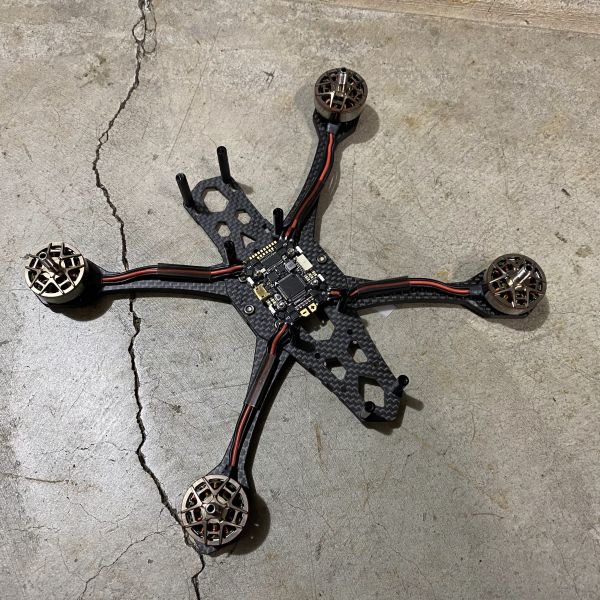
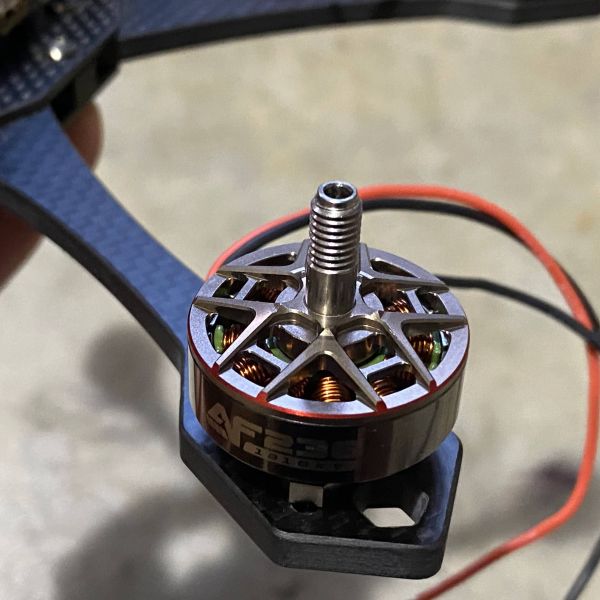
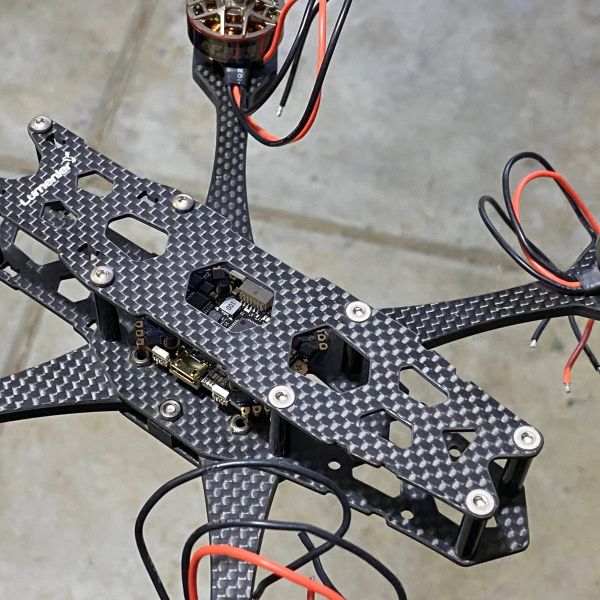
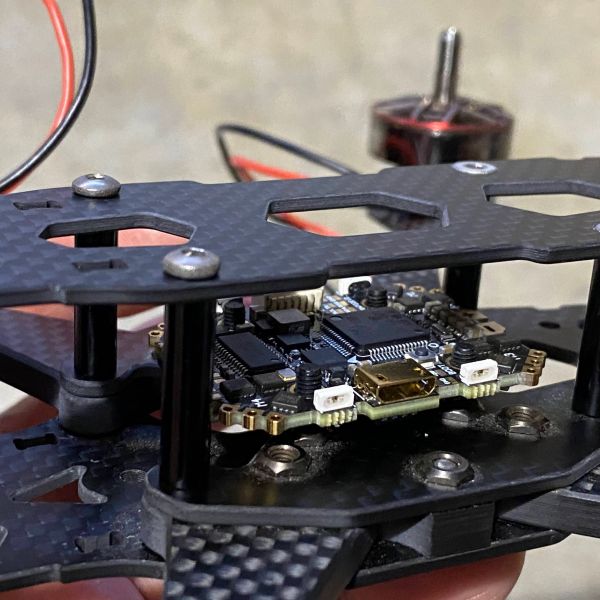
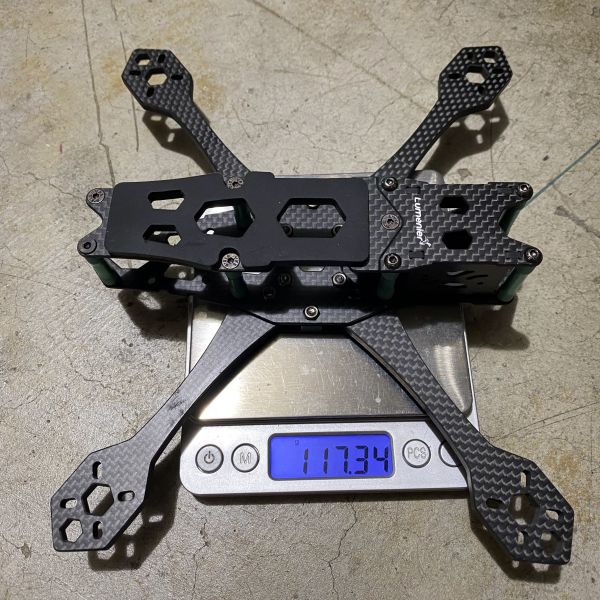
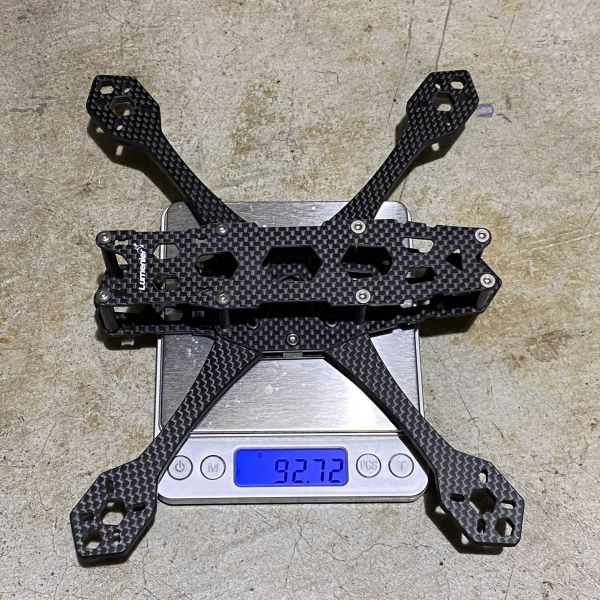
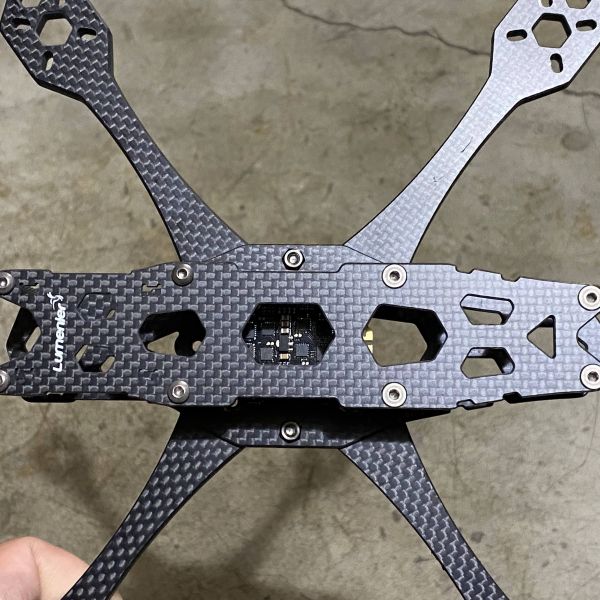
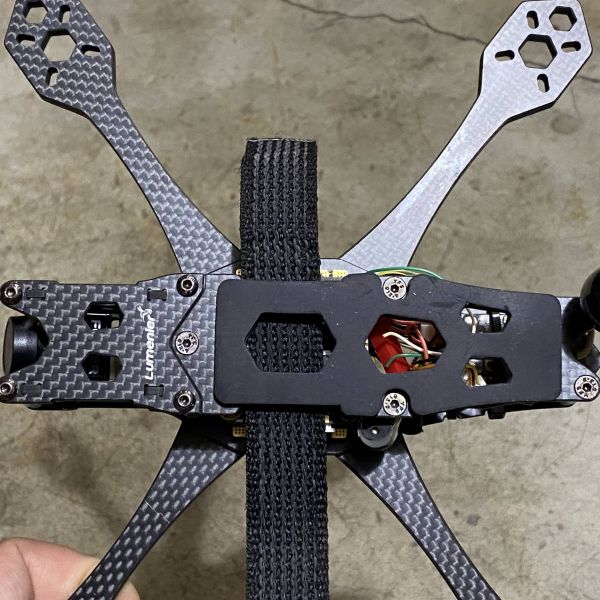
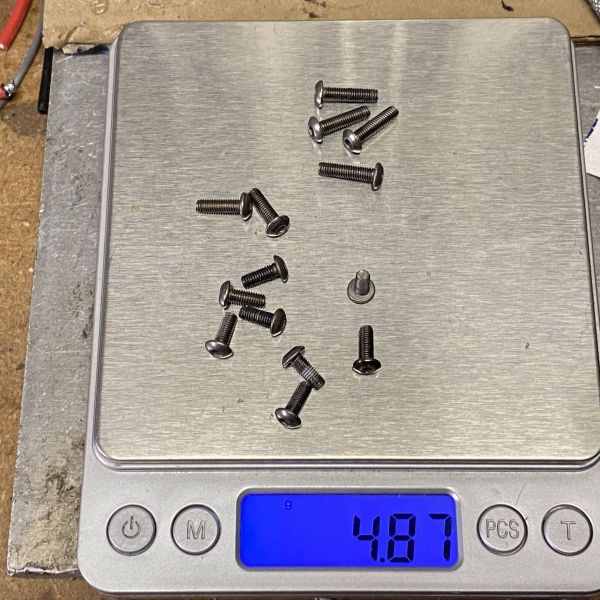
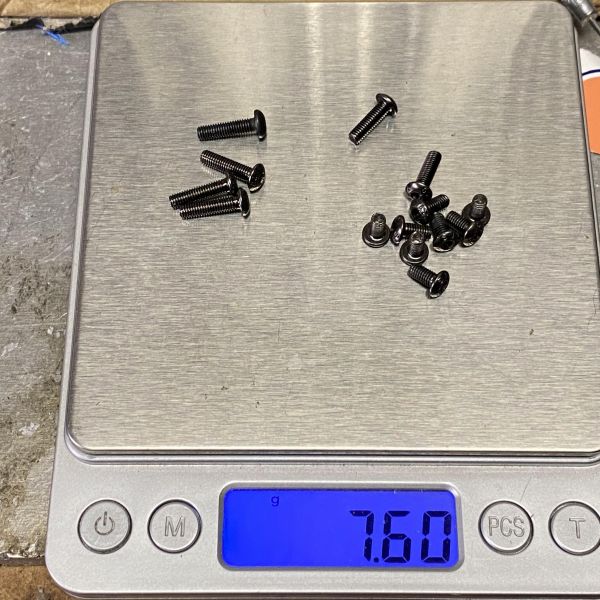
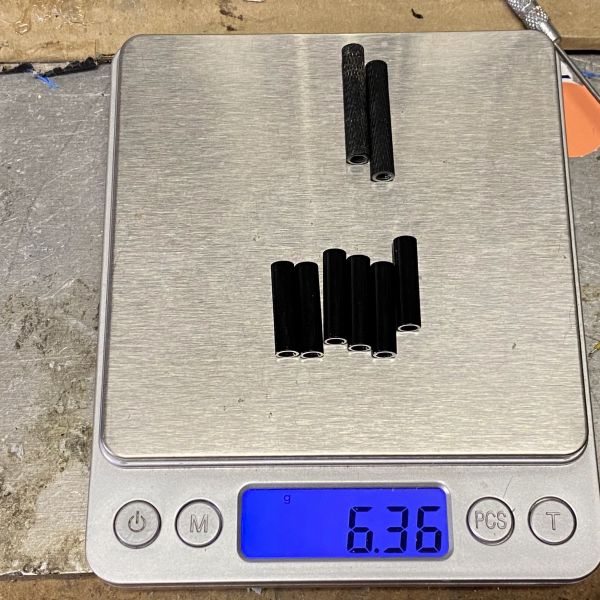
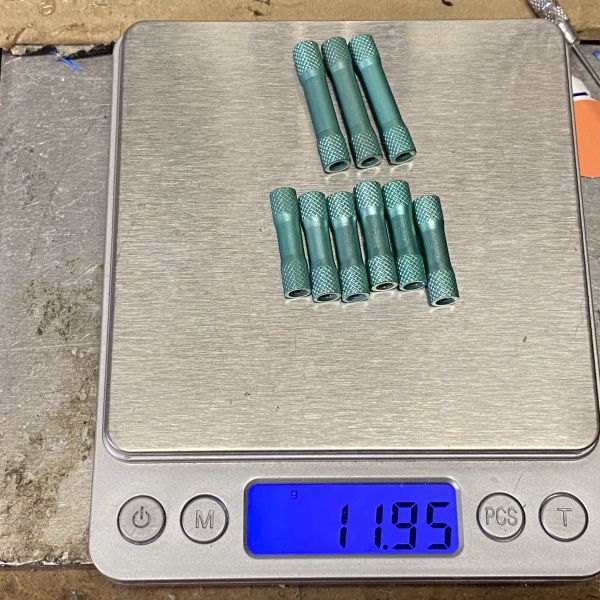
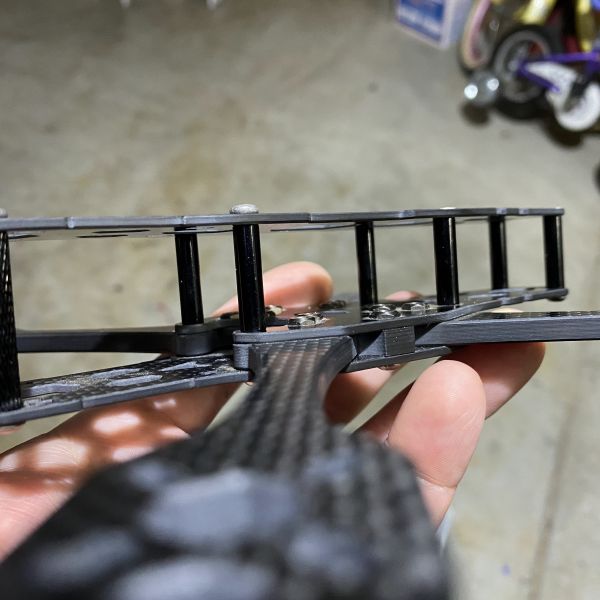
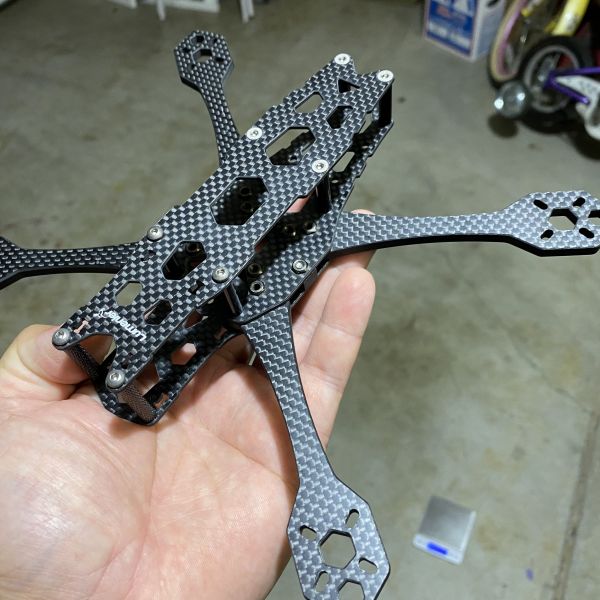
The goal for this build is to keep it as light as possible. I started off with the original QAV-S frame and replaced the top plate with a Joshua Bardwell SE version. By using a single plate, I can eliminate the one for the standoff. Next, I swapped out all the standoffs to lower the height 3mm. The replacement standoff will reduce the weight about 5.59g. Then I lost another 2.73g by replacing the steal screws to titanium. Buy making all the changes as I suggested above, you can reduce the overall weight of the frame about 15g. I will also suggest removing the carbon fiber FPV camera mounts and replacing it with 3D printed ones because that could save you about 3g (the carbon fiber plates weigh 4g). Typically, a 3D printed camera mount will weigh about 1g. I know it sounds like I am nickel and diming each gram but, in the end, it can make a difference.
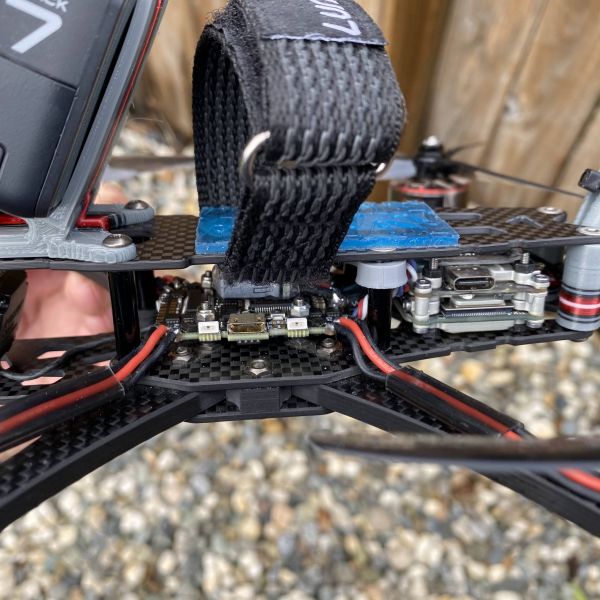
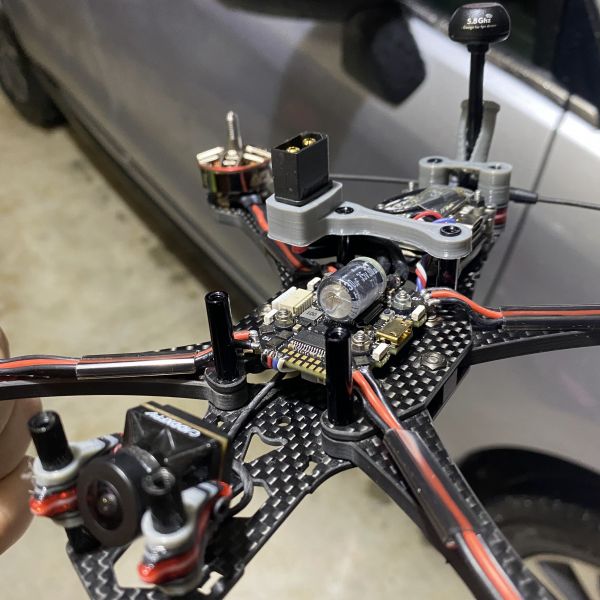
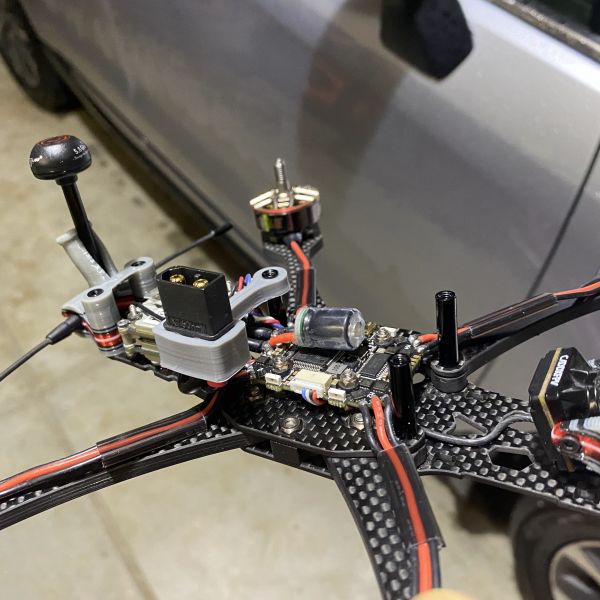
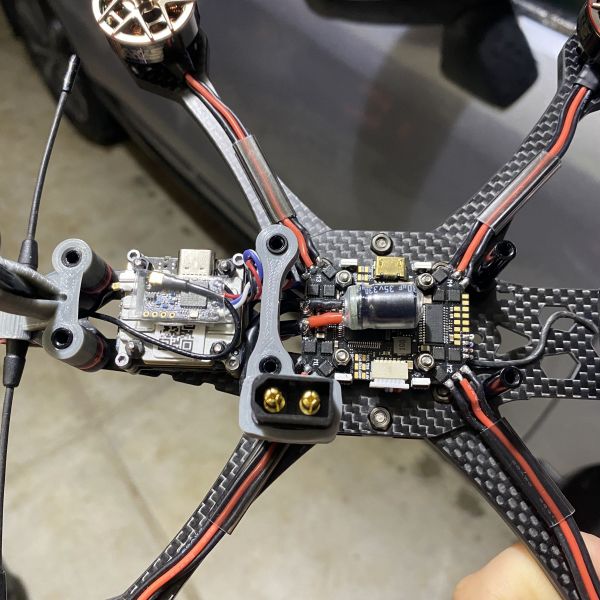
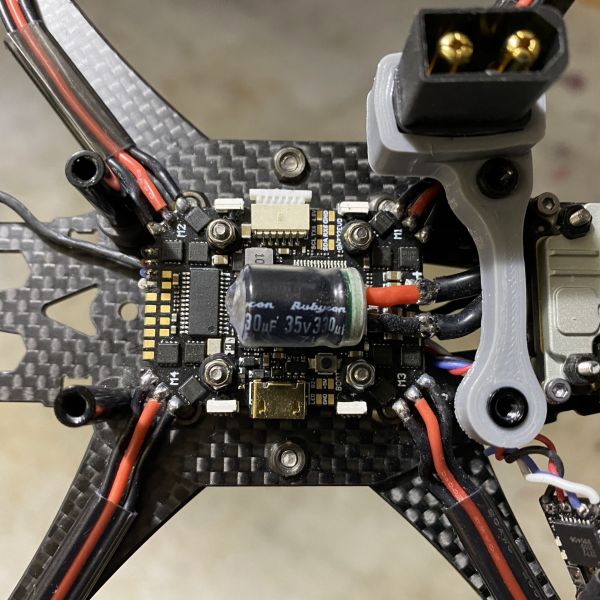
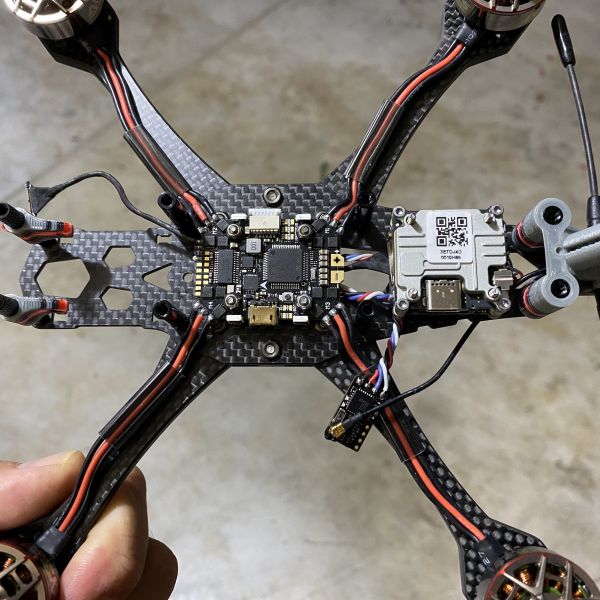
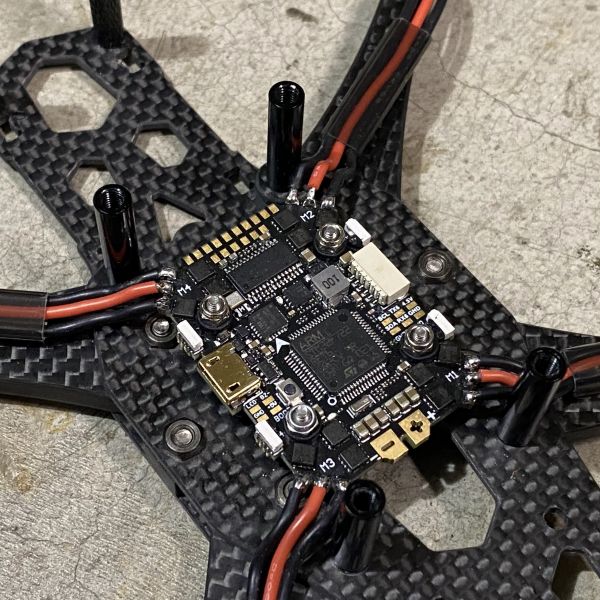
To keep it light, I also used a Flywoo 40a 20x20 AIO board, and it weighs about 9g. Even though the AIO board is rated for 40 continuous amps, I hope it can handle a full-size freestyle quad usage. If I were to use a different style board, here is a rough estimate of the weight difference:
- AIO: 9g
- 20x20 Stack: 15g
- 30x30 Stack: 30g
For the most part, the rest of the build it pretty much straight forward and figuring out where mount everything is all you need do. This frame is so spacious, you should not issues mounting everything.
3D Printing
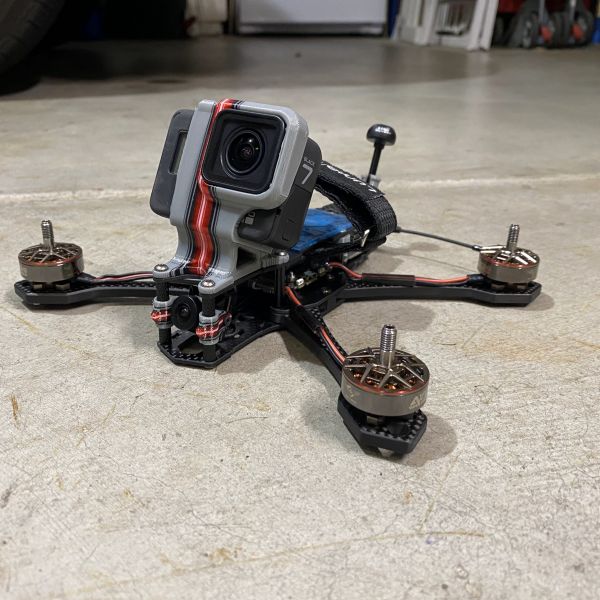
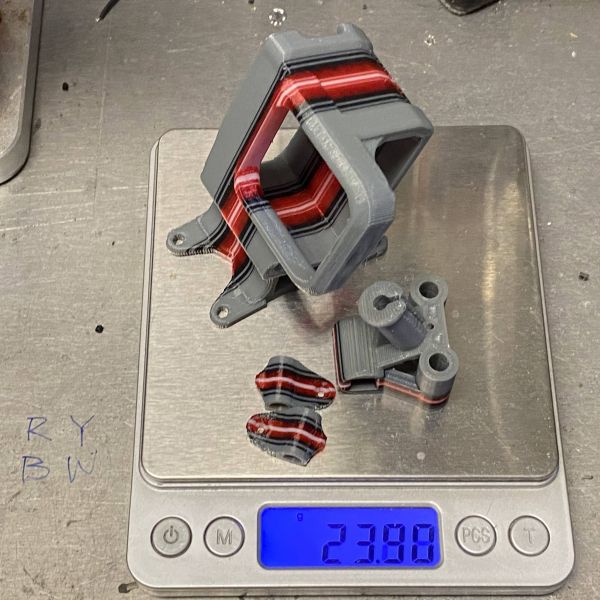
Even since I started printing multicolor TPU, I feel that I need to do it for all my new builds. But recently I started to have layer adhesion issues and some brands seems to be more problematic than others. I think I might have figured out the problem. During the winter the temperature can drop to the low 30’s and inside the garage it can get kind of cold. As a test, I brought one of the printers inside the house (We have the HVAC system set to 74 degrees) and I did not have any layer adhesion problems anymore.
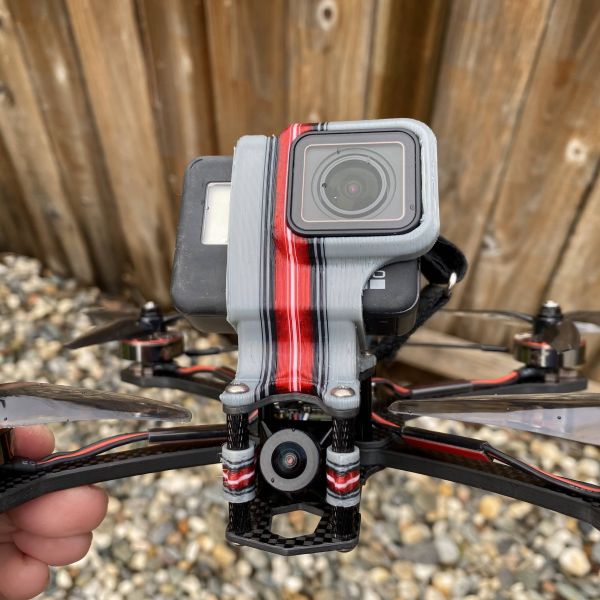
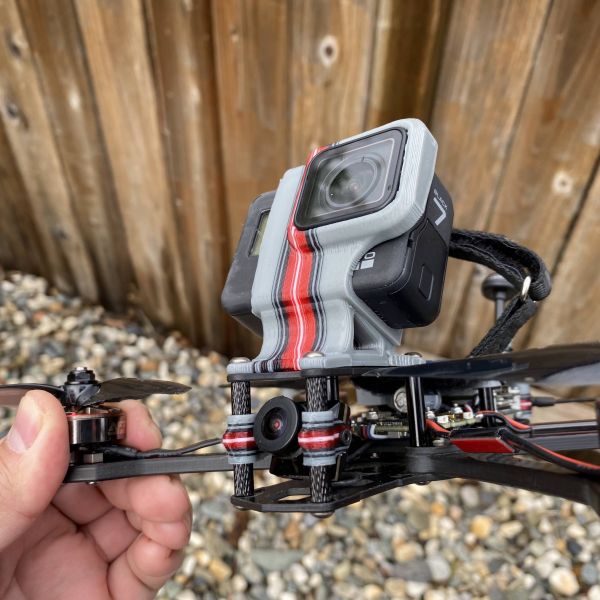
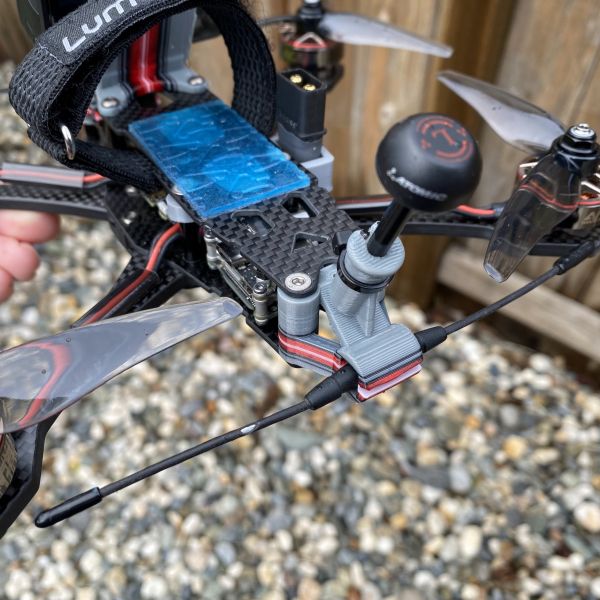
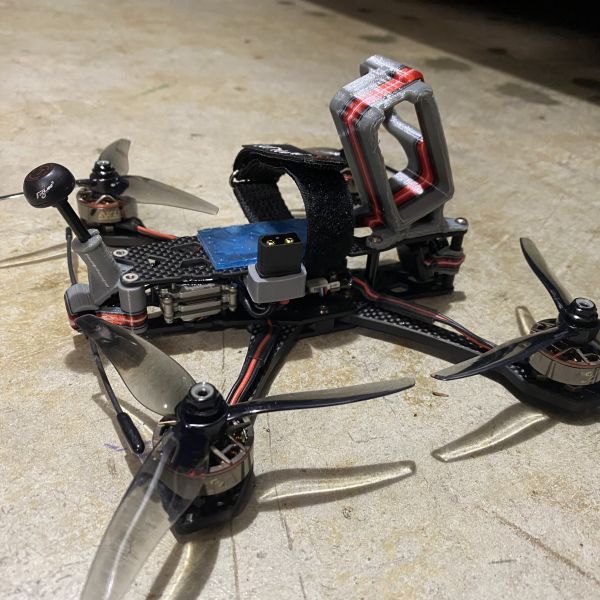
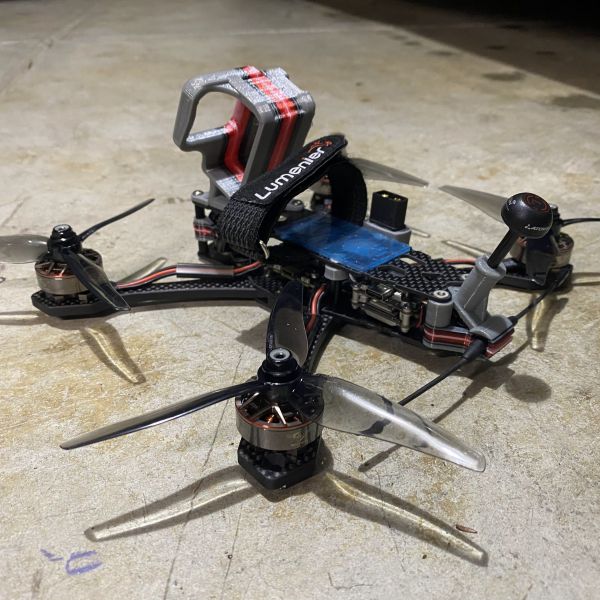
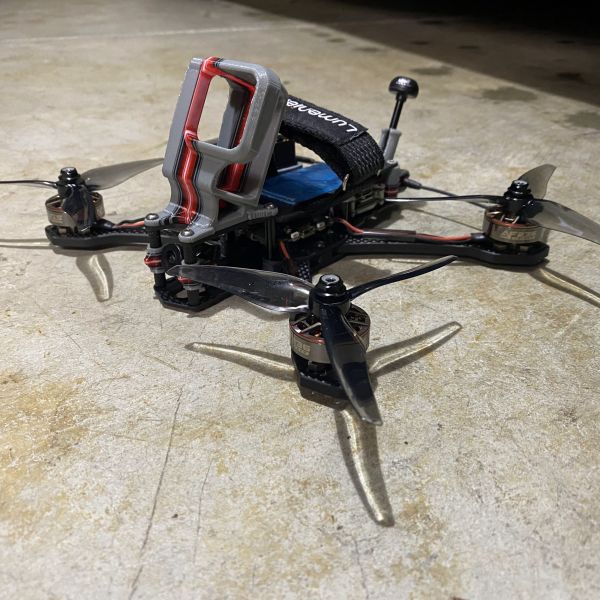
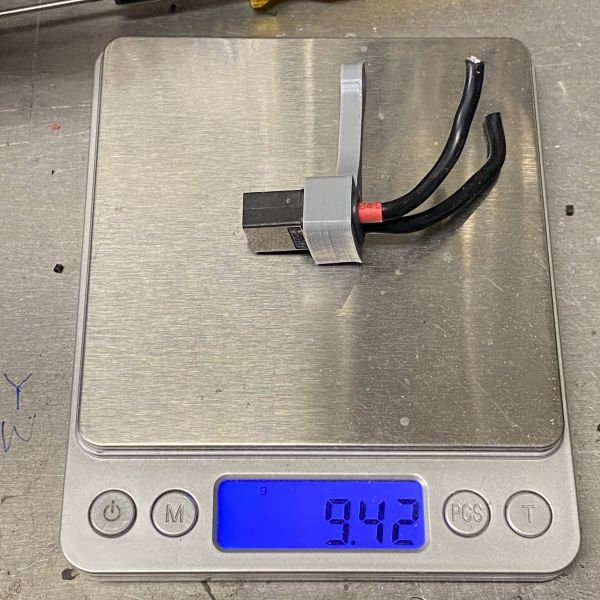
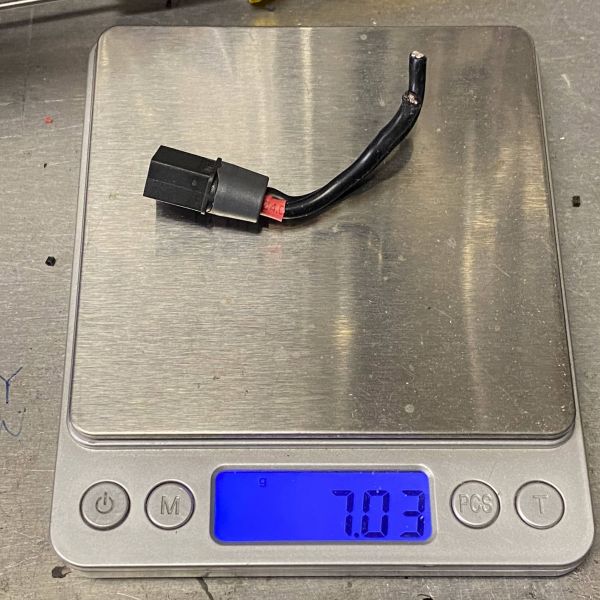
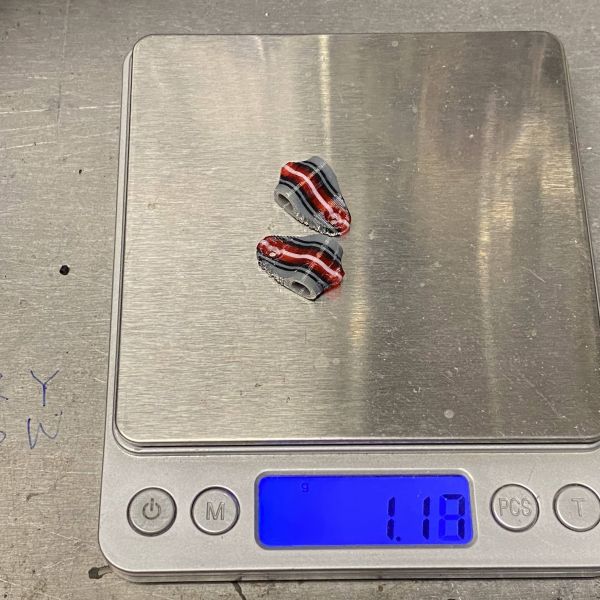
The first item I needed is a mount for the caddx vista and crossfire antenna. Next would be the FPV camera. Typically, I do not use the carbon fiber camera mount plates because they usually weight more than the 3D printed ones. Finally, I need a mount for the GoPro camera. As I progressed into my build, I was unsure about the placement of the XT60 connector. After browsing through thingiverse, I found a mount that would work perfectly with the build. You can find the link to the collection of 3D printed parts below.
Test Flight
GoPro 7
Same test footage as above with but with DJI DVR
More info soon...
Photos
Part List
Show stores (9)Nice man! Looking clean! How many times have you had to make the walk of shame, down to that park?? lol. I wonder that every time I see you rip this park from down the street. That's a pretty sweet setup to be able to rip that park, then fly home.
This looks GREAT! I am about to get that exact antenna in the mail in a few days, and chance I could get that STL? I'd use that XT60 mount too, if you wouldn't mind sharing :)
Thanks, you should be able to find all the STL files I used here: https://www.thingiverse.com/thing:5171679
Guides & Reviews
AirbladeUAV has done it again and this time they've brought long range to the 5" class! Based on the popular Transformer Mini, the new Transformer 5" Ultralight adopts a lot of the same design philosophies with larger props and more payload capacity. It can fly upwards of 20 minutes on a 4 cell Li-Ion battery pack and in ideal conditions it's got a range of over 4 to 5 miles. In this guide I'll walk..
Read moreWith the release of the DJI FPV Drone cinematic FPV has become a lot more accessible, but you certainly don't want to crash a $750 drone! The QAV-CINE Freybott is a compact, lightweight cinematic FPV drone that can take a hit and keep going. It's a lot safer to fly indoors and around people. With a naked GoPro or the SMO 4k you can capture some great stabilized footage. In this guide I'll show you..
Read more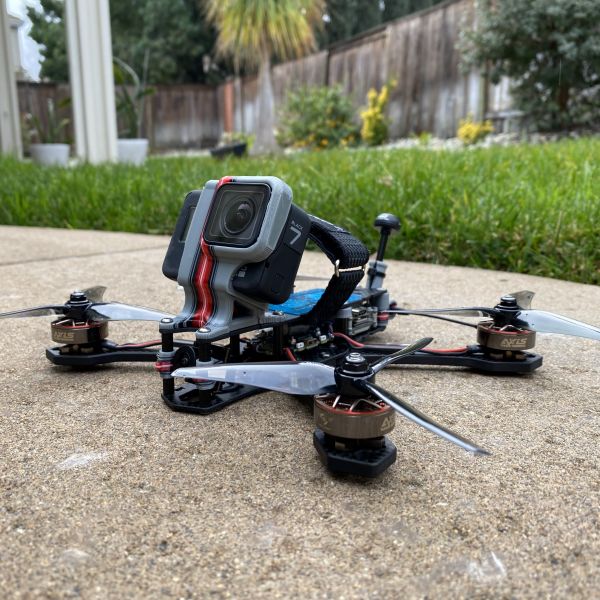


thank you for the detailed description and sharing the great 3d files bro!
I have made a super slam qav-r 2 deadcat with inner the arms level and using an aio board in it.