Fusion C220 5" Cinematic
 By ExploreFPV on Jul 03, 2022
Introduction
I've been flying the ImmersionRc Reverb Frame for about two years and overall I'm happy with the performance. However, the Frame is showing its age and was developed at a time when individual ESCs and analogue transmitters were mostly used. So I was looking for a state-of-the-art frame. Which offers the possibility to easily implement my DJI ecosystem and which meets my high standards in terms of workmanship and design.
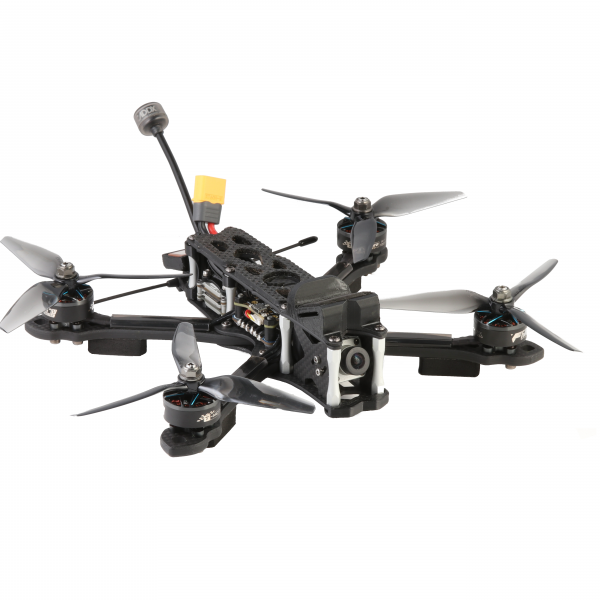
Coincidentally, during my research, I came across the Instagram page of EscapeFPV, who recently published his first own frame. The frame comes in two versions F212 and C220 (Freestyle & Cinematic). I was immediately enthusiastic about the concept and ordered the C220. Not only the specs, but also the design with full T700 carbon, varnished and chamfered parts impressed me.
In the following report I will go into more detail about the structure, the electronics used and the 3D printed parts I designed.
Link to 3D printed parts: https://www.etsy.com/de/listing/1255796293/fusion-frame-gopro-crossfire-immortal-t?click_key=d016449bc38884632ef63c01e487bedaec702ef1%3A1255796293&click_sum=3903589d&ref=shop_home_active_2
Hardware
The frame comes with all the mounting hardware you need to complete a regular build. For my way of building the stack I also needed silicone damper and M3 rubber standoffs. These are not included. For the rubber spacers, I shortened the supplied m3x25mm screws accordingly.
To attach the Caddx Vista, M2x20mm screws with appropriate nuts are provided. Since I use a mount for the capacitor above the Caddx, I replaced them with 25mm screws and reduced them by 2mm so that they close properly.
Frame Assembly
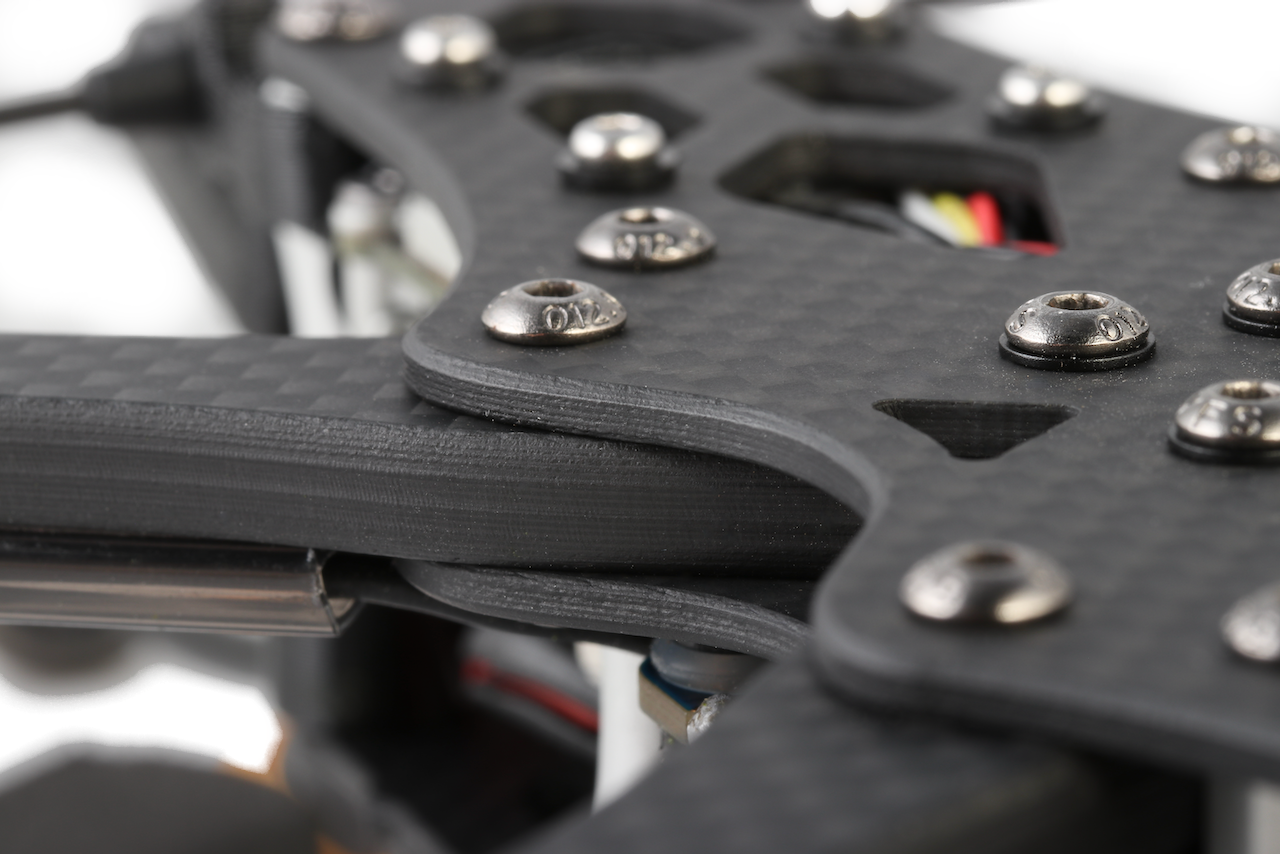
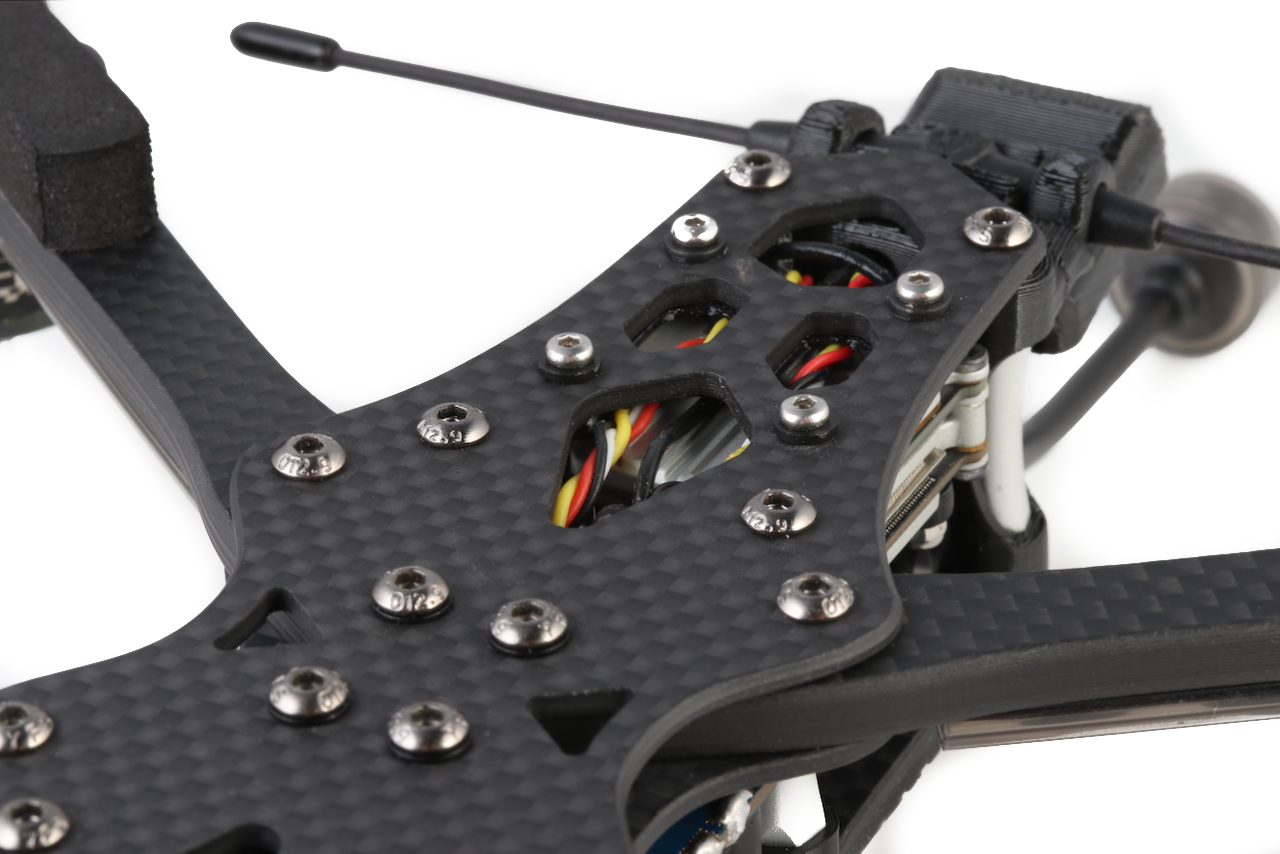
Assembling the frame is a fairly straightforward procedure. On the EscapeFPV YouTube channel you will find a very detailed guide. (https://www.youtube.com/watch?v=0Evyvv2ejik&t=265s)
Mount the Flight Controller
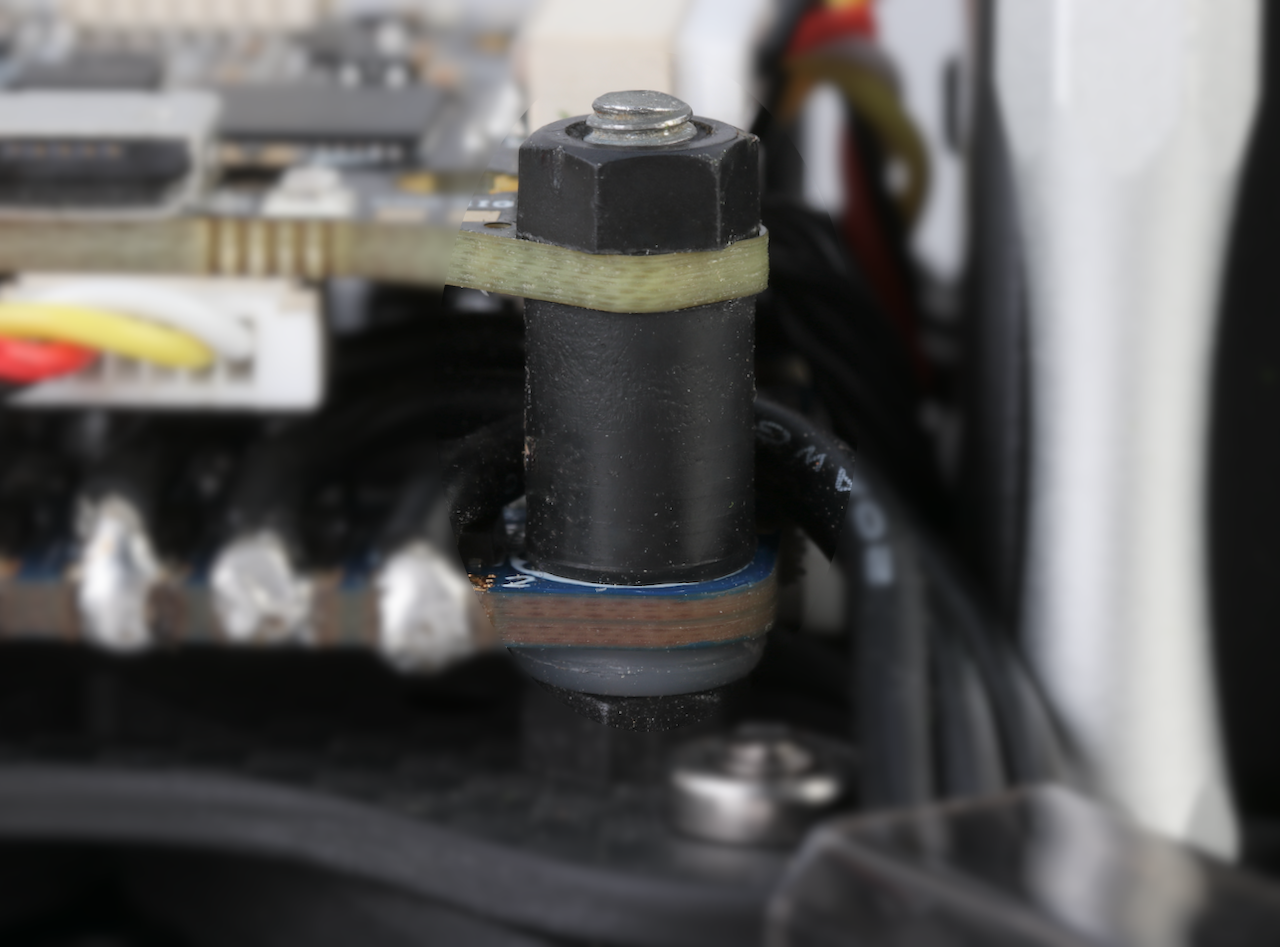
The attachment of the ESC and flight controller shown has proven to be particularly effective in recent years when it comes to performance and durability.
Motors
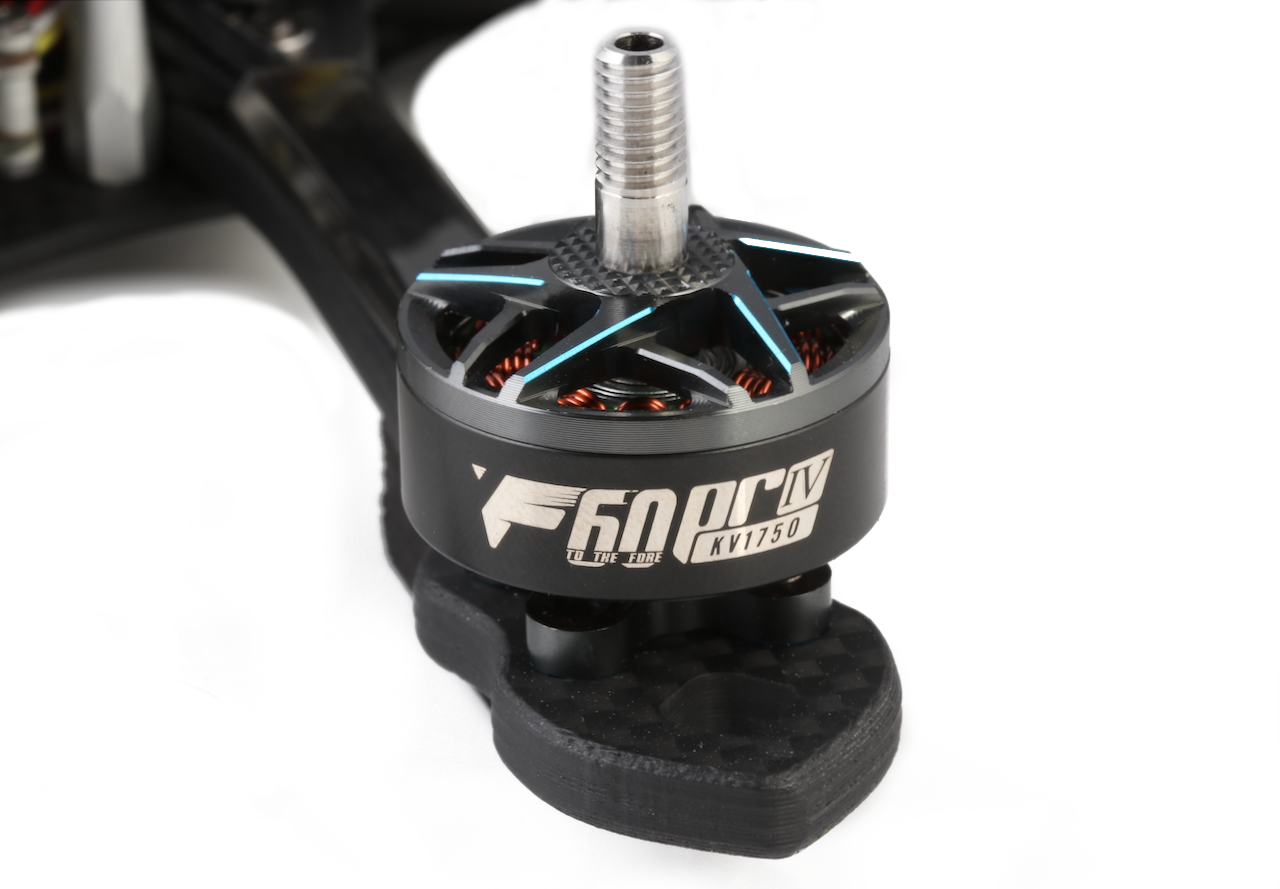
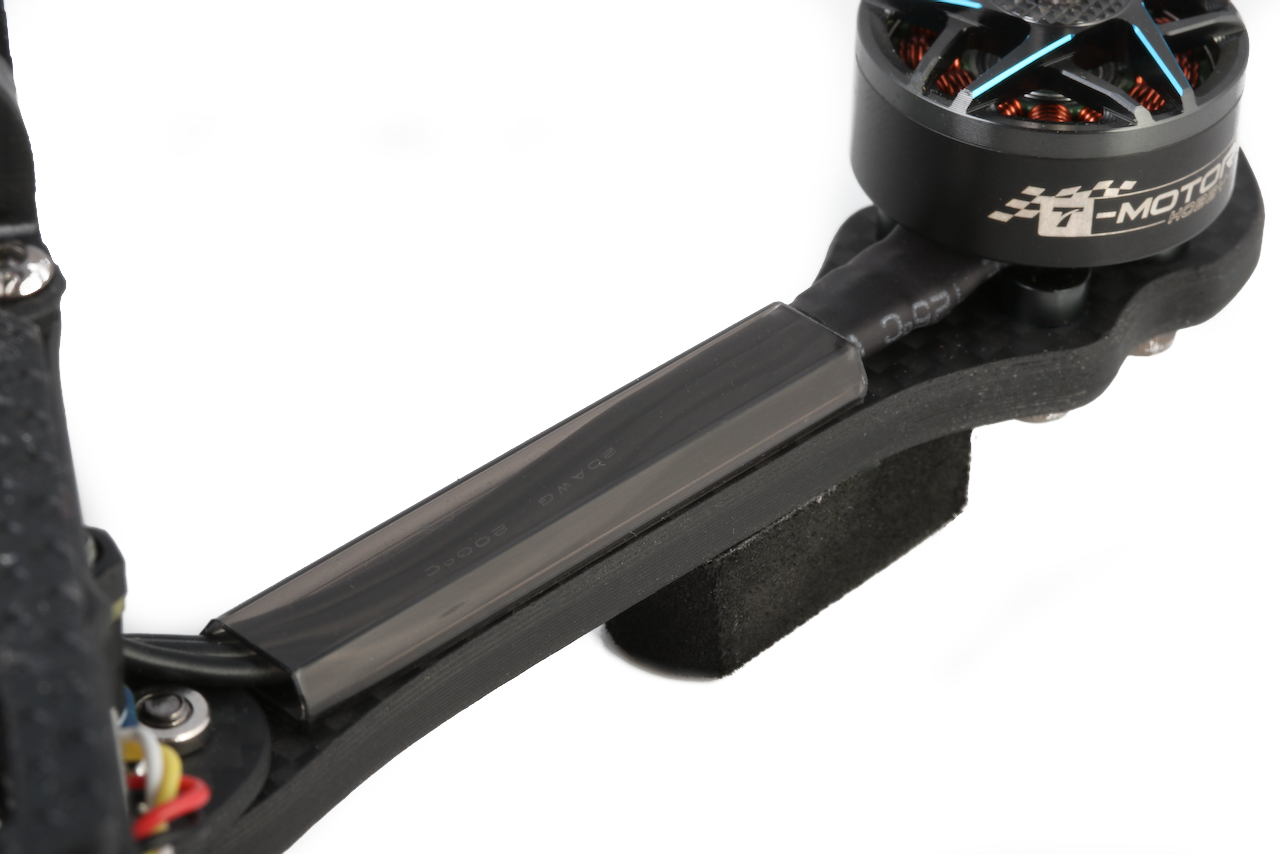
I`ve chosen the T-Motor F60 PRO IV V2 1750KV motors. For my needs they have the efficiency I want at low throttle but also the power I need for more nimble maneuvers. A clean structure in combination with maximum functionality is particularly important to me. So I used the iFlight Wire Shield 10x50mm to route the motor wires straight down the arms and protect them from the propellers.
3D Printet Parts
Caxxd Vista Mount
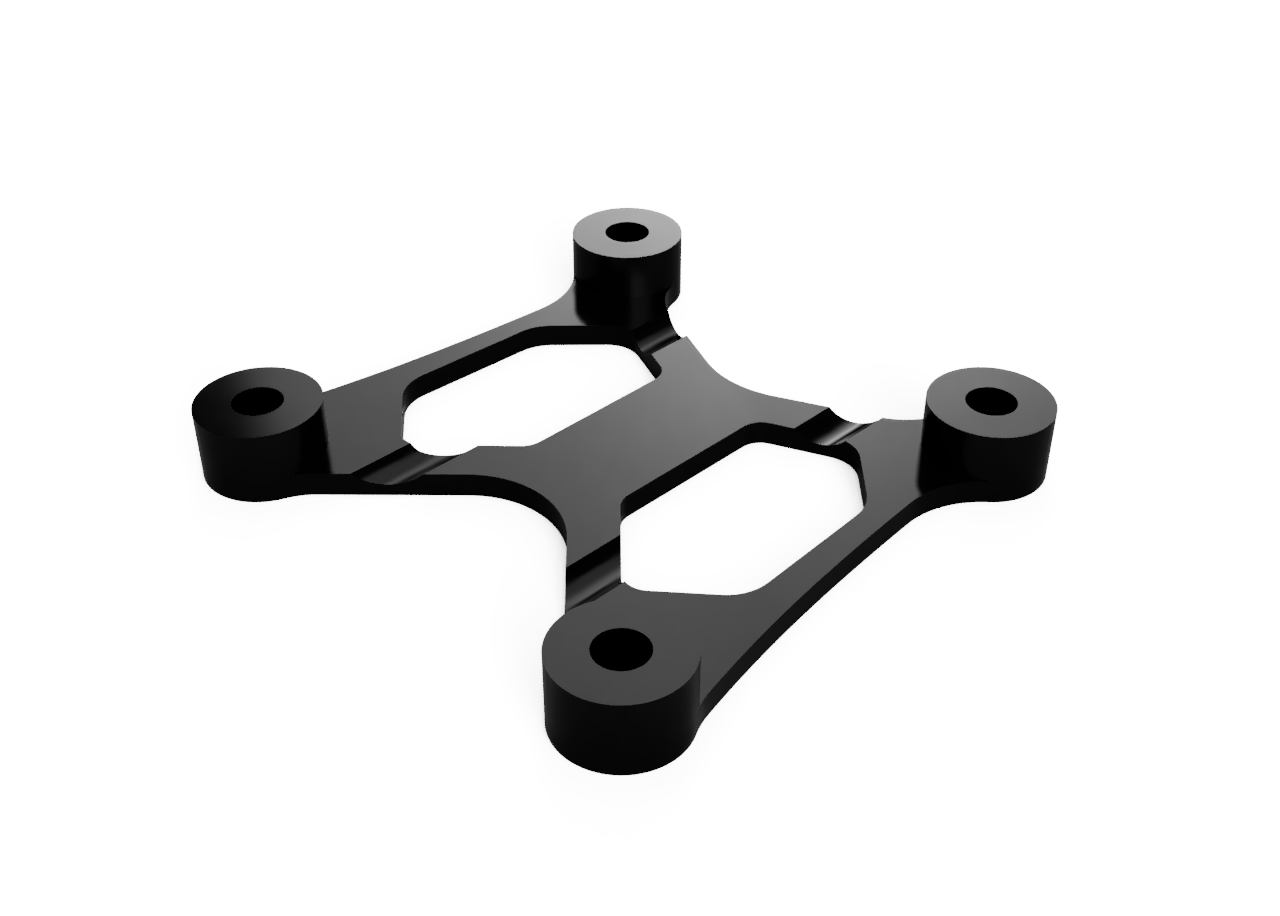
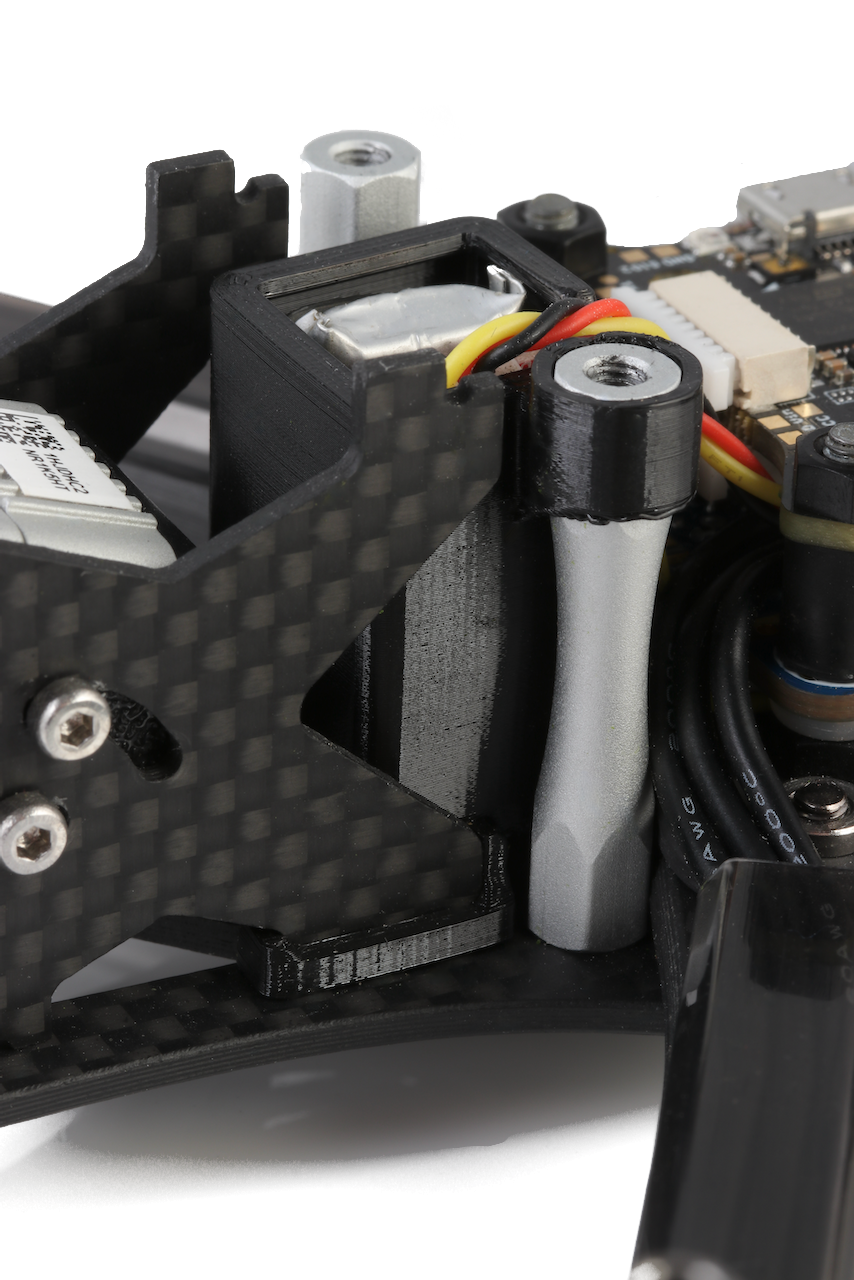
The Caddx Vista is not directly screwed to the frame. A soft placeholder with corresponding cutouts that serve as a guide for the cables underneath is used.
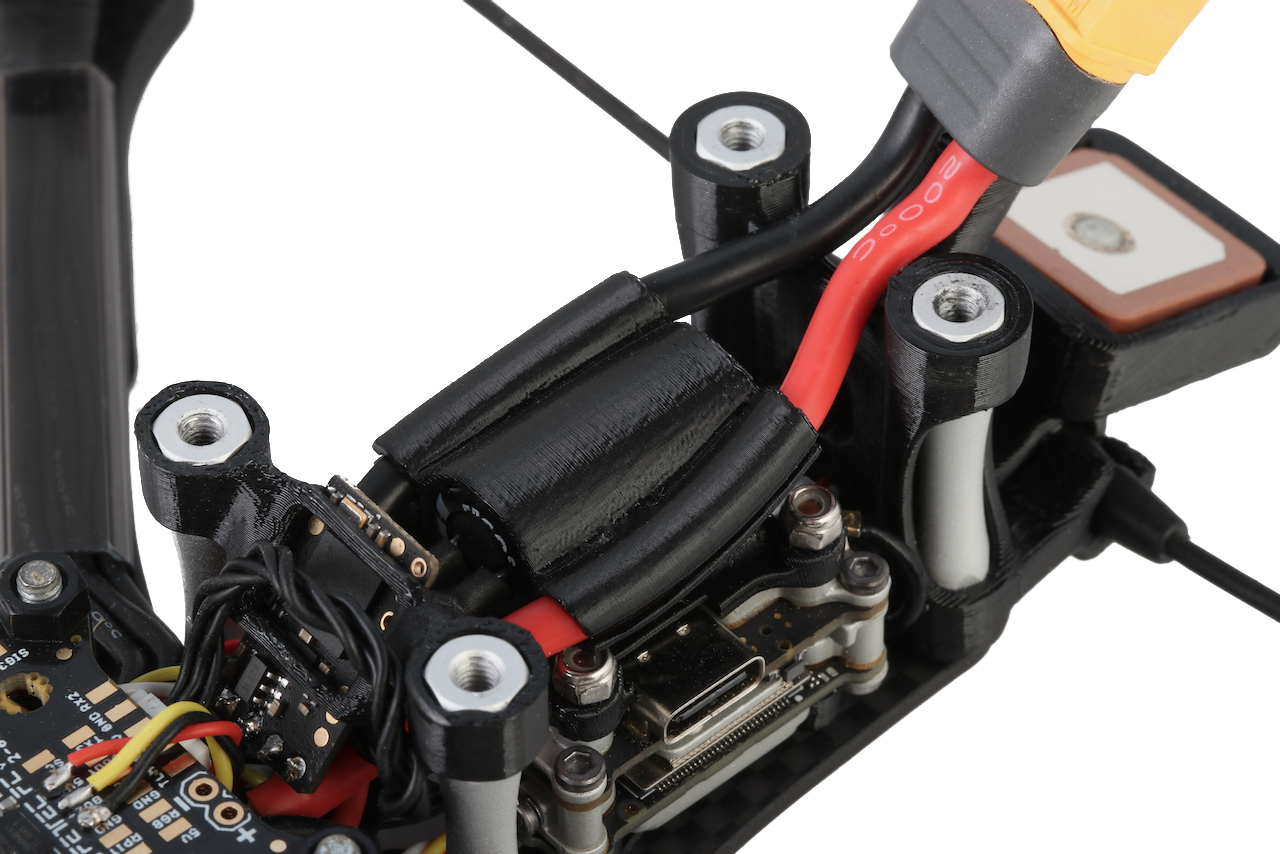
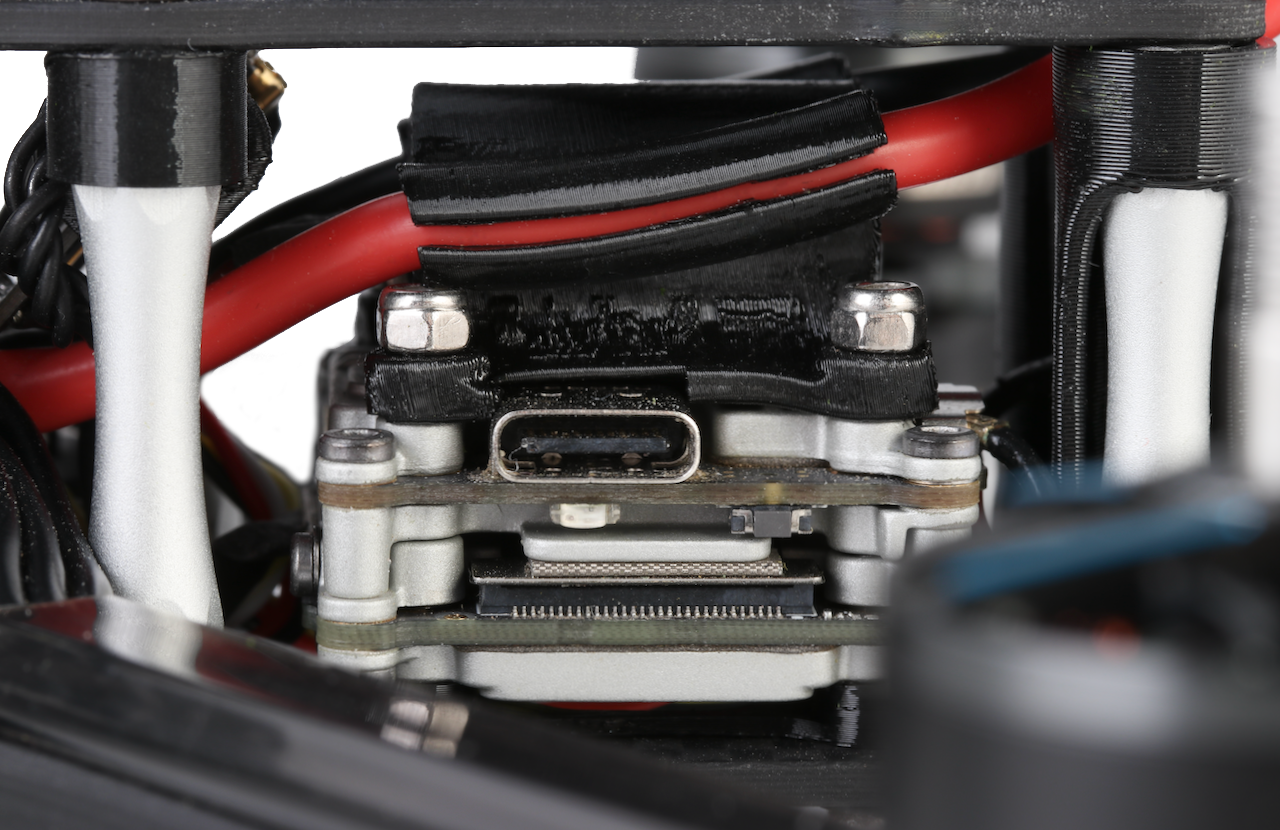
Capacitor and XT60 wires Mount
Due to its bulky geometry, it is never easy to accommodate a capacitor in a clean and space-saving manner. There is no more space behind the DJI camera in the front due to the ViFly Finder. The only way was to place the capacitor horizontally above the Caddx Vista.
On all my other builds, I've routed the XT60 connector out of the side of the frame. That should change here! In order to guide the cables and ley them neatly, I designed a duct on the side of the mount.
Crossfire RX Nano Mount
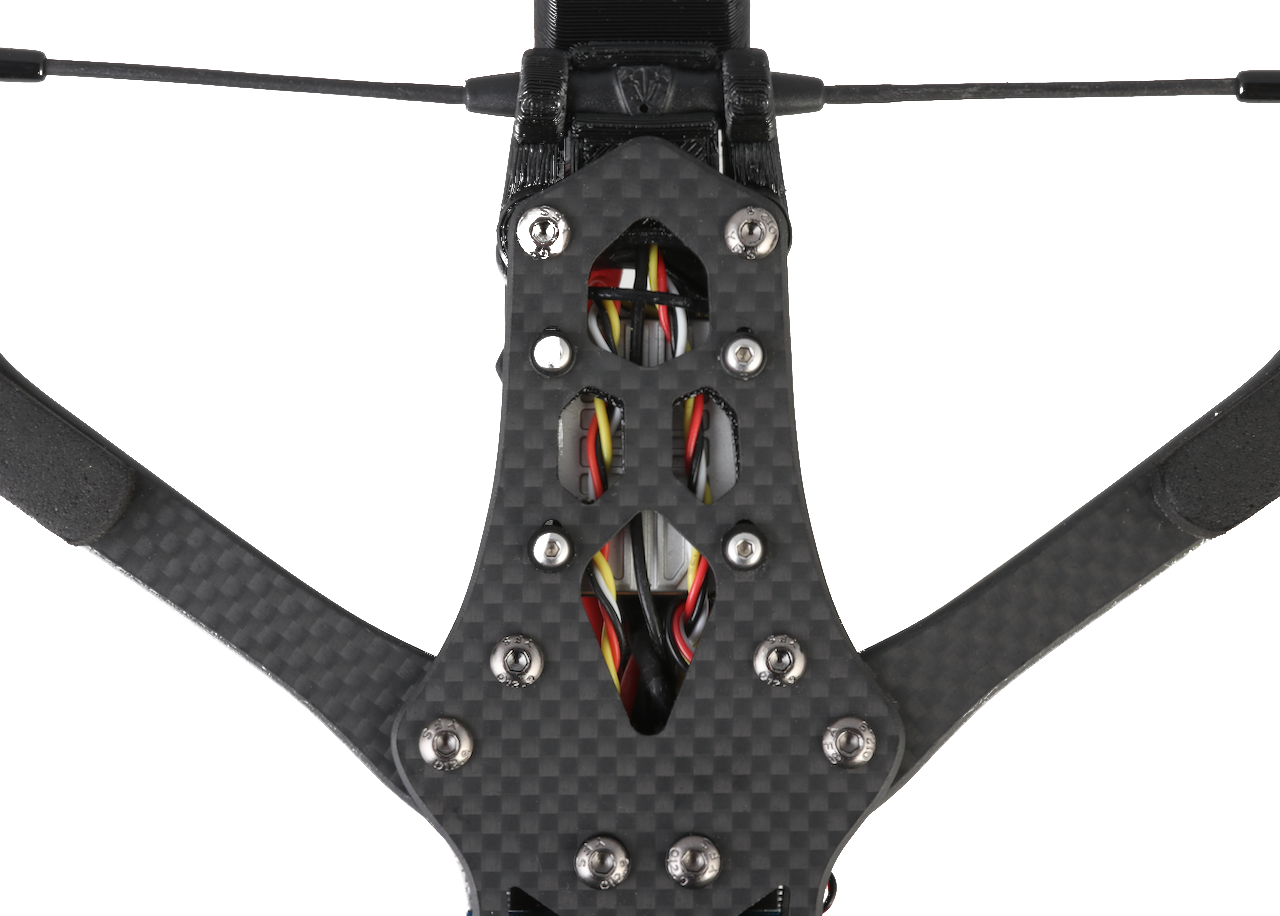
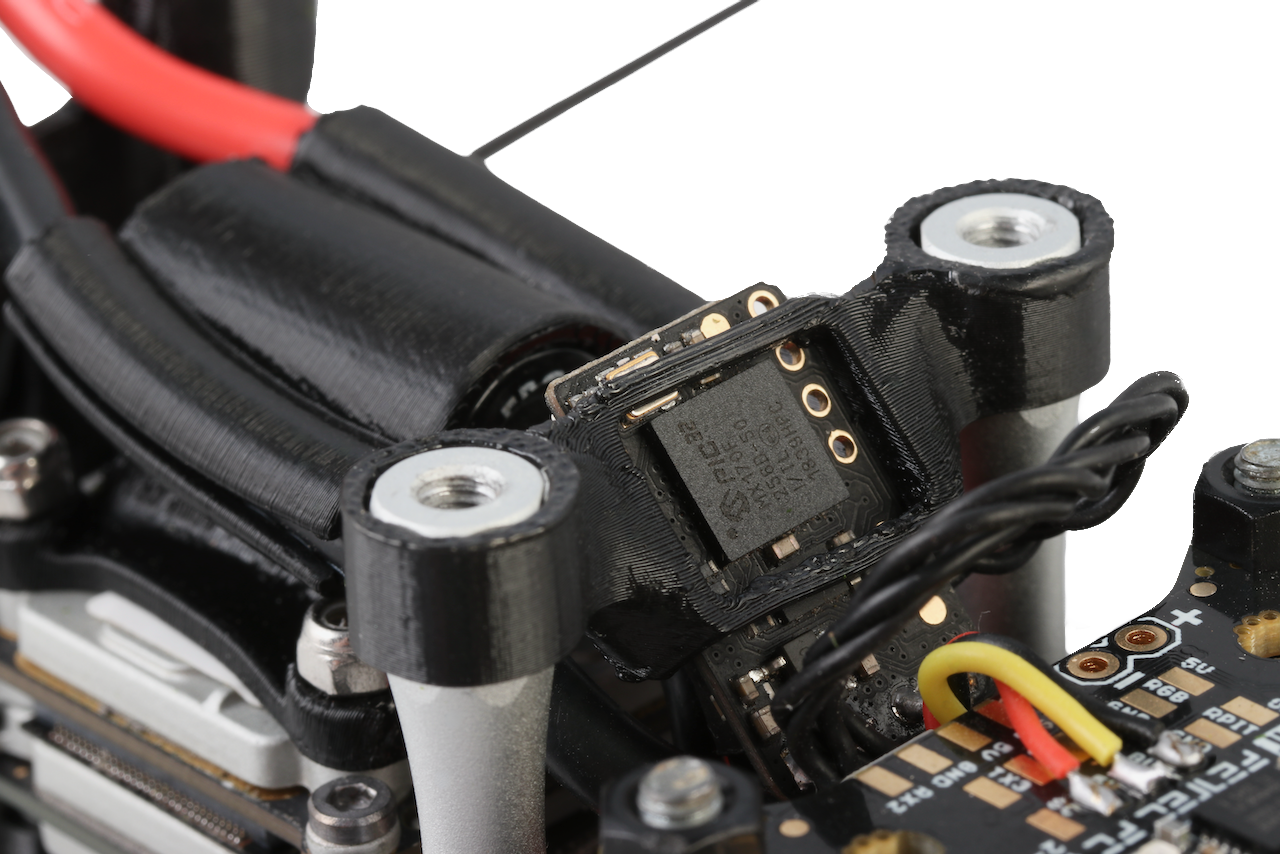
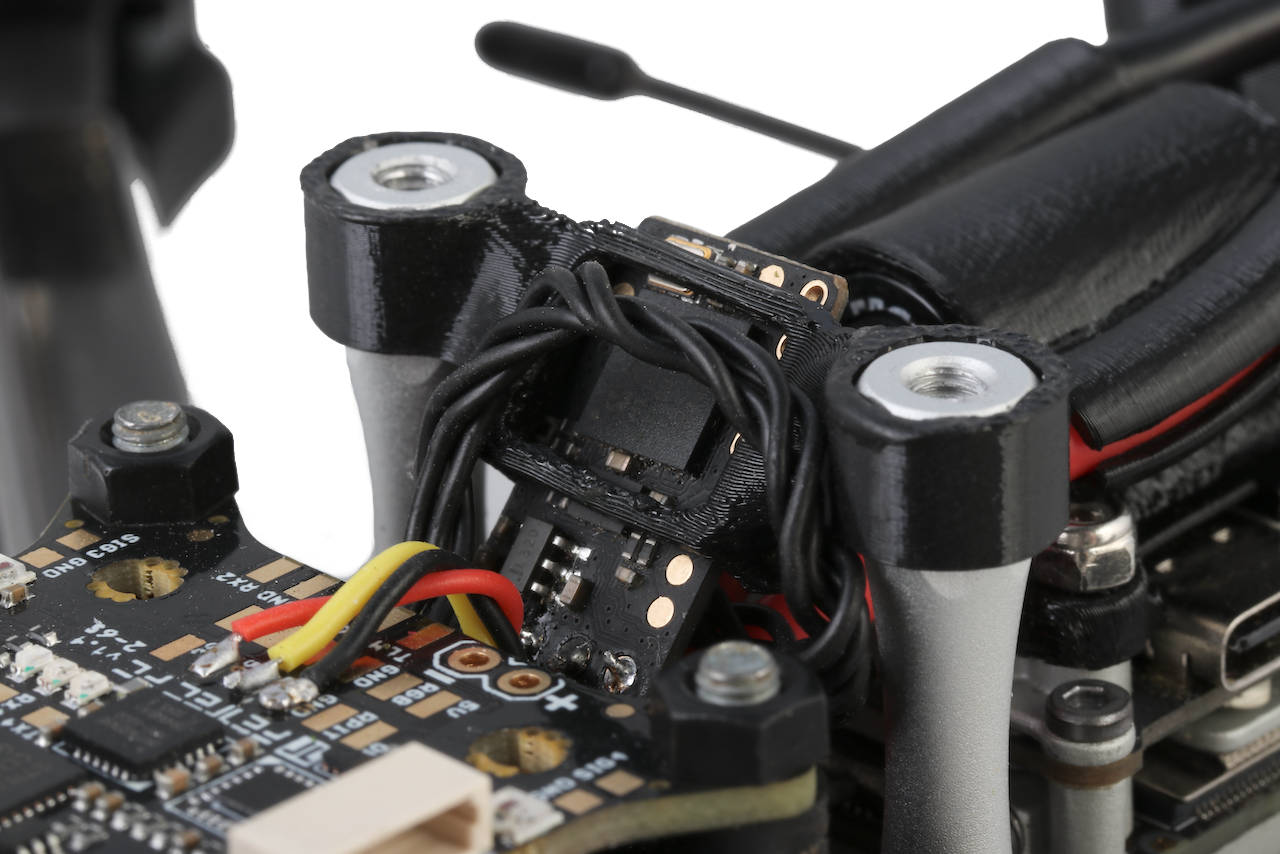
Fortunately, the Crossfire Receiver is particularly small and can be integrated relatively easily. Nevertheless, the connection to the flight controller should not be too long. At the same time, the position is limited by the length of the antenna cable. Thus, the space directly behind the flight controller is the perfect position.
The antenna cable is quite rigid. This should be taken into account when aligning the receiver so that the plug connection does not come loose.
All of these aspects are ensured by the bracket shown, which is additionally stabilized between the spacers.
Antenna/GPS Mount
This mount received by far the most attention. This should carry all the components used in the smallest possible space, be particularly stable and not destroy the design of the frame but be seen as an extension.
In order to insert the BN-220 GPS into the mount, the corners of the PCB have to be rounded off.
A closer look reveals that the GPS wiring harness is routed through an integrated cable hose inside the mount.
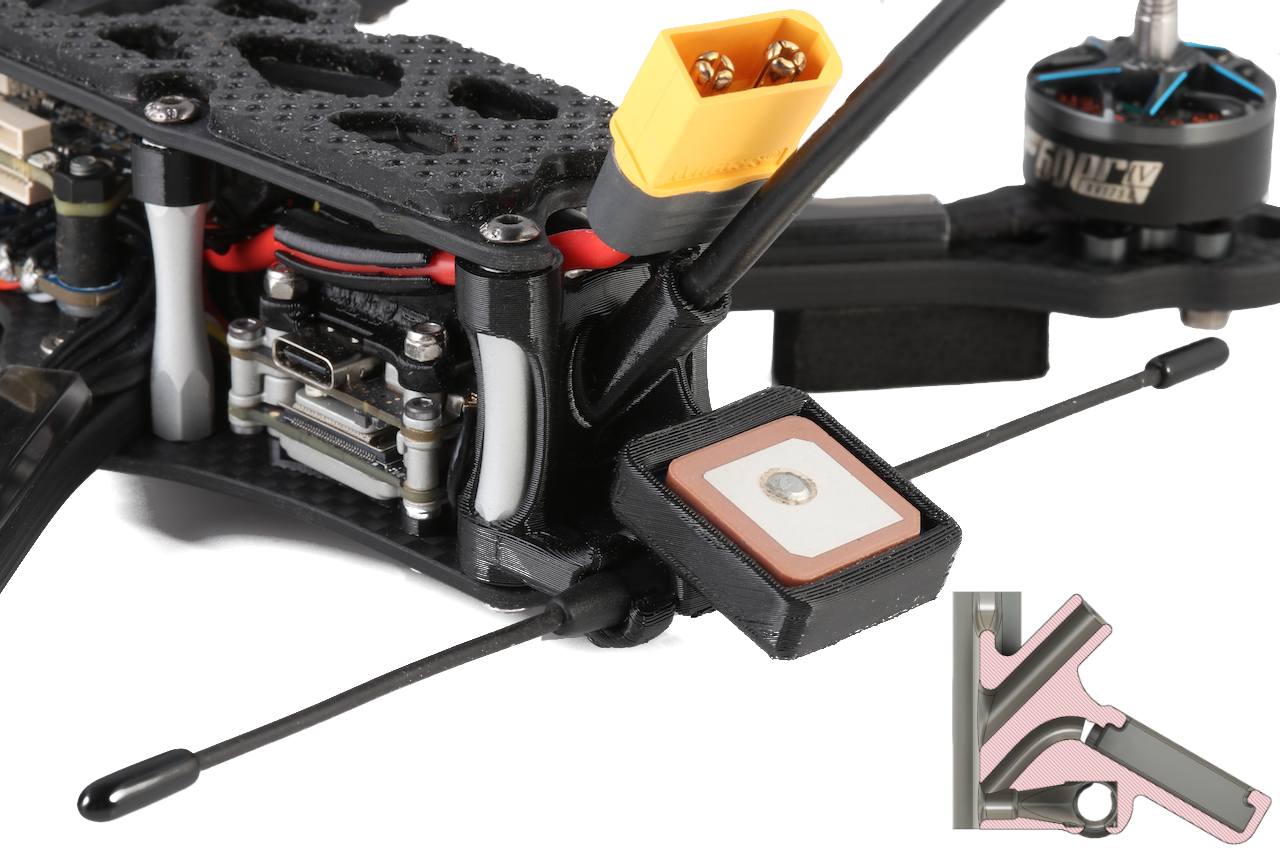
ViFly Mount
Variation of GoPro Mounts
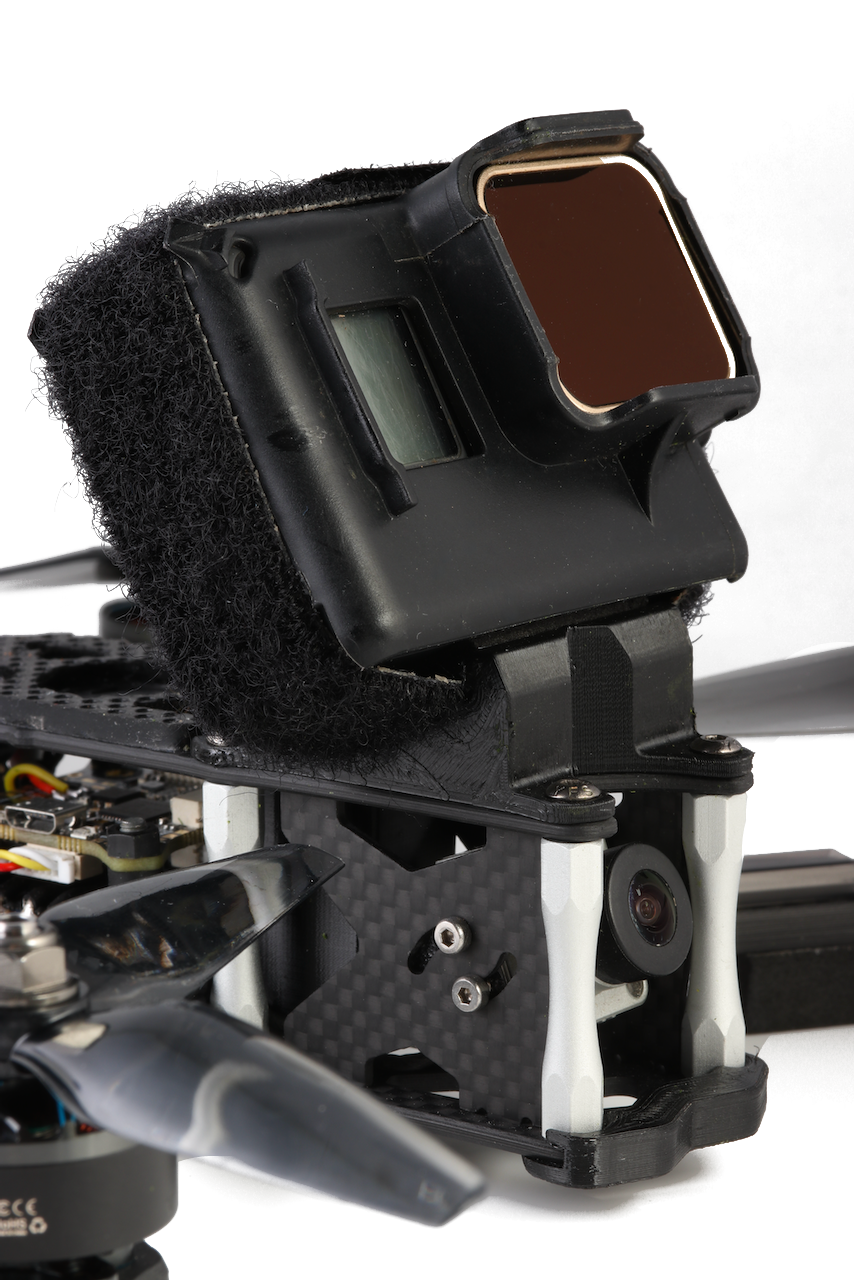
I designed two different types of mounts to attach a GoPro. On the left side the classic universal mounting option. On the right side a soft mounting solution. Additional foam is used on the base to dampen any vibrations that occur. I have had particularly good experiences with this variant, as the recordings are still smooth even with slightly damaged props or harsher weather conditions.
To attach the GoPro Hero 6 more securely, I use the Ethix GoPro Facehugger Mask. Small guides on the top allow the strap to be clearly guided and fixed. For the GoPro Hero 7-10 I designed another mount where the strap is fed through the front of the mount.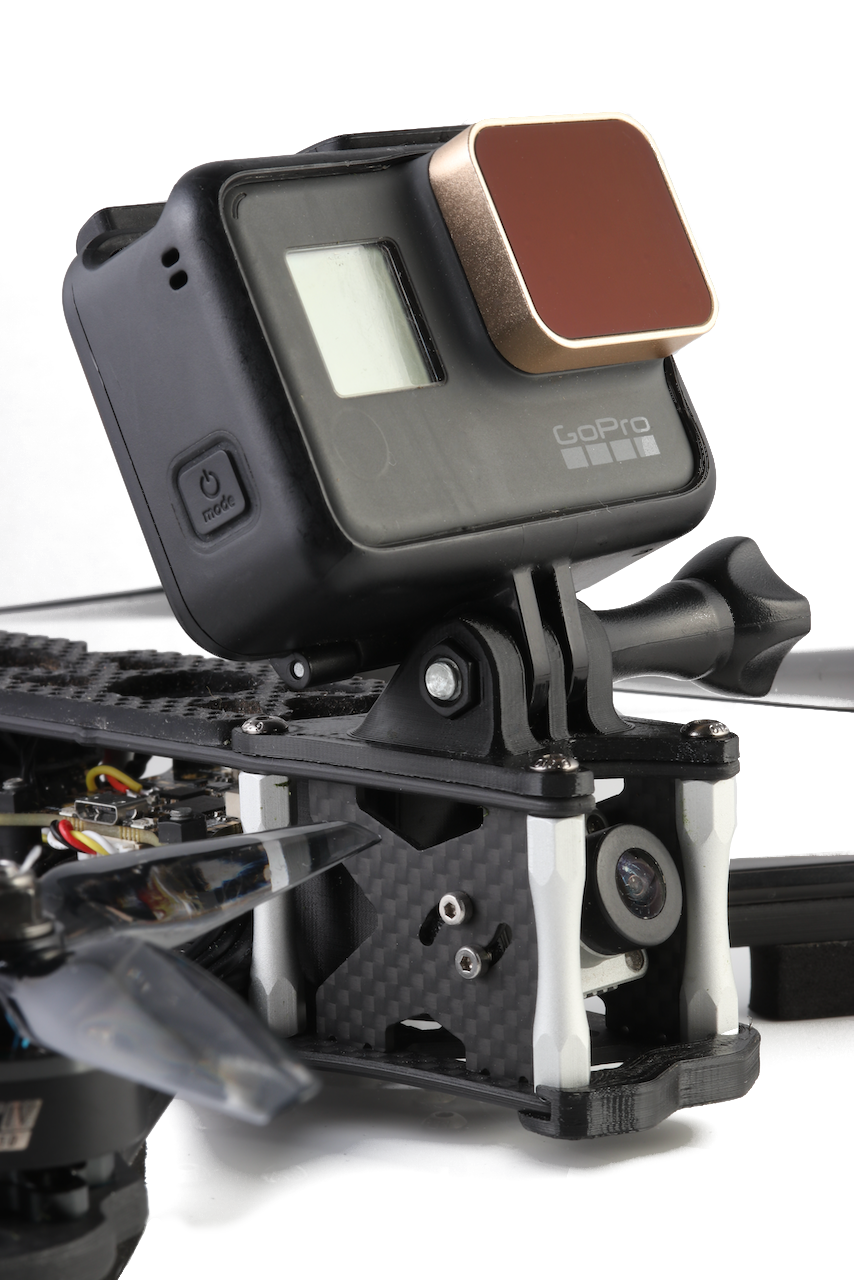
Photos
Part List
Show stores (12)Guides & Reviews
AirbladeUAV has done it again and this time they've brought long range to the 5" class! Based on the popular Transformer Mini, the new Transformer 5" Ultralight adopts a lot of the same design philosophies with larger props and more payload capacity. It can fly upwards of 20 minutes on a 4 cell Li-Ion battery pack and in ideal conditions it's got a range of over 4 to 5 miles. In this guide I'll walk..
Read moreWith the release of the DJI FPV Drone cinematic FPV has become a lot more accessible, but you certainly don't want to crash a $750 drone! The QAV-CINE Freybott is a compact, lightweight cinematic FPV drone that can take a hit and keep going. It's a lot safer to fly indoors and around people. With a naked GoPro or the SMO 4k you can capture some great stabilized footage. In this guide I'll show you..
Read more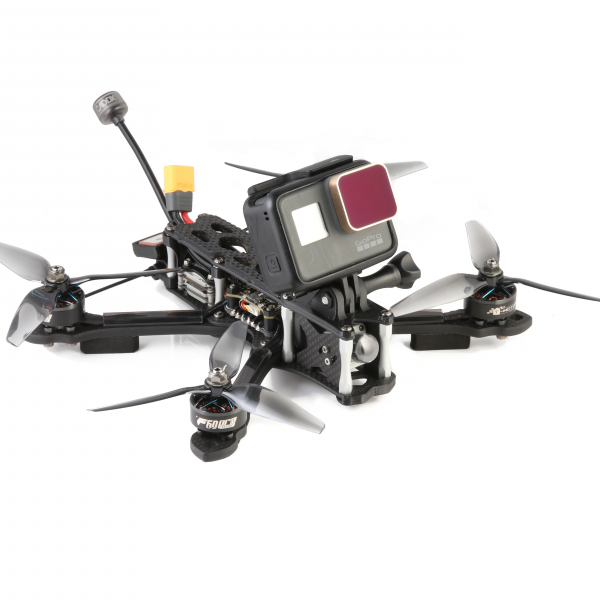


New Message for ExploreFPV