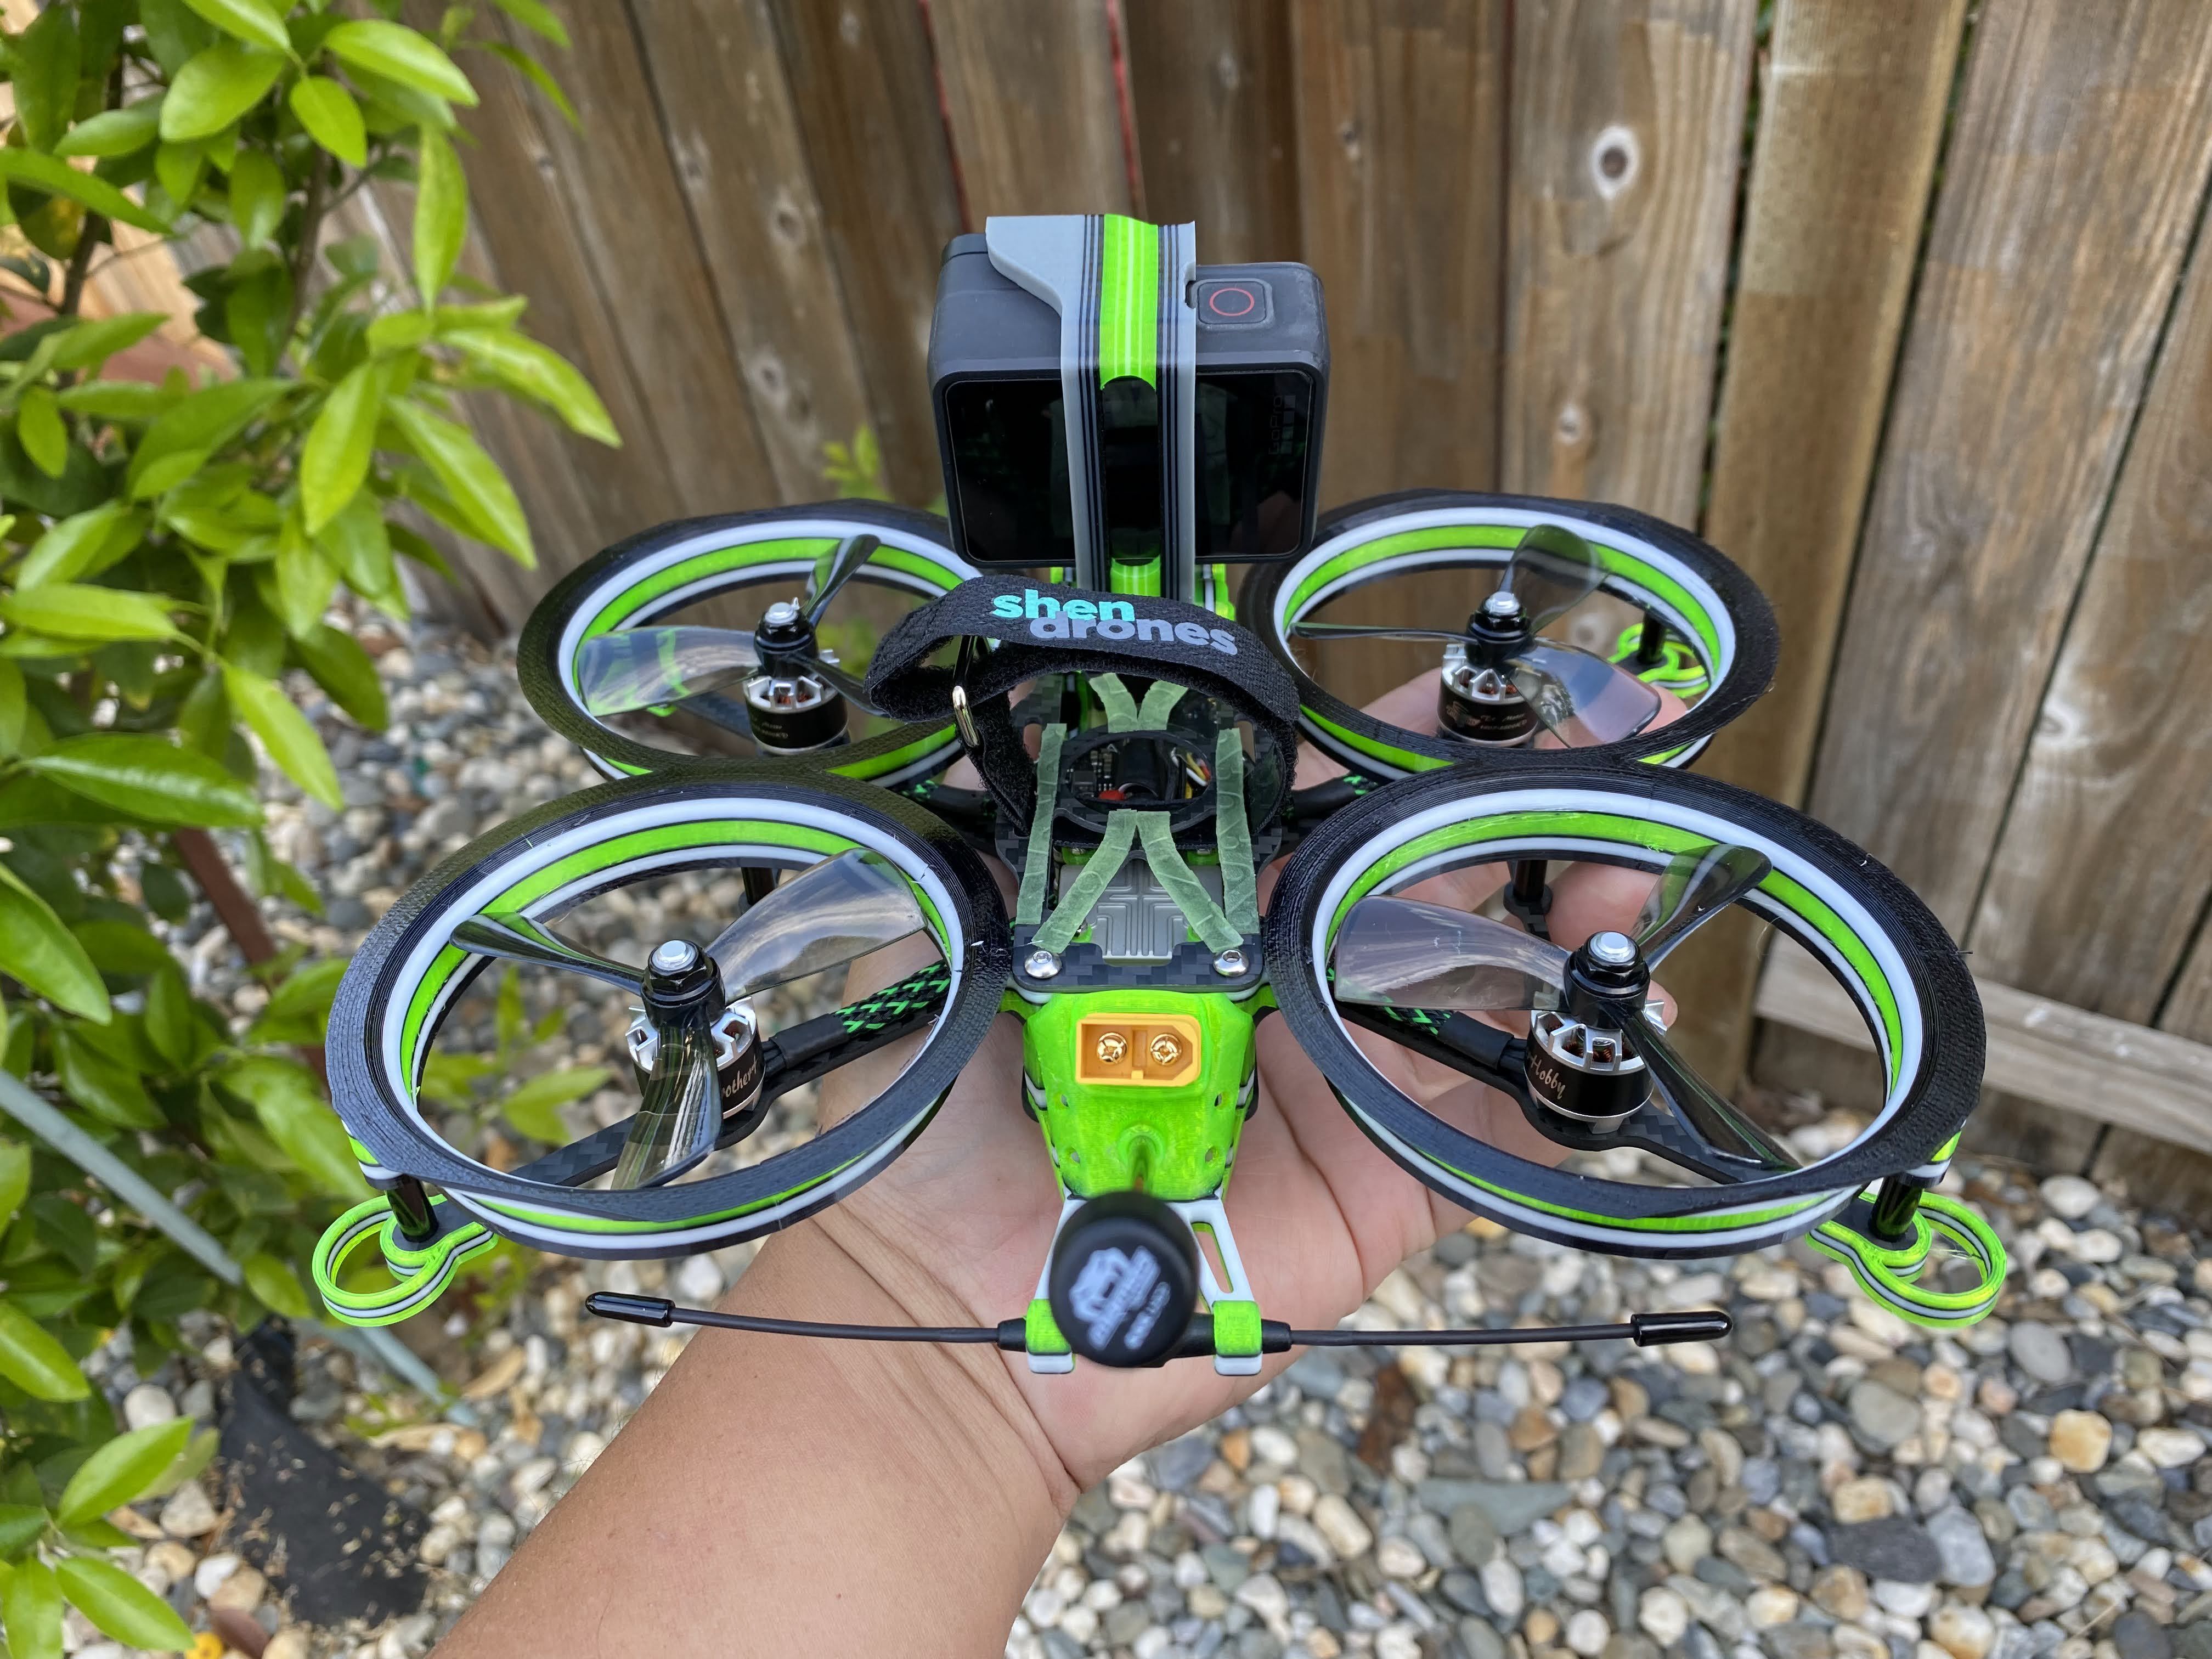
Squirt v2 HD - 4s for MAX Flight Time!!! 10 min (1300mah Lipo) - 14 min ( VTC6 18650)
 By wrong17 on Apr 26, 2022
WARNING!!!
Everything I wrote is just my ideas and I do not have any fancy equipment to do my test other than just flying it. So please take my info with a grain of salt. I had a few ideas I wanted to try and see if it made any improvements.
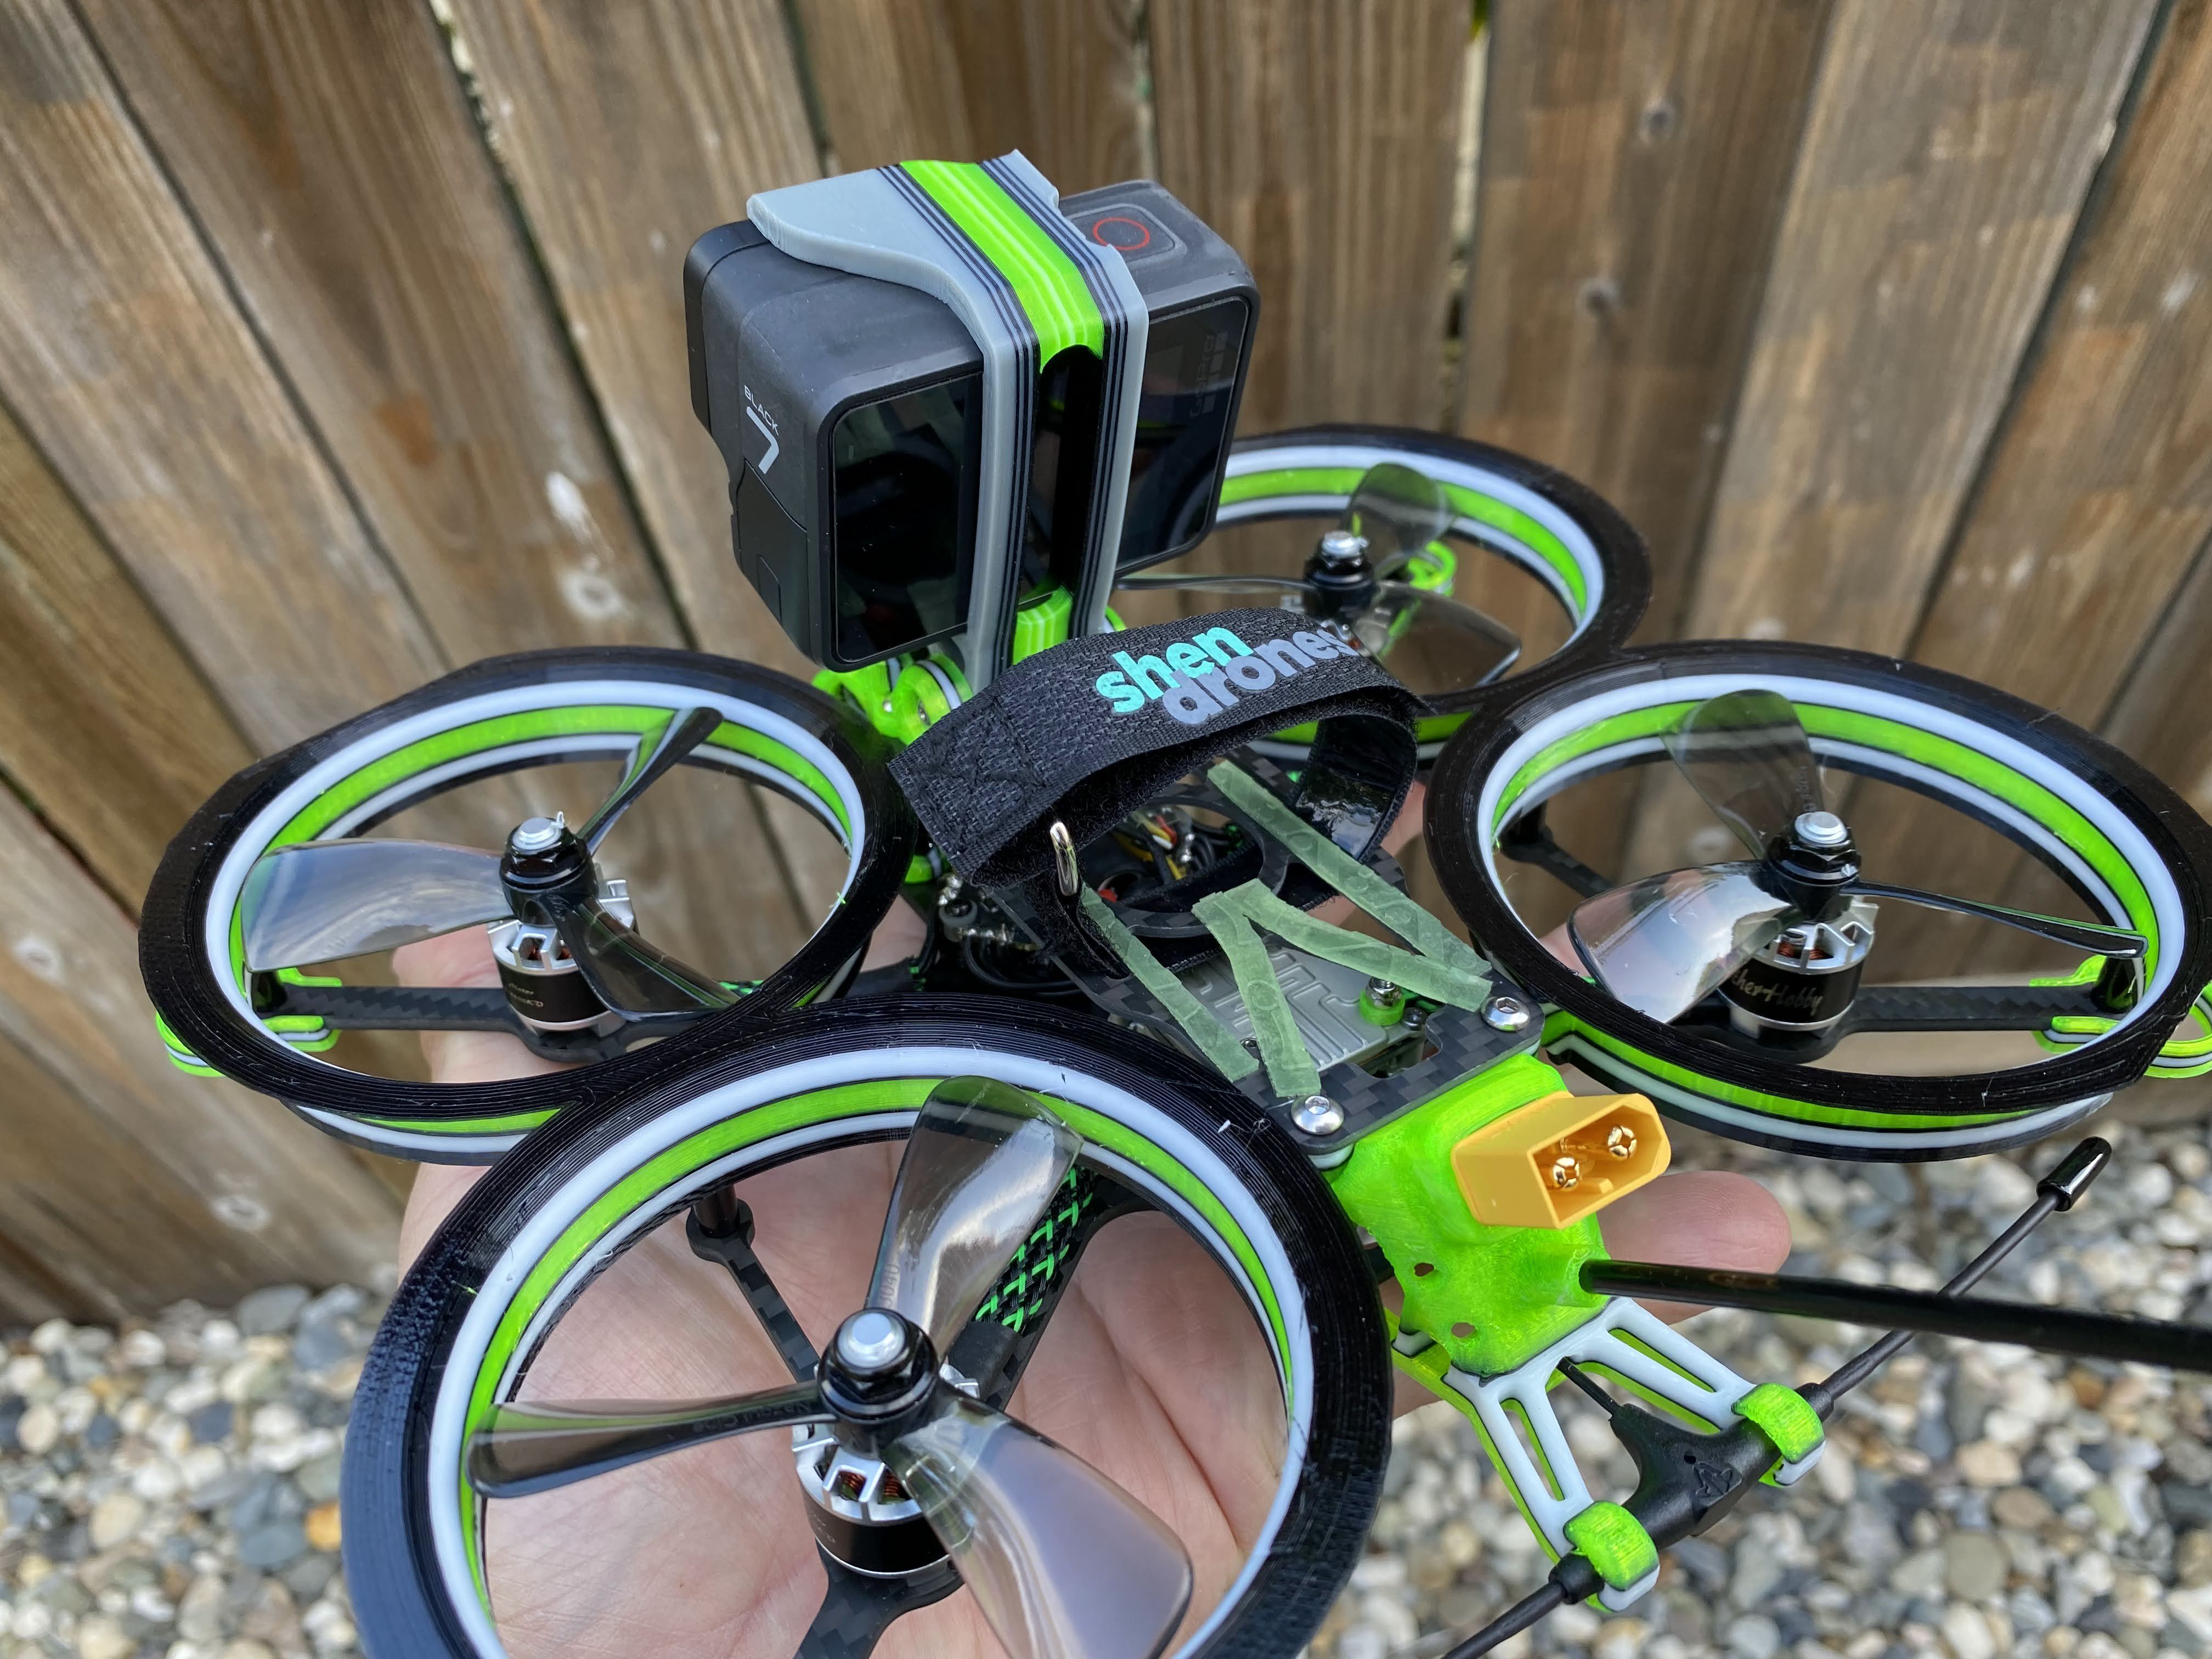
For his build, I am going old school to try and achieve the MAX flight time again. In the past, I was able to achieve 9 minutes while carrying a full GoPro 7 Black with a Tattu 1300mah 4s HV pack and about 12 minutes with a VTC6 18650.
In theory, the bigger the stator, the more powerful the motor. But what is the perfect balance between power and efficiency? Here are a few different motors that are around the size that you would use on a cinewhoop Squirt. I also included a general weight of the motors but please be aware the specific weight will vary because of the different brands and wire lengths.
Motor volume:
1407 - Cylinder volume 1,077.566280 mm3 - (~15g)
1507 - Cylinder volume 1,237.002107 mm3 - (~16.3g)
1607 - Cylinder volume 1,407.433509 mm3 - (~25g)
2004 - Cylinder volume 1,256.637061 mm3 - (~20g)
2005 - Cylinder volume 1,570.796327 mm3 - (~21g)
2104 - Cylinder volume 1,385.442360 mm3 - (~15.5g)
2105 - Cylinder volume 1,731.802950 mm3 - (~21g)
2203 - Cylinder volume 1,140.398133 mm3 - (~20g)
2203.5 - Cylinder volume 1,330.464489 mm3 - (~20g)
2204 - Cylinder volume 1,520.530844 mm3 - (~21g)
2205 - Cylinder volume 1,900.663555 mm3 - (~25.6g)
Unfortunately, not all these motor sizes offer the necessary specification needed for the Squirt. The first problem is the motor mounting size. The Squirt frame only accepts motors with 12x12mm mounting size. However, you can use an adapter to work around that problem. Next, is the prop mount for the motors. Many of the pancake style motors only support T mount props, so you can not use the typical 5mm shafted props that most Squirt uses. I think Gemfan D76 is the only one that created a prop that supports both types of motors. And finally, the KV available for that specific motor. Typically, you will want a 3600KV (+/- 200kv) motor for a 4s setup and 2800kv (+/- 200kv) for a 6s.
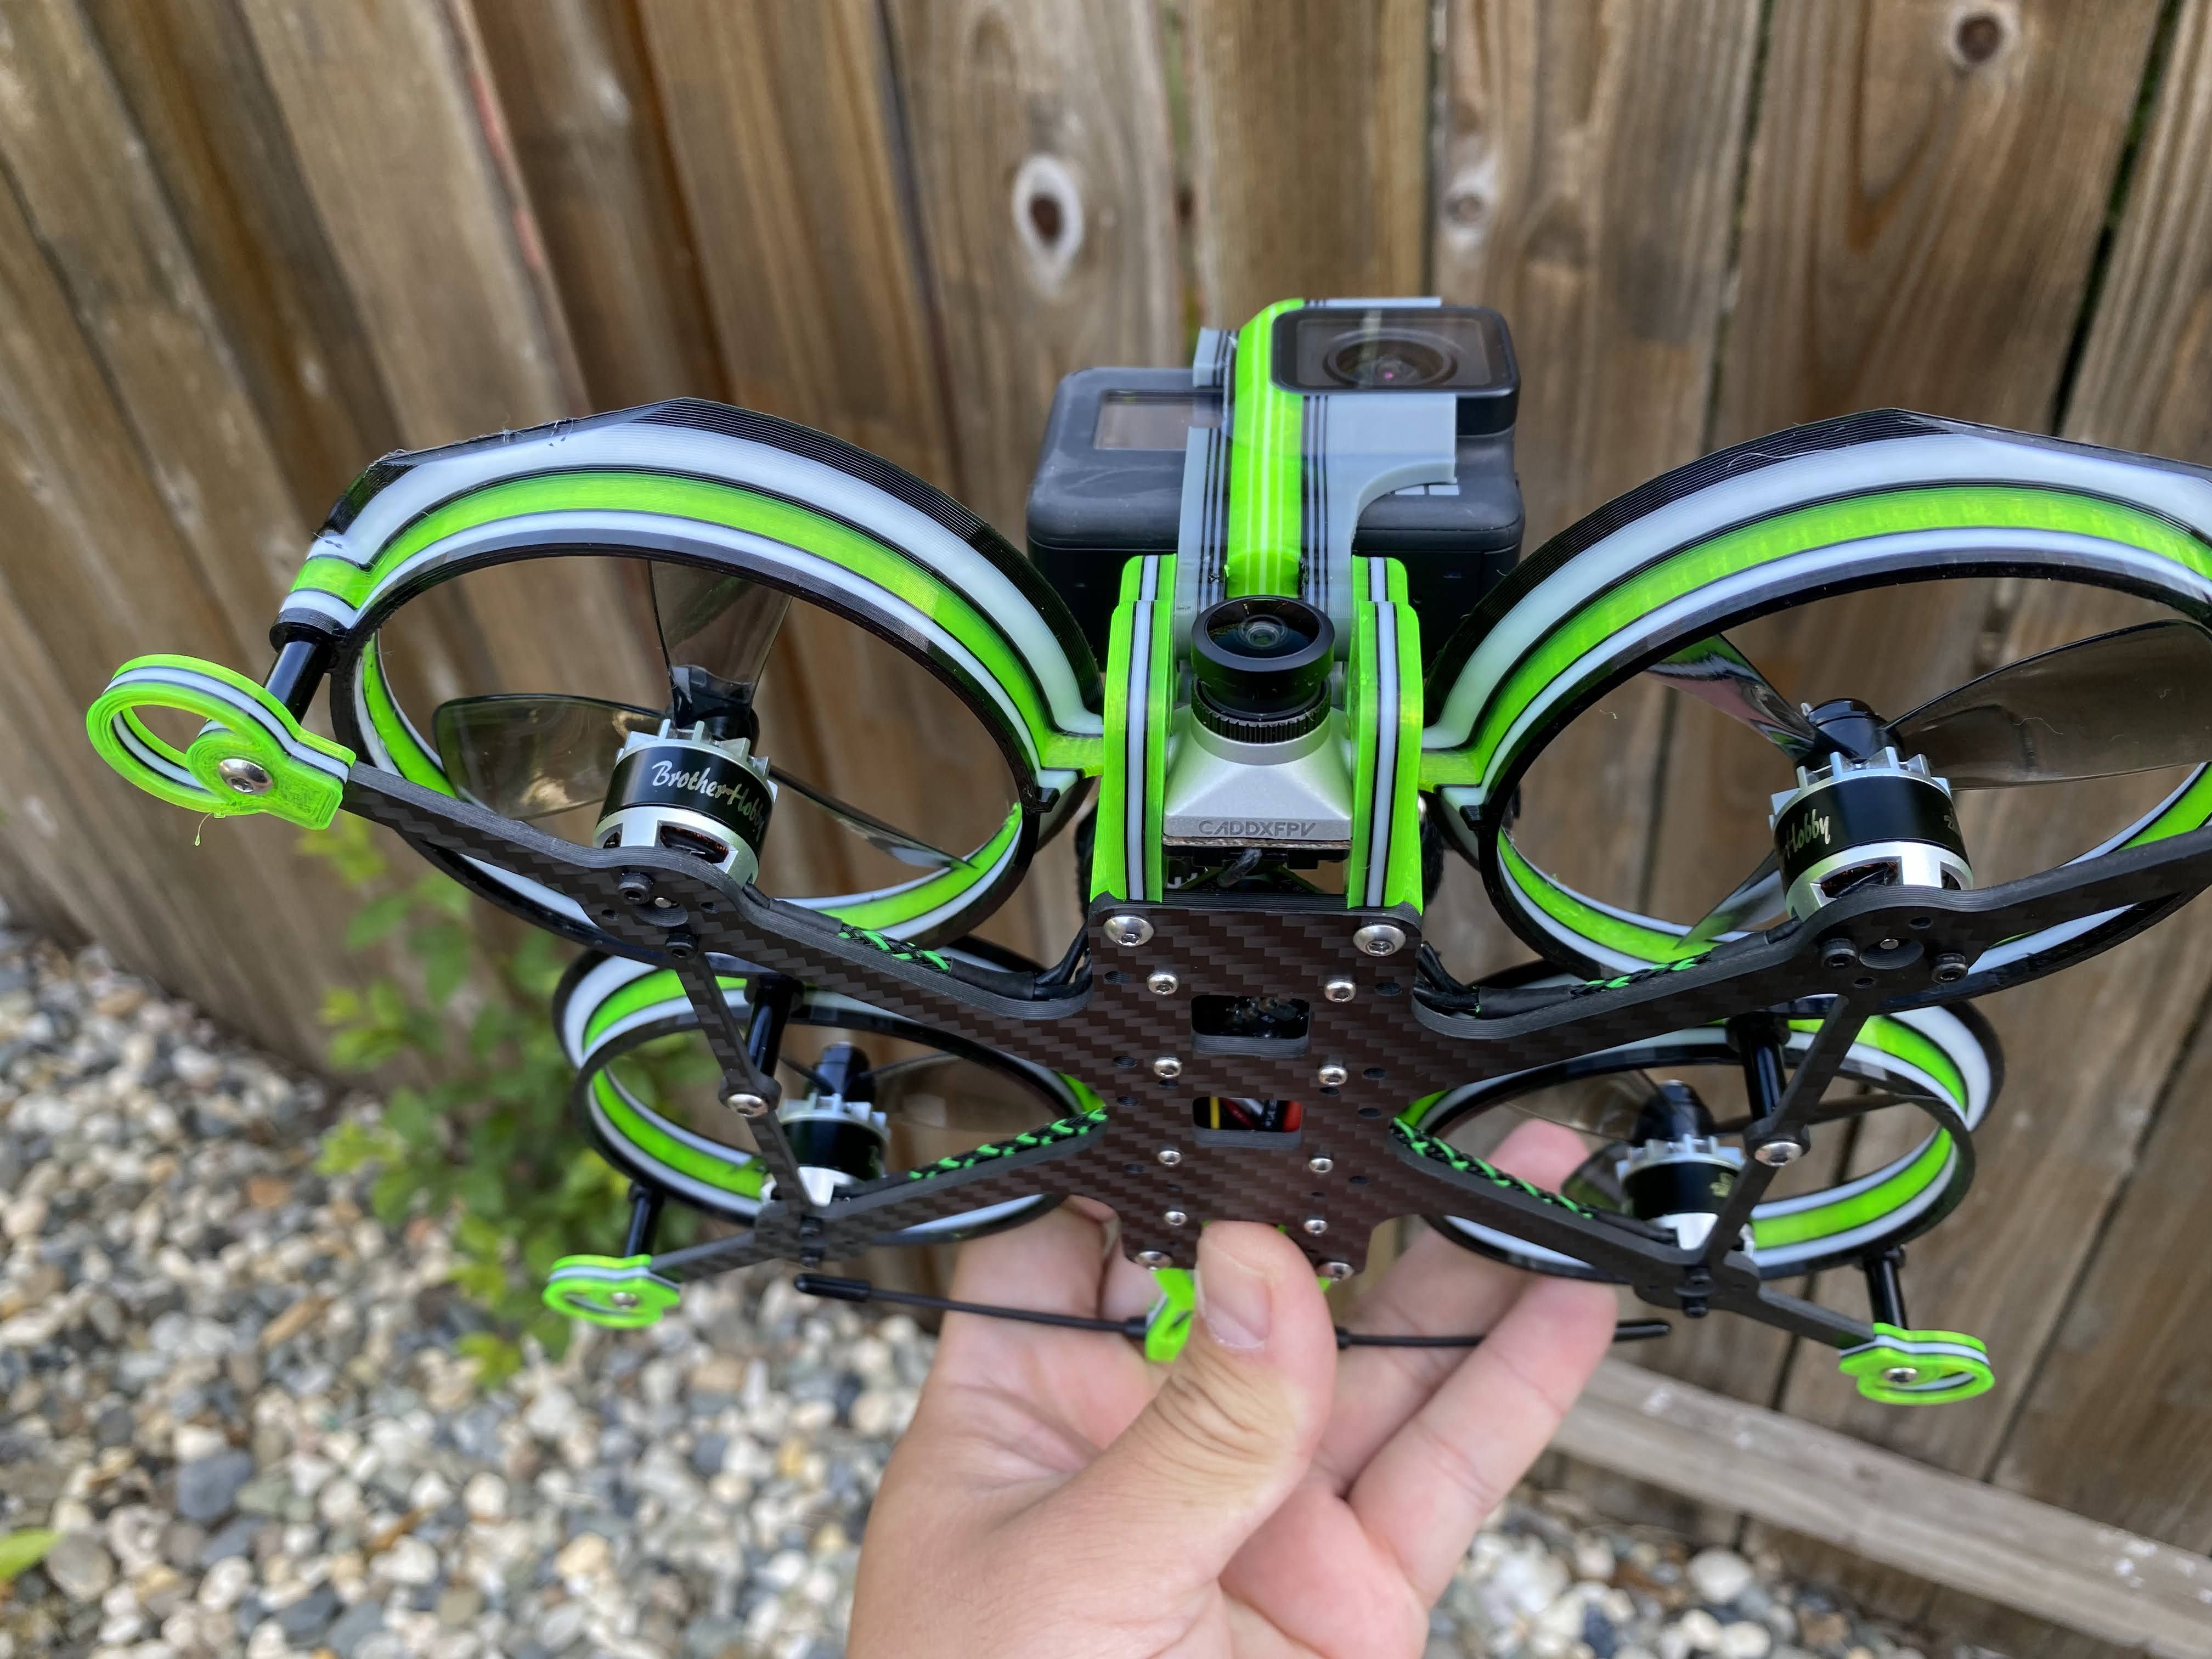
At the current time, the Ultimate setup for a Shendron Squirt v2 is with the XING 2205 2300KV motors, HQProp Duct 75MMX6 Props, with 1000mah 6s lipo. The ability for this cinewhoop is amazing because of power to do anything a freestyle quad can do, yet still fly like a typical cinematic quad without changing any PIDs or Rates. However, there is one flaw and that is the shorter flight time. I can only get about 5 minutes when flying at mid to slow cruising speeds. With some of the previous Squirt builds I was able to get about 7 – 9 minutes while carrying a full GoPro 7. Some people would be okay with the 5 minutes of flight time, but 7 minutes would be ideal for me.
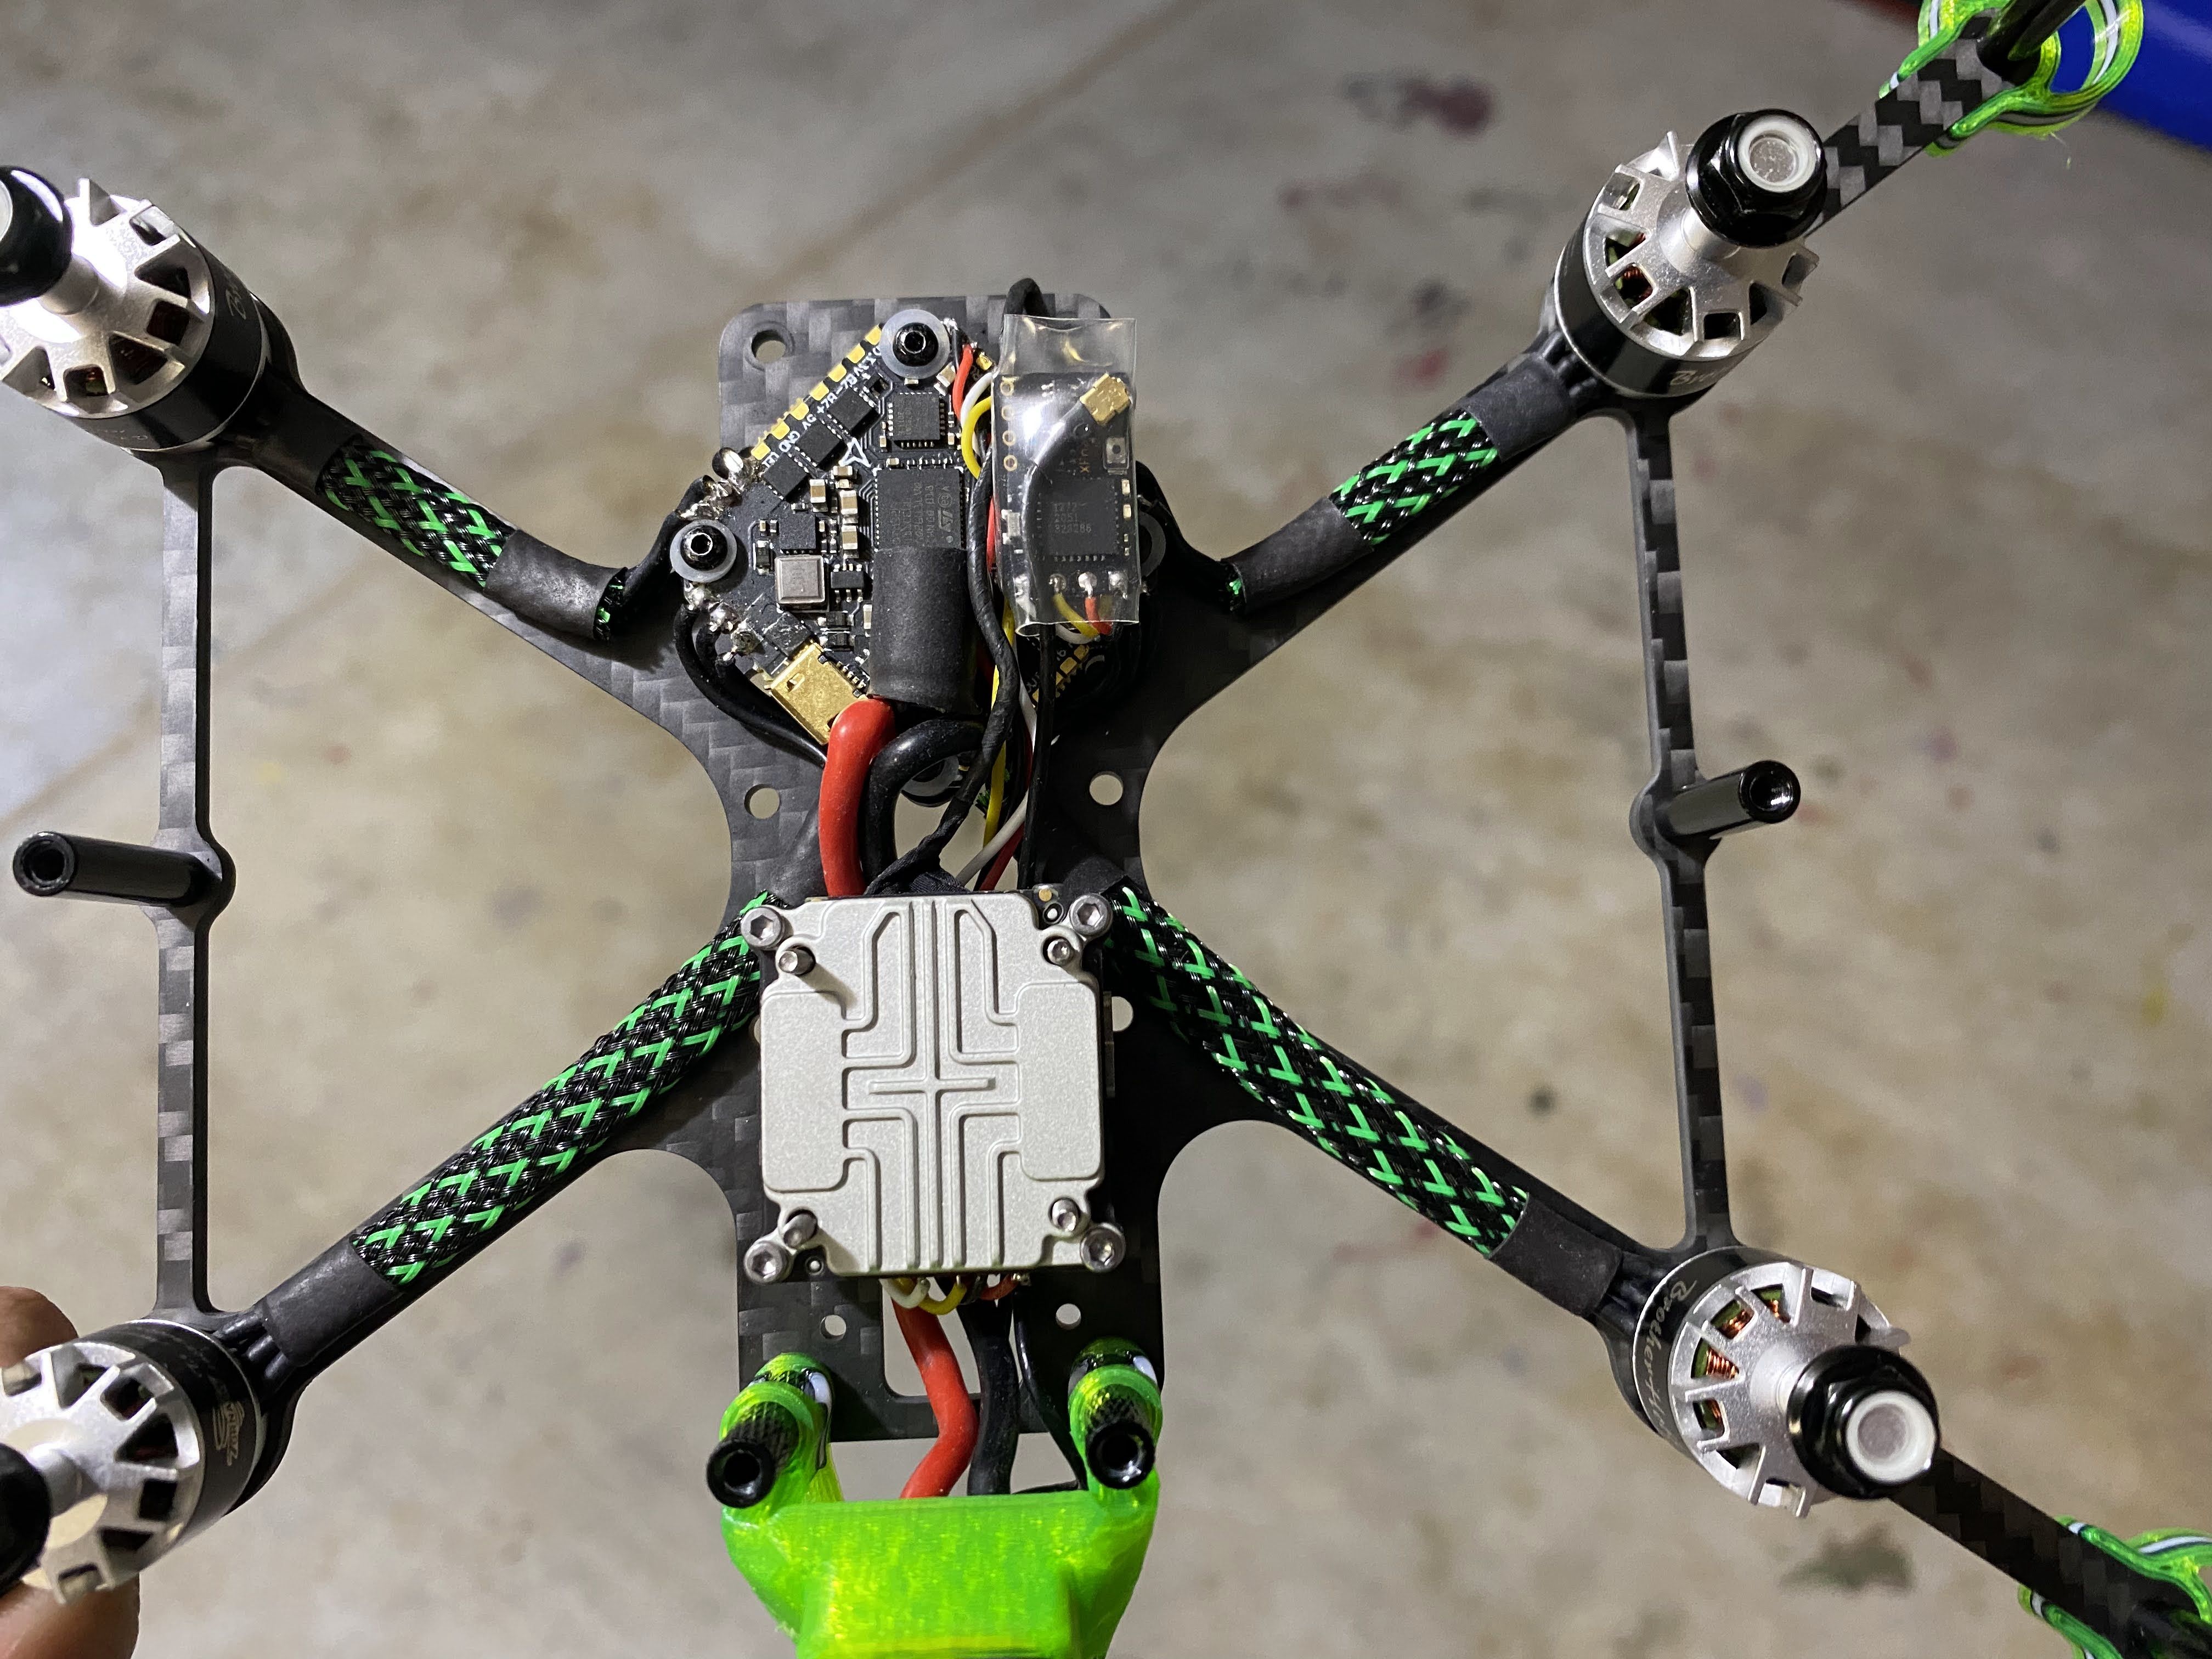
I guess I am going to forgo the feel of the stronger motor to keep the weight down and get the MAX flight time. The 1407 motors is the smallest and lightest motor you would use for a Squirt frame.
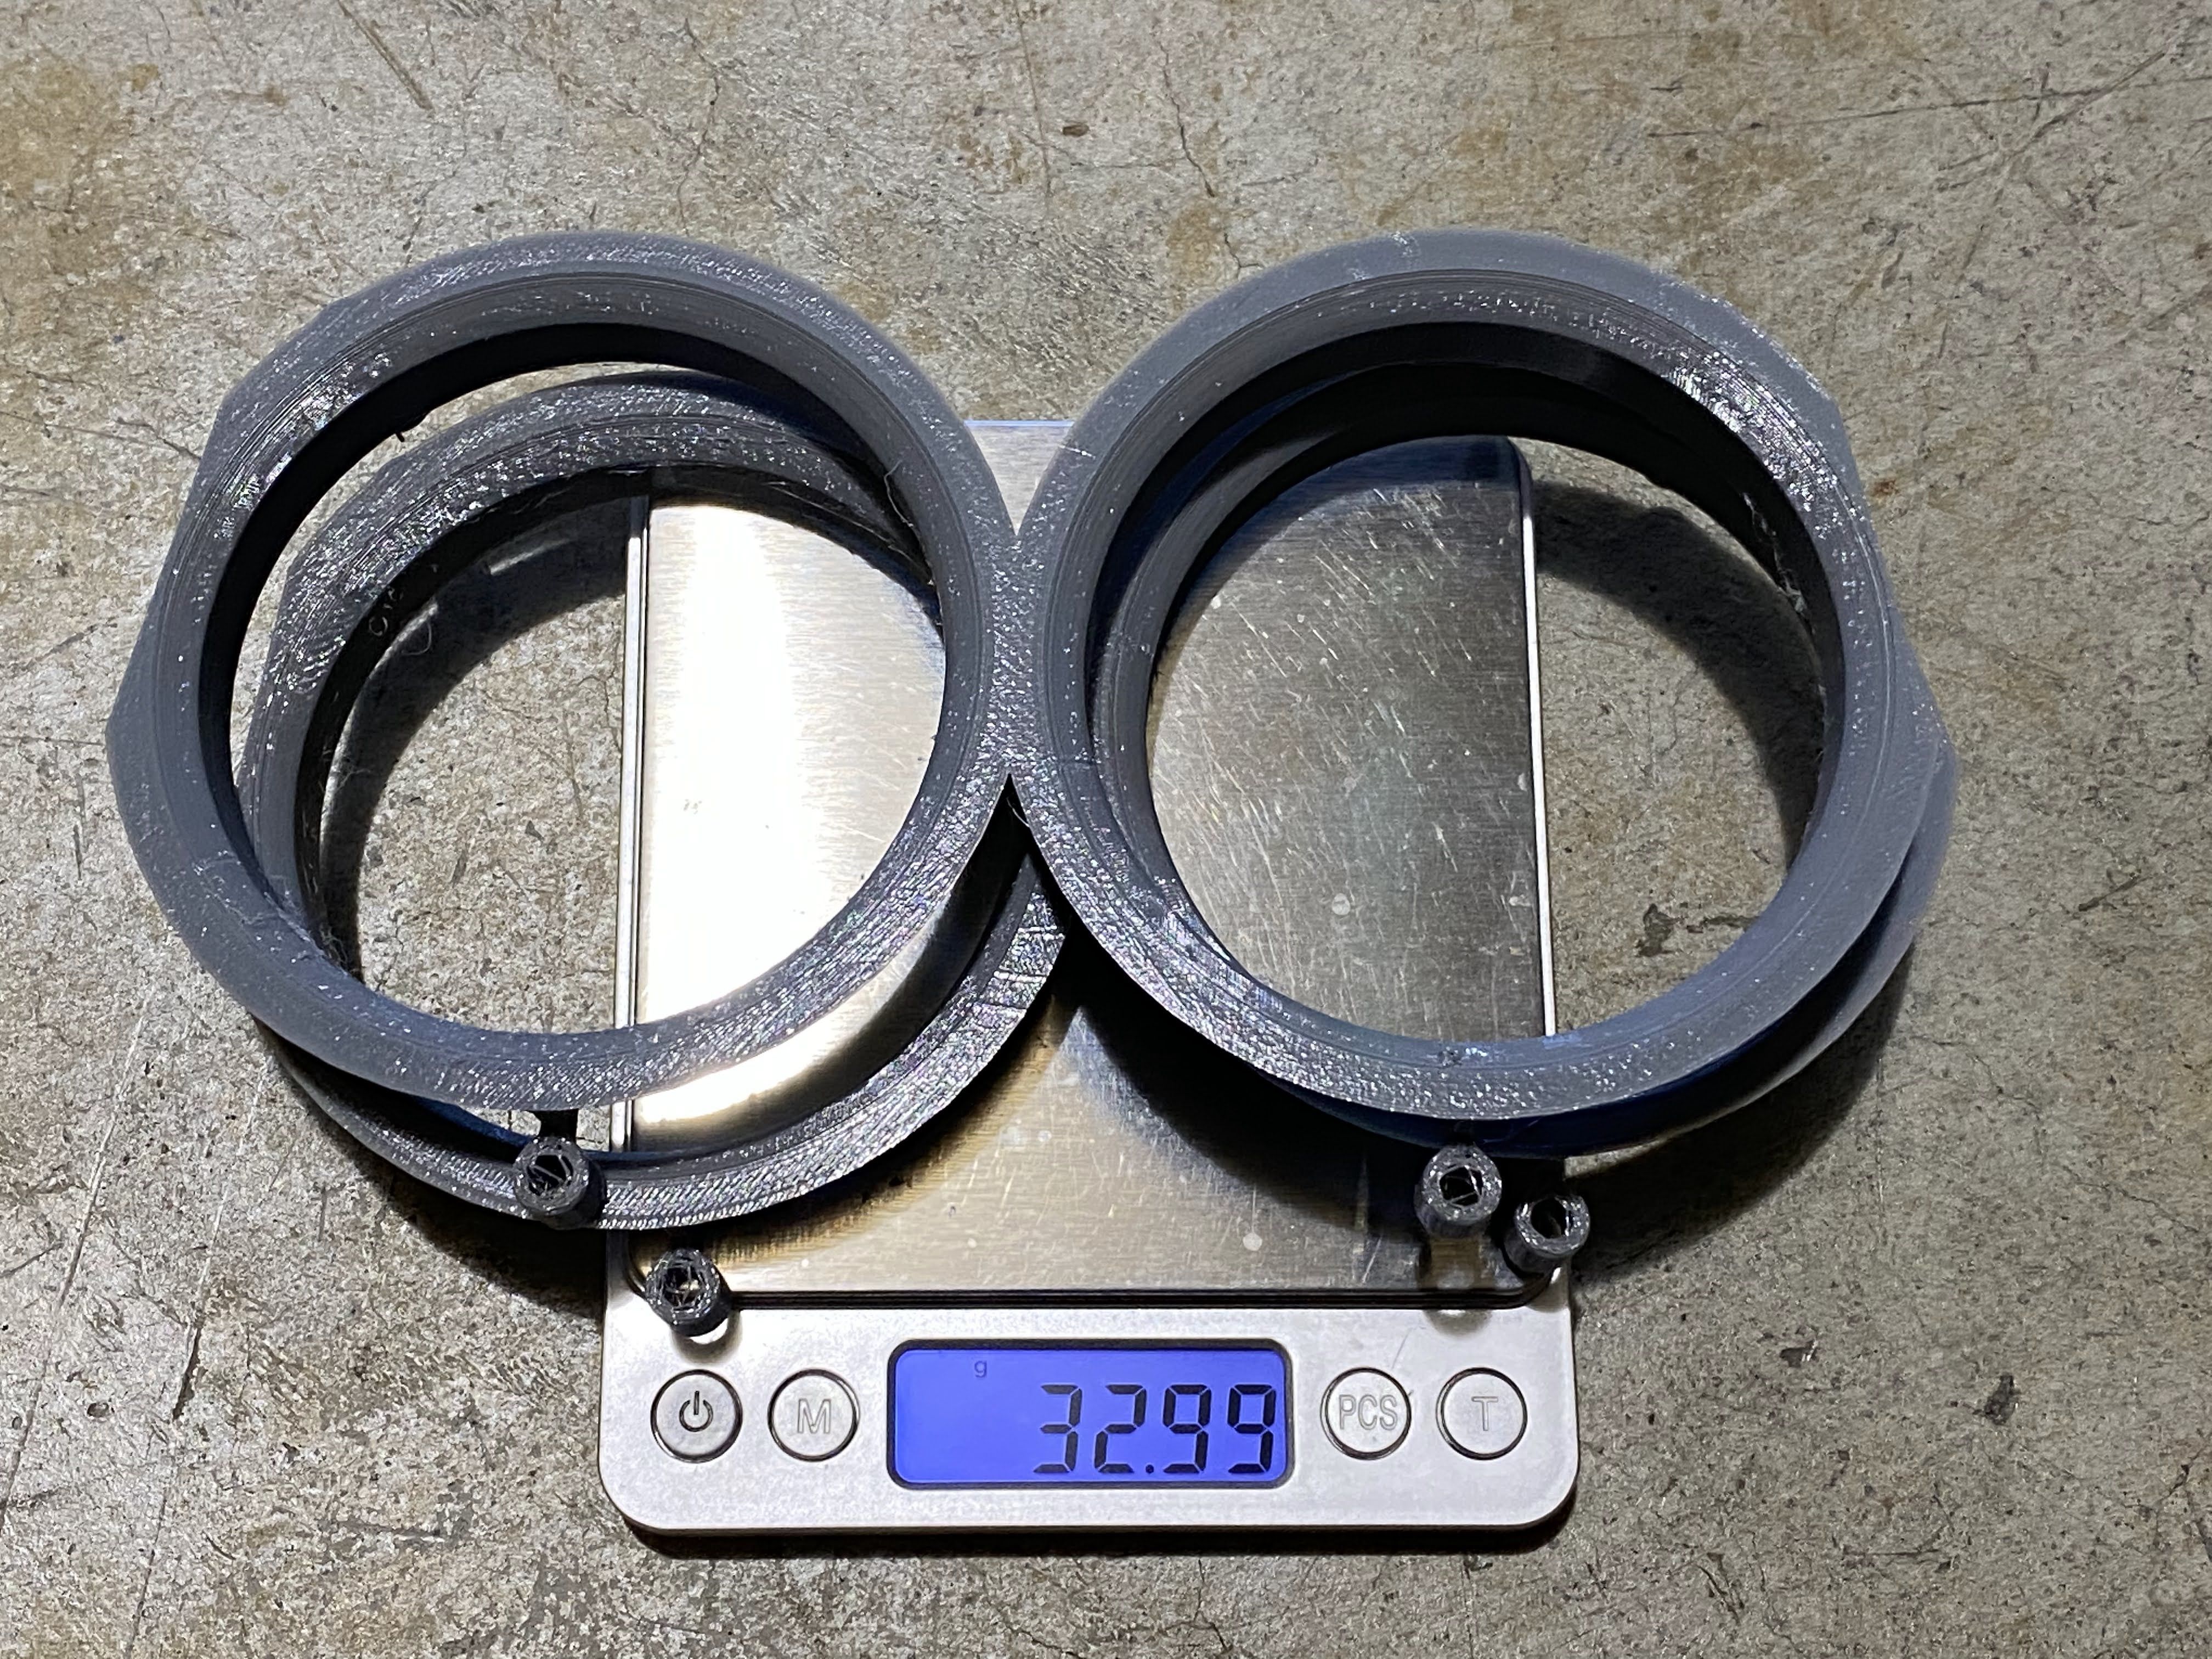
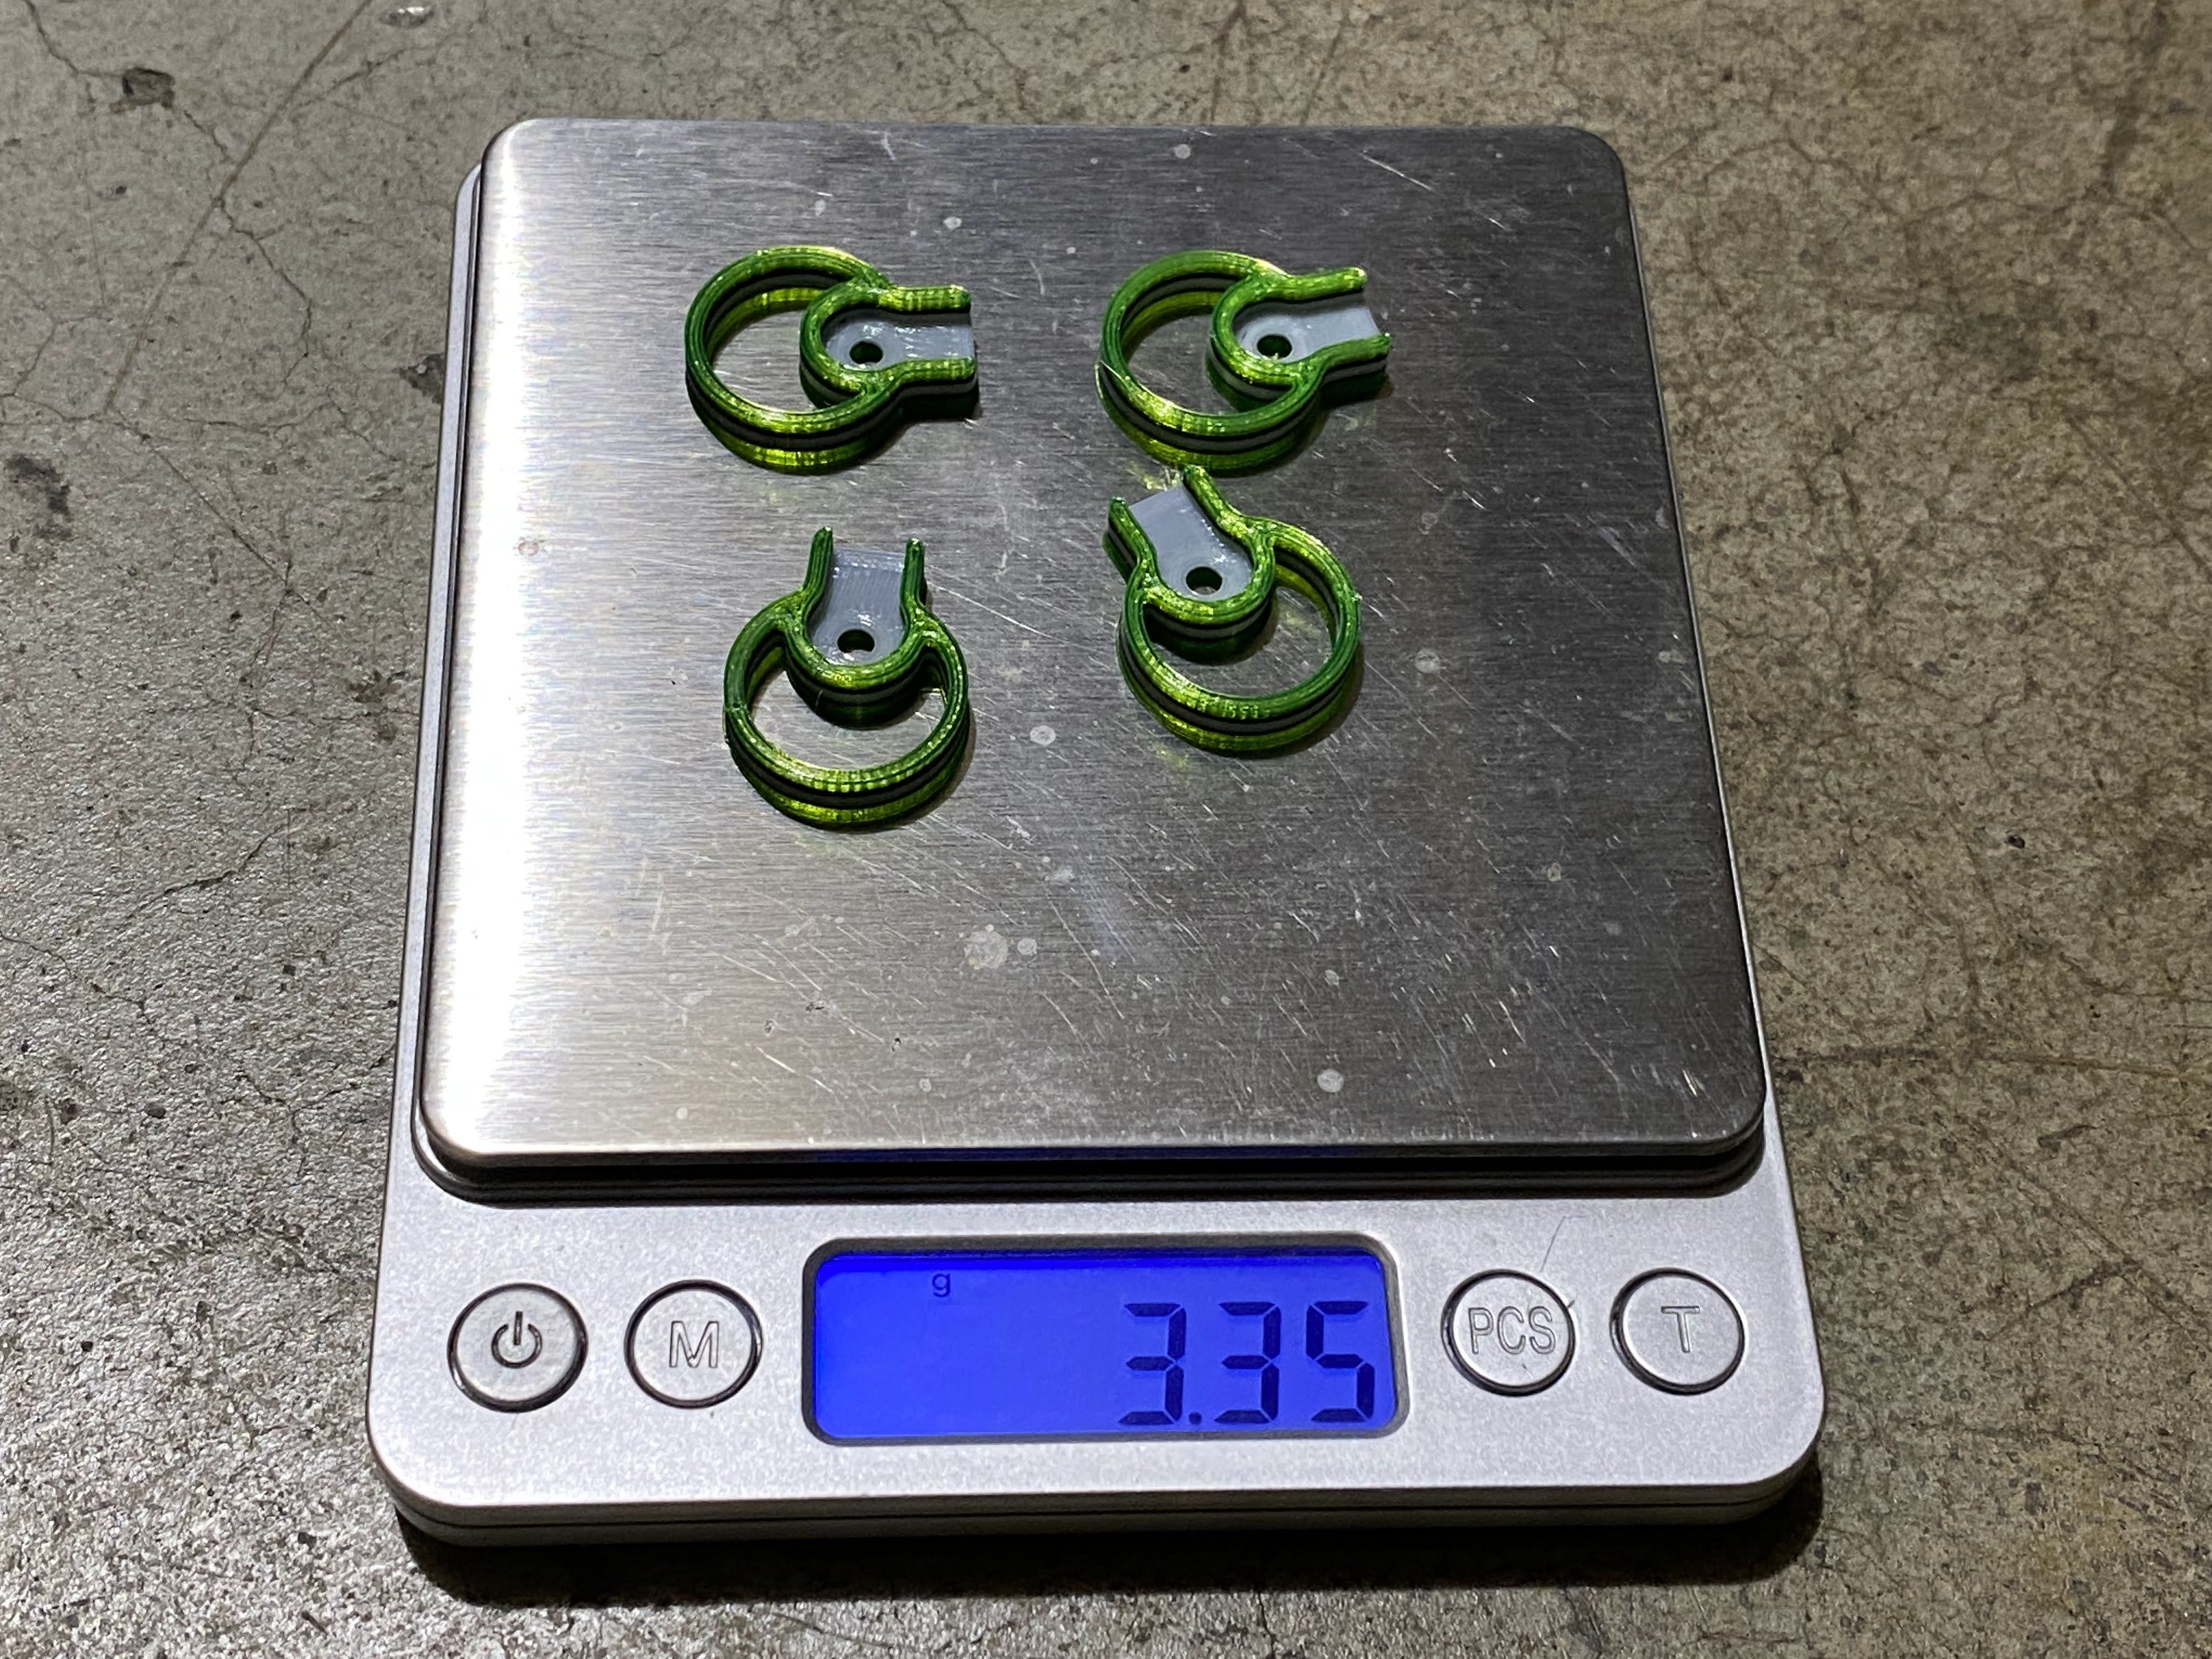
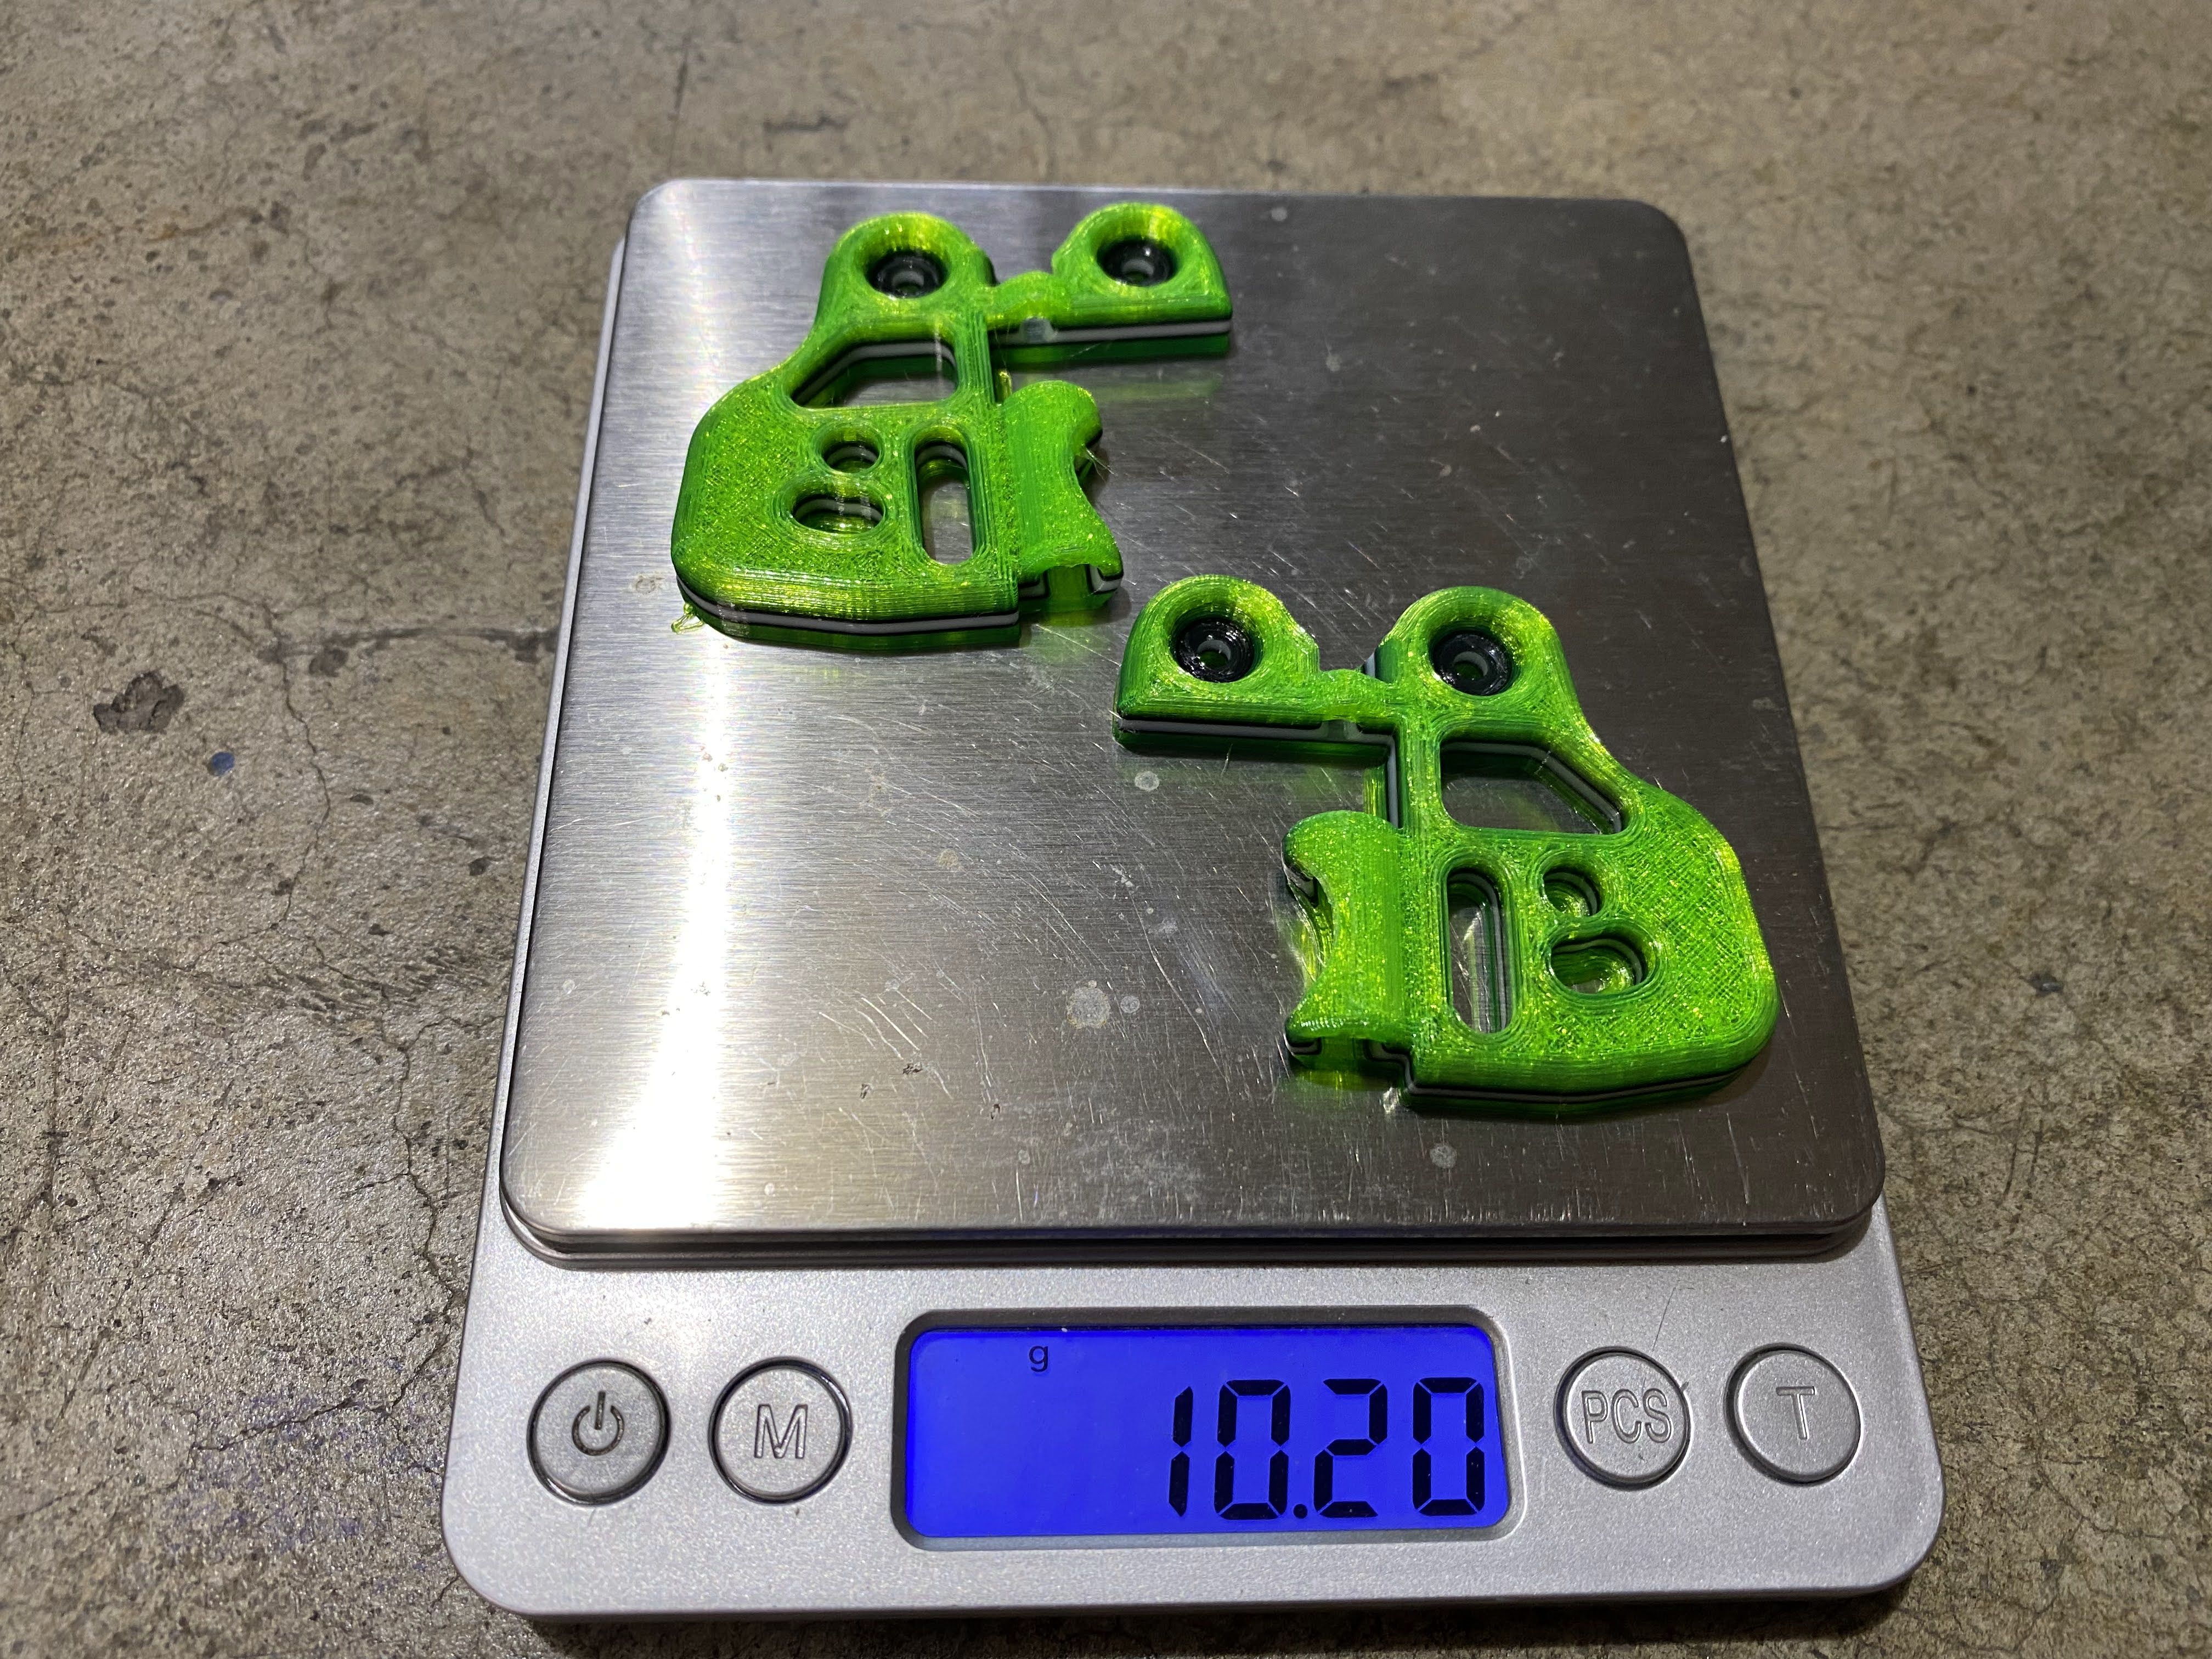
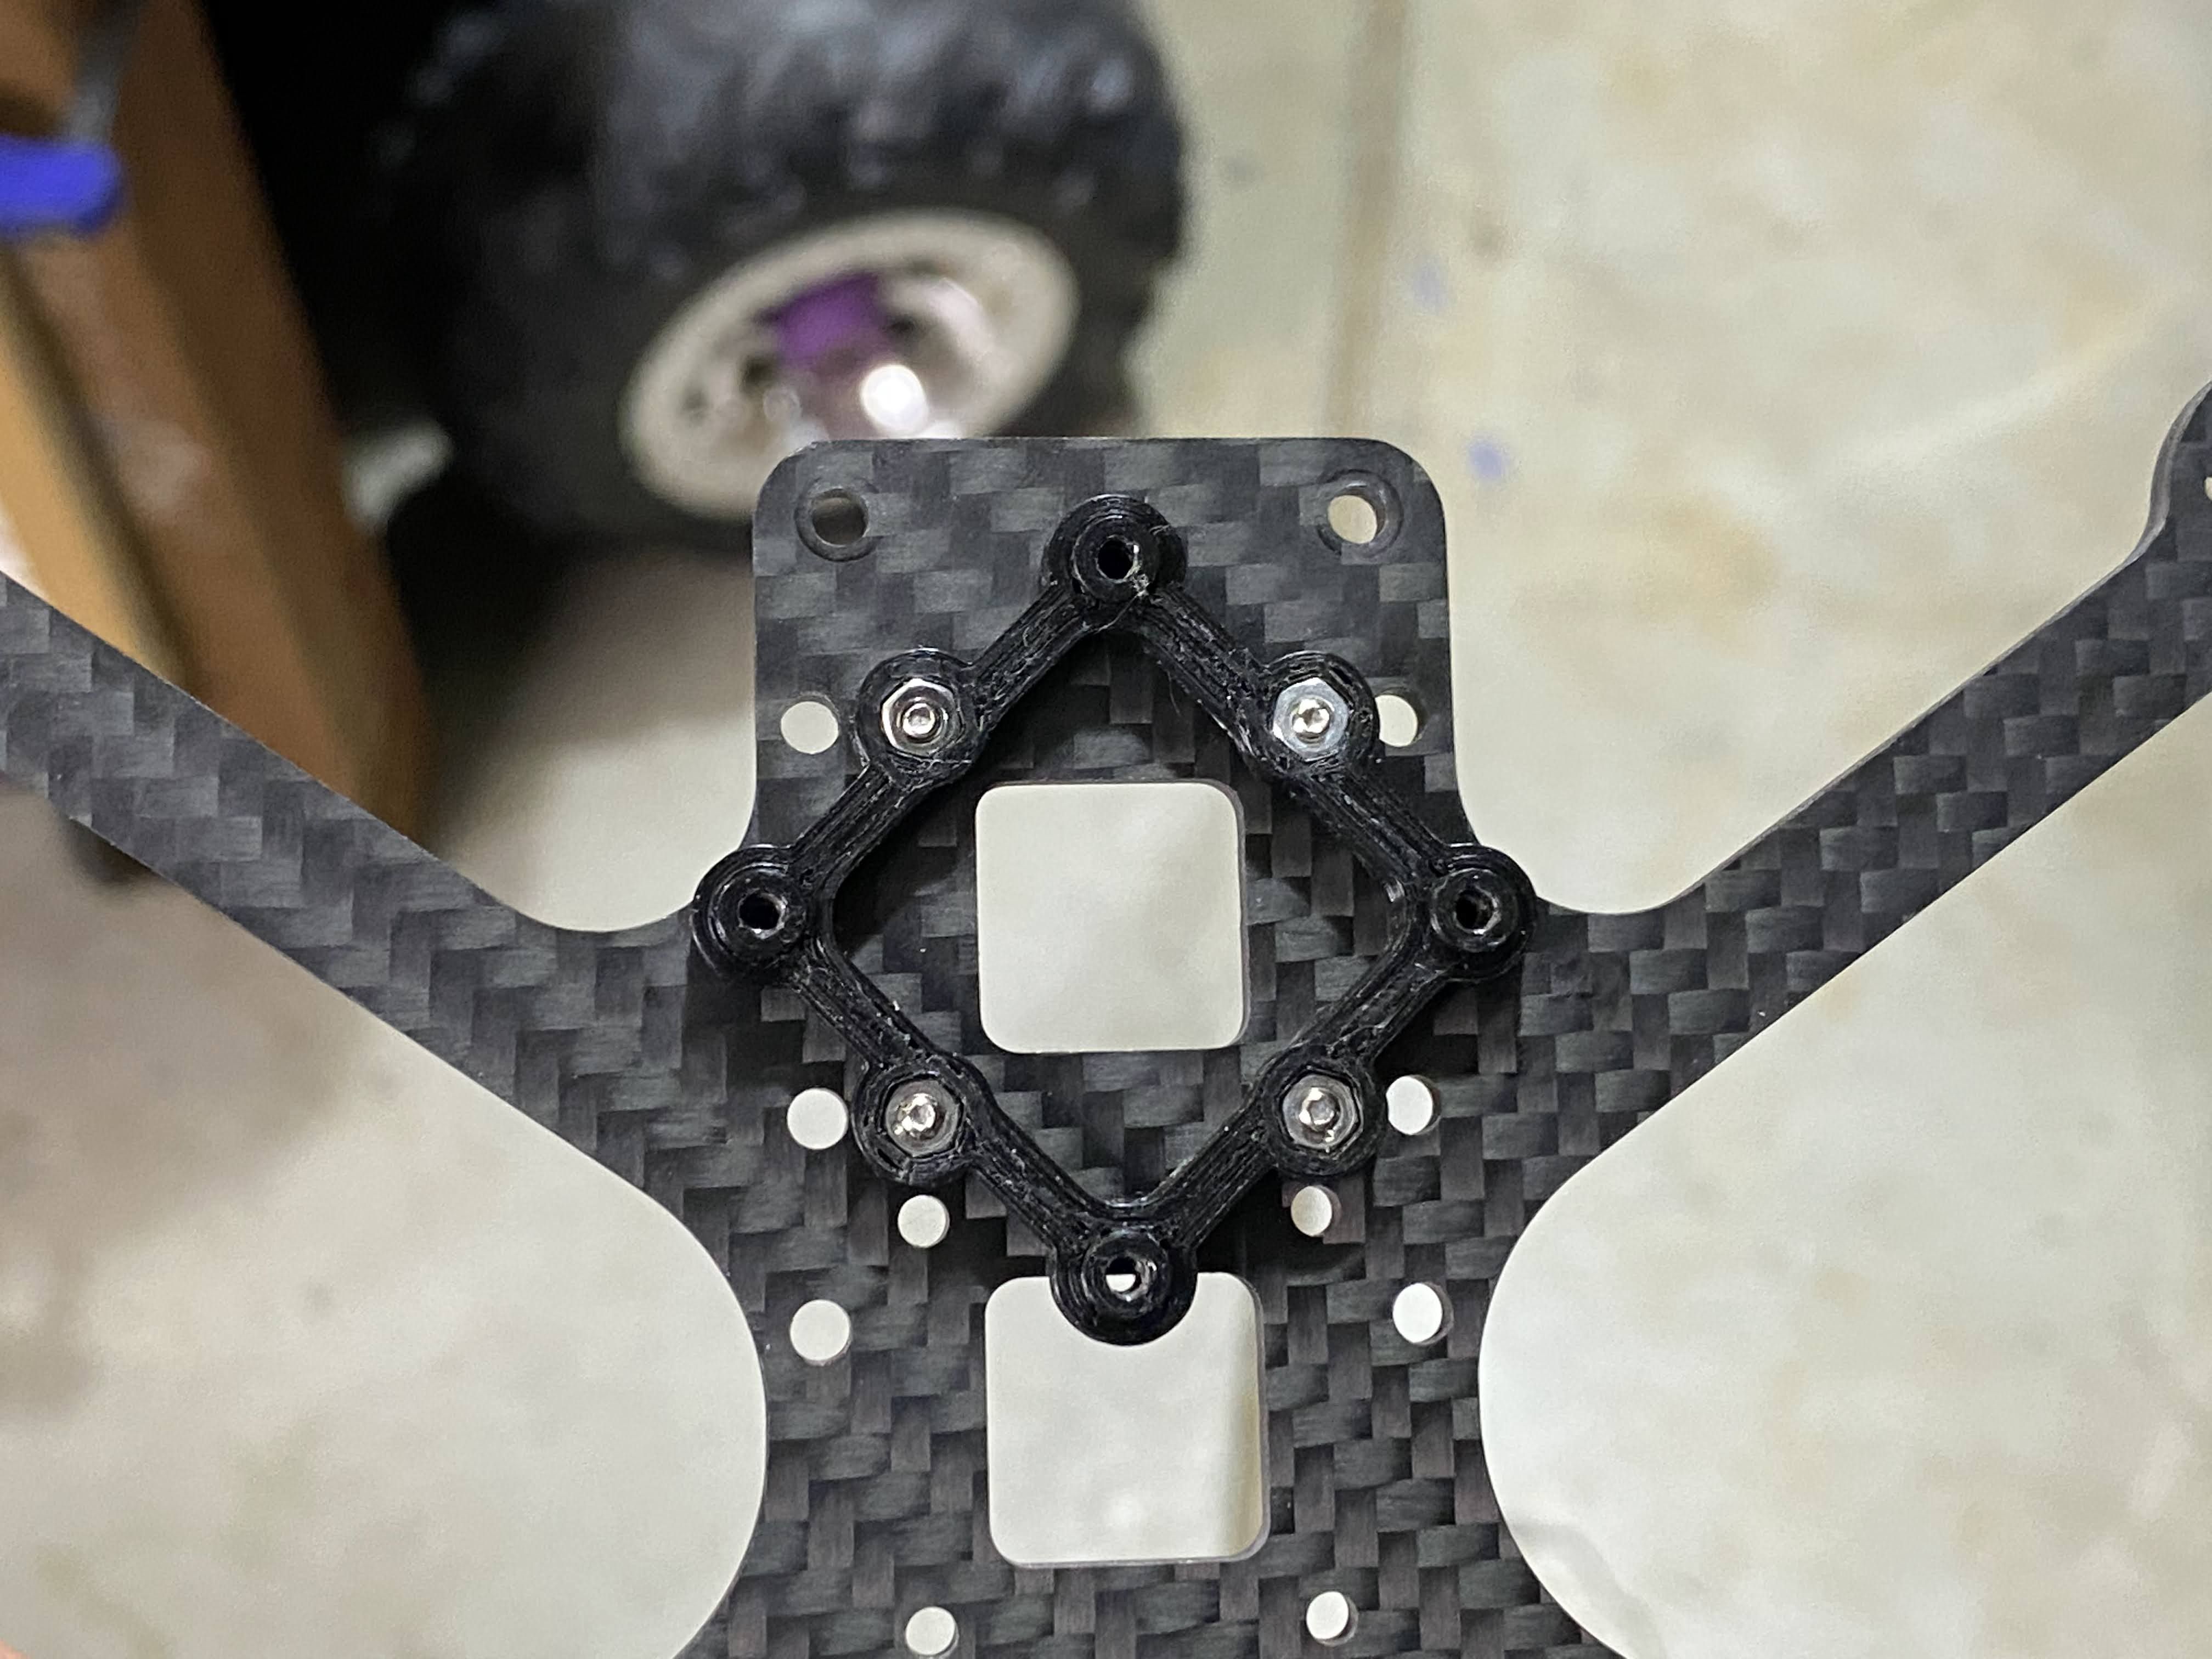
3D Printed Parts
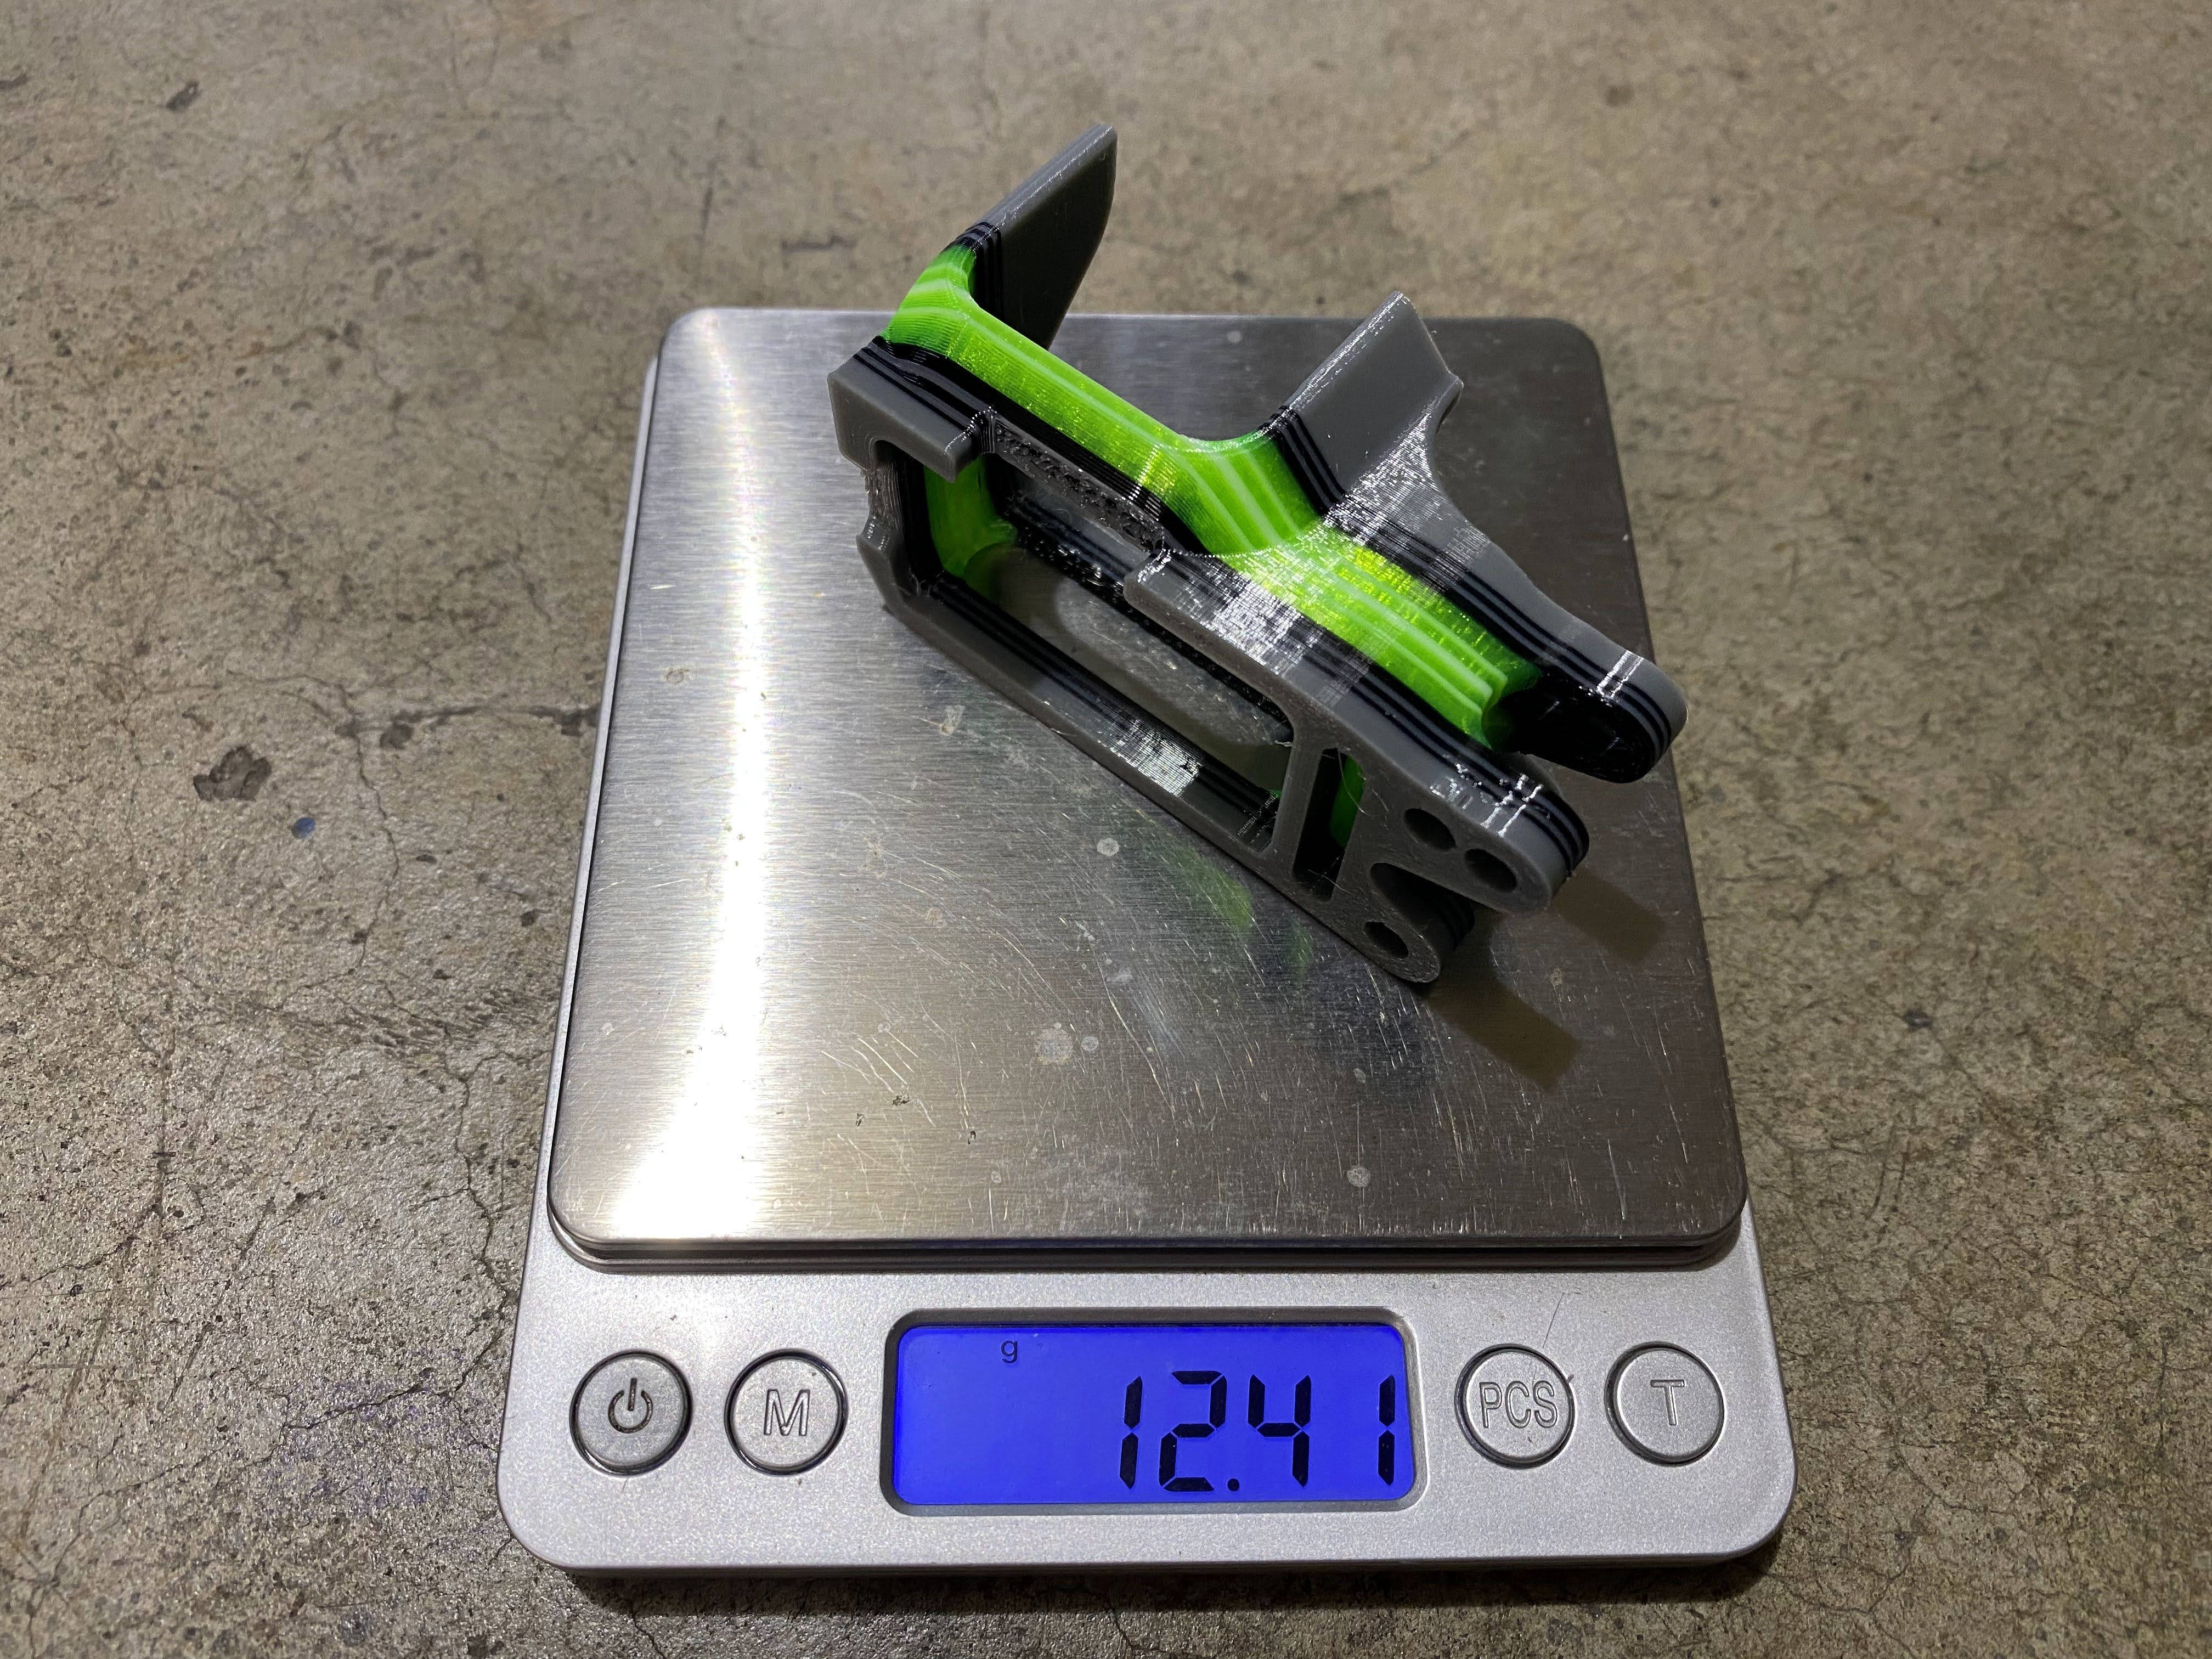
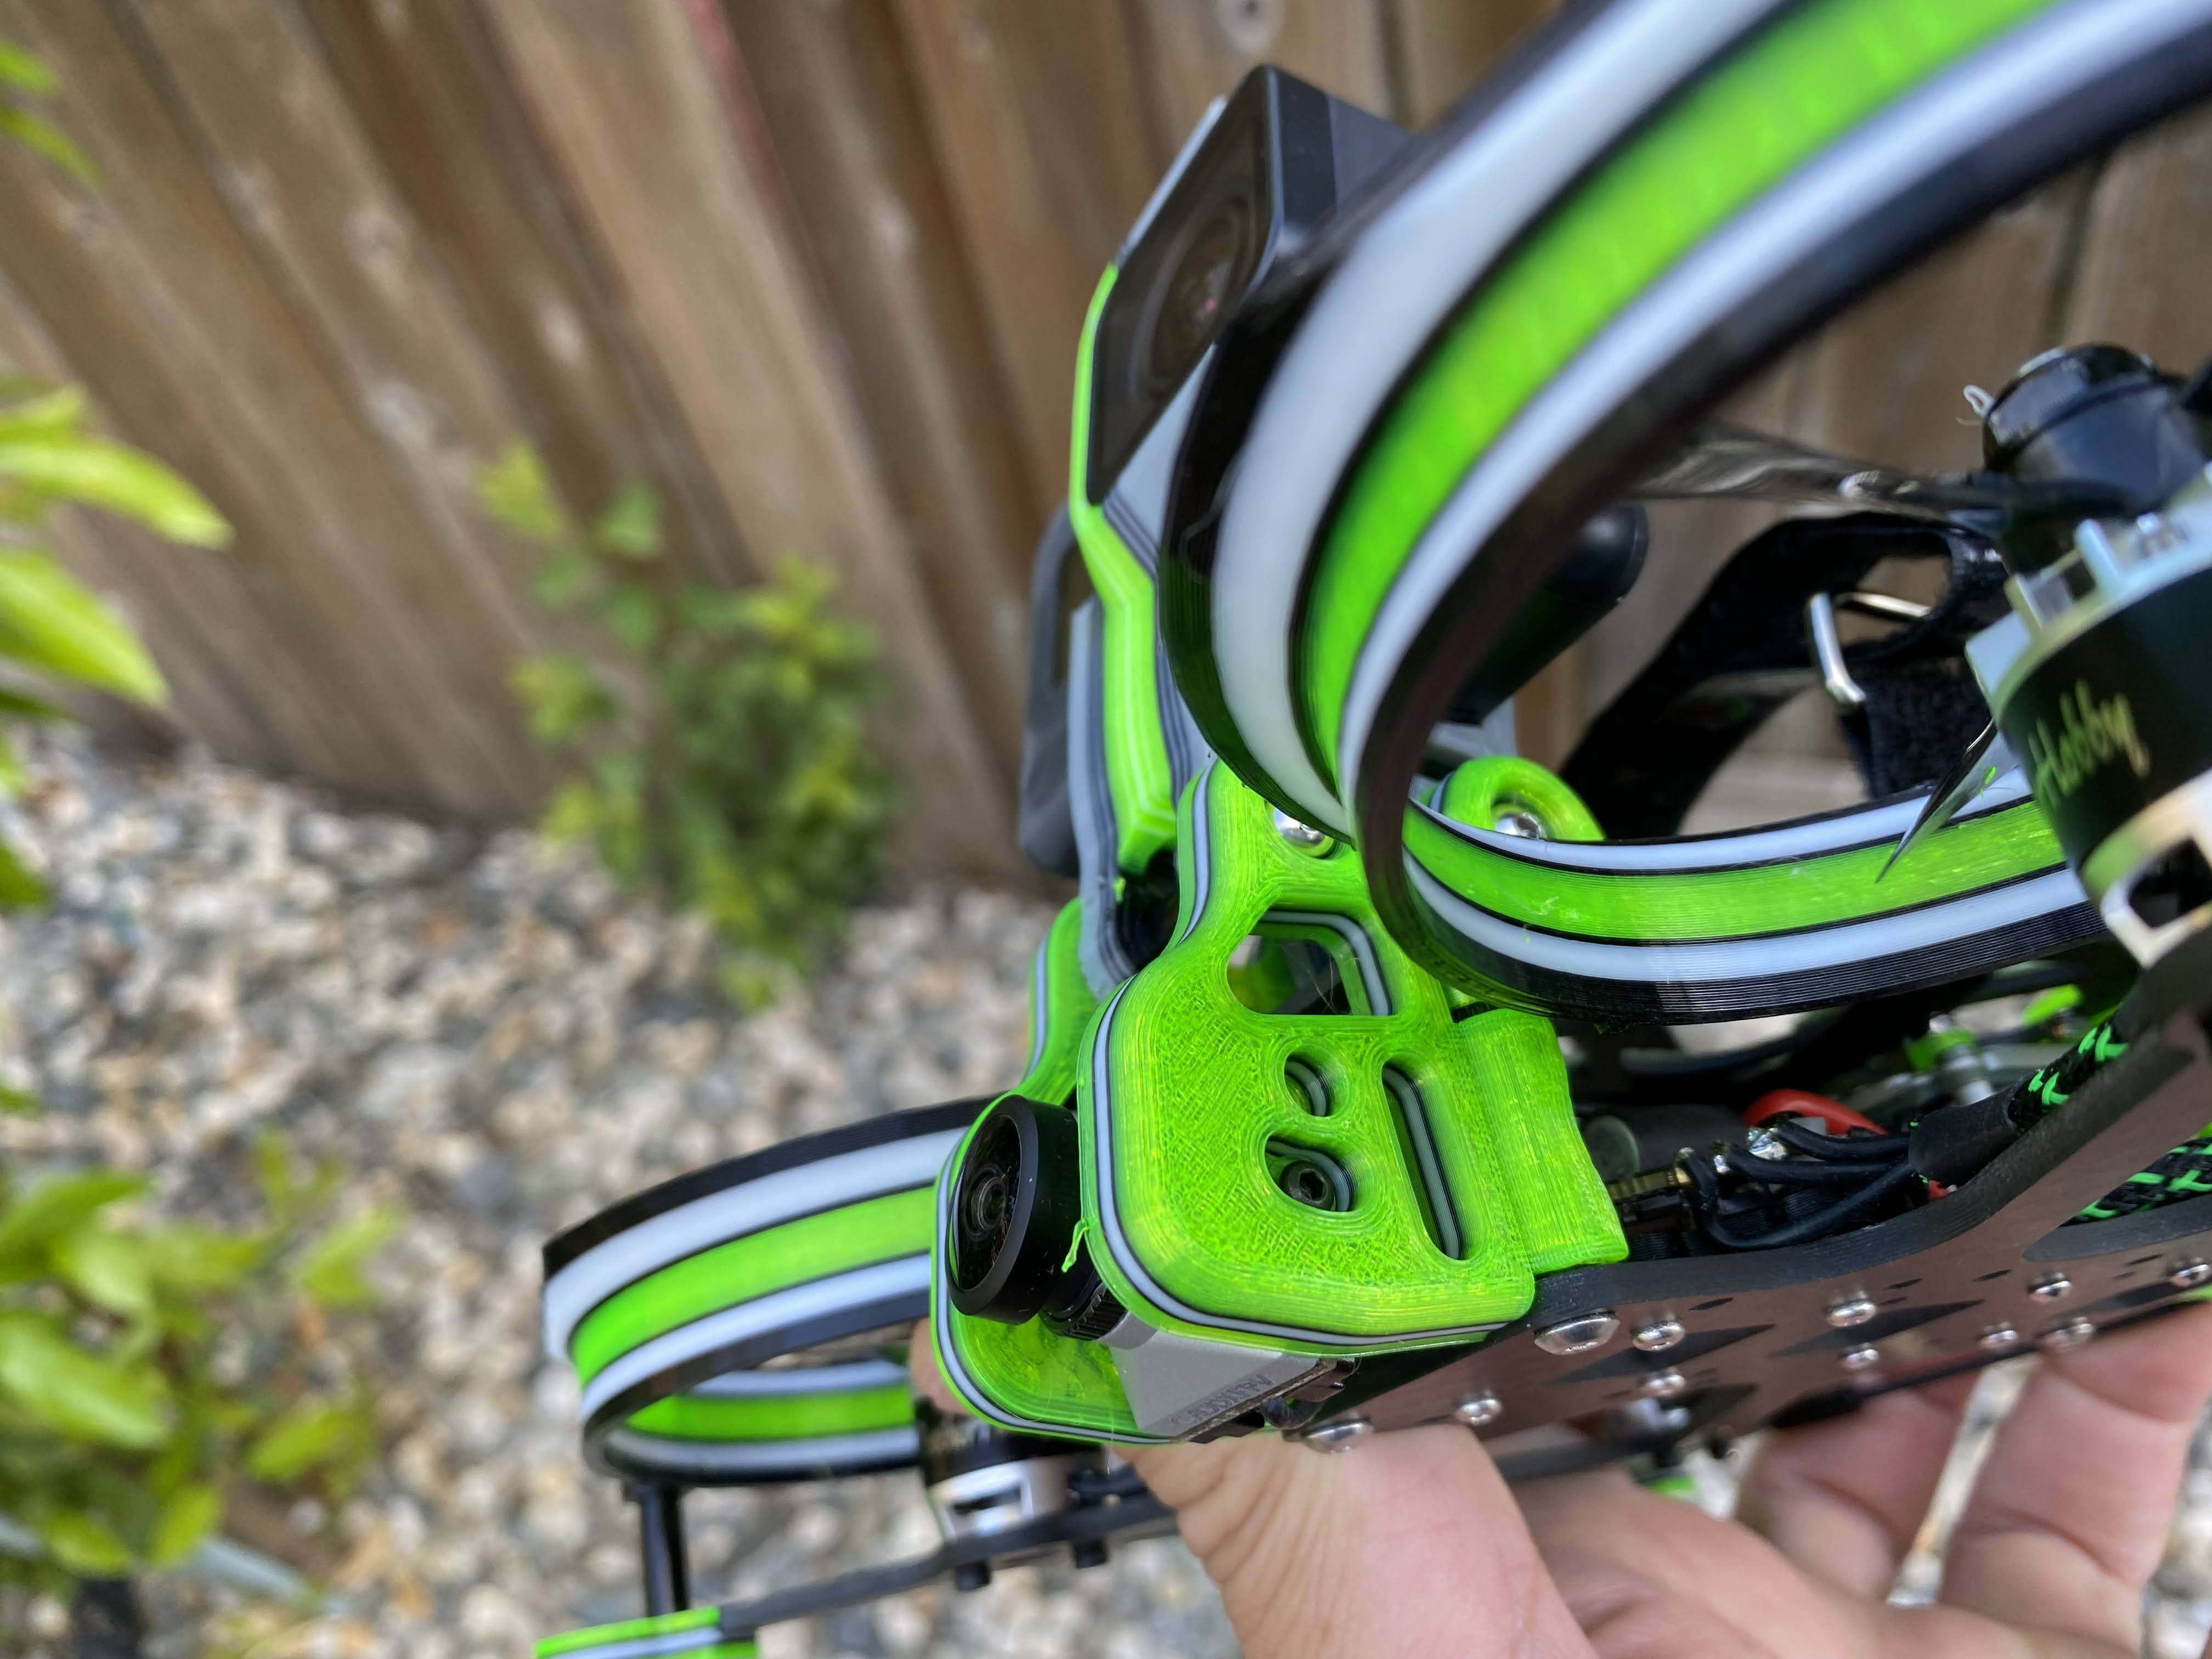
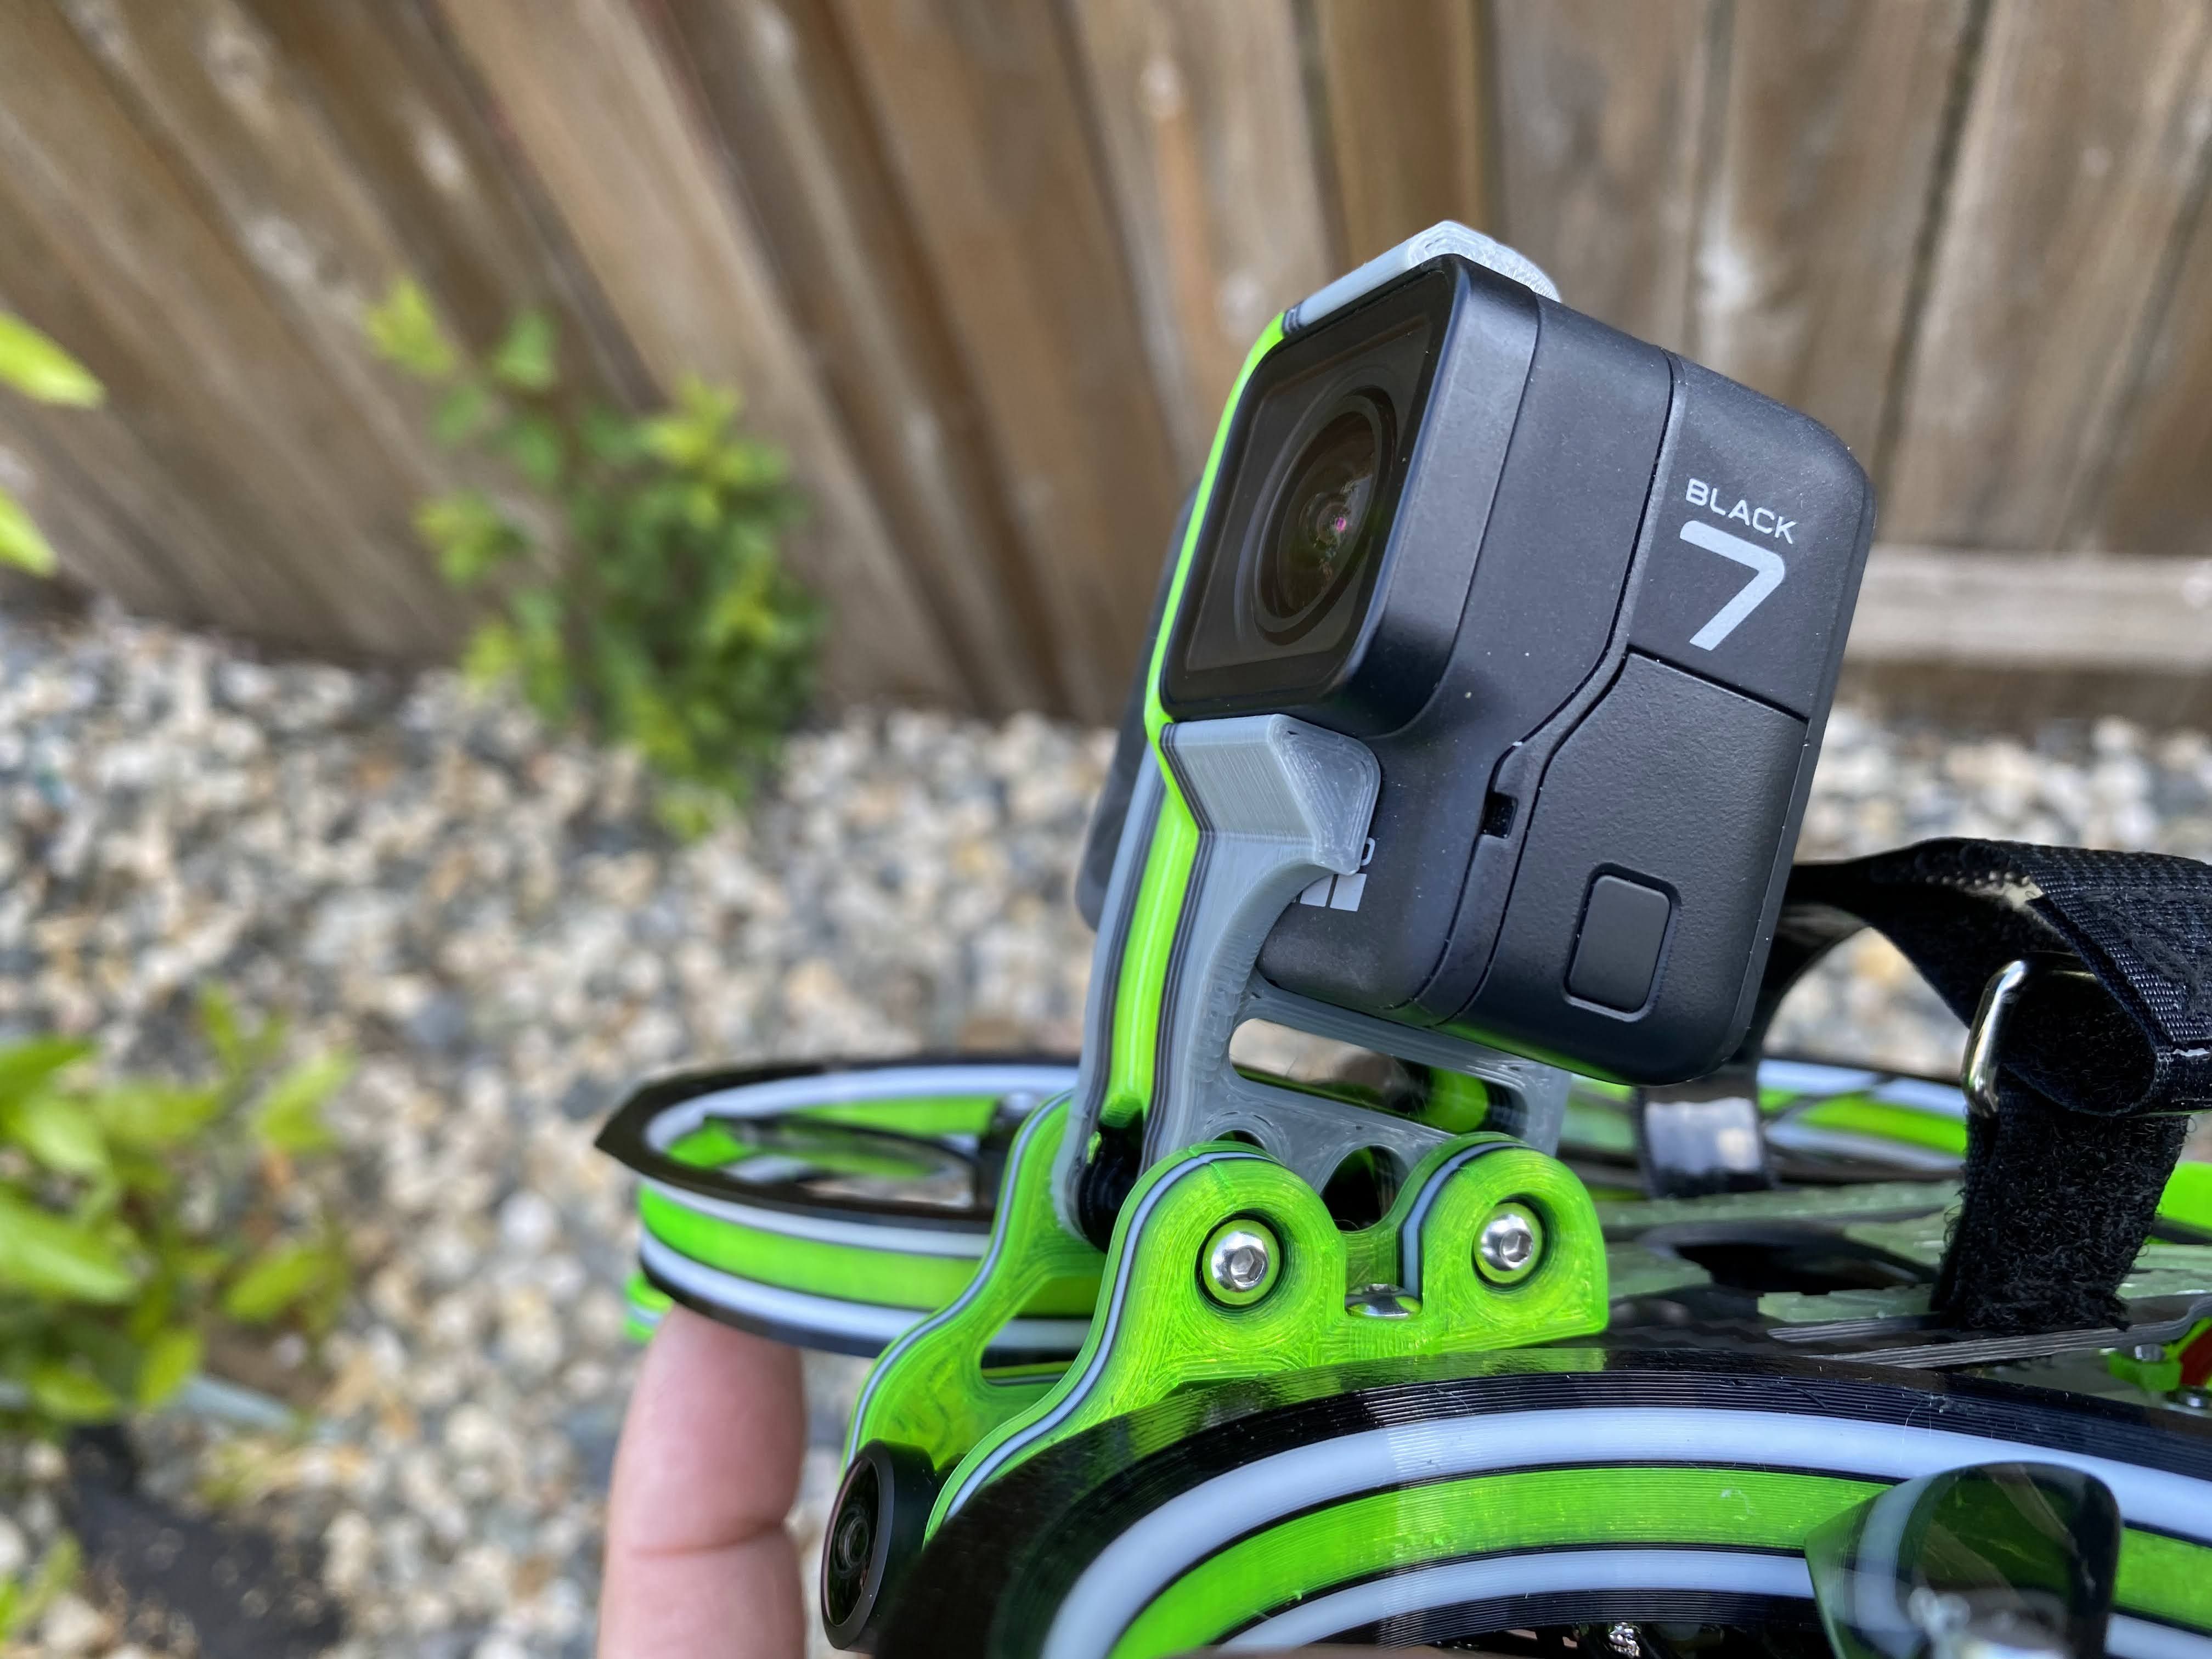
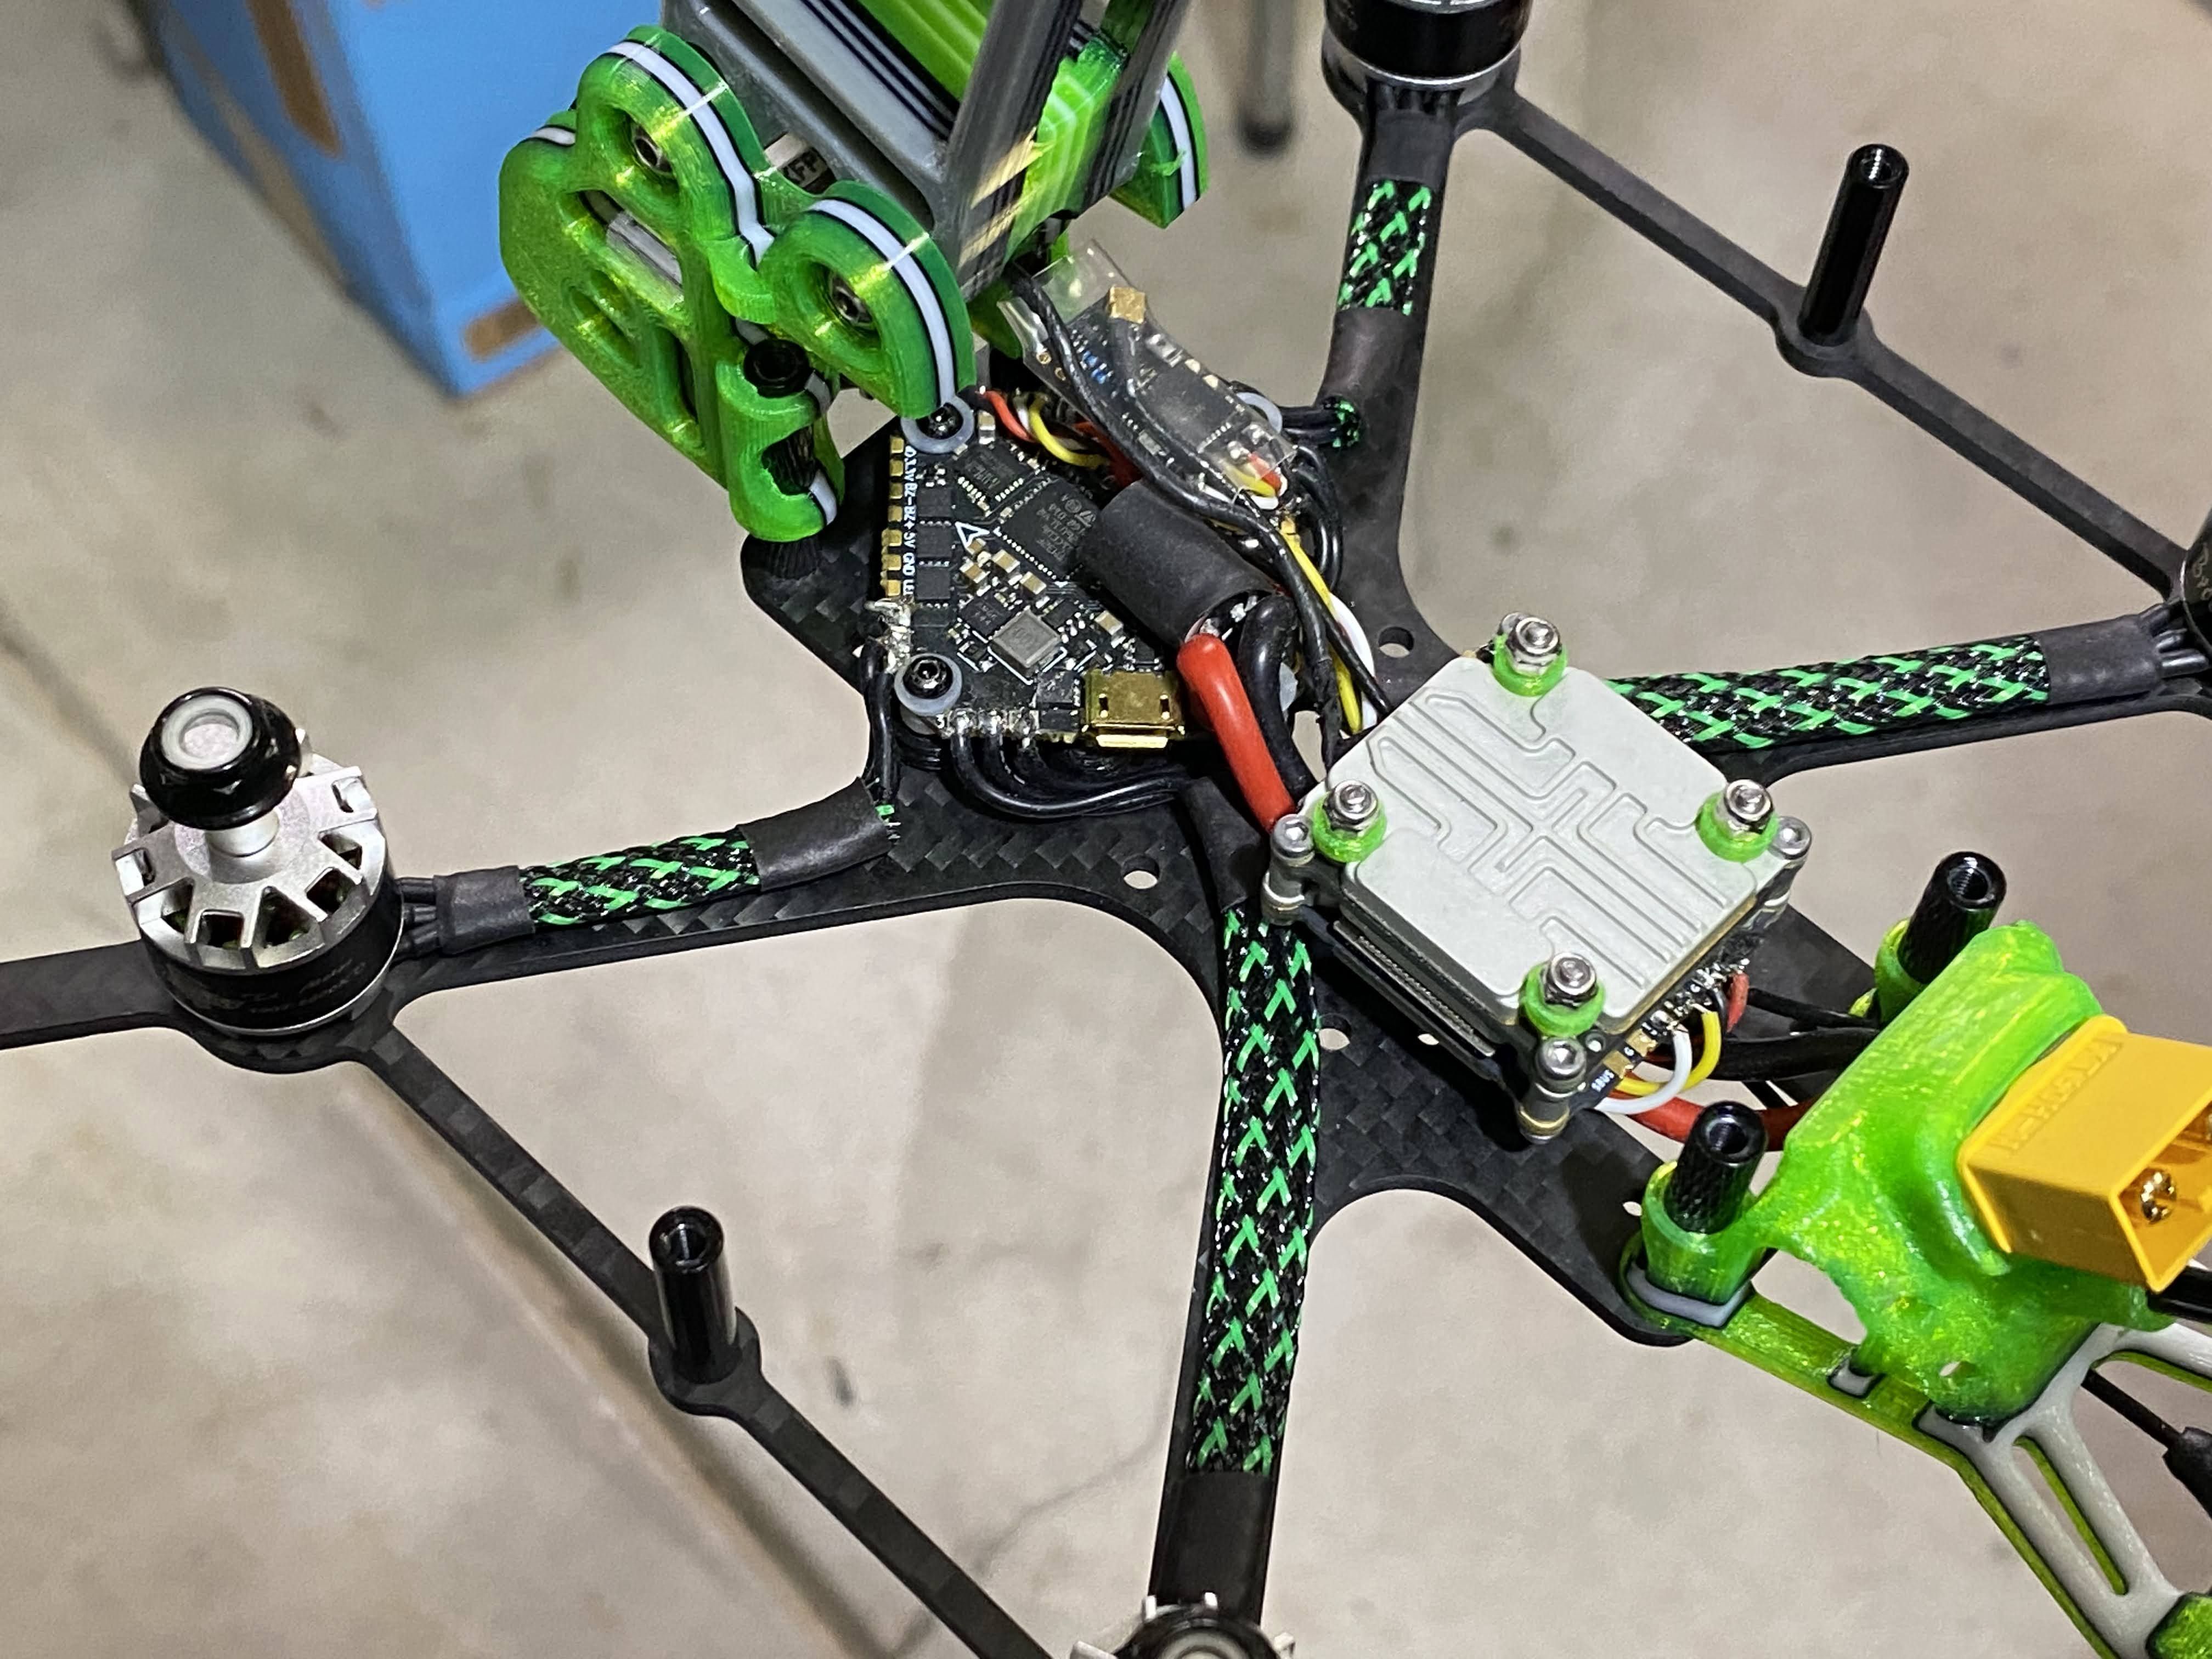
Since my goal for this build it for MAX flight time, I tried to lighten up the 3D printed parts. Some of the interesting thing about 3D printing, is not just in the 3D model design, but how the file is sliced before printing it. For example, the FPV camera mount that I downloaded from Drone CO Production. I cut out some holes in the mount to reduce the amount of weight, but it does not change the weight by much. Because it only reduced the weight from the area that is originally infill, but now I am increase the need for walls in the area that was removed. It might be difficult to image with words but ultimately, the weight save was minimal. However, the increased number of walls allowed me to use lower infill and still maintain the rigidity.
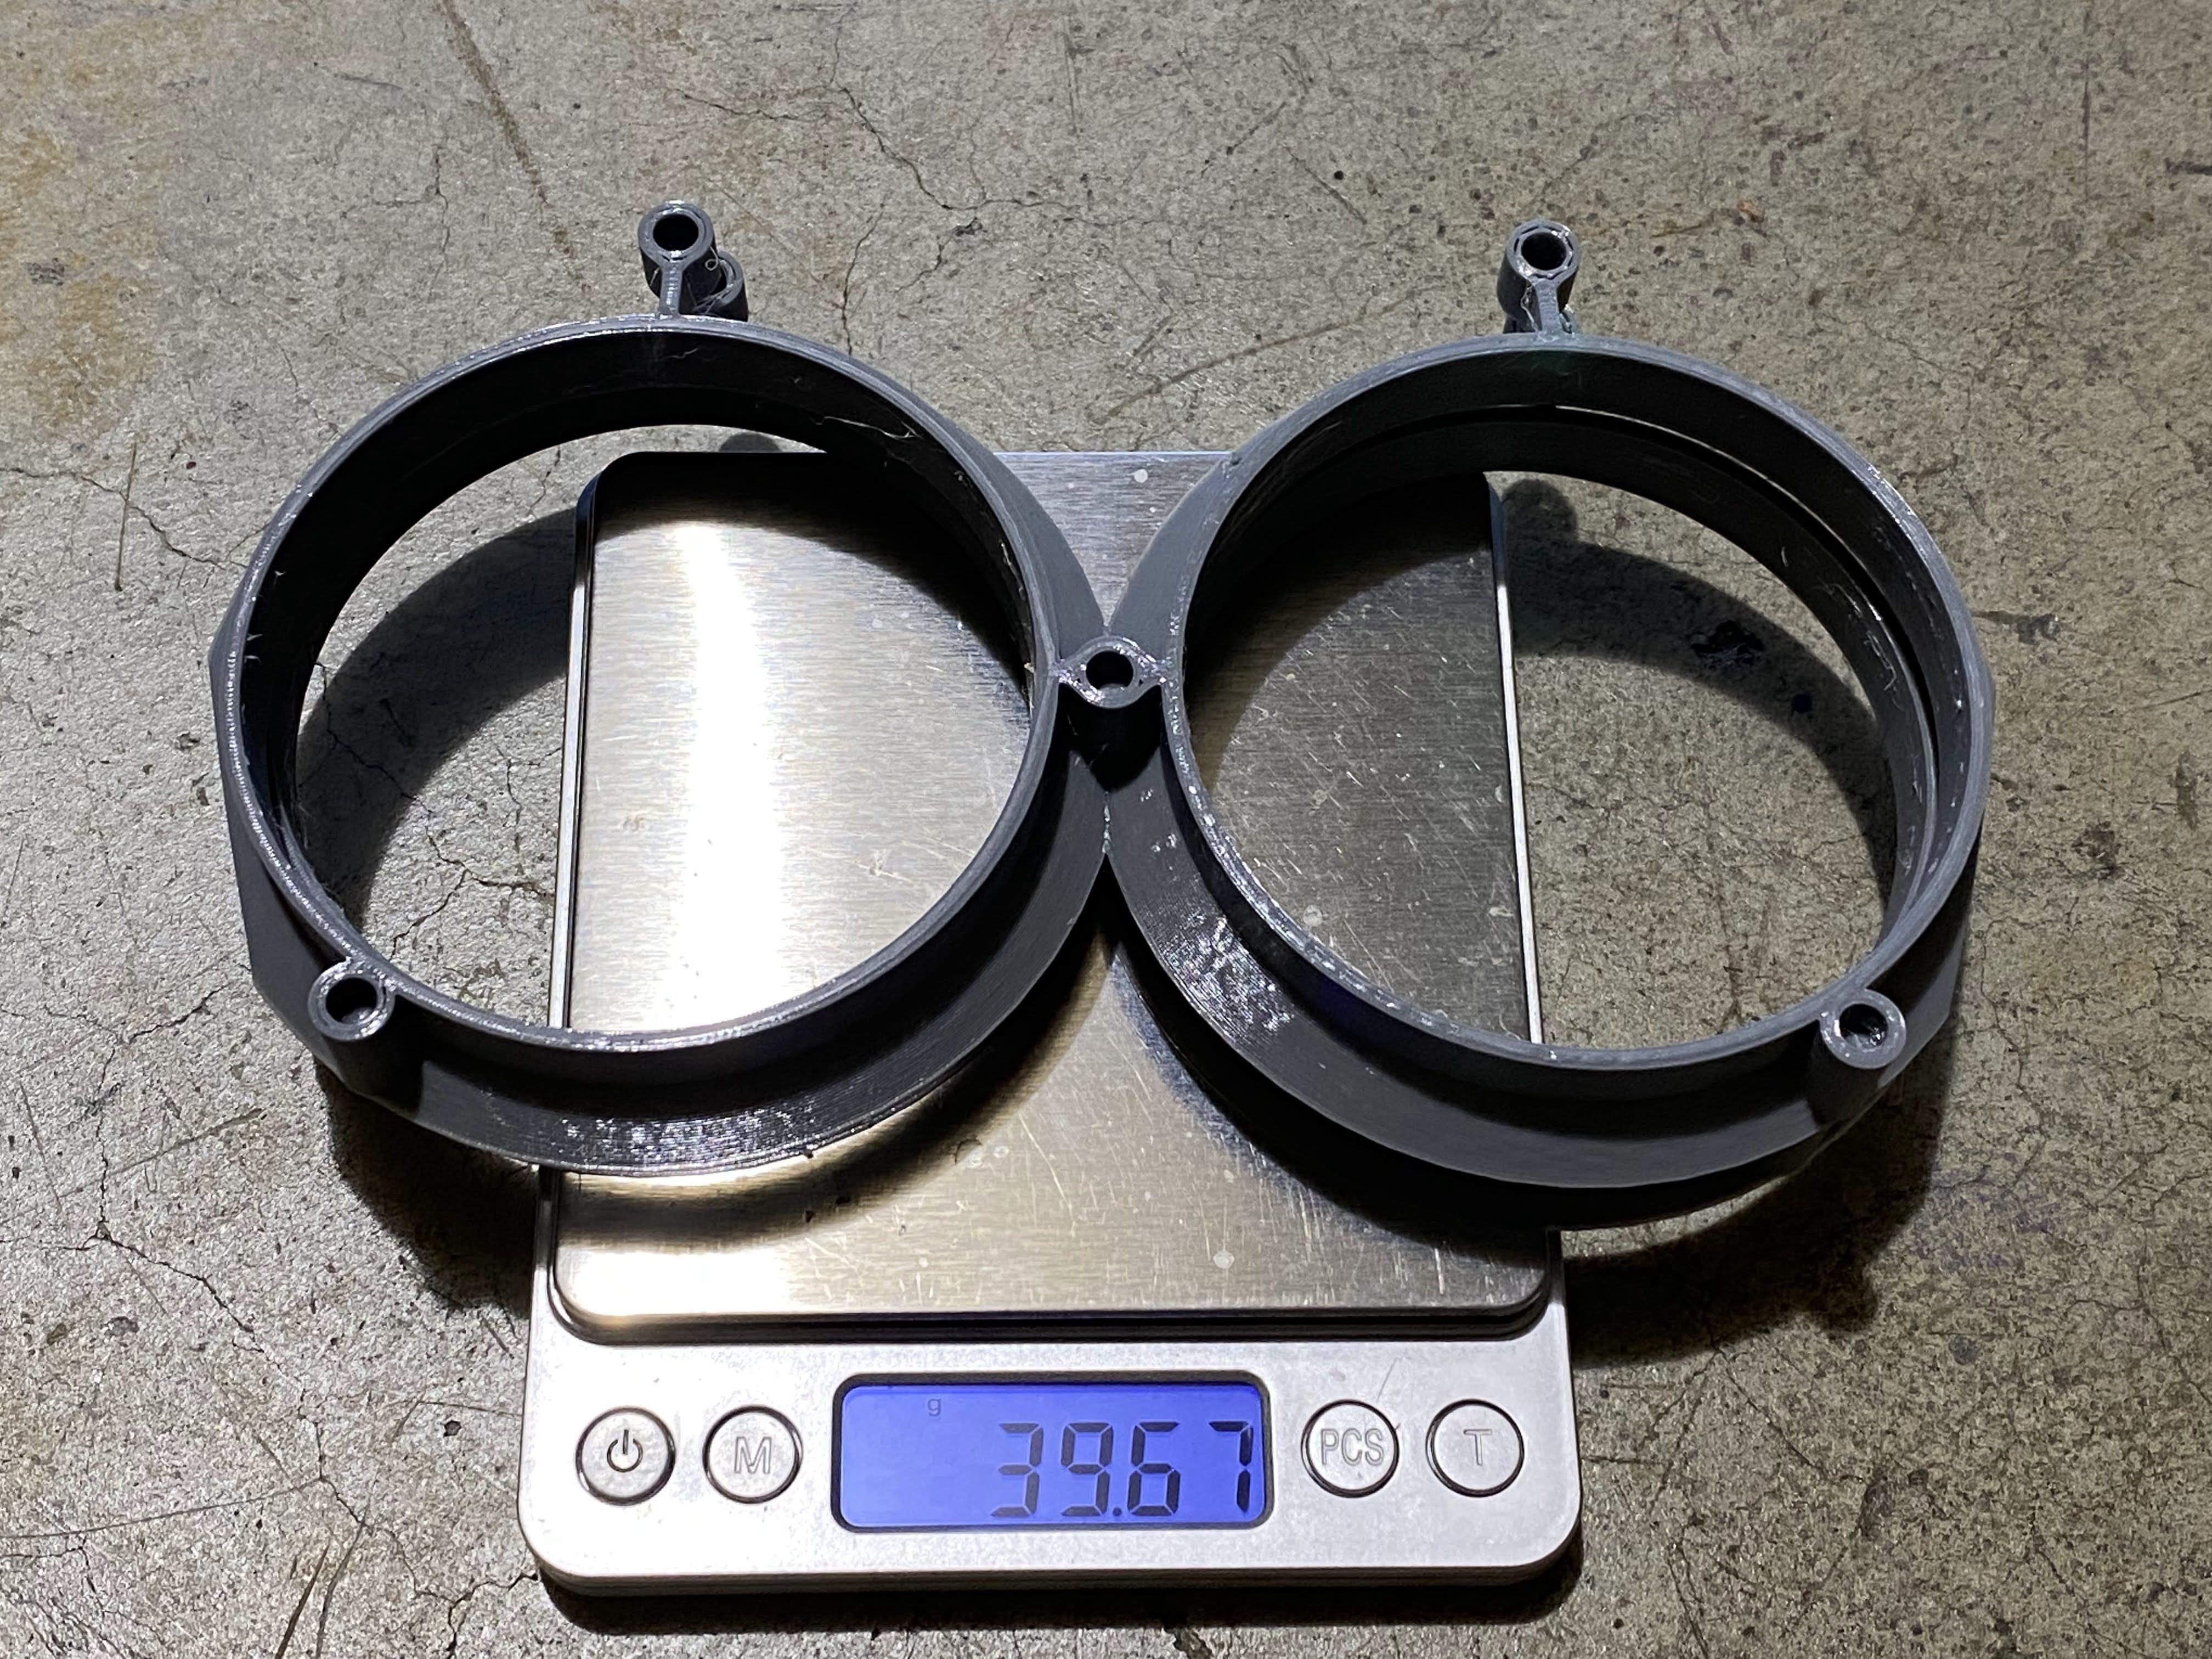
In the past, I had to cut cinewhoop props like HQ 76MMX8, GF D76, and my personal favorite iFlight Nazgal Cine 3040 props to fit in the Squirt ducts. Then I notice that Drone CO Production released a 76mm slammed duct in Jan of 2022. Now, I can use those props and not need to cut them anymore. So, if you plan to use the 75mm props like the HD 75mm 6 blade, then you can still use the original 75mm ducts.
Even though the slammed ducts have little effects on the thrust, I still feel that the position of the ducts should change between the different motors you use. For example, 2203 motors will put the position of the propeller 4mm lower in the ducts than a 1407 motor. This is assuming the base of the motor mount is similar in height too. The ideal position for the prop in the ducts should be as low as possible but not outside of the duct. If I use the original slammed ducts with 1407 motors, the props will be around the very top of the ducts. Maybe in the future I will try to do some test and see if moving the ducts higher would make any difference.
Flight Times
................................................................
~5:20 minutes - 2 year old USED Tattu 1300mah 4s HV (regular charge 4.2v per cell)
~7:50 minutes - NEW Tattu 1300mah 4s HV (regular charge 4.2v per cell)
~9:00 minutes - NEW Tattu 1300mah 4s HV (HV charge 4.35v per cell)
~13:10 minutes - GEPRC VCT6 18650 4s Lithium-Ion
................................................................
Props: iFlight Nazgal Cine 3040
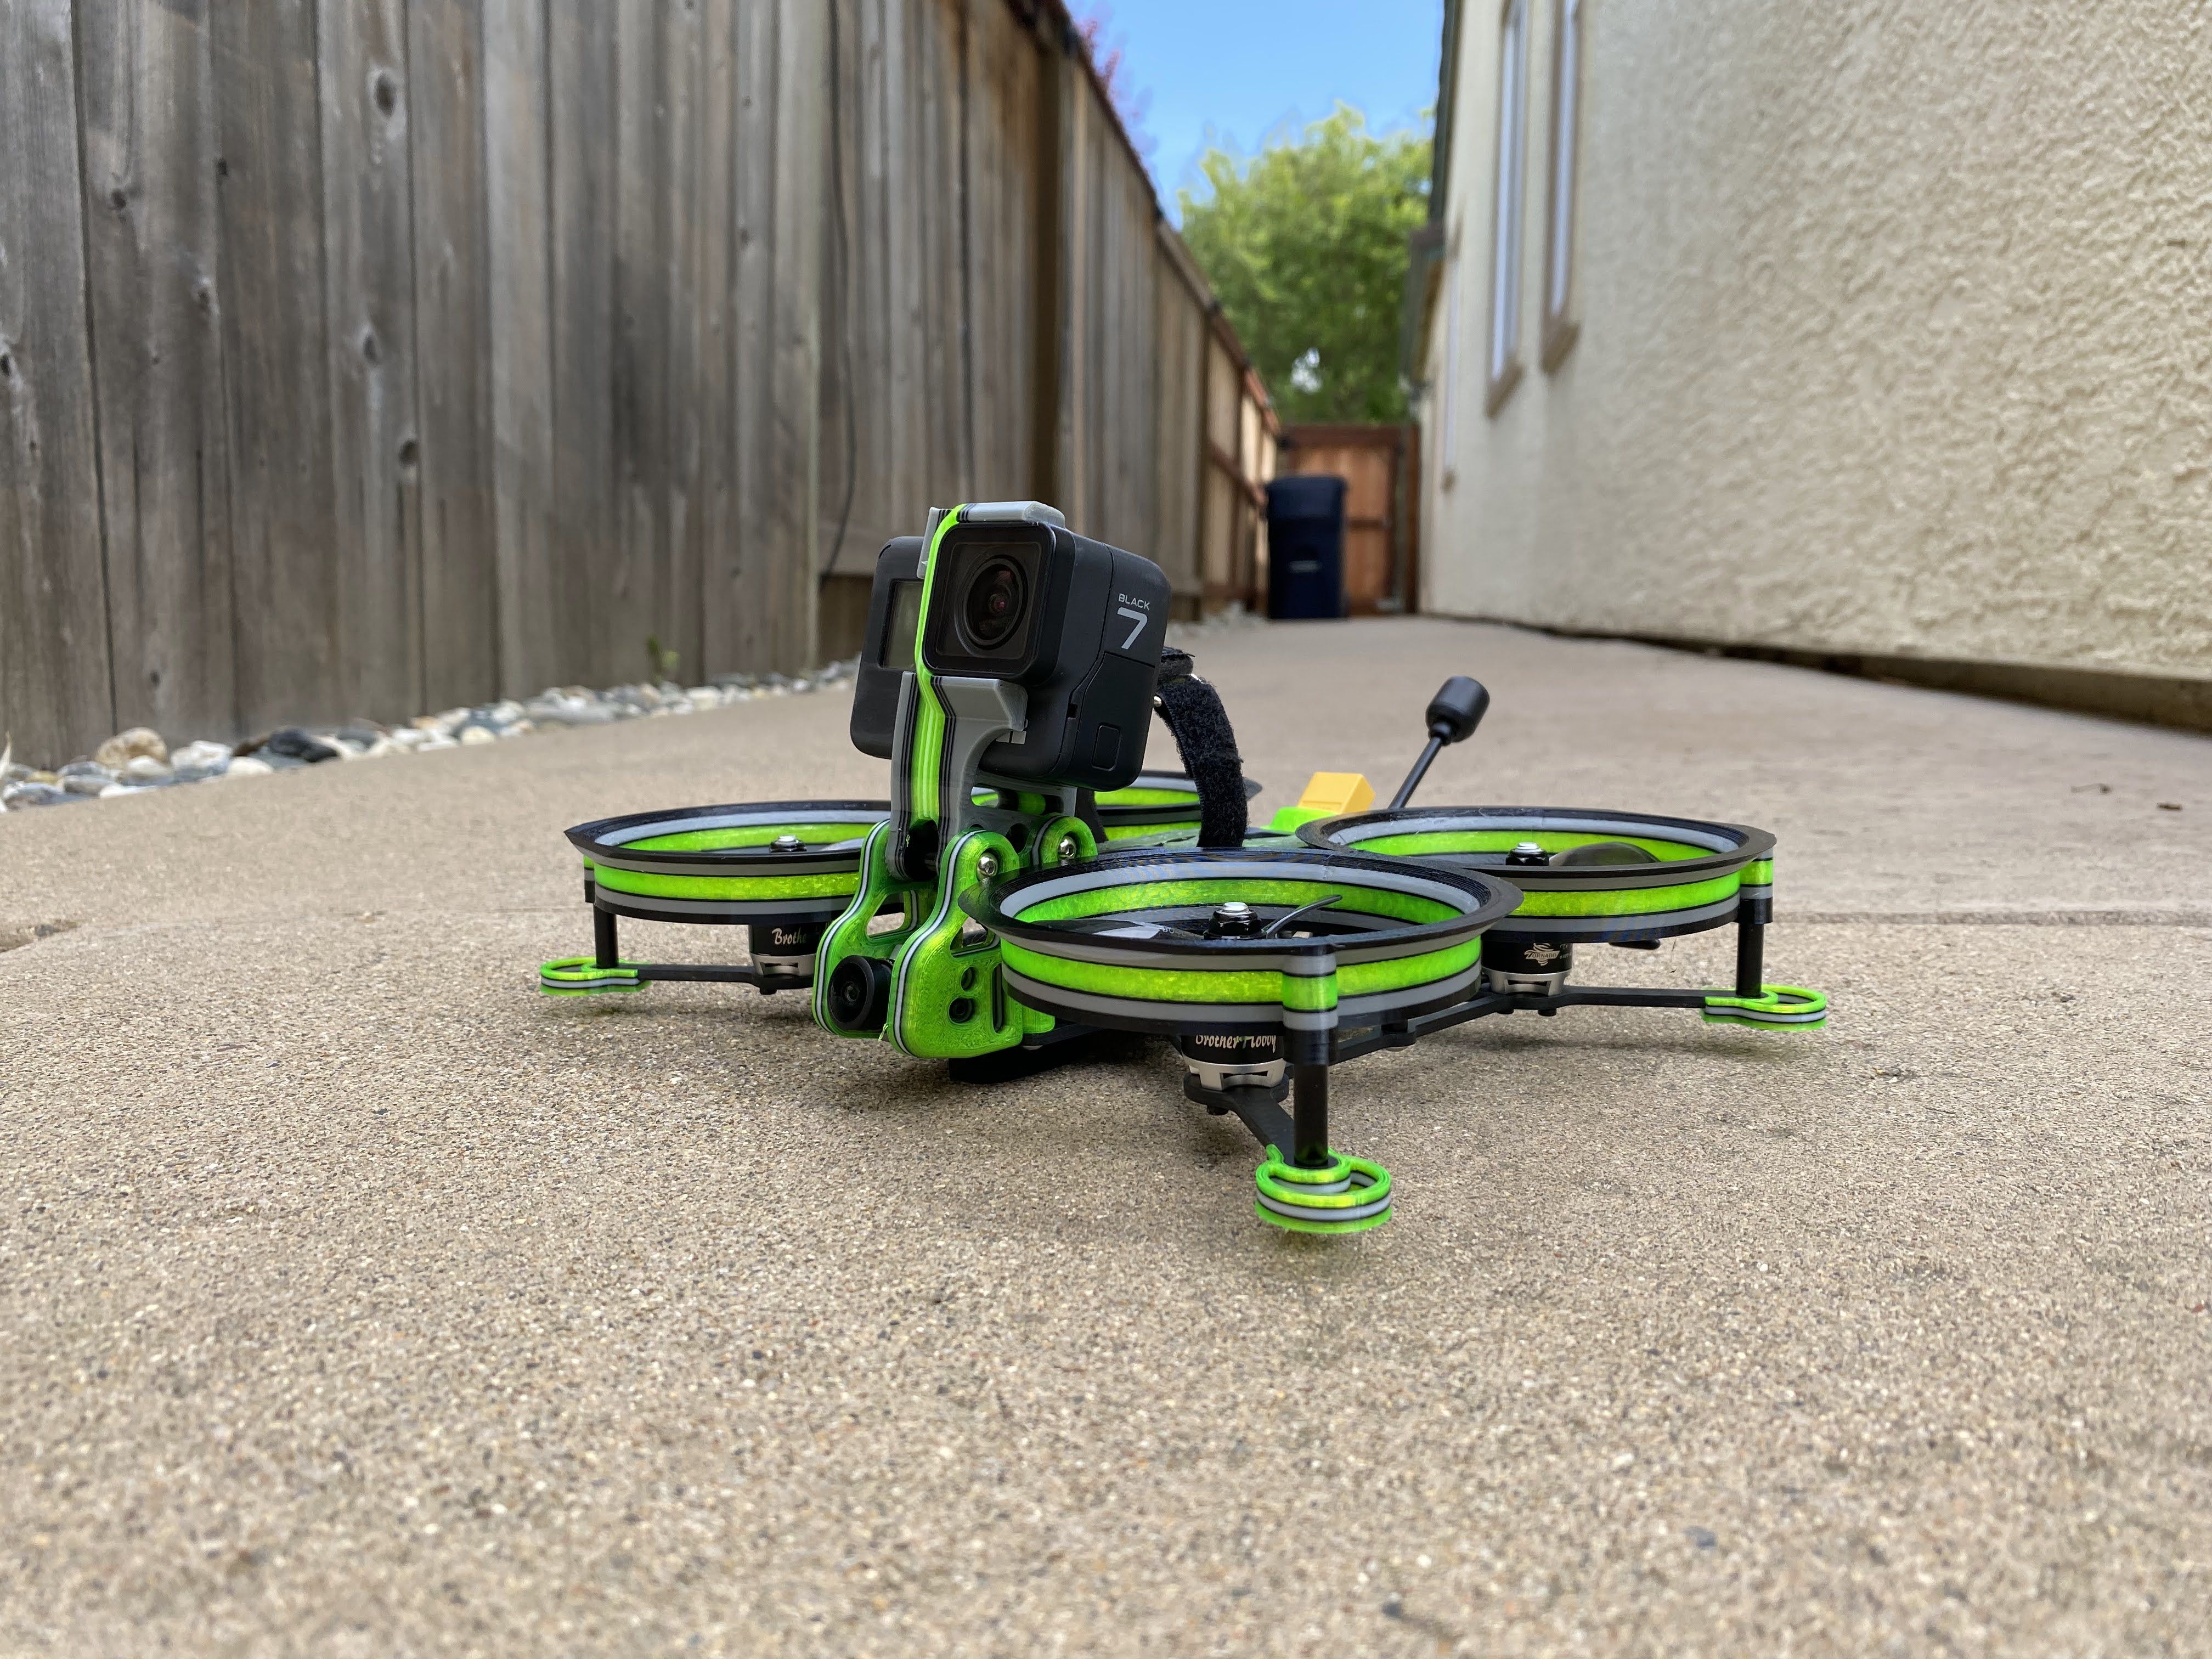
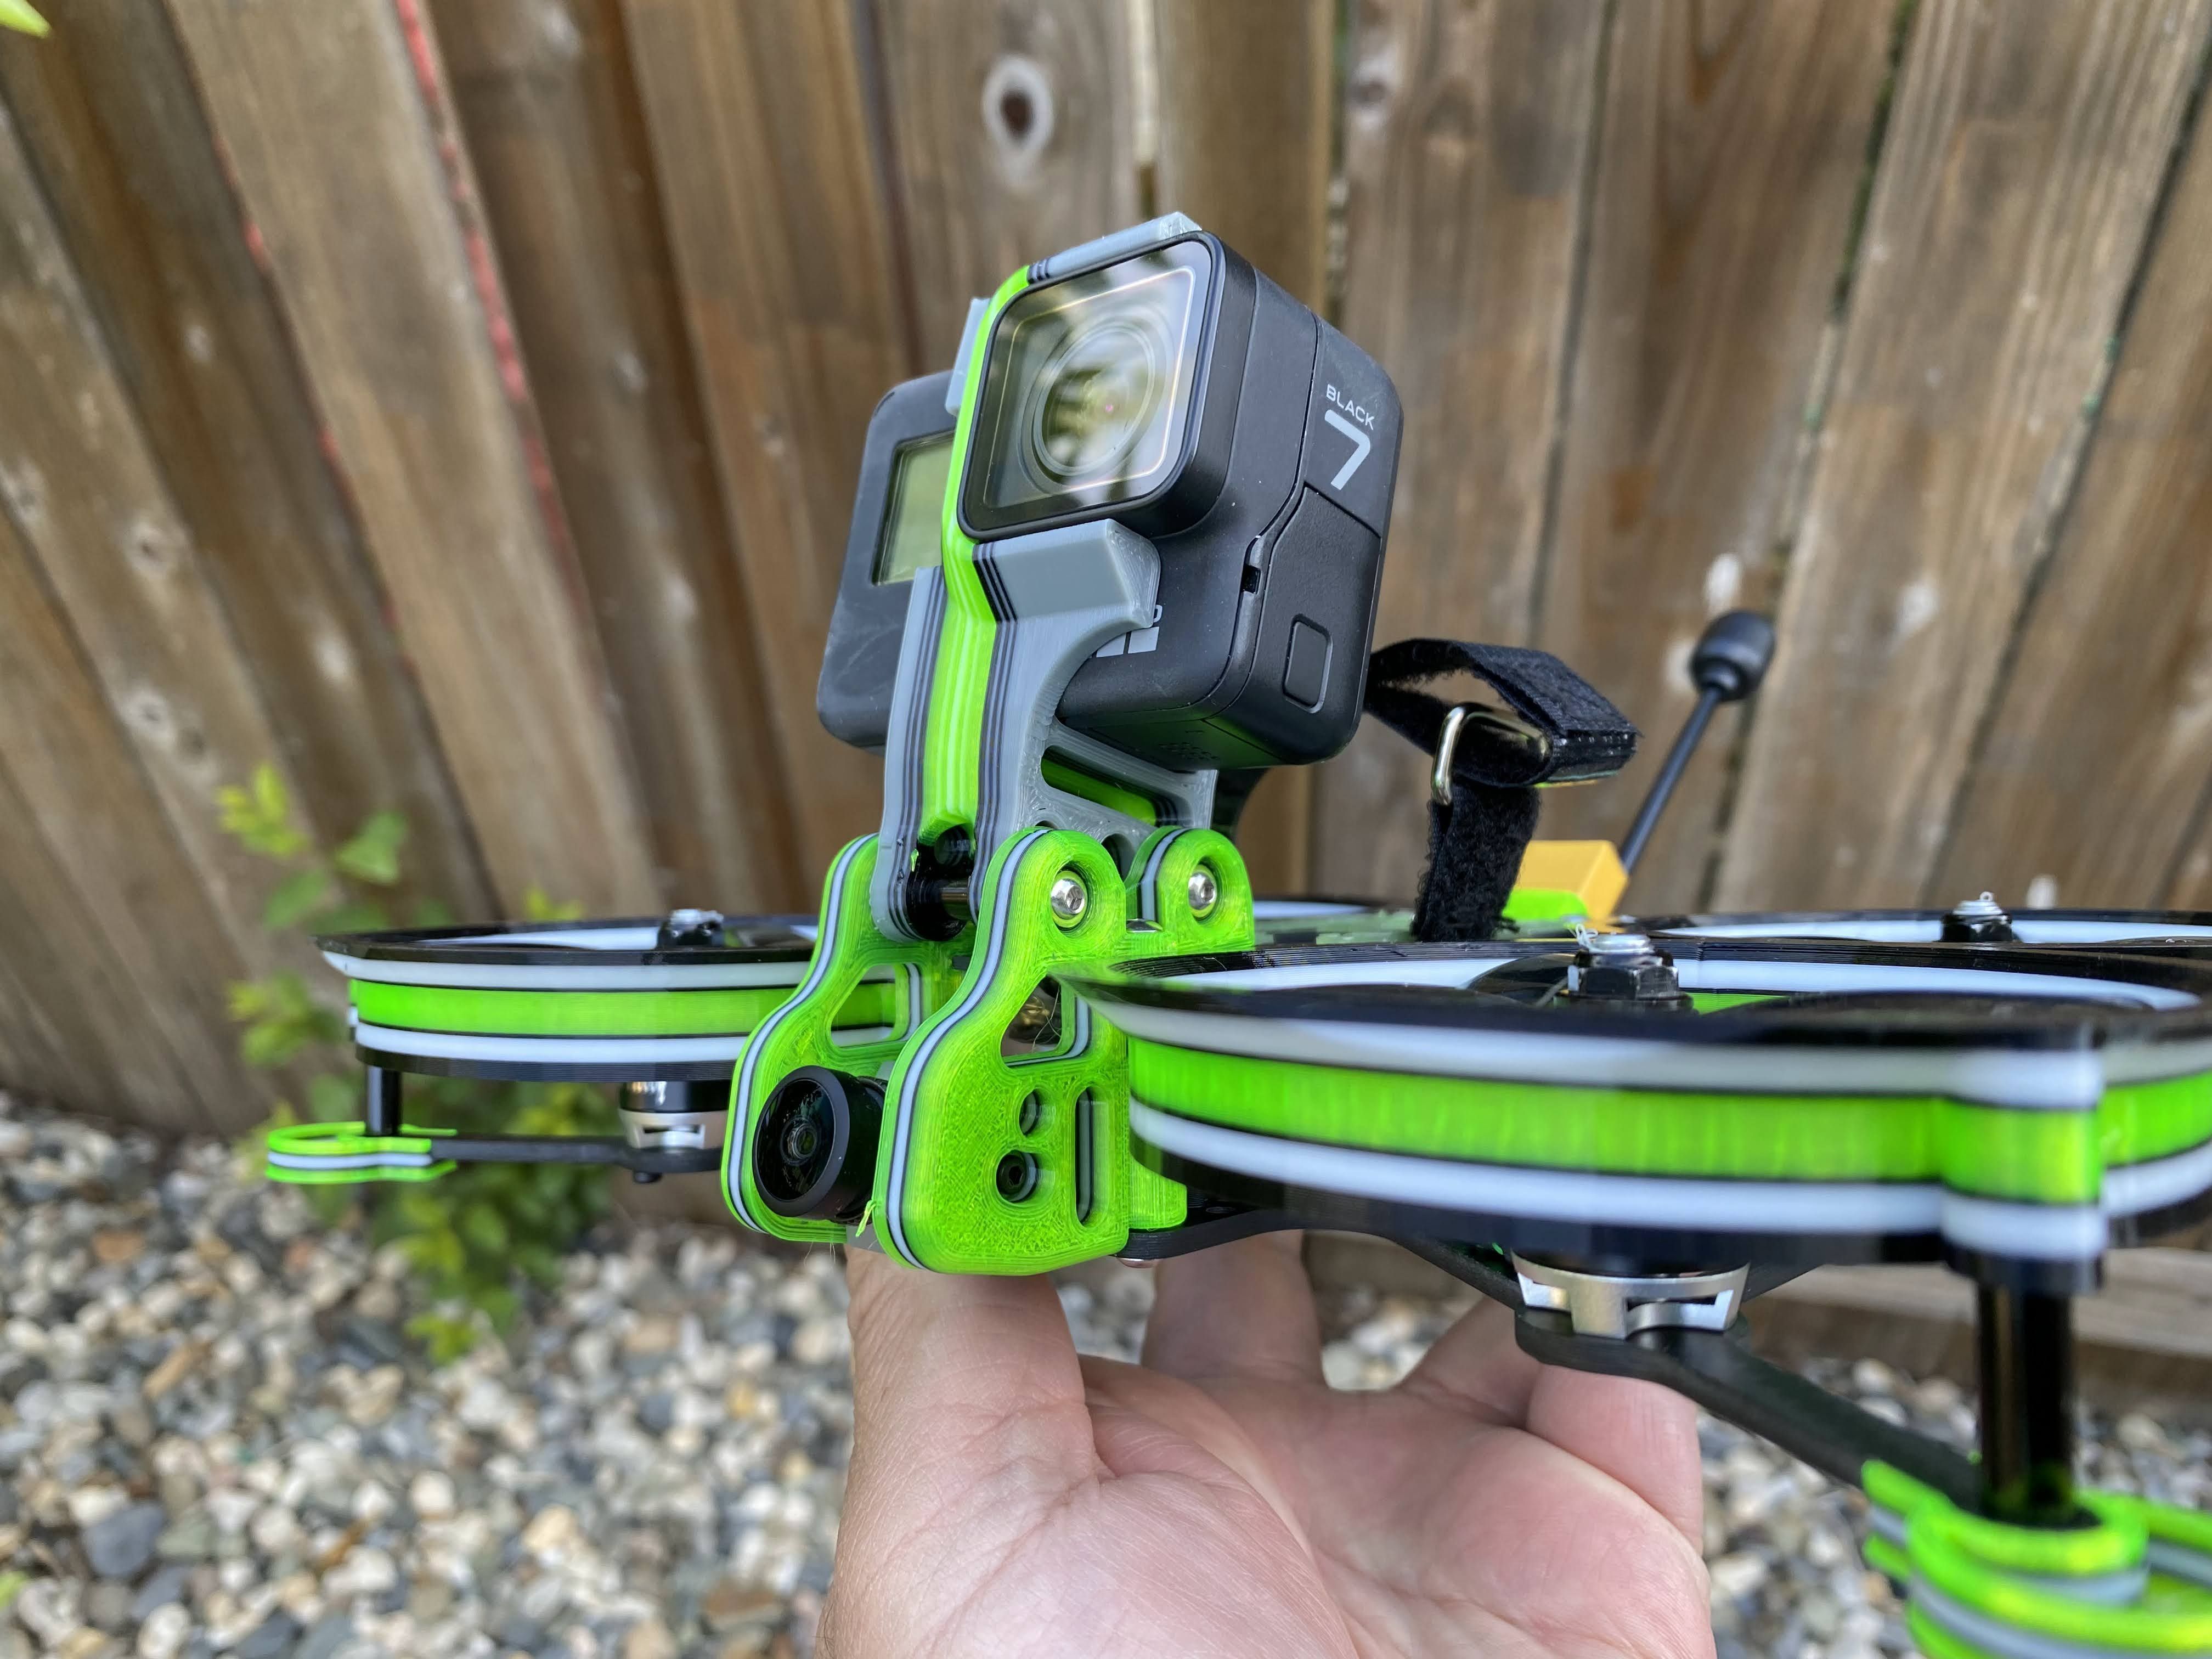
Full GoPro 7 Black with Battery.
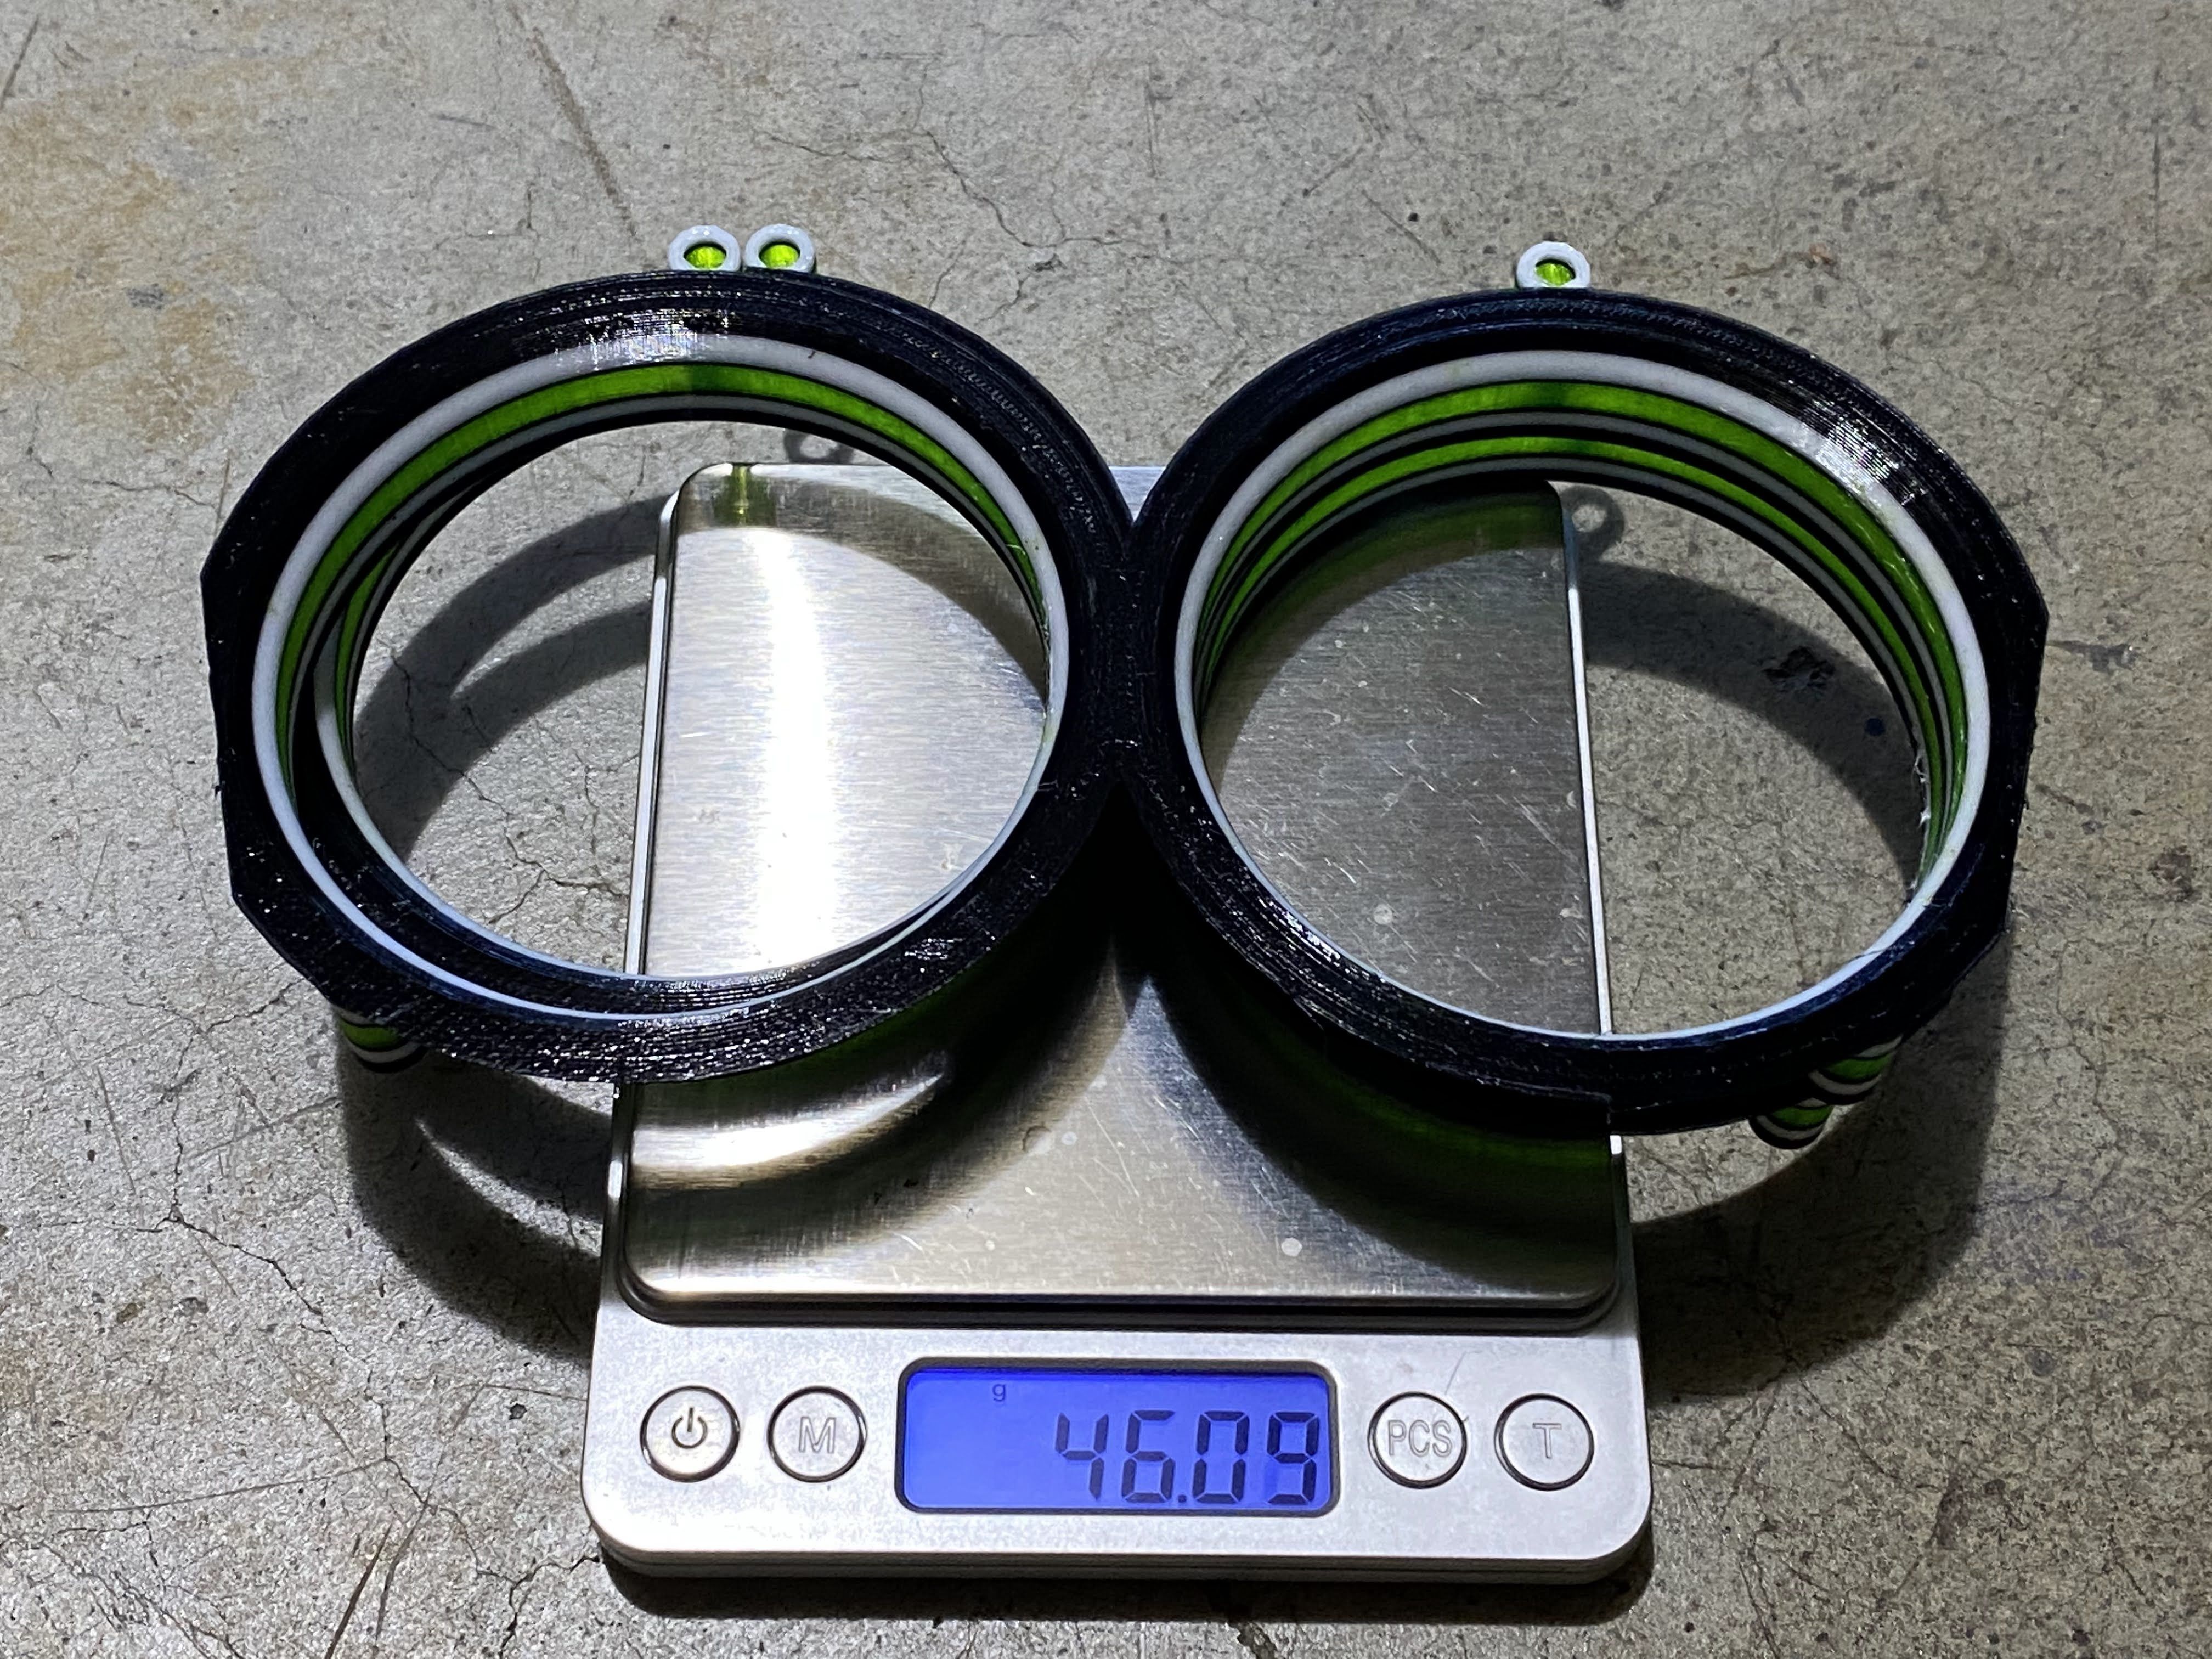
+3mm Ducts
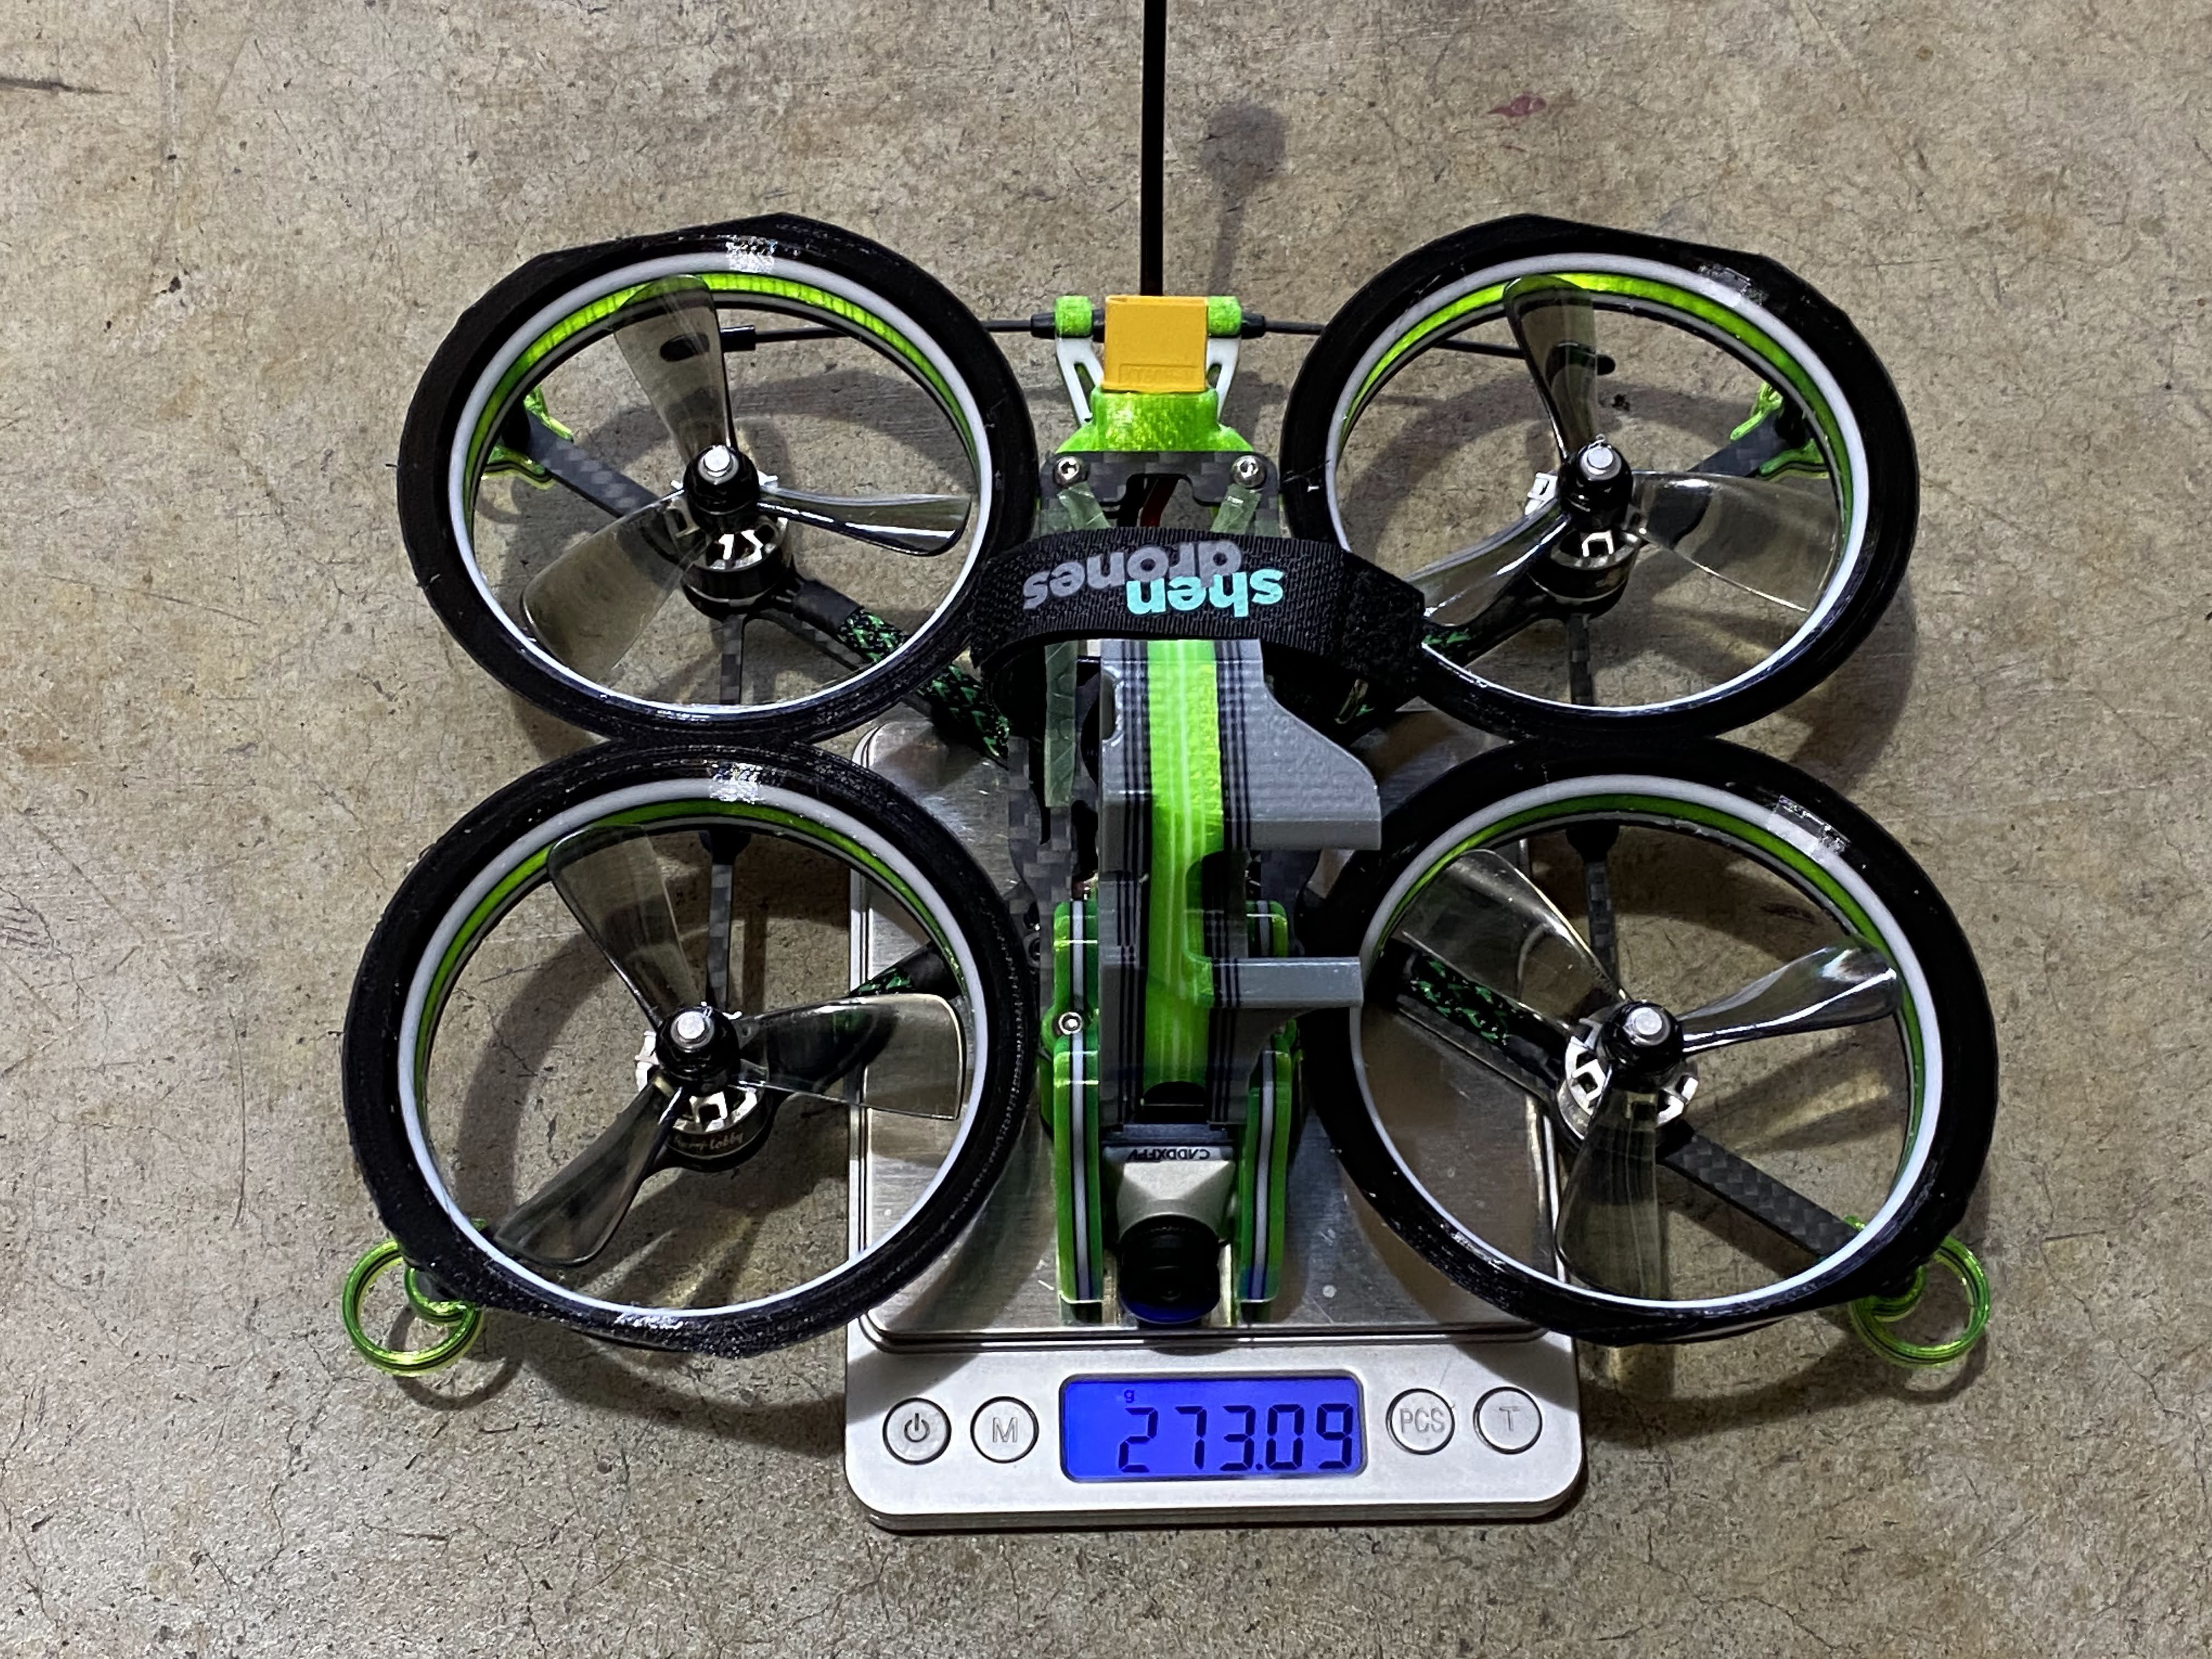
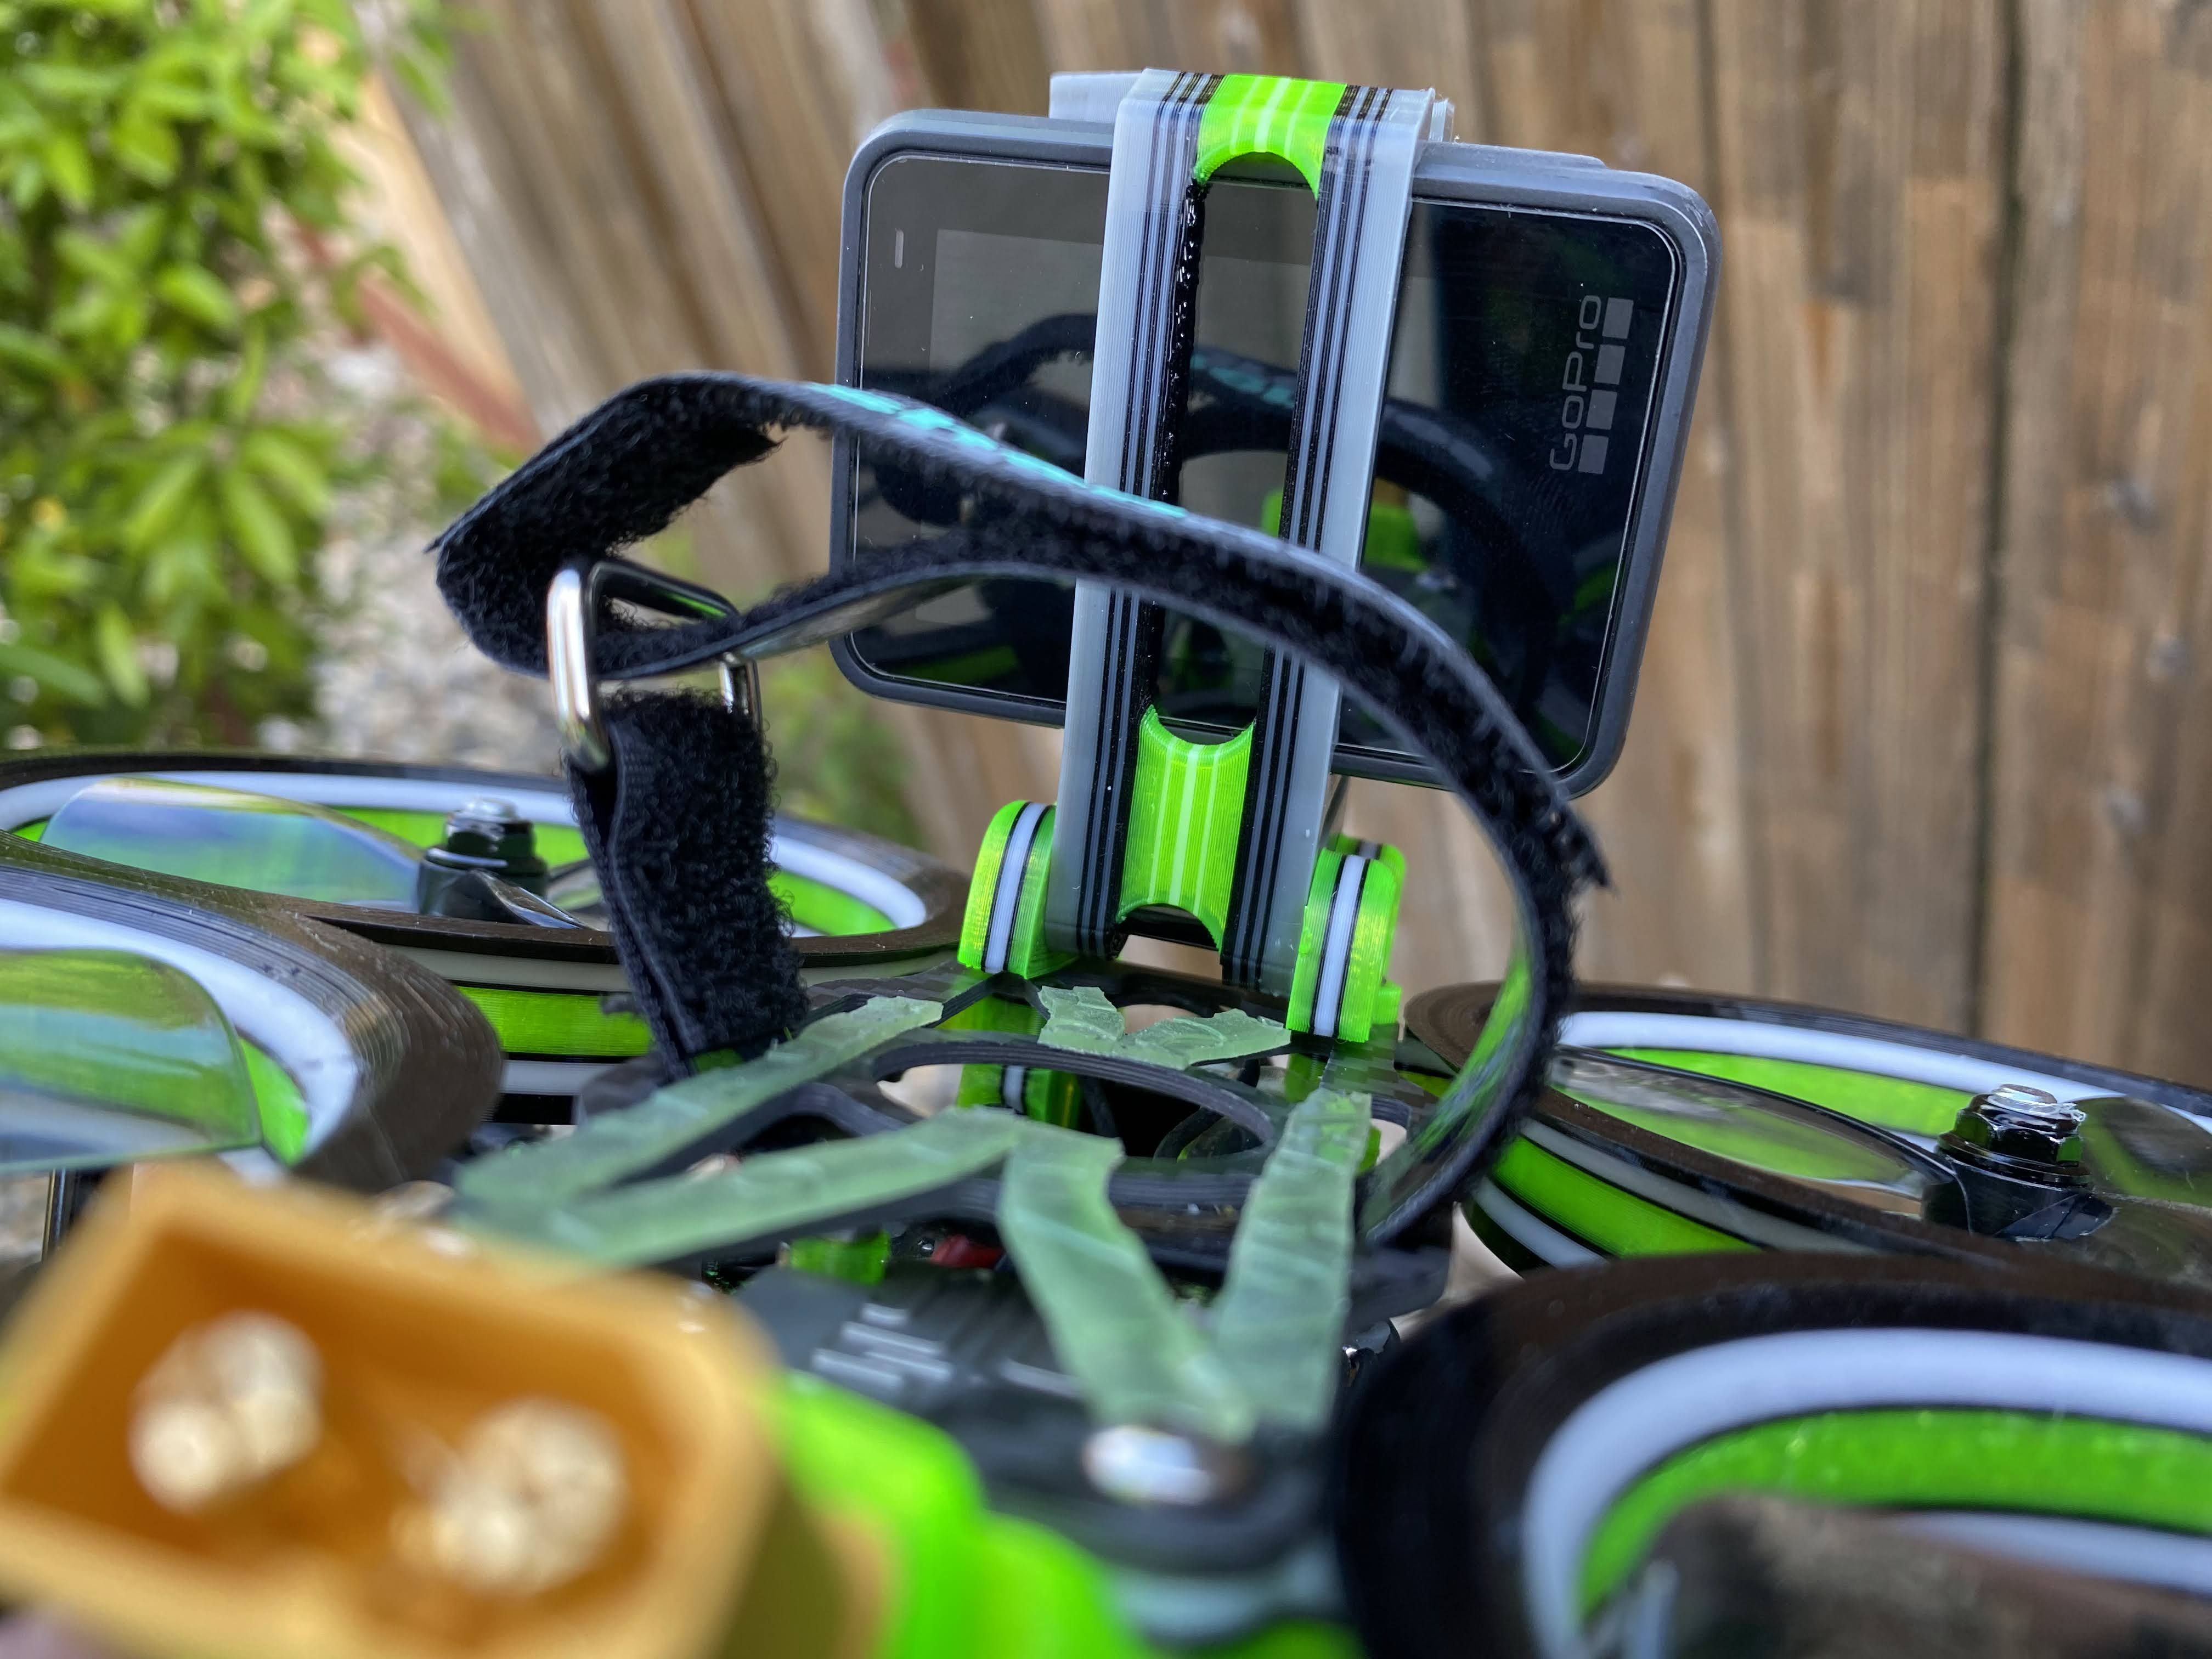
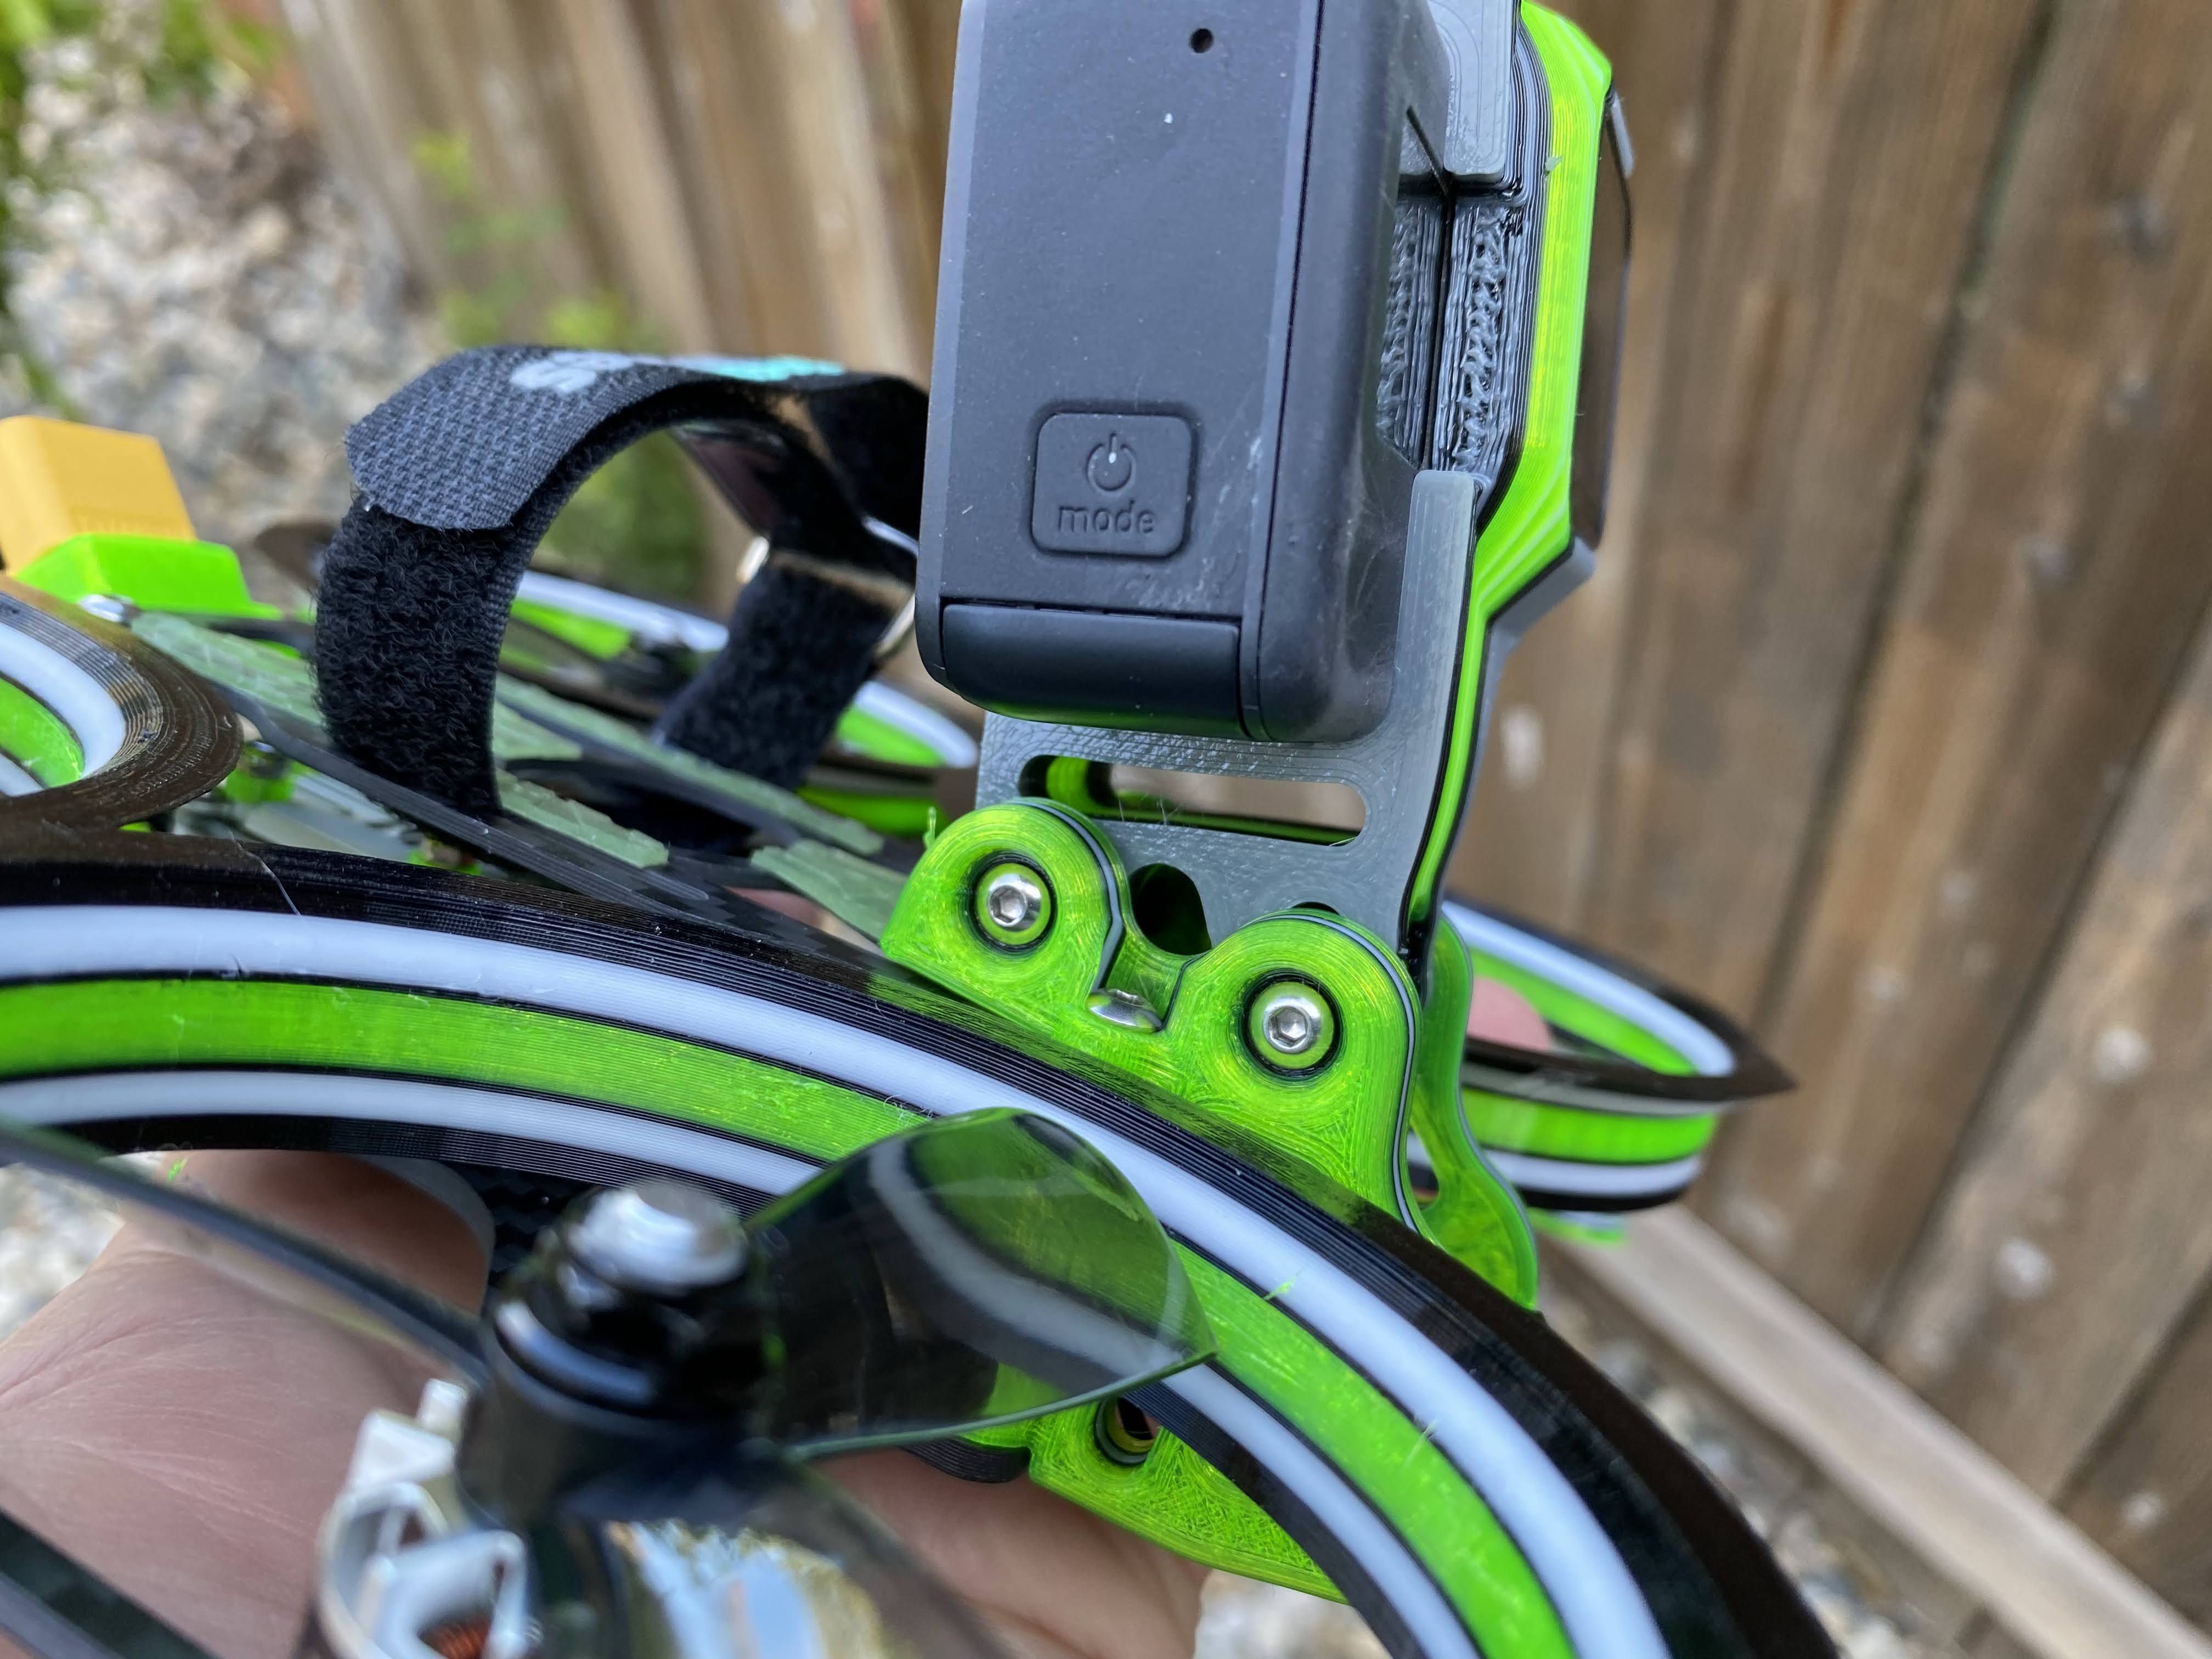
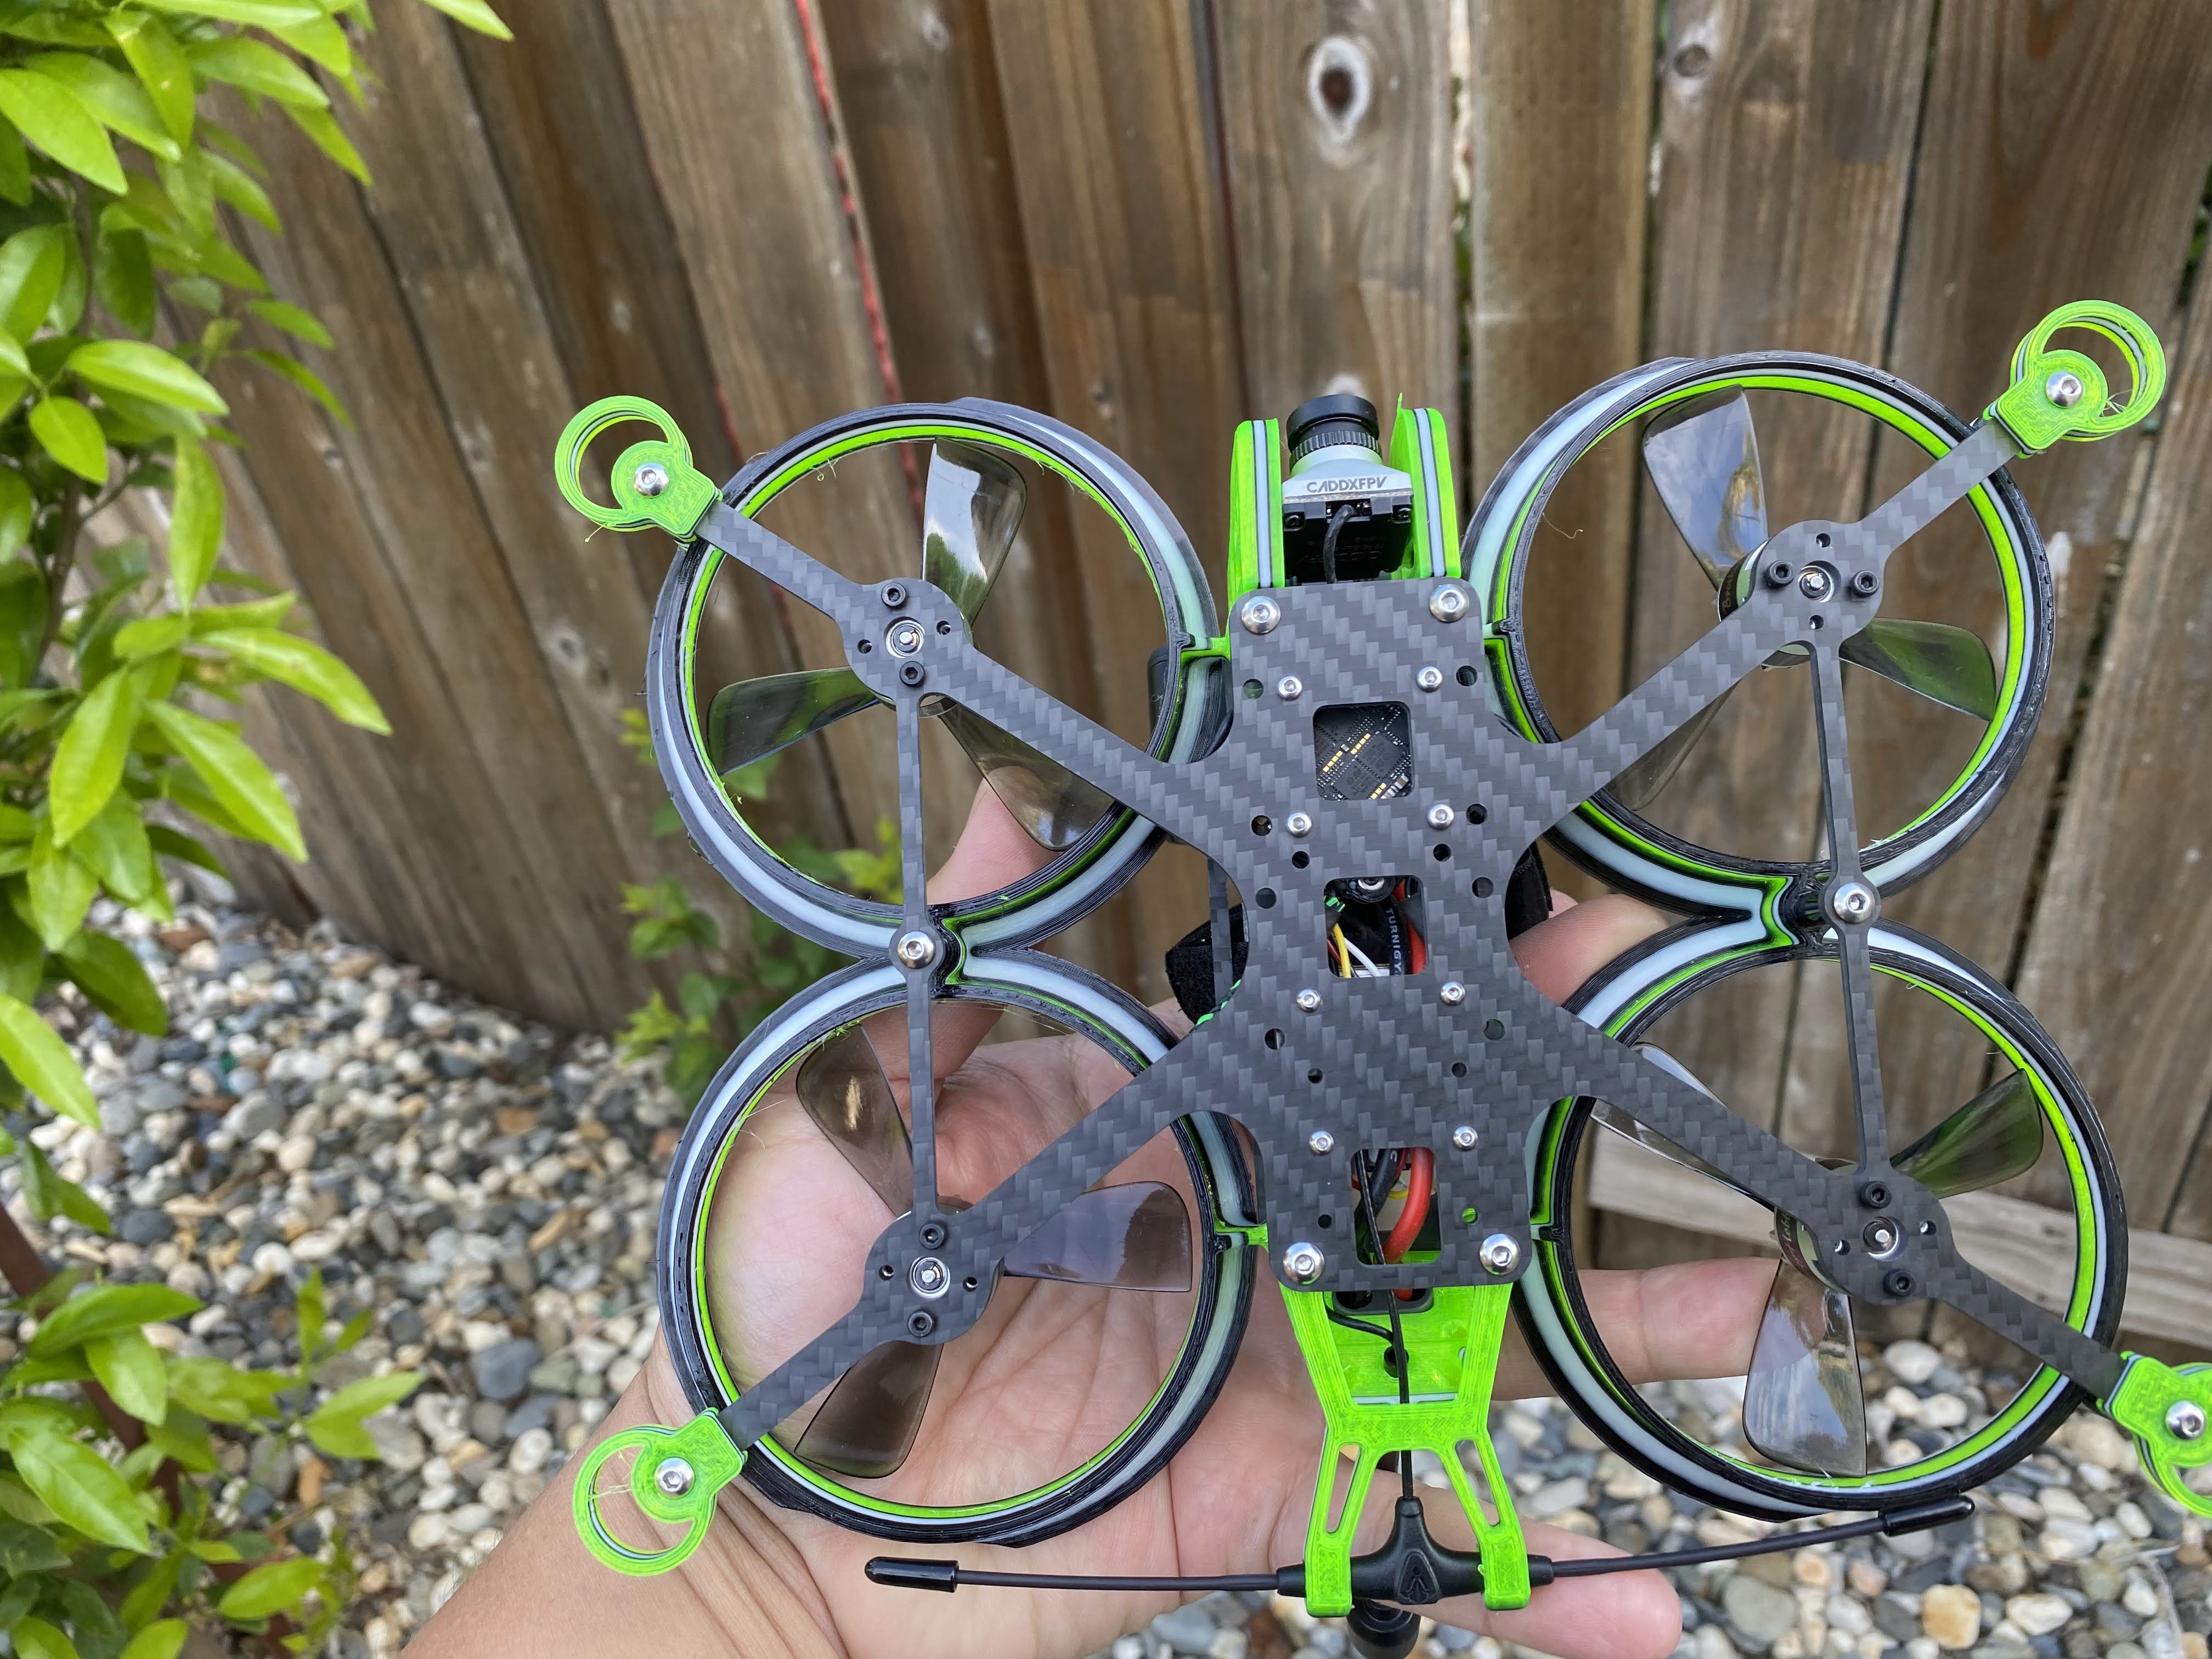
What does +3mm ducts mean? Like I mentioned earlier, how the props are positioned inside the ducts based on the original design slammed ducts that Drone Co Production created. Look at the picture to the right and the position of the lowest part of the props. It currently sits right near the bottom white strip. So, without the modified duct the props would be 3mm higher and it would be somewhere near the green part of the ducts. Next, I printed another duct that is positioned 5mm higher. I am not going into details about the 5mm ducts except that I saw a slight increase in flight time. So, my idea of positioning the prop in the ducts should be as low as possible but not outside of the duct might have a positive effect.
I will plan to try using HQ DUCTED HEXA-BLADE 6 BLADE PROPELLER 75MM to see what kind of flight times I get. In the meantime, I need to fine tune the 76mm ducts to see if makes a difference with the flight times.
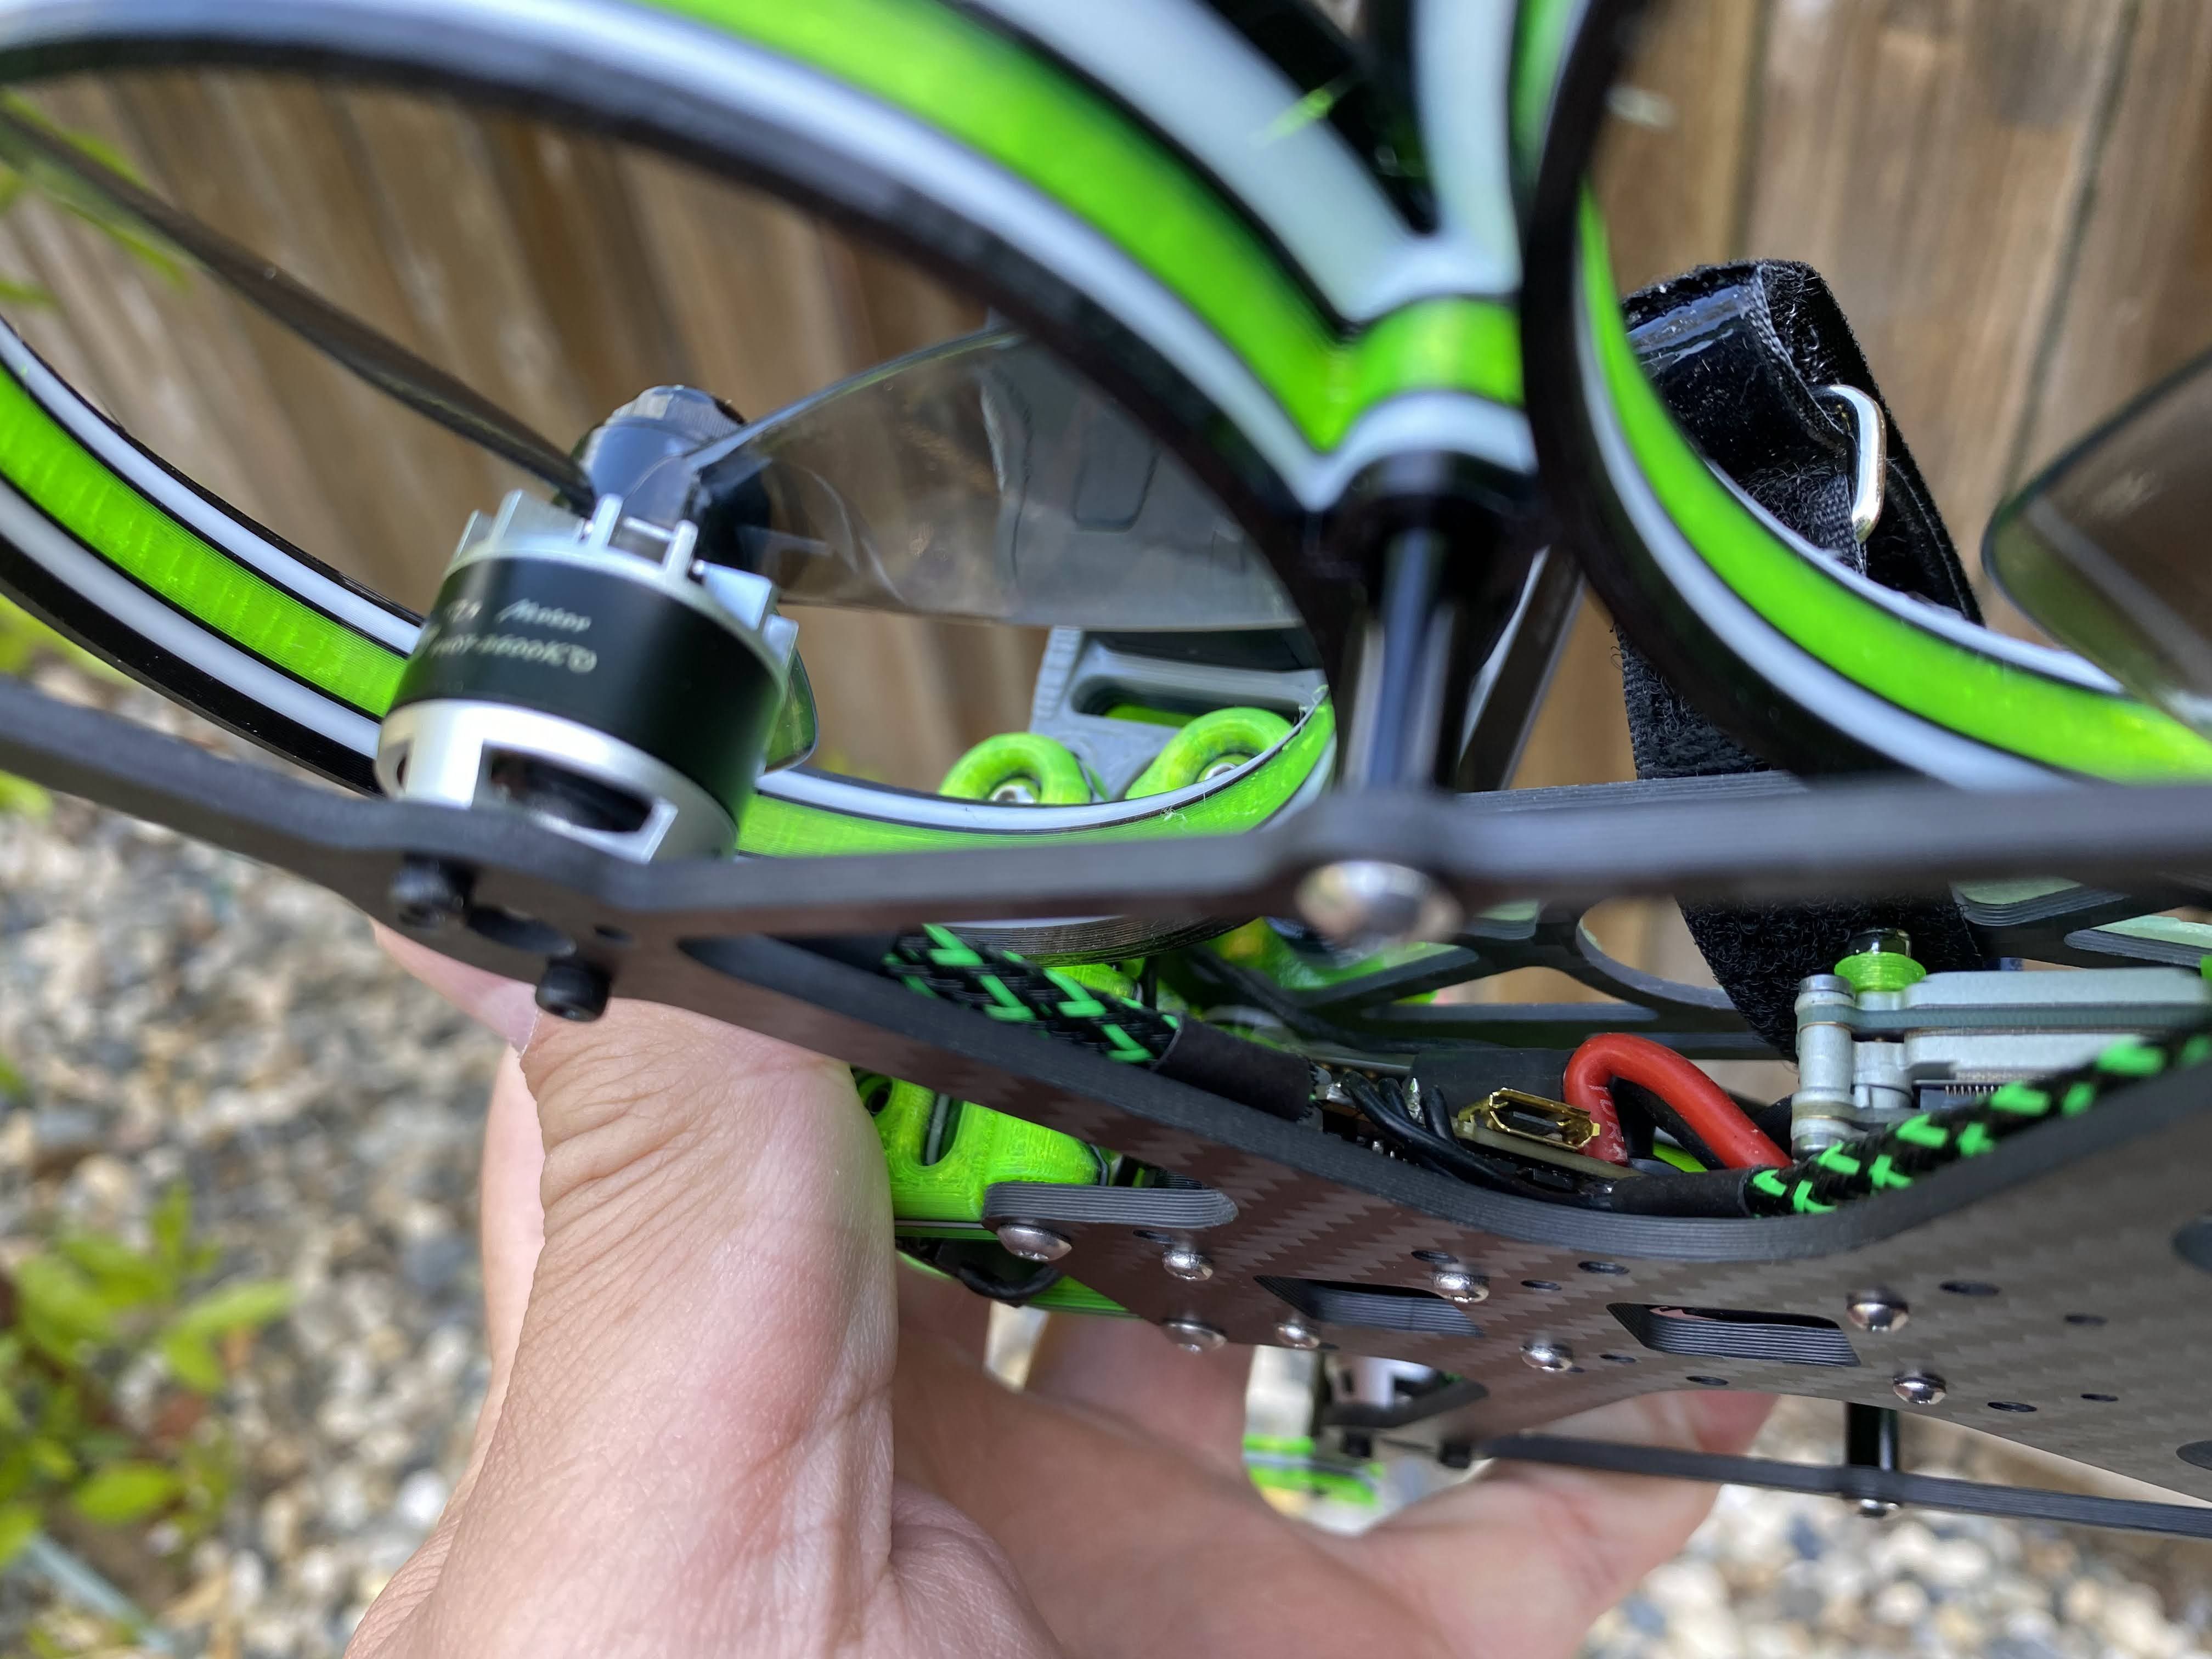
Updated Ducts (moved 8mm up)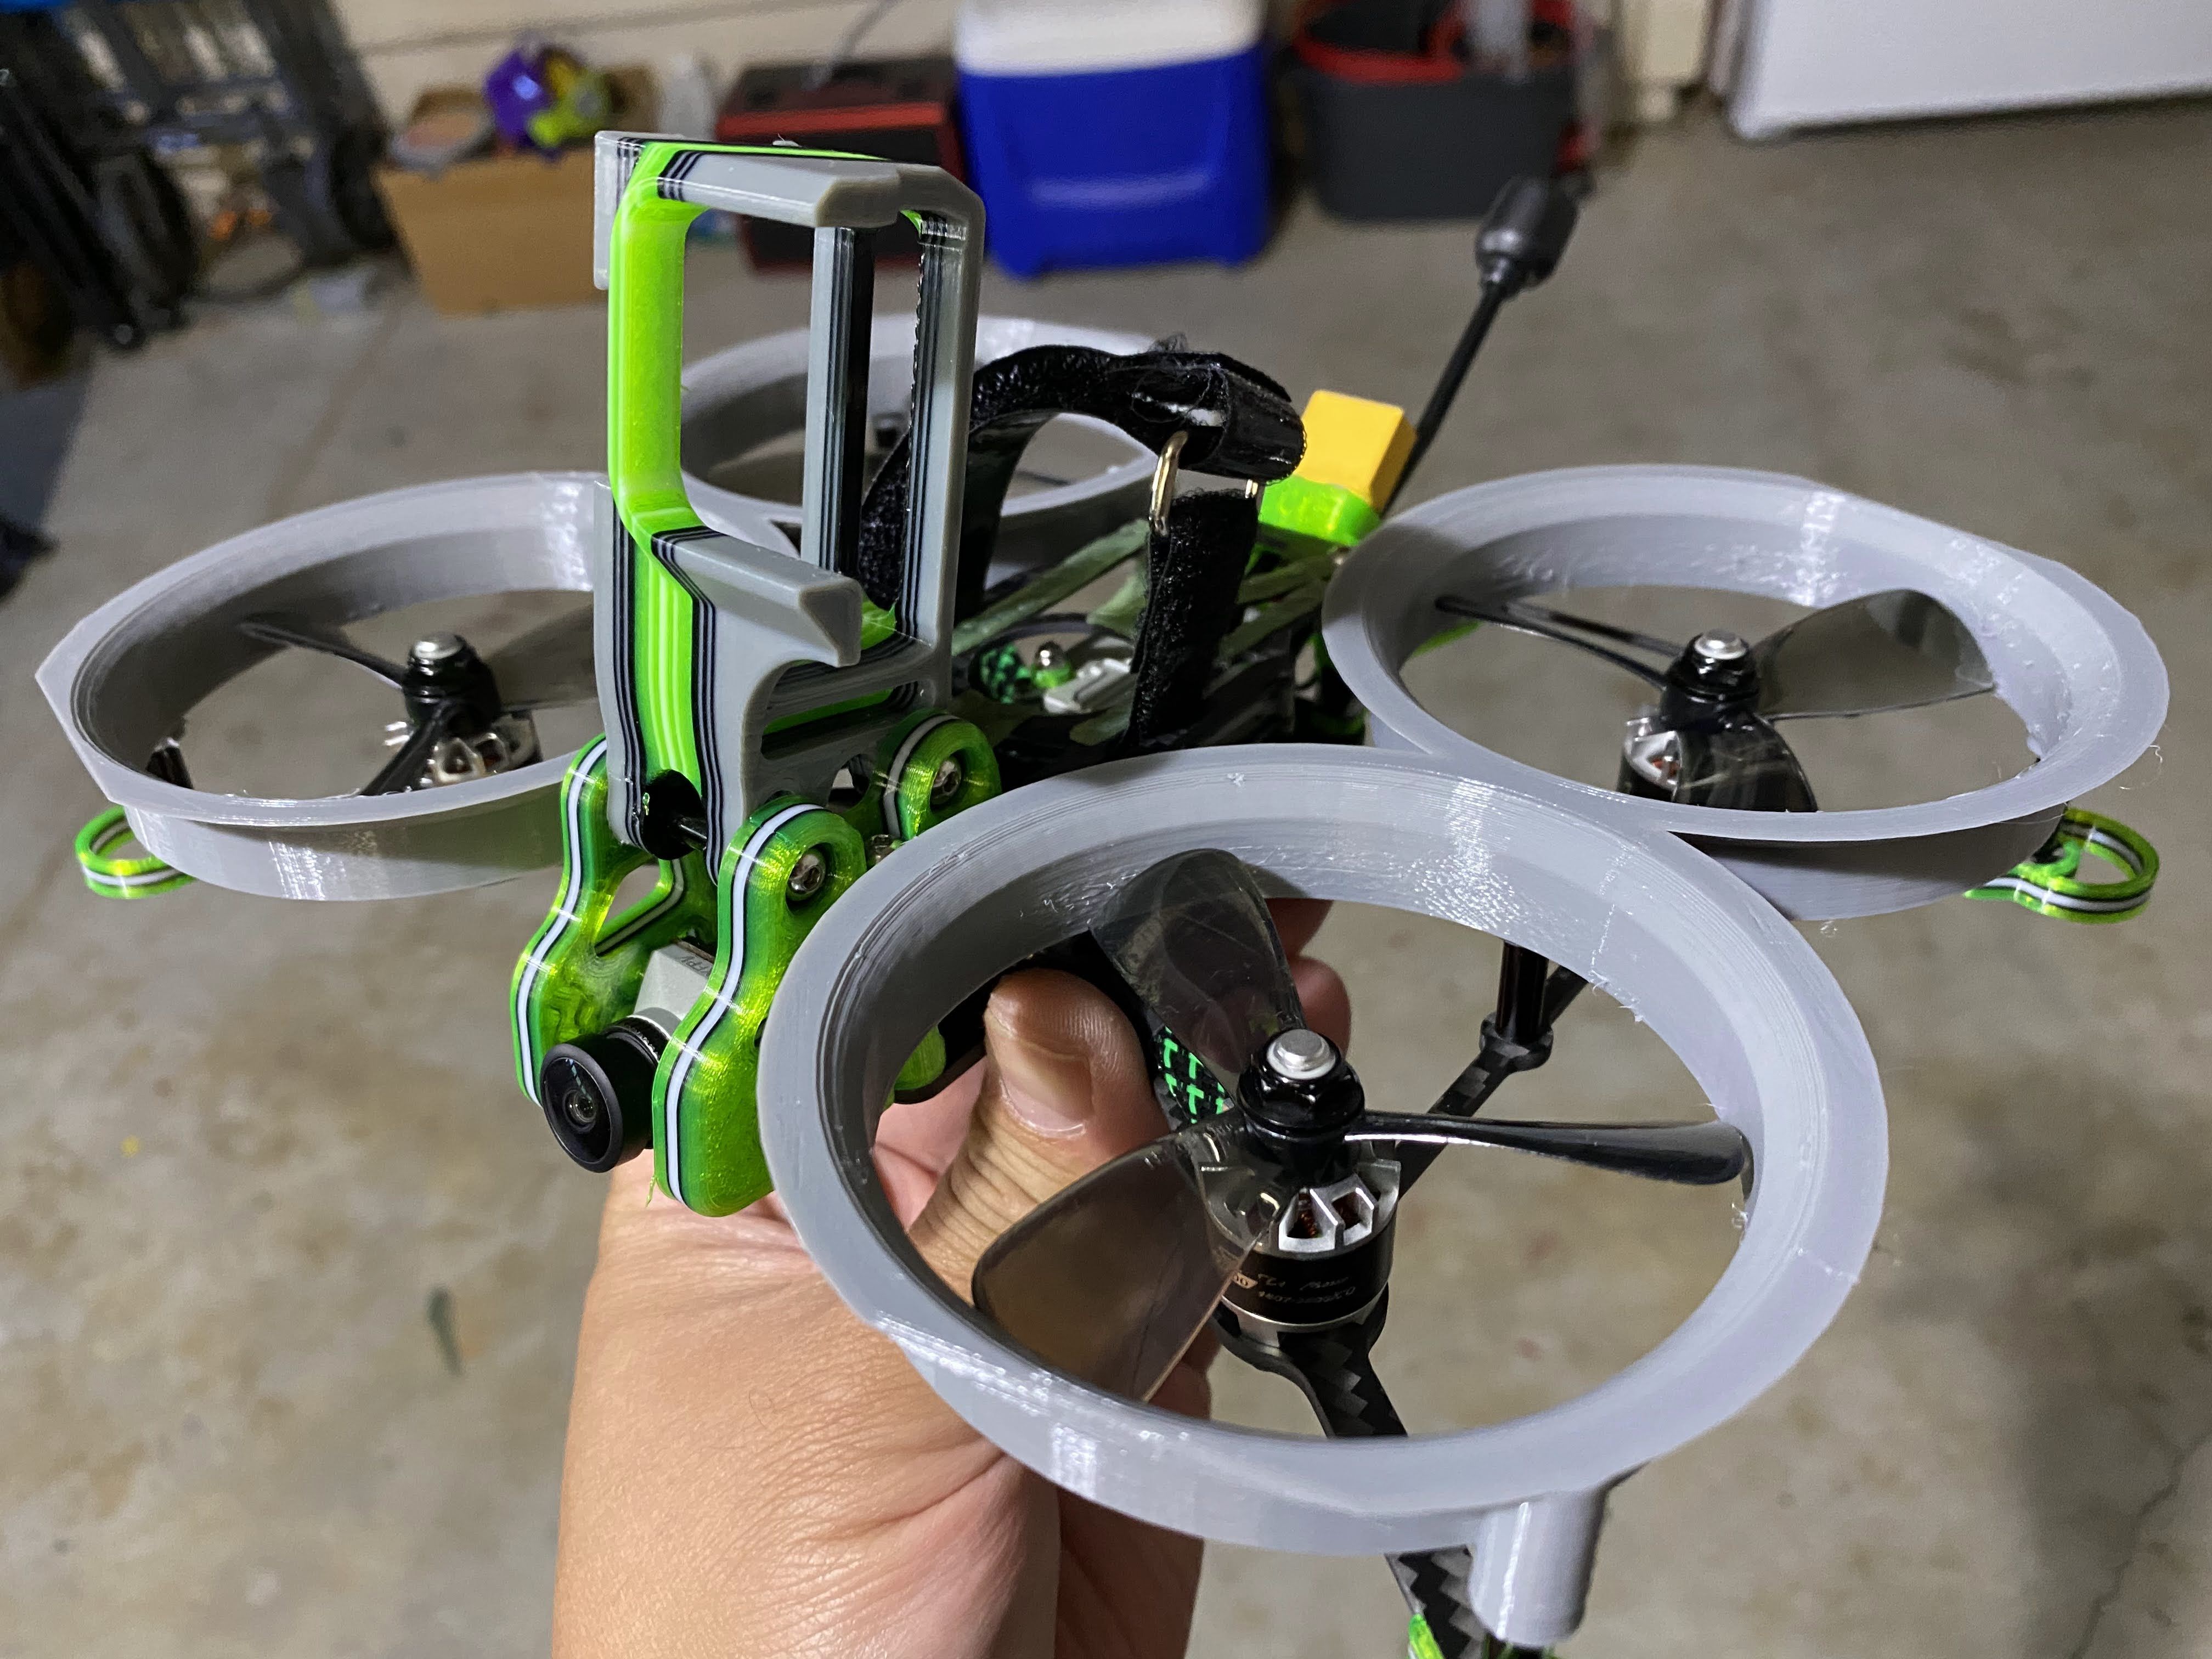
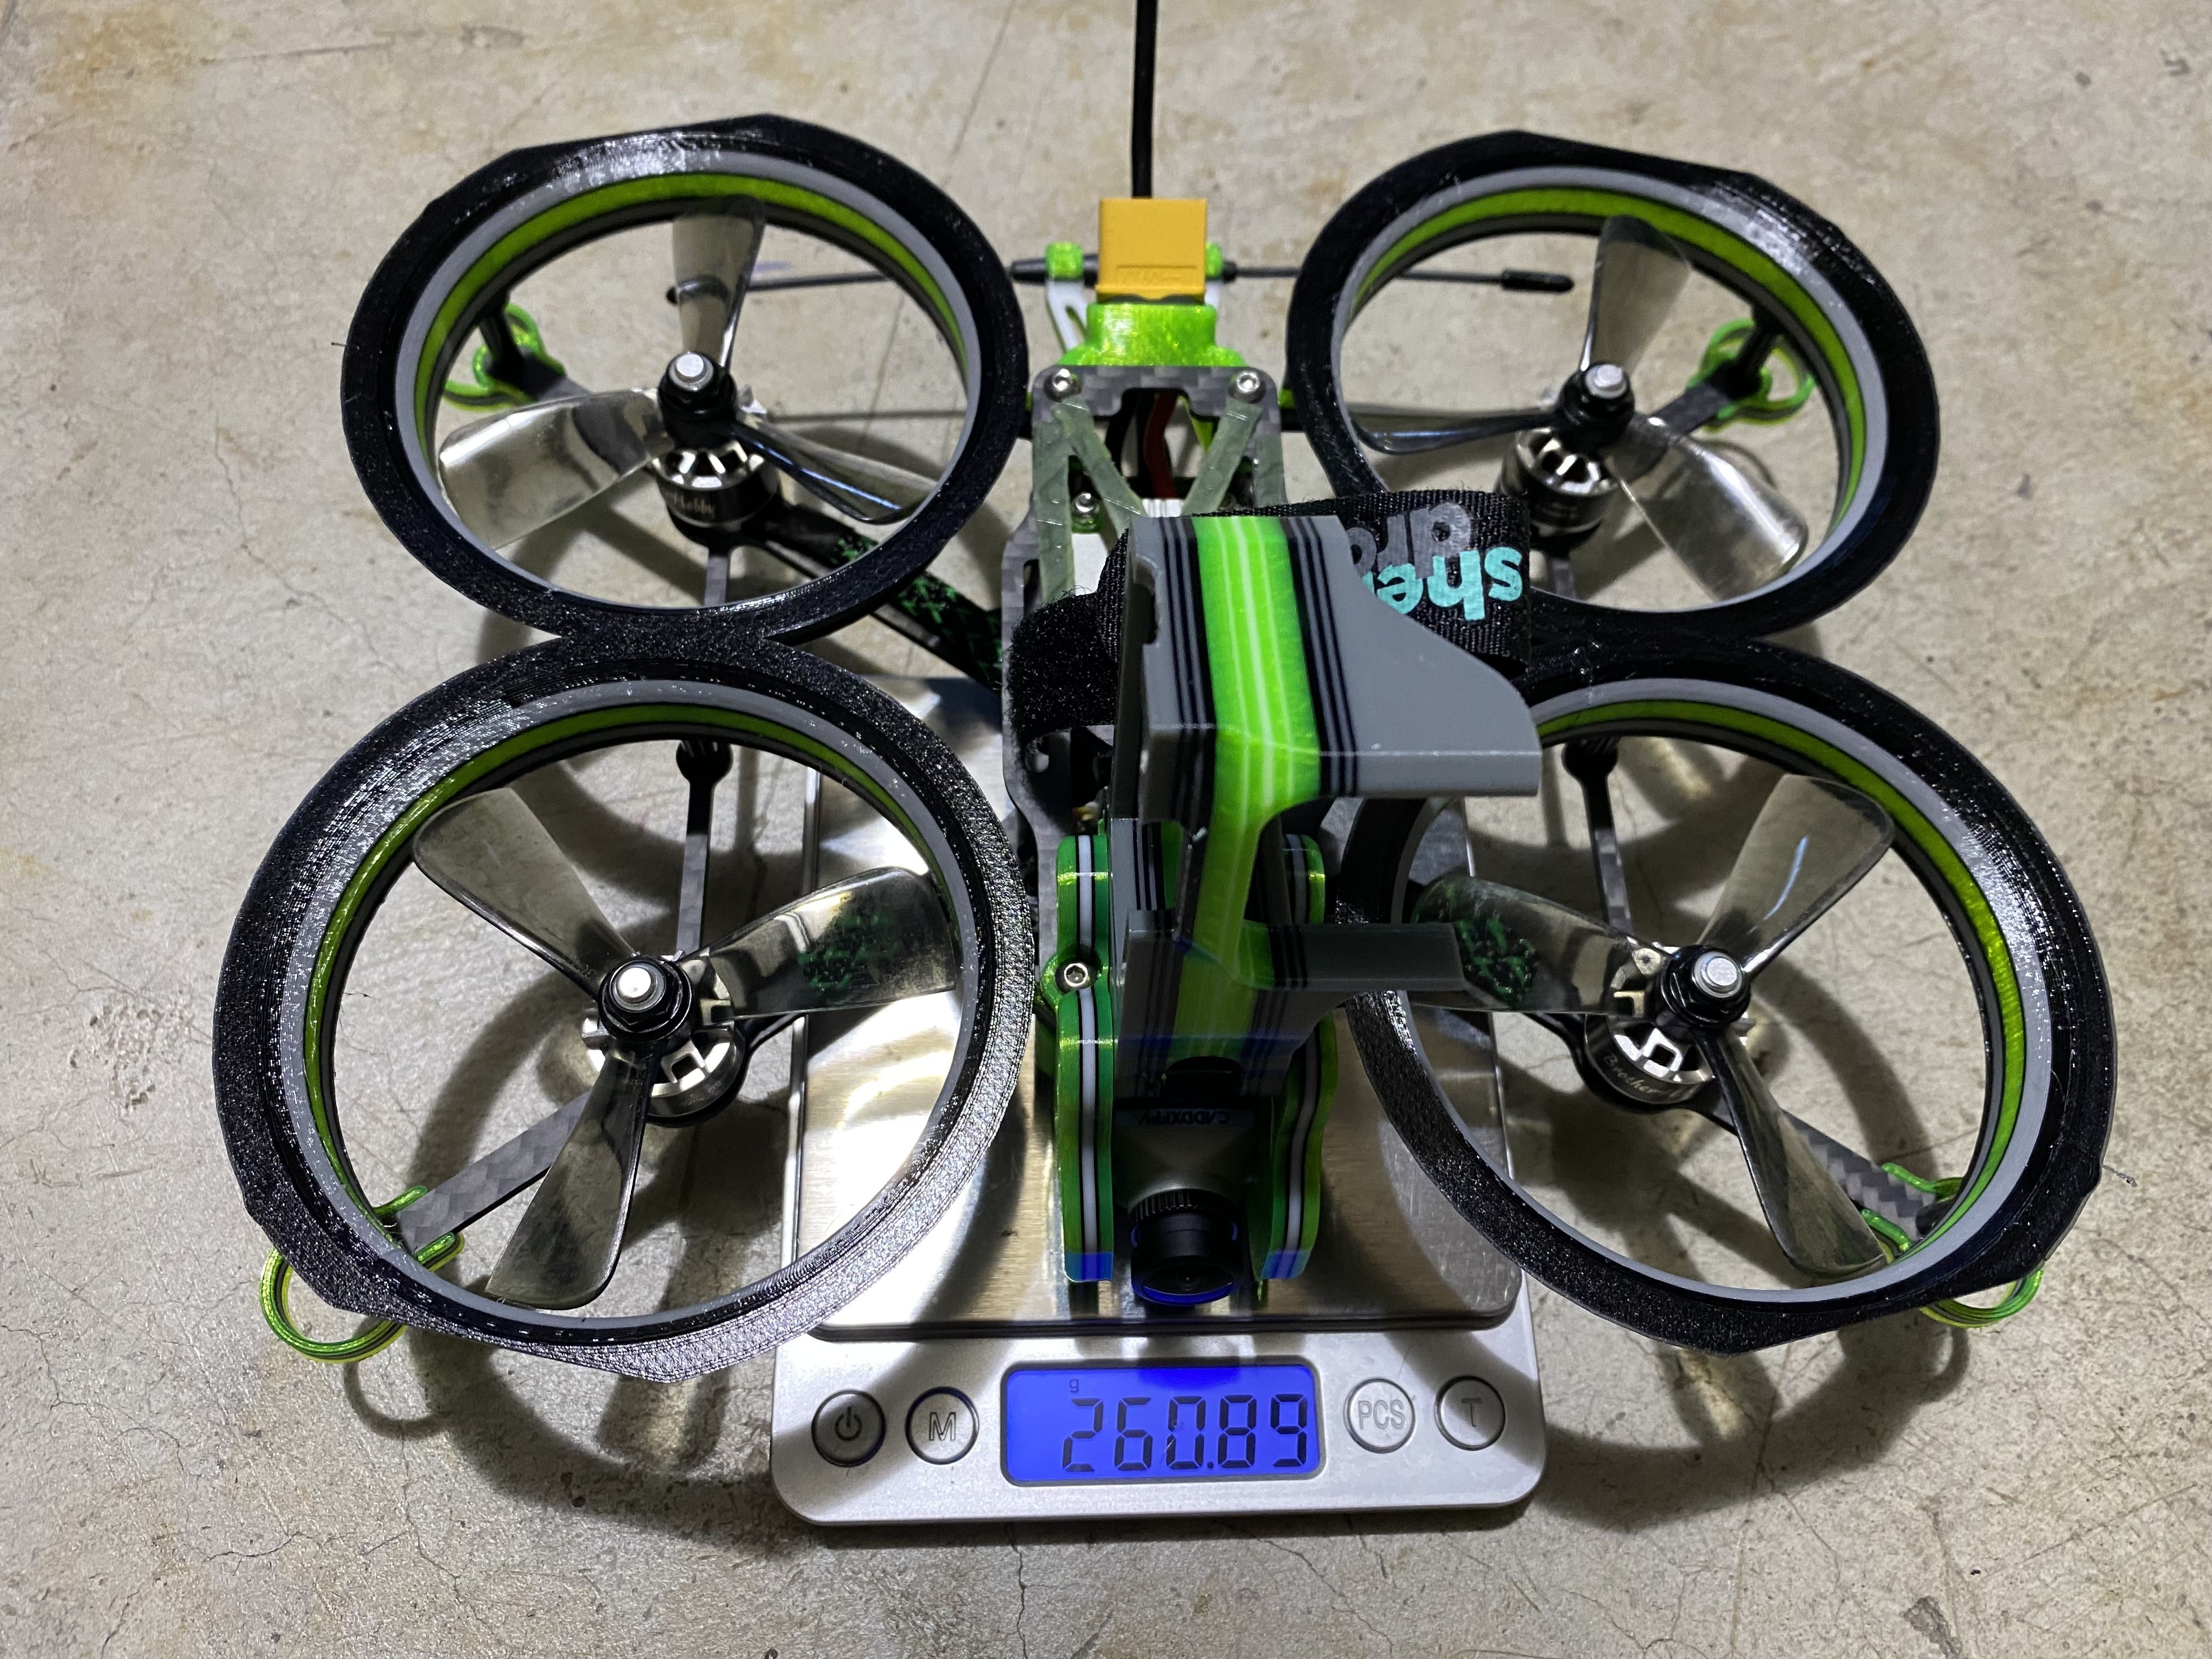
So, it seems like that prop position in relations to the ducts can make a difference in flight time. I am assuming I am getting more thrust because the lower amp draws and longer flight times. If you use different motors that stator height may change especially if you use 1407 motors vs 2103 motors. The 1407 would 4mm taller, assuming the base of the motor are identical in height. With that said, this duct position will not work for all motors and props. It may come close to other motors with 7mm stator height. This time around, I position the props a tad before it sits flush to the bottom of the ducts and that came out to me 8mm. Look at the picture on the right to see how much further the props are inside the ducts. I had to make a few more changes to the ducts, by extend the mounting holes to makes sure it is deep enough that the pressure fitted standoff do not slip off. With those changes I gained about 1 minute of flight time compared to the original ducts.
................................................................
~10 minutes - NEW Tattu 1300mah 4s HV (HV charge 4.35v per cell)
~14 minutes - GEPRC VTC6 3000mah 4s 18650 Lithium Ion
................................................................
PID Tunes
Initially, I used EMUflight v0.4.0 with the 3/3.5" 4s Cinewhoop Presets and it flew fine but needs more fine tuning because they are meant for bigger motors. Then I went back to Betaflight 4.1.5 because it was something that I used in the past and worked well with 1407 motors. If you are intrested in the old PID tune, you can find all the screen shots here: https://rotorbuilds.com/build/24647
Videos
Here are the videos of the 10 minute flight. Both video are from the same flight but one is with the GoPro 7 and the other is DJI DVR.
GOPRO 7 - 10:00 minutes - NEW Tattu 1300mah 4s HV (HV charge 4.35v per cell)
DJI DVR - 10:00 minutes - NEW Tattu 1300mah 4s HV (HV charge 4.35v per cell)
14 Minutes - 18650 Lithium Ion Flight
GOPRO 7 - 14 minutes - GEPRC VTC6 3000mah 4s 18650 Lithium Ion
DJI DVR - 14 minutes - GEPRC VTC6 3000mah 4s 18650 Lithium Ion
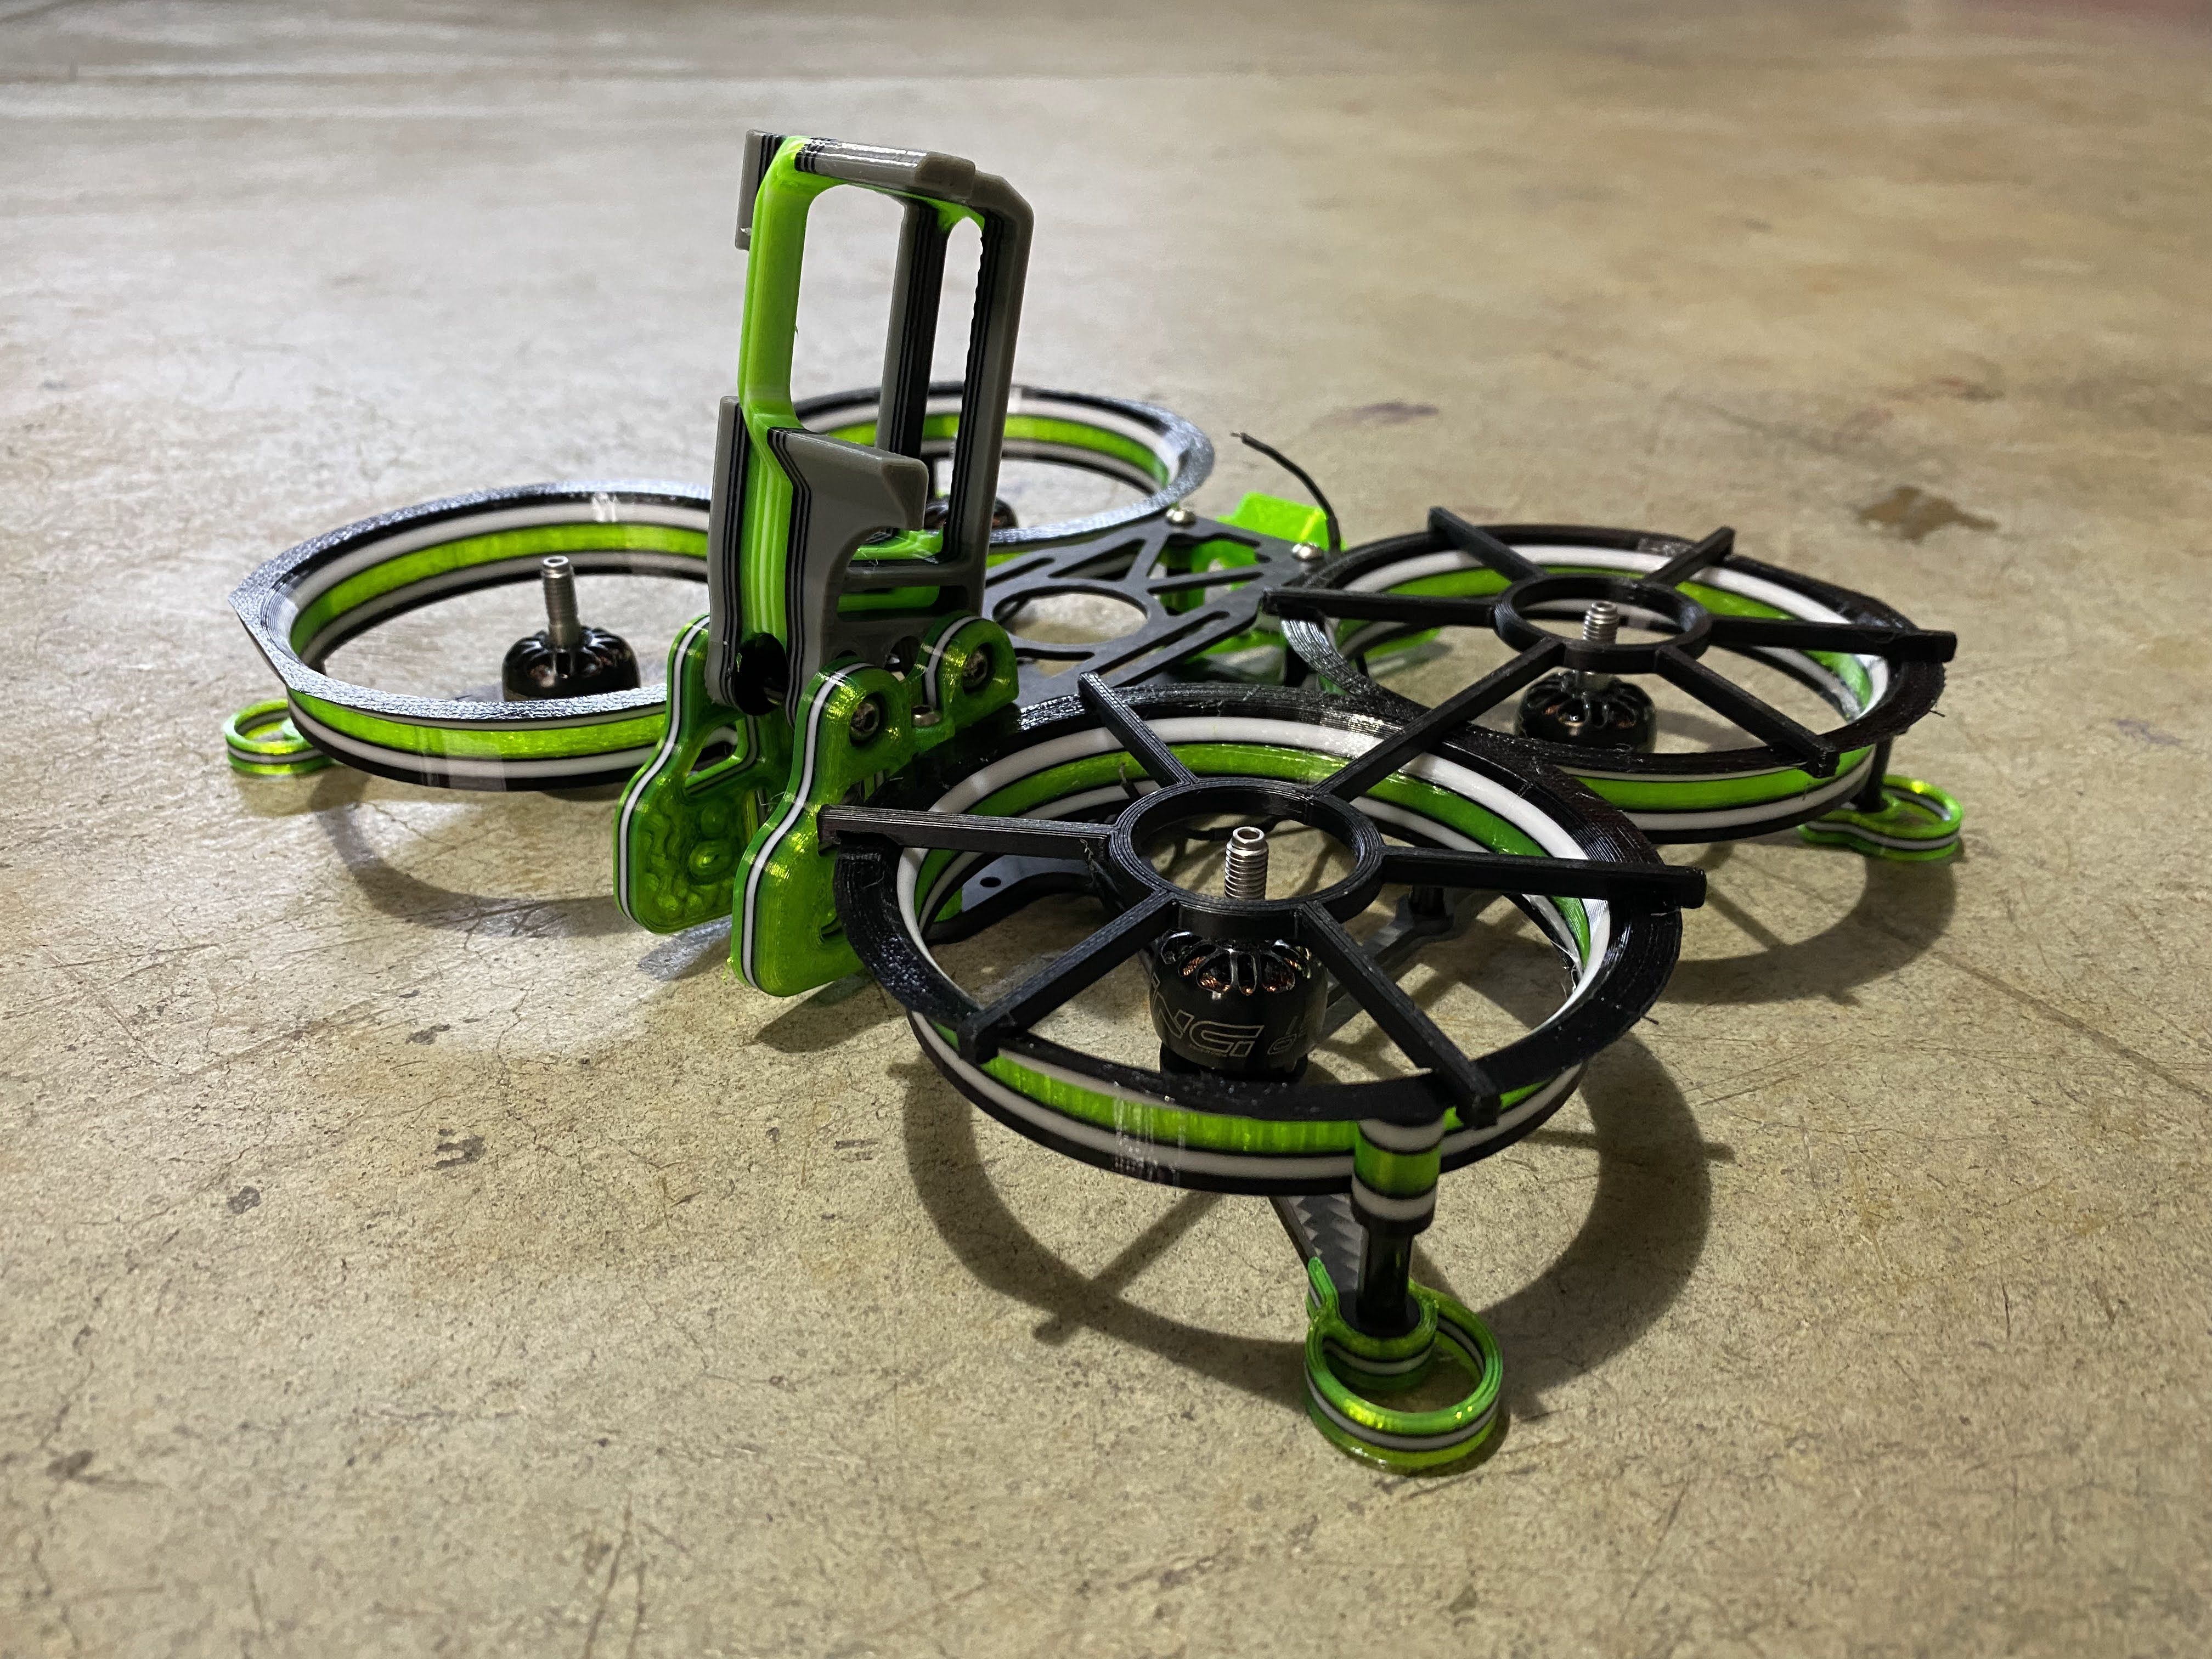
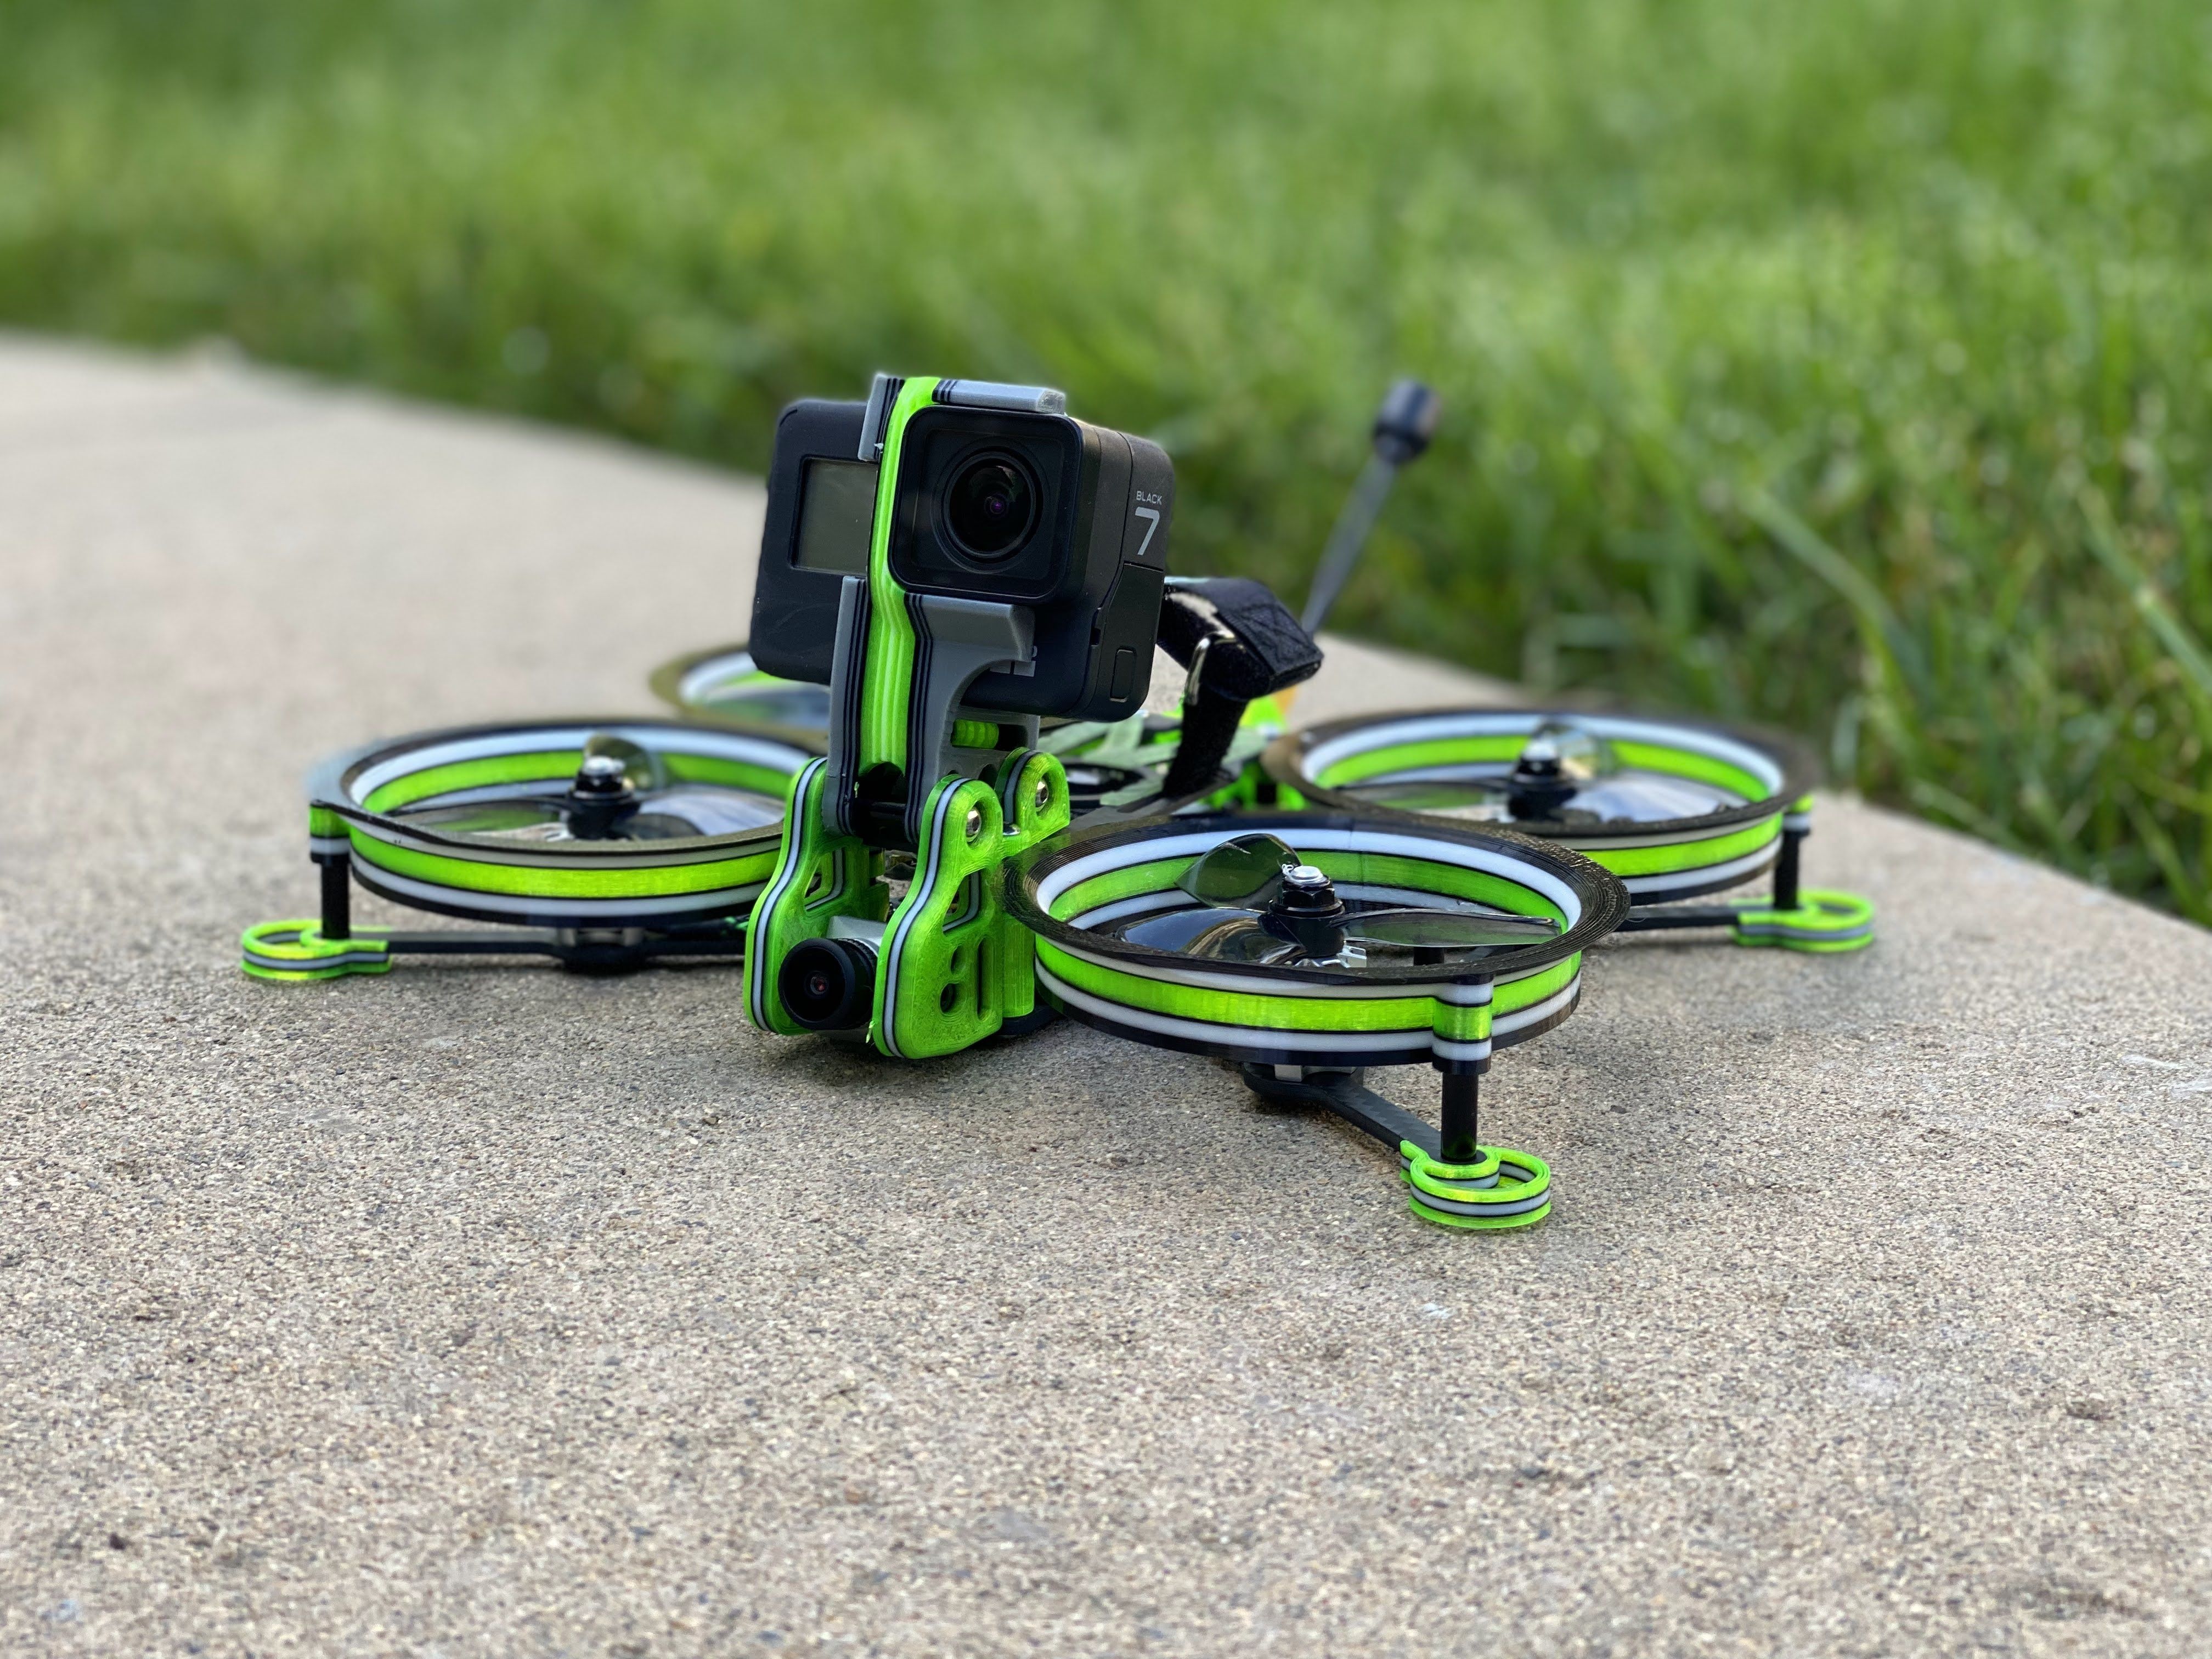
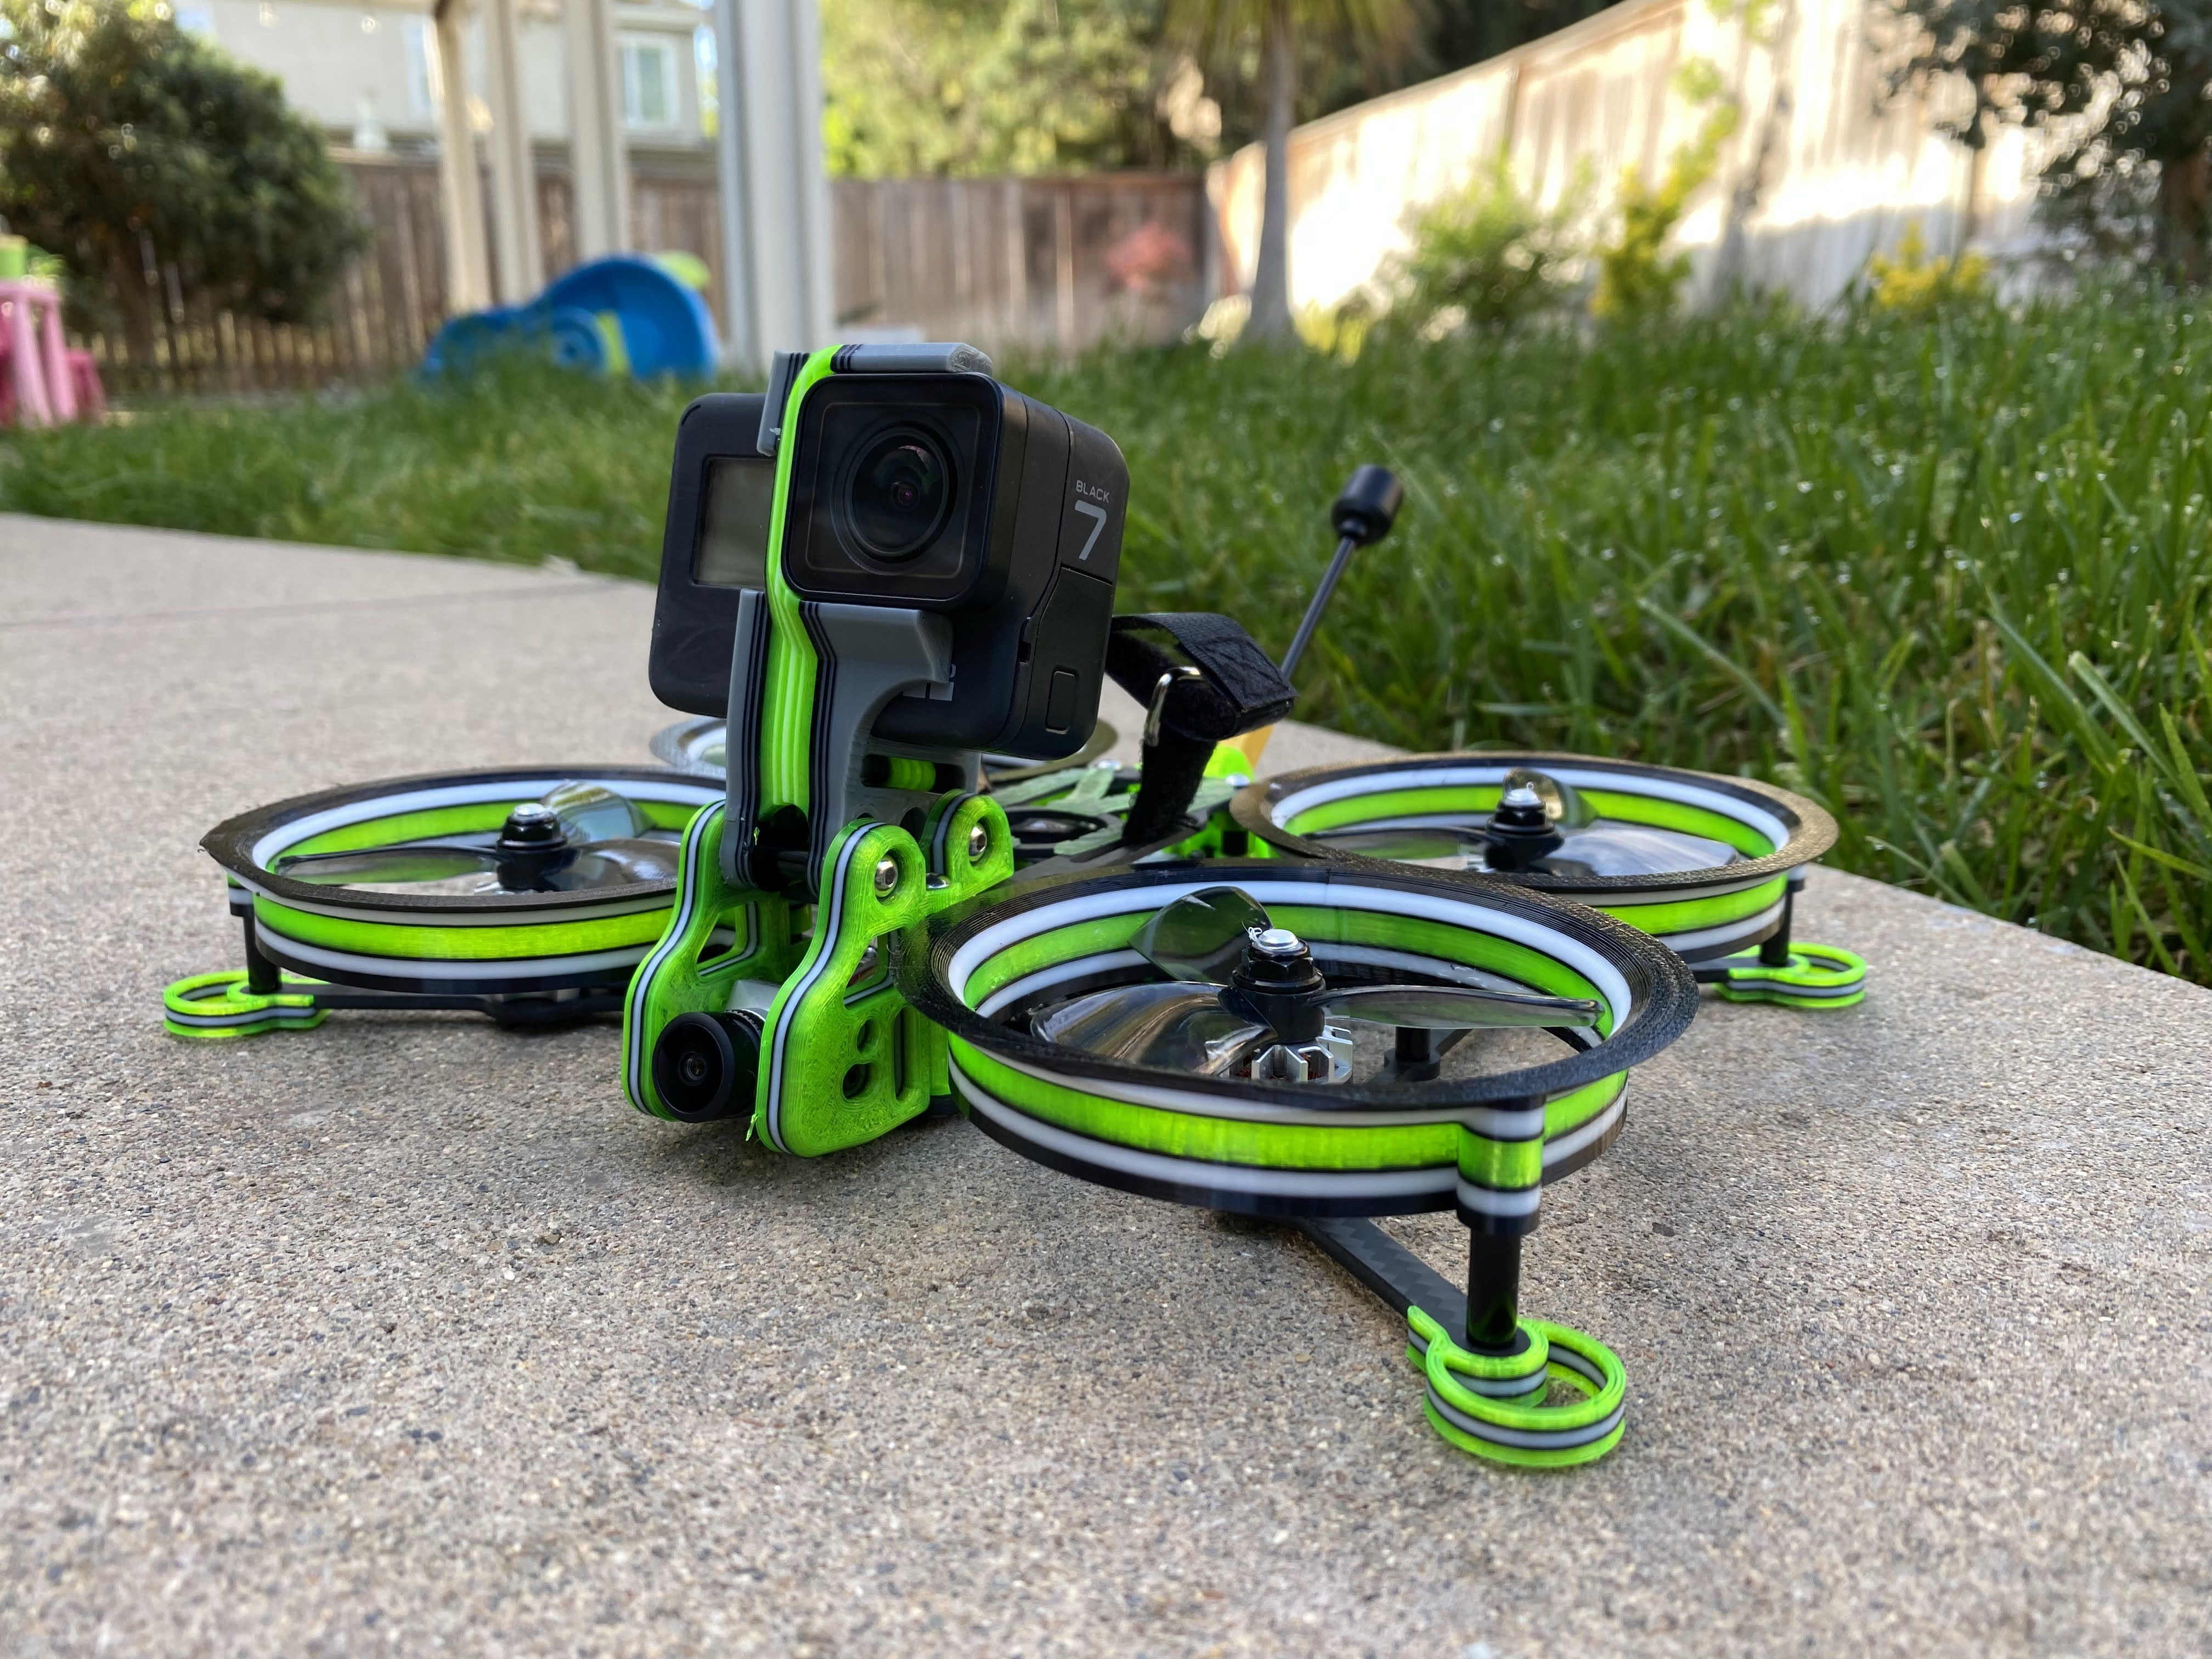
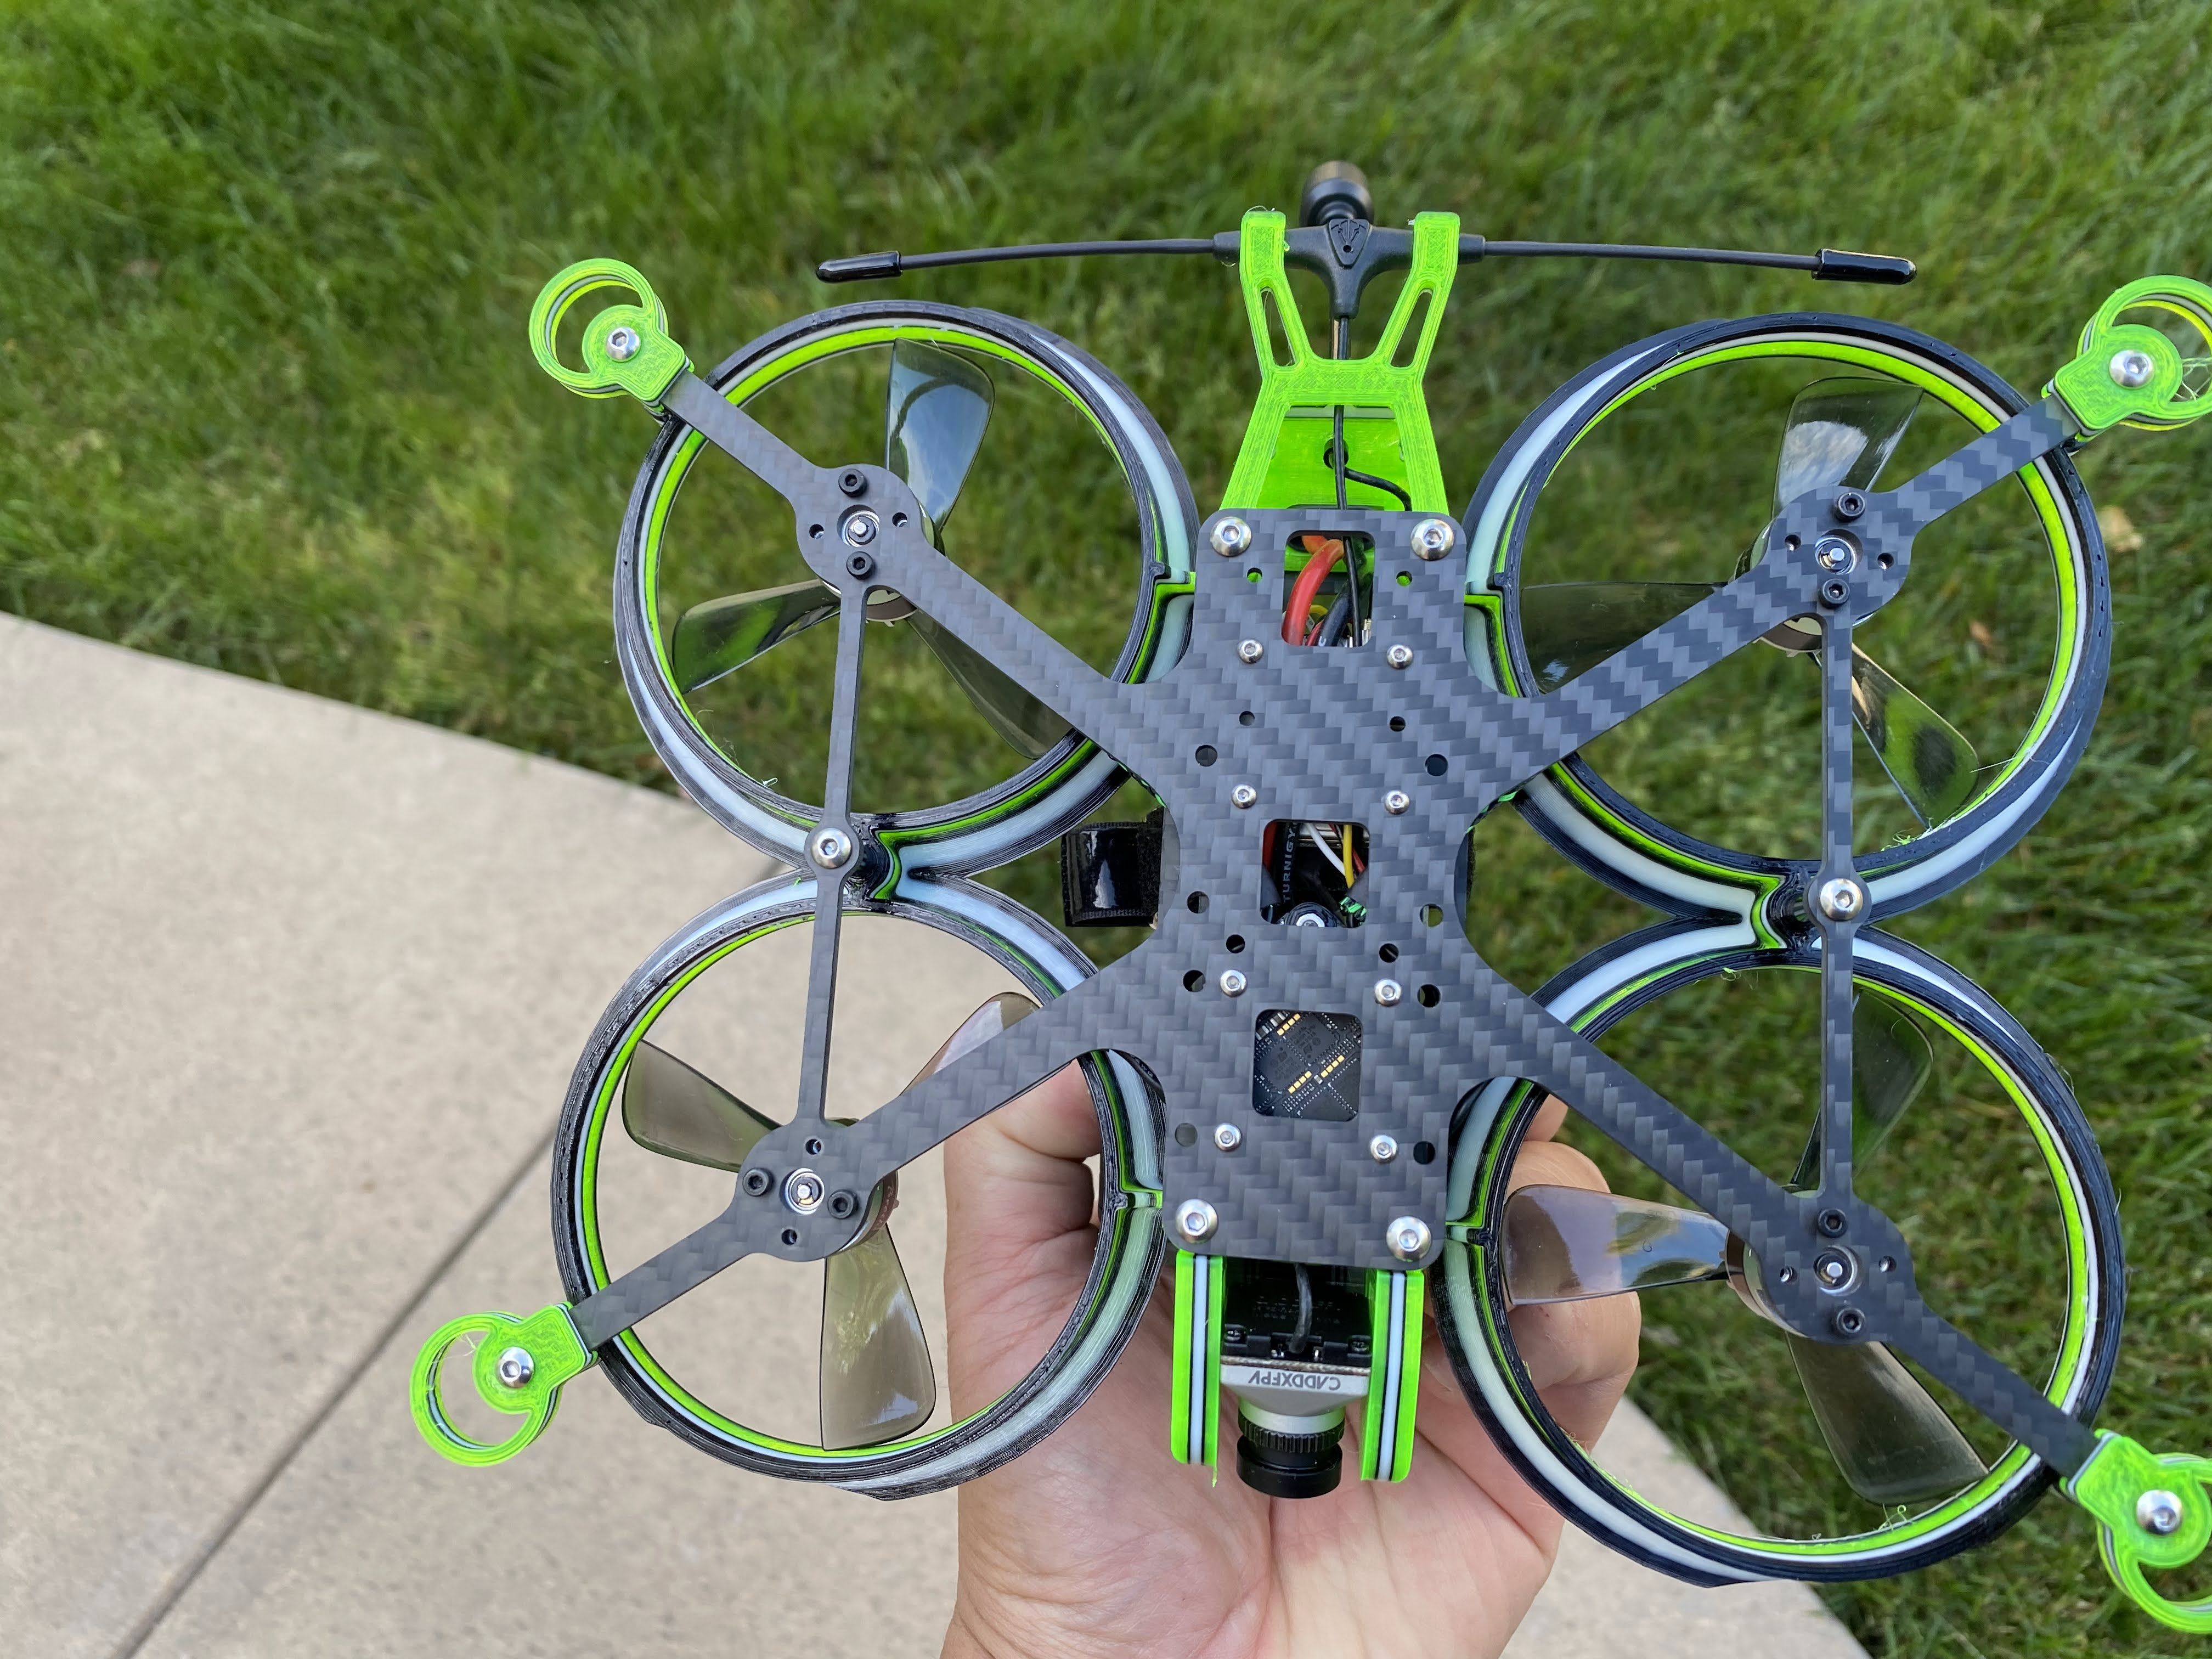
Photos


Part List
Show stores (6)Guides & Reviews

AirbladeUAV has done it again and this time they've brought long range to the 5" class! Based on the popular Transformer Mini, the new Transformer 5" Ultralight adopts a lot of the same design philosophies with larger props and more payload capacity. It can fly upwards of 20 minutes on a 4 cell Li-Ion battery pack and in ideal conditions it's got a range of over 4 to 5 miles. In this guide I'll walk..
Read more
With the release of the DJI FPV Drone cinematic FPV has become a lot more accessible, but you certainly don't want to crash a $750 drone! The QAV-CINE Freybott is a compact, lightweight cinematic FPV drone that can take a hit and keep going. It's a lot safer to fly indoors and around people. With a naked GoPro or the SMO 4k you can capture some great stabilized footage. In this guide I'll show you..
Read more


good Job, I really like this kind of builds with some development and improovement of original design and all the measurement which helping RC community