WHY!!!
Why would someone convert the DJI Avata to a Axisflying 3.5"? To be honest, there could be many reasons, but for me this is why. Overall the Avata is a very capable quad that is has a lot of polished features that a normal 3.5” homebuilt quad does not offer.
The advantages the Avata has is that it is ready for fly right out of the box will excellent features a home built quad that does not offer, like return to home (Betaflight 4.4.0 is getting better but still long ways for DJI), pin point OSD home location, good HD video quality with "horizon steady", and long flight times and range. This quad is not meant for freestyle flying so, I do not expect it to perform exactly like a real freestyle quad. But in manual mode it is still very capable. The key thing you need to realize is that all the things I mentioned is in one single package. Sure, a GoPro has better video quality but that is an additional item you need to purchase and carry. A 5" freestyle quad can perform better but you lose the safety of the props guards. My point is that you need pick and choose what you are willing to lose to gain something better and the Avata covers a lot of the things in one package.
I am impressed with Avata’s long flight times, which makes it possible to do some long range flights. In comparison to the Cinelong 35, There is NO way I can come close to getting 10 minutes of flight time. Why is the flight time important, because it will limit how far I can go based on the battery life.
The Avata’s video quality is NOT as good as a GoPro, but it is pretty closes. What make the Avata so special compared to the DJI FPV or the DJI O3 air units is Horizon Steady. That is similar to GoPro’s horizon lock, where it stabilizes the image and keep the horizon level at all times, kind of like using a gimbal for a camera. I hope one day they will enable that feature on a DJI O3 air unit too.
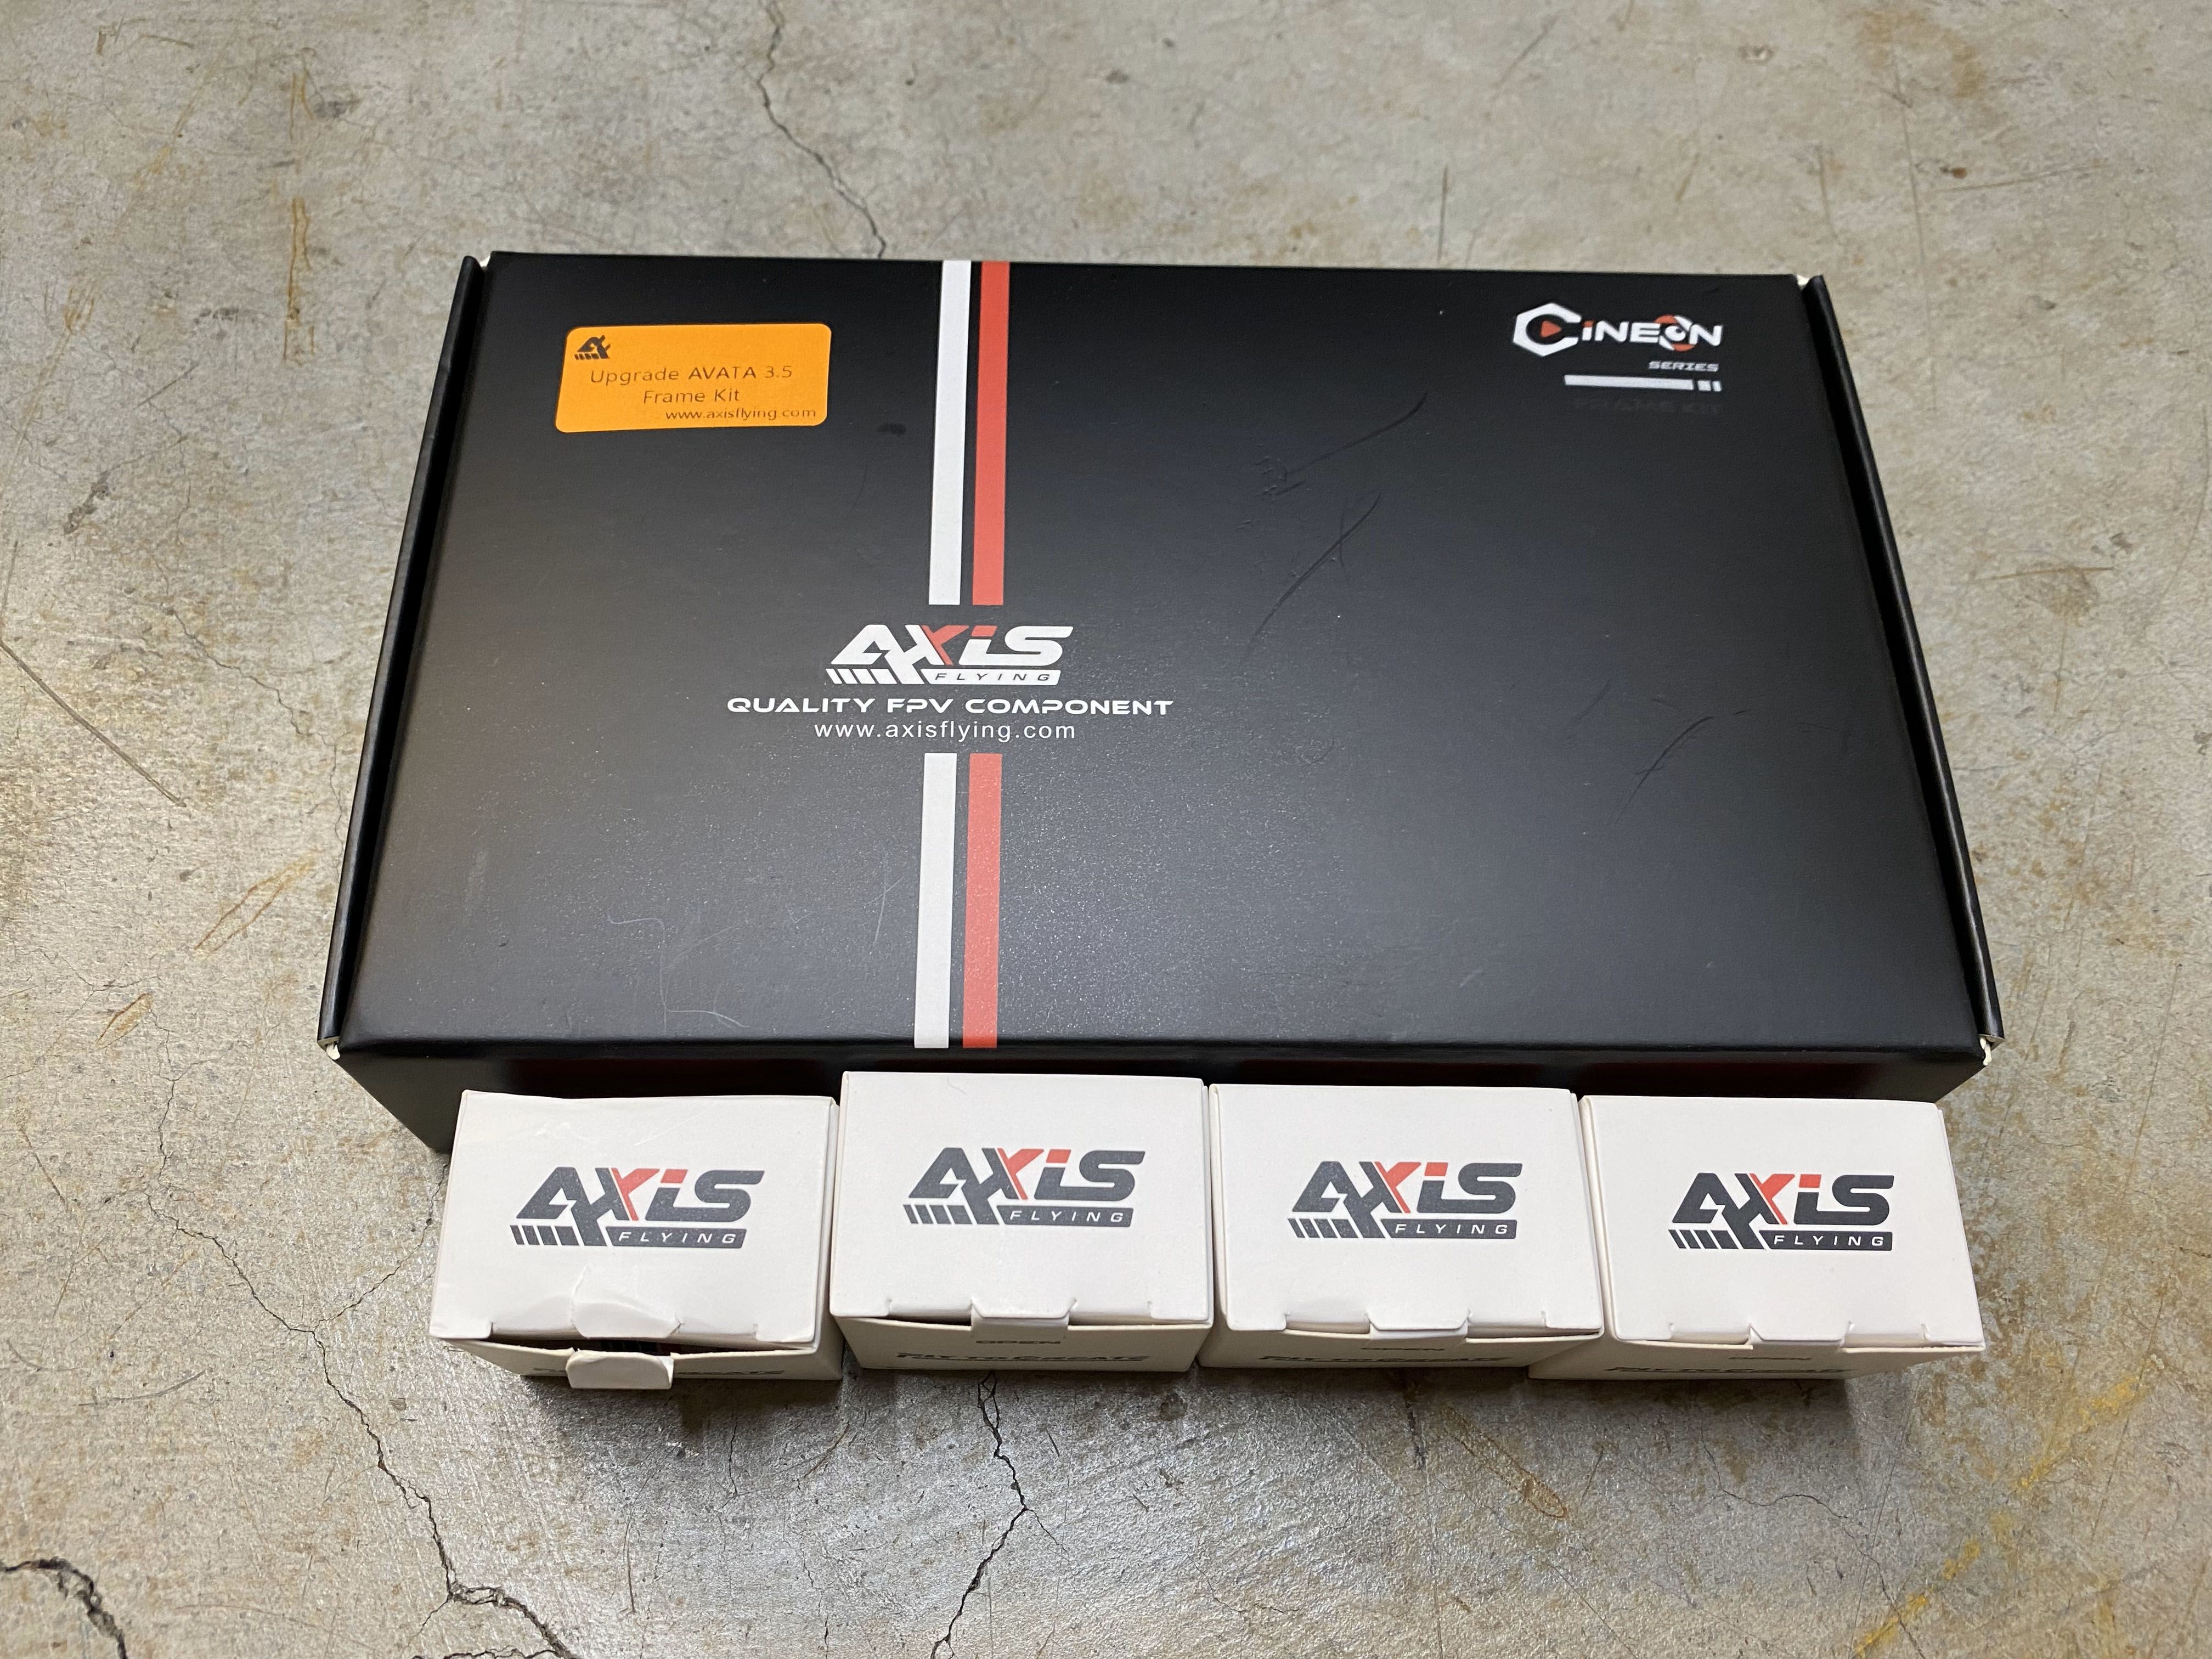
Pre Order
The day Axis Flying announced the sale of the DJI Avata conversion kit I placed the order with them. It was great that I was not charged sales tax, but they force me to pay $20 DHL shipping. They did exactly as promise and shipped it exactly 1 week after the purchased date (Thursday March 9th). With DHL shipping it estimated to arrive to my house by Tuesday March 14th, but that did not happen because it was held up in customs. I do not know what happen but they refused entry for the this package. Long story short, it was all sorted out and finally arrived on Friday March 17th. Even though it was delay a few days it am still very happy to receive this so quickly.
Instruction Manual
The instruction manual that came with the kit was totally useless and the only thing that helped was the YouTube video Axis Flying created, "How to Upgrade DJI original AVATA to Axisflying AVATA 3.5." Since the video they created was only the preproduction model, there are some slight differences but nothing too mind boggling that I could not figure out. But for the most part, that video was crucial to have to make the conversion seamless. I do not know about most people, but I never really read the instruction manual until I have to.
I suggest watching the video once before doing the conversion because there are some parts you might do differently after you see the next steps.
Dismantling the Avata
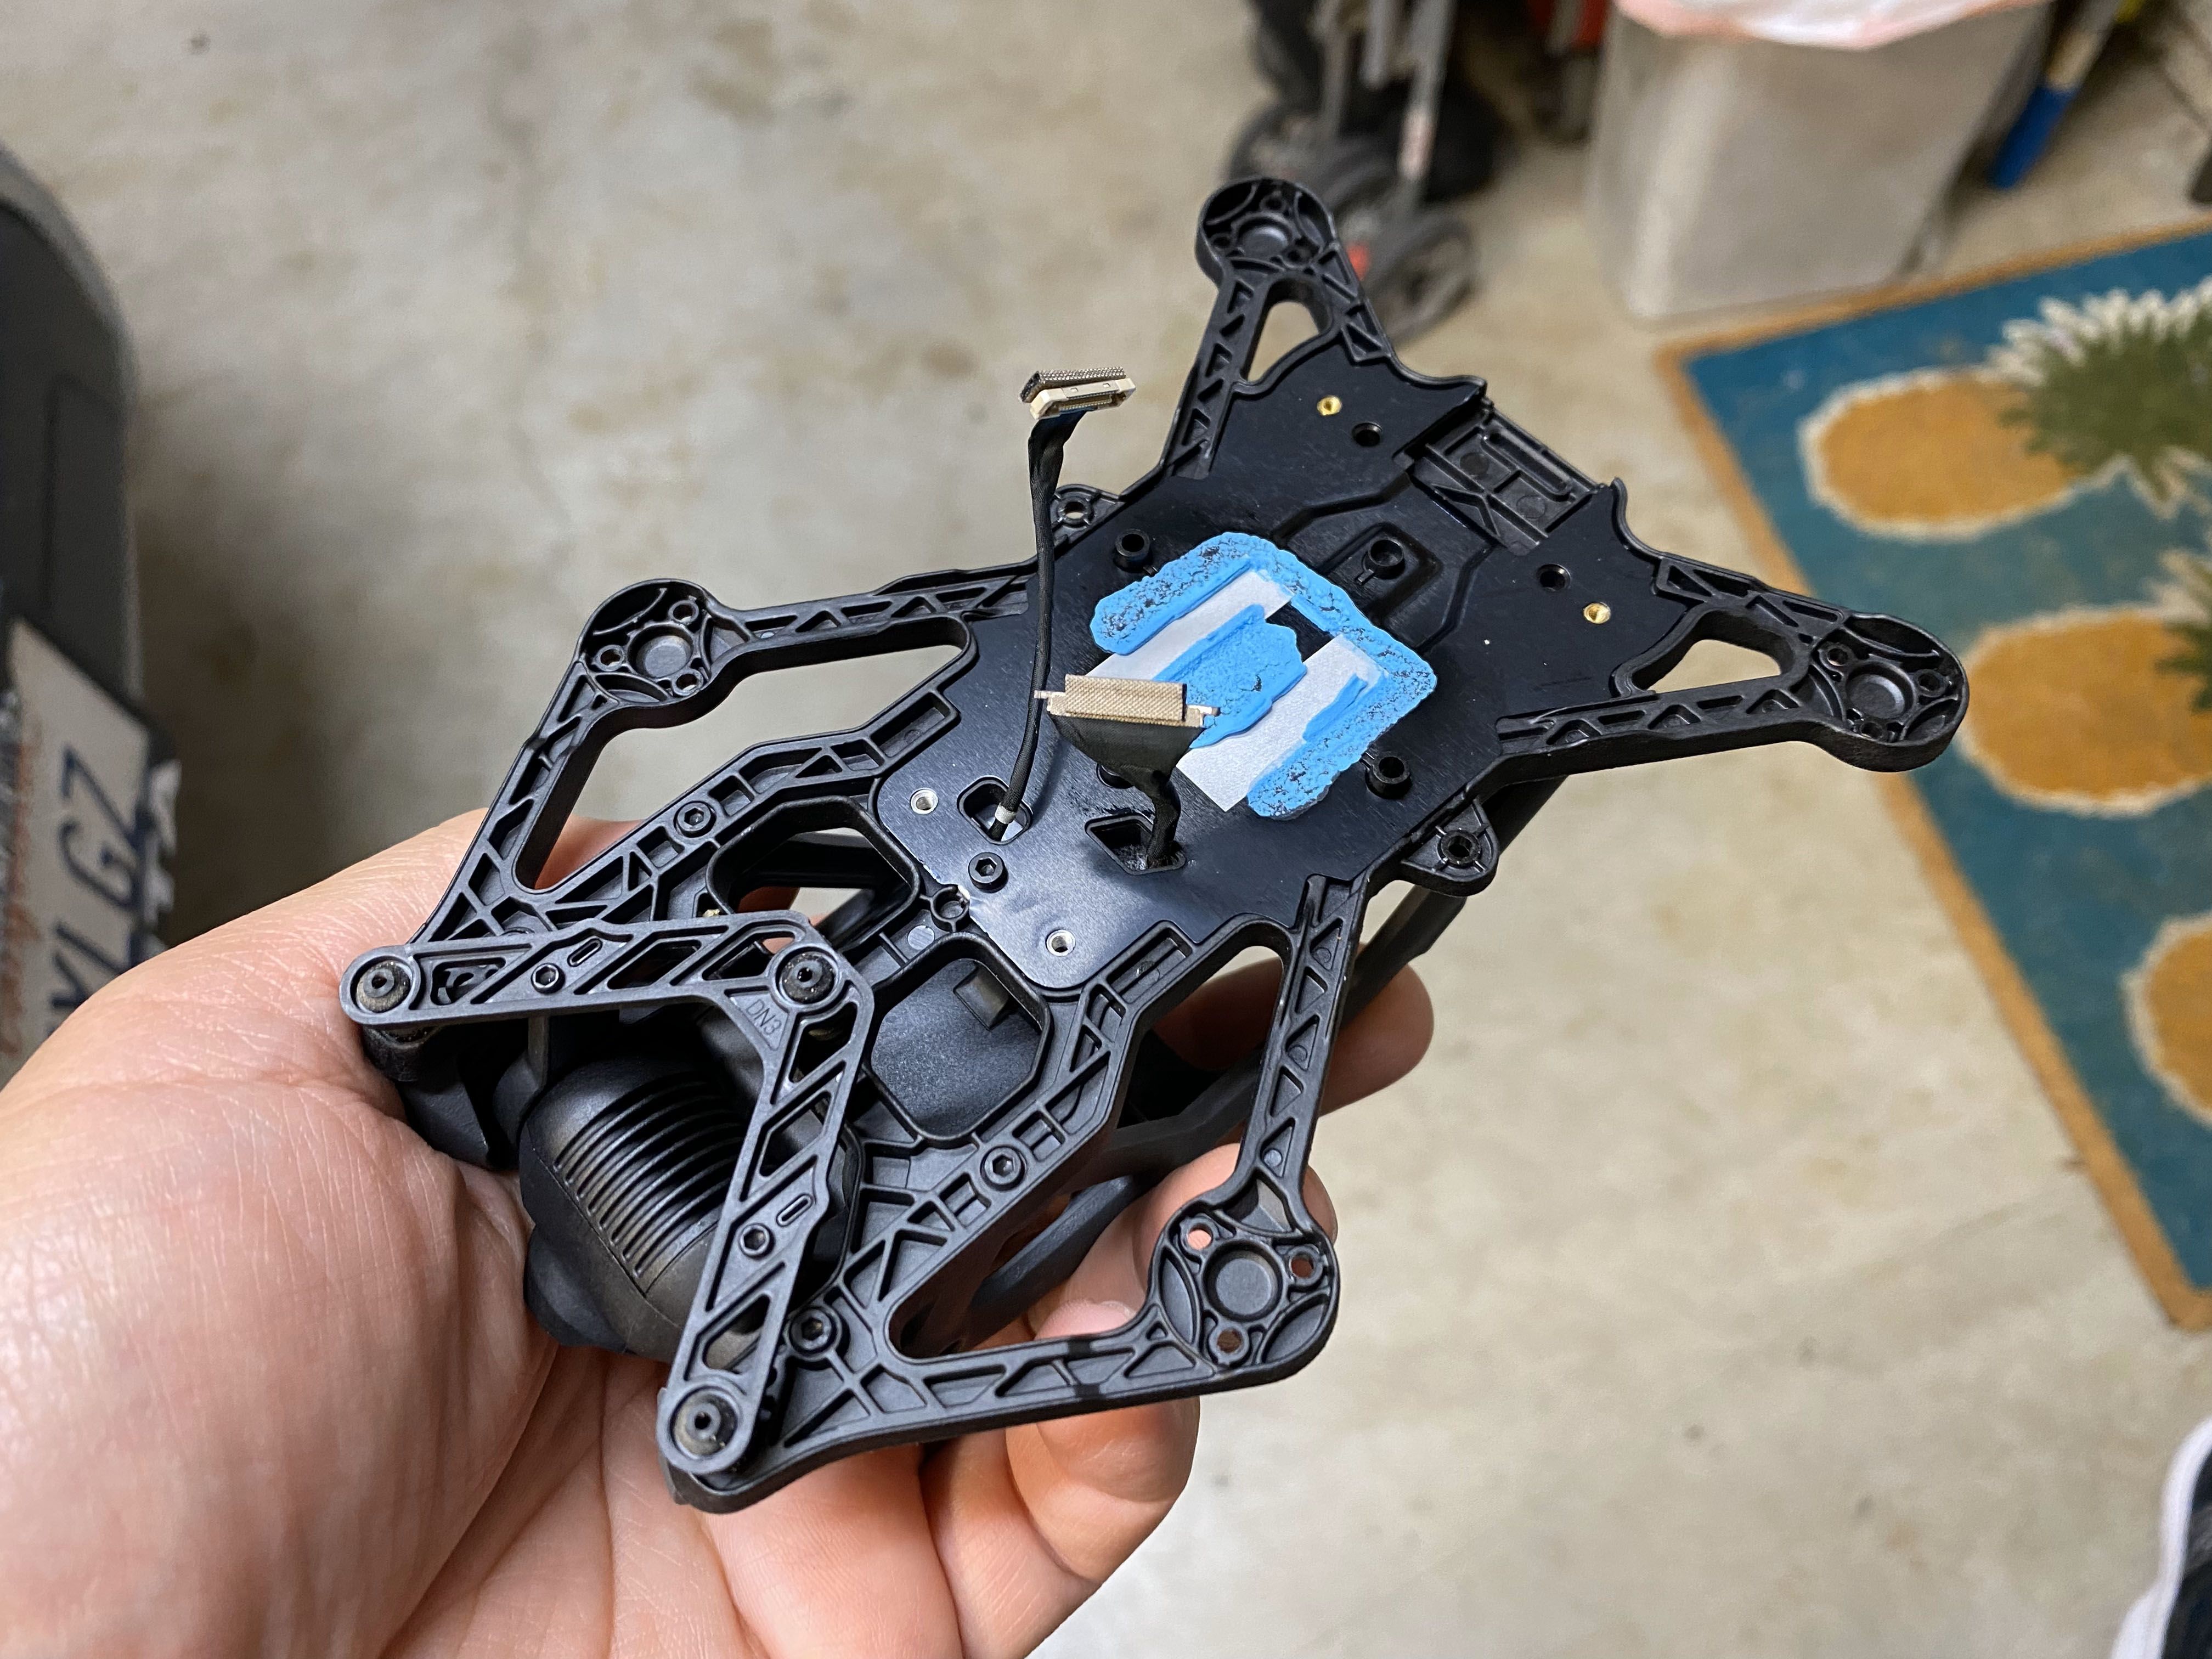
For the most part, taking apart the Avata was very easy and there is no need to go over everything that is covered in the video, so I am only going to mention a few things that I thought would be helpful to know.
Towards the end of the conversion I notice that I needed to use some of the original screws, so it is best to set them aside now. The first thing are the all the screws that are used directly on the brains of the quad (the black cube looking box). I am think all those screws are Philips head too.
There are 2 screws that goes on the side of the GPS that will be reused later that you might what to set aside too.
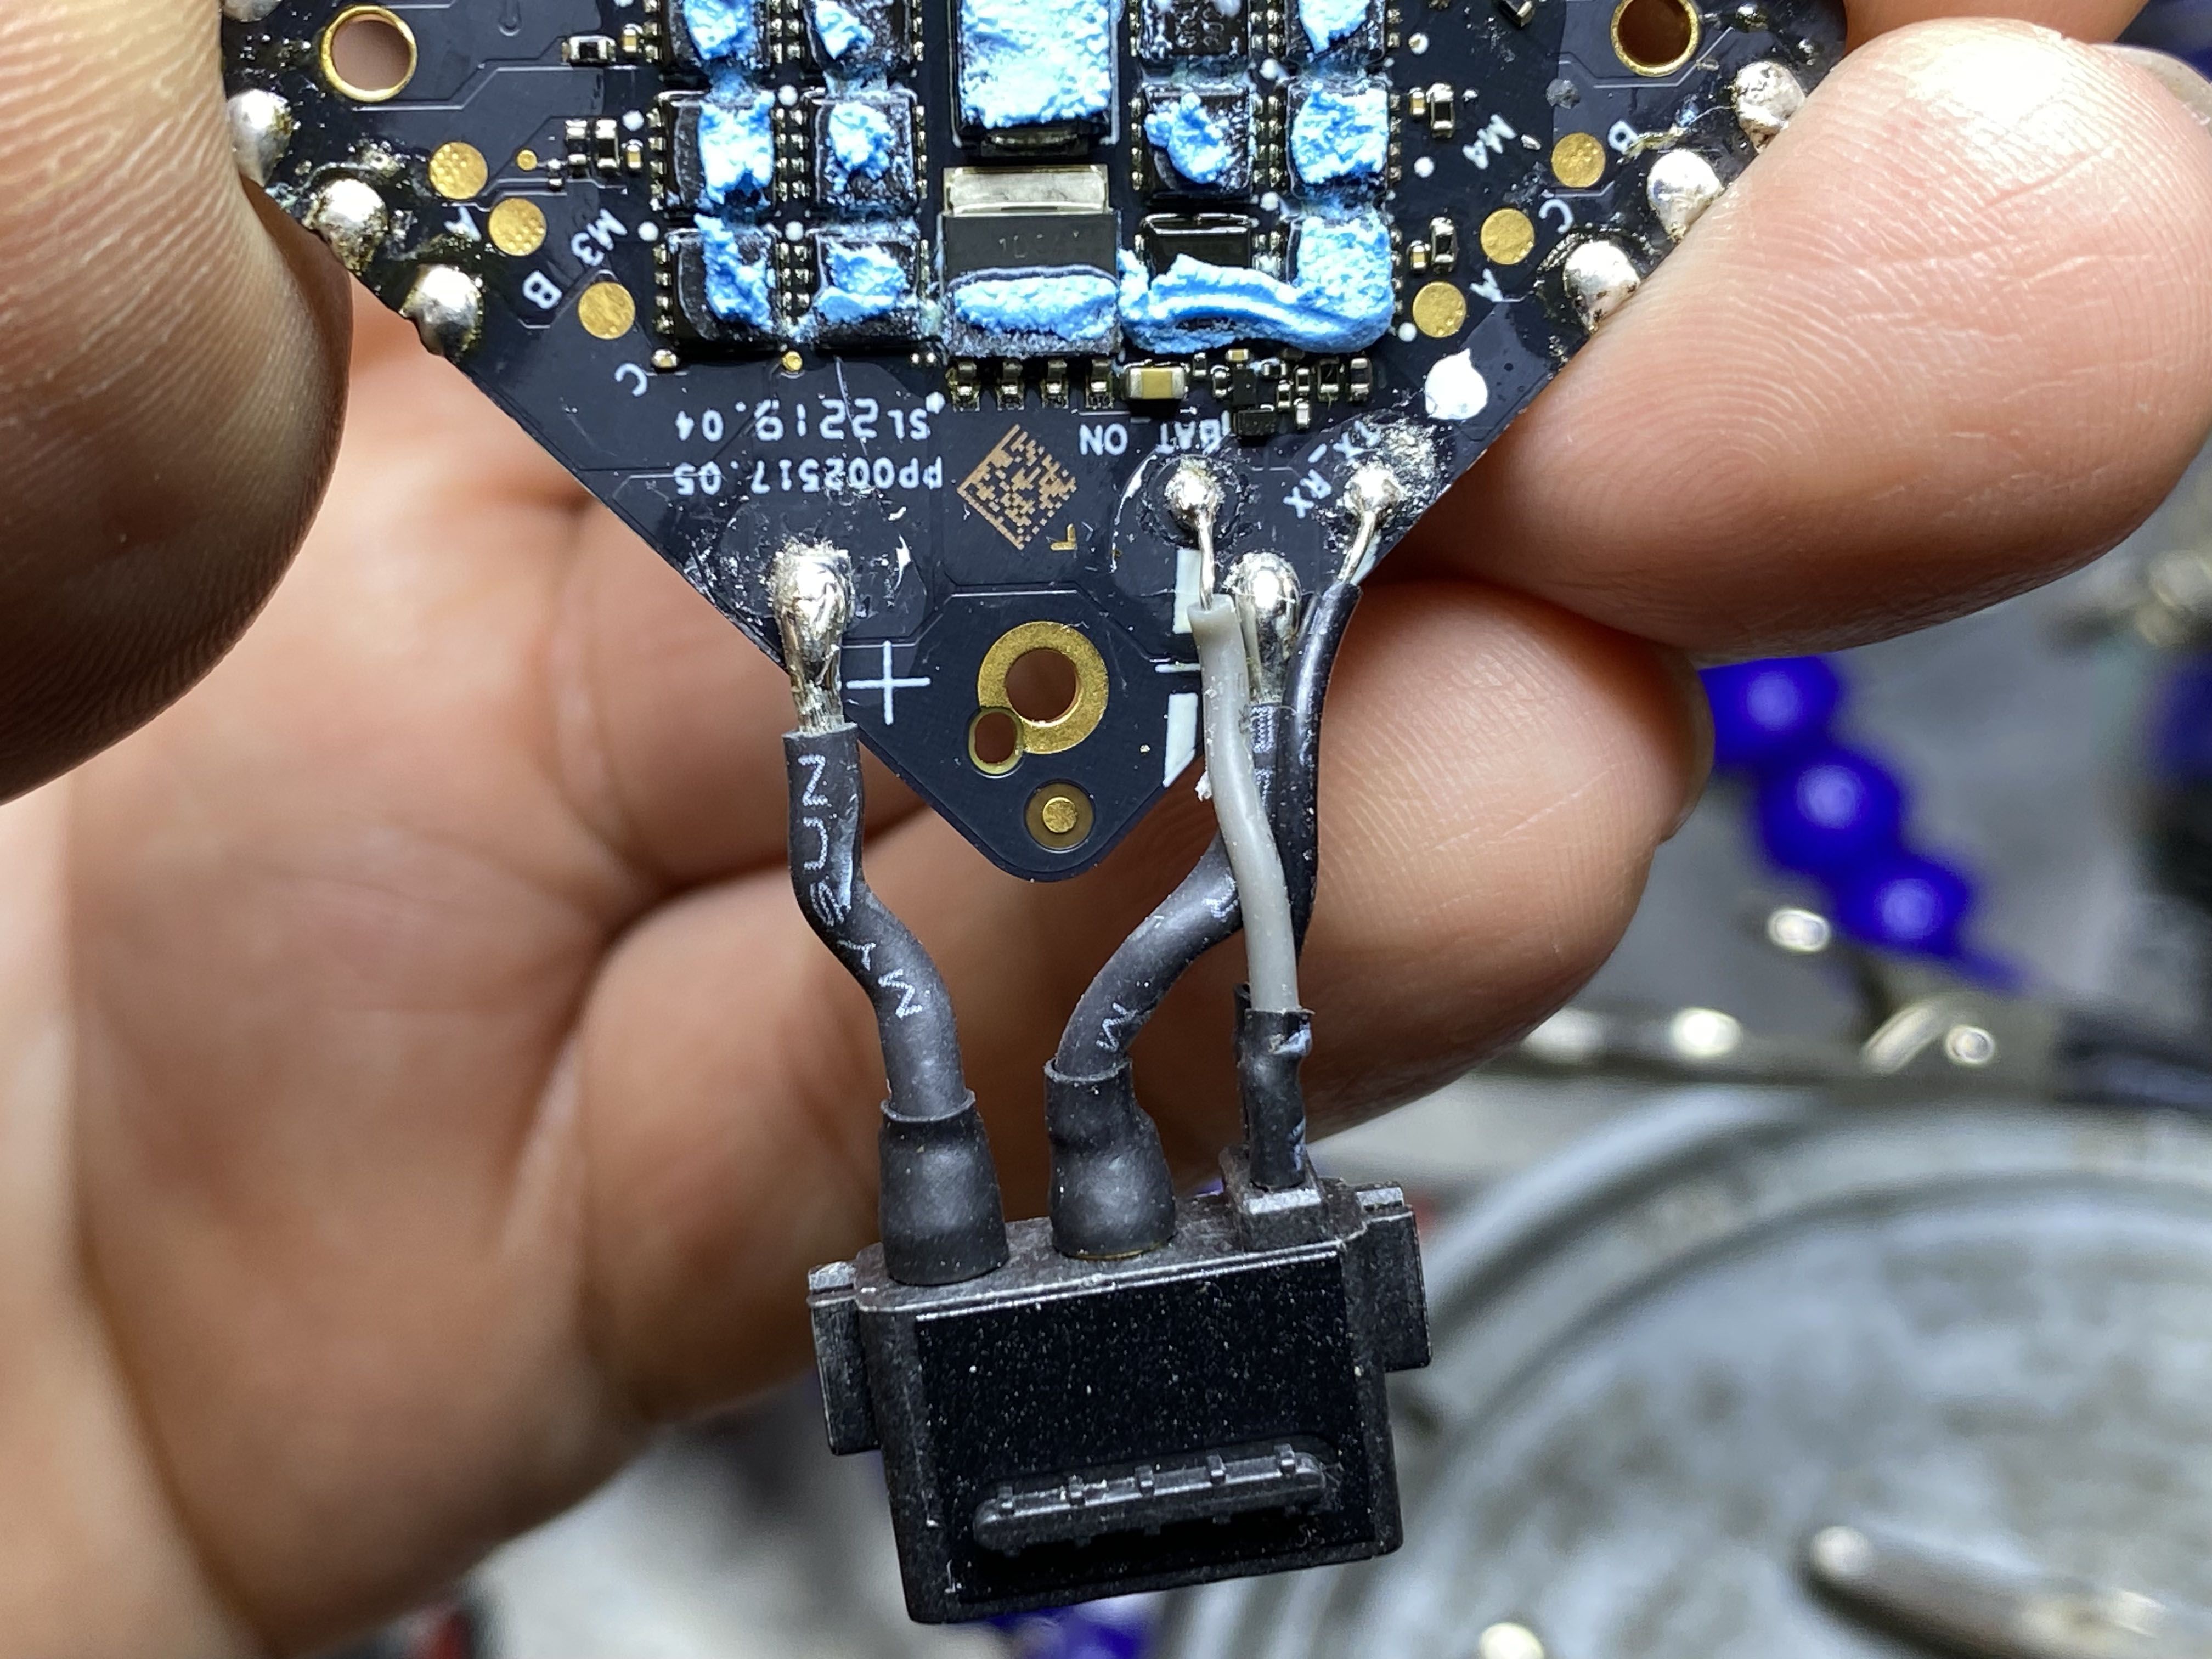
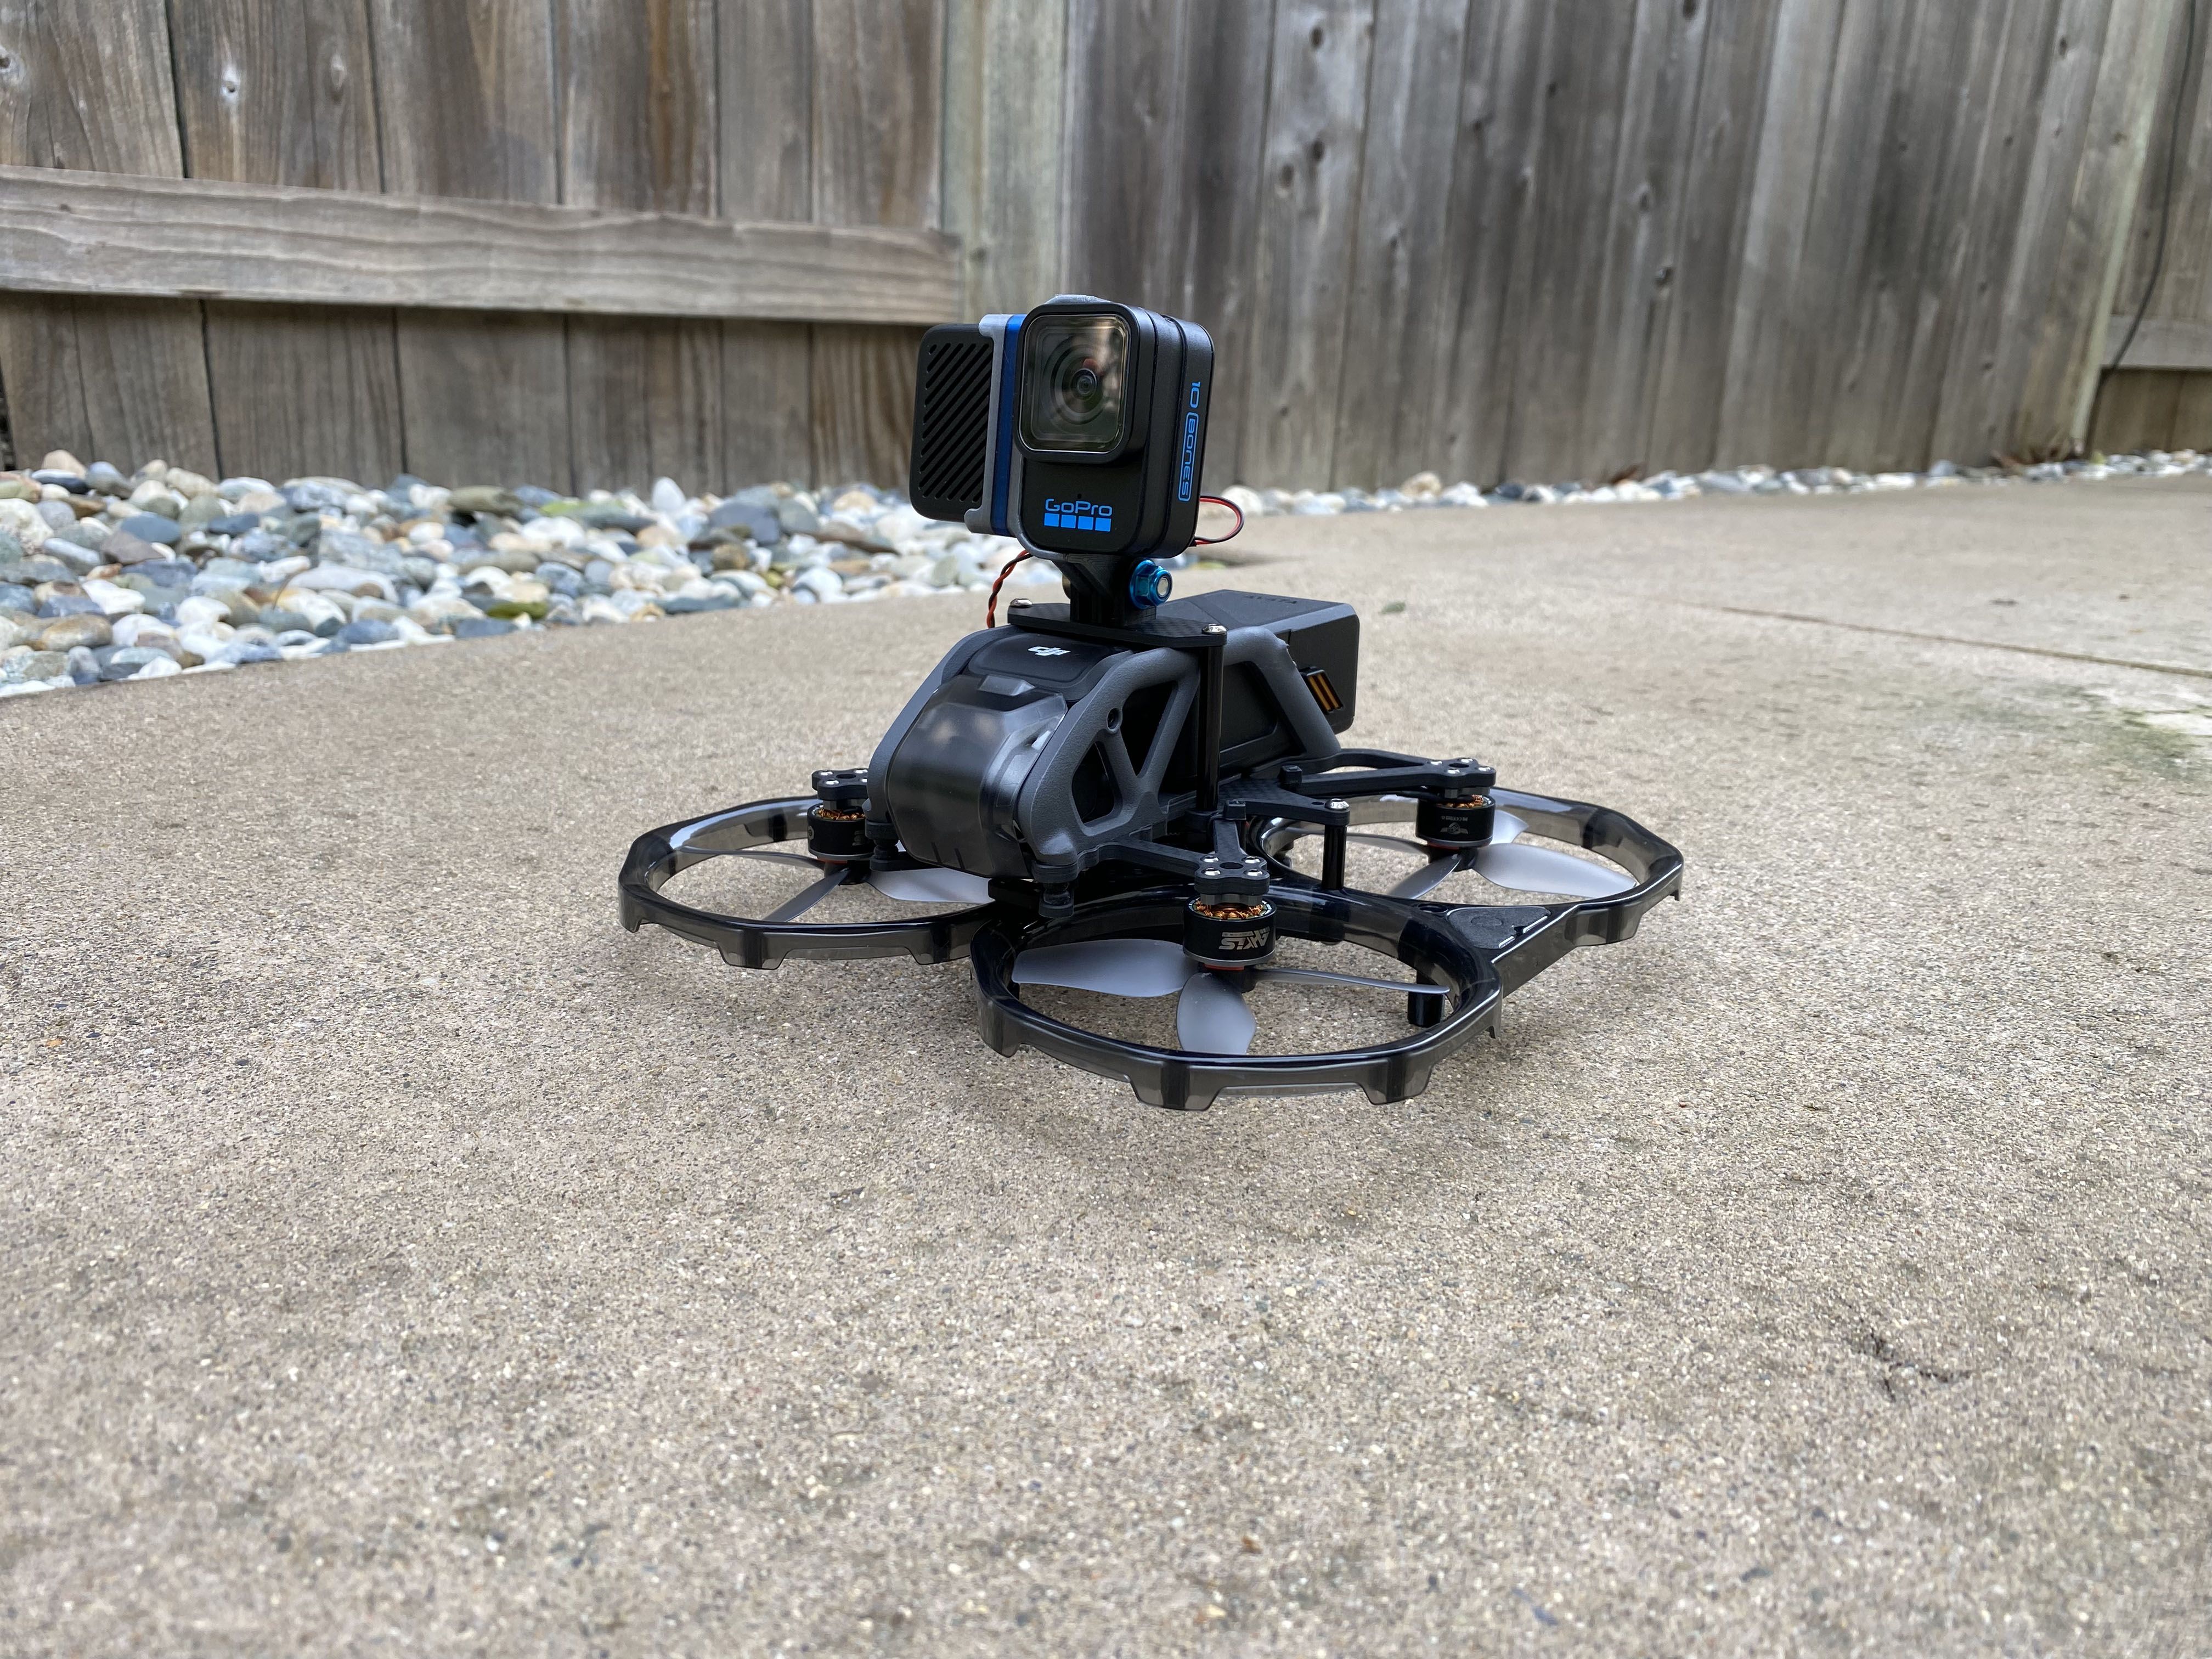
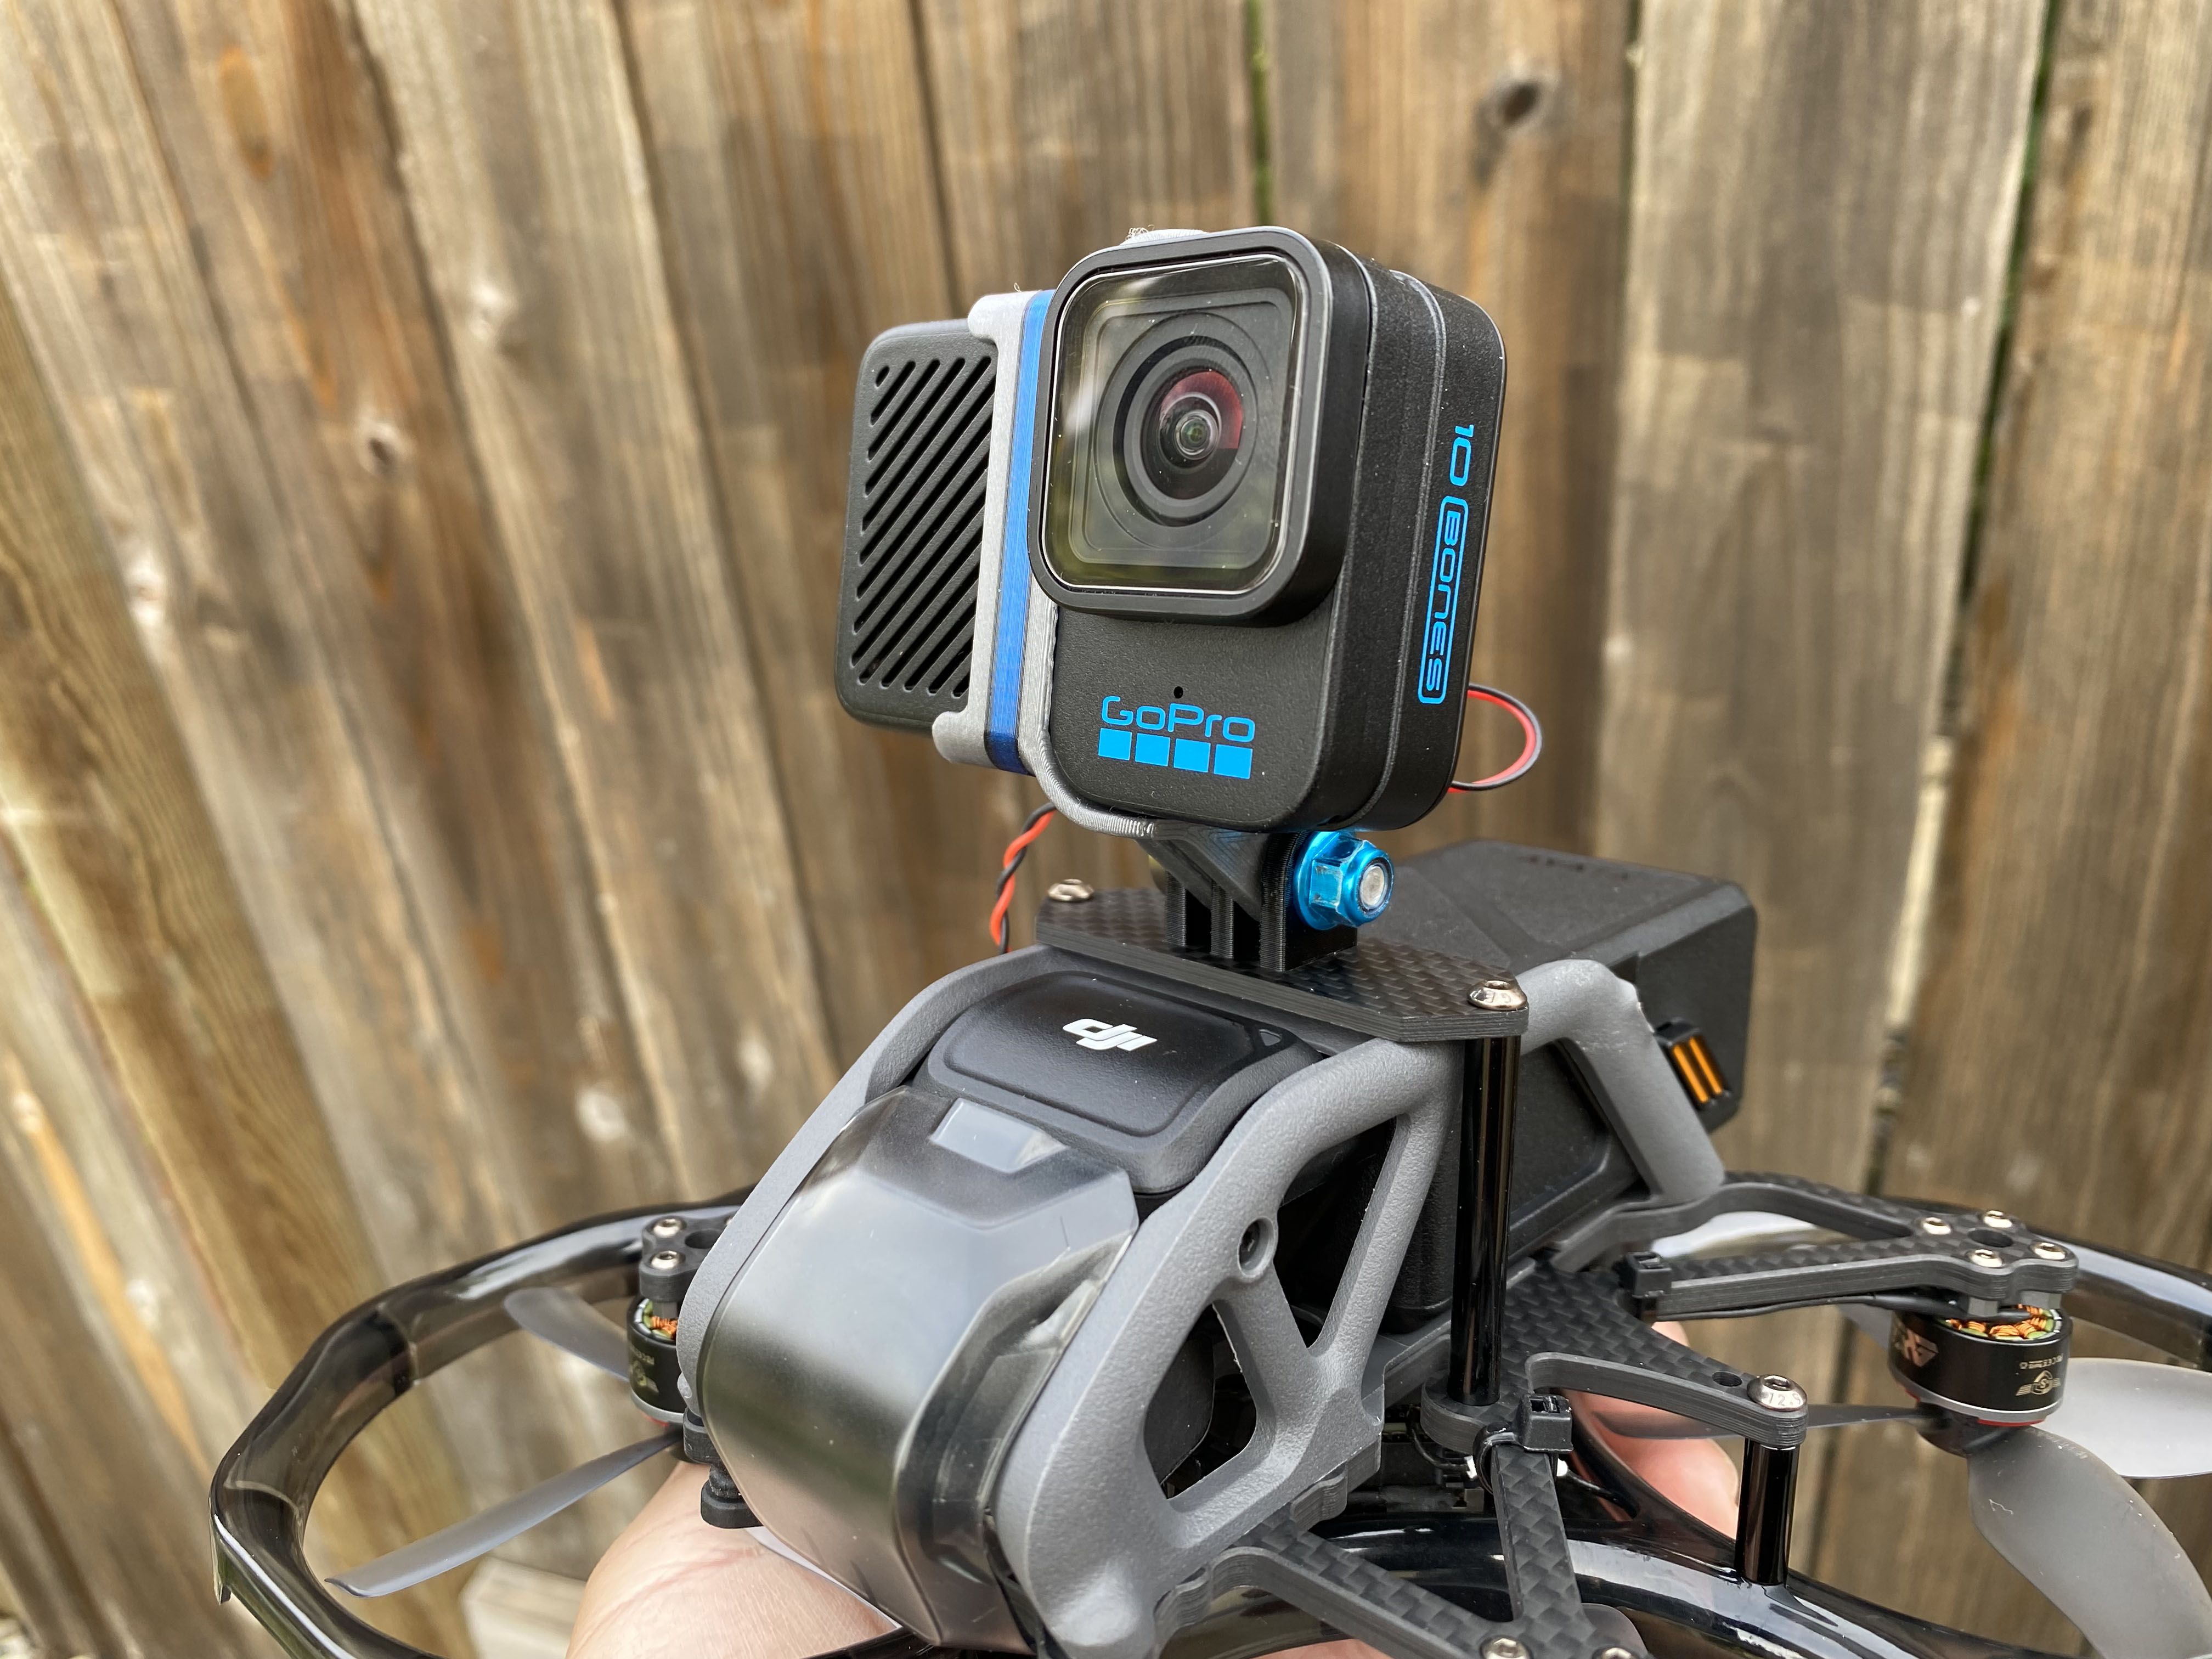
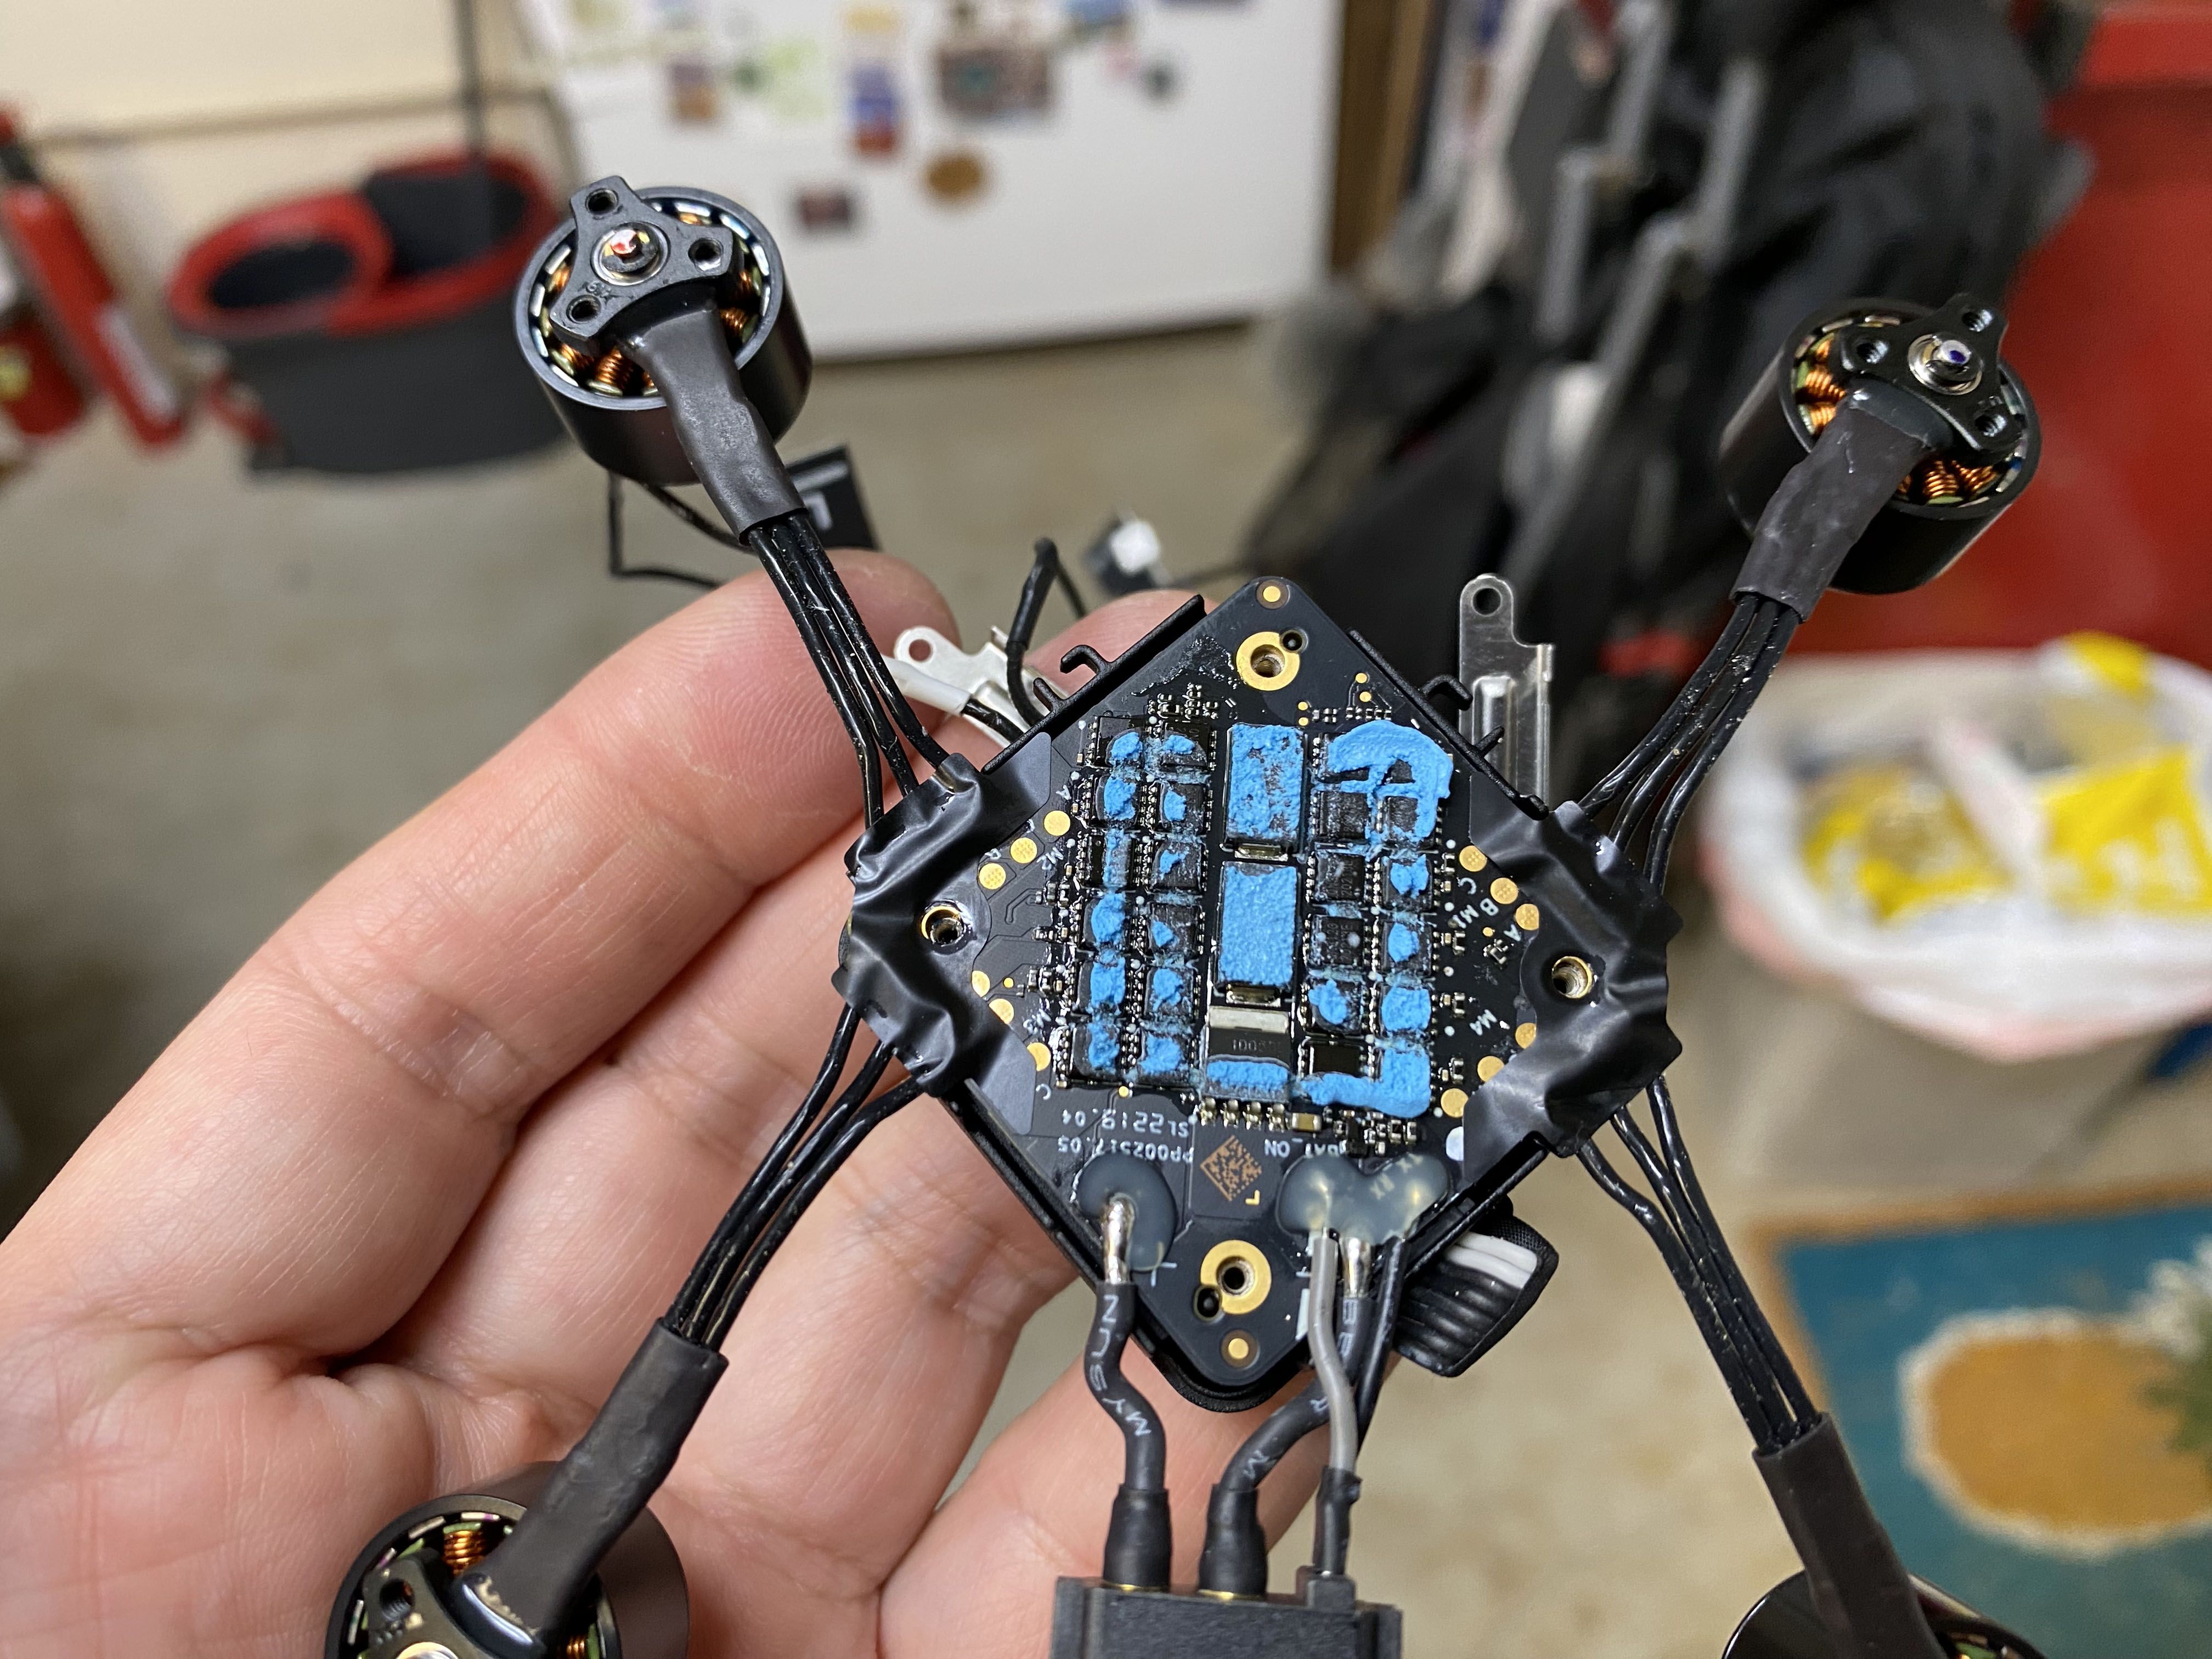
Take some pictures of the wiring before you remove it because it difficult to see in the video what they are doing. And the new wires they provide you are NOT the same as you give in your kit. Jumping head, when you solder the wires back on the board. That might be a good time to add an additional power wire if you plan to run a Naked GoPro or GP10 Bones. Keep in mind the battery back is putting out 14.76 volts, so make sure what every you plan in can handle that voltage. If not, you might consider adding a BEC.
The Conversion
Up unit this point everything was very easy to do. So, take your time and watch the video carefully.
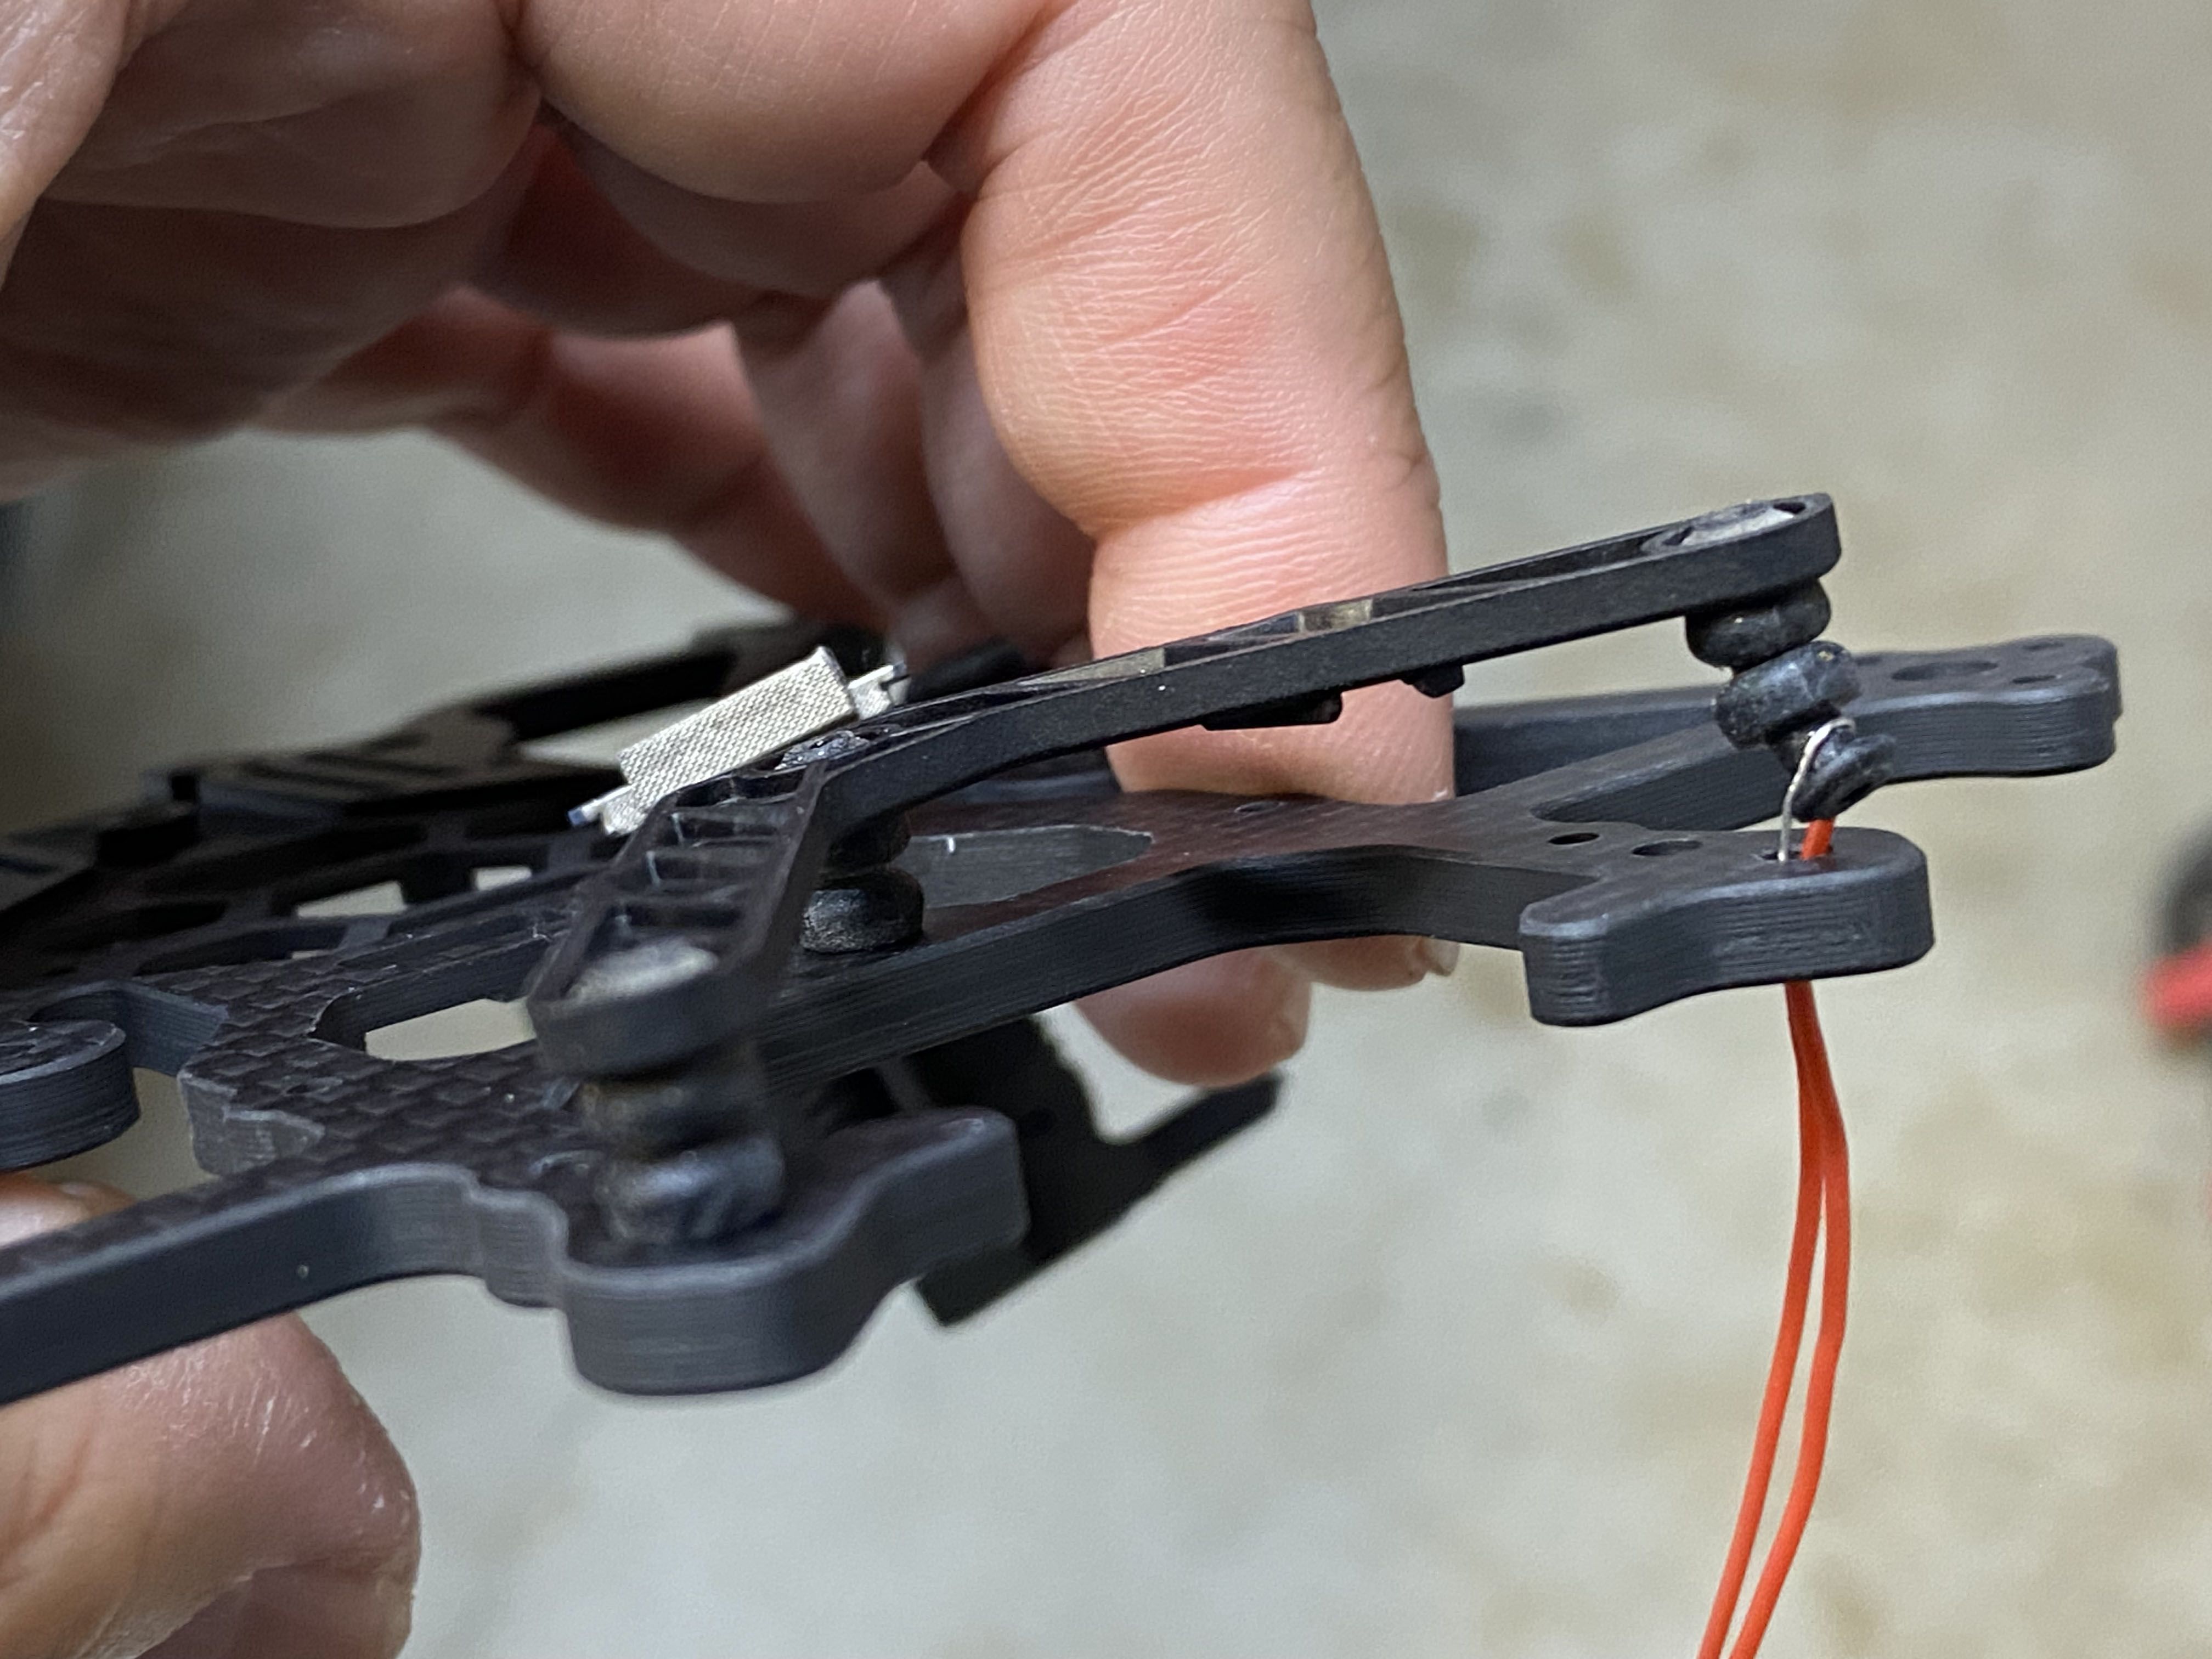
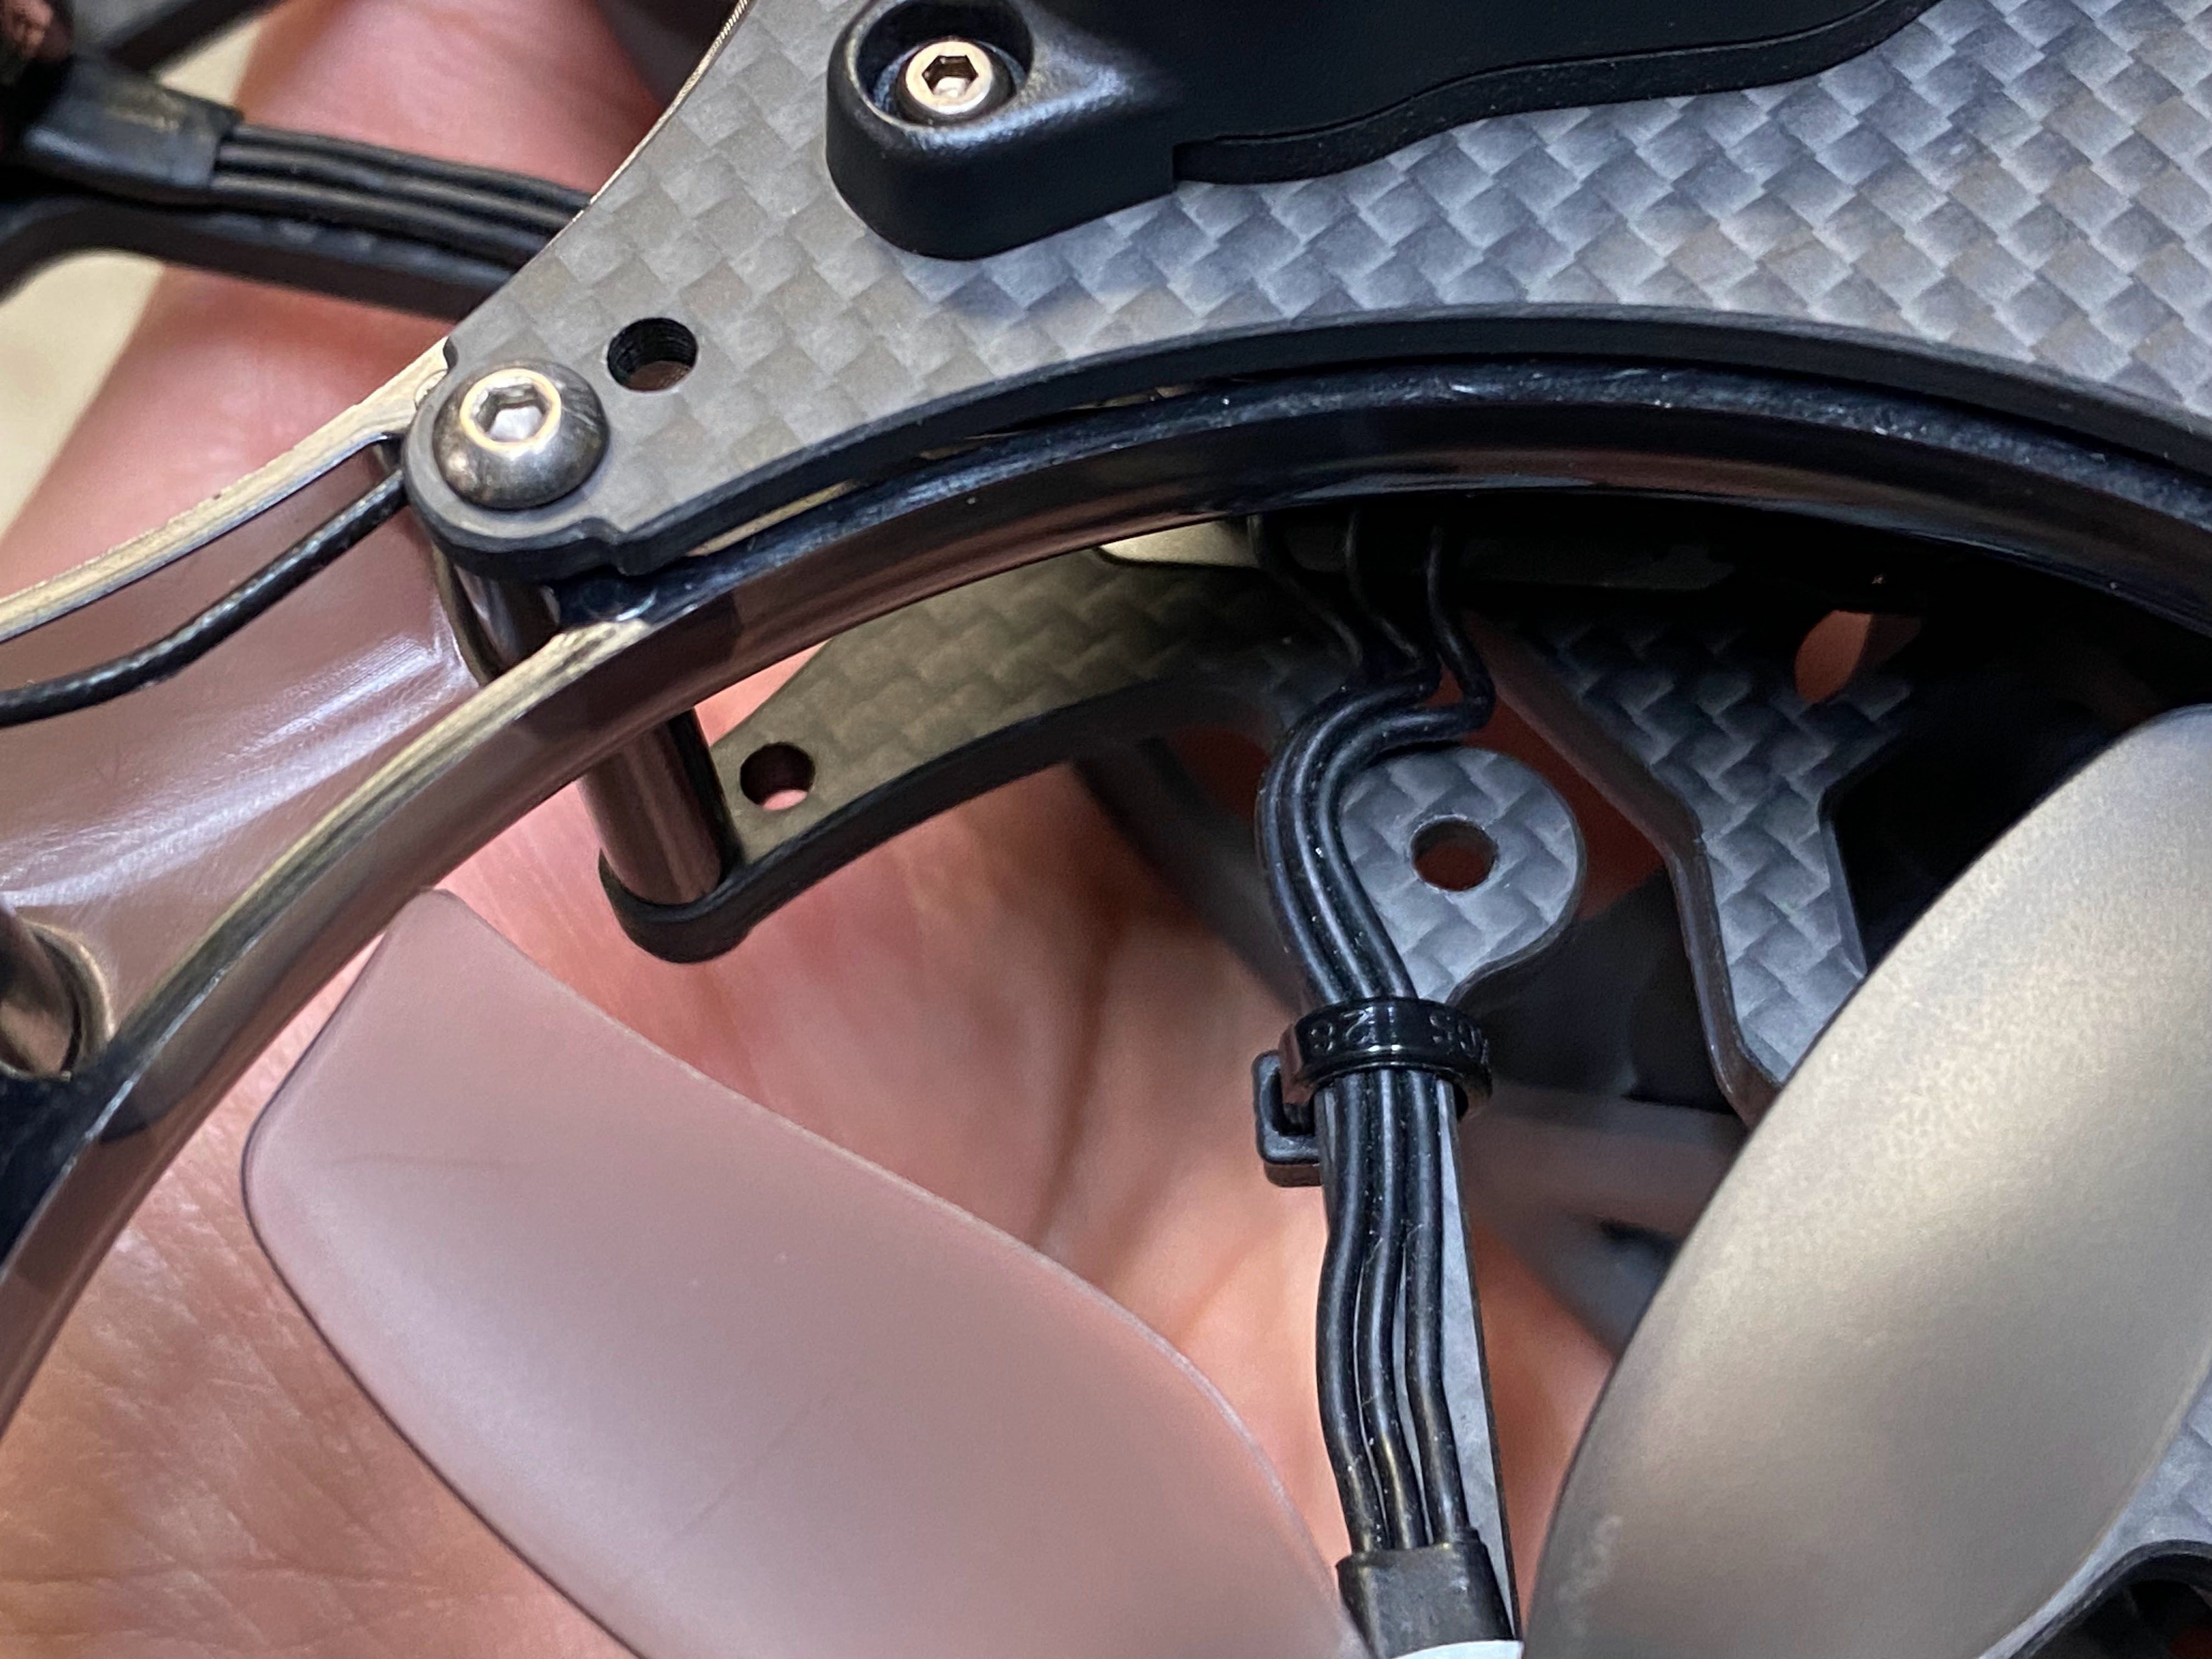
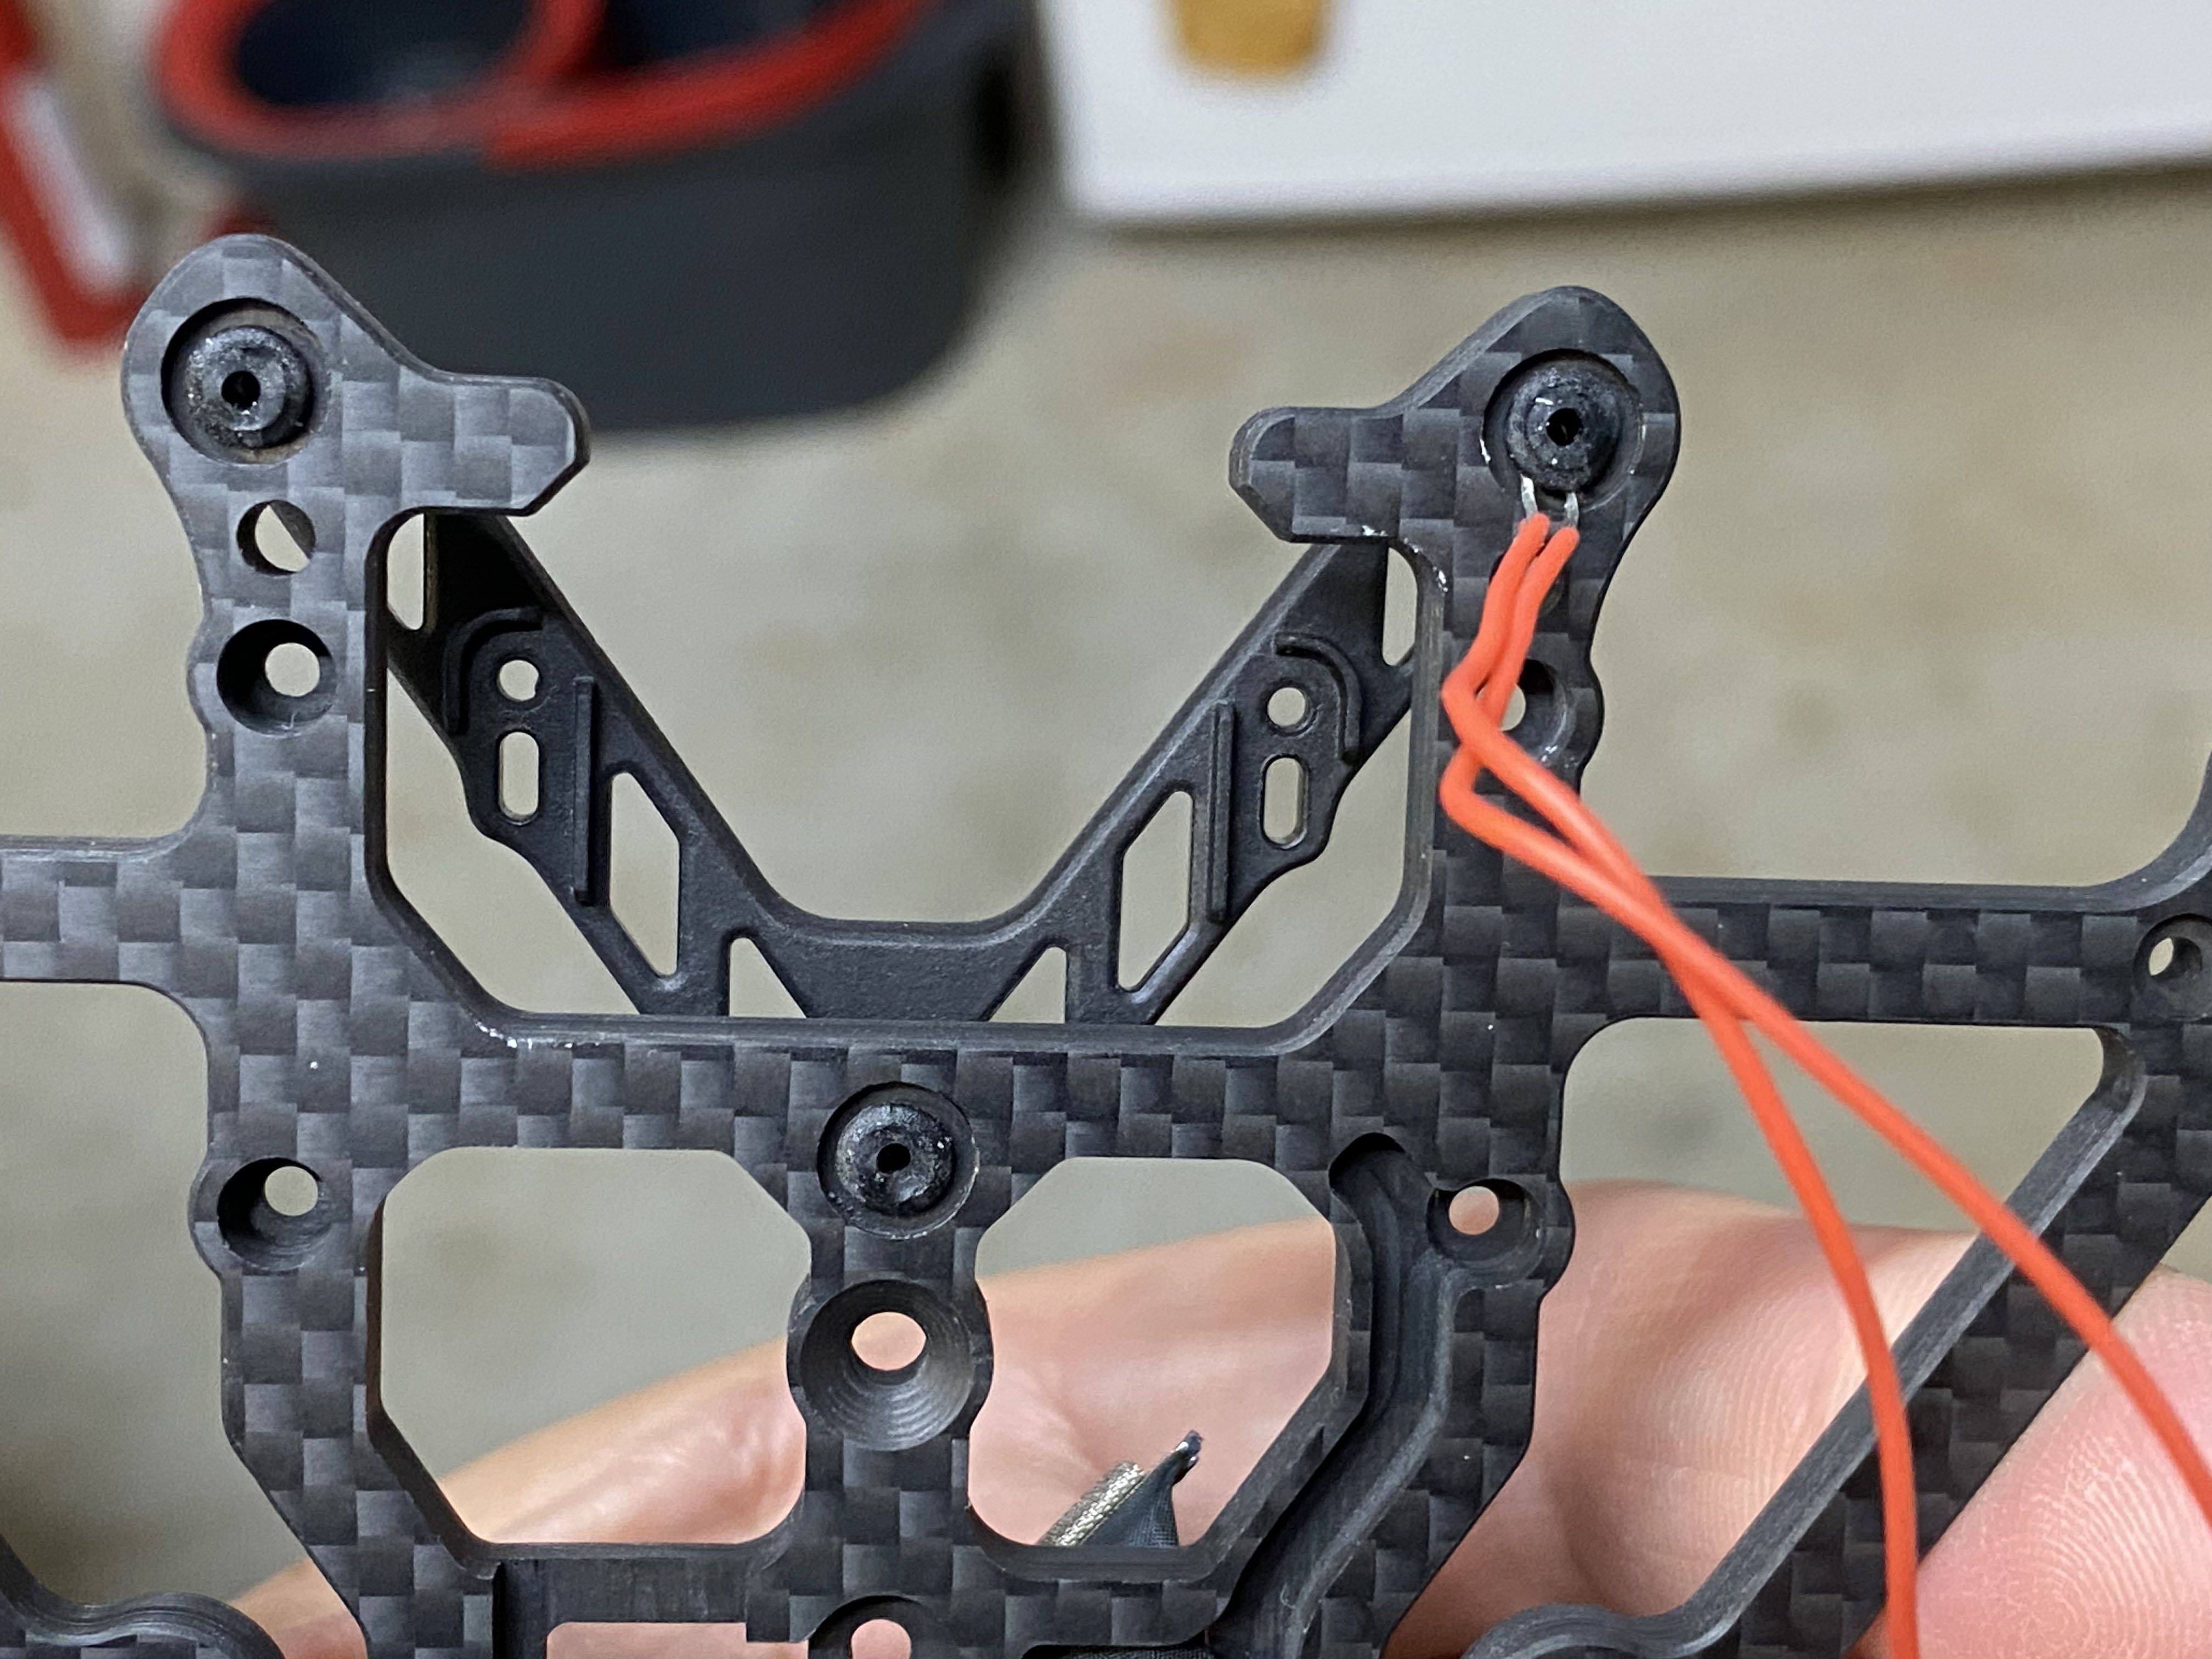
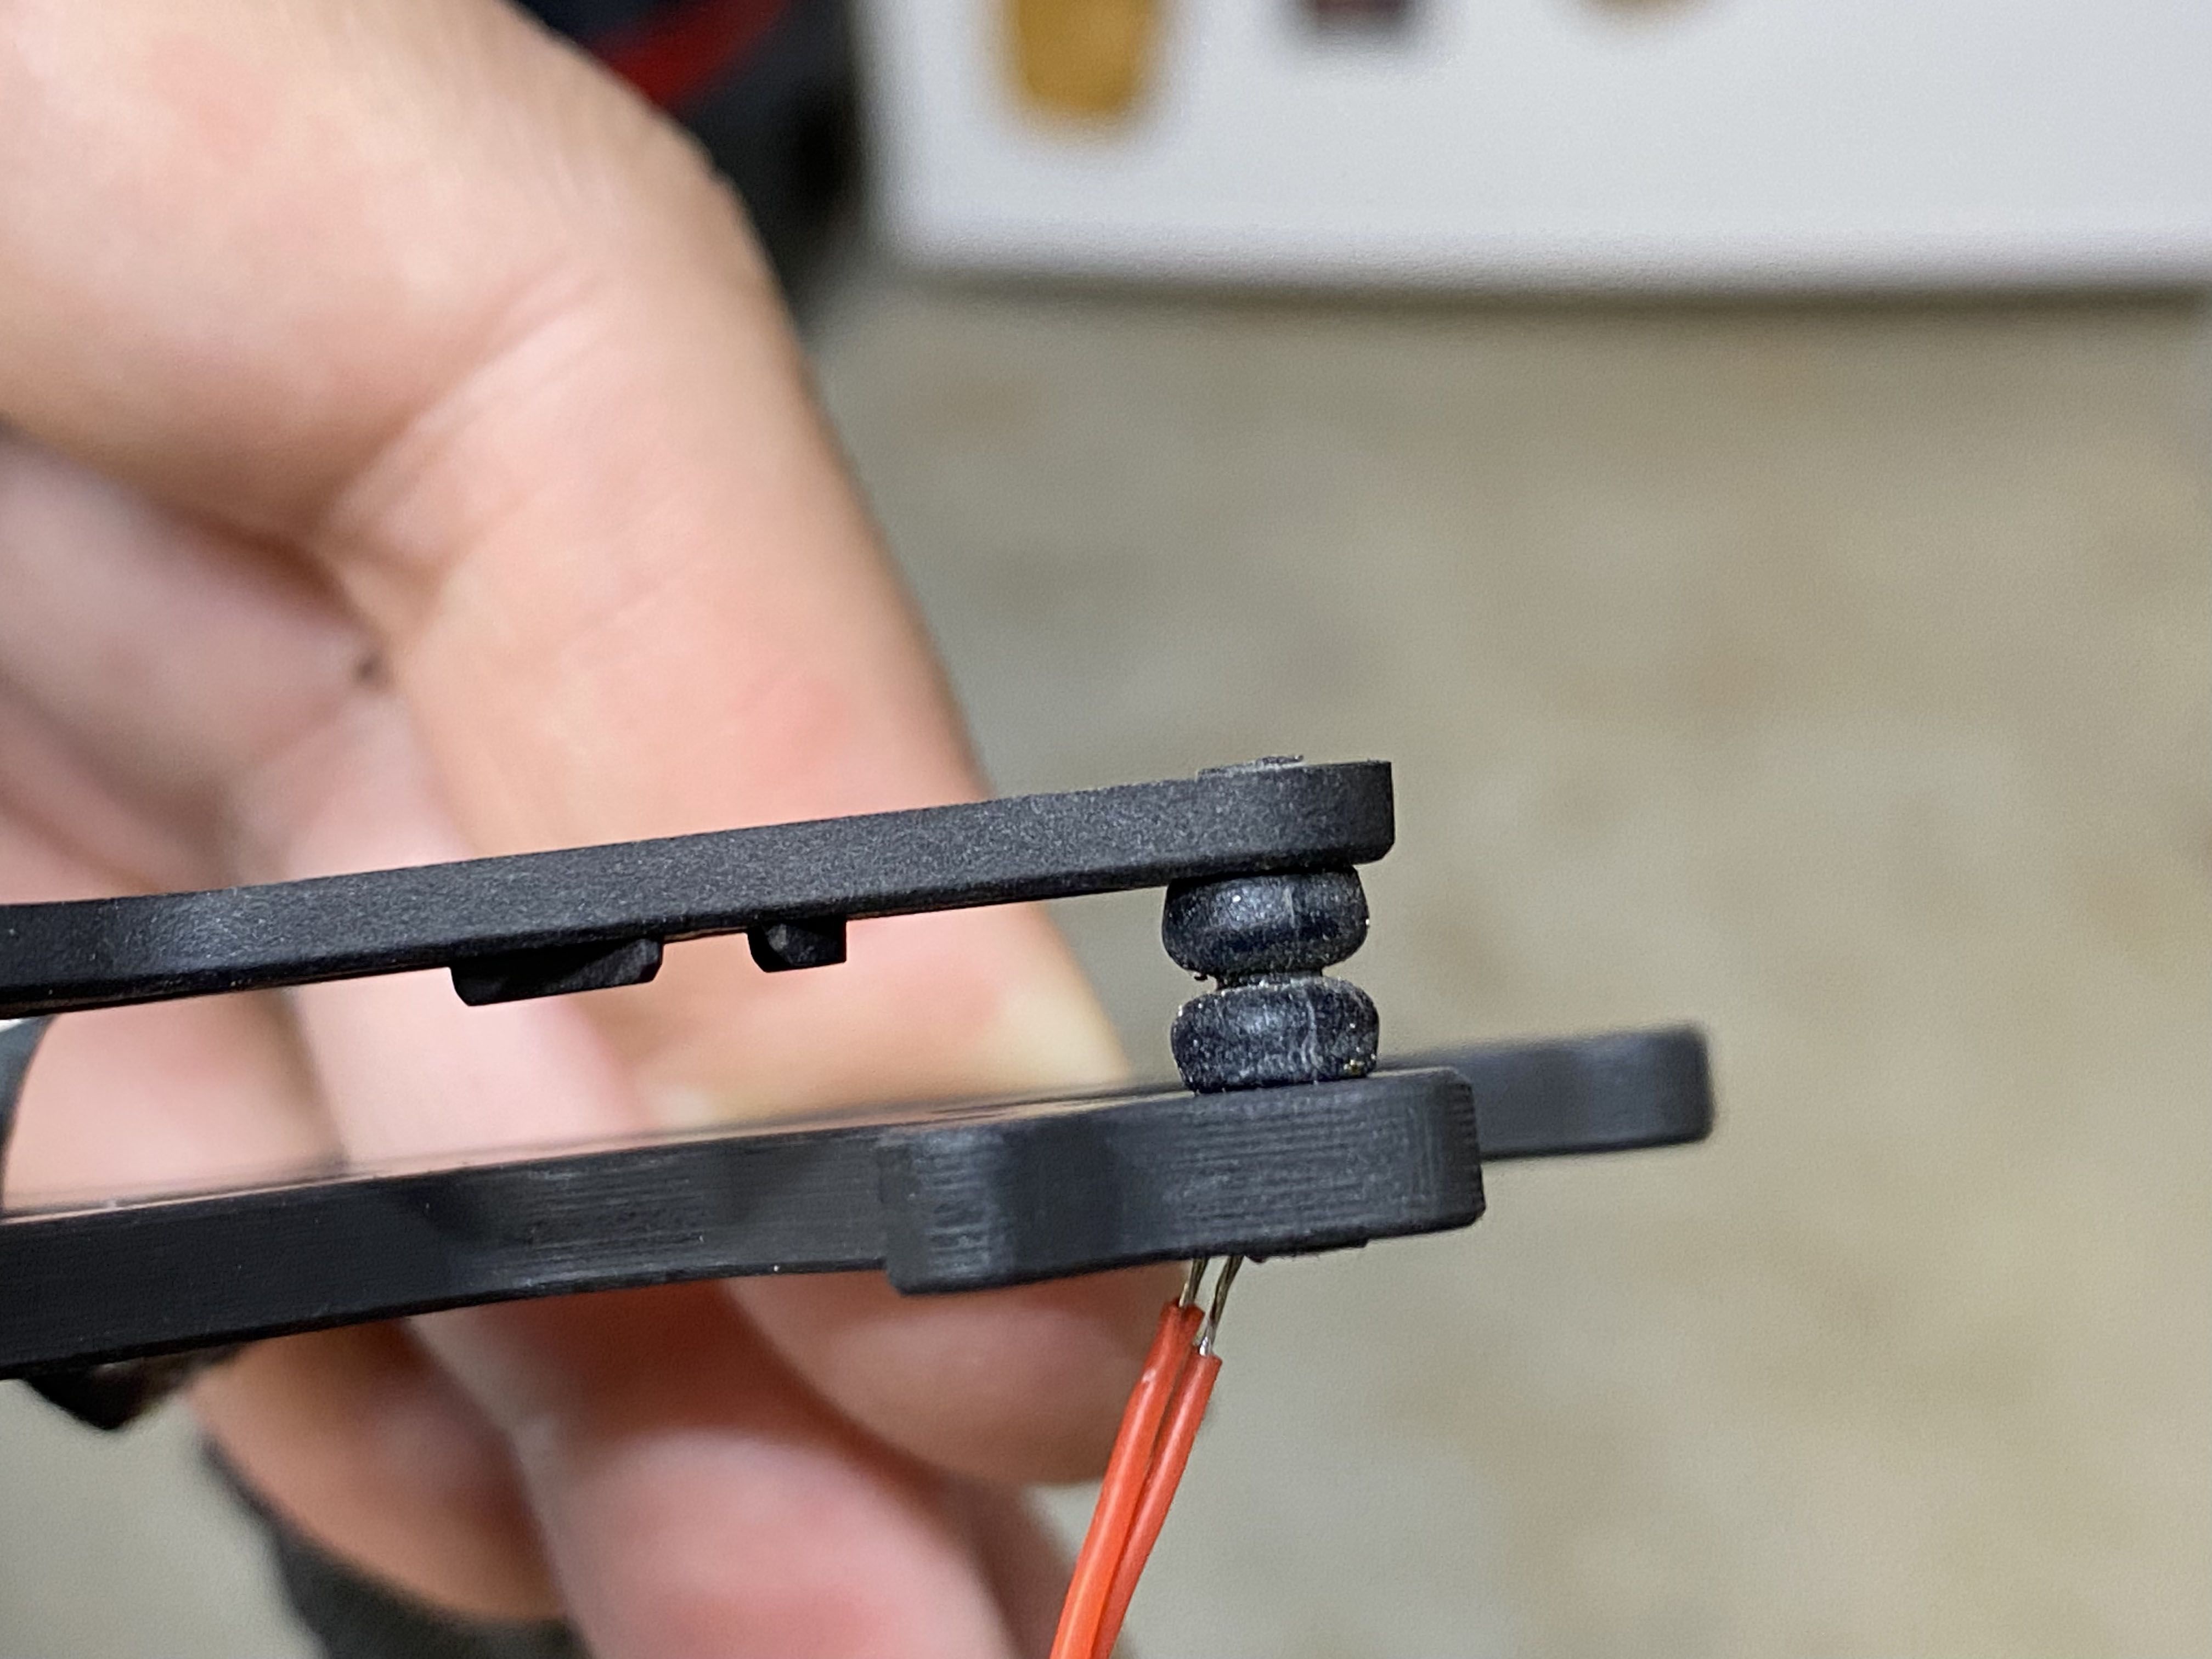
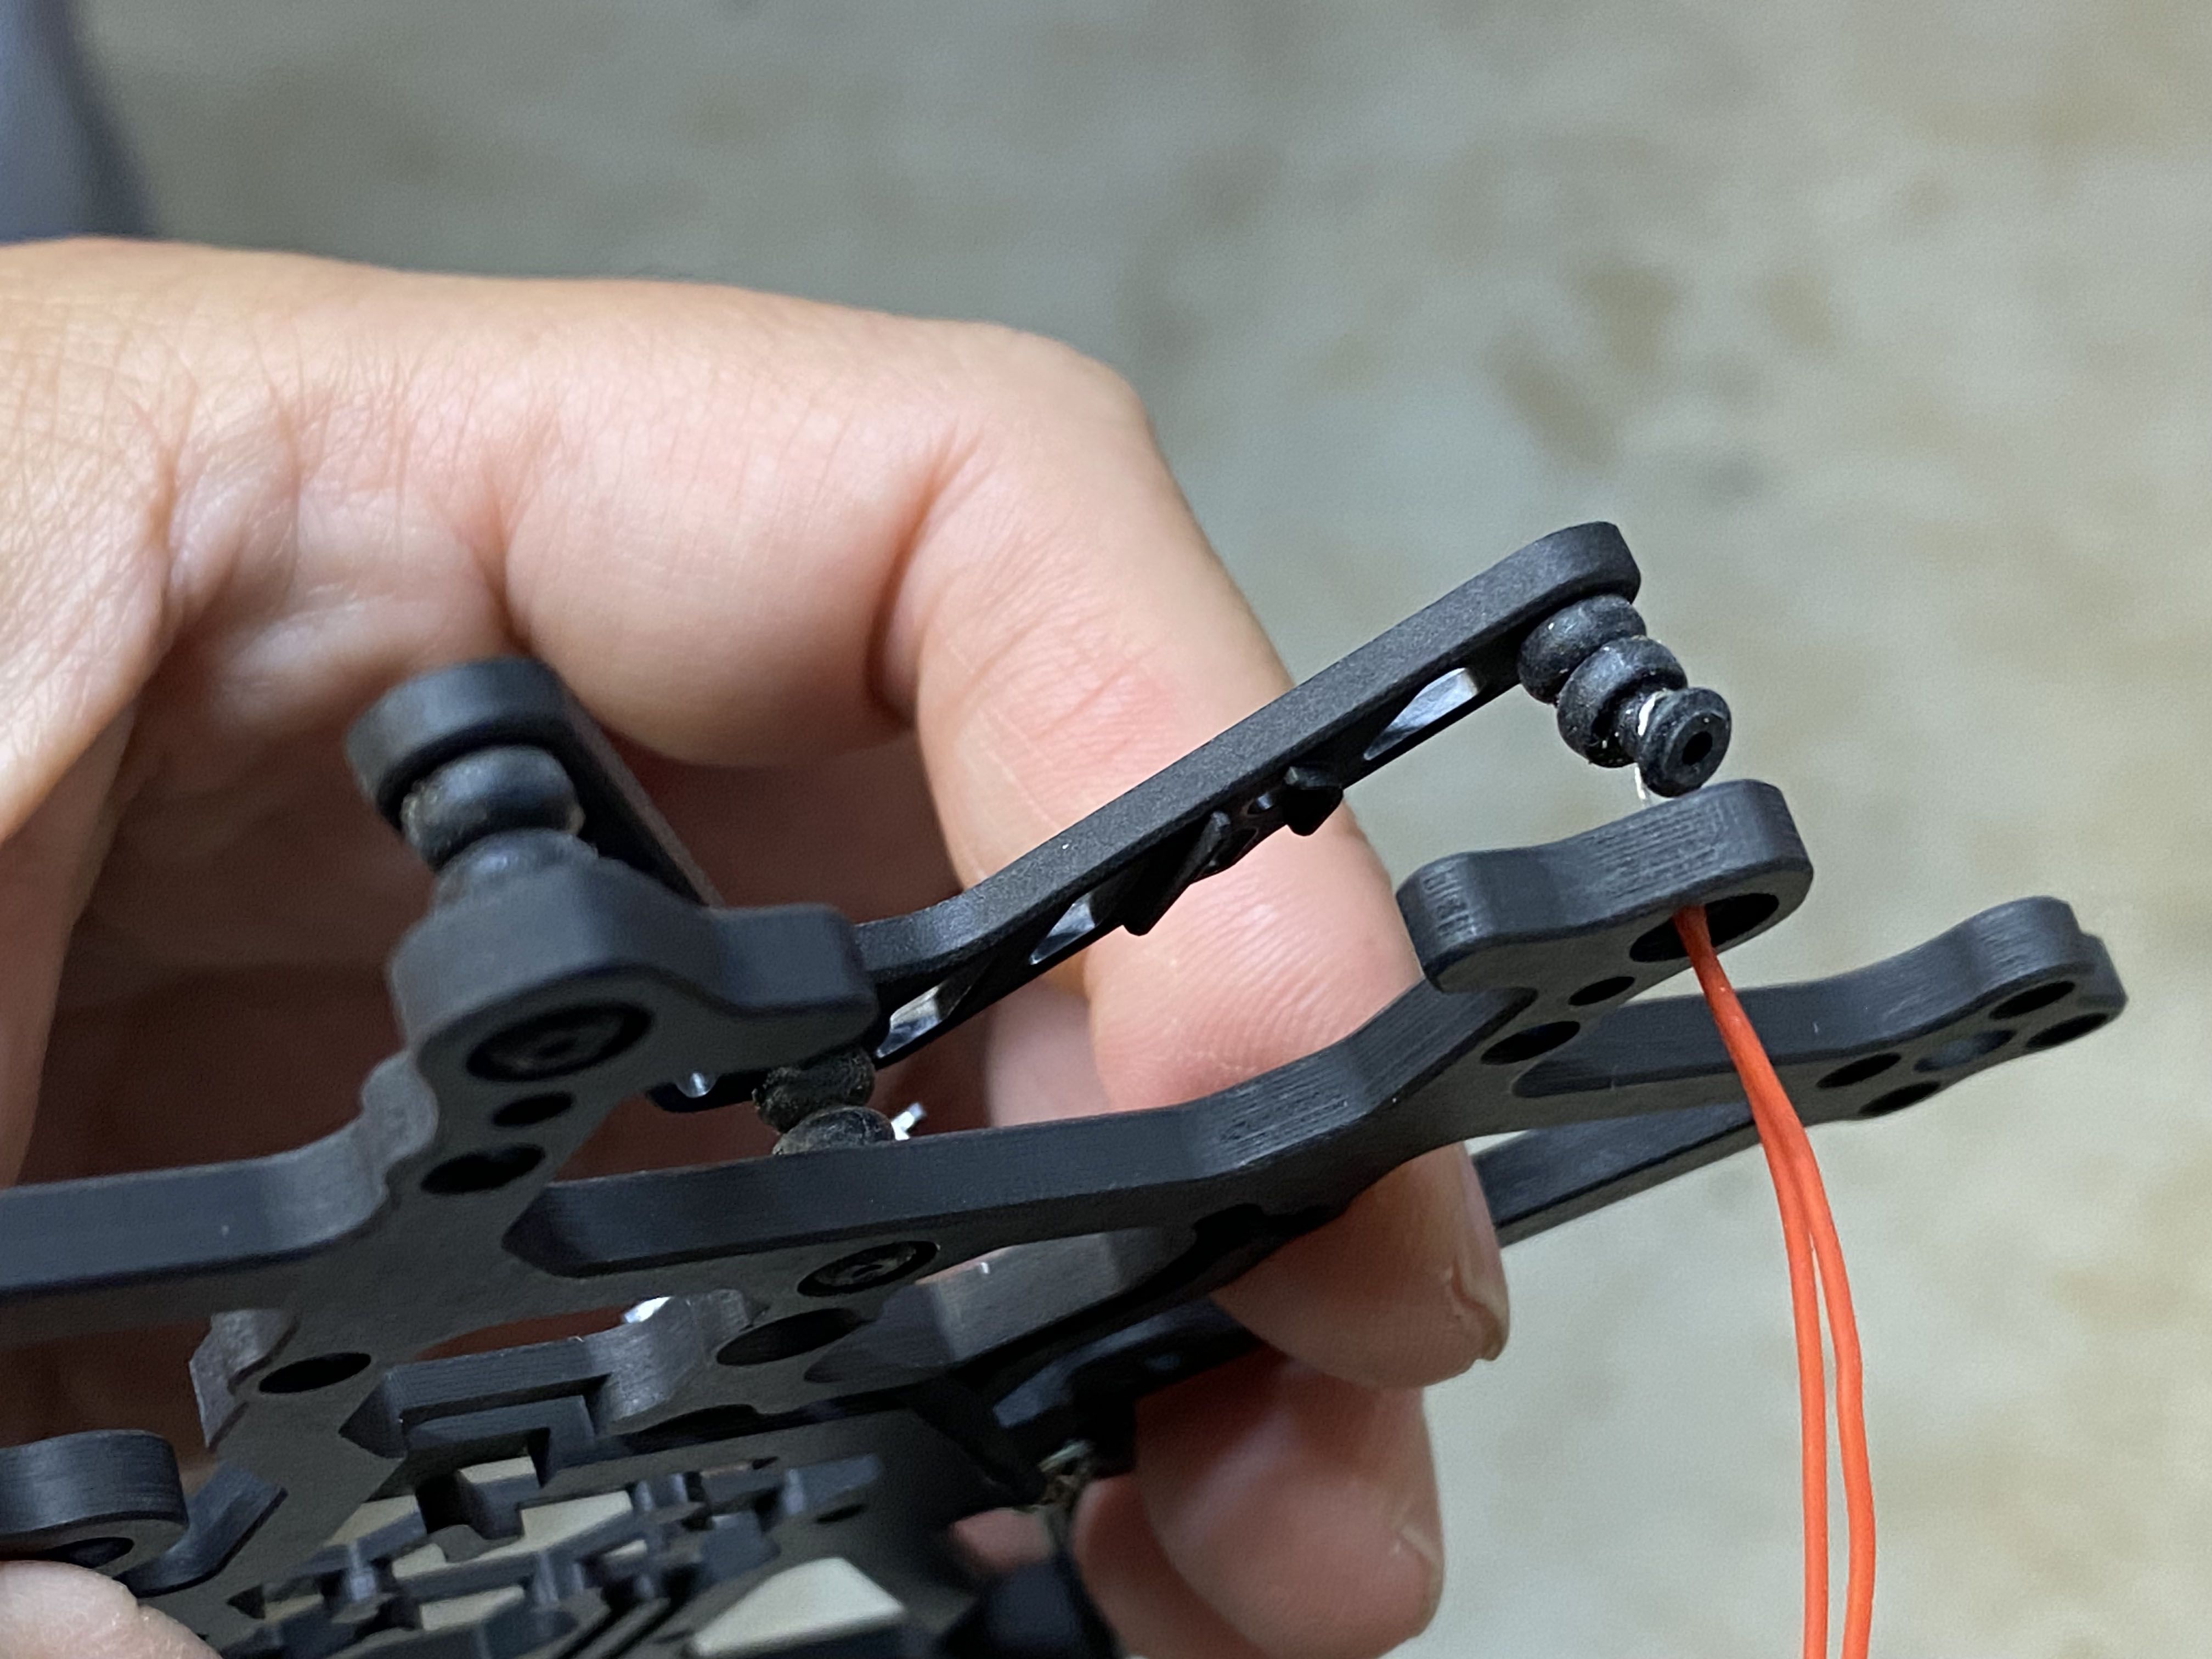
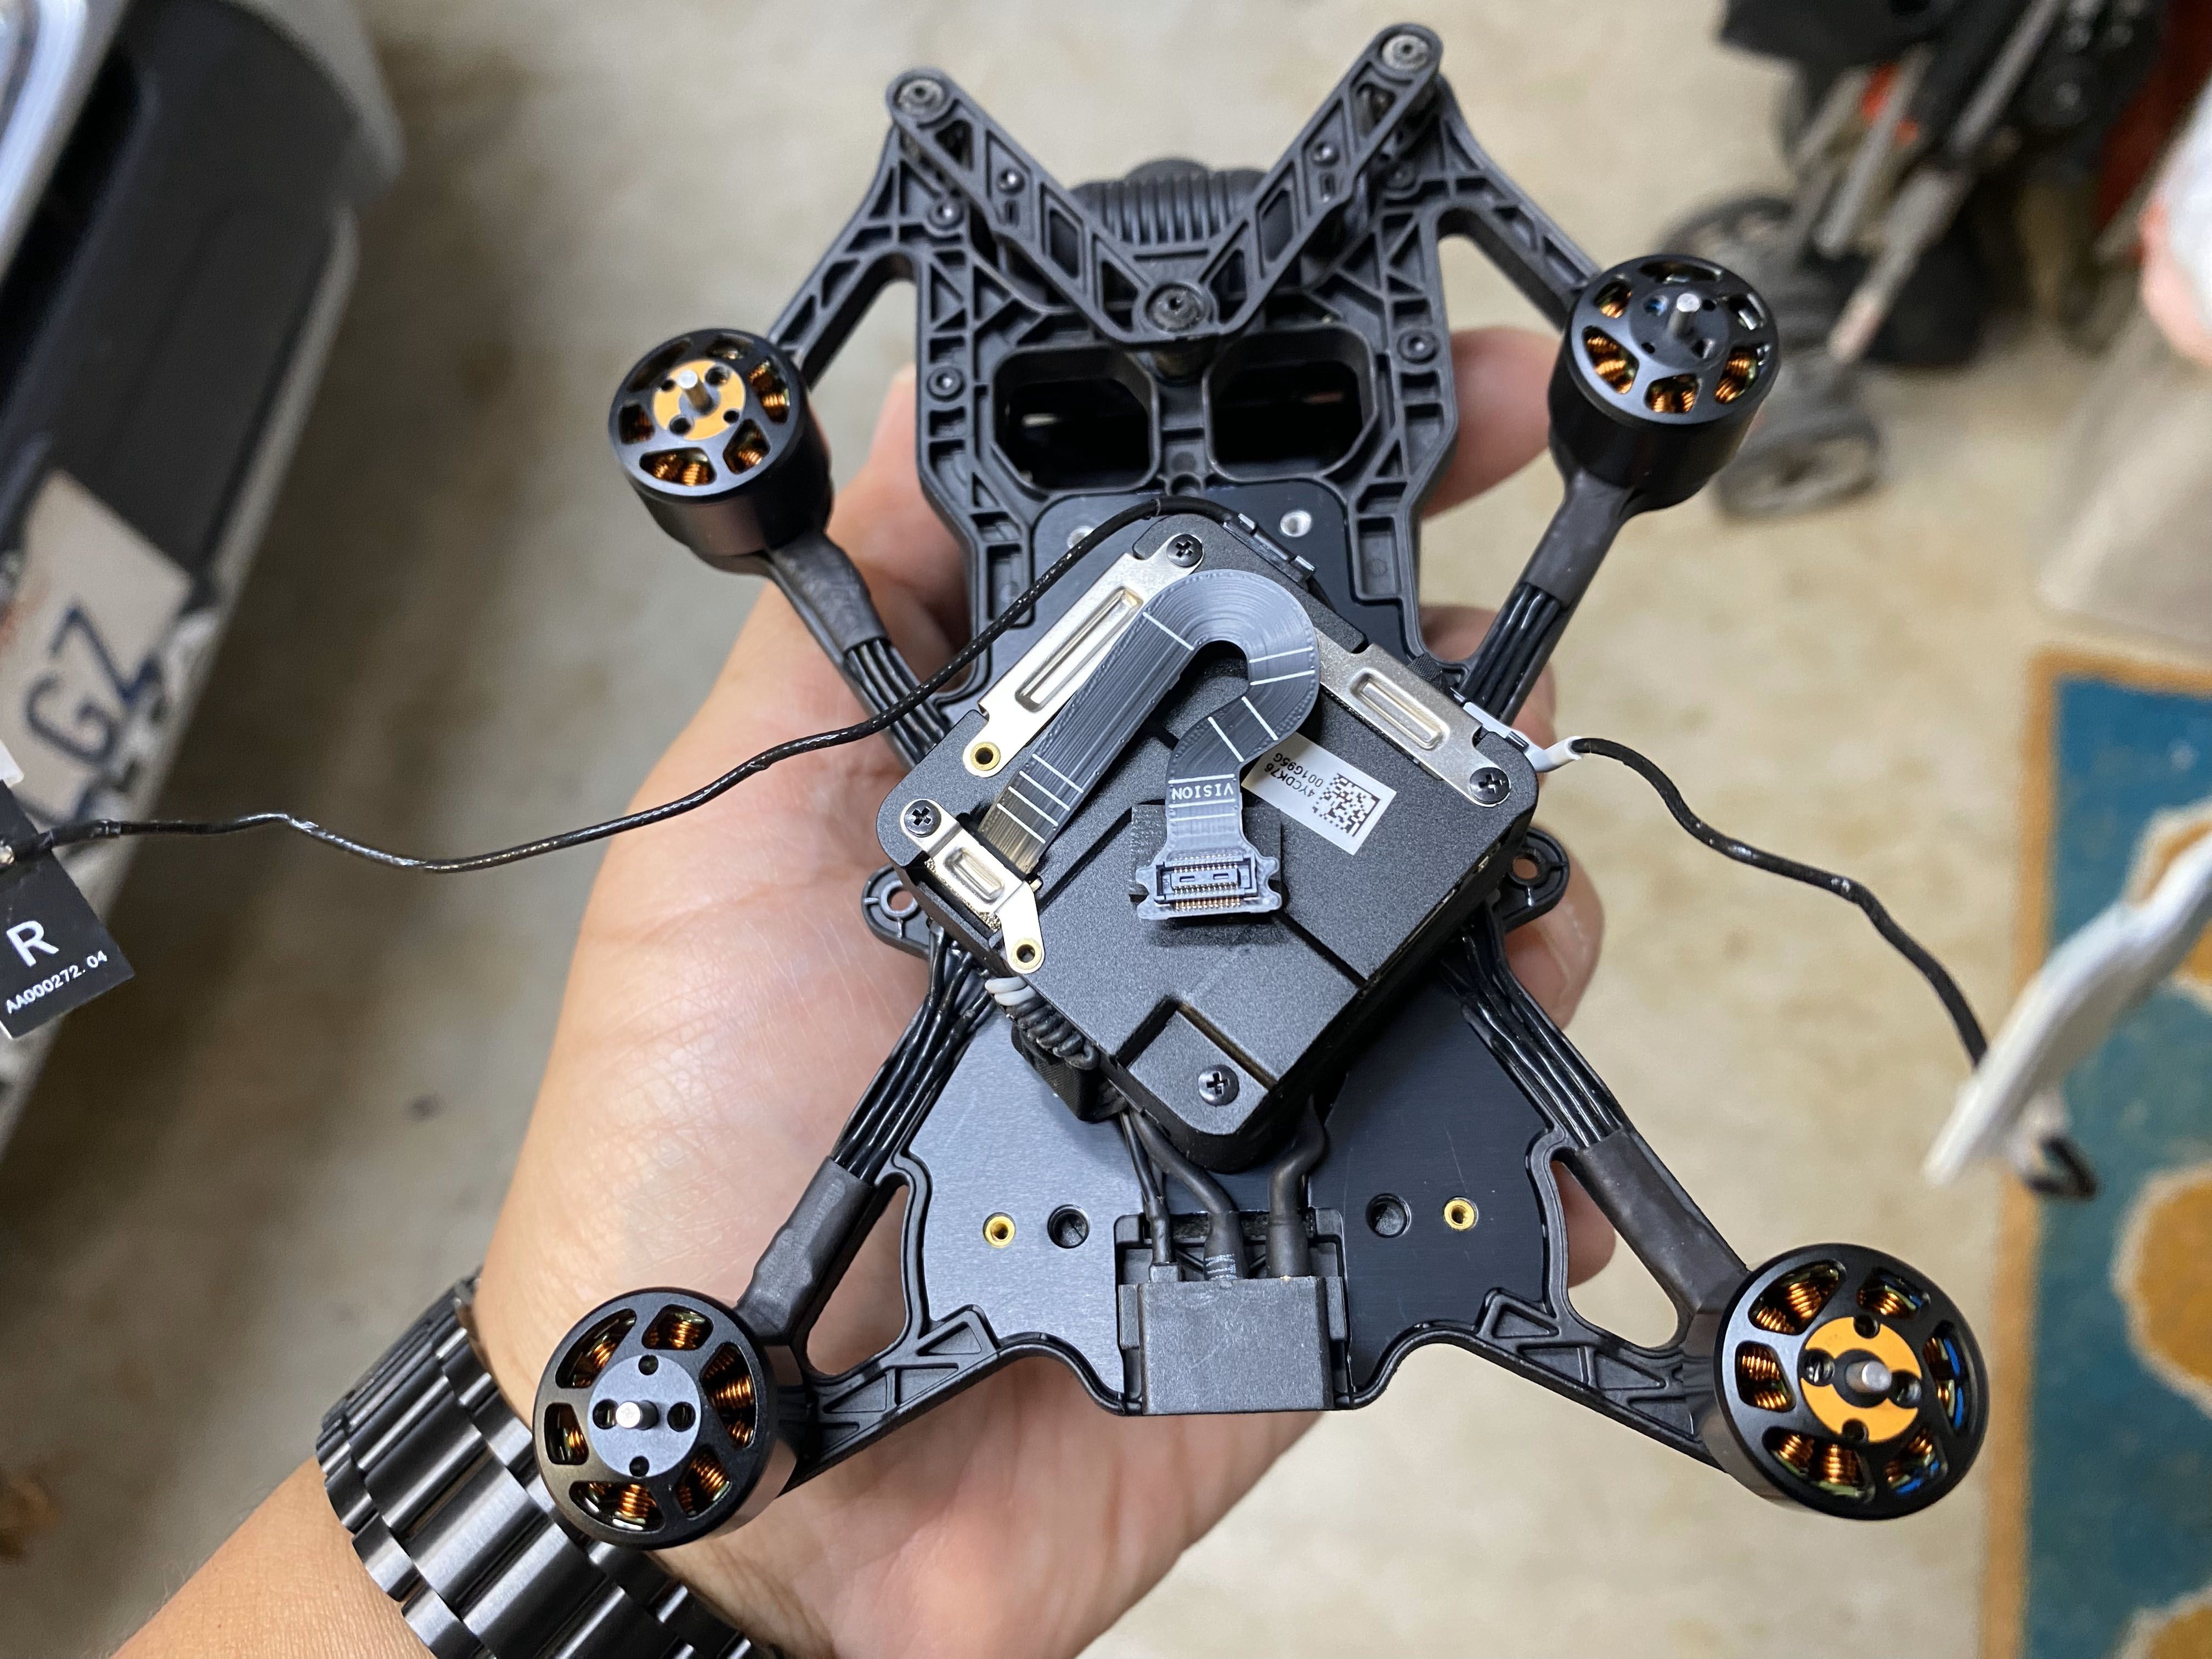
If you have not done this before, it can be surprising how well it works by using the wire to help guide the dampener through the hole. In the past I would use a piece of floss but the wire they provide worked too. Removing the camera off the dampening plate make it a lot easier to work with when you pull the rubber dampeners through the holes. There are only 2 screws holding the camera, so it is super easy to remove.
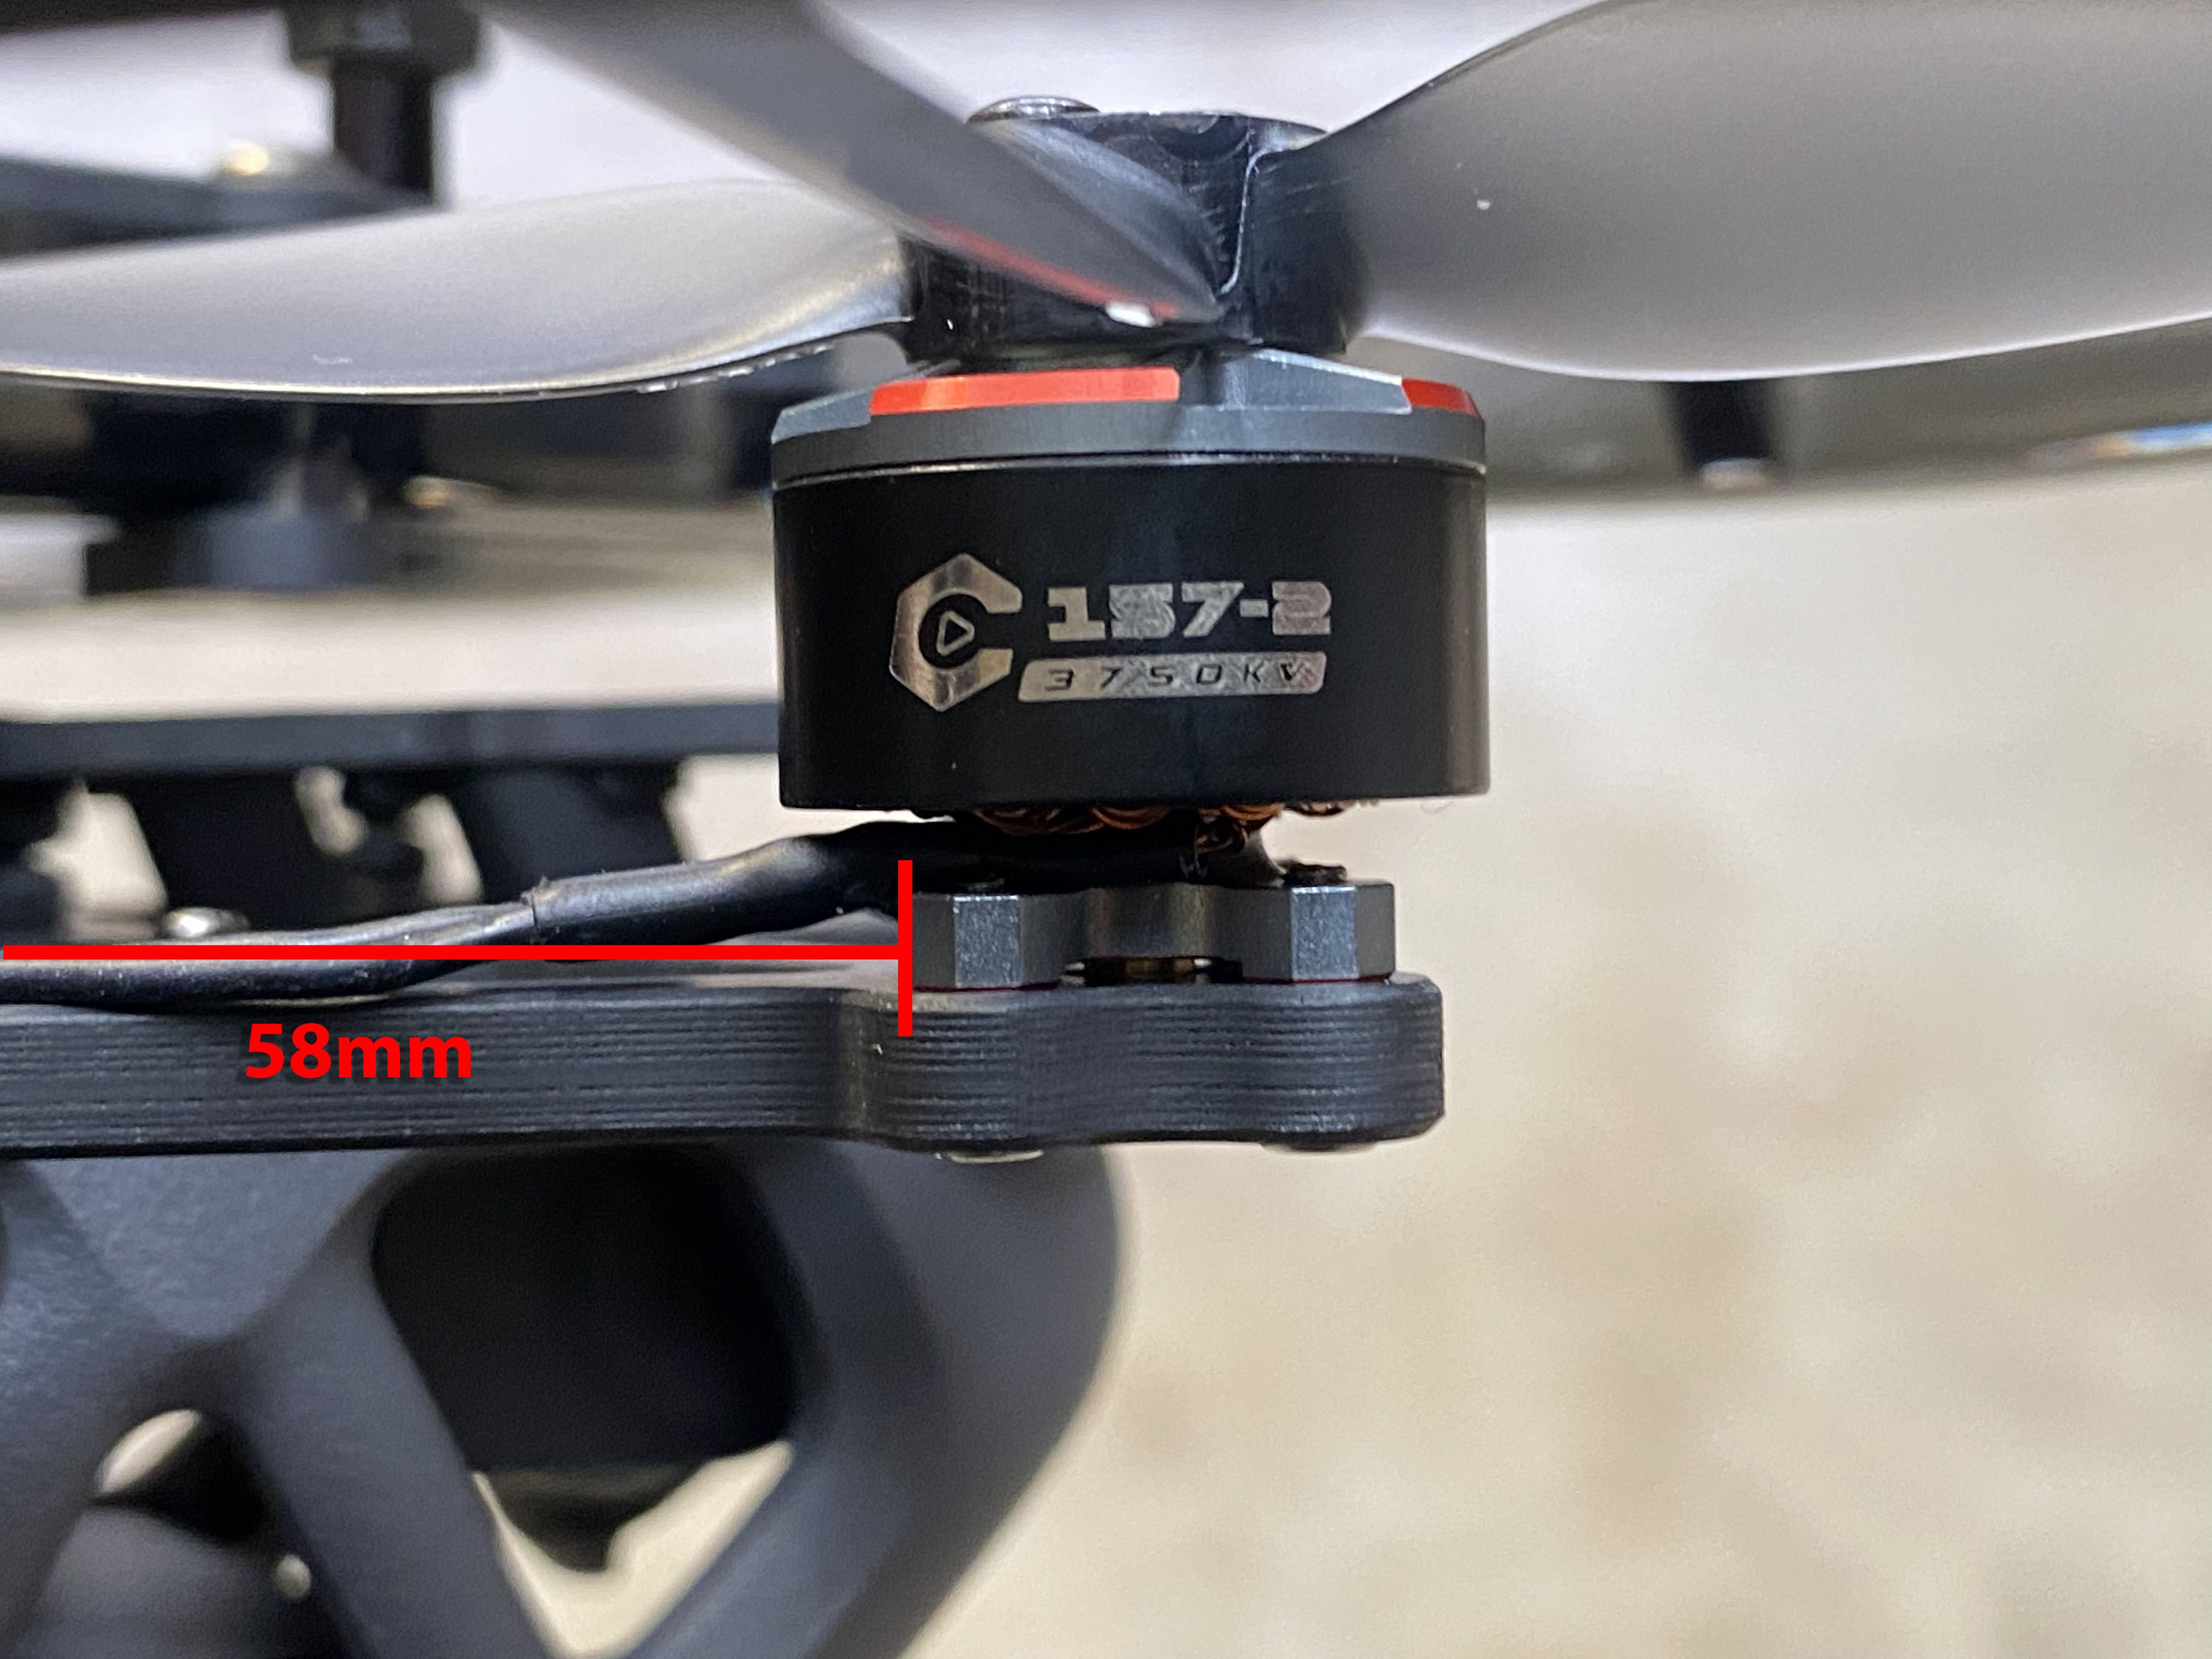
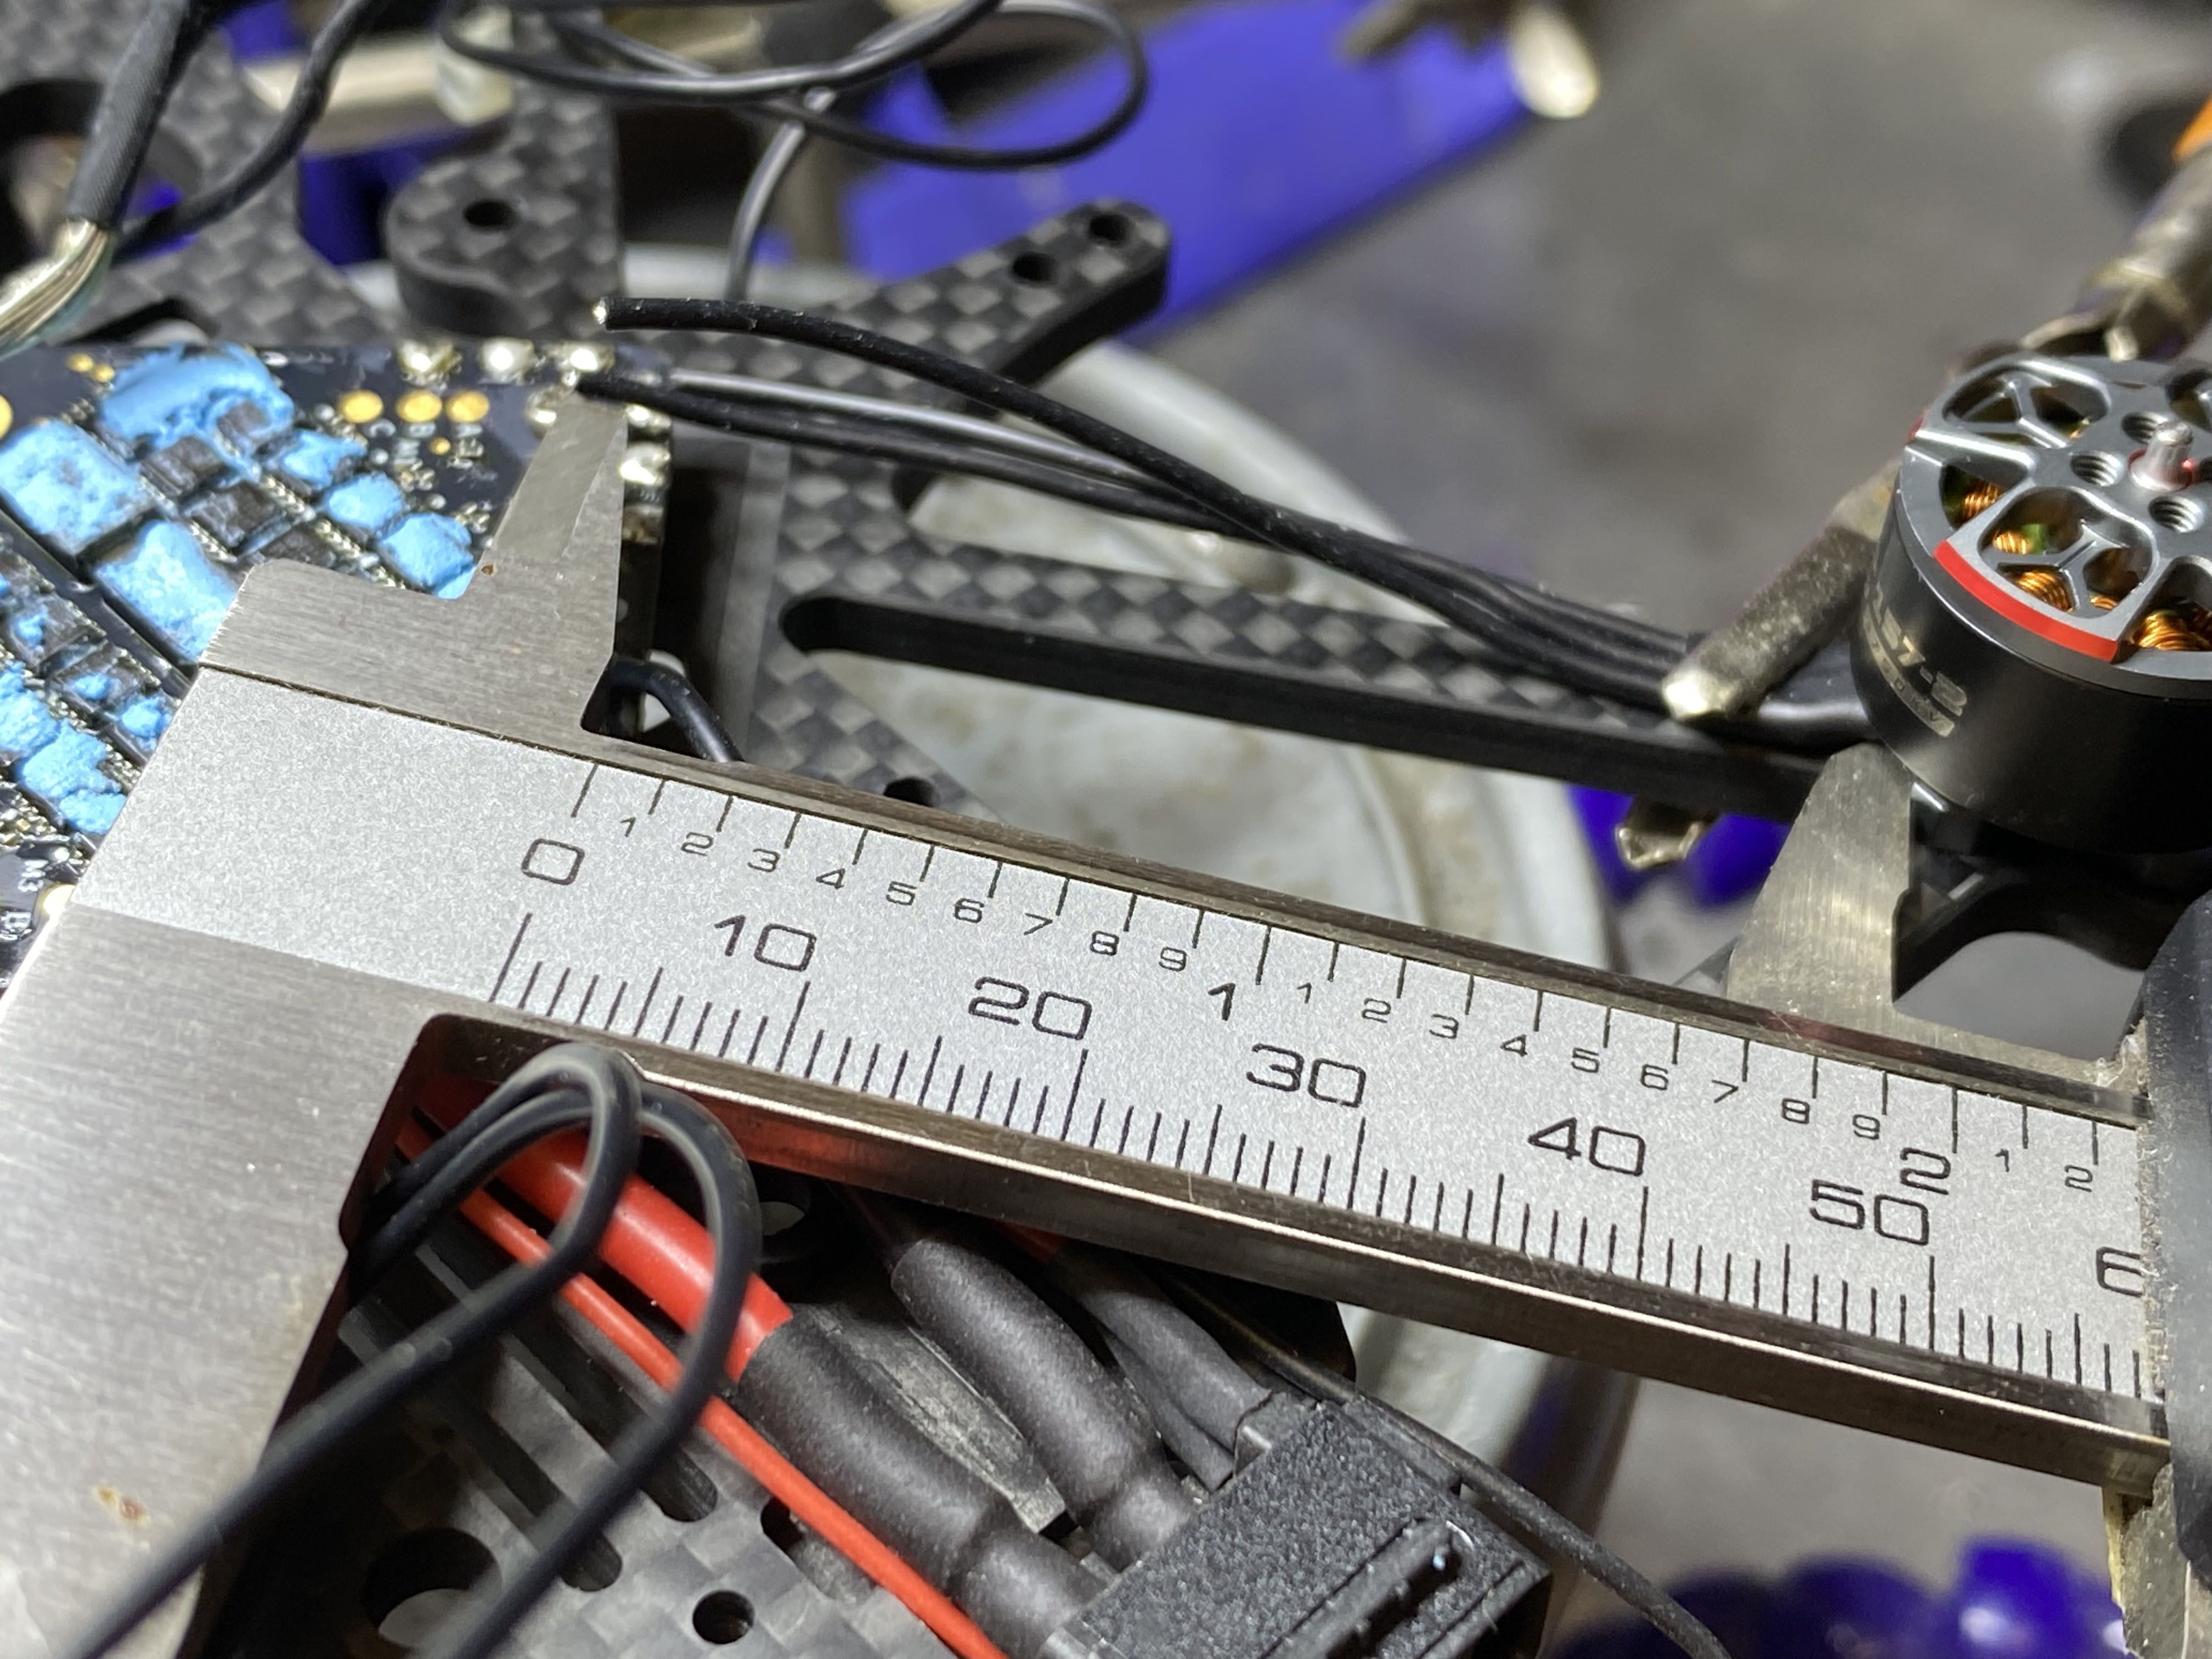
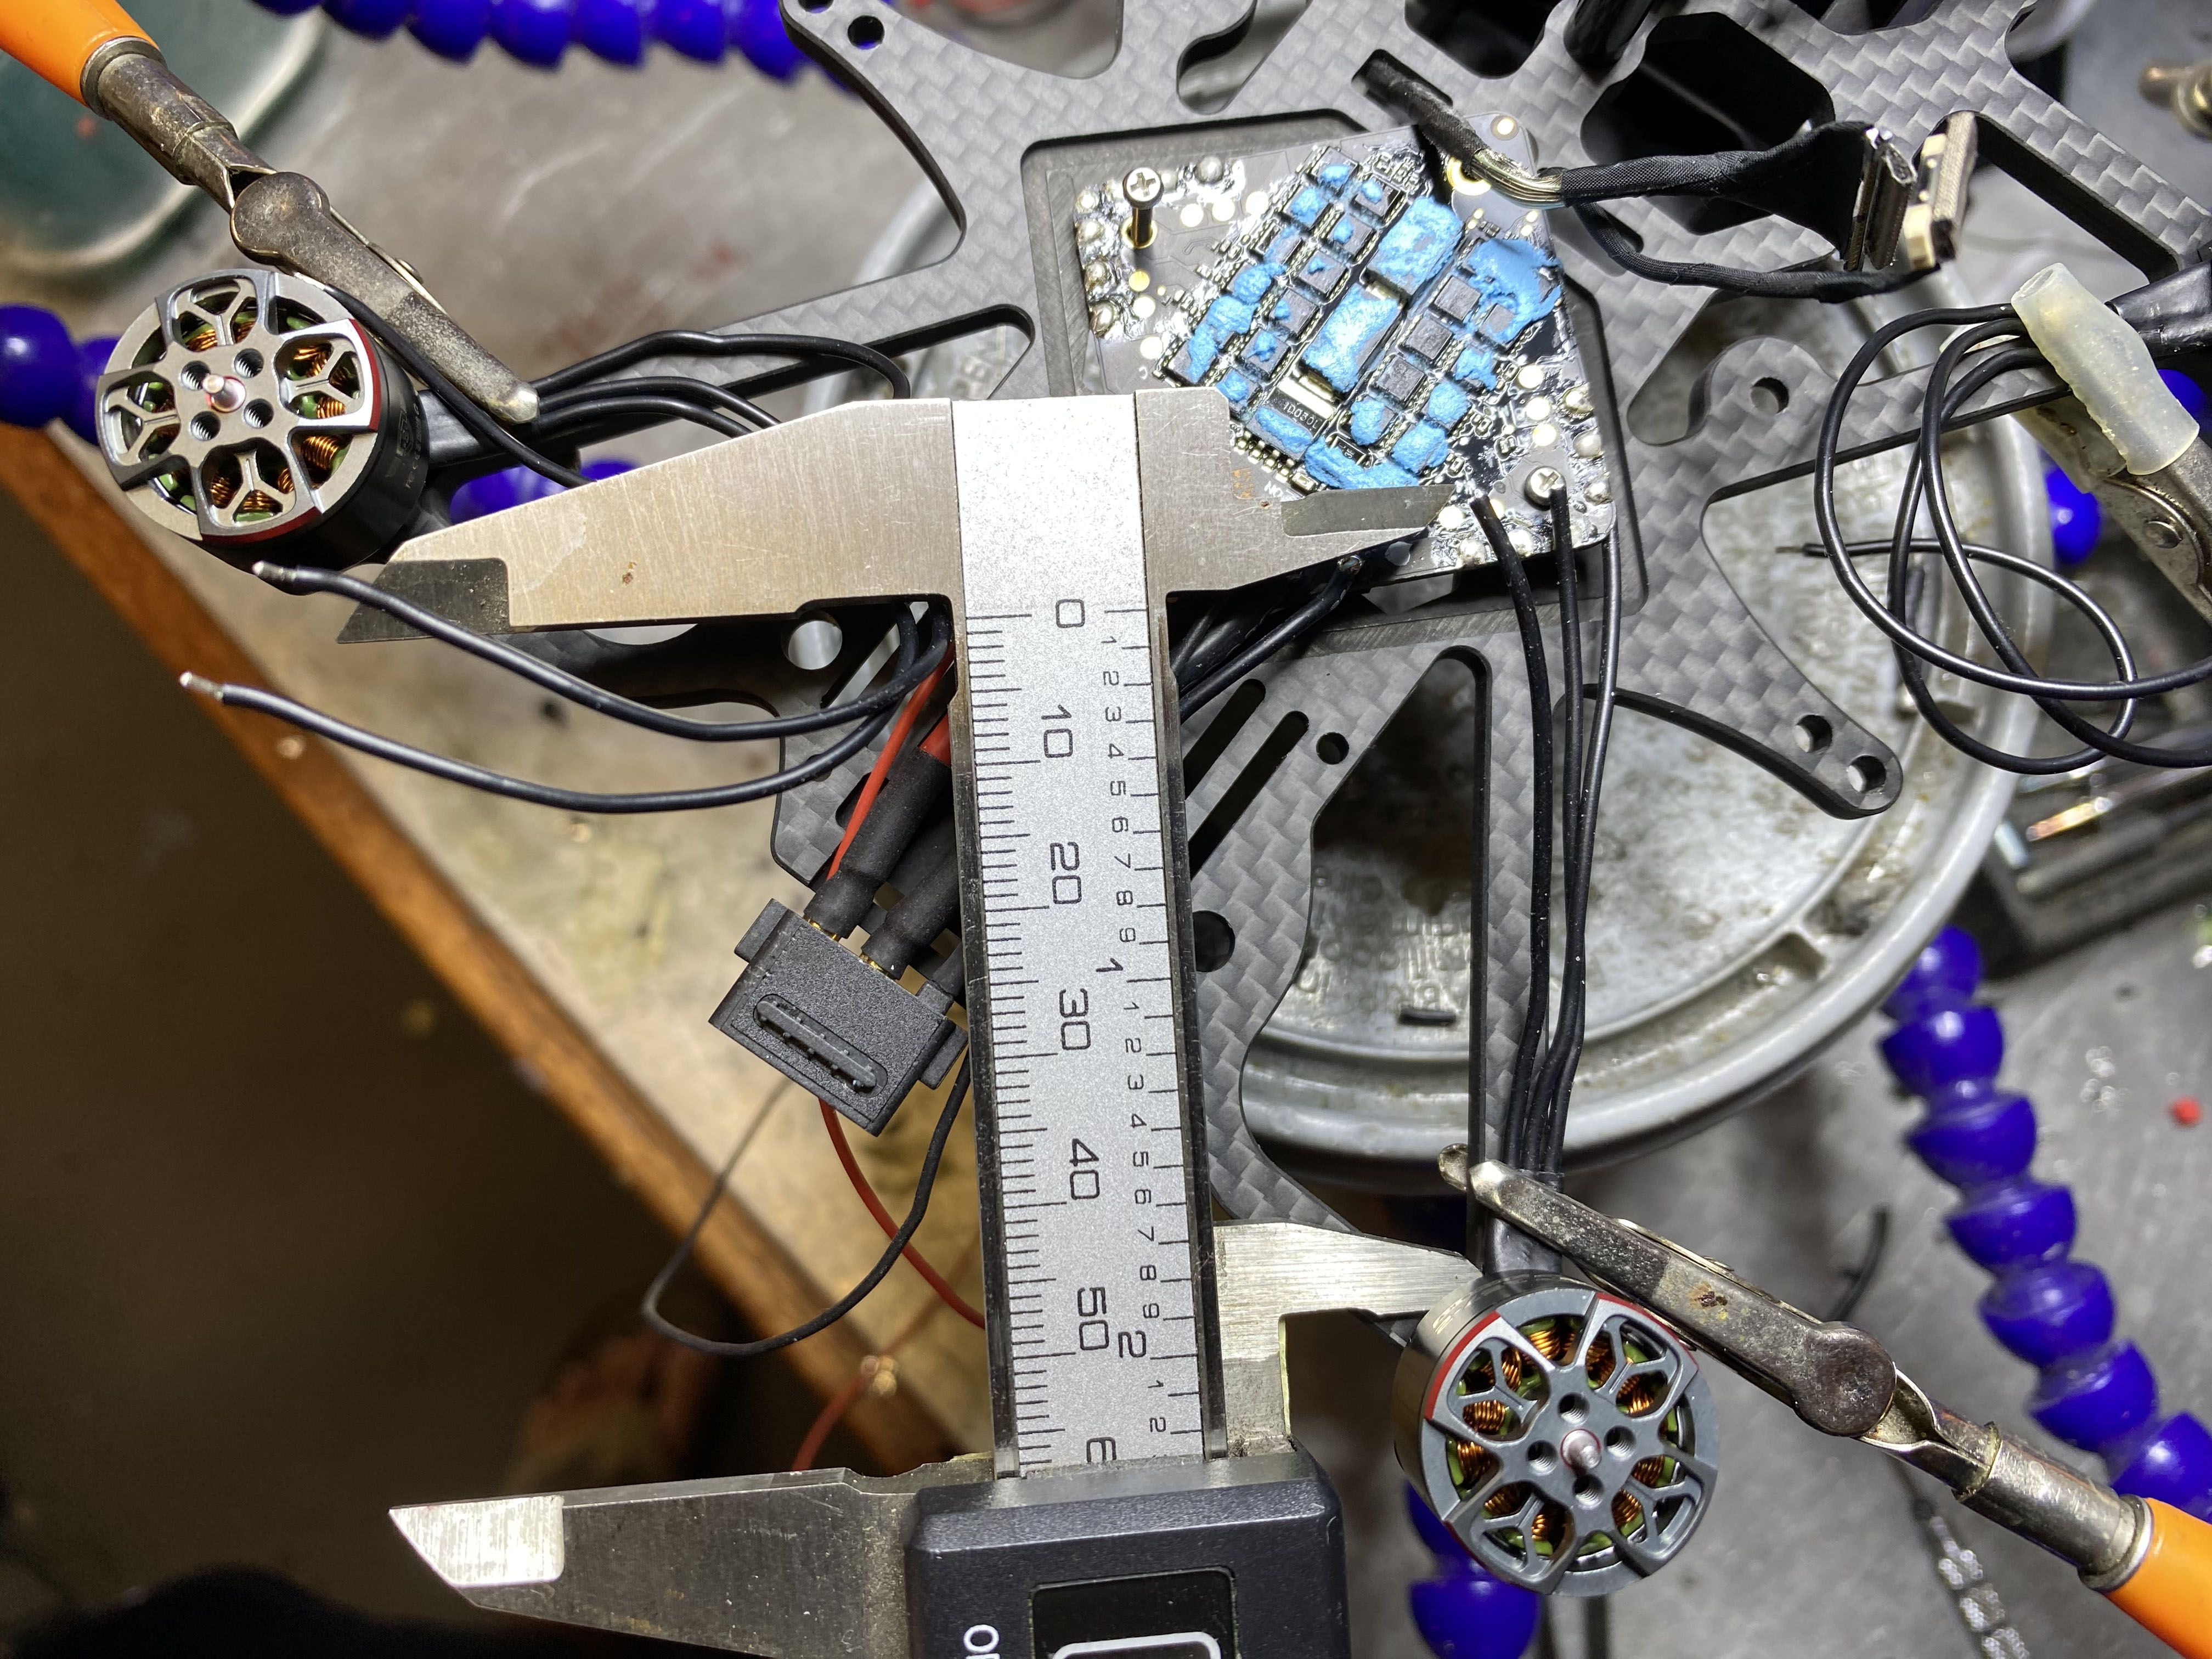
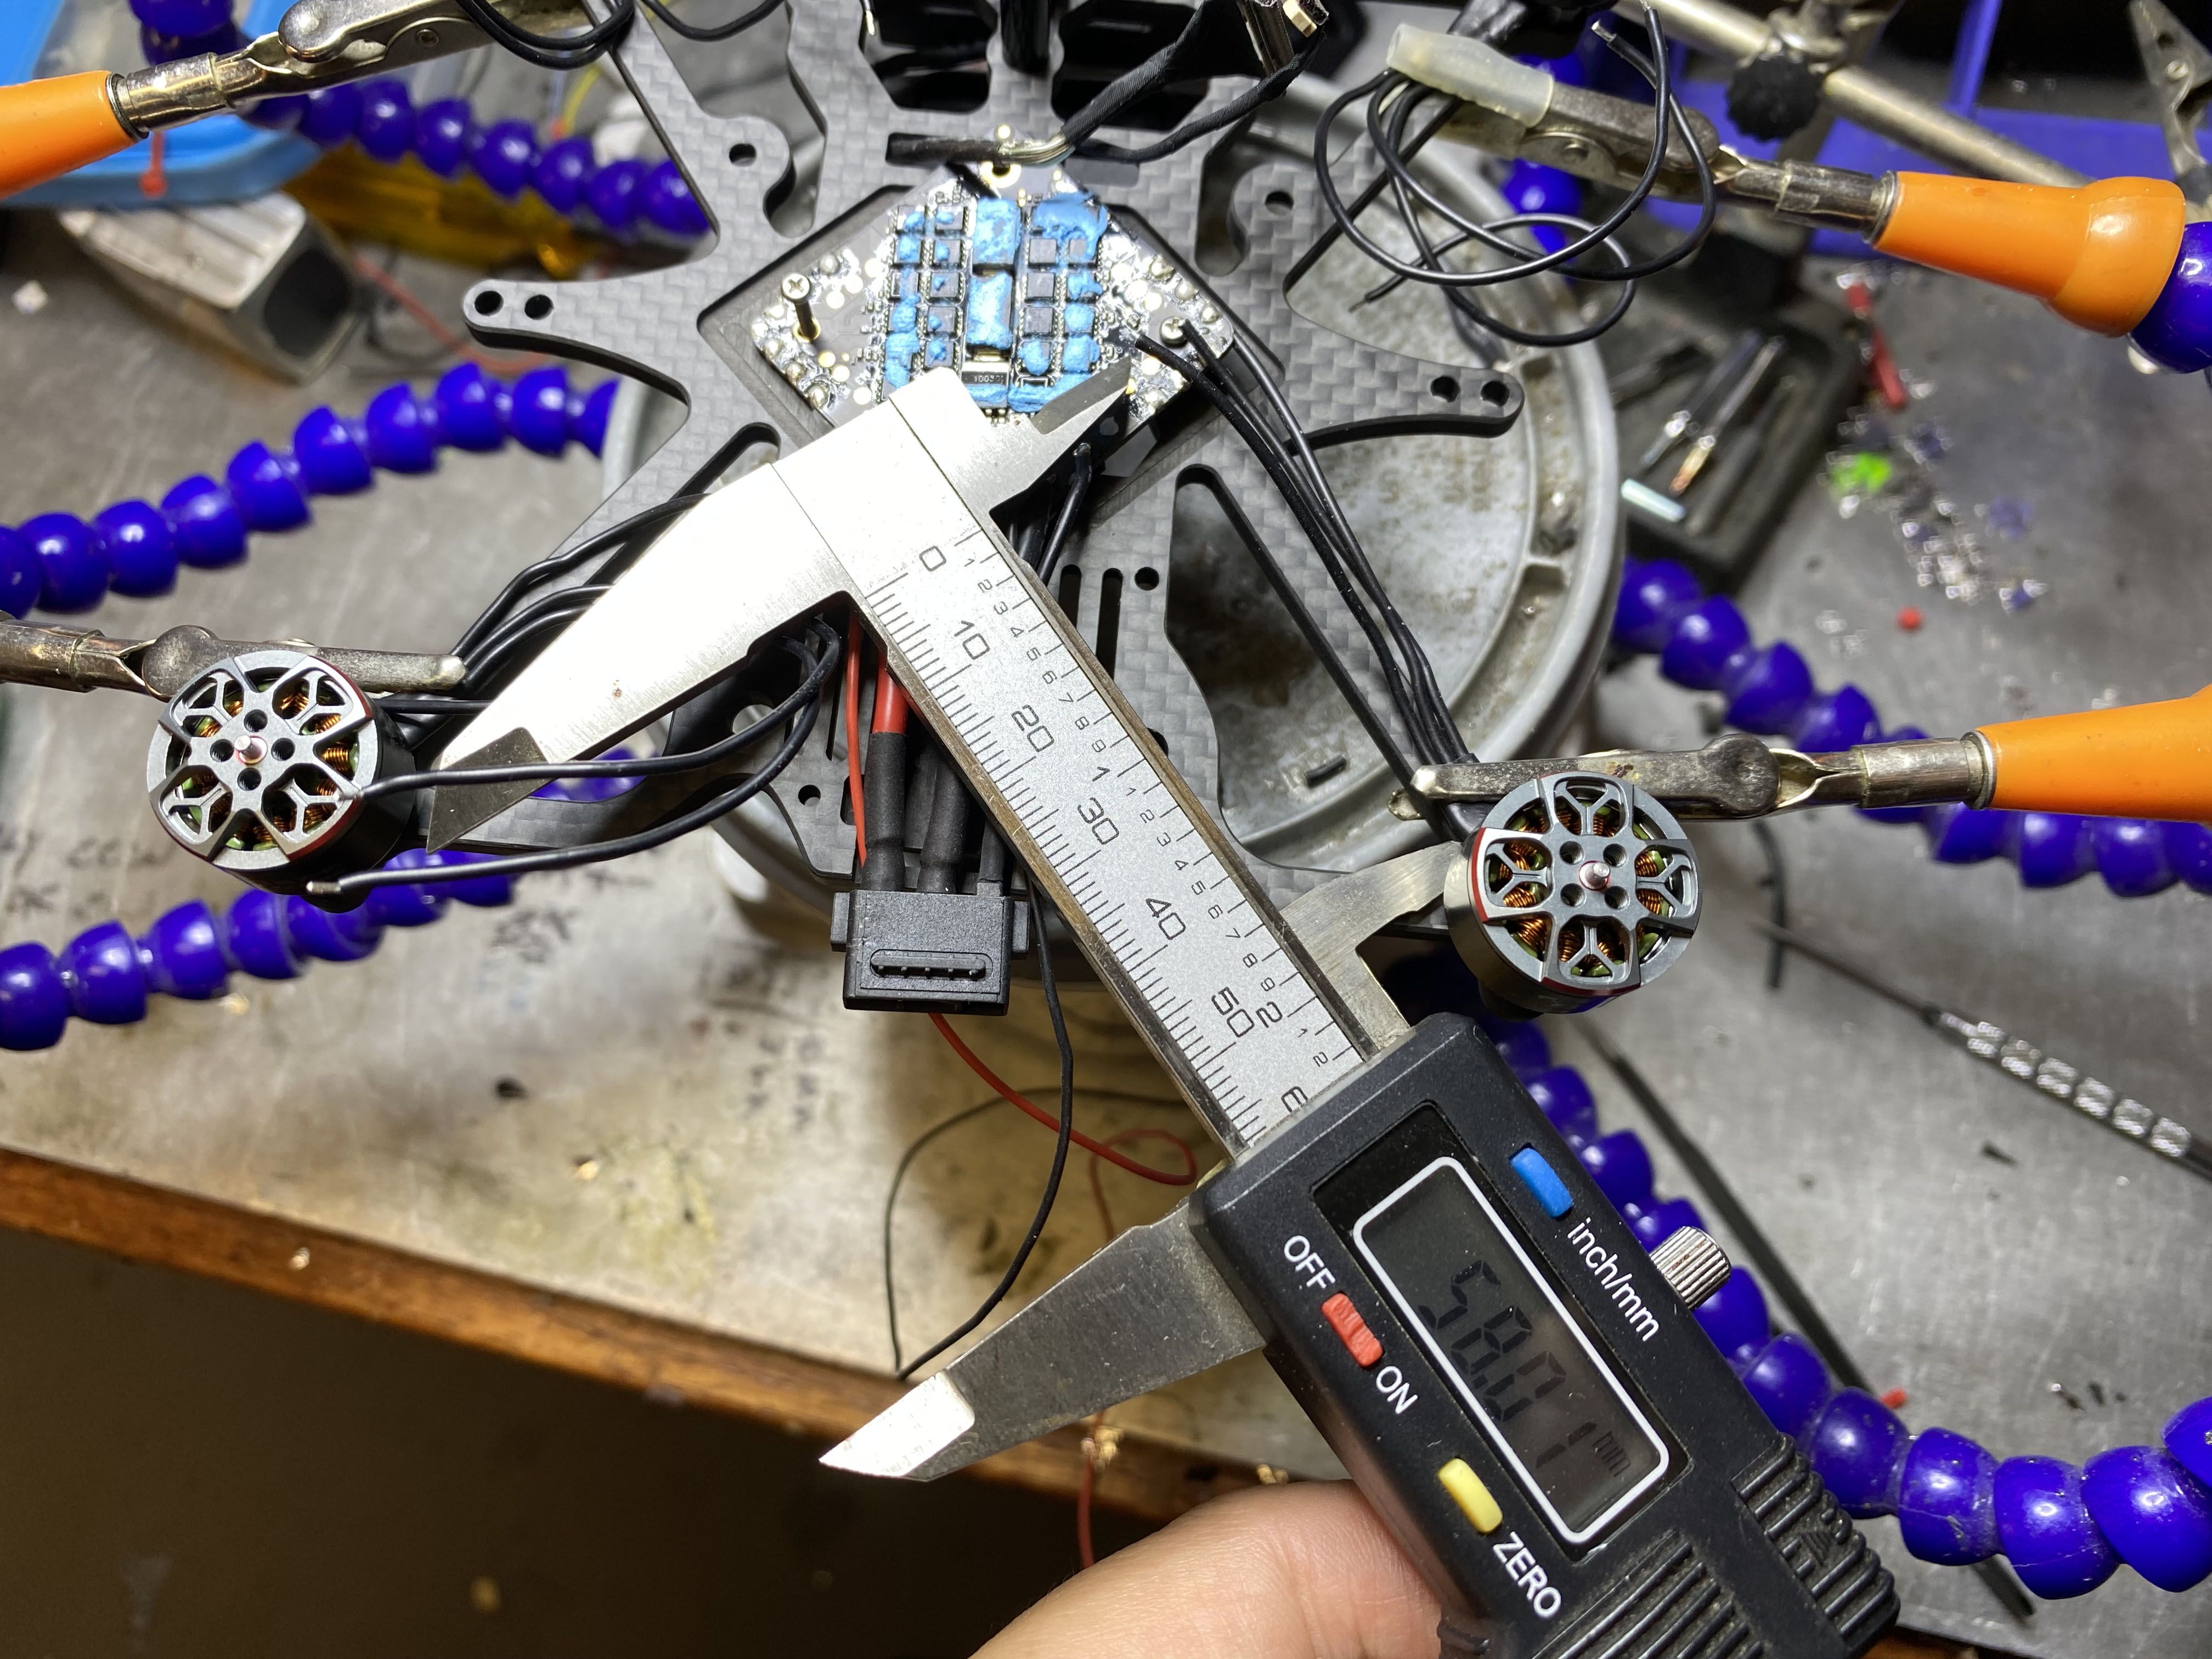
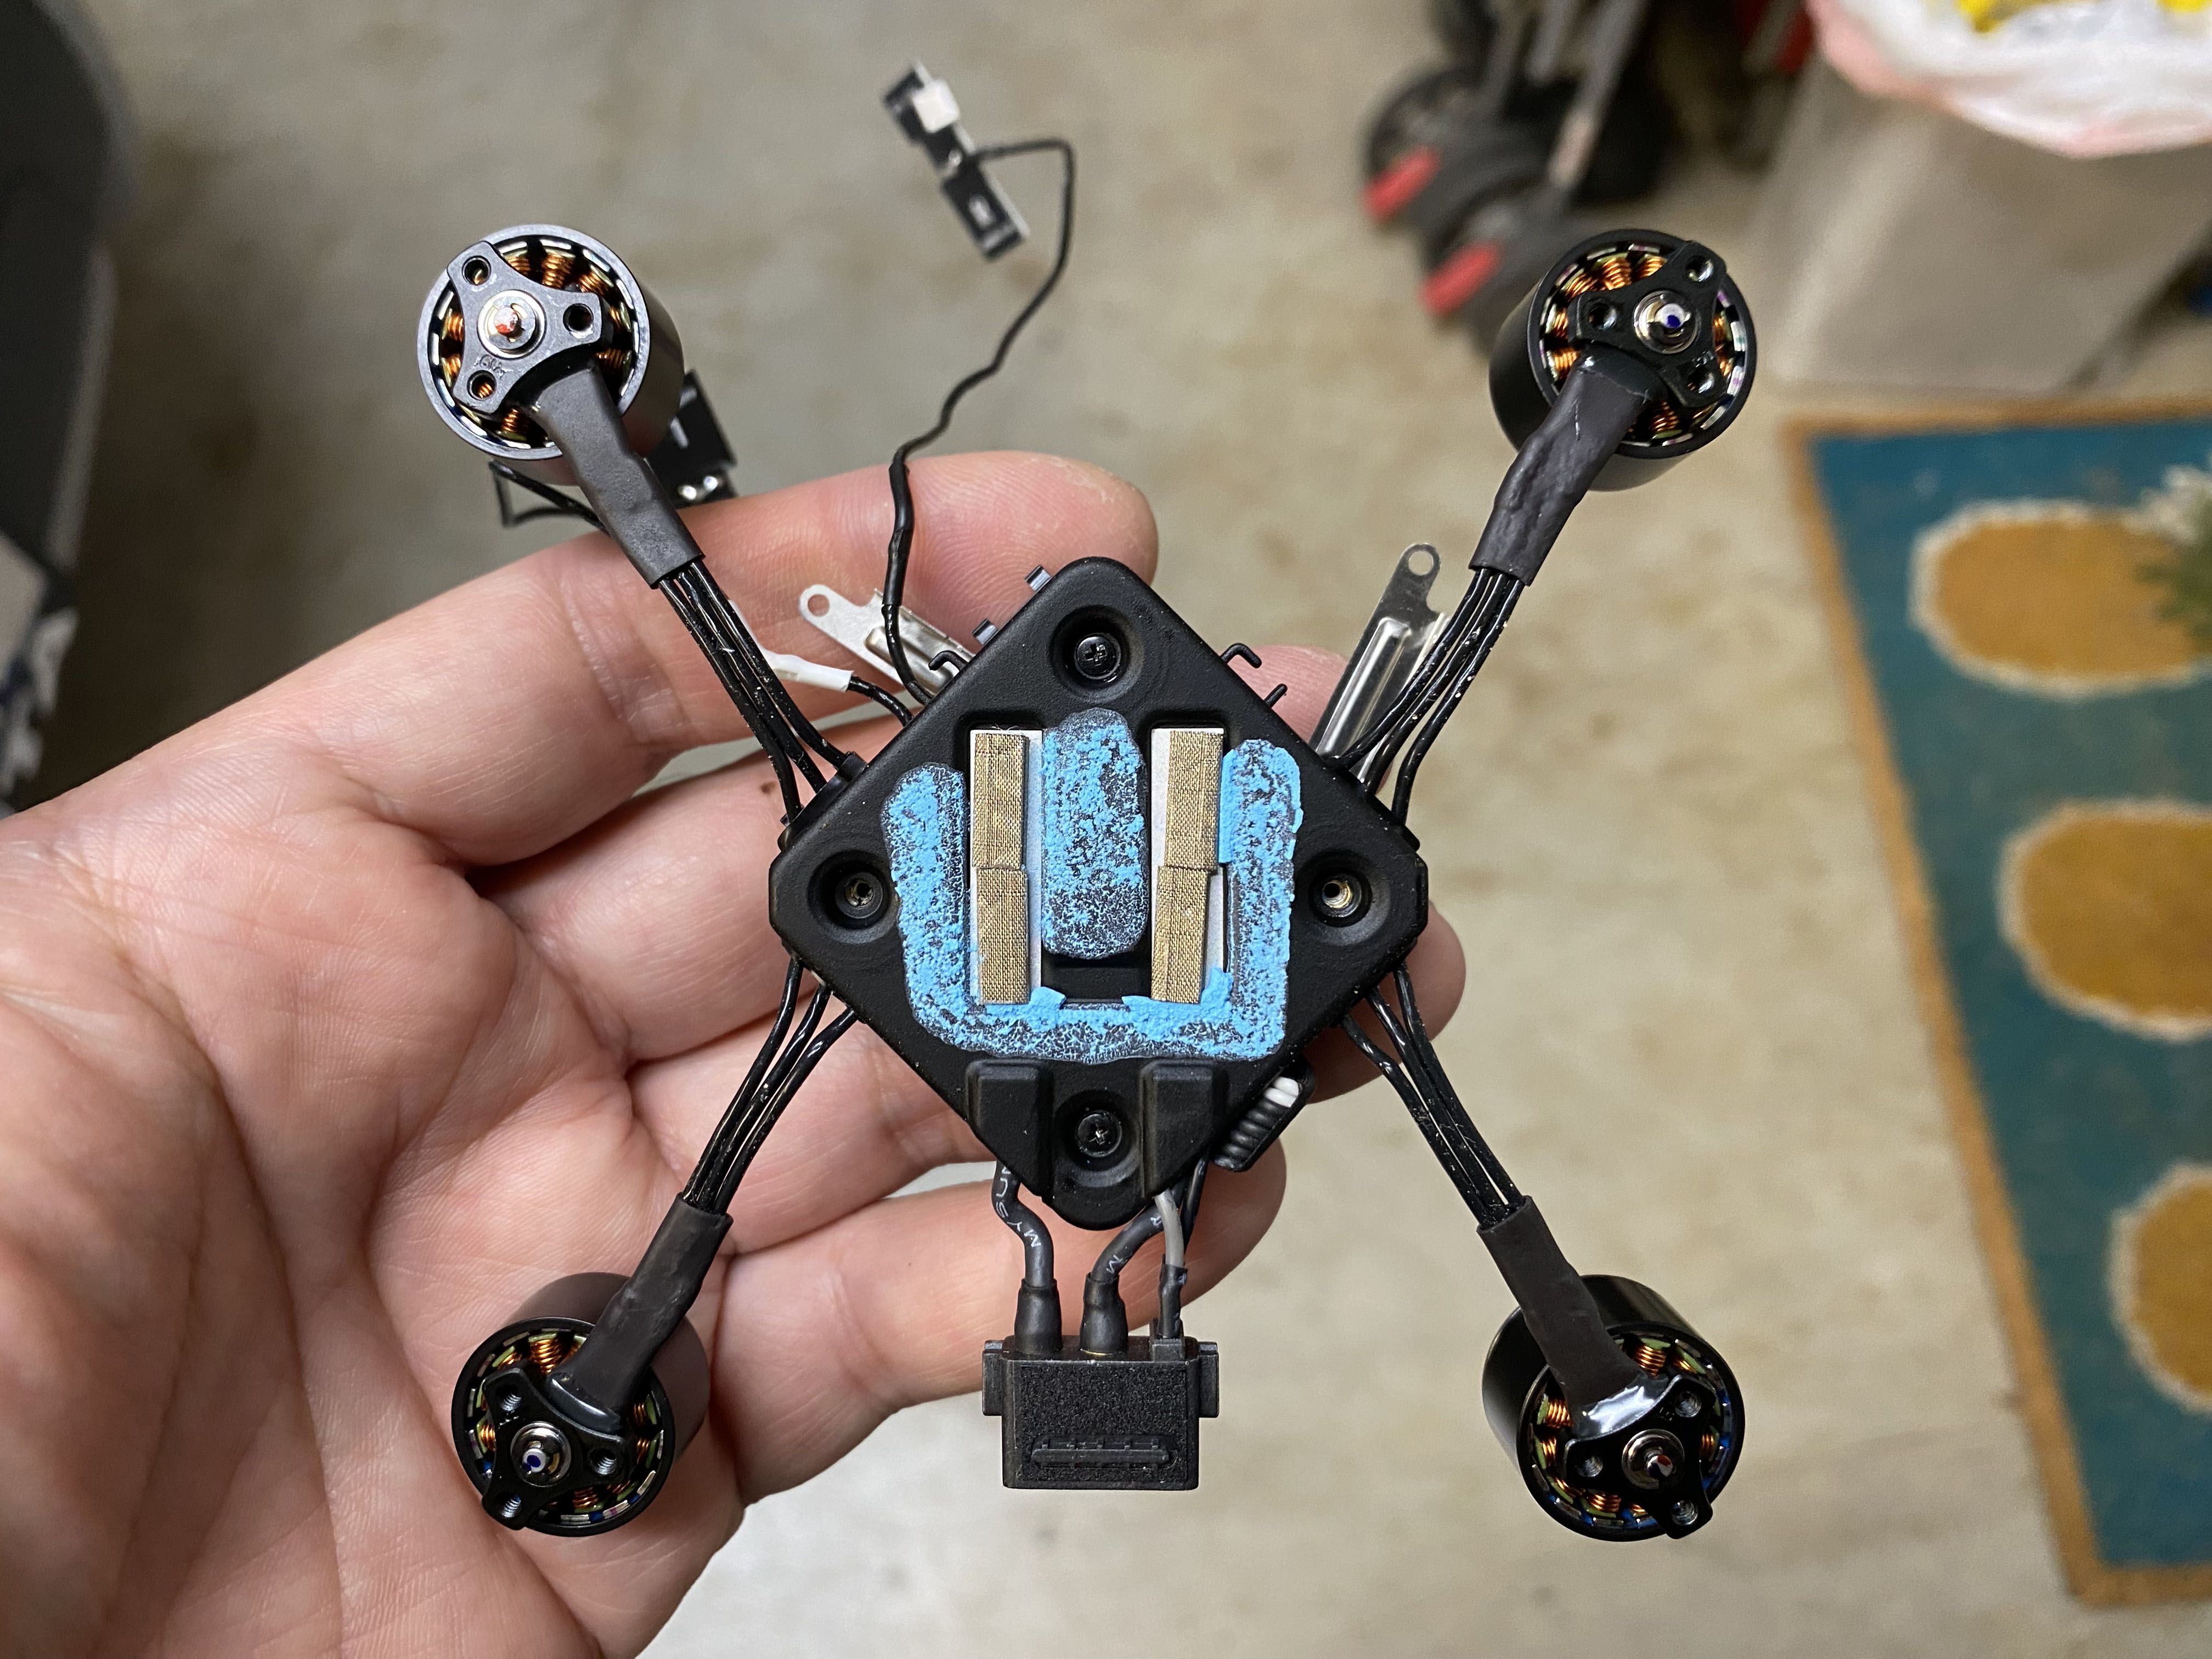
There are 2 ways to install the new motors. You can either remove the wires directly from the ESC or do the recommend solution and cut the existing motor wires and connect new motors from there. The video will show you both ways but never show you how long you will need to cut the wires. I like to keep the build clean and have one solid motor wire directly to the ESC. I hate to cut the wire too short so I will typically over estimate the desired length. In my case, I cut the wires 58mm long. That is the measurement from the base of the motor mount to the tip of the wire.
If you cut the wires as I suggested you will have excess wire but it will give you wiggle room to adjust it necessary.
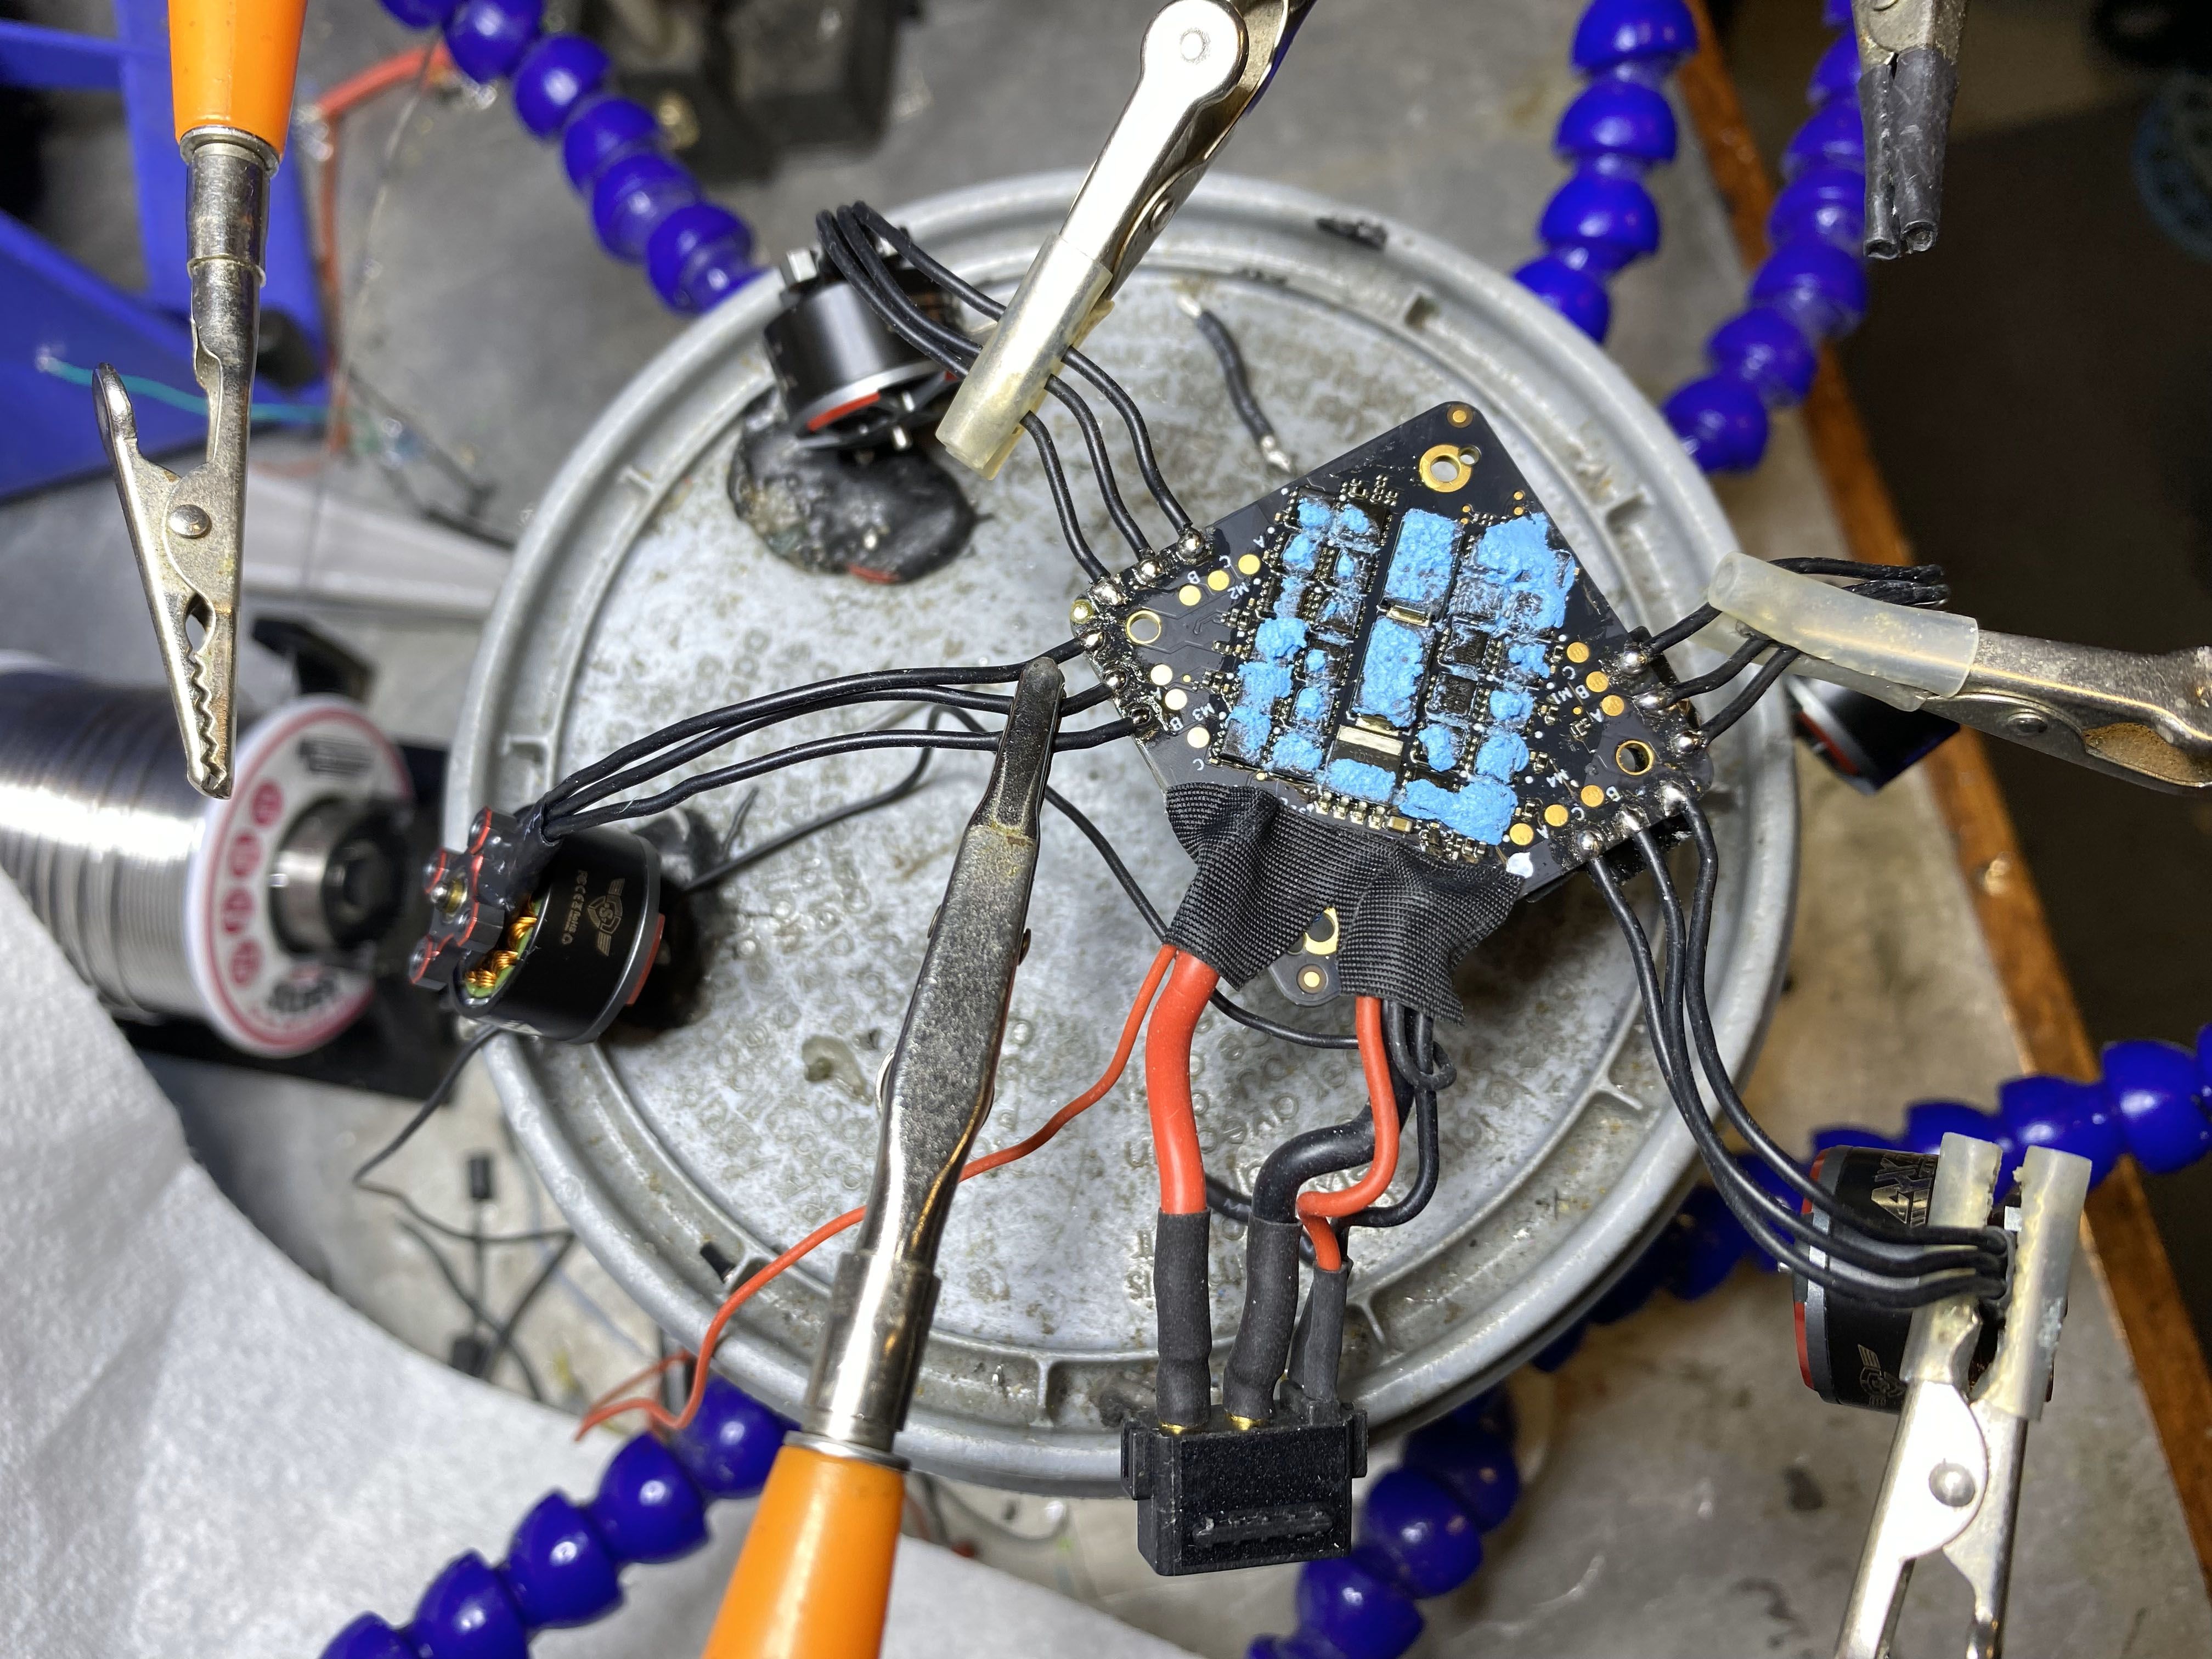
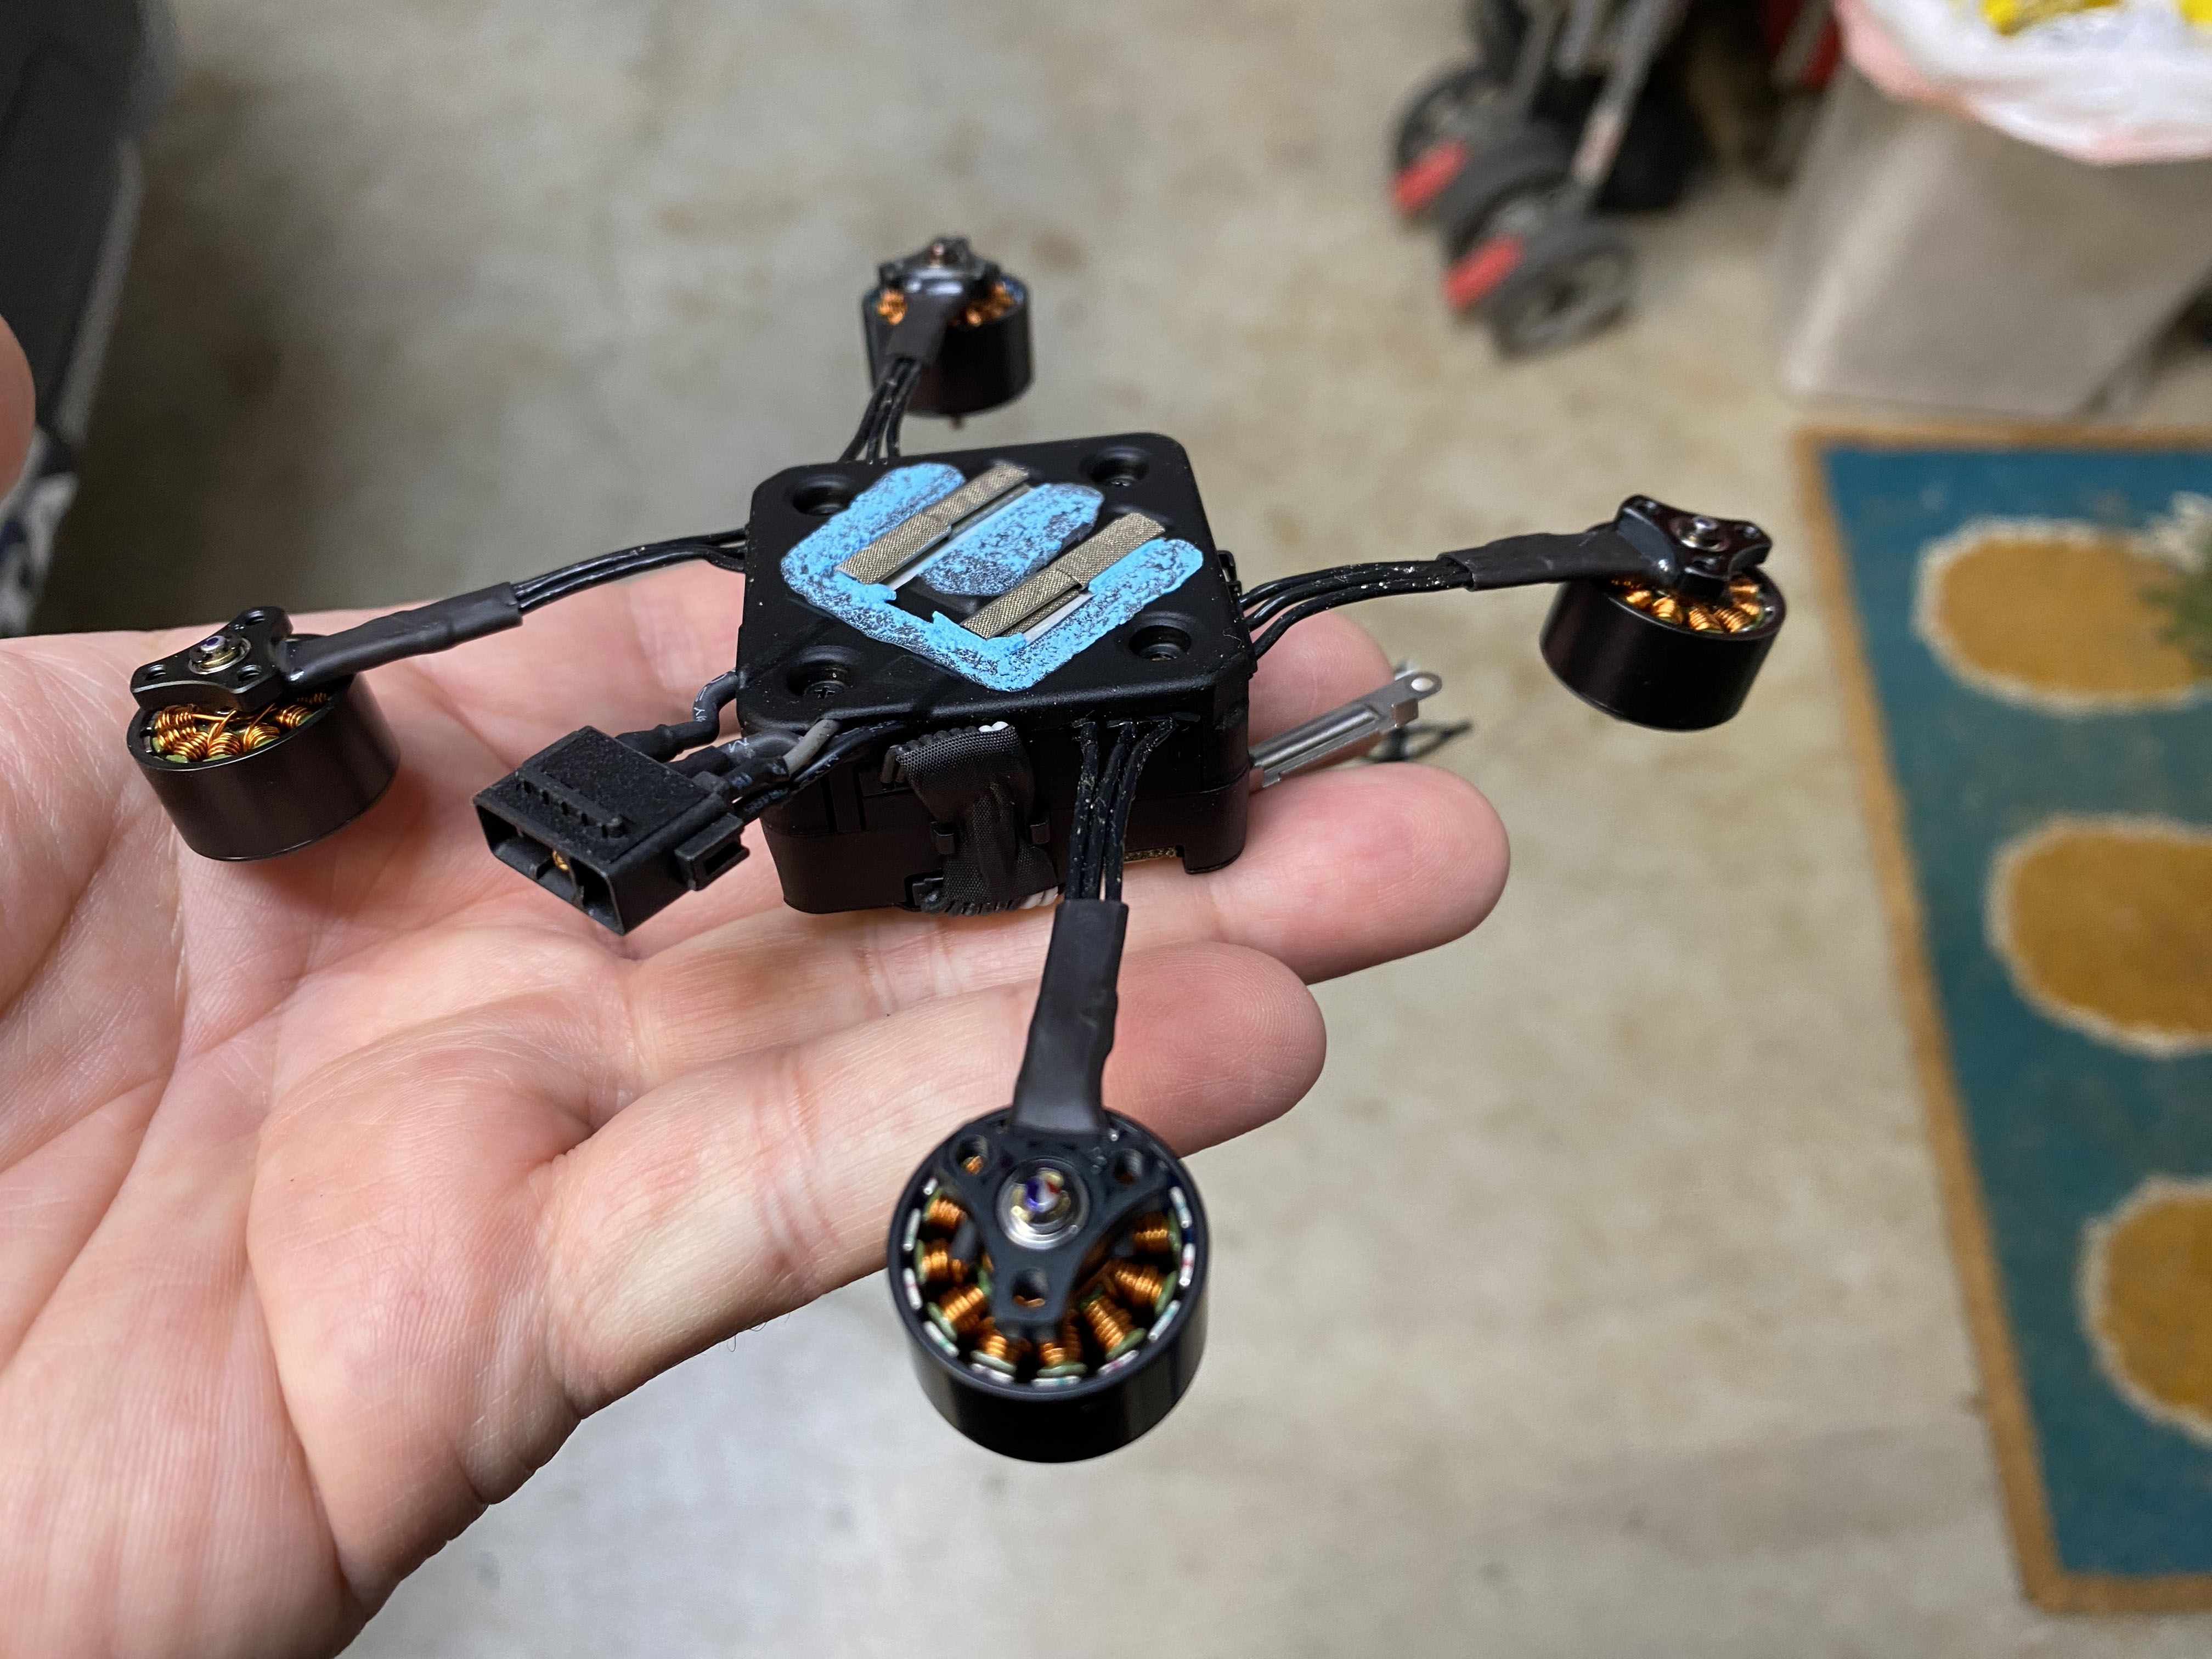
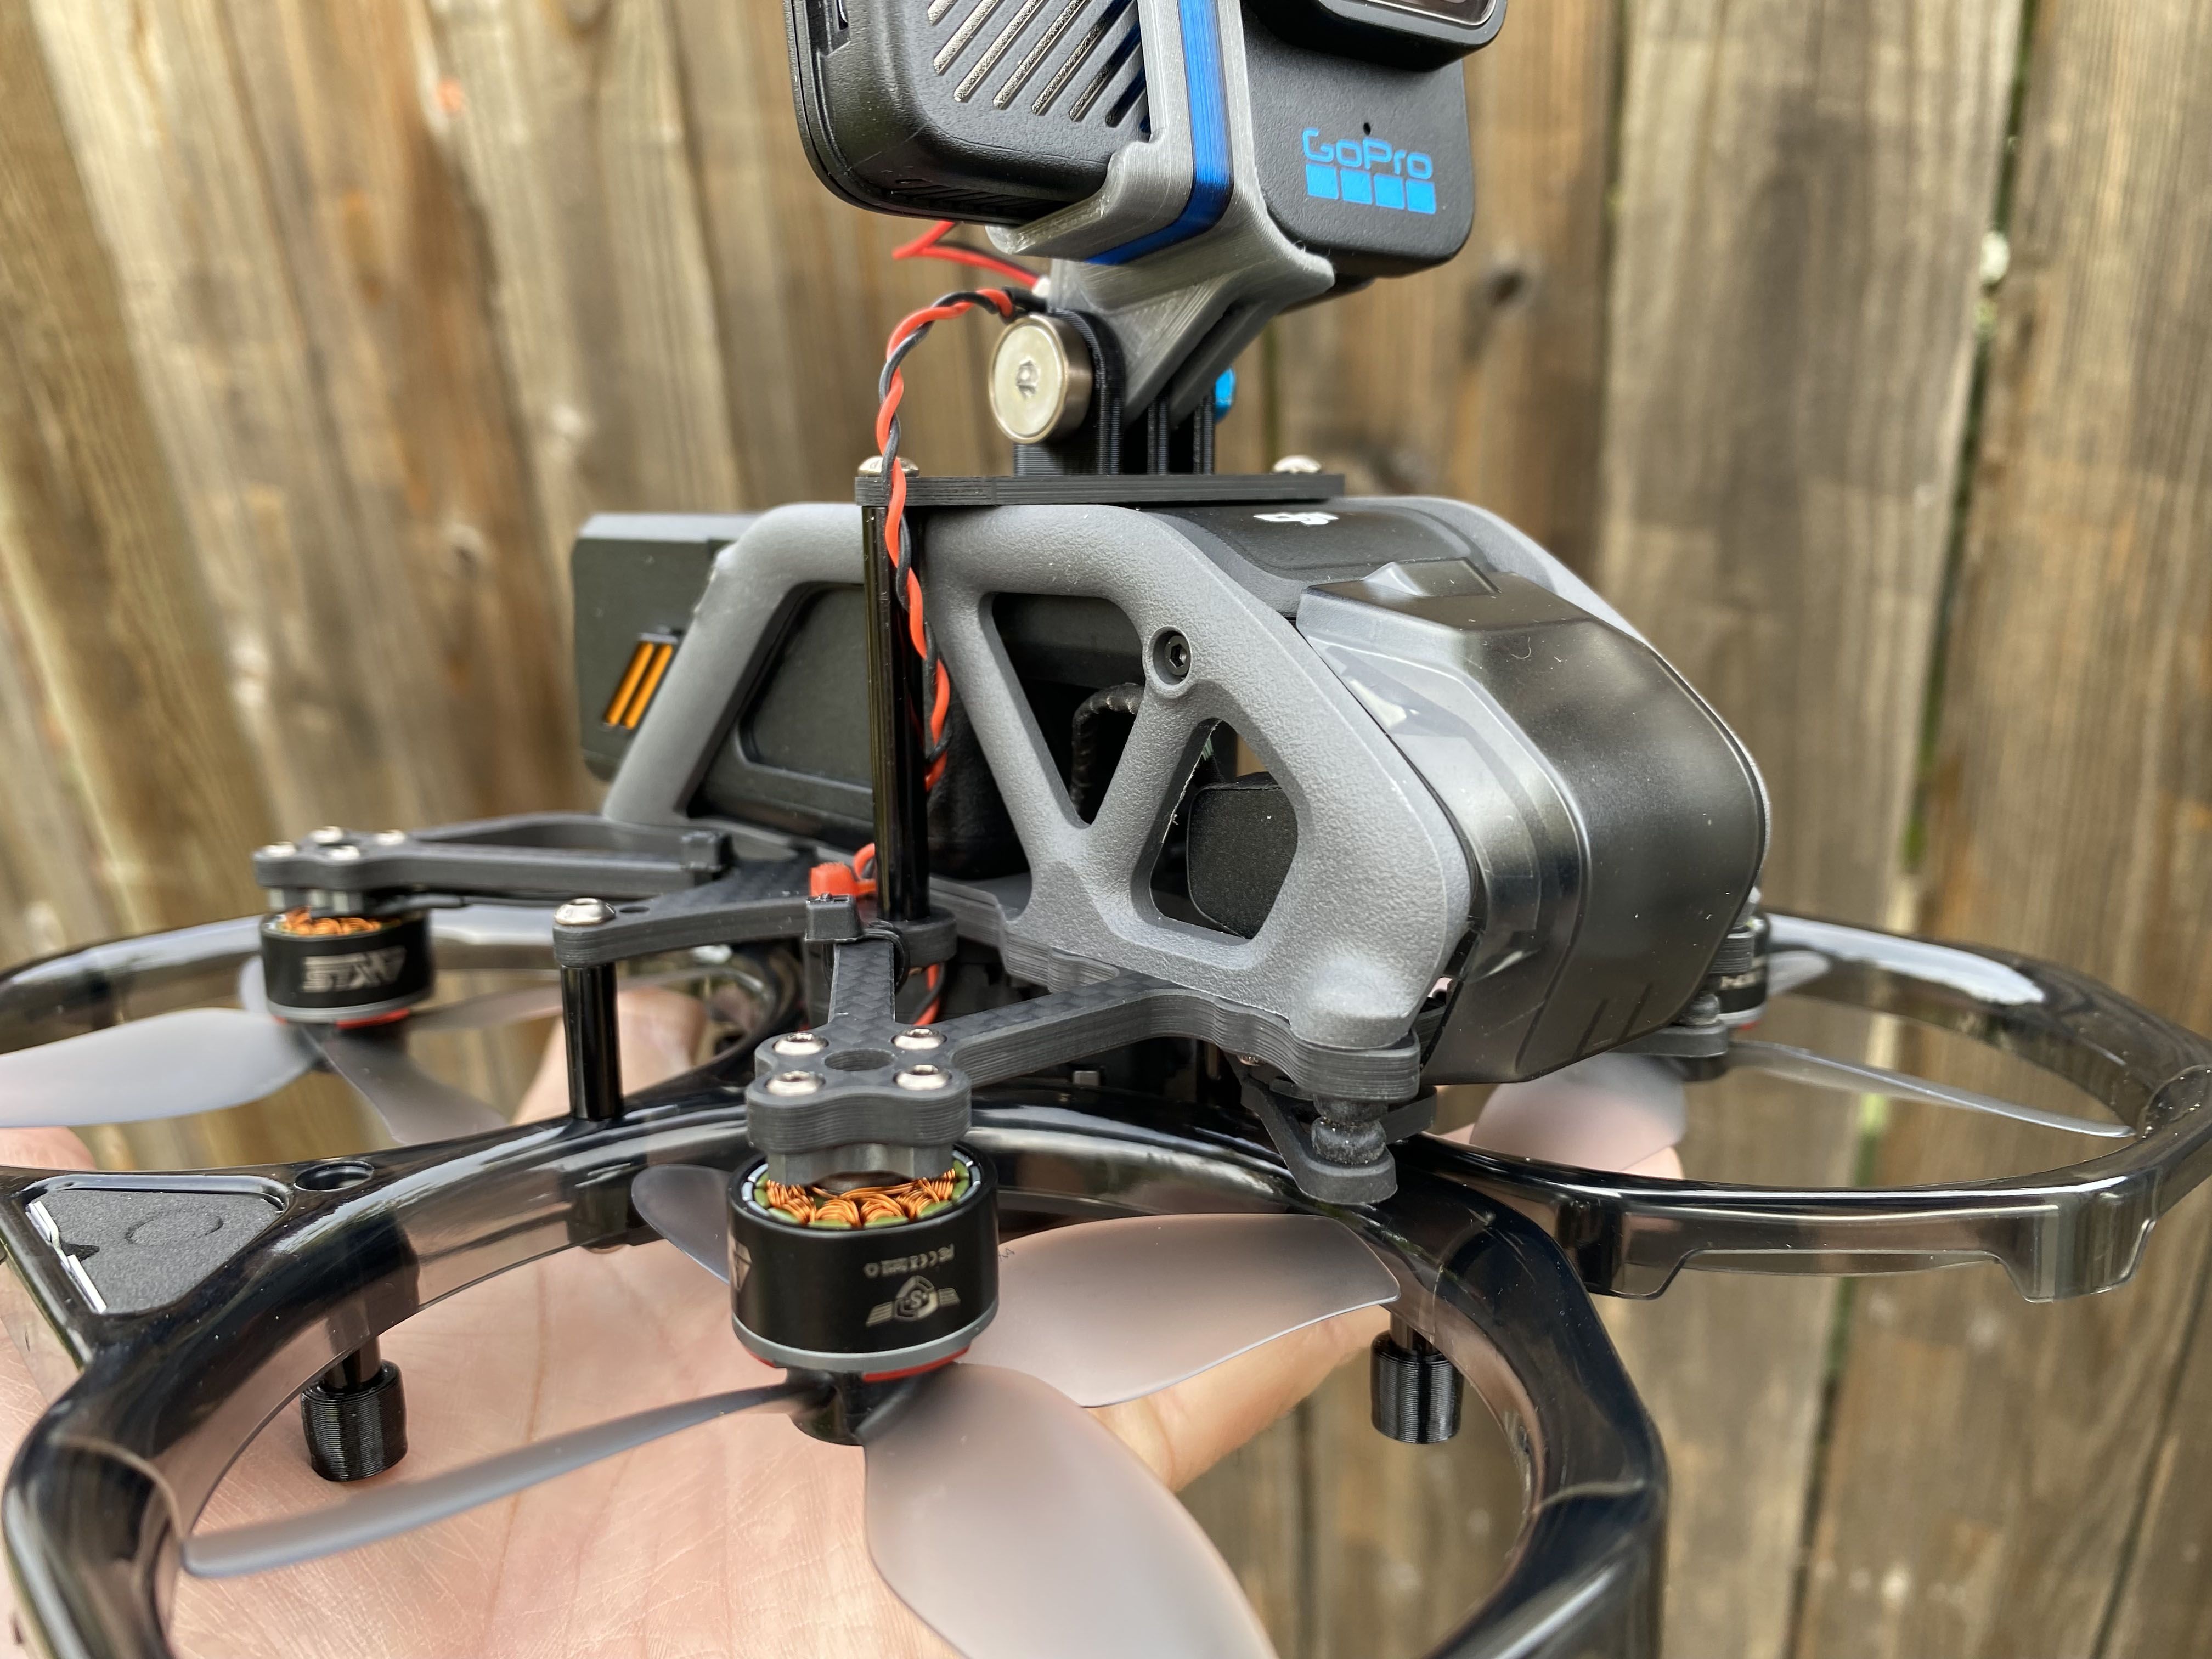
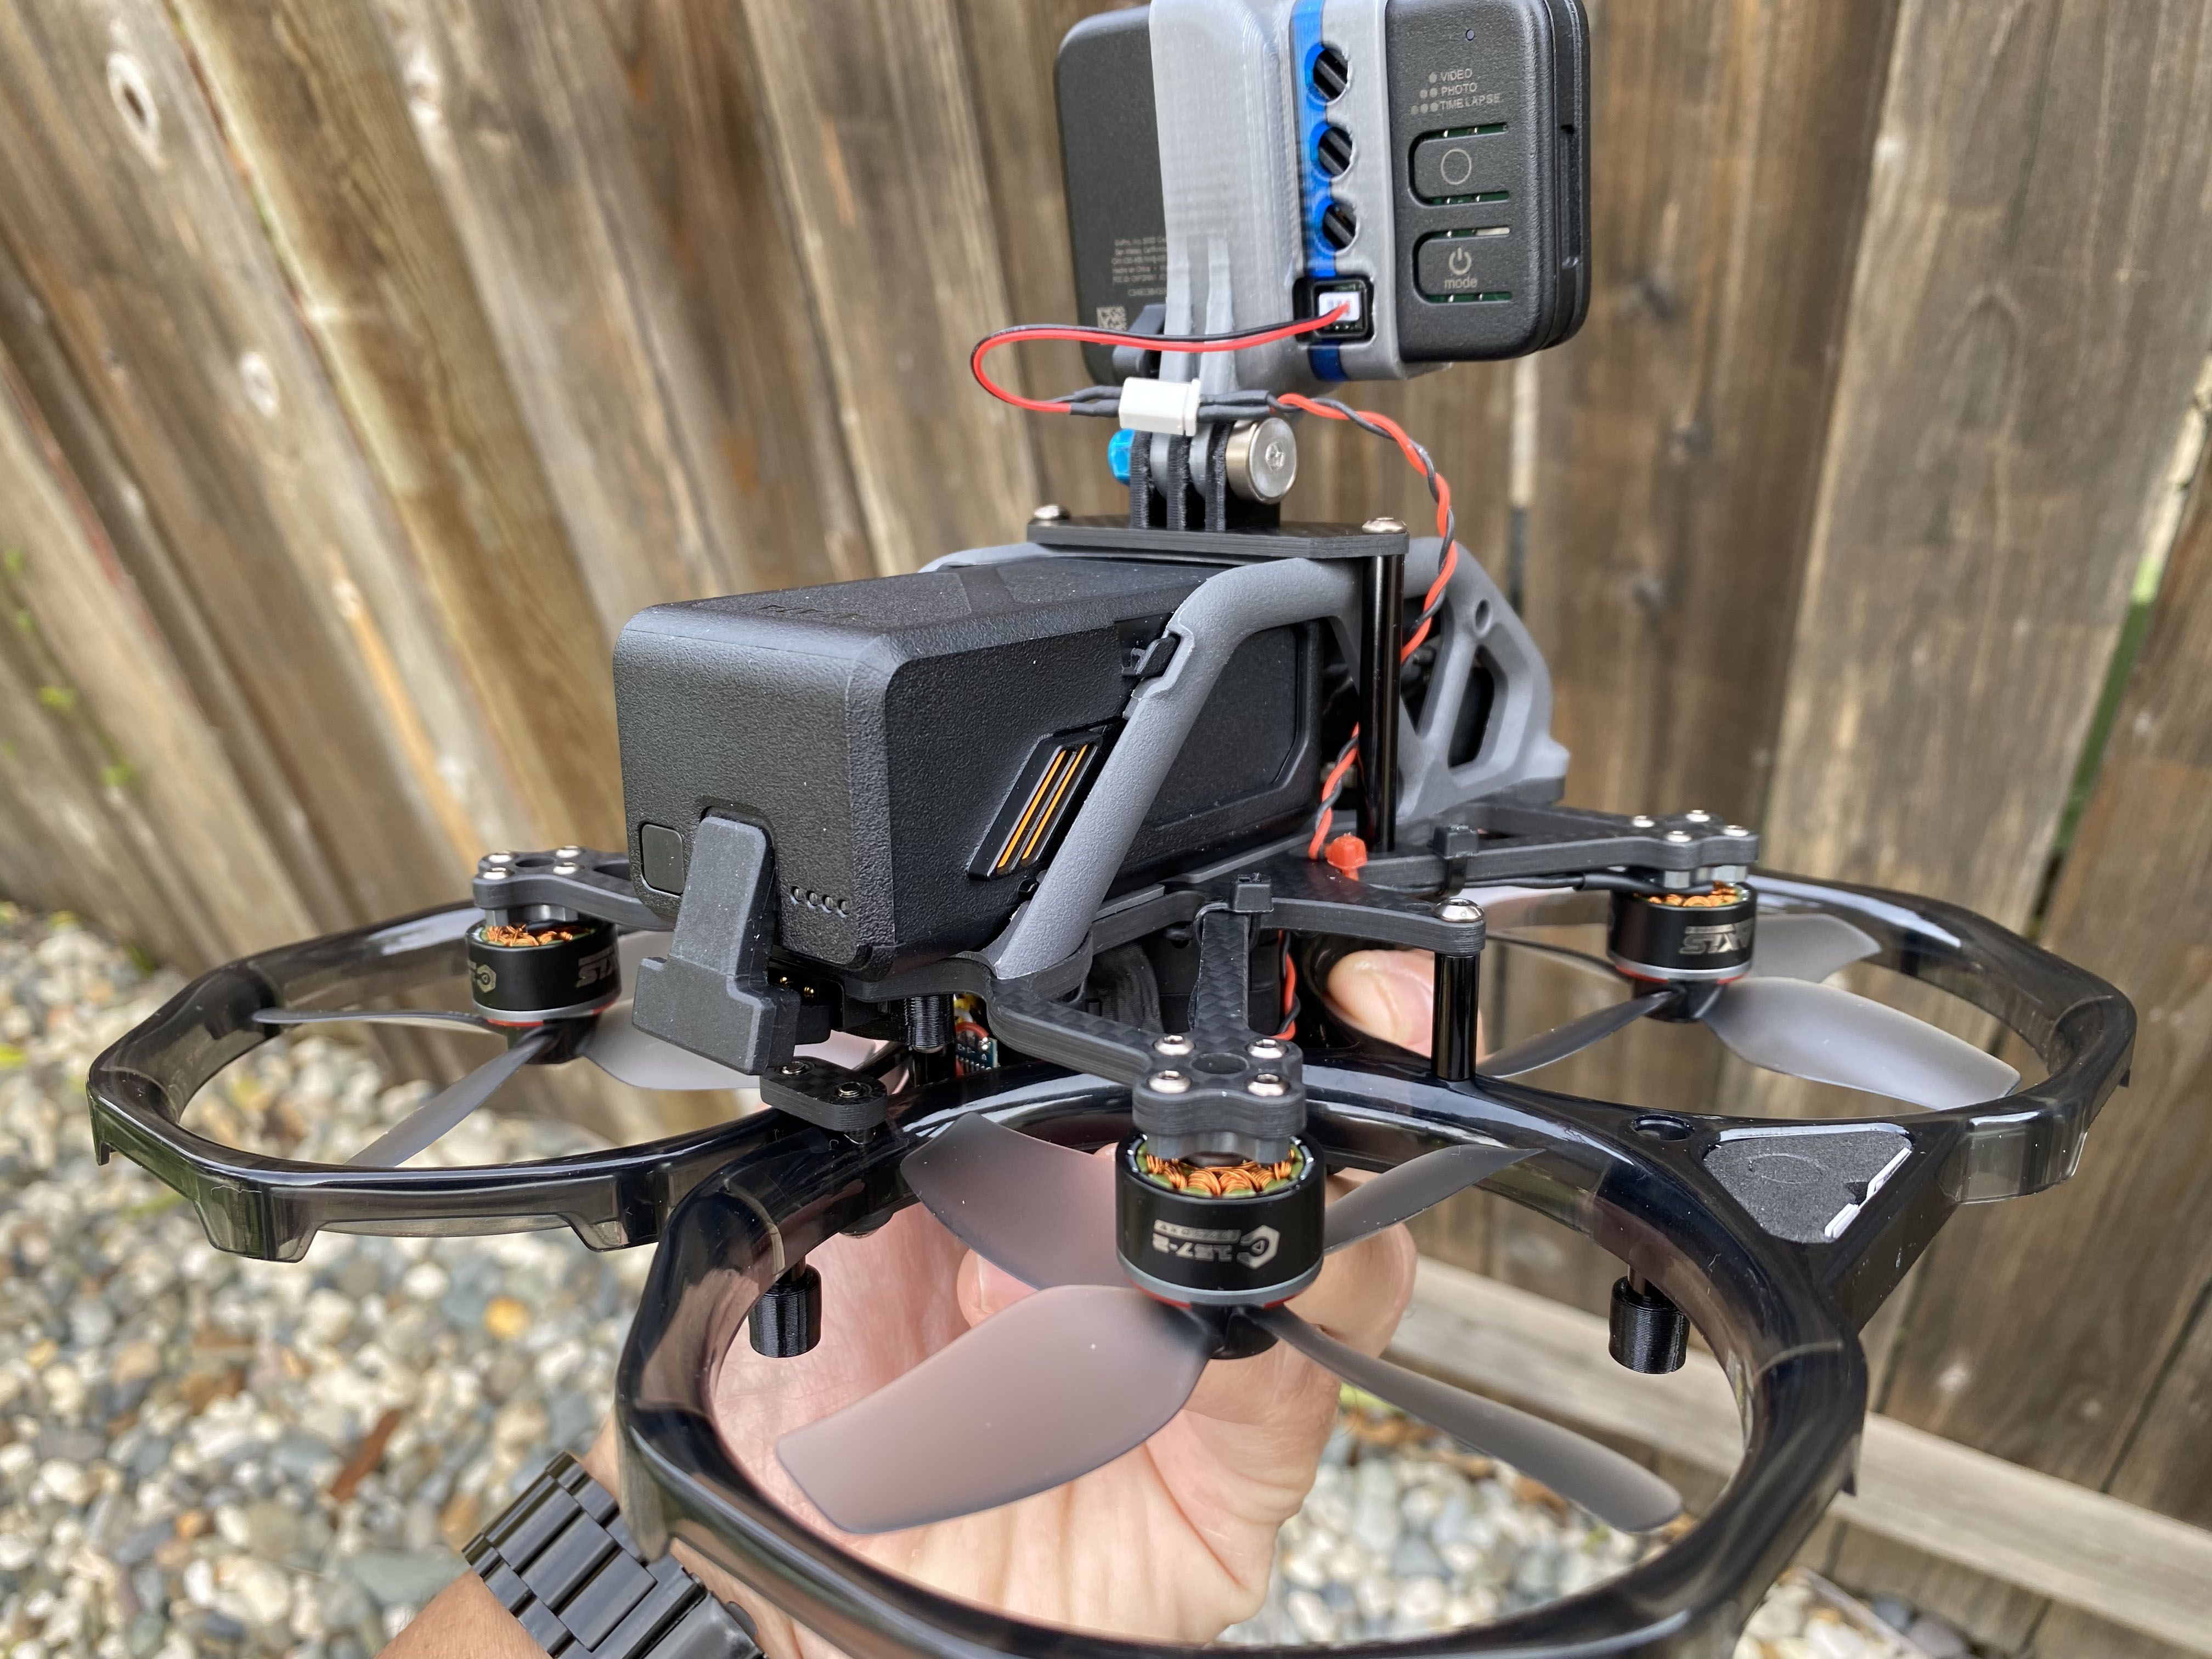
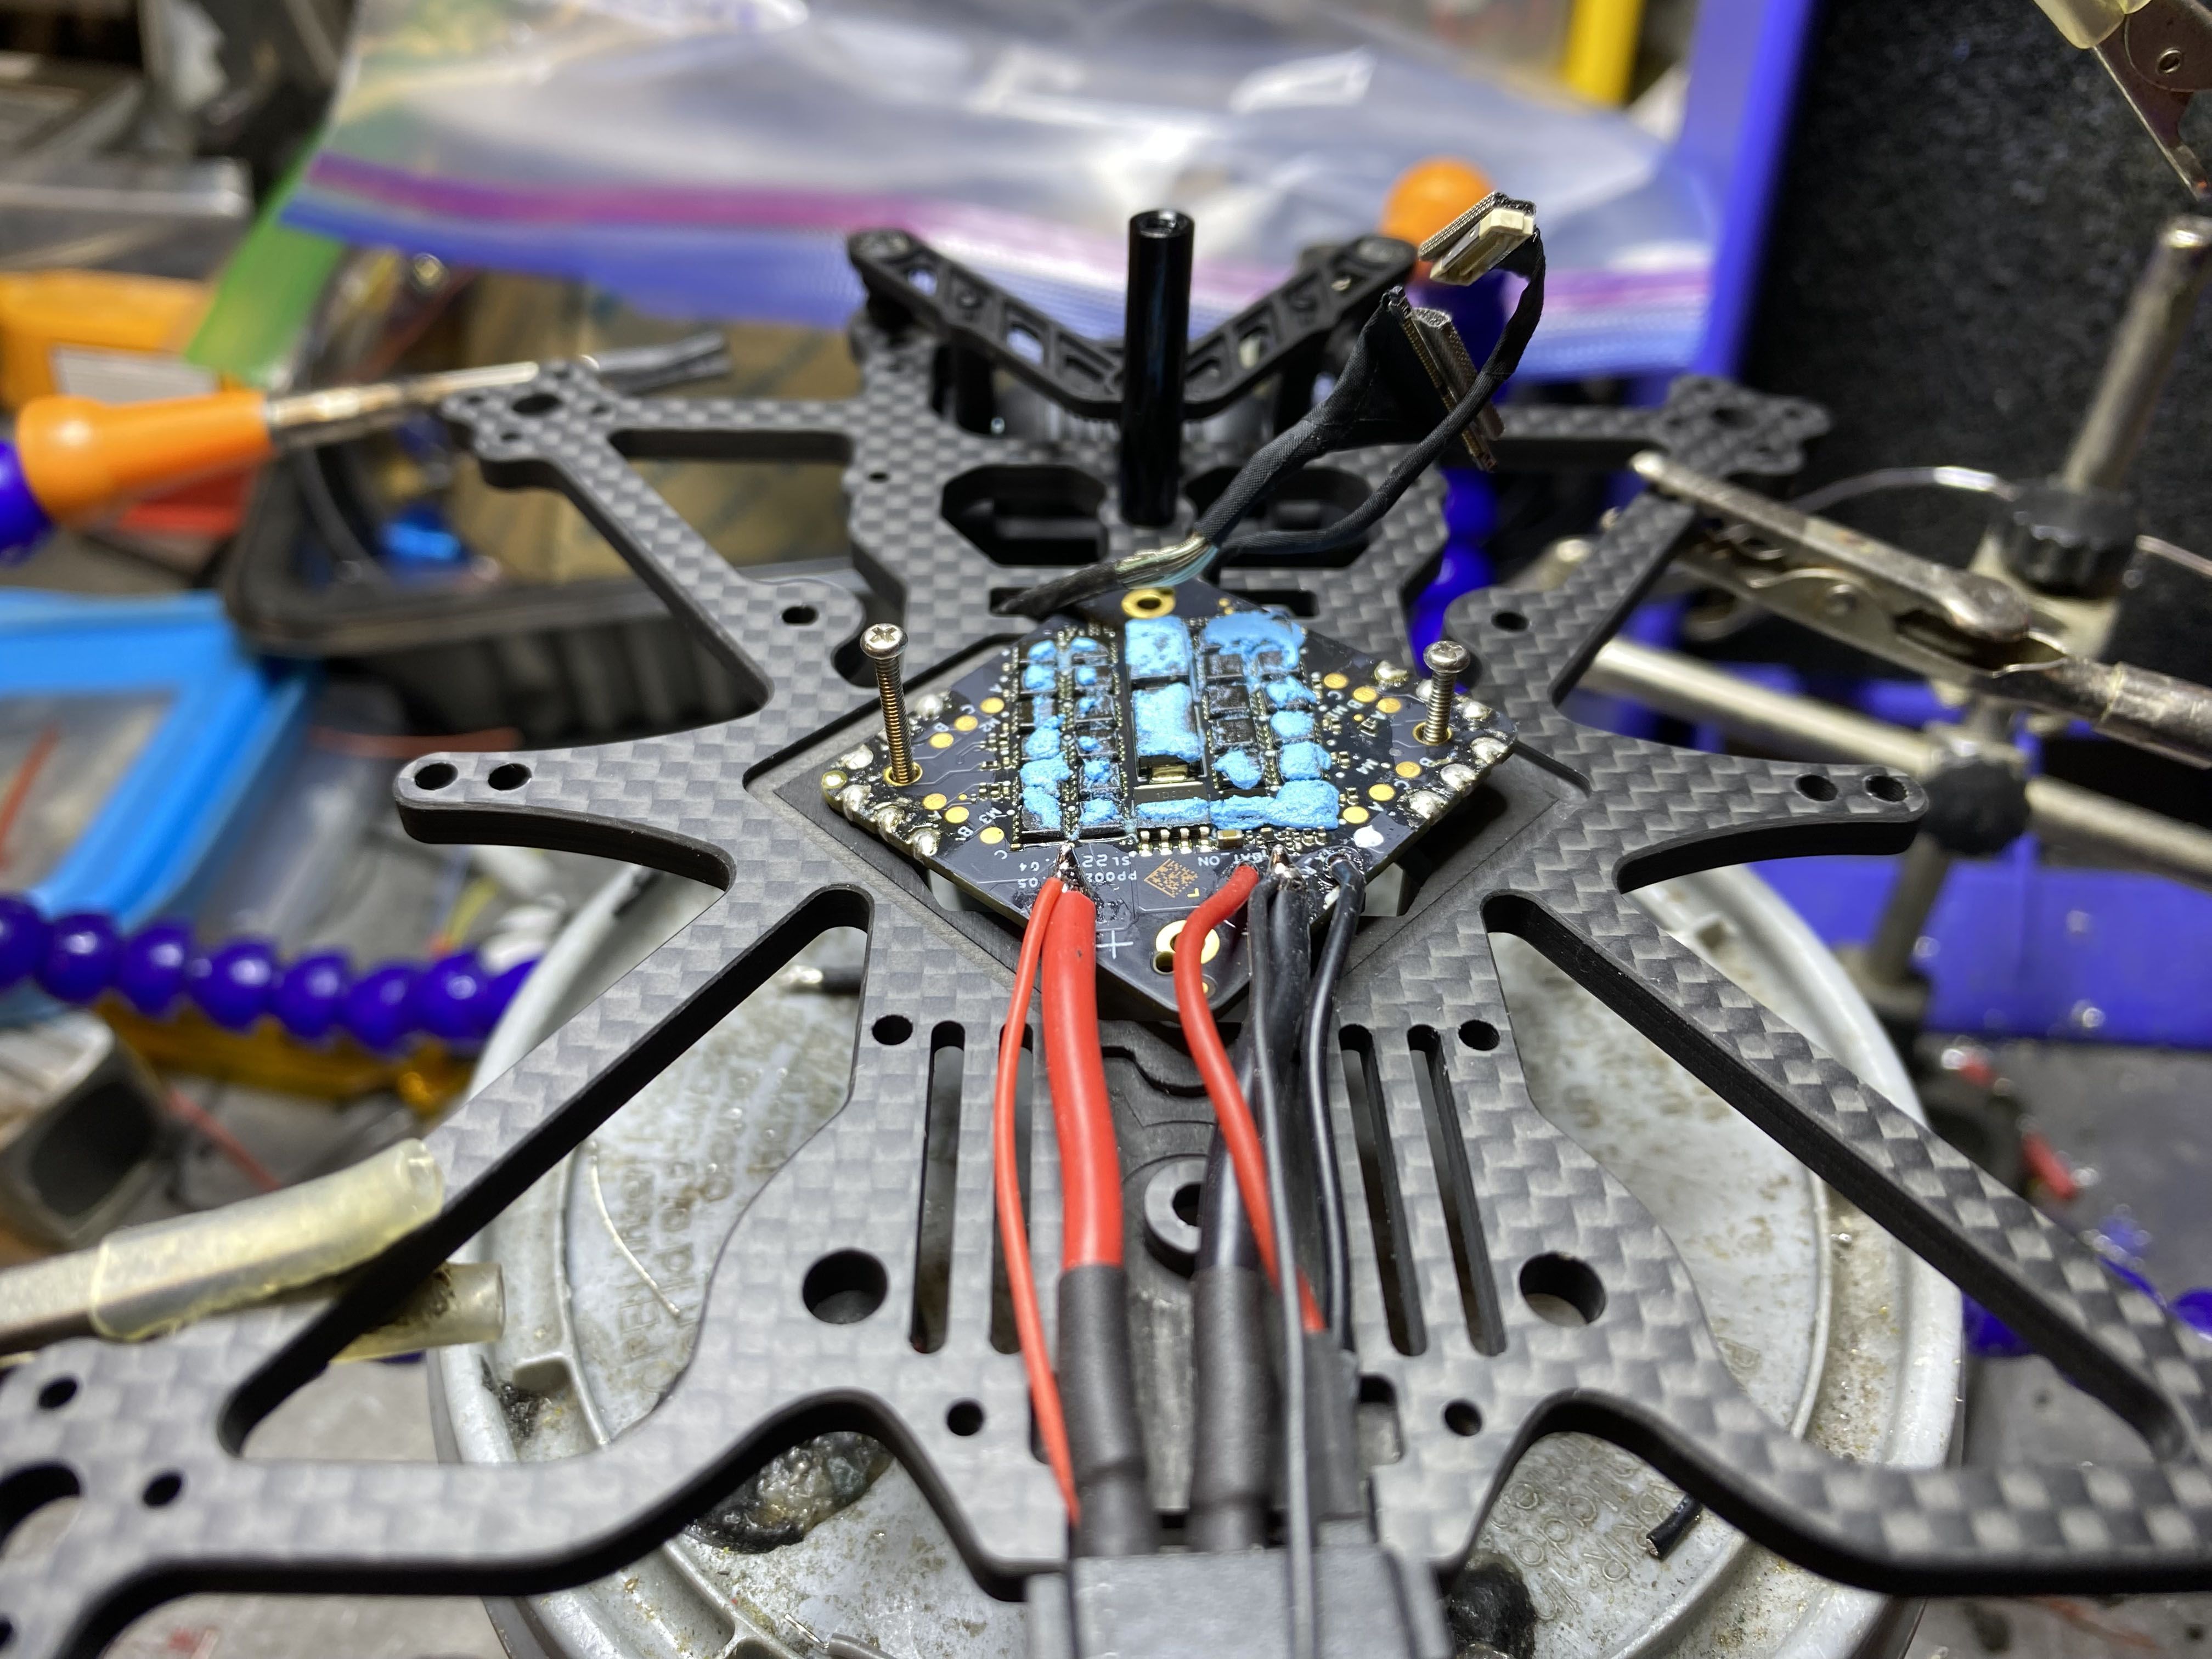
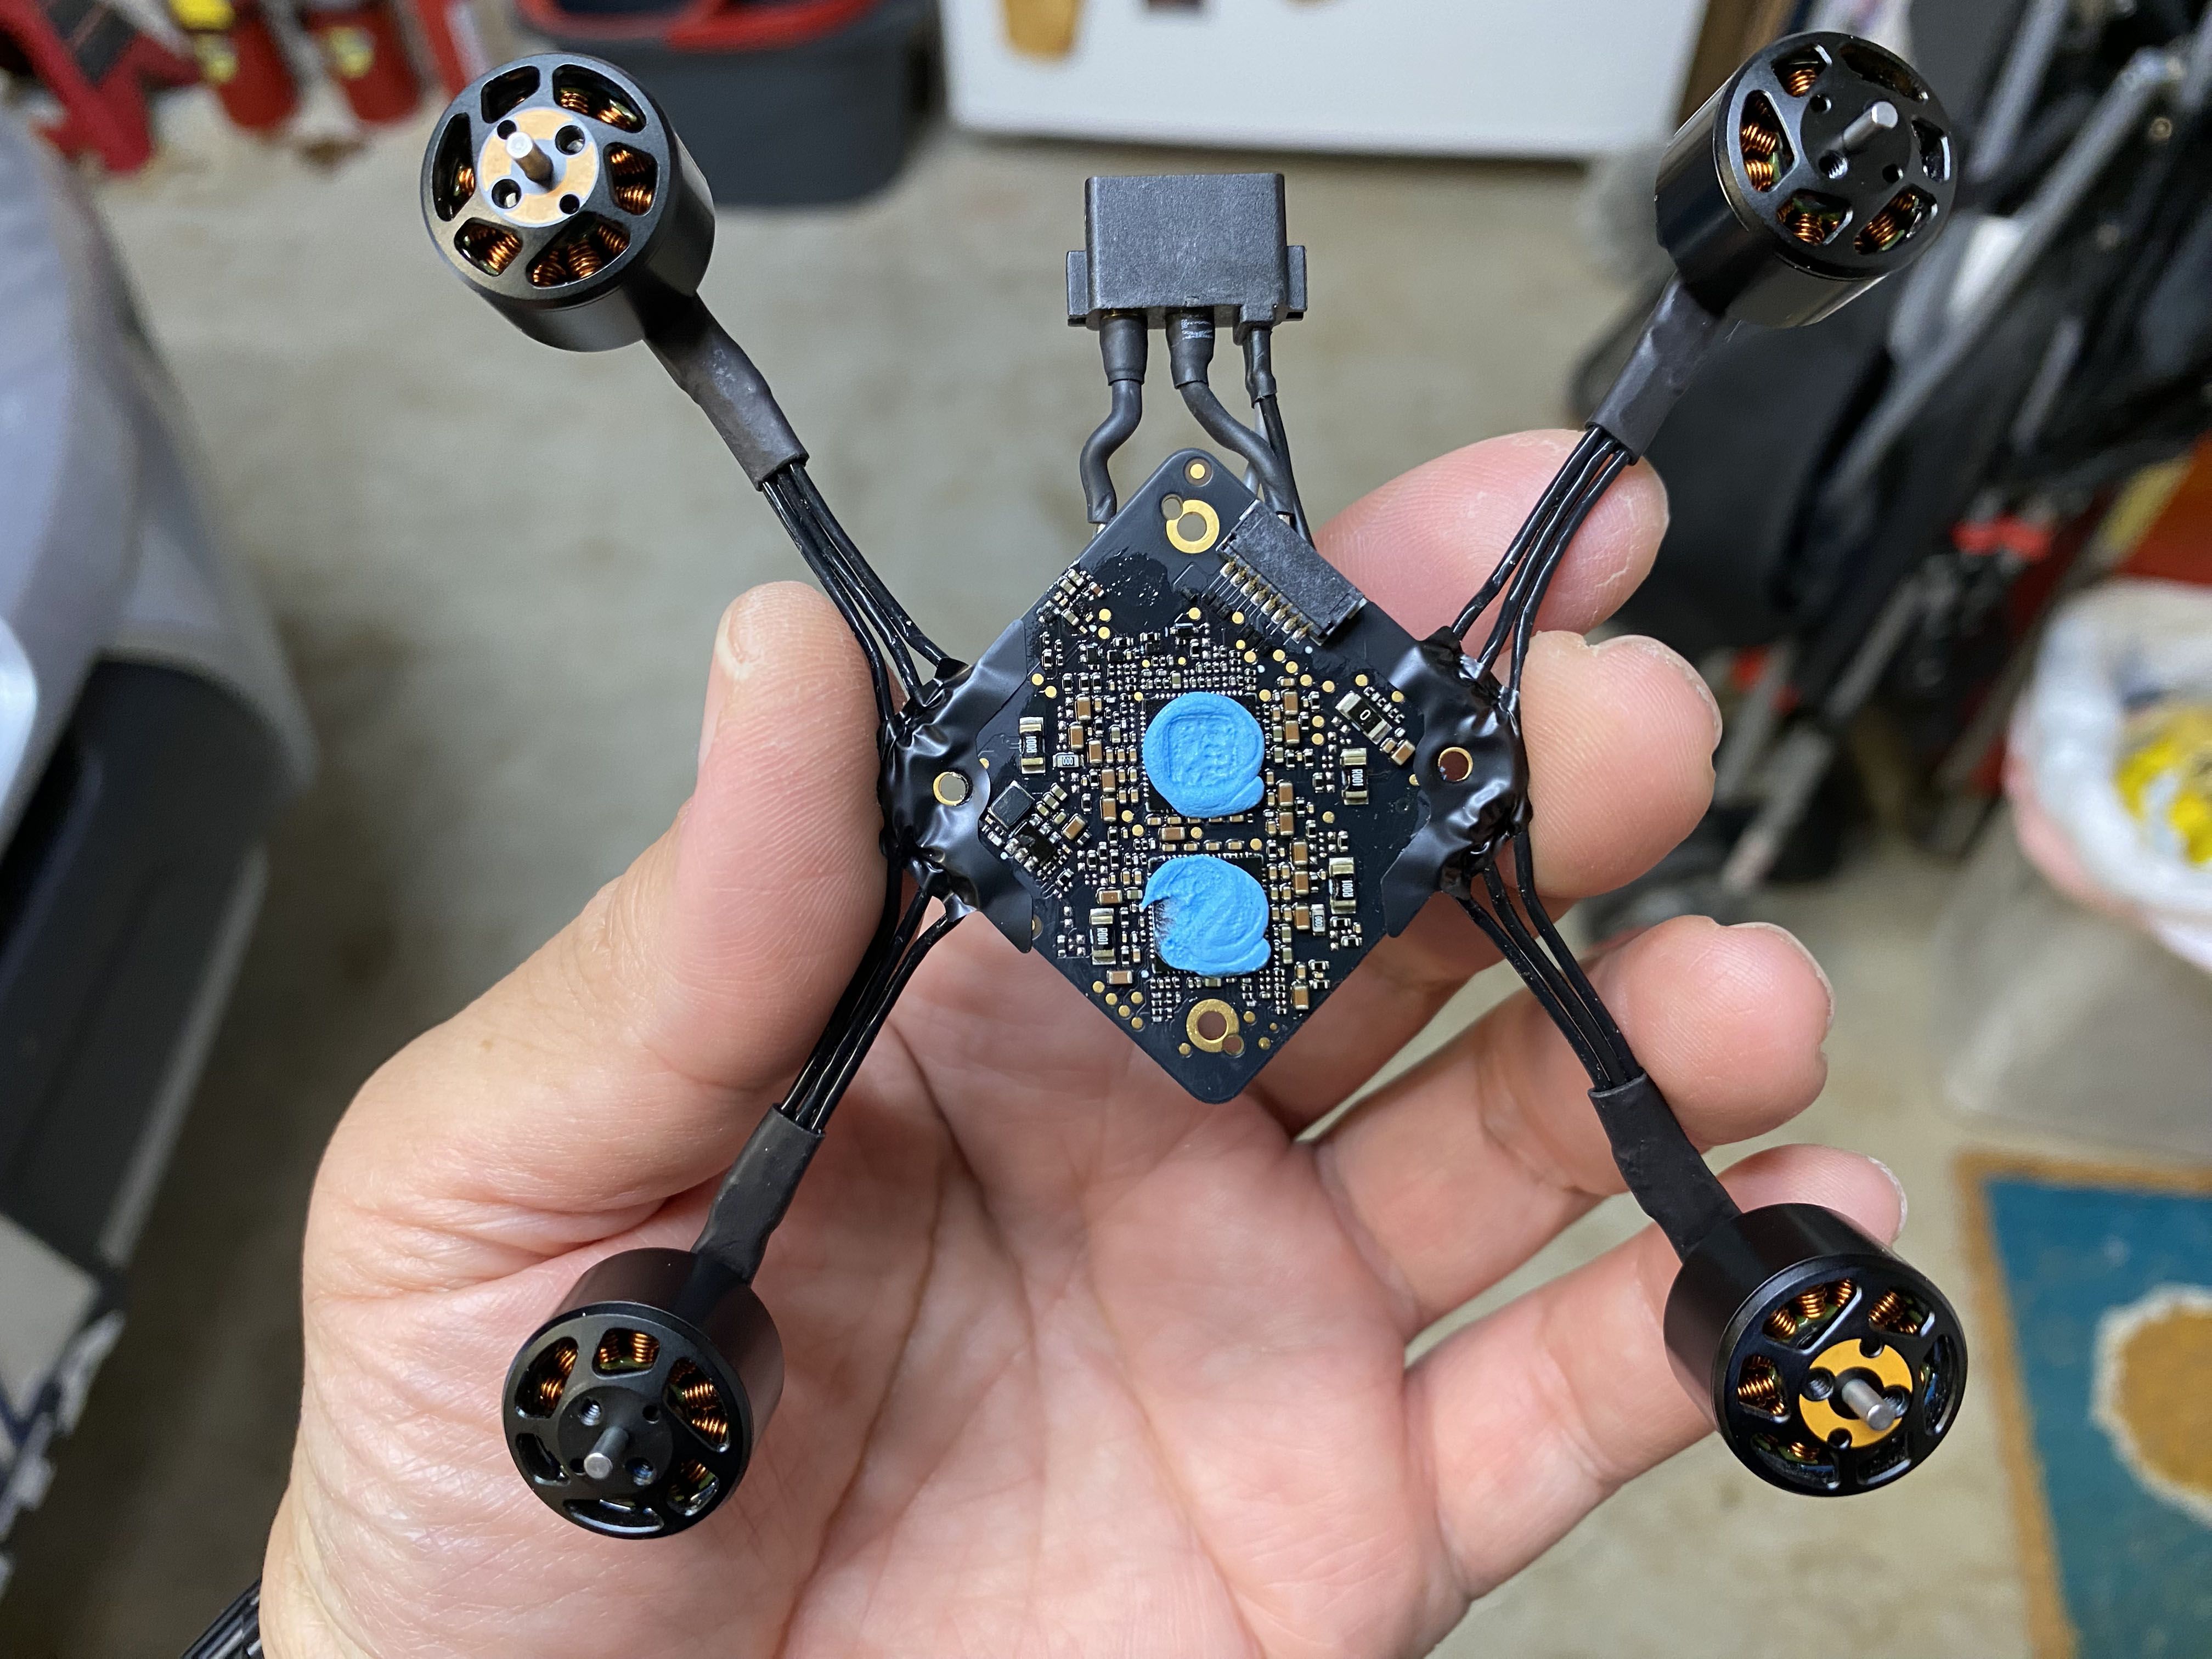
Pay attention to the position of the ESC and the how the batter plug facing up, because that is the same side the motors were soldered on. But do NOT make the mistake I did and solder the motors the wrong way. The motors need to be point downwards as show in the picture.
Initial Thoughts
I am happy with the quality of the parts and how everything fit together. I was worried about the motors spinning the correct directions because there is no way to test it like betaflight. Even if it did spin the wrong way, it is technically an easy fix because all you need to do is switch any 2 motor wires around and it will spin the other direction. But getting to the ESC to make that switch is the difficult part.
Everything worked perfectly when I plugged it in and powered it up. There were no changes that was necessary to make through the googles or computer. I have not fully tested the acro ability of this new setup yet, but the lower noise level is well worth the conversion alone. I am very happy that it is quieter because the sound quality is near the top of the list of important aspect of a "keeper" cinewhoop.
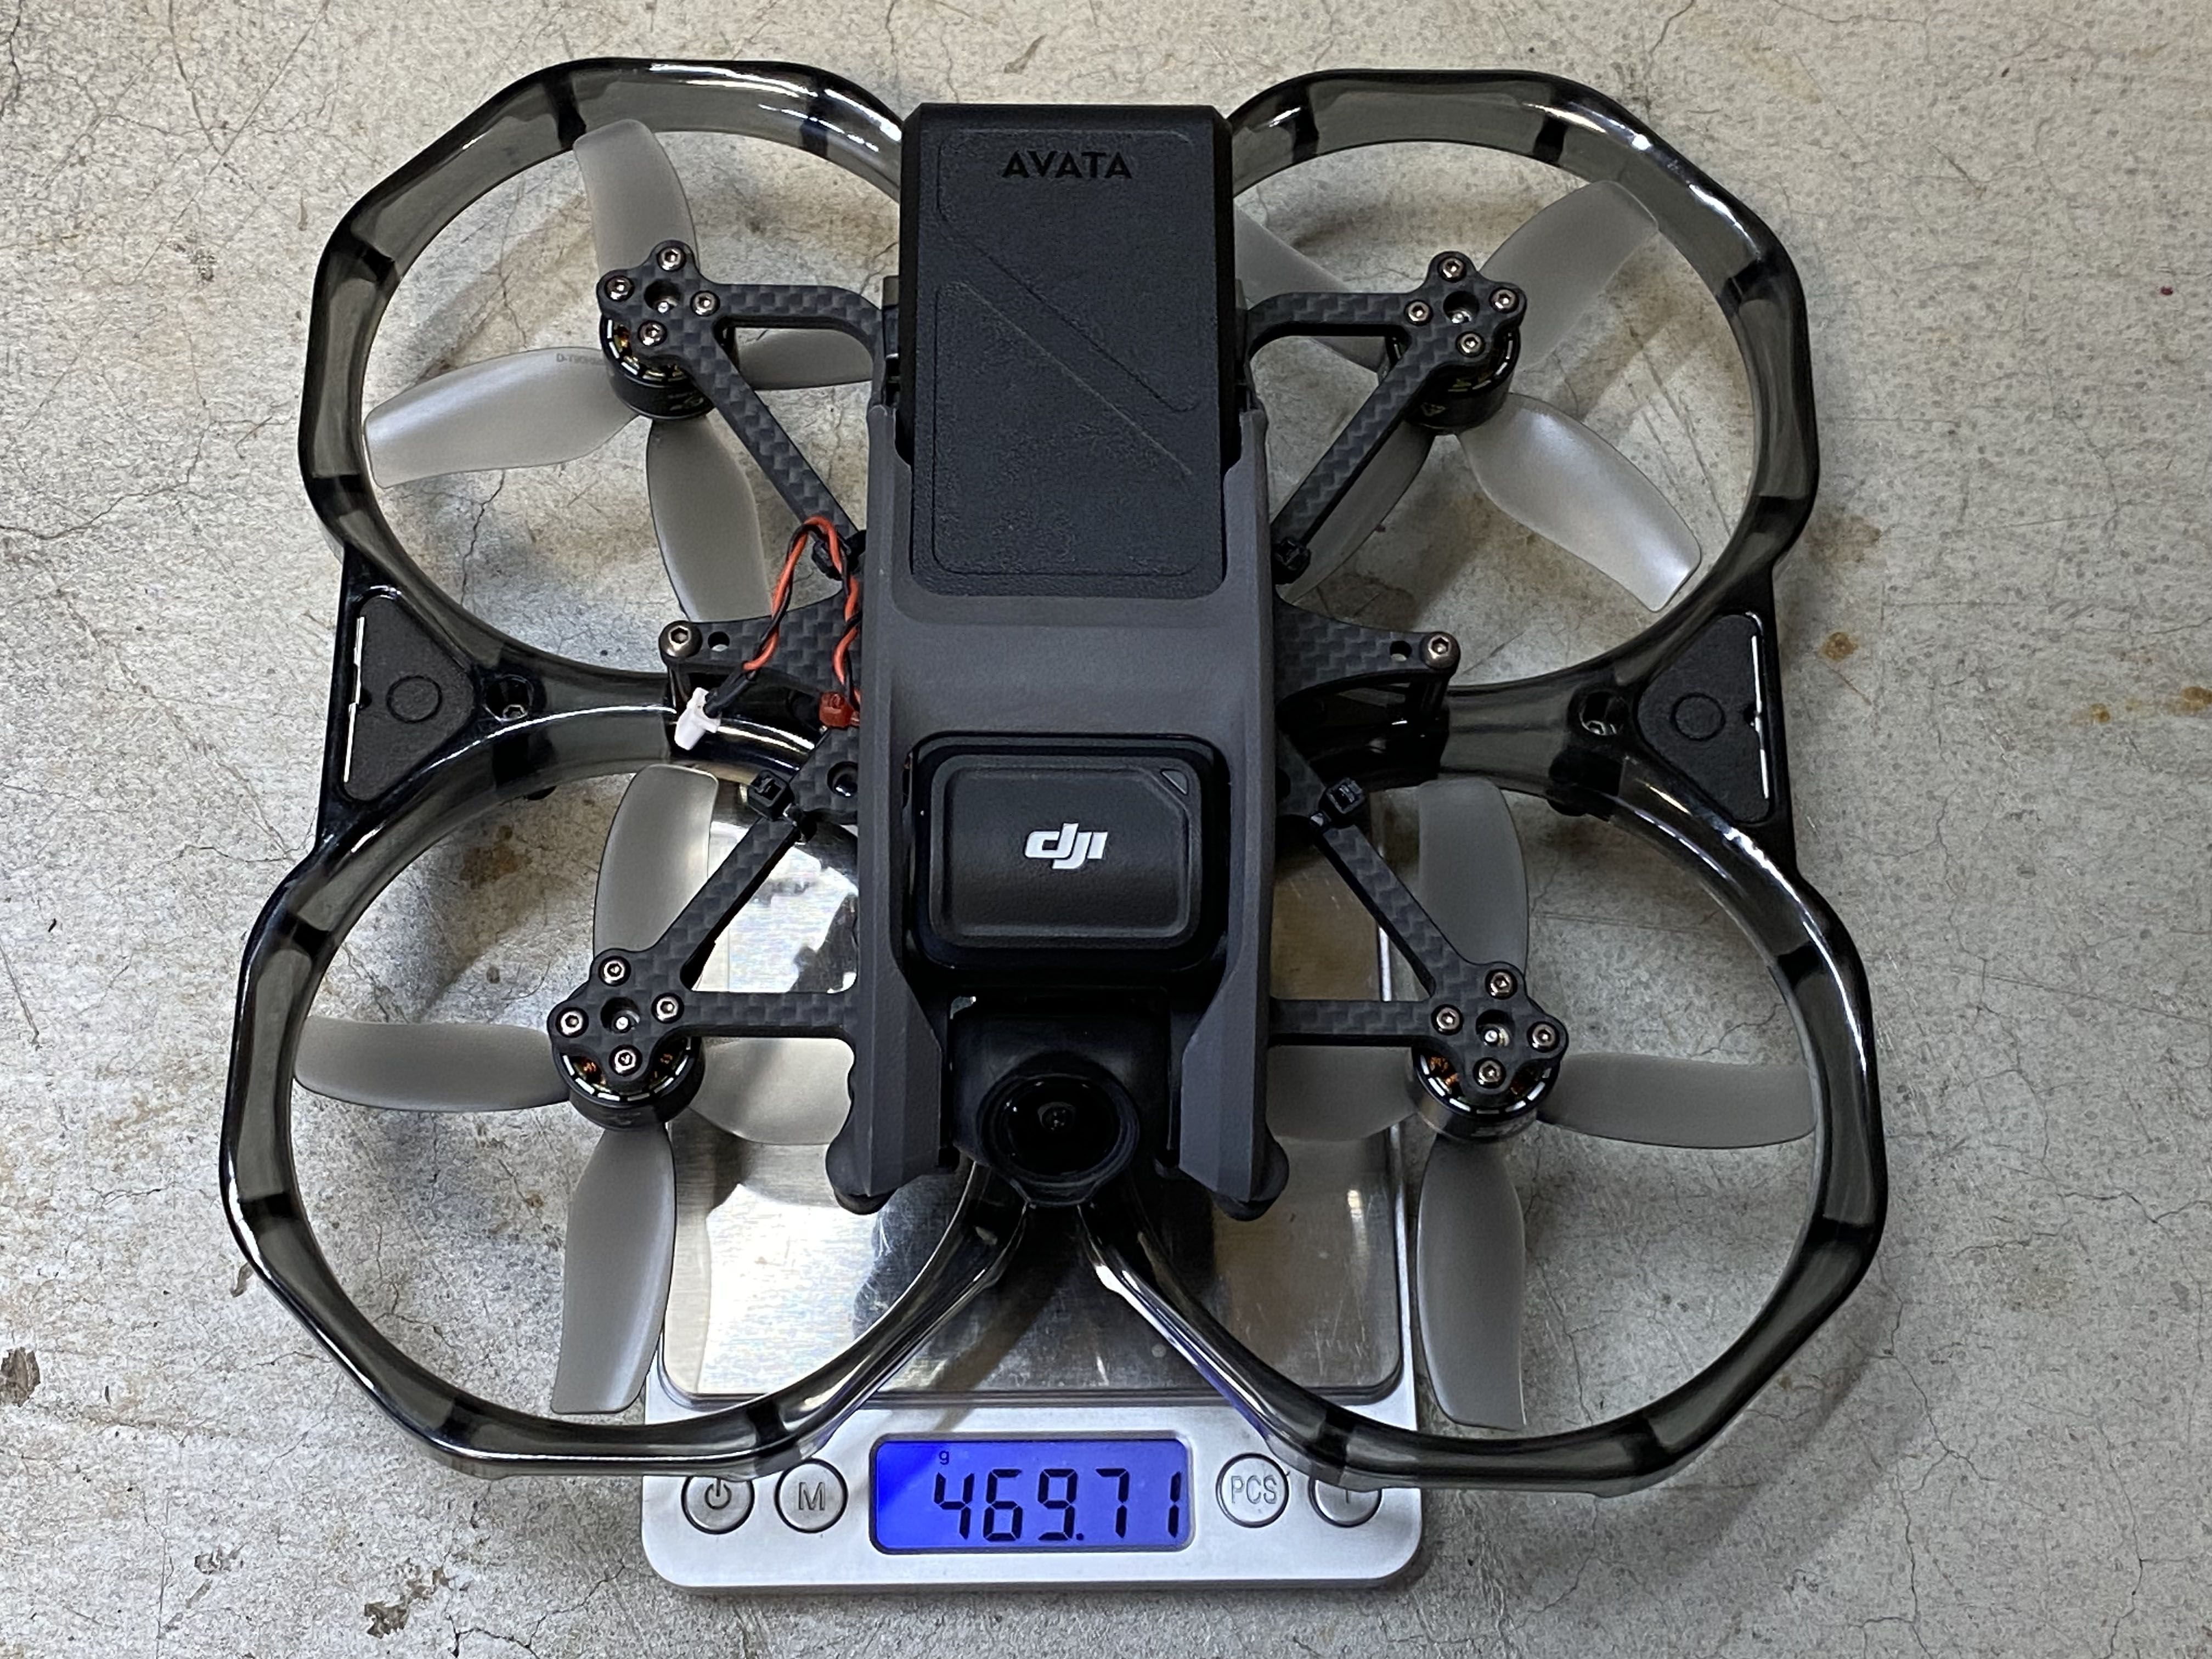
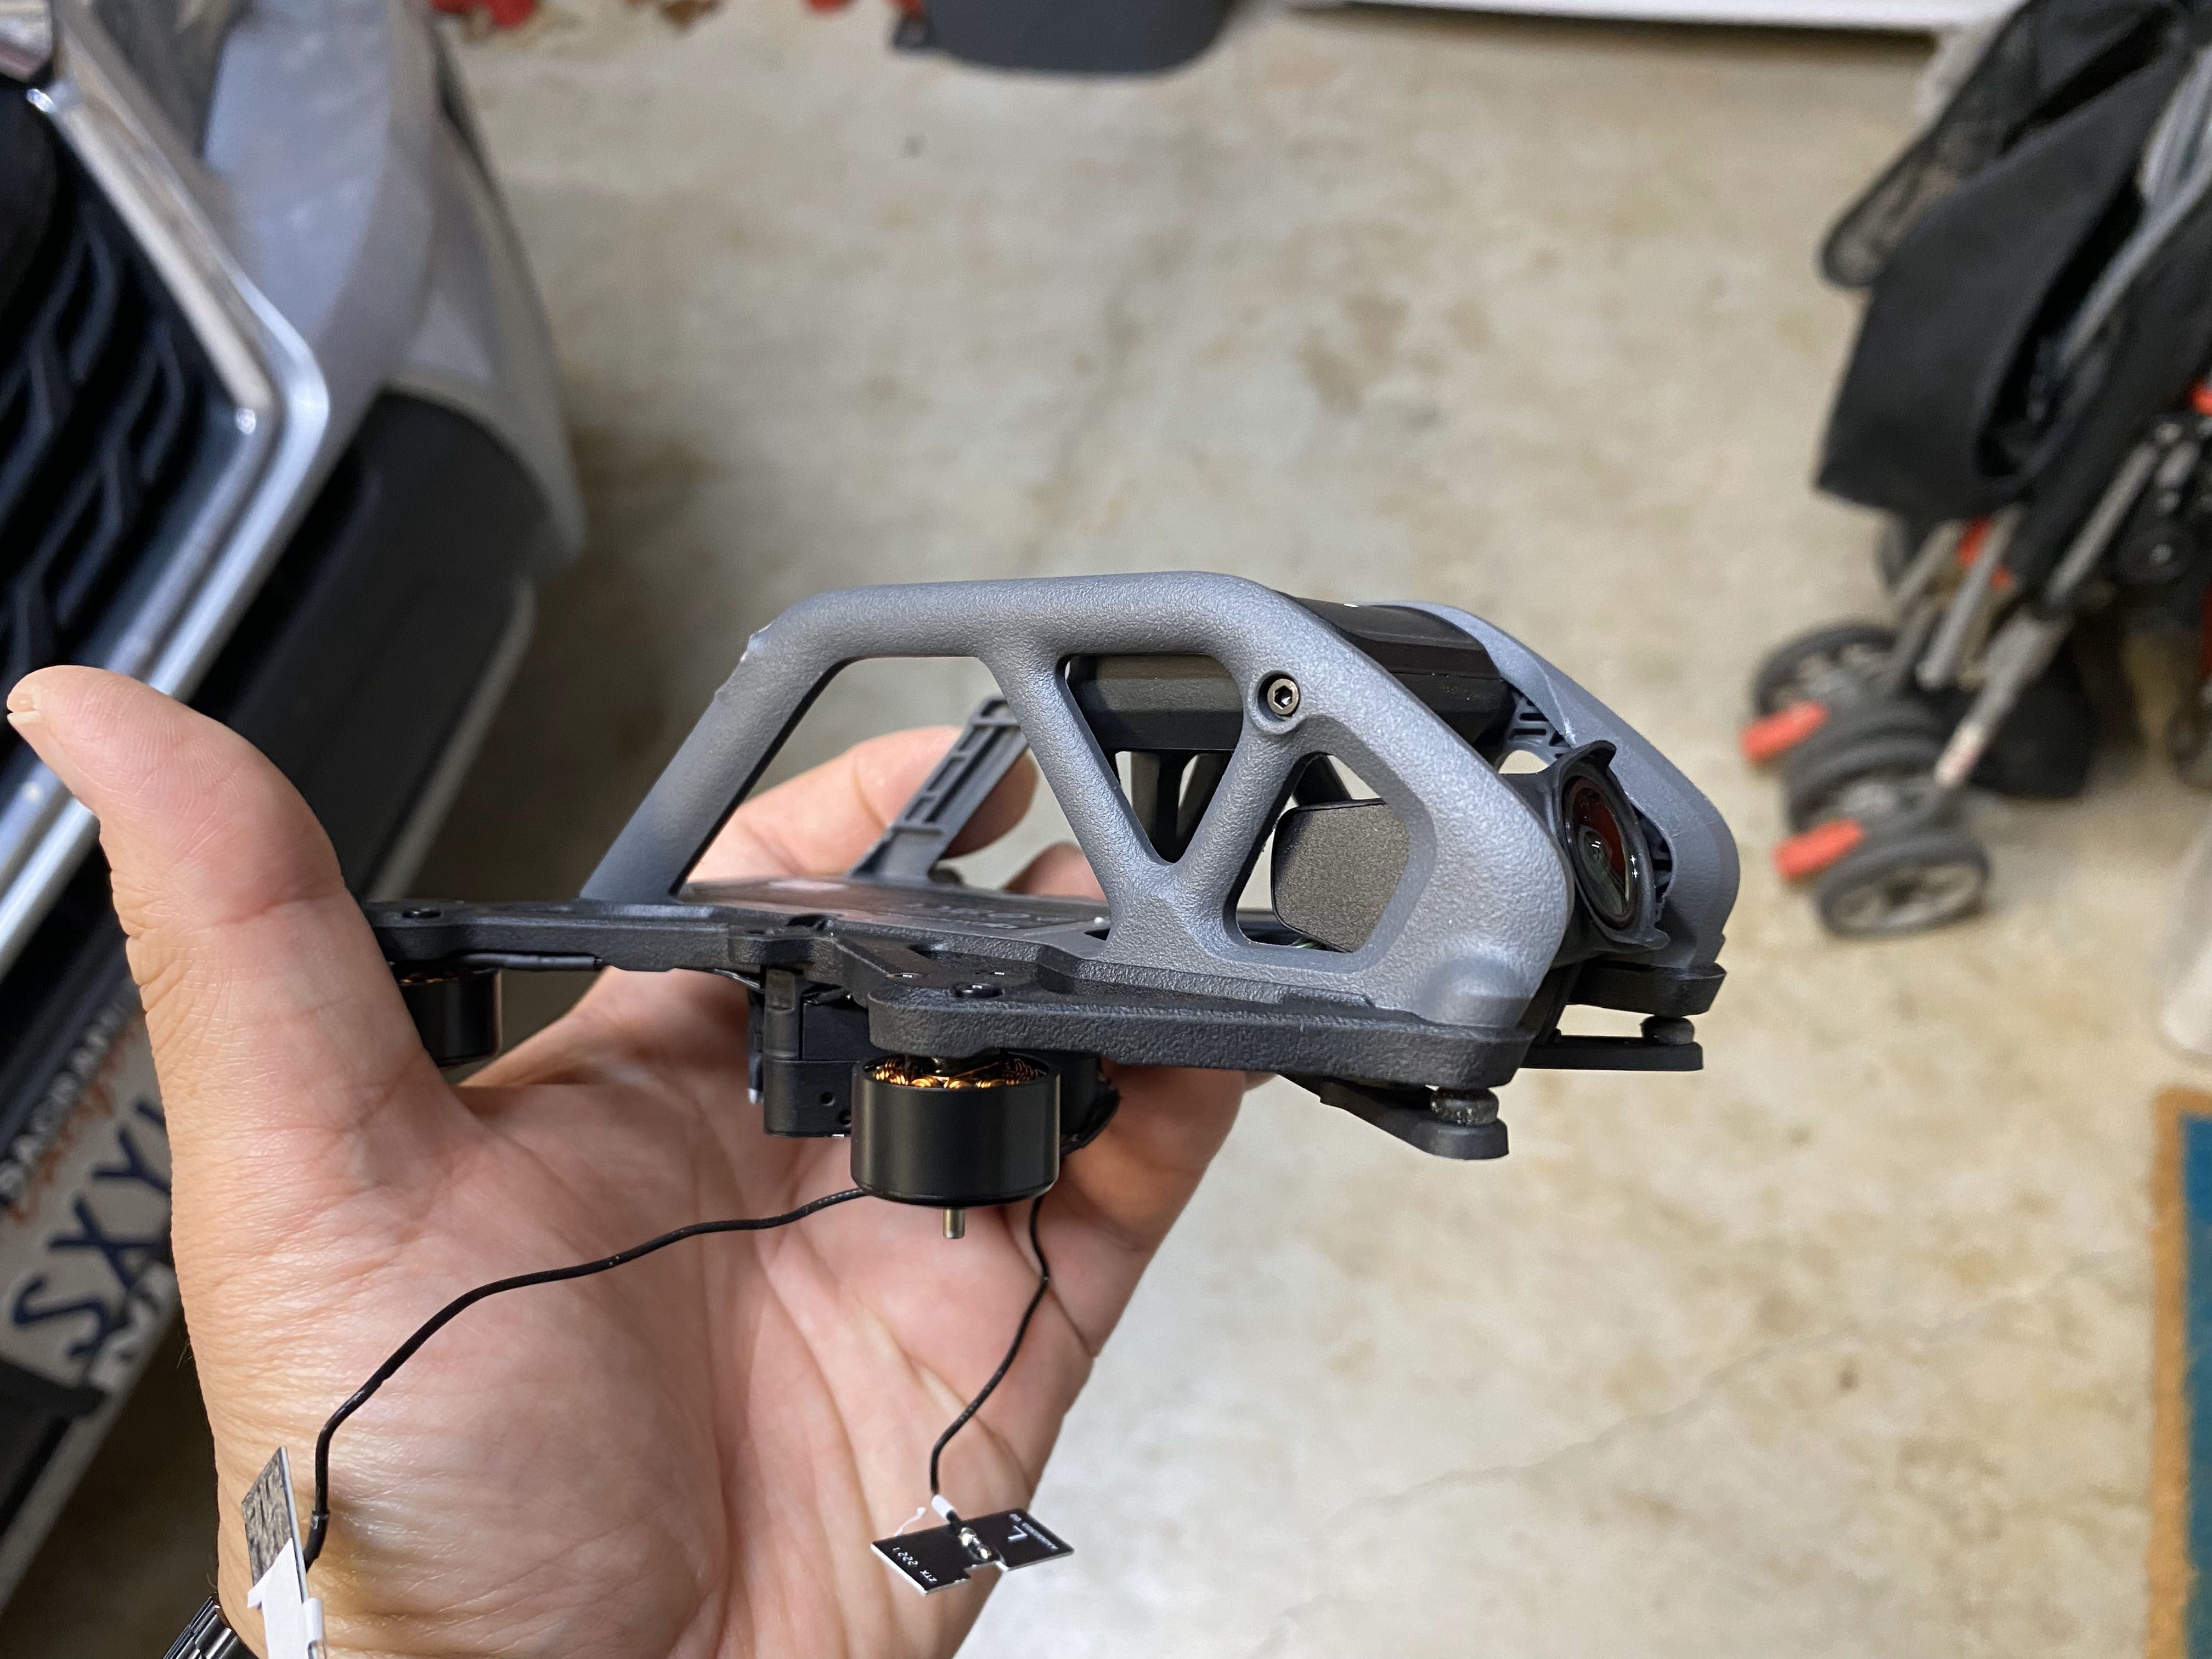
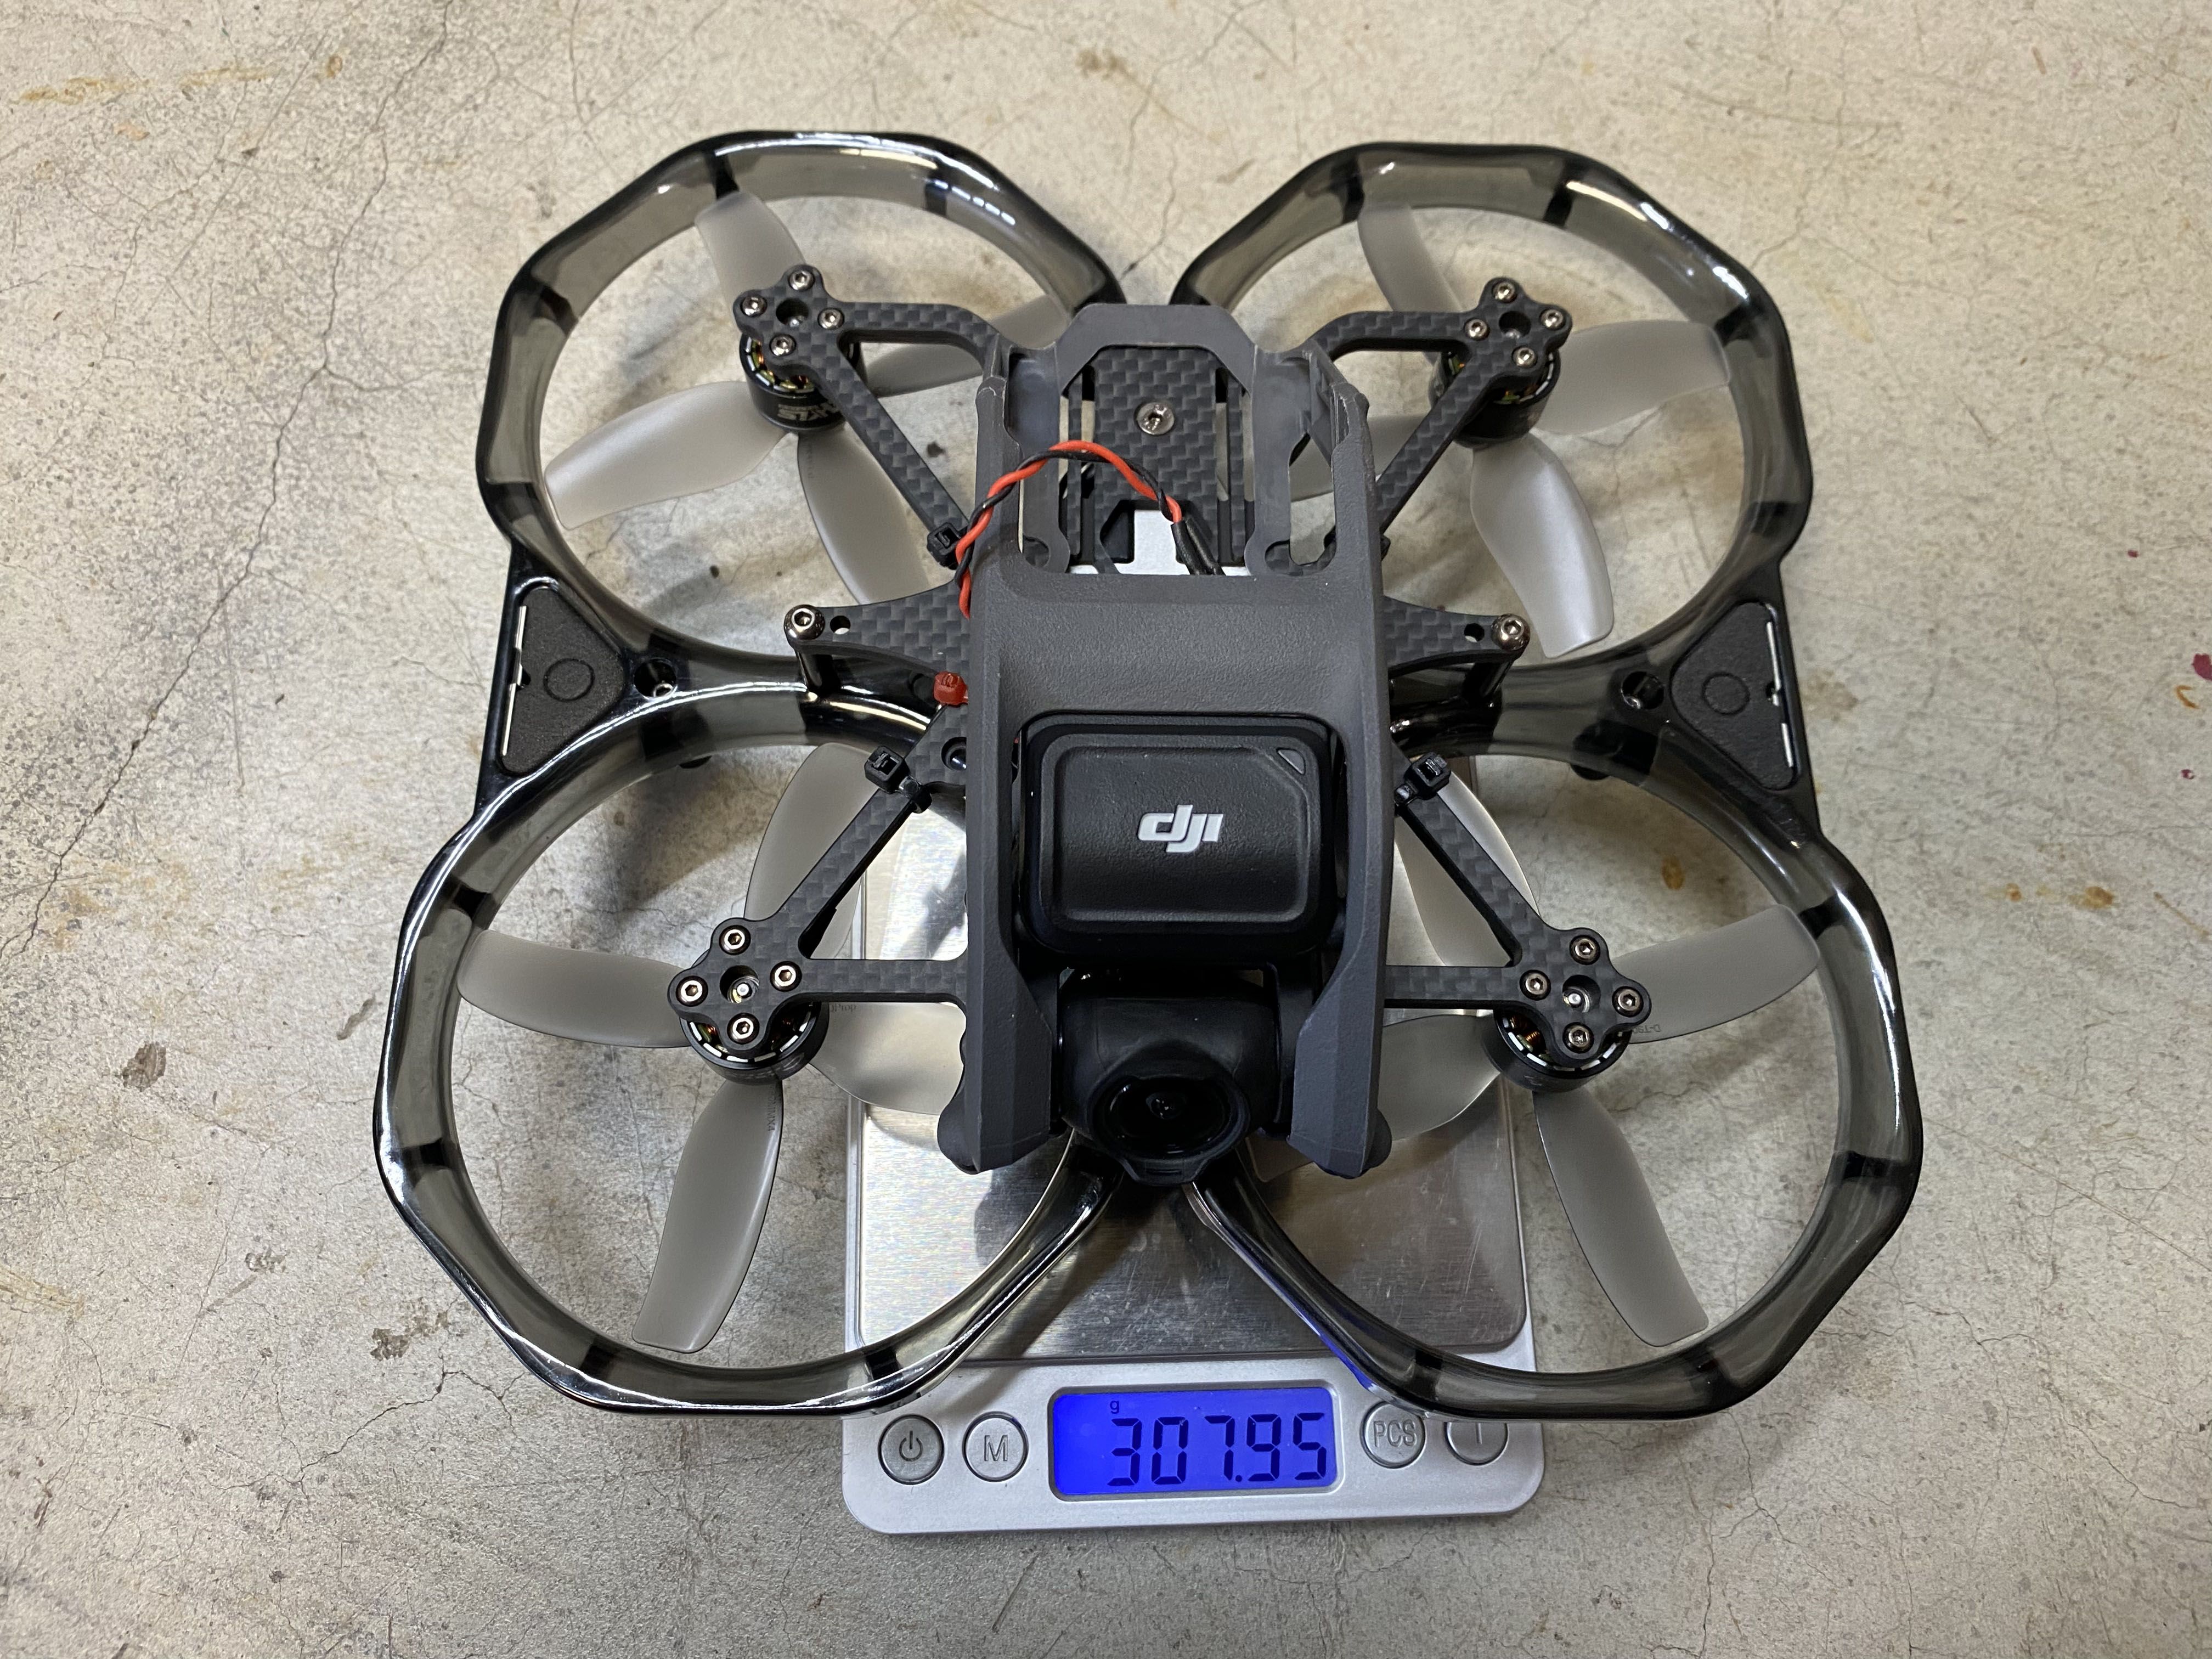
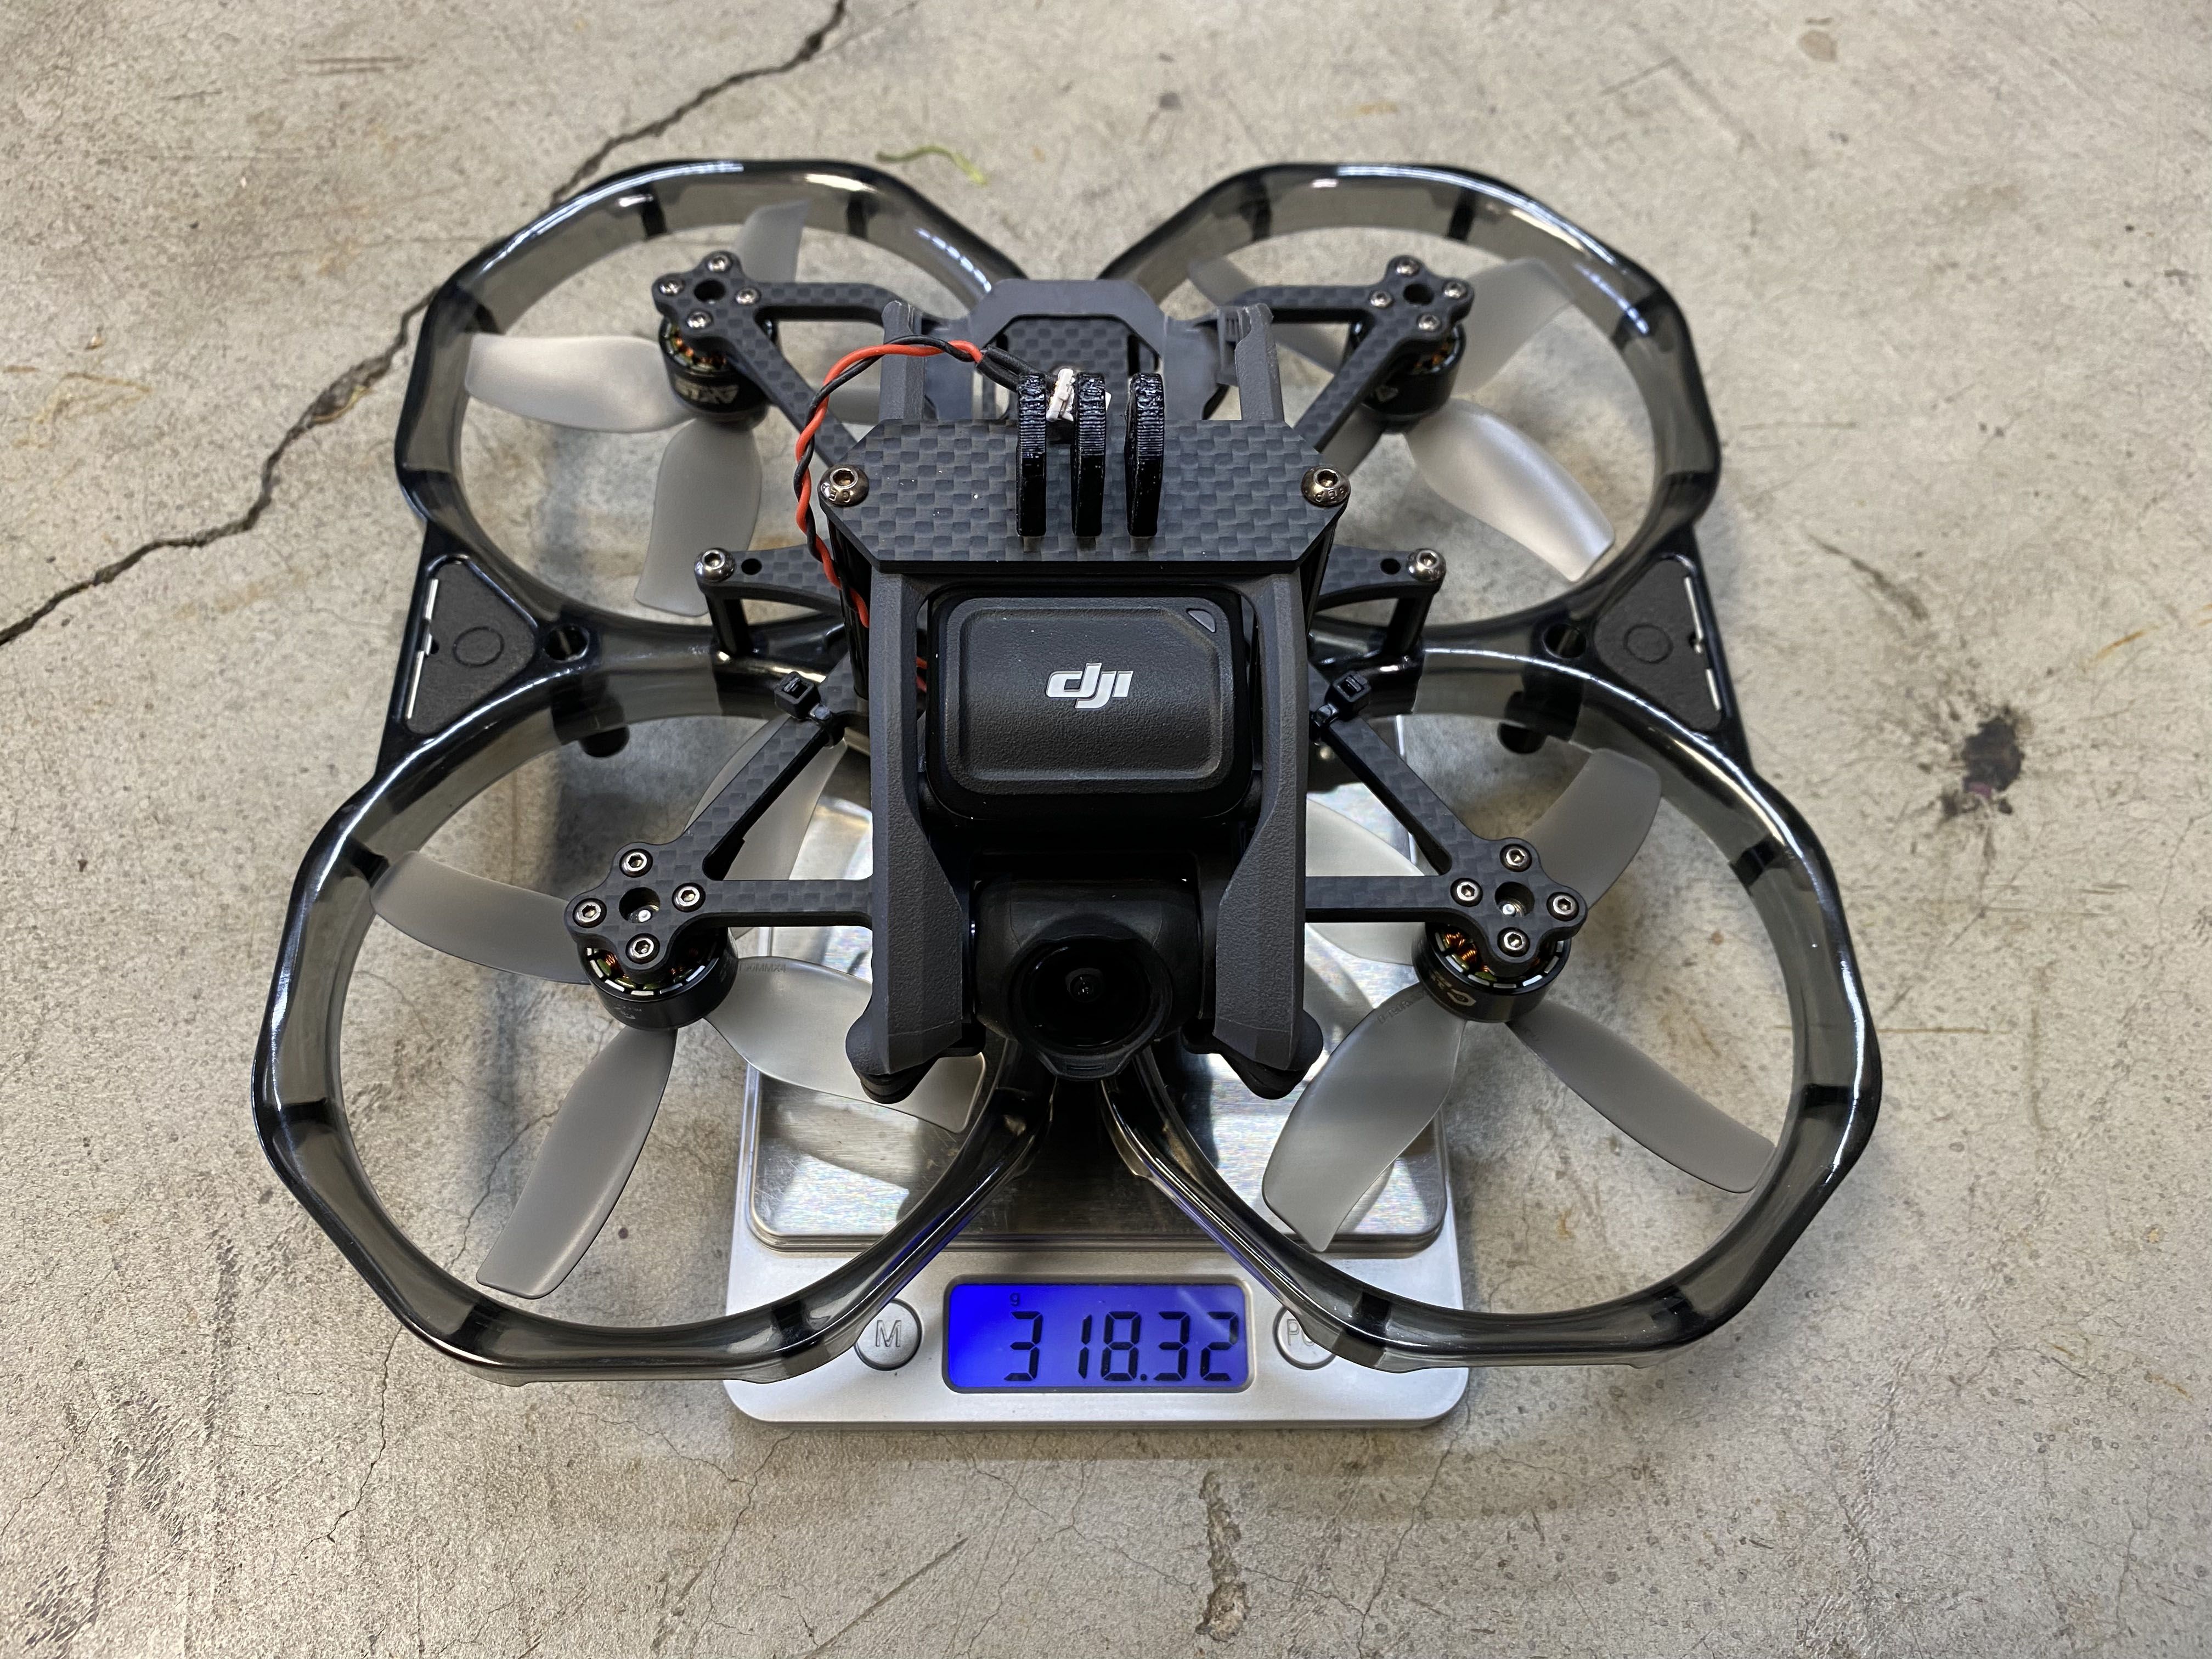
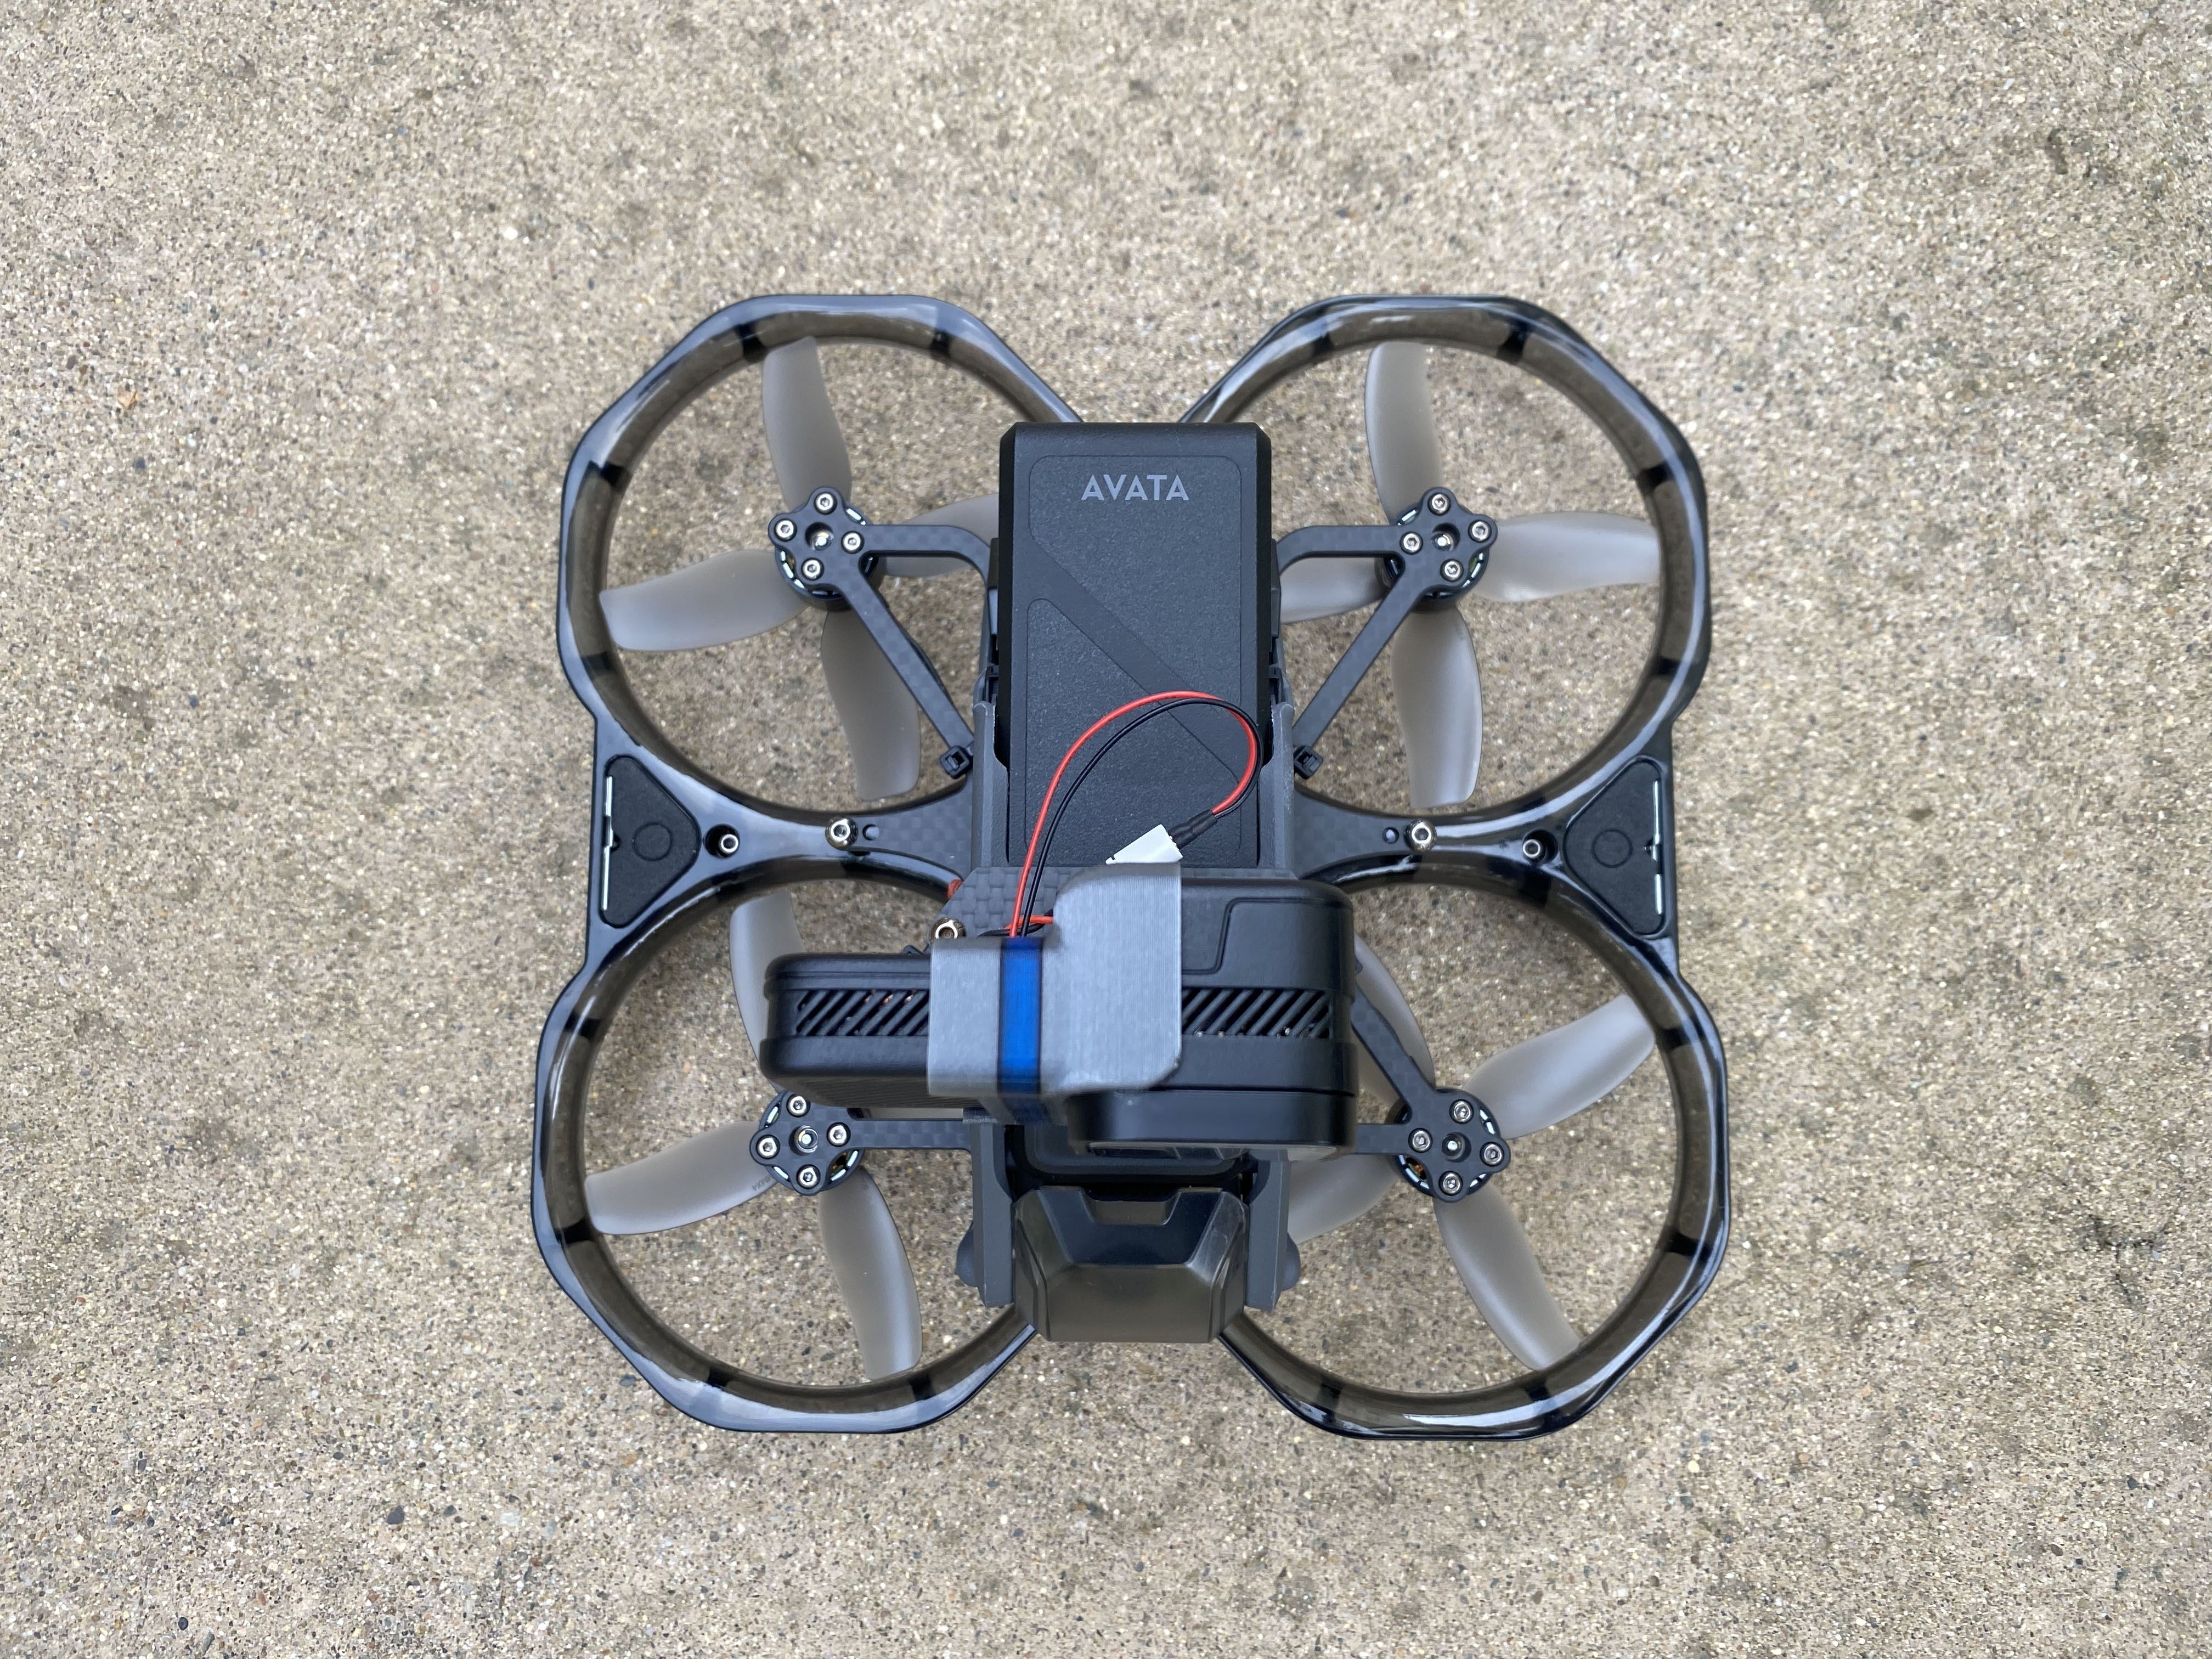
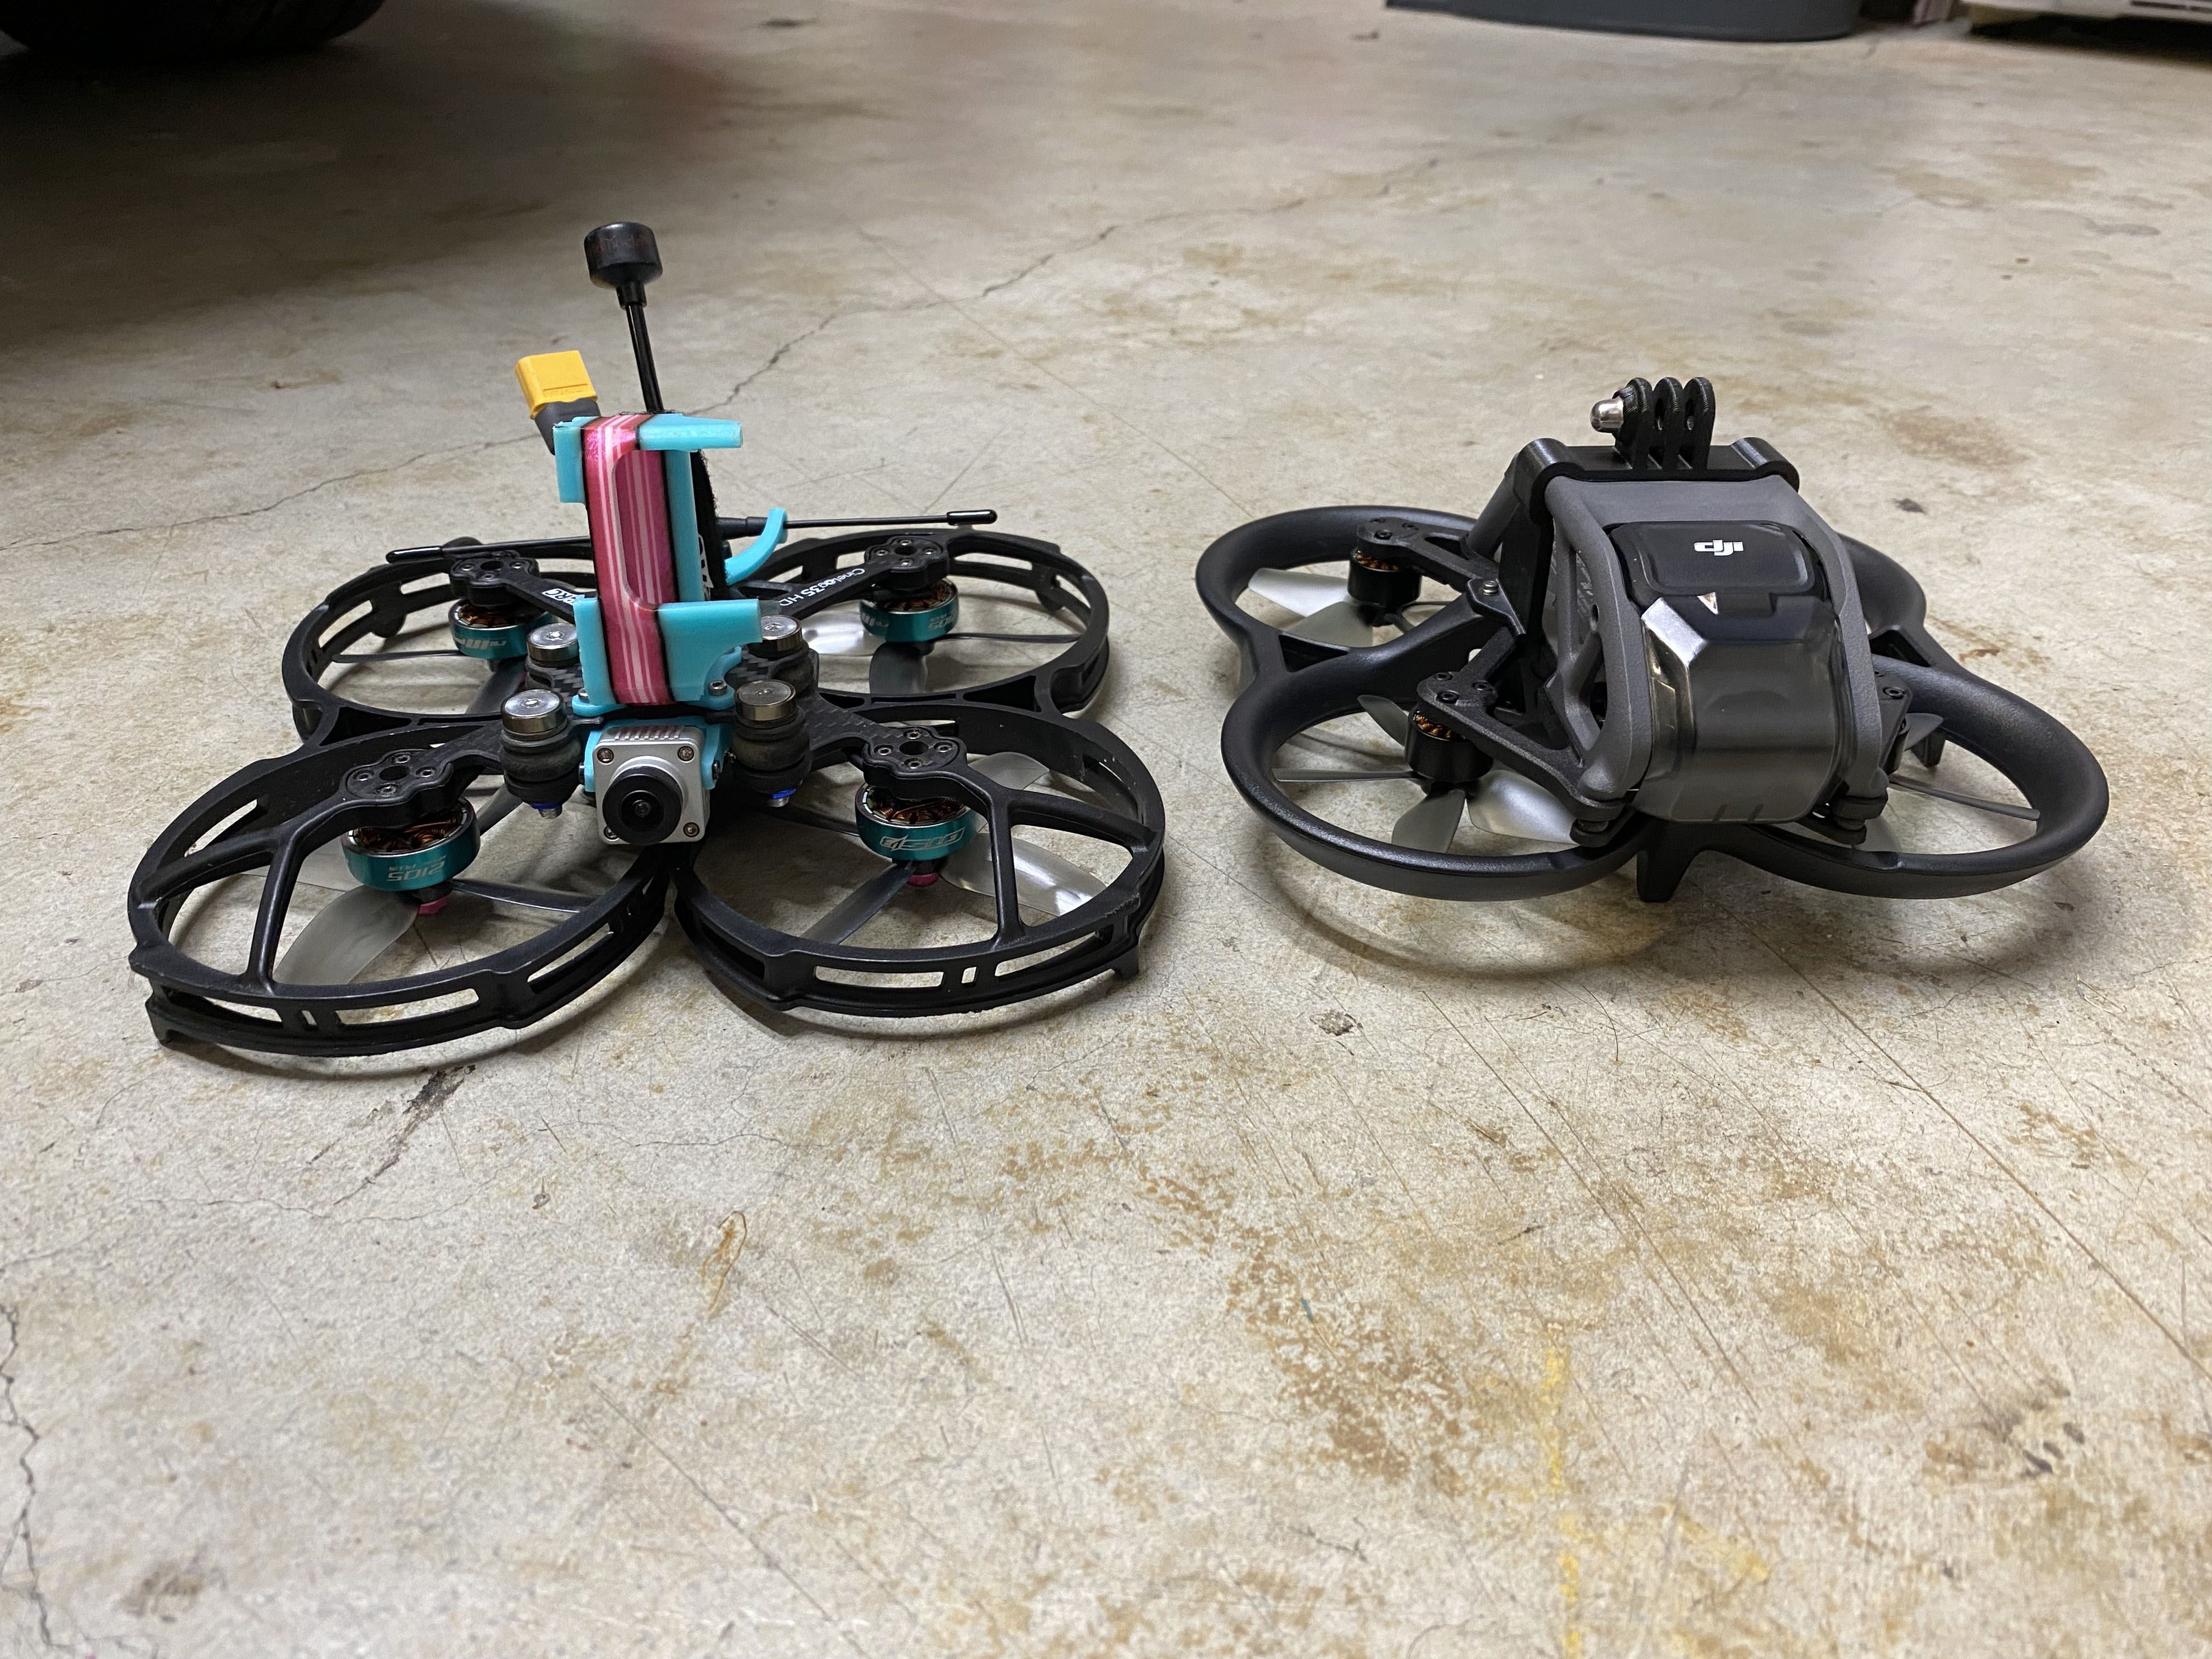
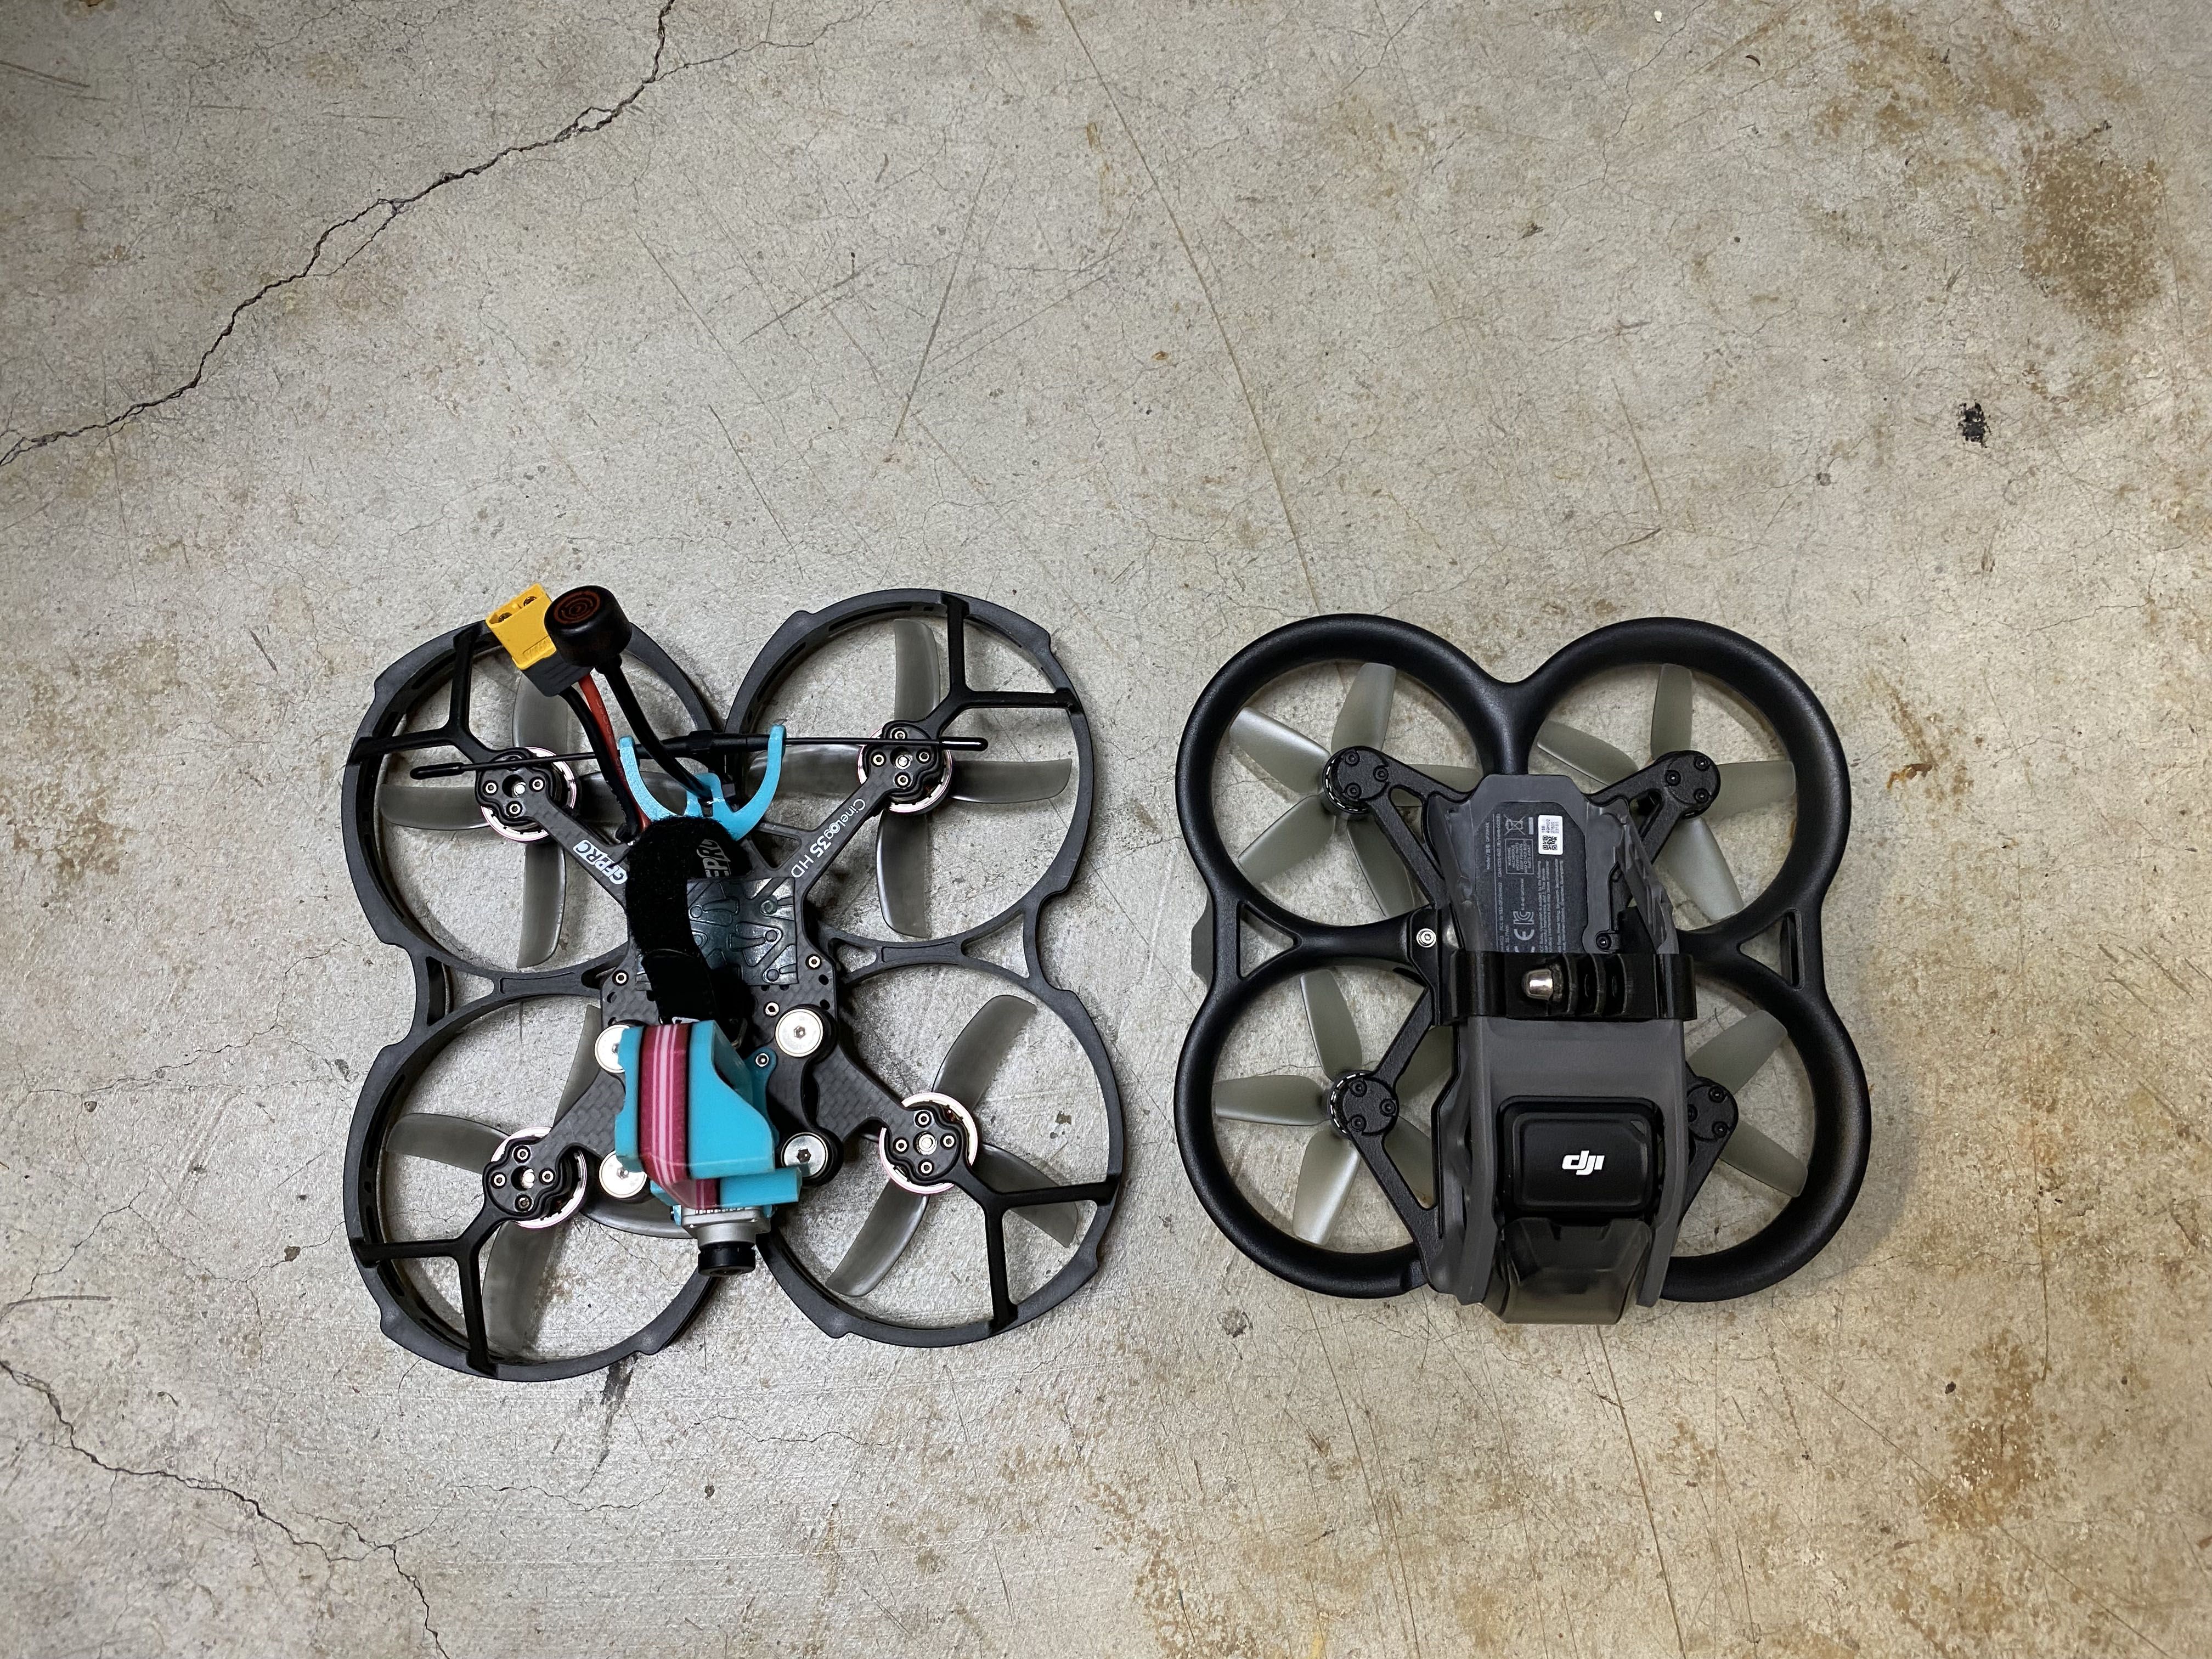
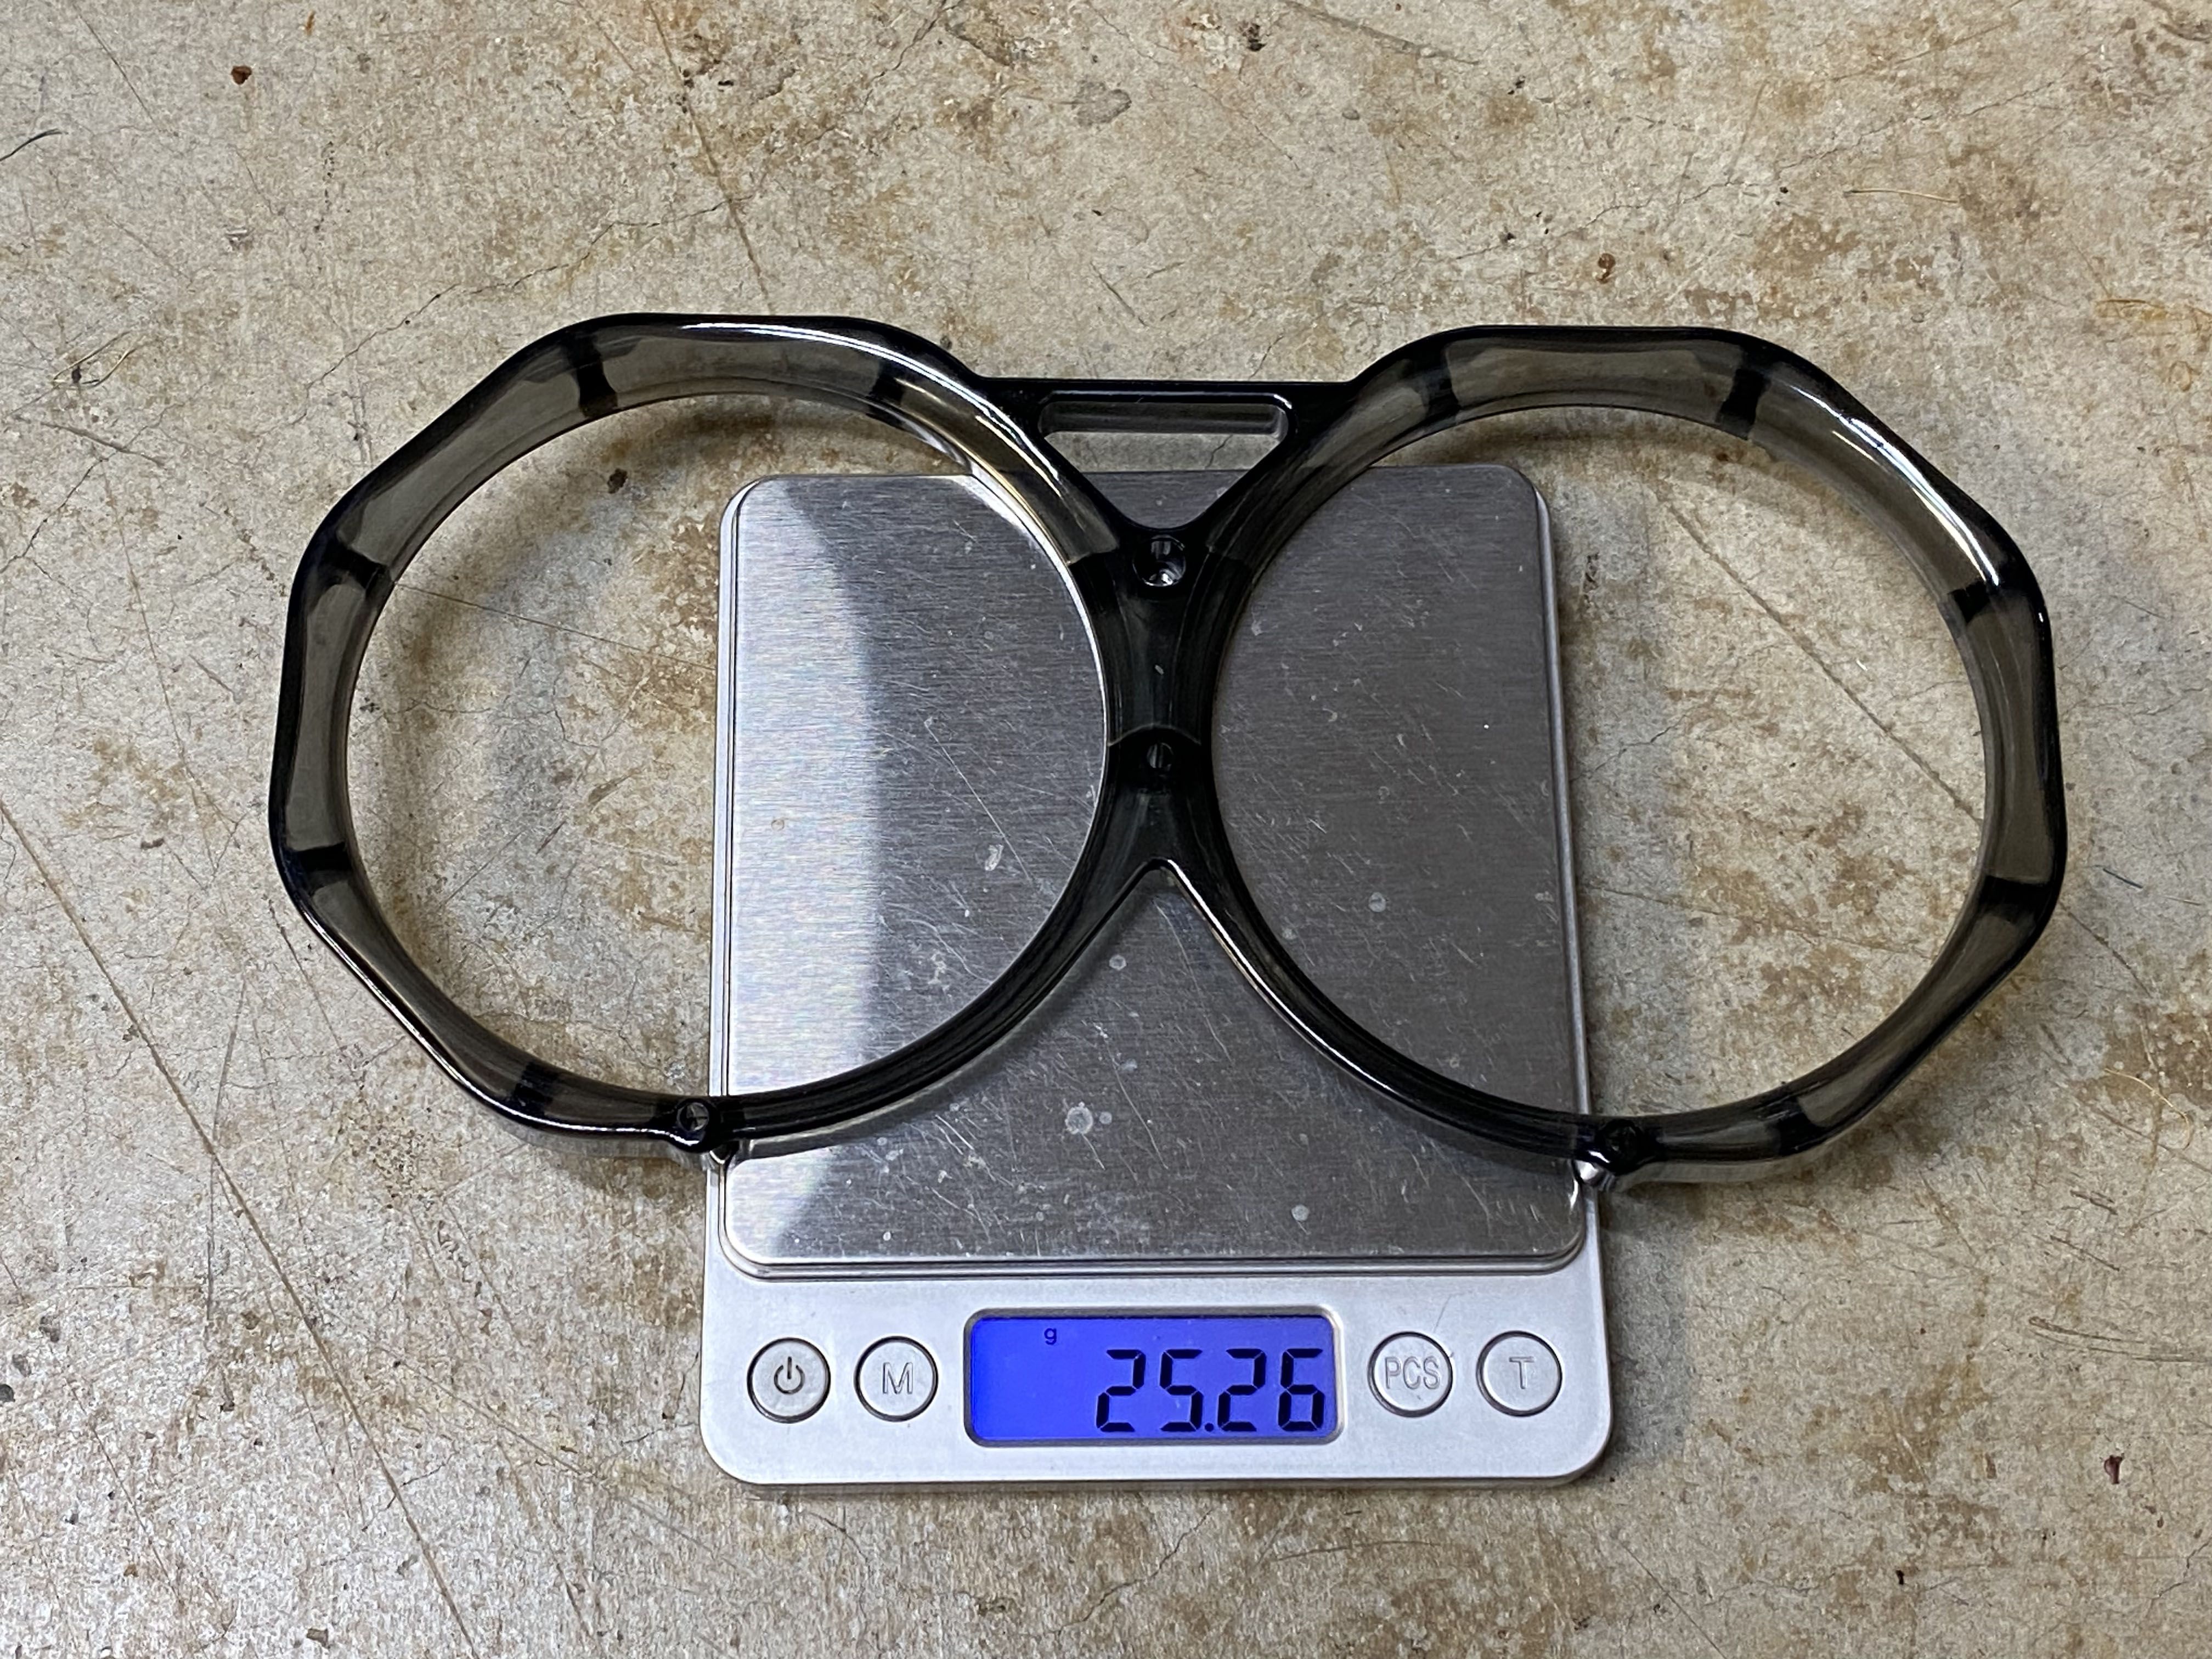
Without mount the GoPro adapter, the Avata now weighs 470g AUW (All Up Weight). Normally, the stock DJI Avata weighs 410g, so you can see that this conversion added 50g to the totally weight. I might have cheated a few grams because I switched some of the steel screws for titanium ones. :)
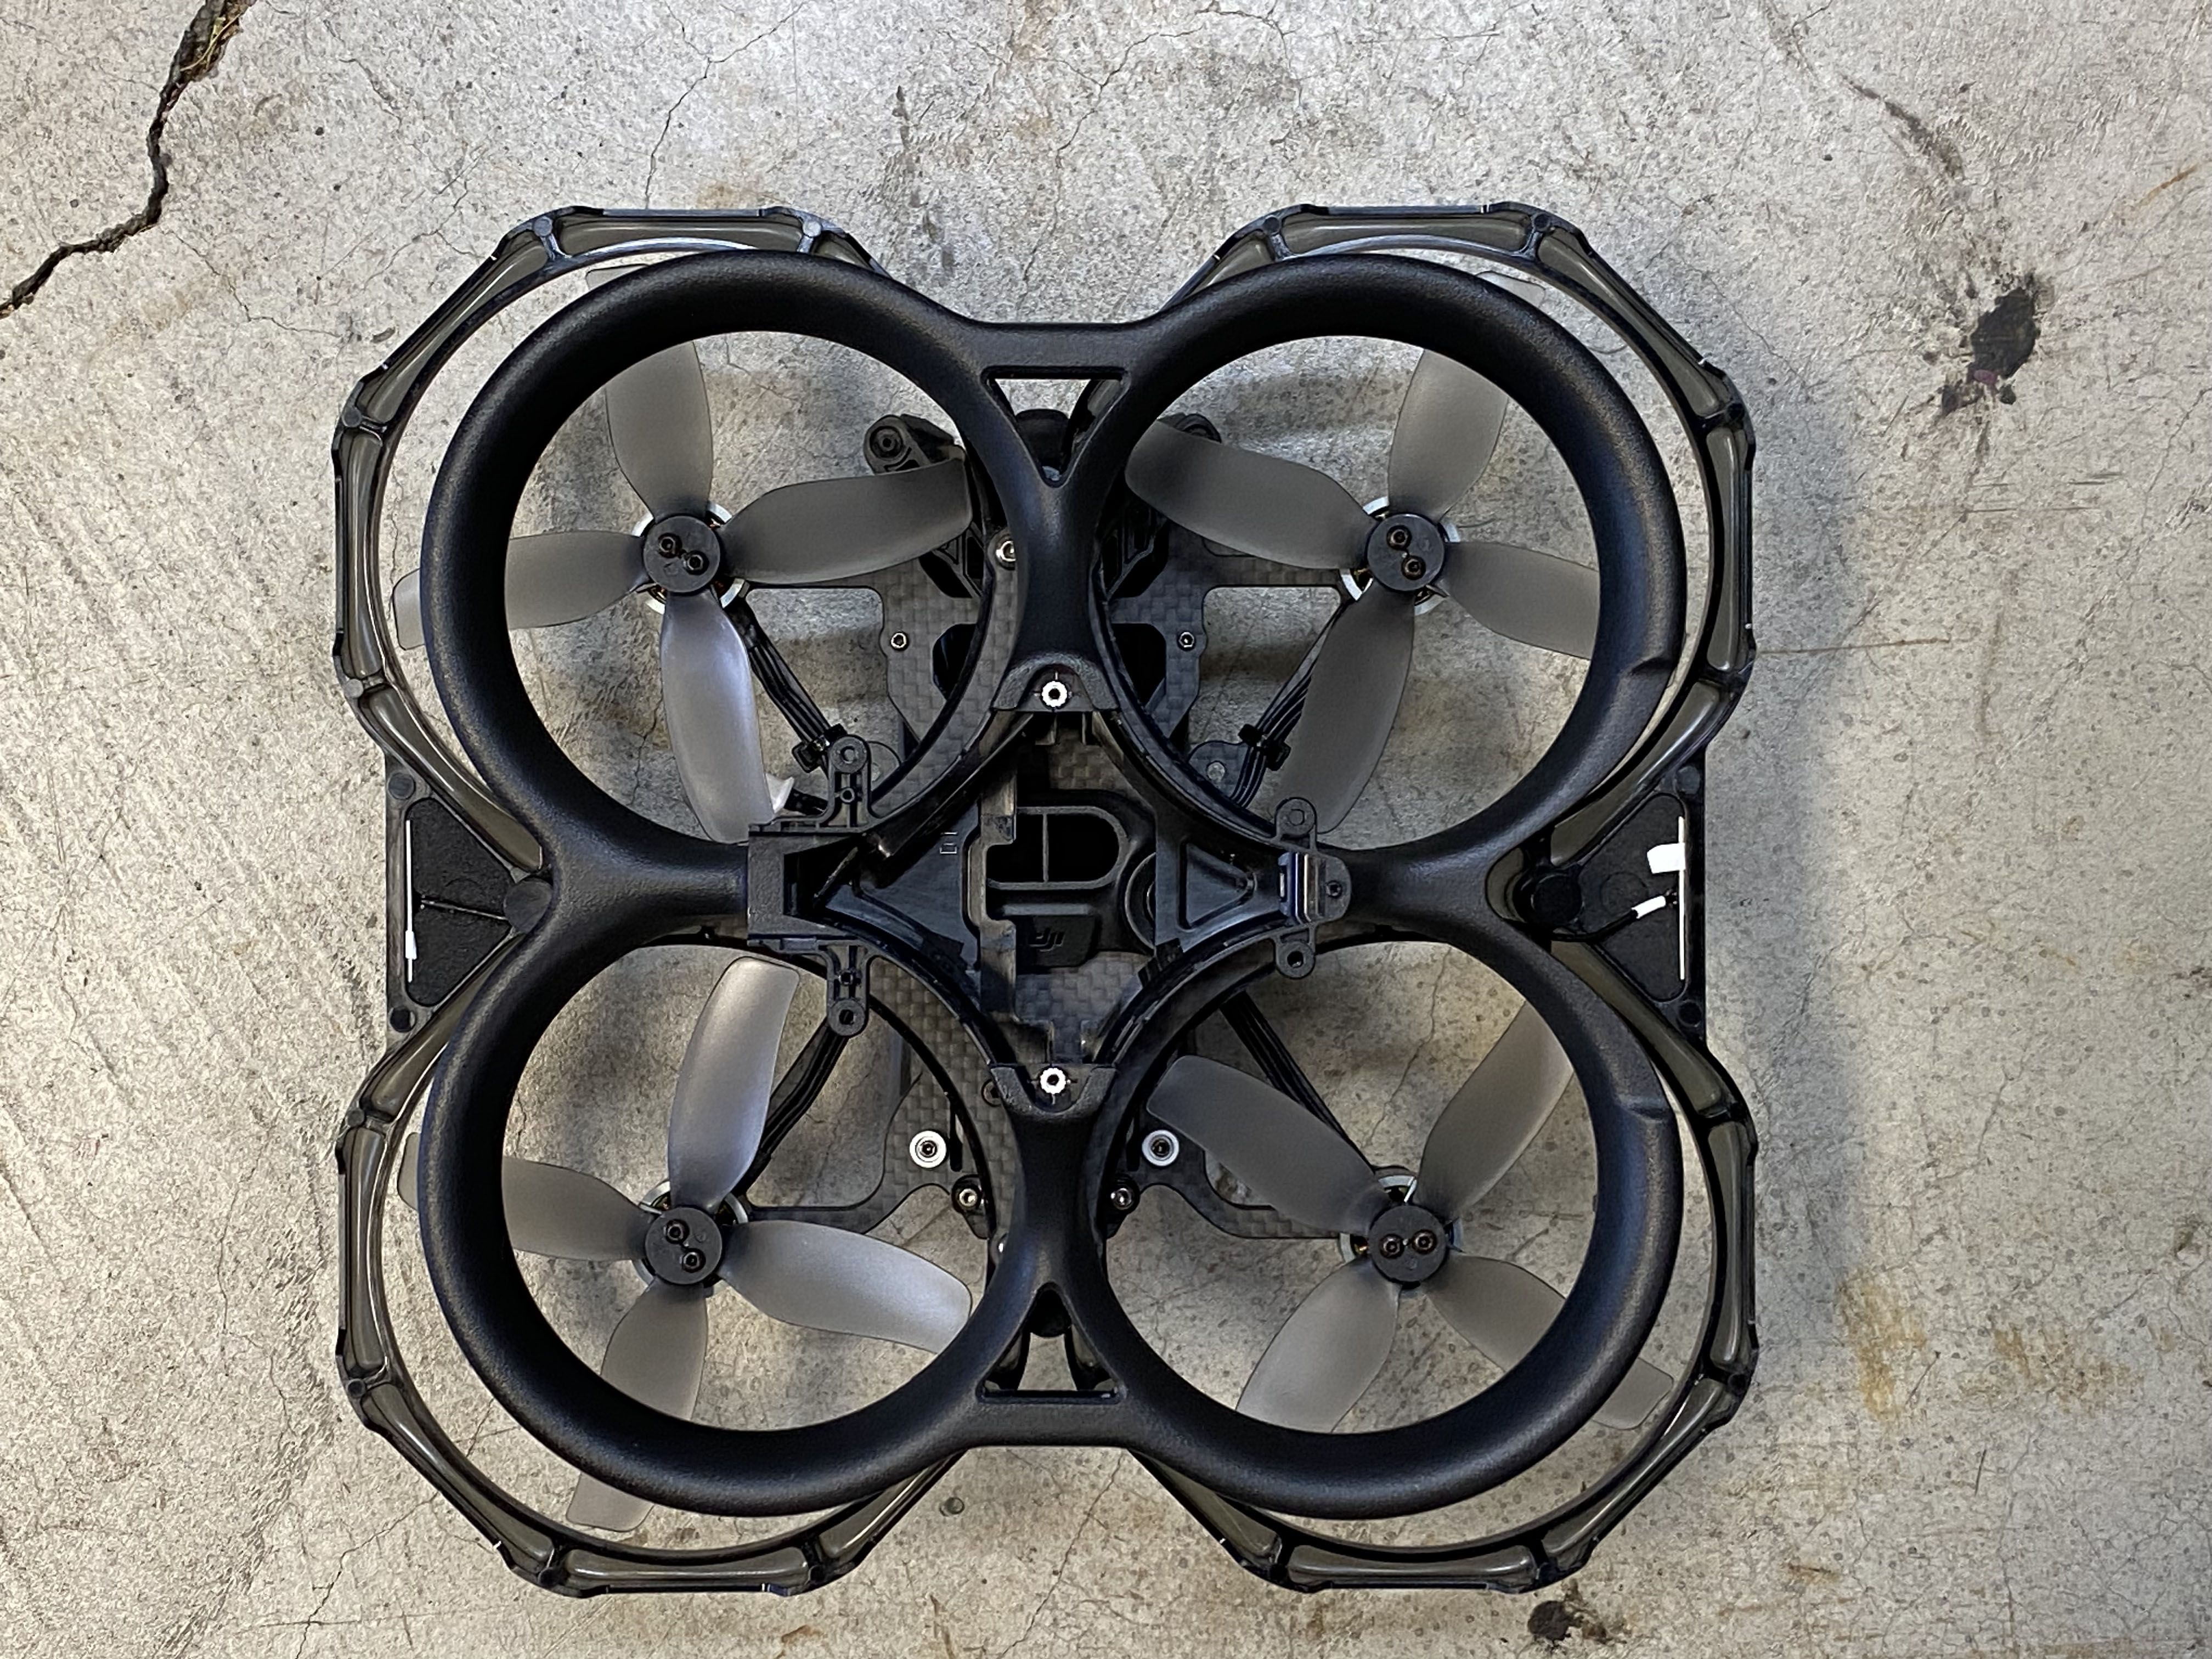
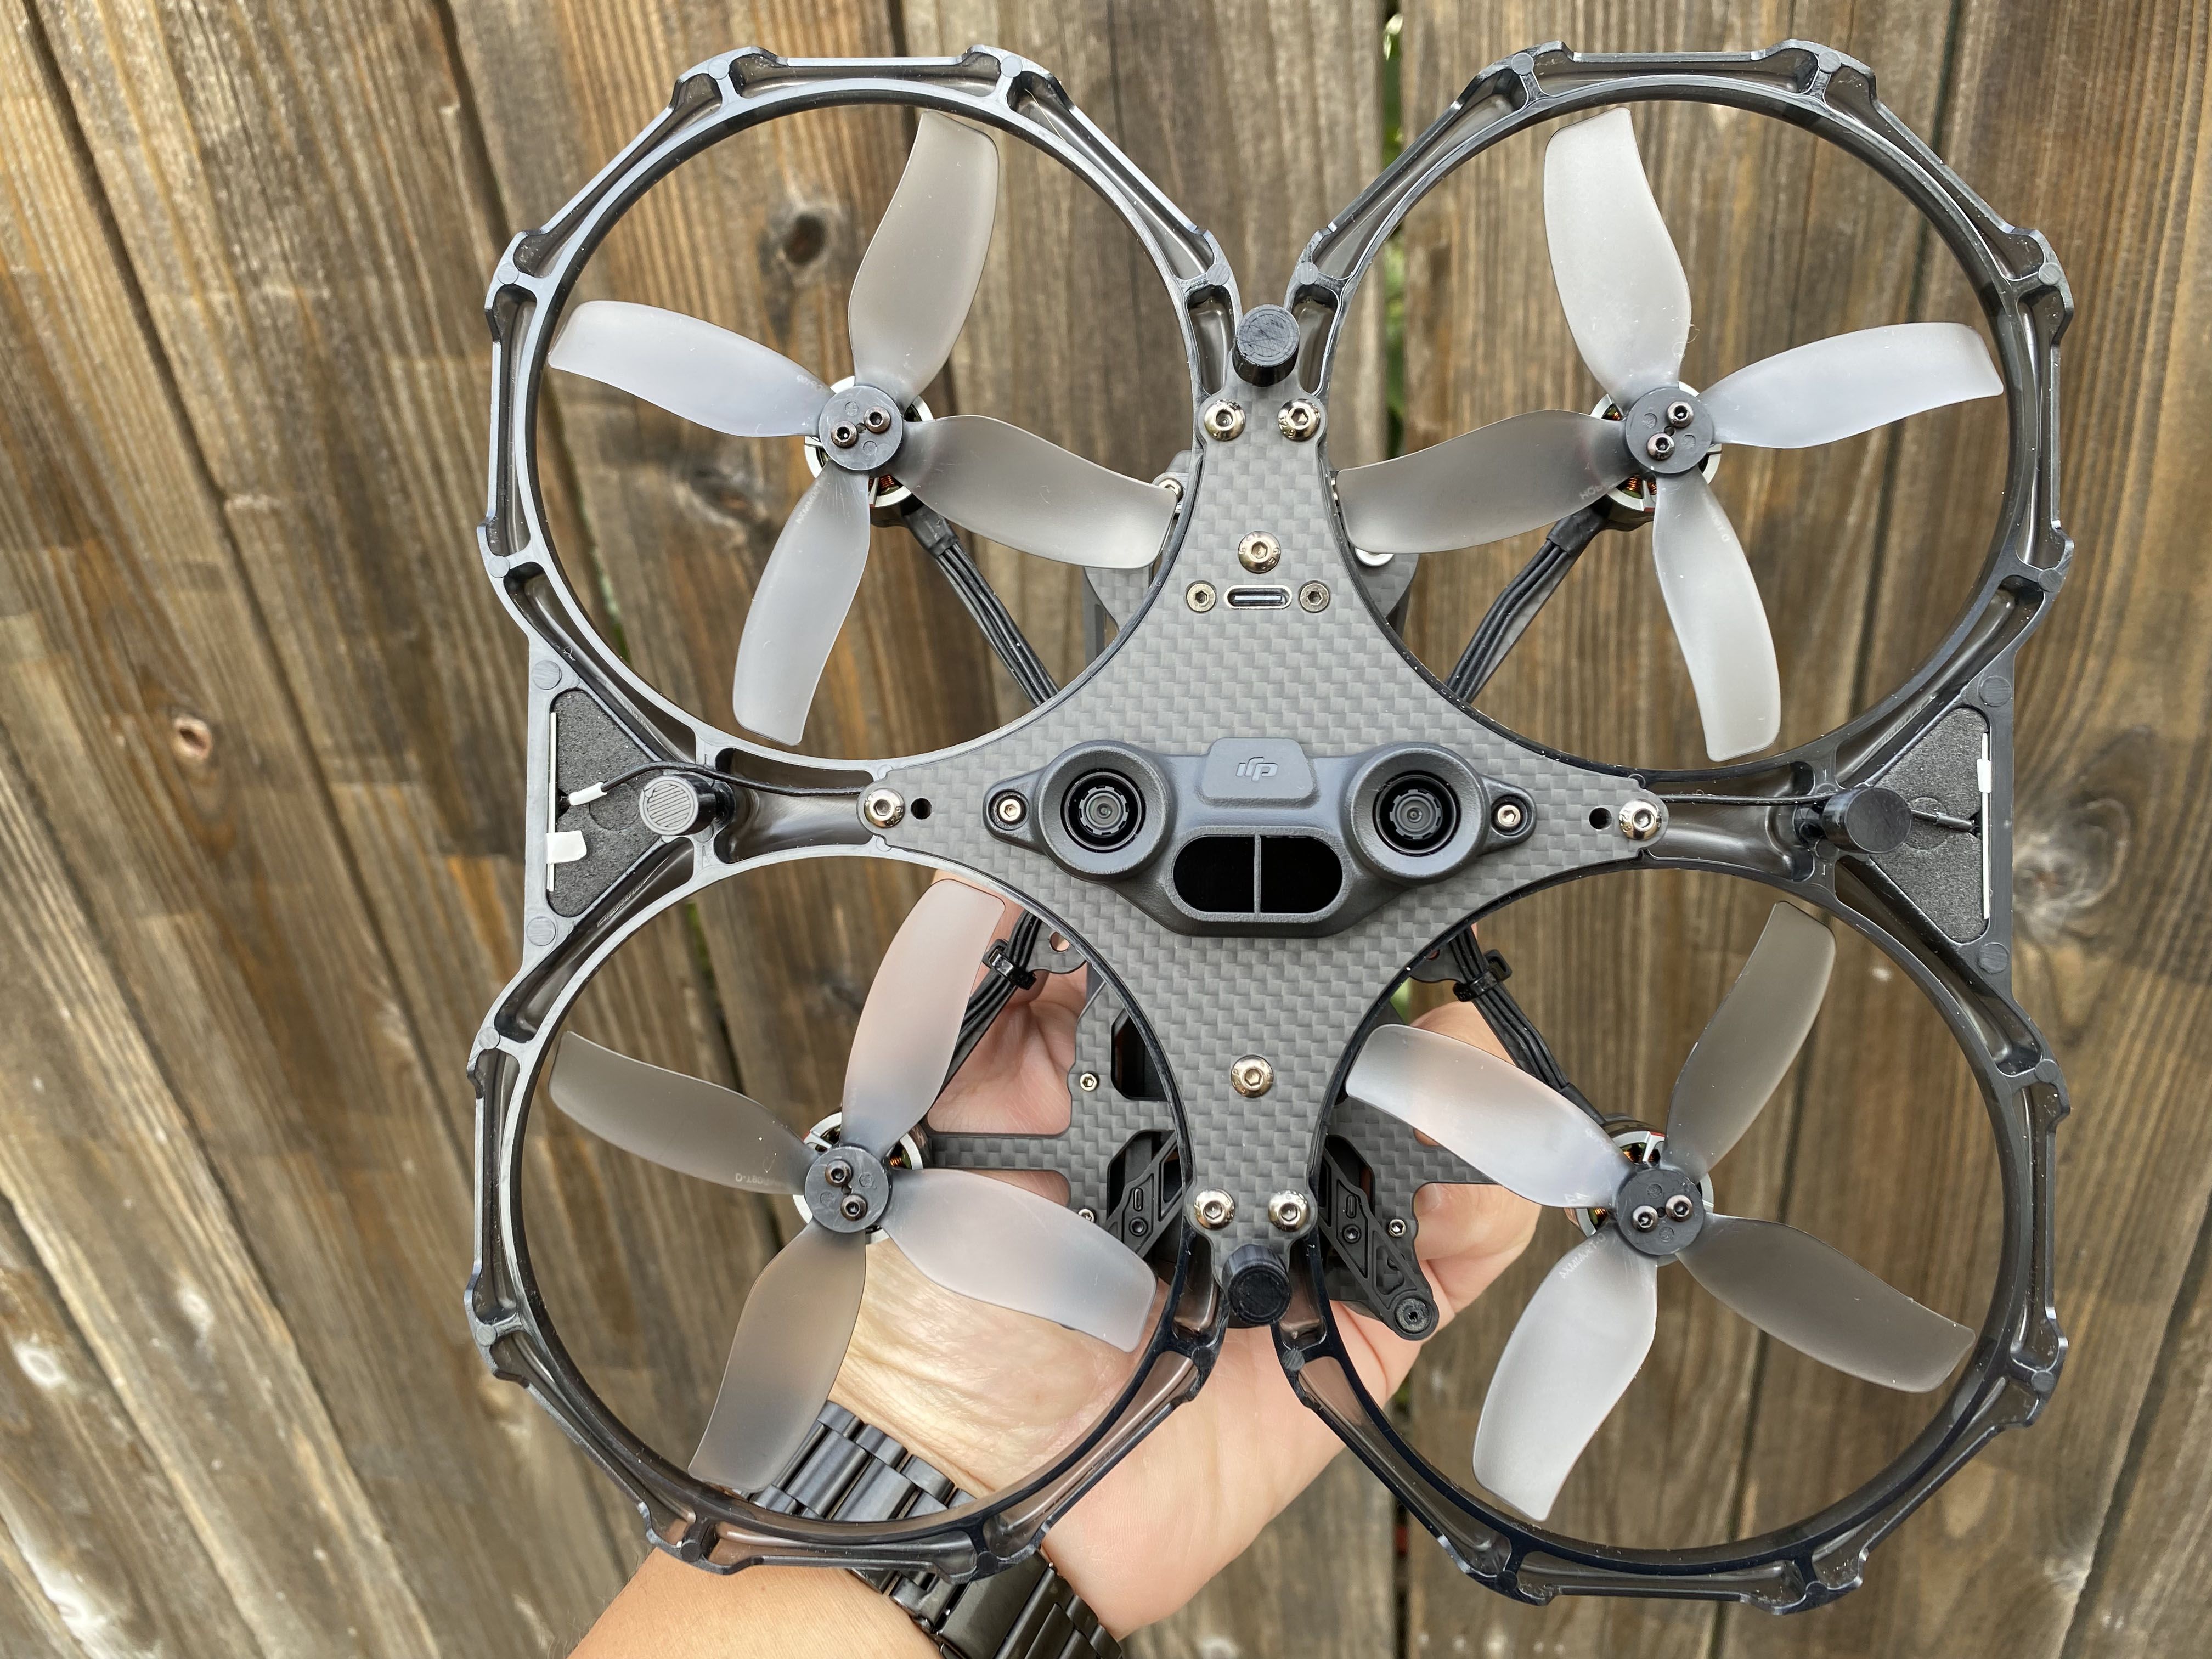
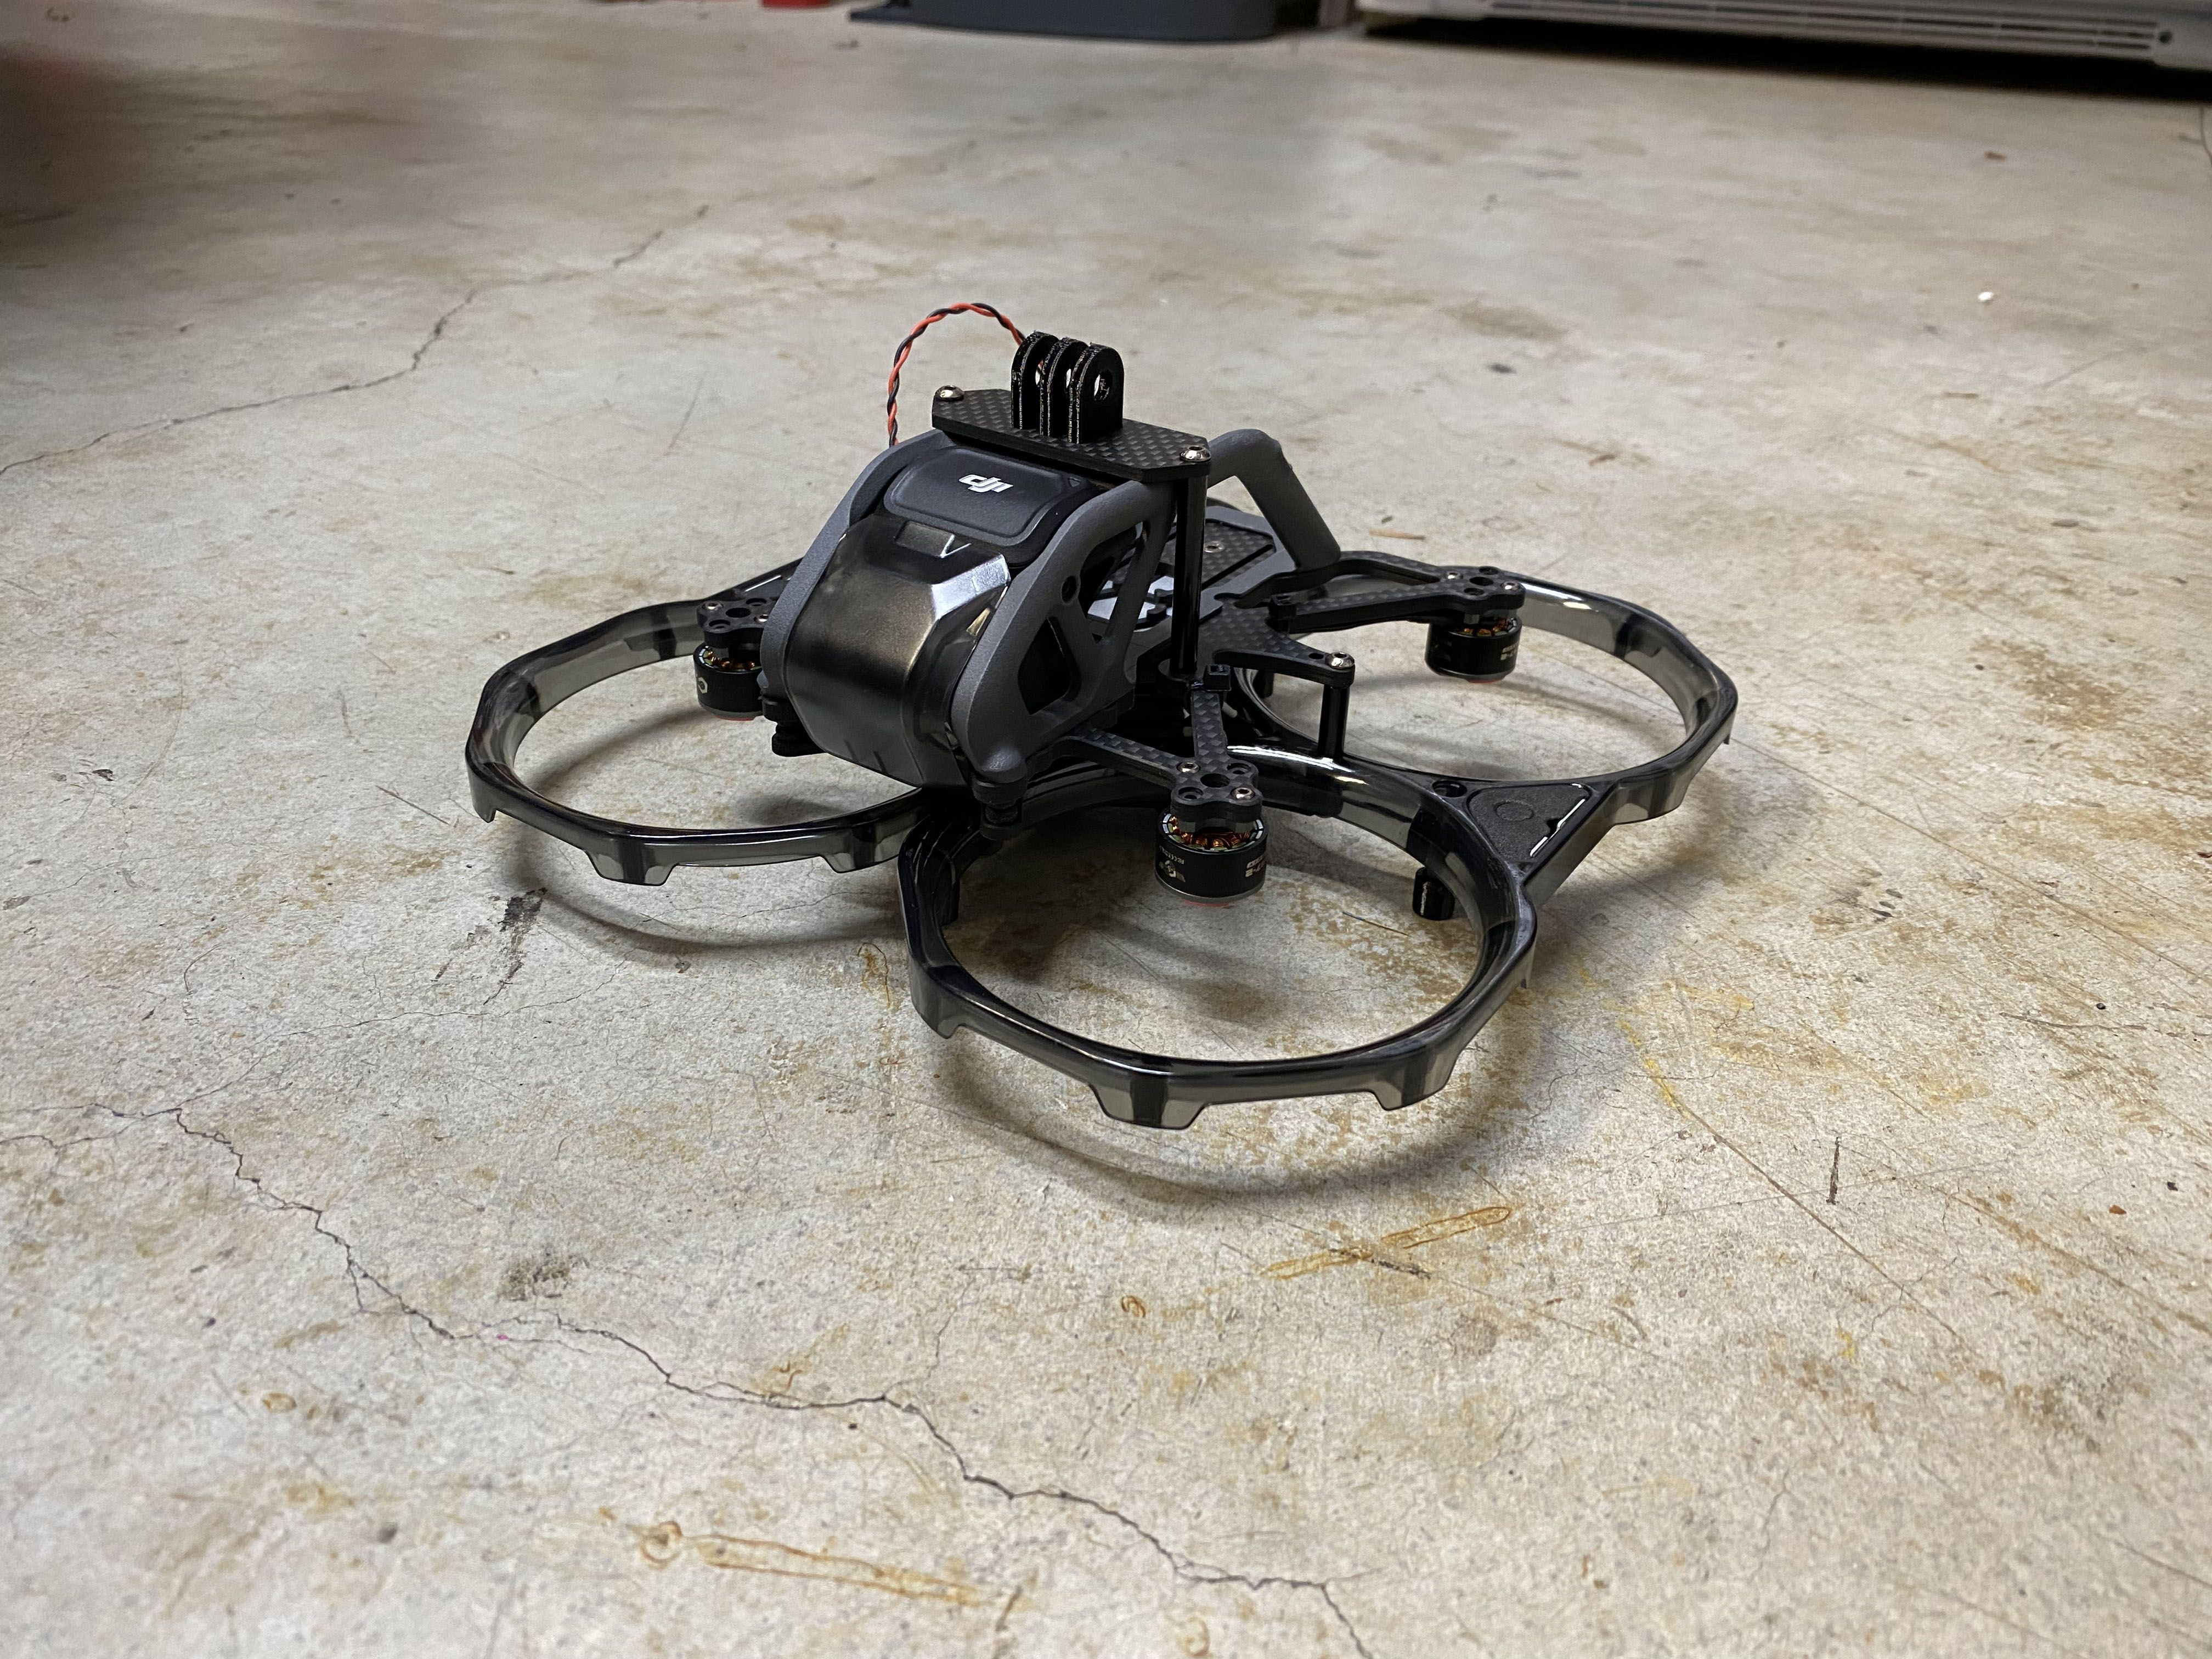
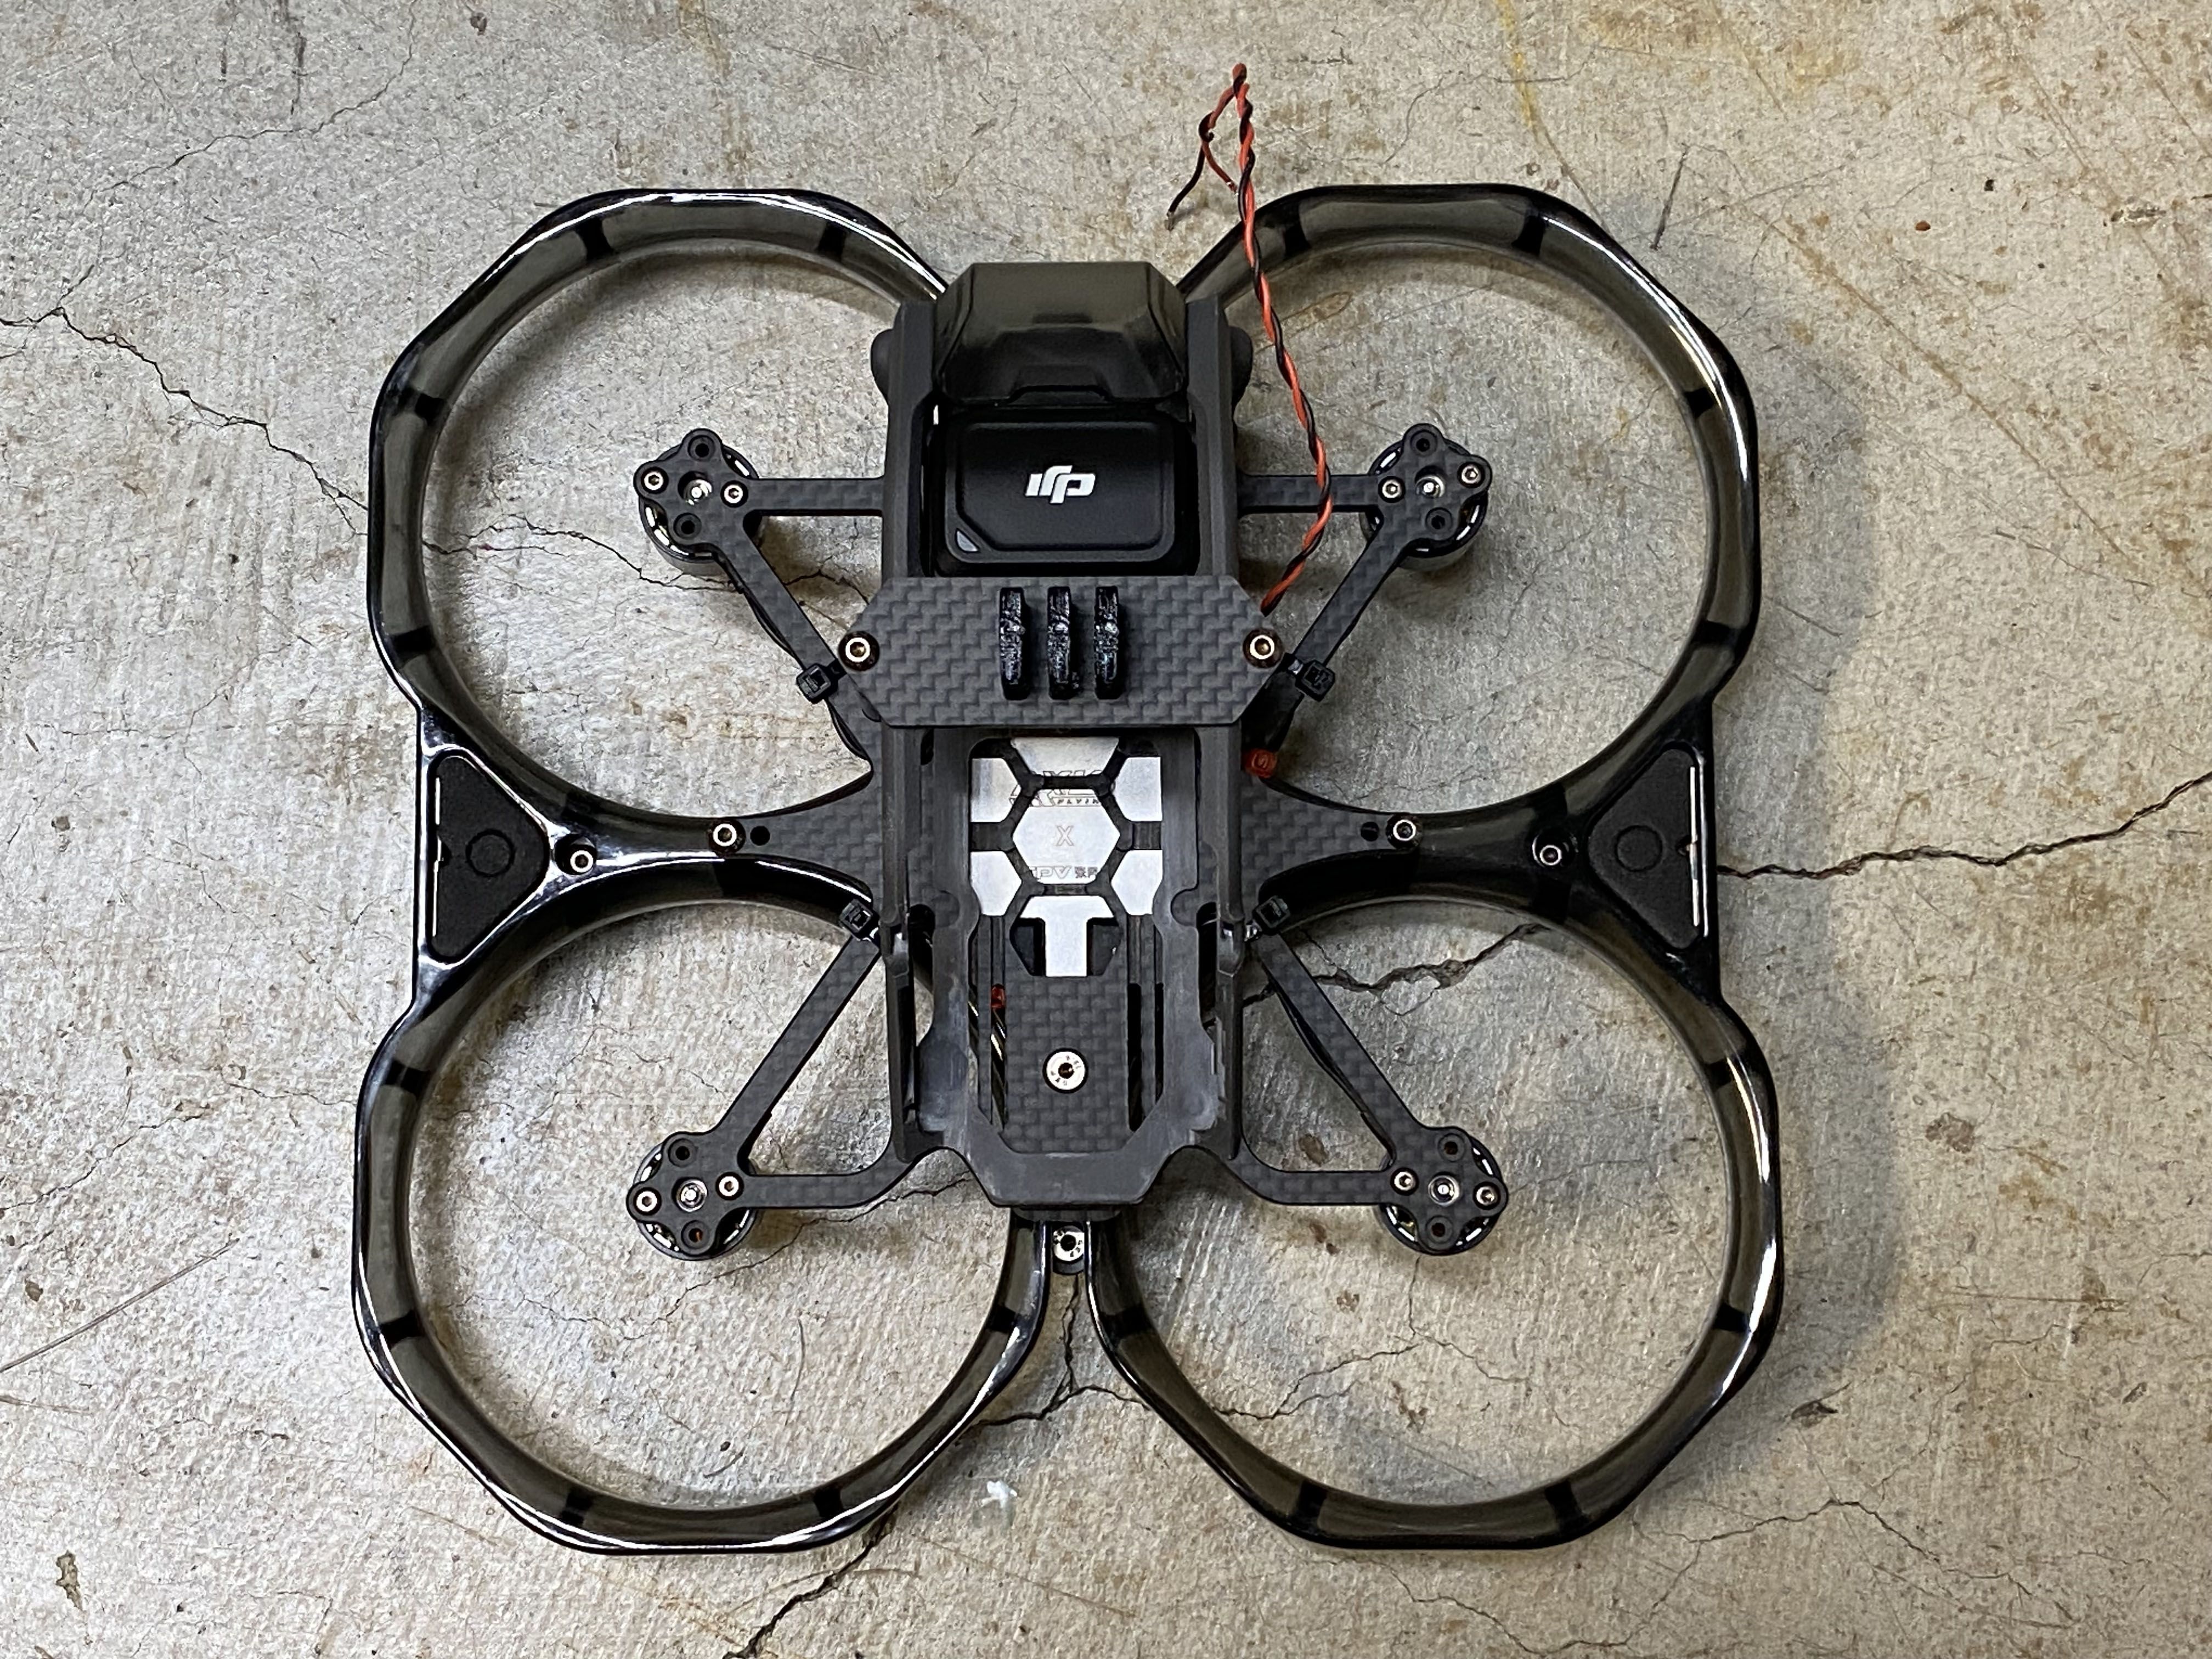
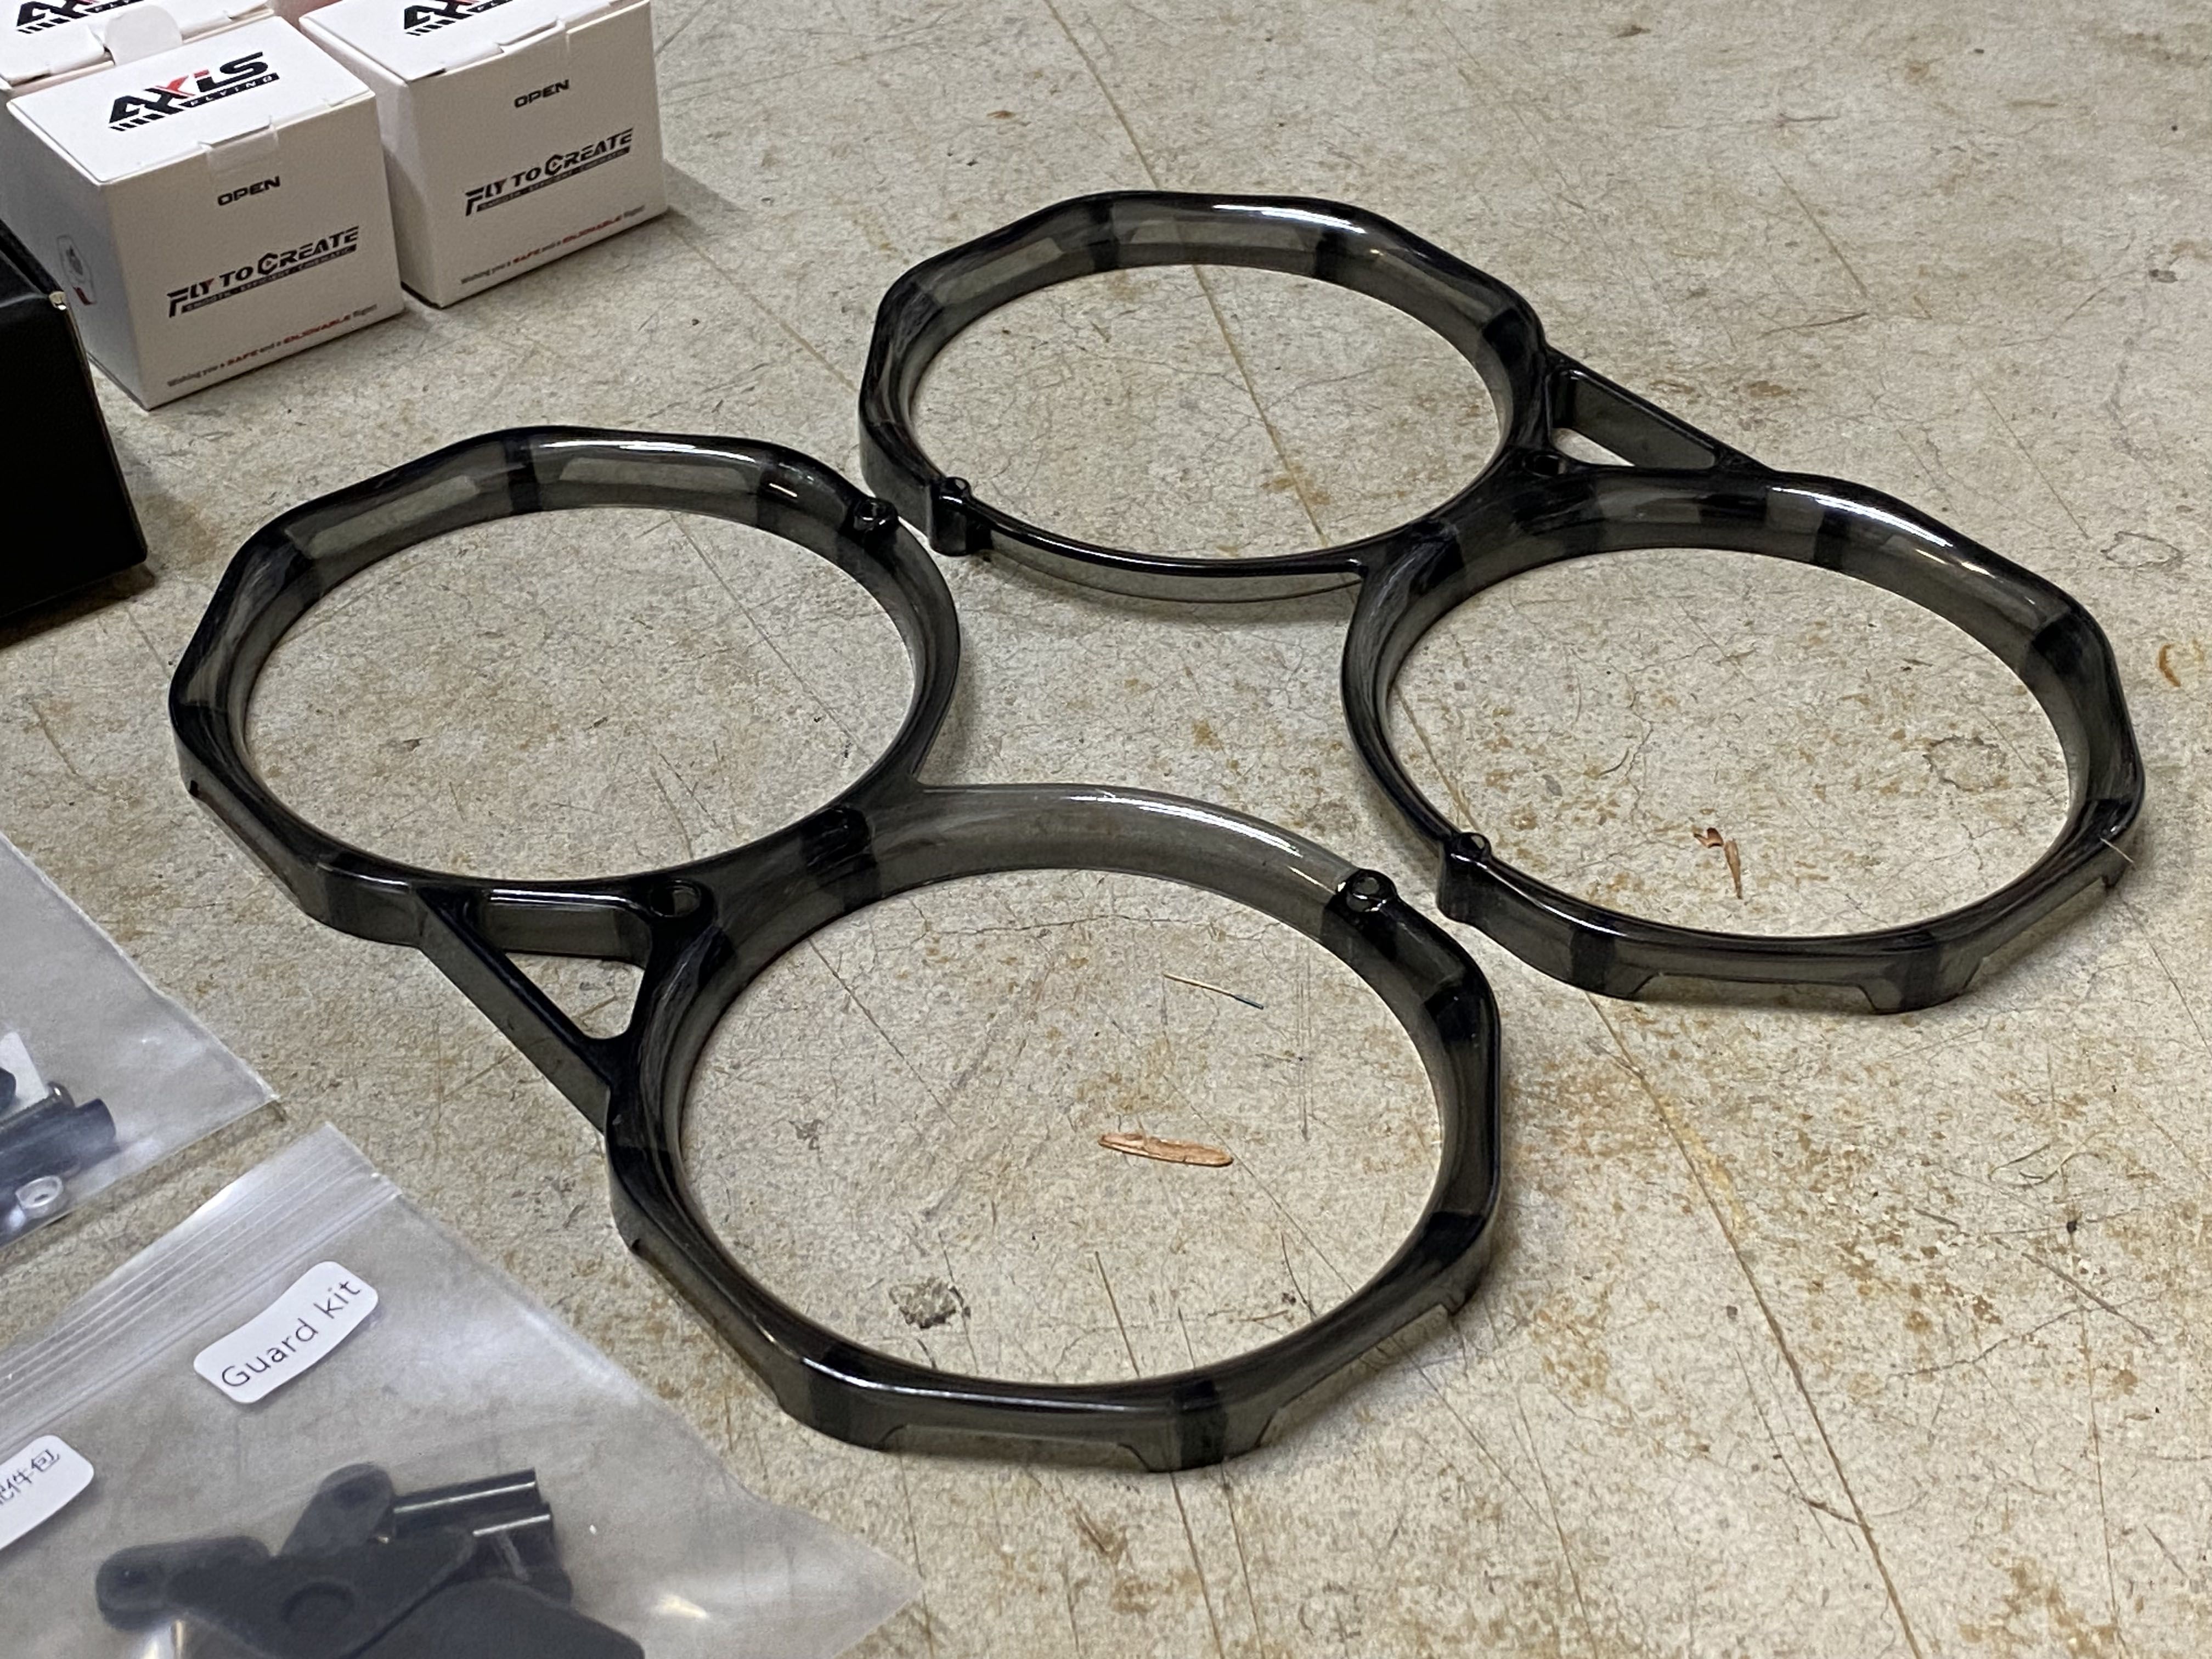
In this picture you will see that it also has a larger footprint because it moved from a 2.9” size prop to 3.5”. It would be expected for the frame to be slightly larger.
High Wind Test
I like testing all my quads in a high wind situation because I make sure when I take this quad with me on vacation, it needs to be able to fly in all conditions. I do not want to be stuck in a situation where I could not fly, because you never know how the weather is going to be like. As you can see in the videos below this quad can handle windy conditions, but it might be pushed around a little. With or without wind, this will be mainly used cinematic footage because the freestyle moves are a bit more challenging to pull off.
Indoor Flight
Someone asked me a great question about the DJI Avata and how it compares to the stock form when flying indoors. To be honest, I never tried flying it indoors so I can not tell you how the two compares. The only thing I could do now is try flying the converted Avata and see how it performs. I did not expect much because typically when you fly a 3.5” cinewhoop like a Cinelog 35 it is a bit more challenging. With the DJI Vision active and in Normal mode, the quad is very stable and easy to fly, but it limits how low to the ground I can fly. Sometimes when you get too close to things you will lose the Vision assistant and that is where the trouble starts. I rather have it off all the time, so the flight is more consistent and having Vision disabled mid-flight. I am not really what is causing the Vision system to turn off and on but it is definitely a very nice tool to have. If you plan to do property shots, pair the vision system with horizon lock and this might be the ideal drone.
Prop Guards in View?
Yes and No, it all depends on the camera angle. With the camera angle set to 0-3 degrees you will get prop in view with the HD footage. At 4 degrees the props are not in view but if you do a hard turn the props might peak out. So, if you fly nice and slow, 4 degree might be the lowest camera angle to not get any of the props in the HD footage.
Videos
Wind Test 18/41MPH - DJI HD w/ HorizonSteady - So if you see some strange turns its because HorizonSteady. Watch the DVR video for unstablized video.
Same video as above but DVR Recording with OSD info
Indoor Test Flight
Photos


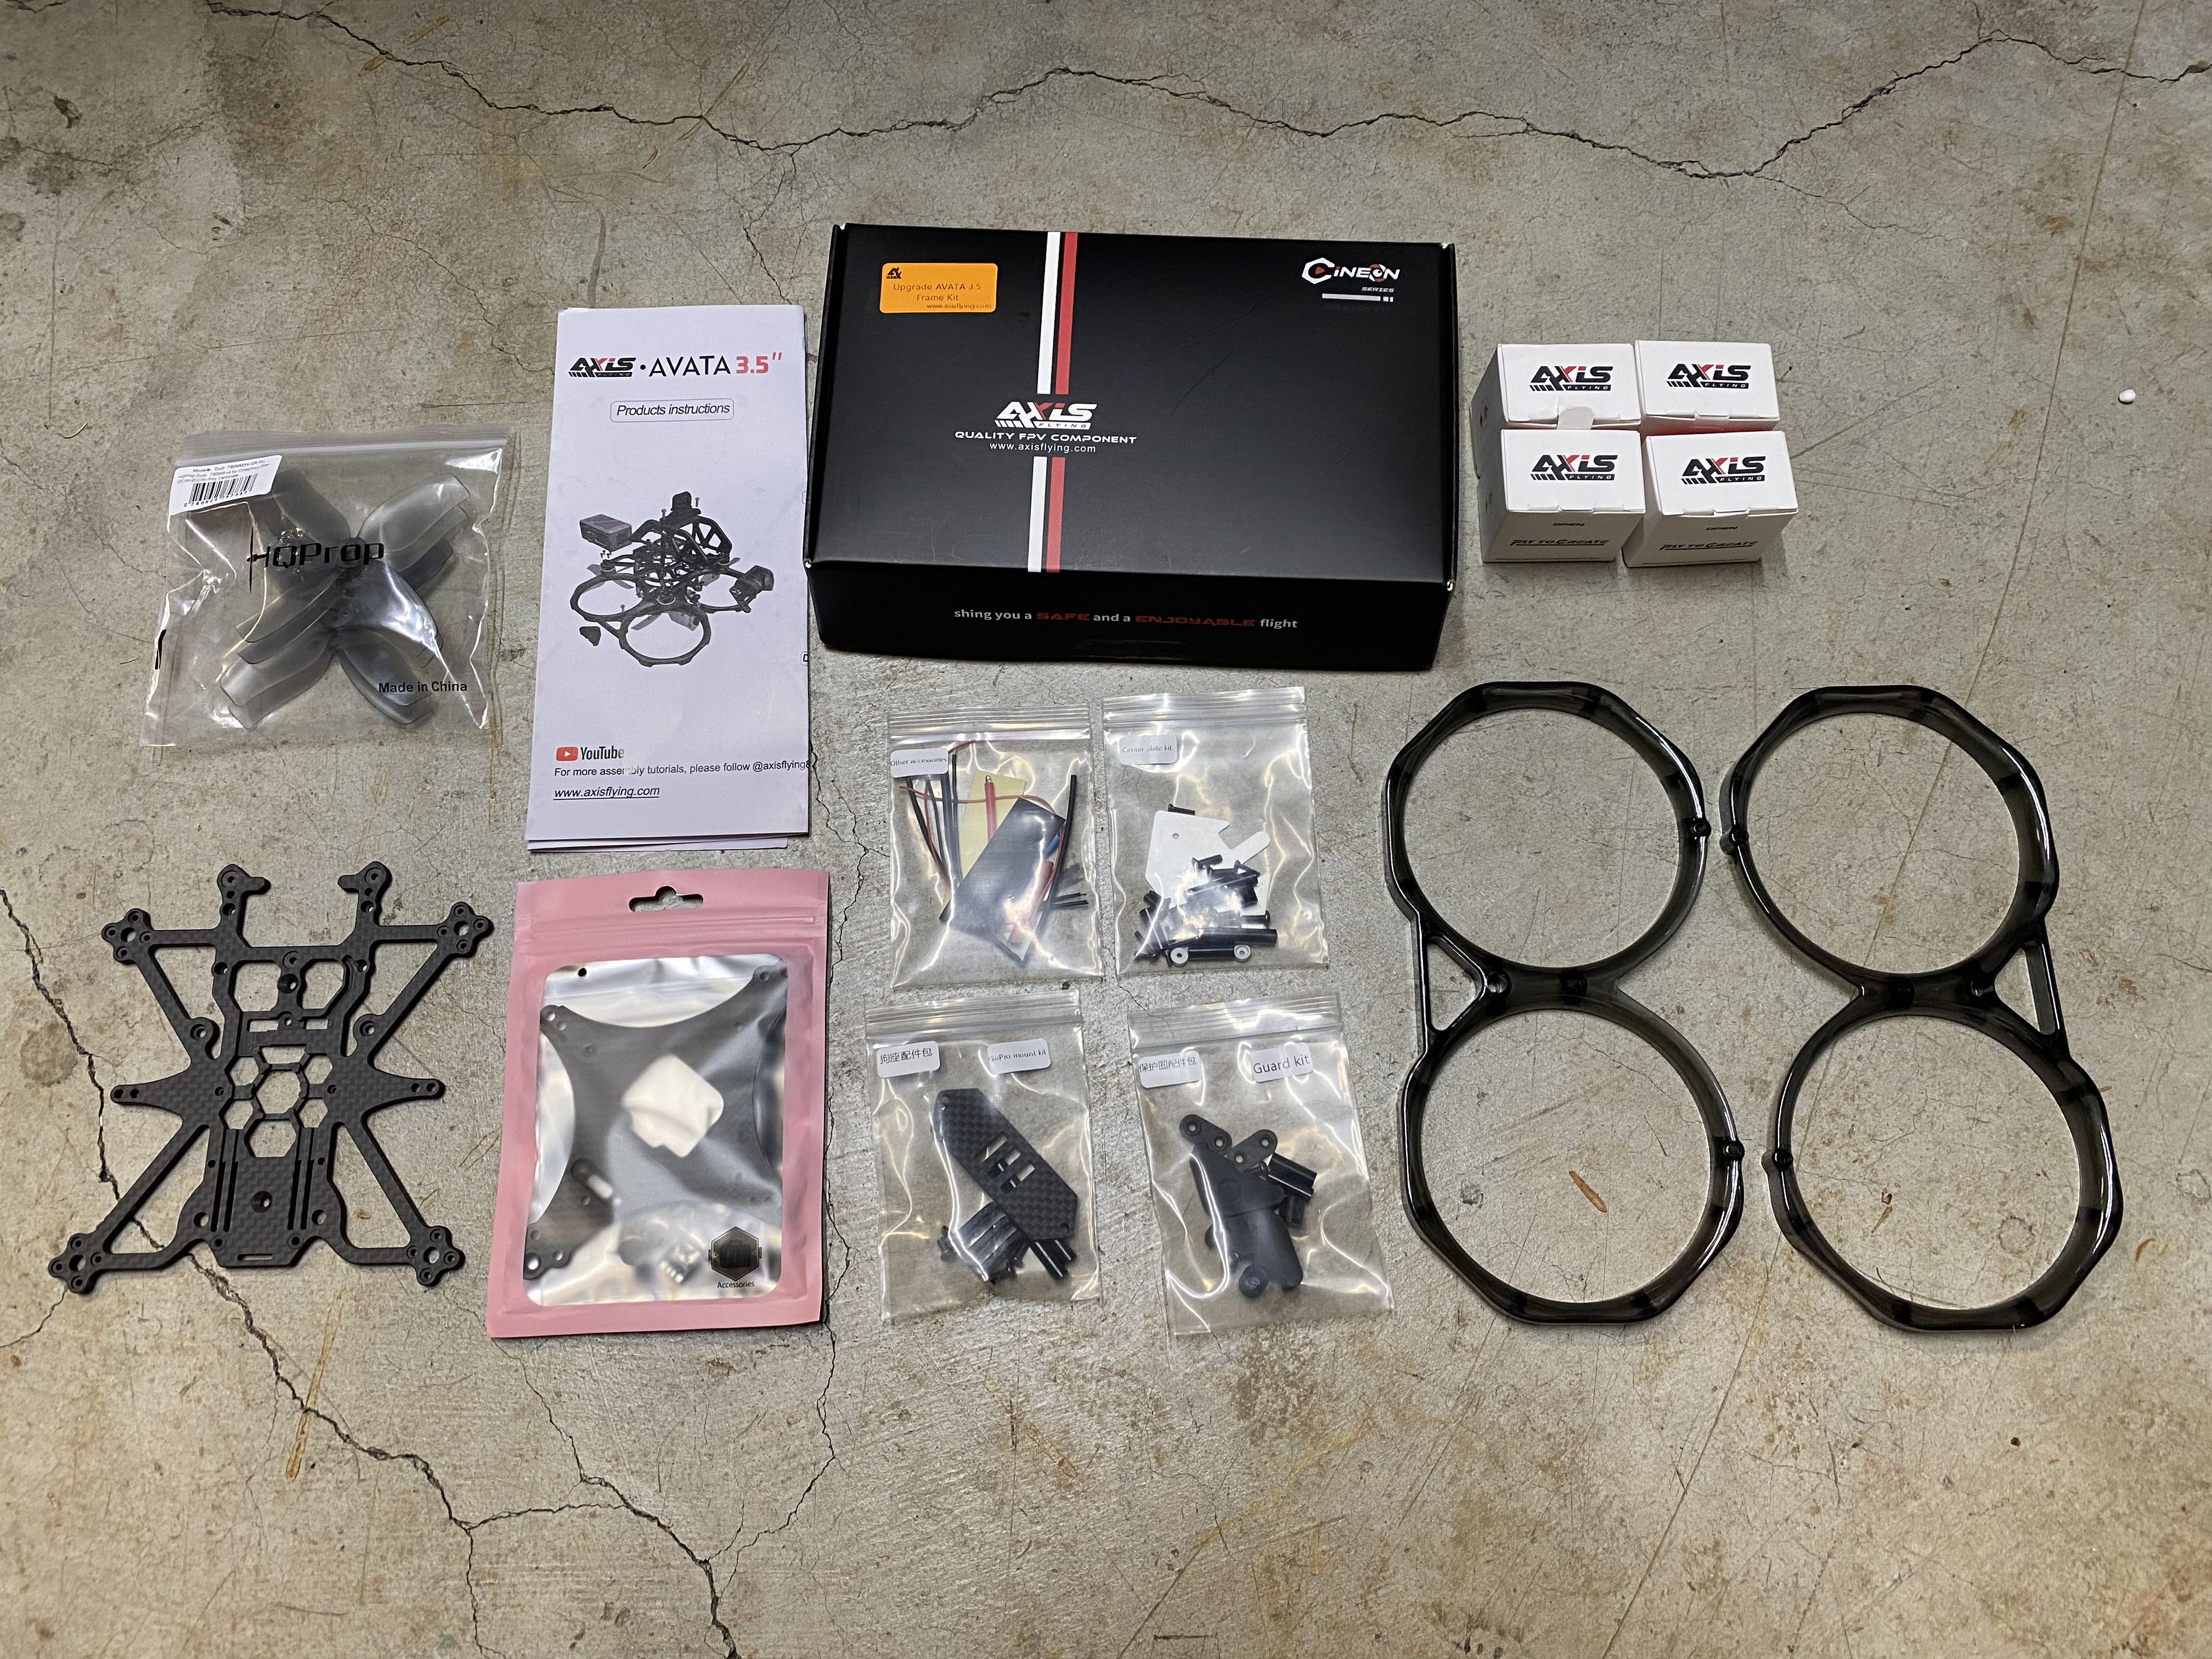
Part List
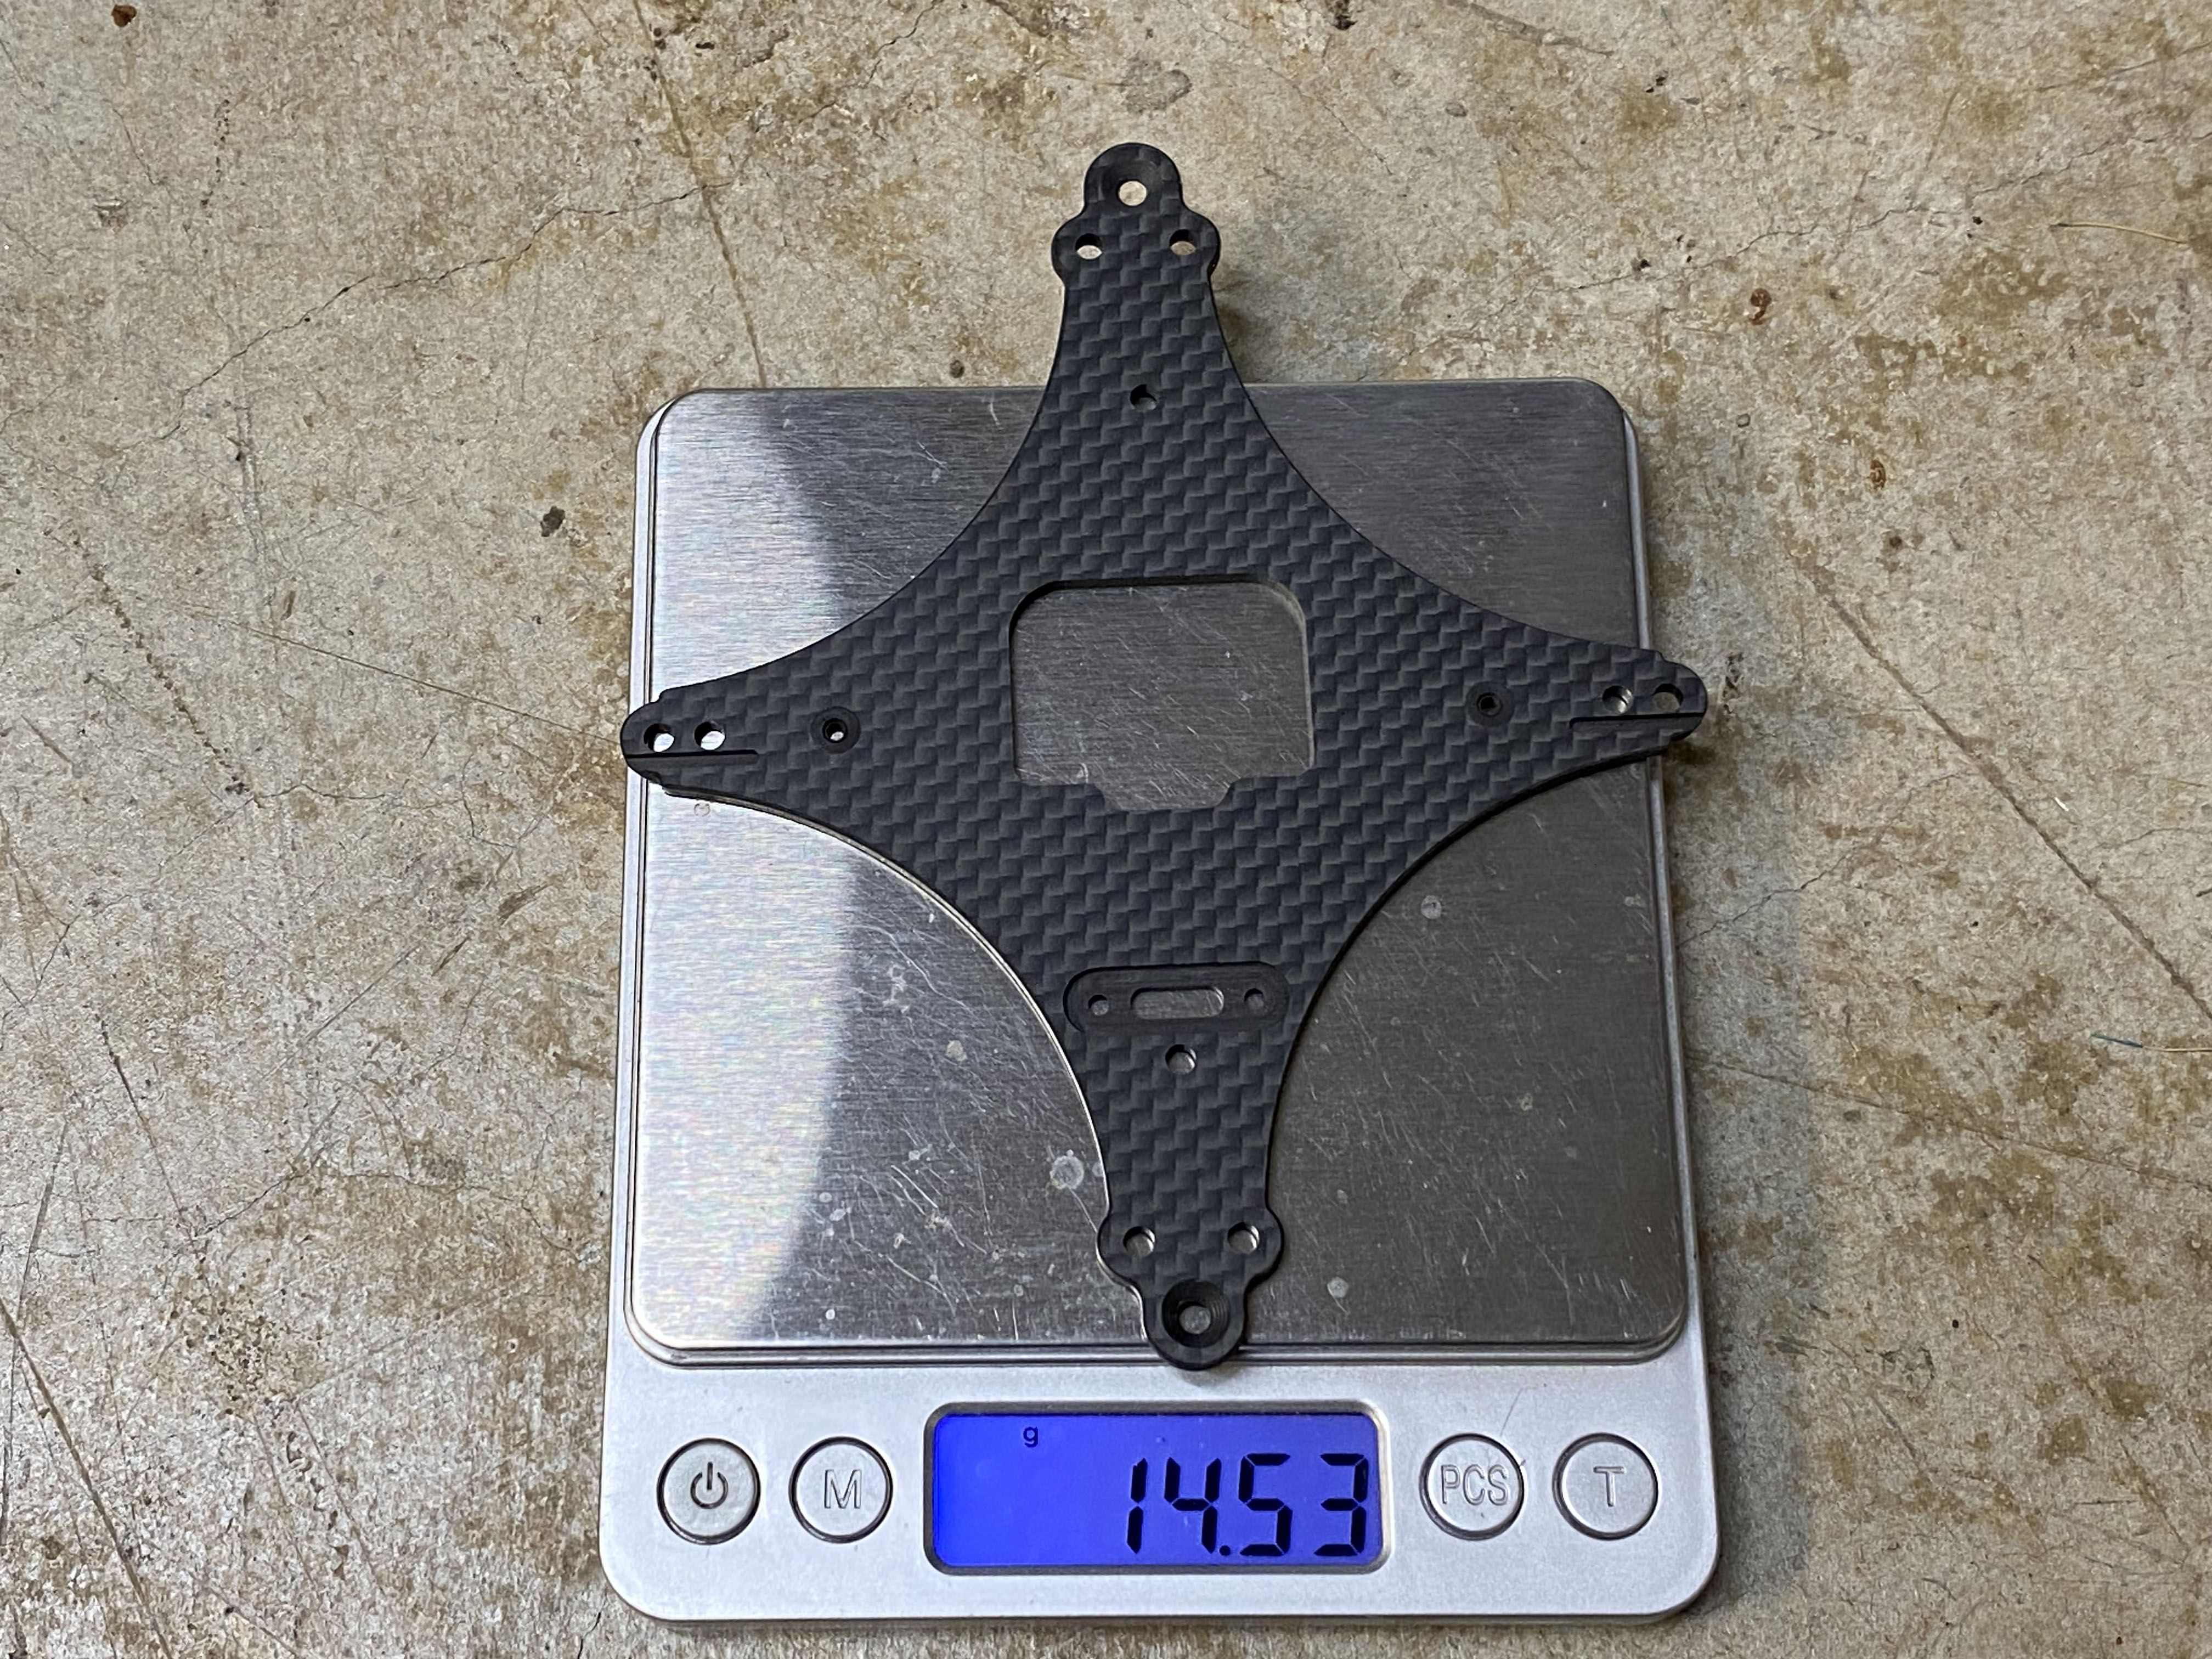
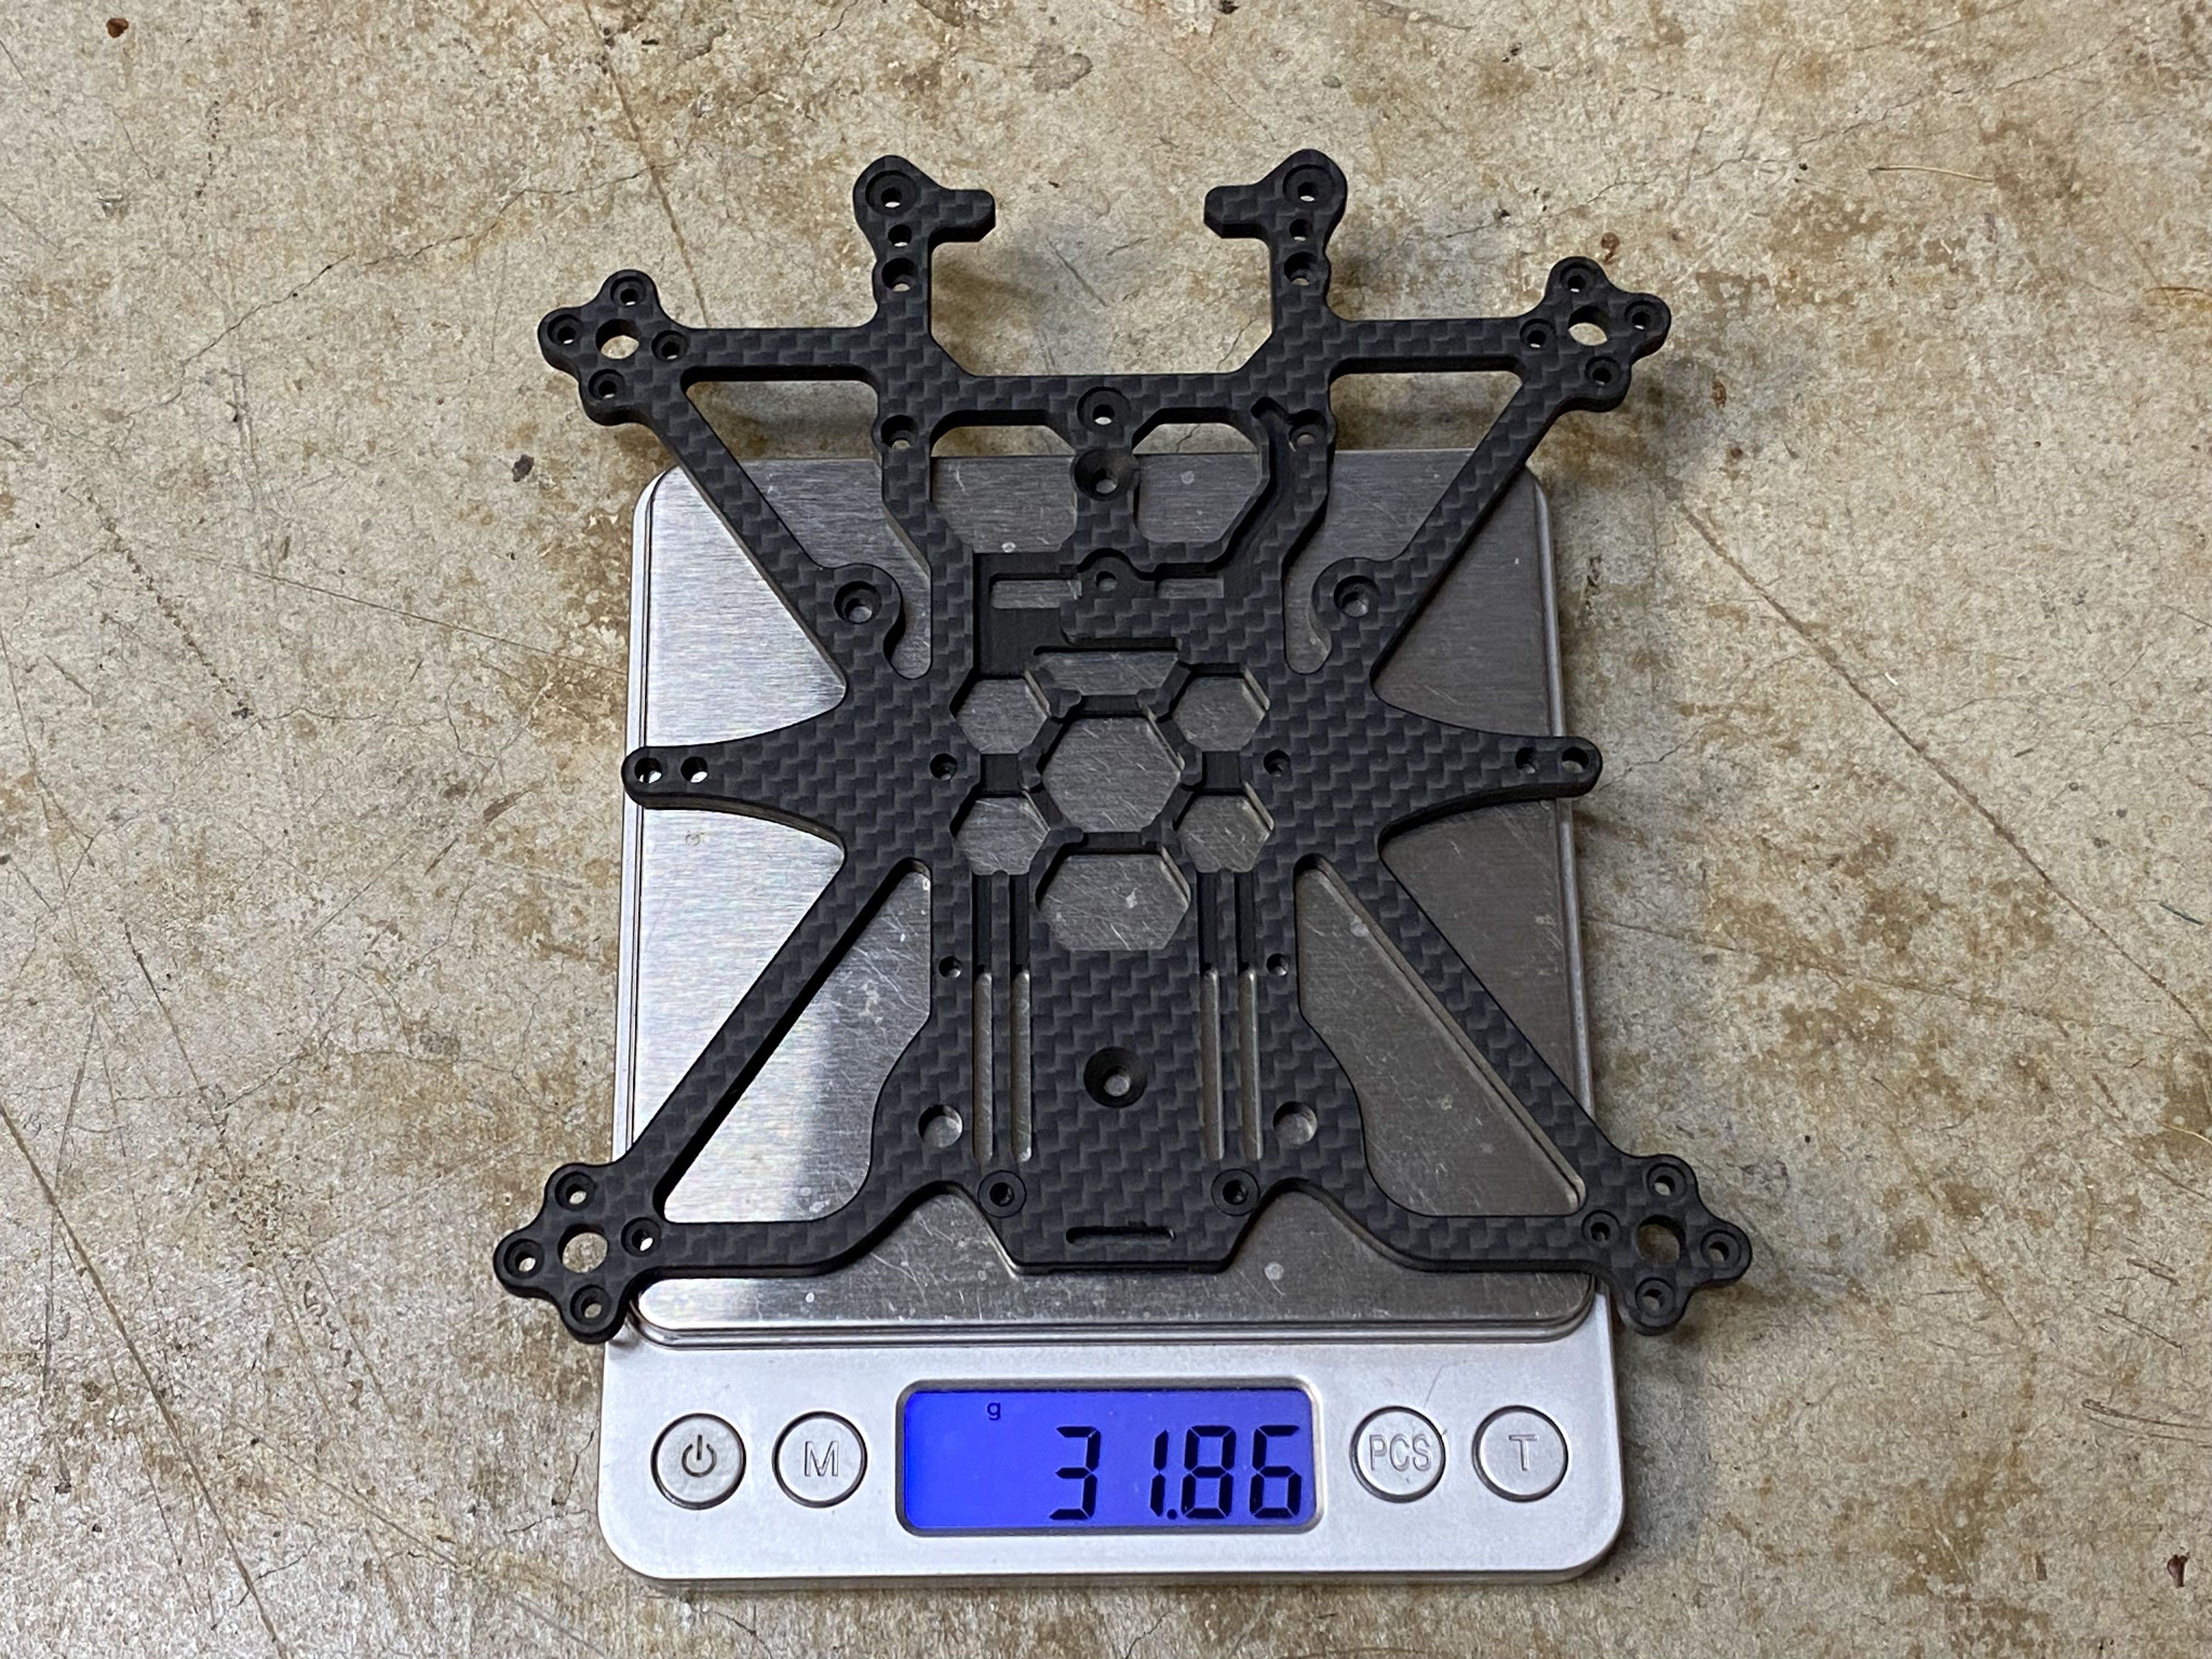
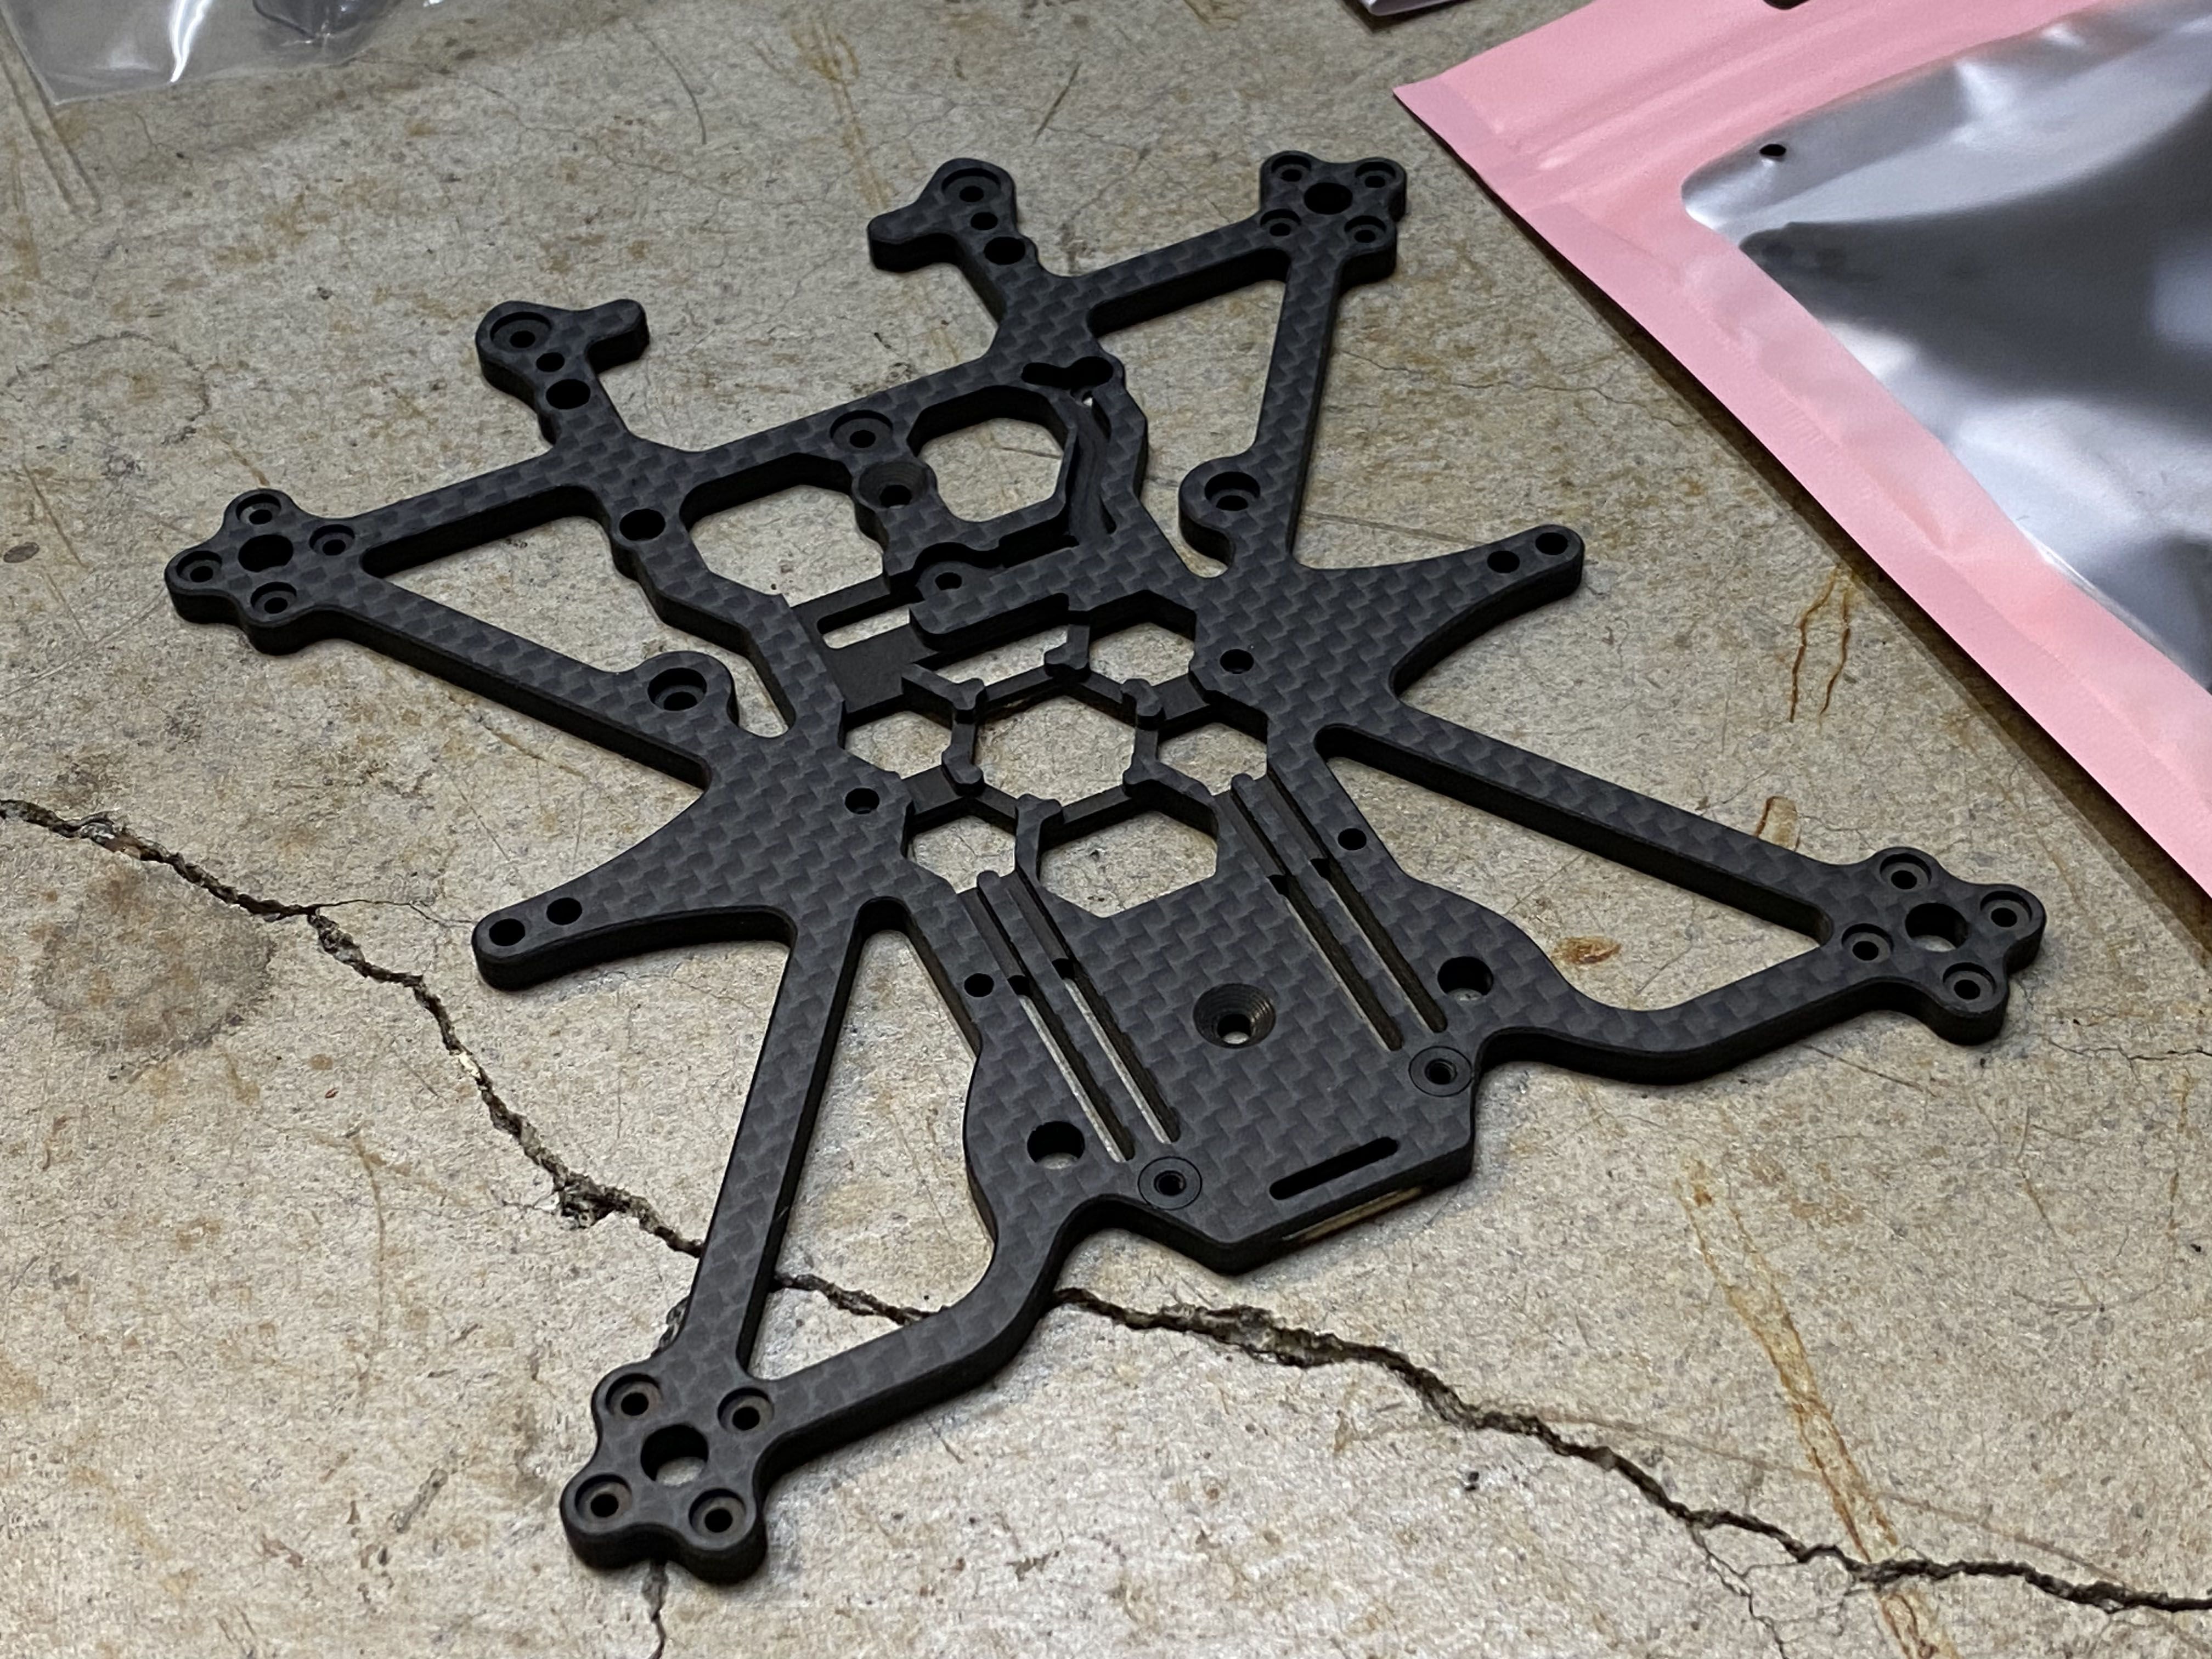
Frame |
Axisflying AVATA 3.5 Upgrade Frame Kit
Helidirect.com
|
$59.90 |
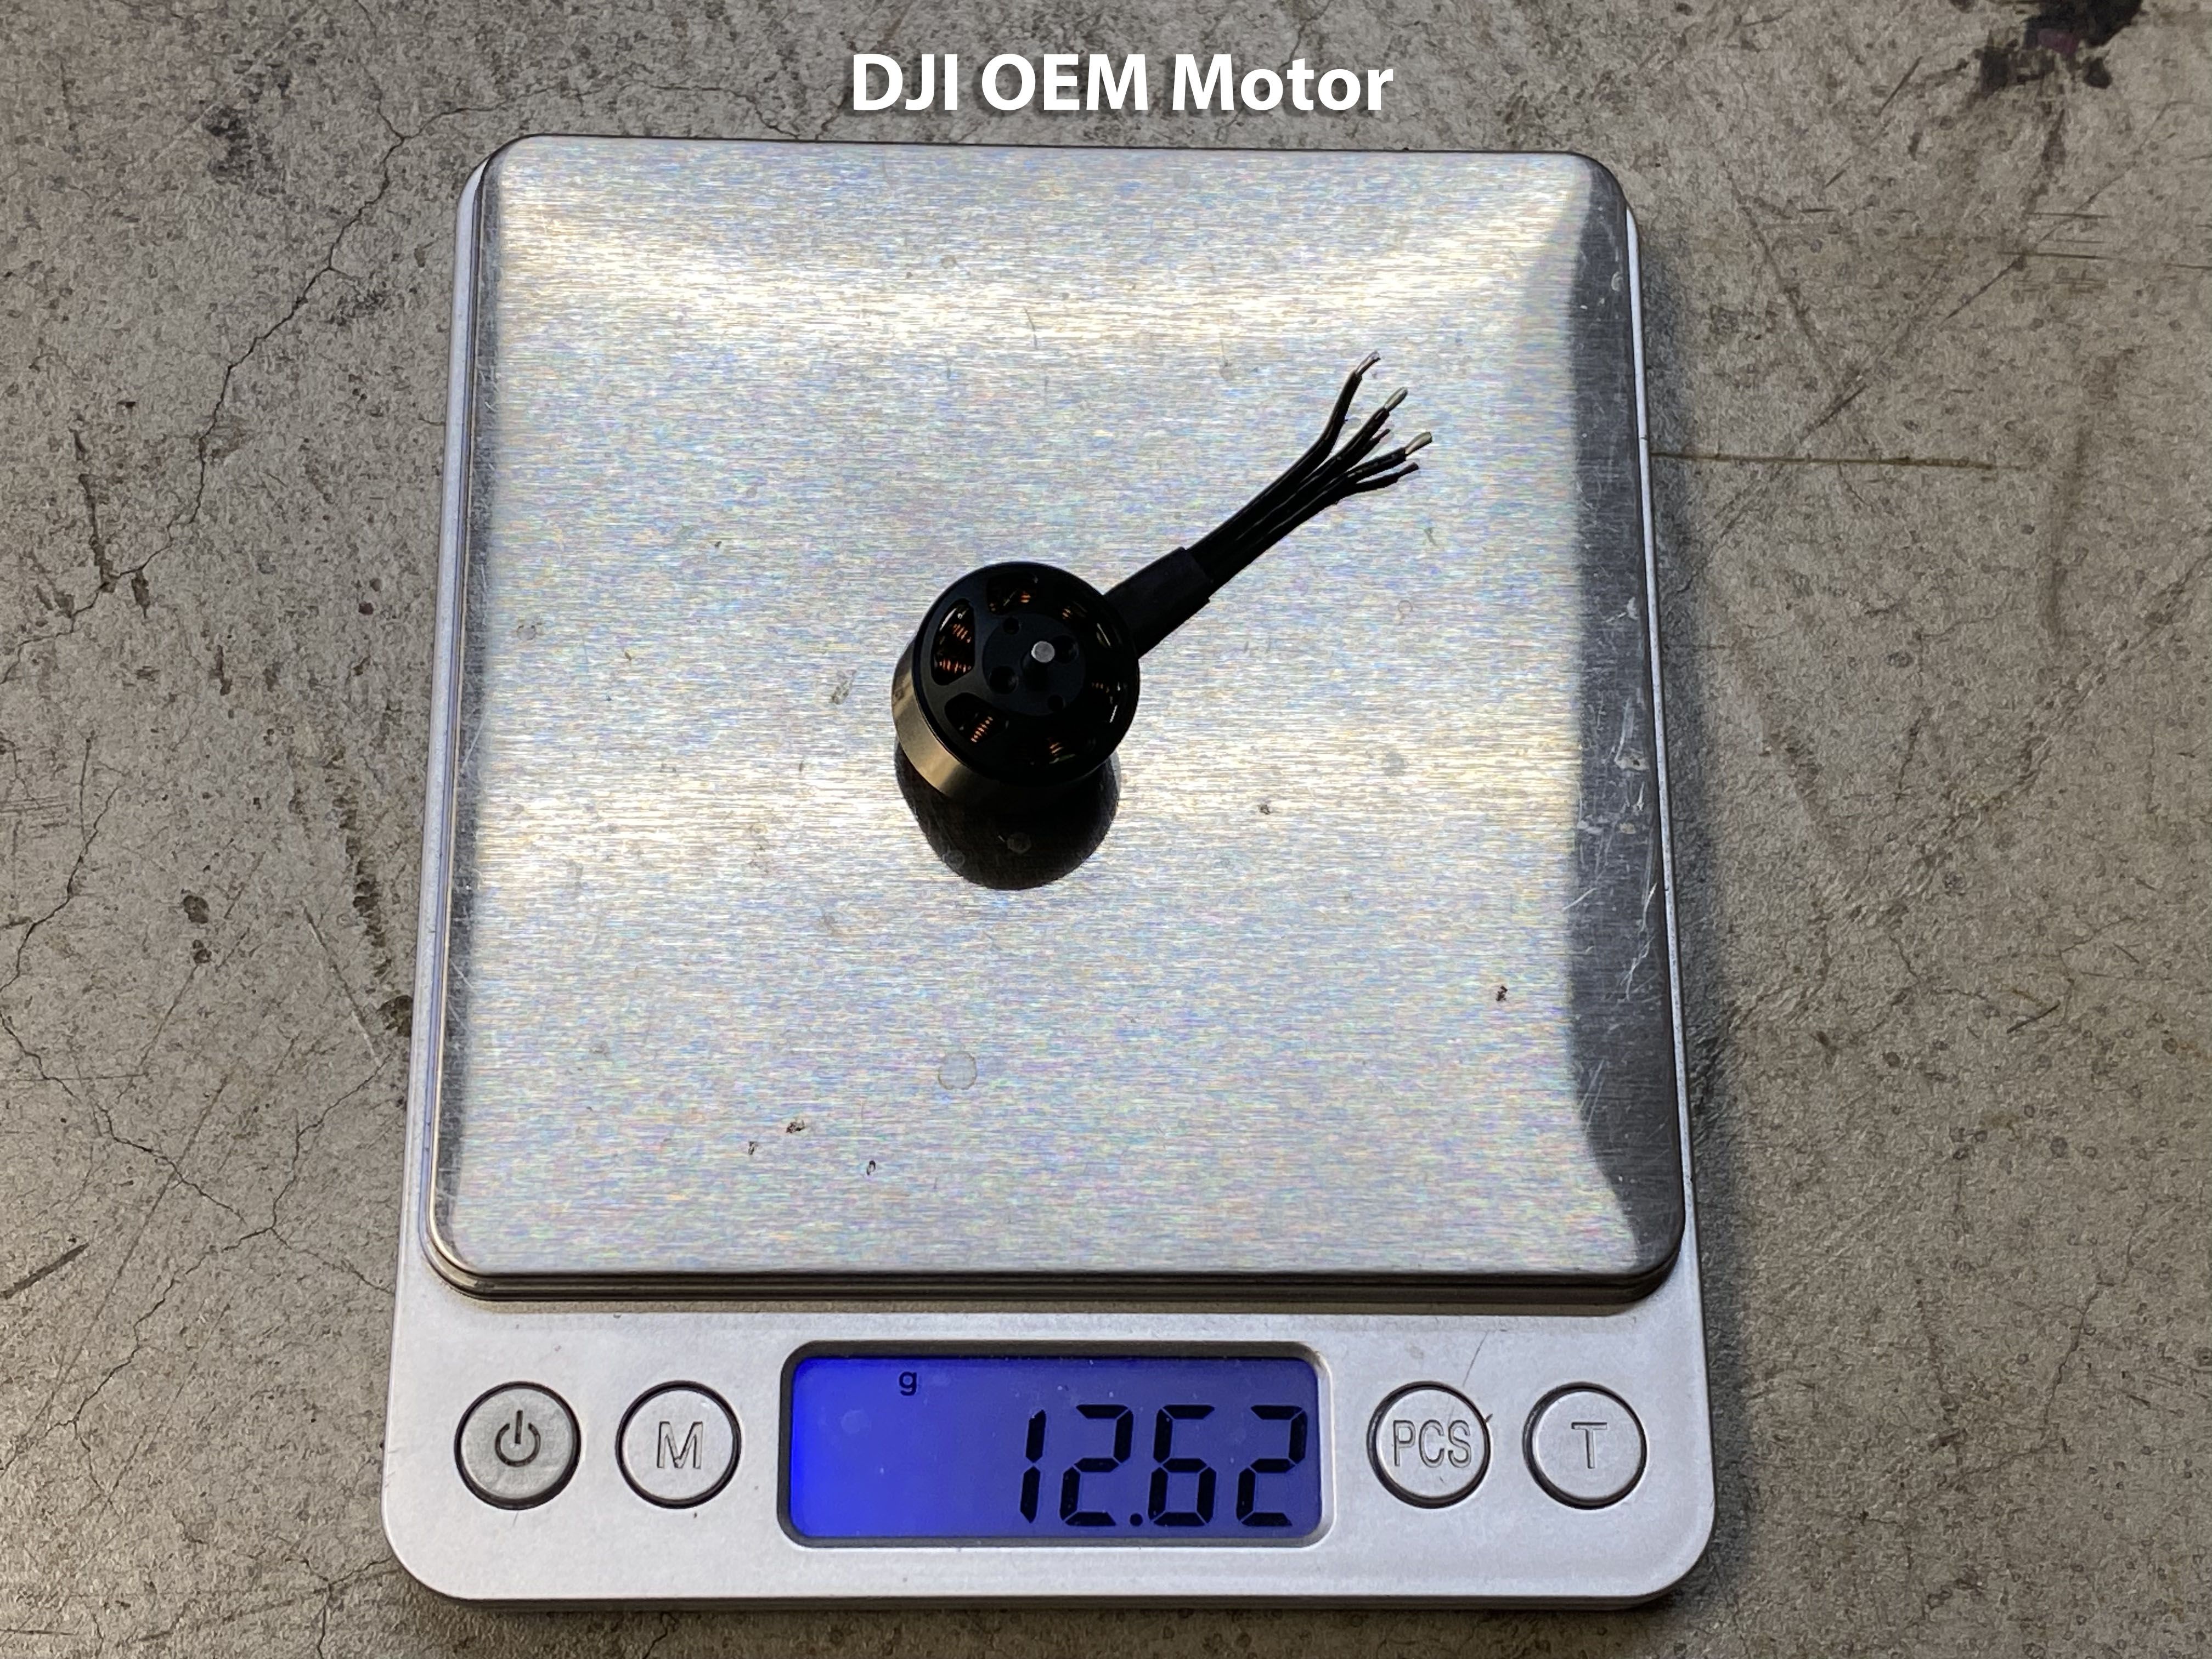
Motors |
4 x Axisflying FPV Brushless Motor C157-2 For AVATA 3.5" Frame Kit
Helidirect.com
|
$79.60 |
Propellers |
HQ Prop DT90MM*4 For AVATA 3.5 Upgrade Frame Kit (4pcs)
Helidirect.com
|
$2.24 |
Hardware |
DJI Avata
Racedayquads.com
|
$628.99 |

Hi! How does it affect flight time as you gained some efficiency due to larger props but gained a lot weight?
Without a doubt you will get less efficiency due to weight increase, but the main point for this upgrade is the flight improvements and lower noise. If you plan to fly this quad like a DJI Mavic then this upgrade may not benefit you much. But if you want to fly it faster, you will see a noticeable increase in performance but with the cost of lower flight times. You are still able to get 12 minutes flight times when doing slow cruising and land before it hits 20%.
Guides & Reviews

AirbladeUAV has done it again and this time they've brought long range to the 5" class! Based on the popular Transformer Mini, the new Transformer 5" Ultralight adopts a lot of the same design philosophies with larger props and more payload capacity. It can fly upwards of 20 minutes on a 4 cell Li-Ion battery pack and in ideal conditions it's got a range of over 4 to 5 miles. In this guide I'll walk..
Read more
With the release of the DJI FPV Drone cinematic FPV has become a lot more accessible, but you certainly don't want to crash a $750 drone! The QAV-CINE Freybott is a compact, lightweight cinematic FPV drone that can take a hit and keep going. It's a lot safer to fly indoors and around people. With a naked GoPro or the SMO 4k you can capture some great stabilized footage. In this guide I'll show you..
Read more


Nice work mate!
I built an AOS3.5 with 2203.5 tmotors and I really like how it flies.
Would there be any issue if I do the same with this conversion?
Look up the specs on the 2203.5 tmotors and compare it with the 1507 Axisflying. If the amp draw is similar, it might work. I assume you are using a similar KV motor too?