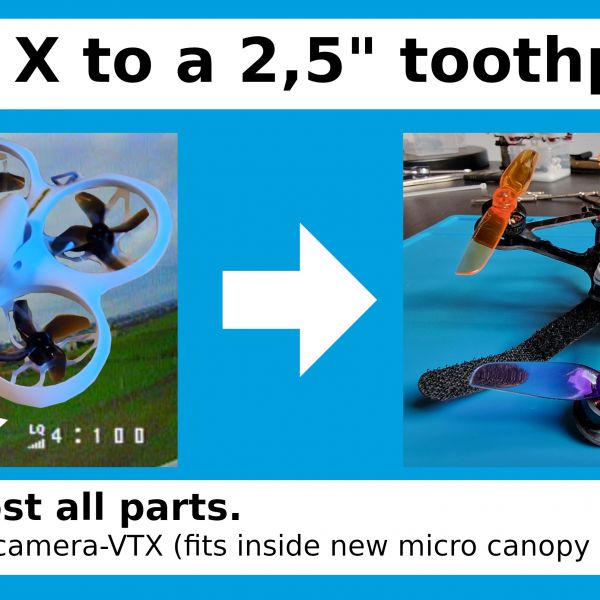
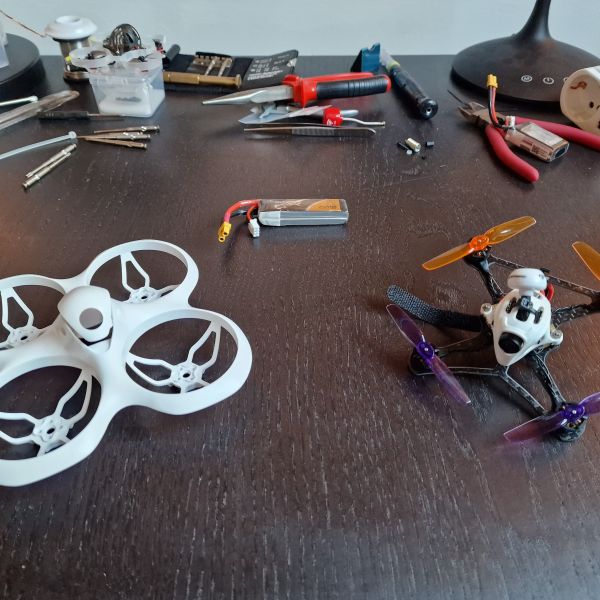
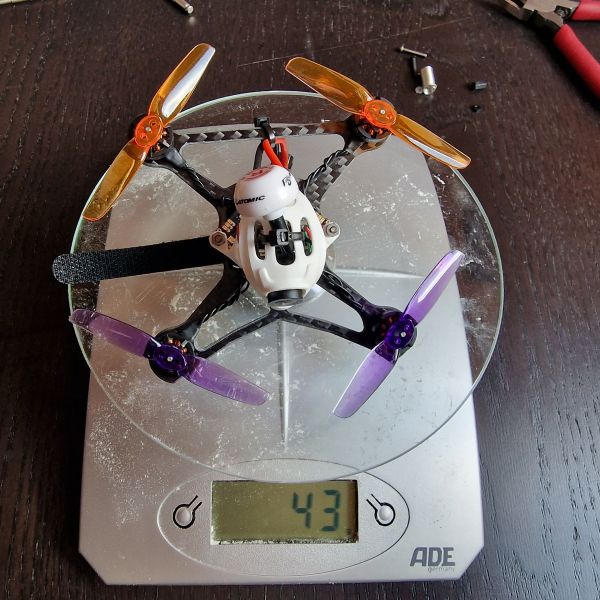
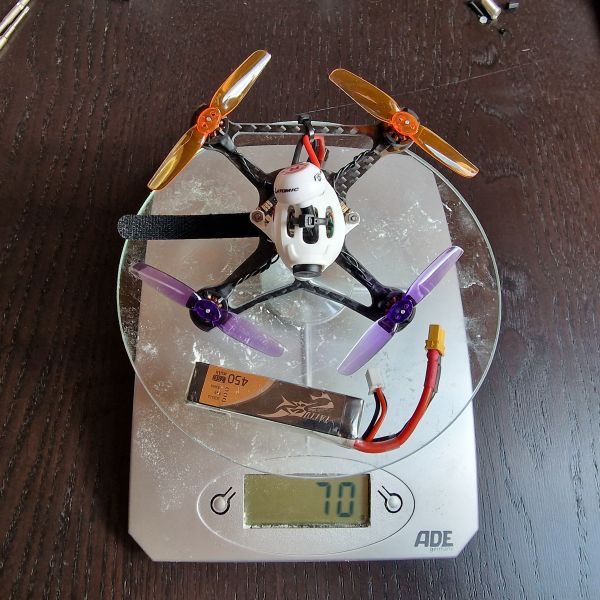
2.5" Twiglet 43g 2S 12A 11kKV ( Converted Cetus X )
 By Sugalime3D FPV on Apr 21, 2023
No guarantee that this build works and is durable and is safe !!!! Tested successfully so far in my living room. But not yet under full power outside. I do not give any guarantee !
THE 2-IN-1 CAM-VTX OF THE CETUS X
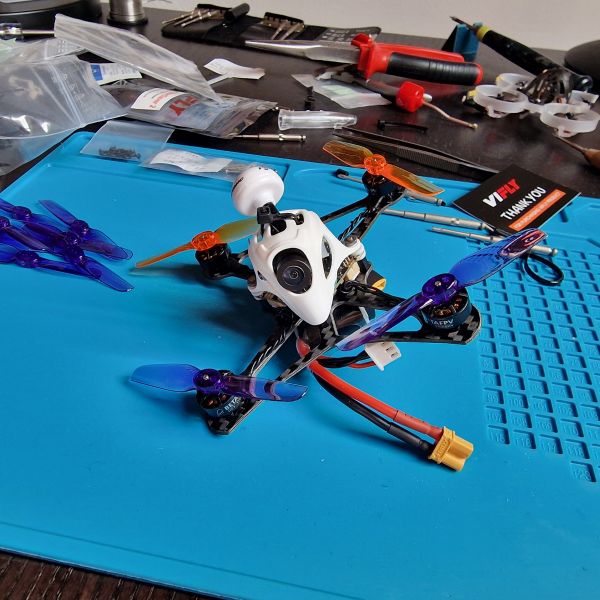
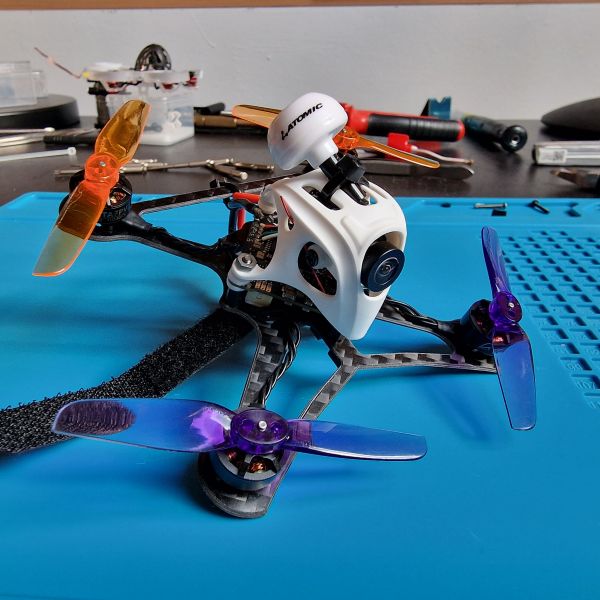
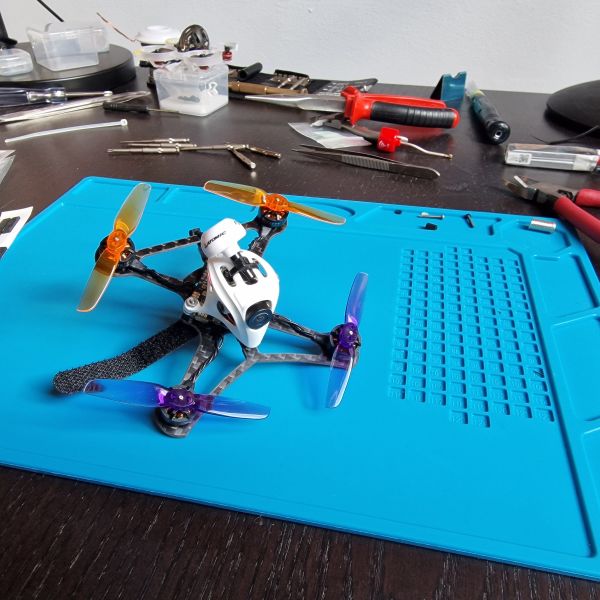
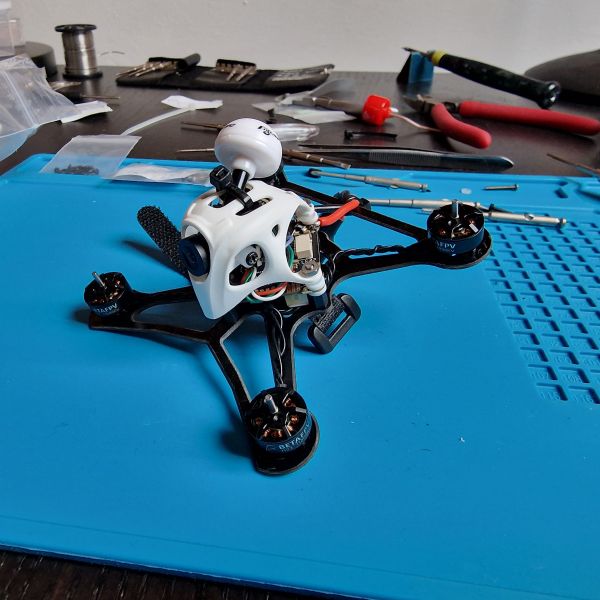
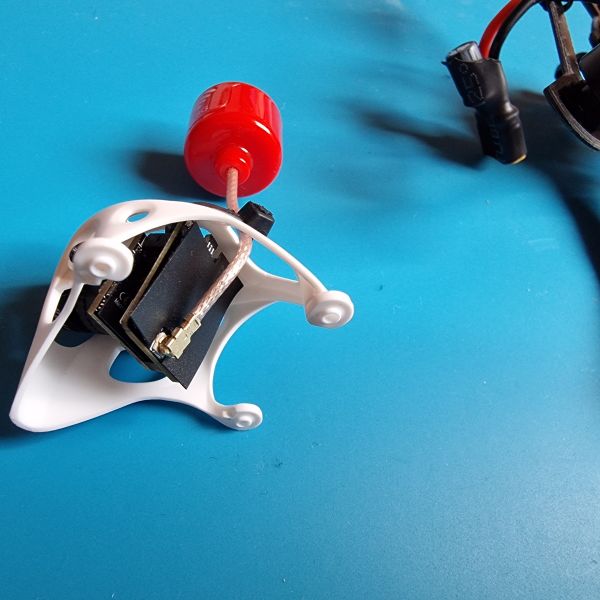
The 2-in-1 Cam-VTX from the Cetus X is a Runcam Nano 4 with a BETAFPV VTX PCB (printed circuit board) soldered directly on the cam, using PCB connector pins. This makes this 2-in-1 Cam-VTX ultra compact. Nevertheless, it does not fit e.g. in a Crux3 canopy. This new BETAFPV Micro Canopy Lite is the first canopy I own where this 2-in-1 fits (with certain caveats) and has a 26x26 holes for mounting the canopy on a micro frame....
NO SOLDERING !
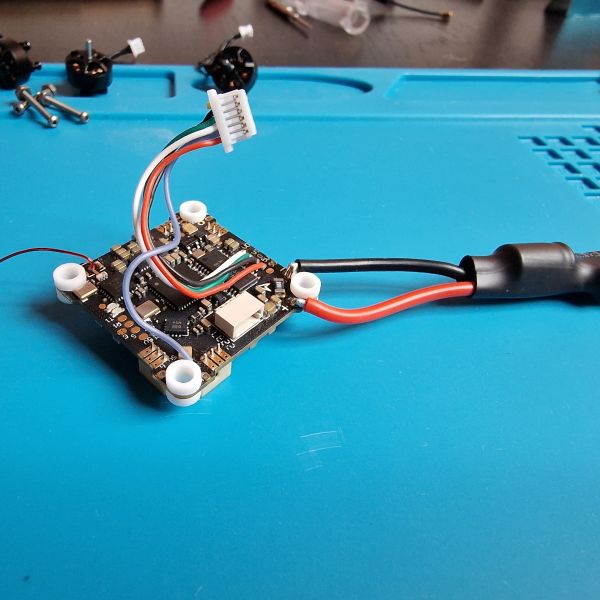
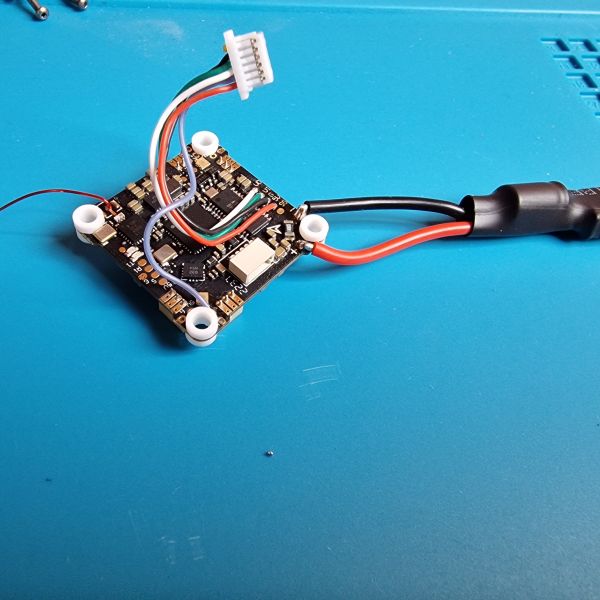
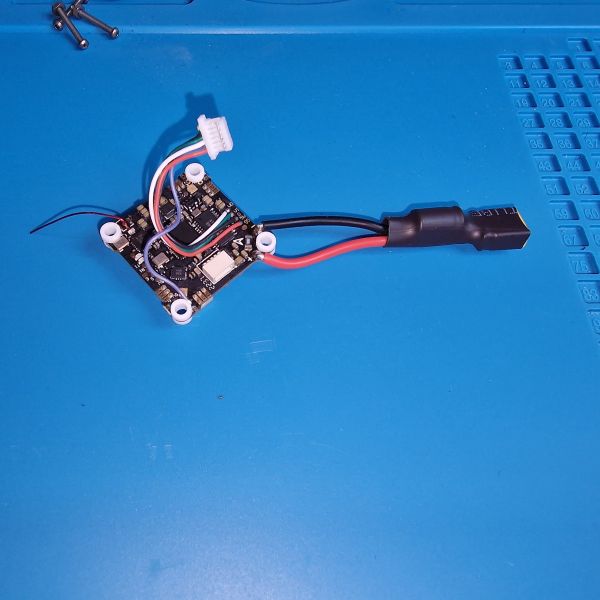
You can still use your 1S batteries with the 2x BT2.0 series connector. You don't even have to solder for this conversion unless you want to change it to a XT30 power connector like me. With a XT30 you can still use the 1S batteries by unsoldering the BT2.0 series pigtail connector and soldering it to an XT30 connector, making it an adapter (BT2.0 to XT30). In my video Charge 61-68 I show what this adapter looks like and where the limits are.
PARTS YOU NEED,
in addition to the Cetus X (parts) to build the toothpick in this video:
- BETAFPV Micro Canopy Lite (2023)
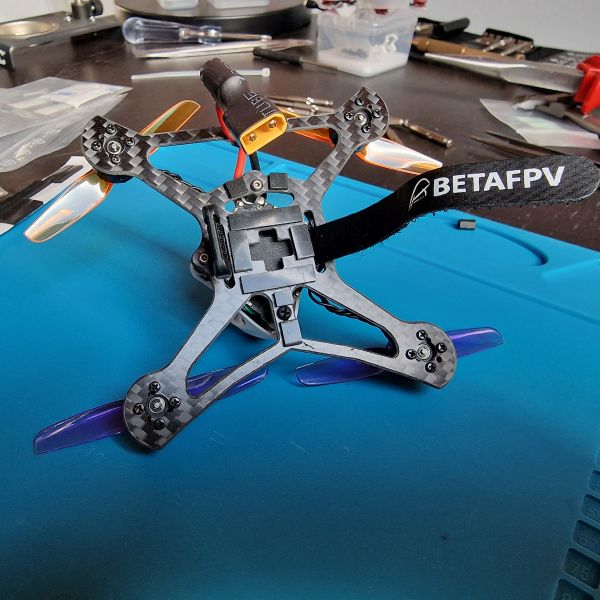
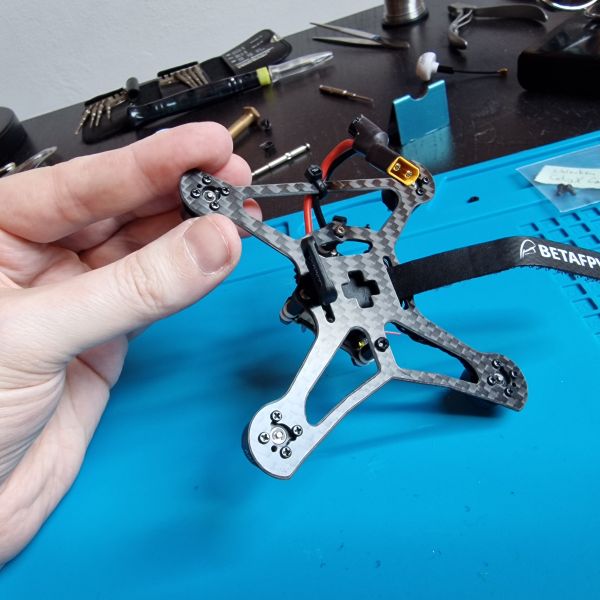
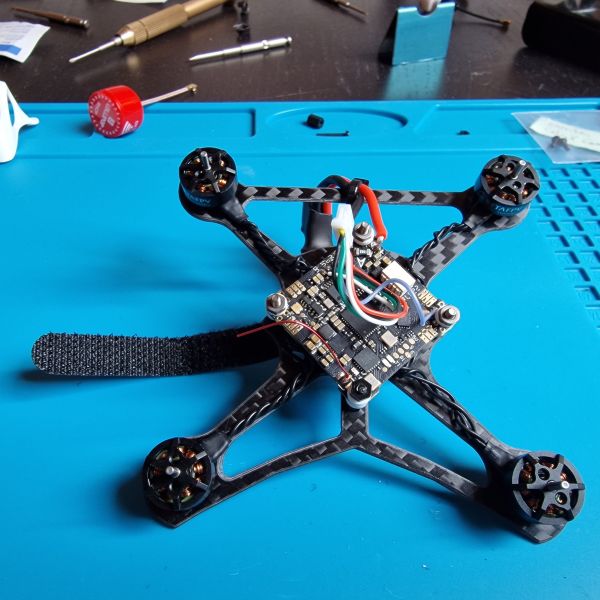
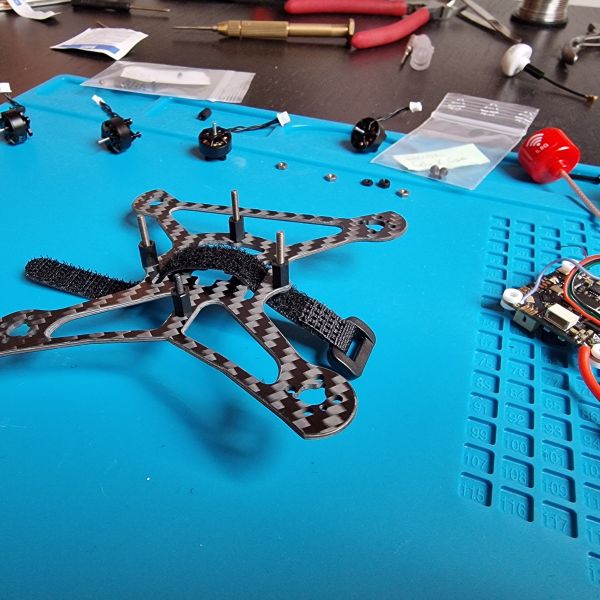
- BETAFPV Twiglet 2.5" carbon fiber frame
- 2.5" props 2-3 bladed ( I use in this video HQProp T65MMLU-PC-Tmount, HQ Durable Prop T65MM, but the canopy is very close to the front props, i need to test under full throttle if the props are elastic to the sides and touch the canopy under full throttle... Because alternativly there are also 63 mm props on the market... )
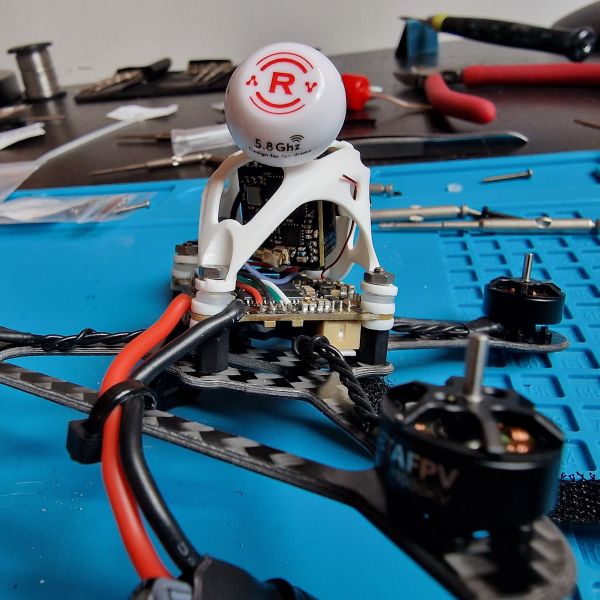
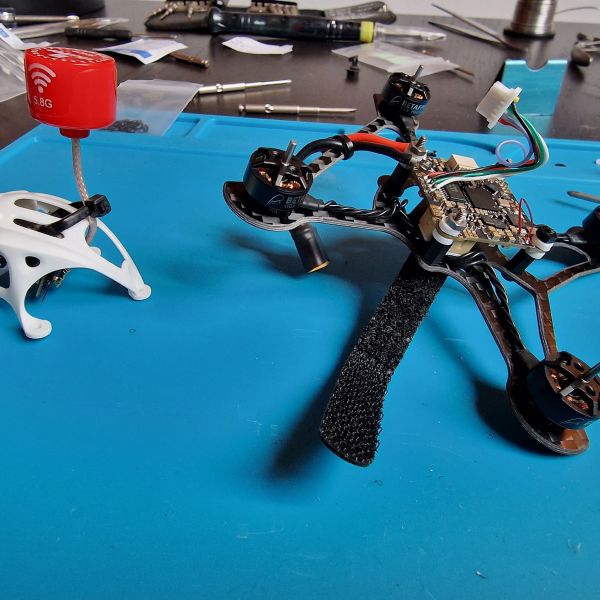
- Flywoo 10mm tube ATOM 5,8 GHz UFL antenna or Lollipop 3 UFL Antenna with 60 mm cable (or shorter cable if you can get it), or you can use the original Cetux X linear antenna, works too, especially if you also have a linear antenna on your googles.
- 3x M2 nylon 6-8 mm double-female (through) thread spacers.
- 1x M2 nylon 6-8 mm double-female (through) non-thread spacer (For the rear, because you can only tighten the nut for the canopy with the screw...)
- 3x M2 titanium 16 mm screws.
- 3x M2 titanium) nuts.
- 1x M2 nylon 16 mm screw (Front screw is only for the FC holding).
- 1x M2 nylon nut (Front screw only FC...).
- 4x M2 nylon spacers, to raise the caopy a bit.
- 6x M2 nylon spacers, to use the Cetus X camera screws, alternatively 2 shorter titanium screws.
- If you don't wanna continue to use the BT2.0 series pigtail, XT30 connector cable with integrated capacitor.
- Strap for the battery holding. For example from the BETAFPV Lipo Battery Strap Kit
- Small pads for the frame for the battery
MY COMMENTS ON THE BUILD :
Antenna:
Another way I've seen to attach the antenna would be to glue the antenna to the largest hole on the back. So that the cylinder sits like a hat on the canopy. All you need is the right strong glue. You might have to consider that it gets relatively hot directly behind the VTX and that no glue lasts that long... The ultimate solution is of course a custom design 3D print canopy... where the antenna fits perfectly...
The Lollipop3 isn't bad per se. It just wobbles slightly and the aerodynamics could also be affected by the size. That's why I prefer to use the little "ATOMIC MUSHROOM".
Canopy holes:
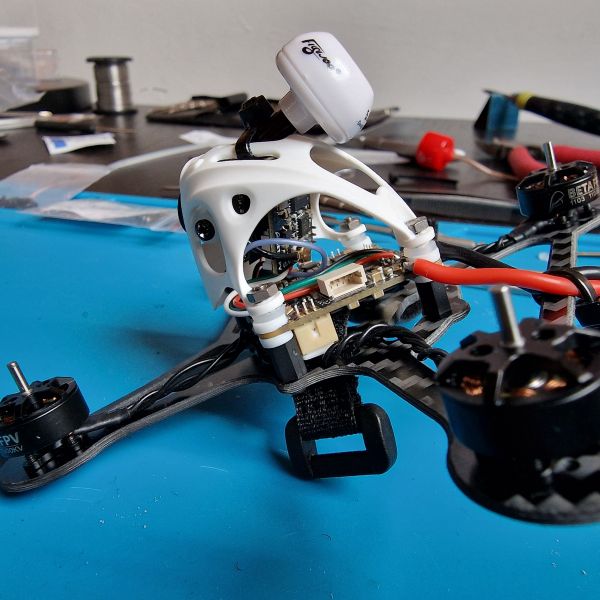
I had to make the canopy holes bigger to allow the screws to go through. I could have made the holes a little flatter with a file, you can see on the photos that the lid doesn't fit so well together because the thin plastic is uneven... Alternativly When you use non-thread spacers you can screw the screws though the canopy, it is maybe in general the better solution...
Spacers:
It is best not to use threaded spacers for the rear screw. Because you can't turn the nut at the back, you can only tighten the nut itself with a screwdriver over the screw.
Electric isulation between VTX and FC:
As I see it, it is not impossible that the VTX could touch the FC and in the worst case both could be broken because of a short circuit if the canopy is broken by a crash. Therefore, you might want to put some electrical insulation between the VTX and the FC to lower the risk. I am still looking around and thinking which solution to use....
WHY I DO NOT WANT THE CETUS X ANYMORE :
I went back and forth on whether to continue using the Cetus X as a ultra light cine whoop with a Runcam Thumb Pro mounted on it. But I have now decided to give it up and convert to this 2,5" toothpick. Simply for this reason: Although the top of the Cetus X is very aerodynamic, the back is very non-aerodynamic. So that you can only fly it well forwards. Any move where the Cetus X somehow moves towards the underside is a risk of aerodynamic instability and I'm uncomfortable with that... Also, the camera angle can change in a crash, which is annoying...
I've decided to still fly whoops but it will be the Happymodel Mobeetle6 1S and the BETAFPV Meteor75 1S Analog (maybe with a naked runcam thumb). Maybe later also a bigger 2-3S sub250 cinewhoop (as my third whoop).
YOUTUBE VIDEOS (oldest to most recent) :
Cetus X to a Twiglet 2,5" 2S | Build video | New Micro Canopy Lite
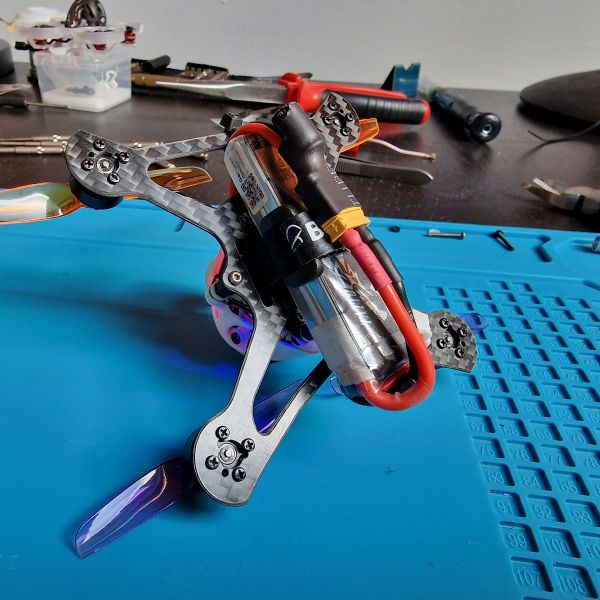
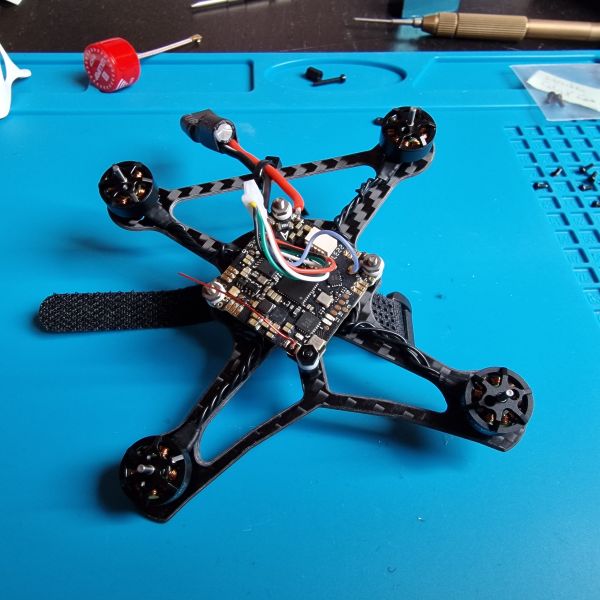
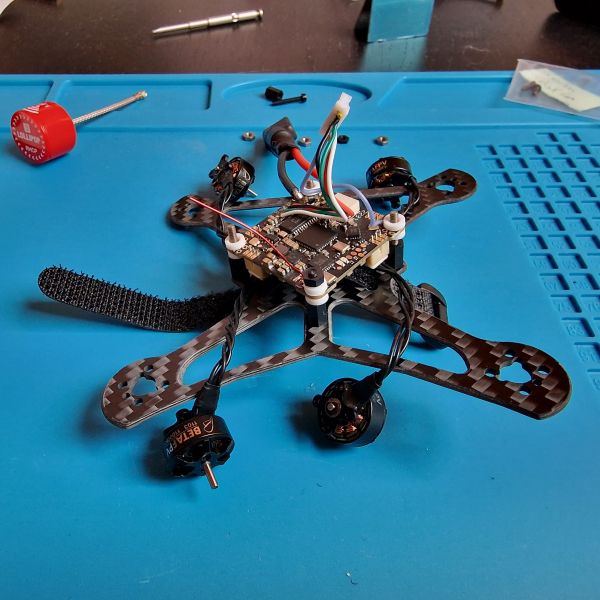
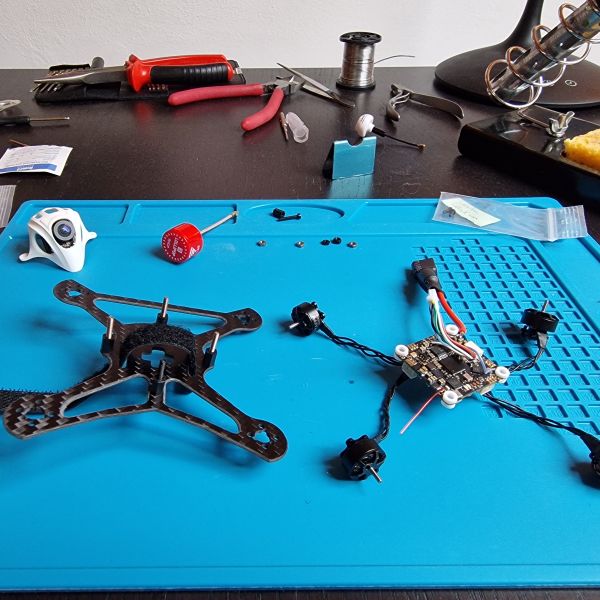
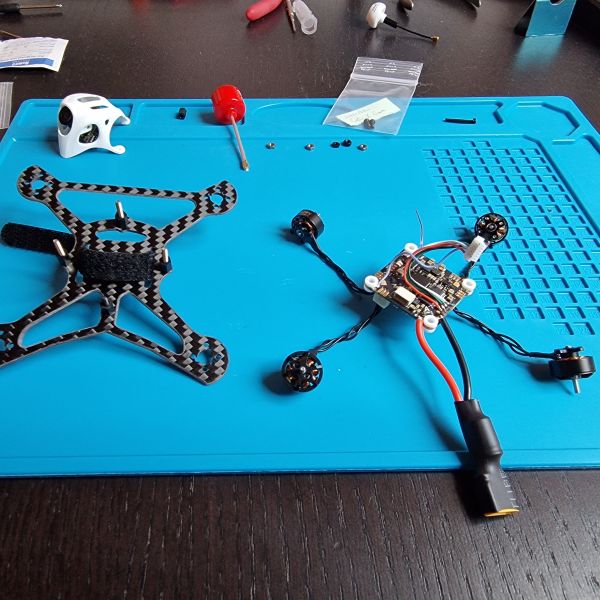
Photos
Part List
Frame |
BETAFPV – cadre de Quadcopter RC Mini/TWIGLET 2 pouces/2.5 pouces, Support de plaque, série 110X, moteur pour Drone de course
(2 builds)
Fr.aliexpress.com
|
$7.18 |
Propellers |
HQ Durable Prop T65MM (5CW+5CCW)-Poly Carbonate
(4 builds)
Hqprop.com
|
$2.99 |
FPV Camera |
RunCam Nano 4 1/3'' 800TVL 155° FOV 0.01Lux
(9 builds)
Pyrodrone.com
|
$19.99 |
Batteries |
Tattu 7.6V 2S 450mAh 95C LiHV Micro Battery (Long Type) - XT30
(7 builds)
Racedayquads.com
|
$8.29 |


New Message for Sugalime3D FPV