Purple MartianII 250 on budget
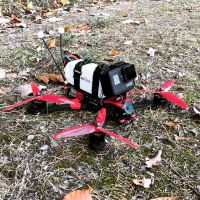 By miromir237 on May 11, 2017
Parts choice
Frame
I wanted something easy to build and I wanted to go with 6" for some reason. So that is why I have choosen 250mm version of MartionII frame. You can buy spares for this frame which is a good thing.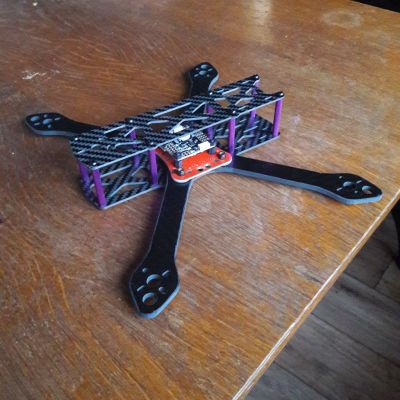
FC
I wanted to use LUX FC but because it was not on stock I went with Omnibus F3 which was discounted at that time.
ESC
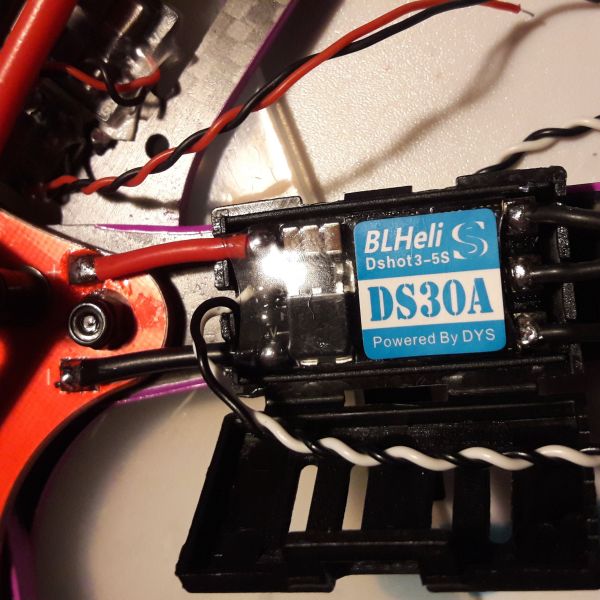
DYS DS30A ESCs are bit overshot (20amp) would be Ok as well but since they were so cheap I did not hesitated.
Motors
I wanted to keep the purple styling so I had to go with Purple edition of Racerstar BR2205-2300kv.
FPV Camera
I wanted a camera that accepts wide range of voltage. This Foxeer HS1190 does that but also does not fit the frame provided camera mount. Fortunately Foxeer provides it's own mounts and I can use them.
Frame preparion
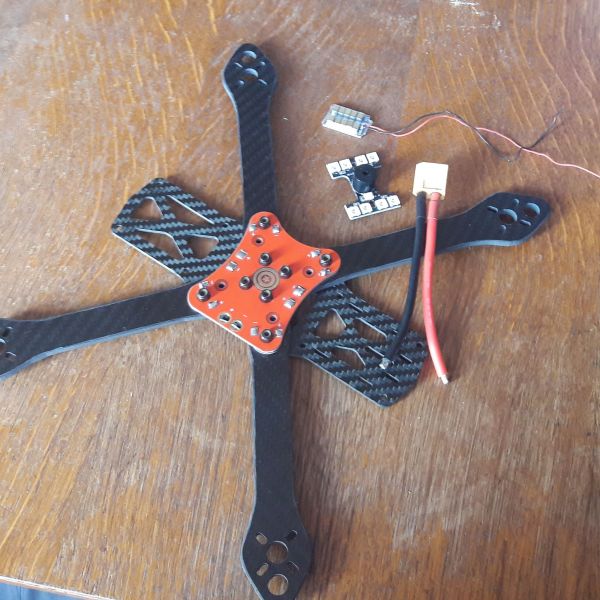
I started with finising the carbon arms. I just filed the edges.
Then painted the edges with purple oil based pen ink marker.
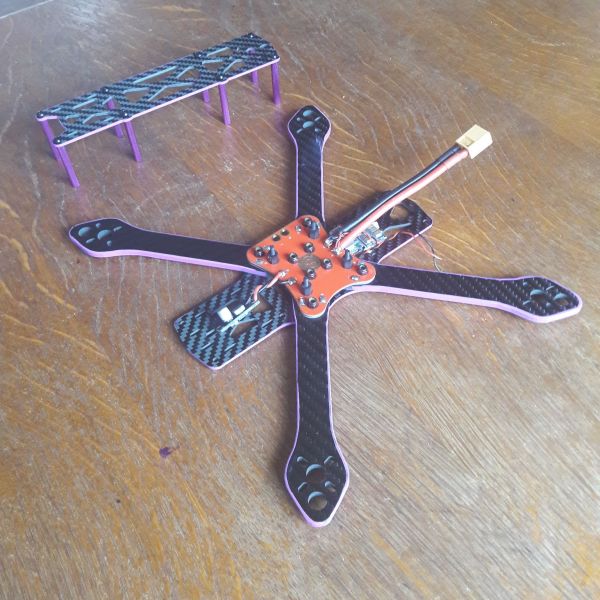
Finally I assembled the frame and started deciding how to place electonic components.
Placing LC Filter and BEC
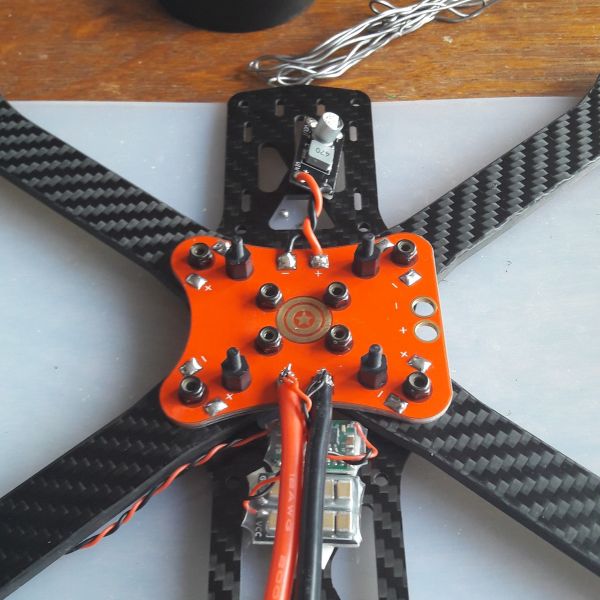
I decided to lead the battery lead from the back because I am afraid of cutting the lead by propellers if side mounted.
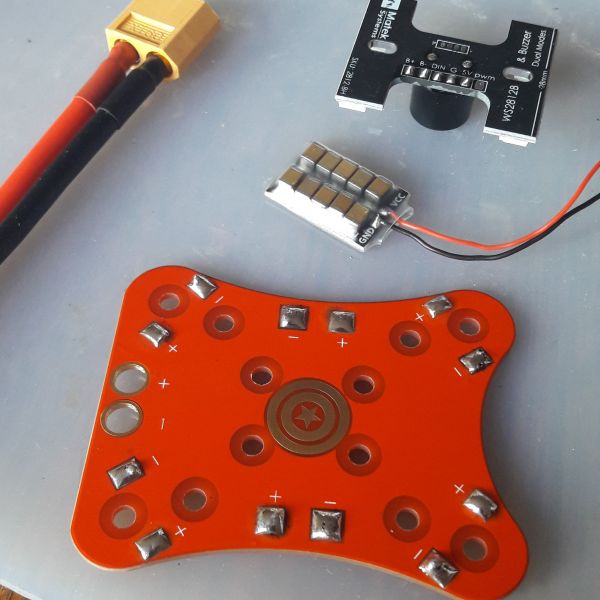
In the back section is adjustable BEC for powering FC with 5v (I have completly removed that linear regulator because of heat it produces). Right behind it is small capacitor plate (I would prefer normal Low ESR 470uF 35V capacitor but I was not able to find one on banggood).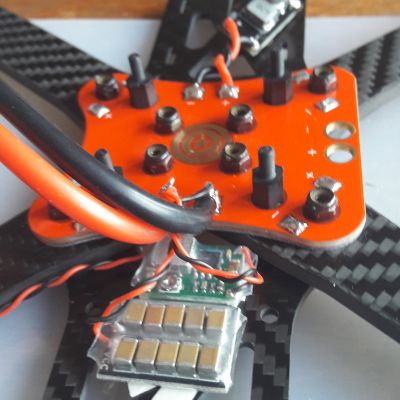
In front section is LC filter for FPV gear.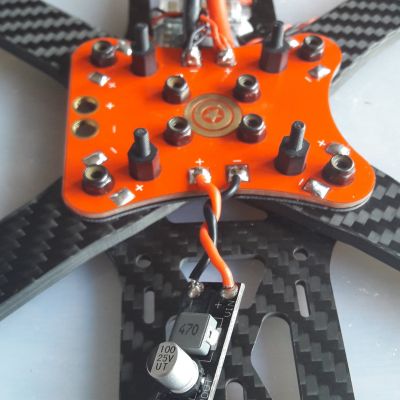
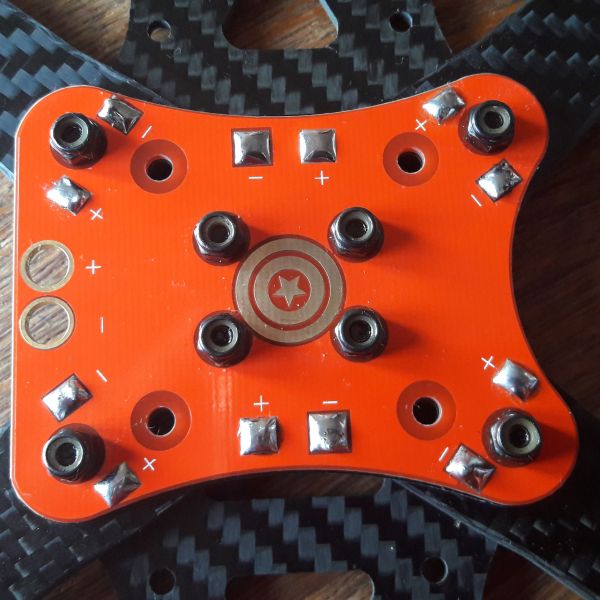
Note: I have pre-tinned the PDB before assembling the frame.
Mounting motors
Not much to say here. I softmouted them with TPU pads. I have put little bit of blue loctite in the screwholes first.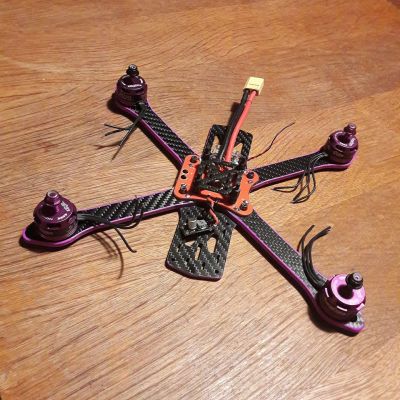
ESC installation
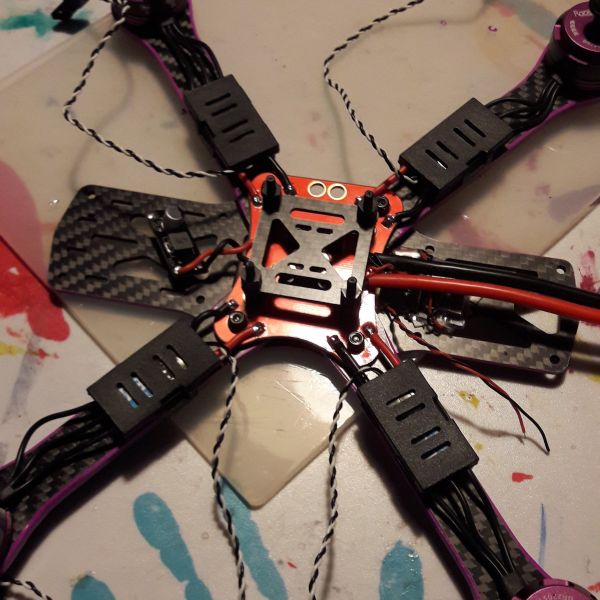
I have started with placing the ESC casings. Then I cut the motor wires, pre-tinned them and pads on ESC and soldered toghether.
Then I moved to cutting ESC power leads. I pretty much repeated the same thing as with motor wires (cut, pre-tin, solder to PDB).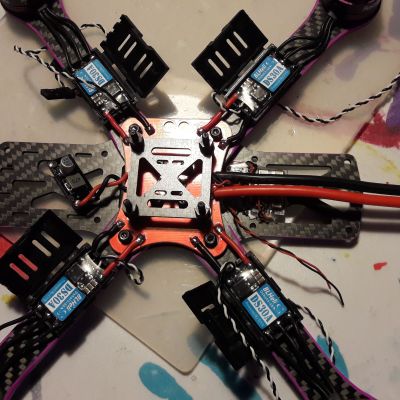
FC installation and soldering signal wires
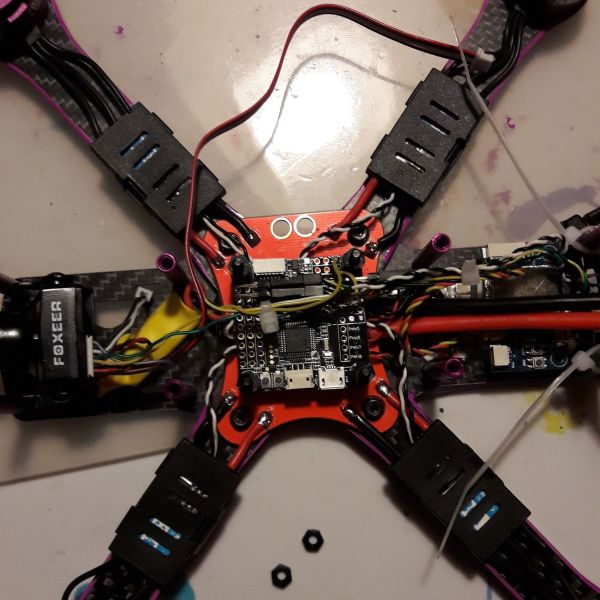
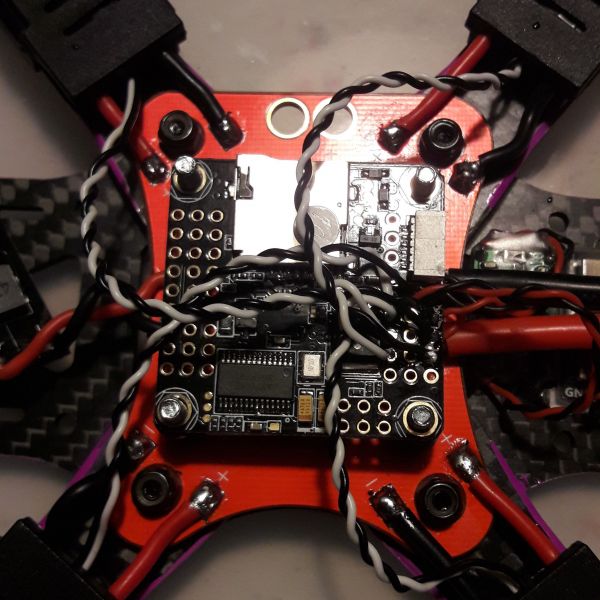
I decided to place FC as seen on following picture.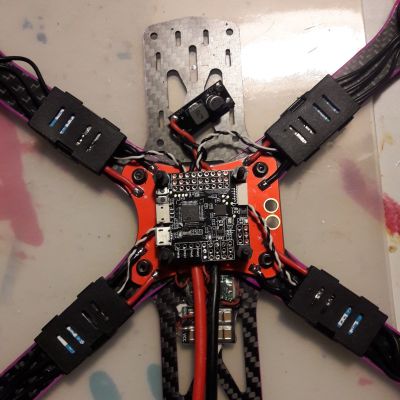 .
.
I have flipped the FC upside down and soldered 5v and GND from BEC that powers the FC to motor 4 through holes. Then I shortened ESC signal wires starting with motor 4 ESC. I could have use just signal wire but I kept the GND wire aswell in order to shield the signal from any interference. I have slowly moved to motor 3,2,1.
After all this was done I have flipped the board back. The final result is on the picture above. Looks nice and tidy so far.
I forgot to solder VBAT pins to main power lead but I got Vsens from Foxeer for now.
Electronics continued
Receiver
I placed FS-X6B receiver at the back section behind the BEC and capacitor plate. I have put a bit of foam underneath so it is not restion directlz on the carbonfiber. I am using vbat sensing of the receiver and iBus port. I like connectors so I try to avoid cutting them of. Thus I soldered L bend pins to FC (Sbus/PPM holes) so that I cau use wiring provided with receiver.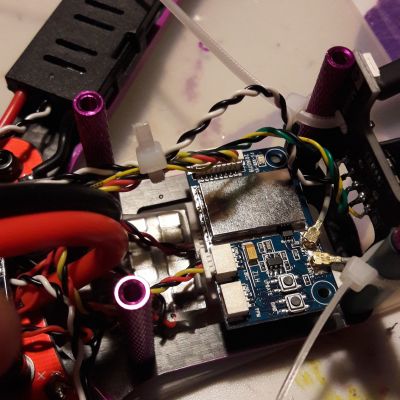
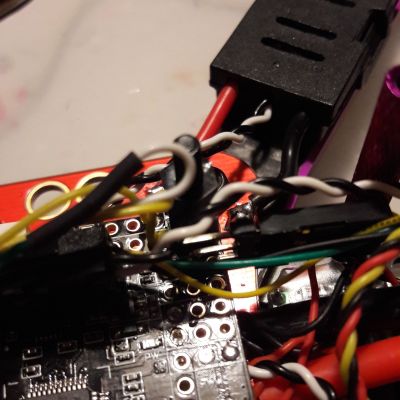
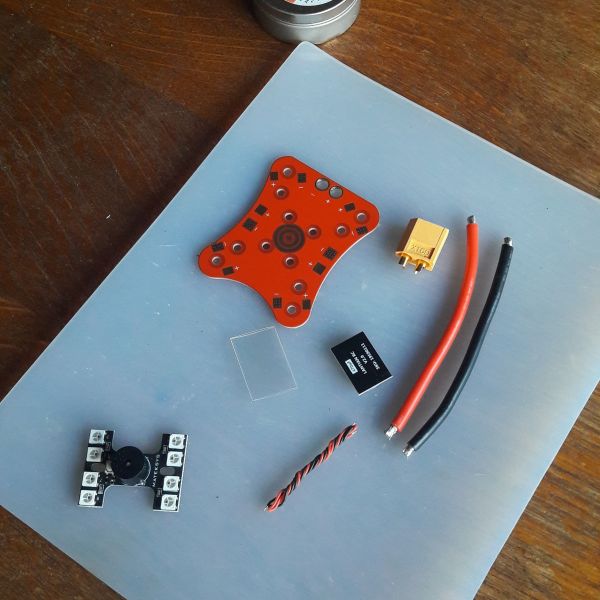
Matek LEDs and Buzzer
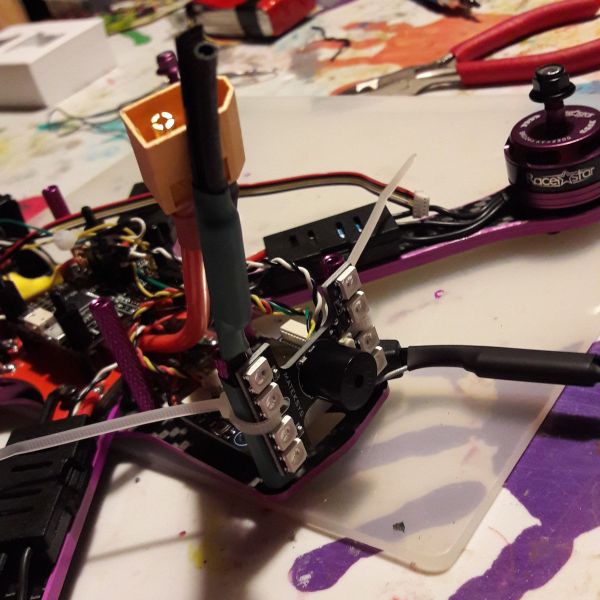
I figured out that it would be nice to use Futaba connectors also for this LED&Buzzer plate. Used some old ESC wire for Buzzer and created other one for LEDs from old CC3D PWM leads.
Camera and VTX
I decided to use LC filter inbetween my main power and VTX/camera. Thus I could not use provided connectors and had to direct solder vtx and camera power to LC Filter. I forgot to take picture of that but at least here is the result: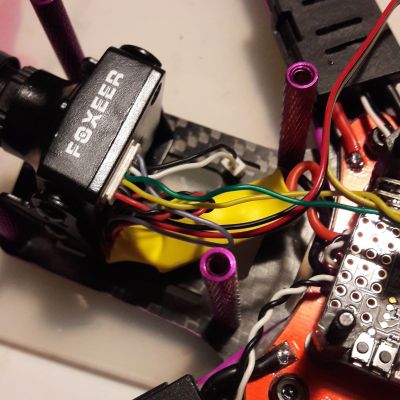
VIN and VOUT is directly soldered to FC so that I can use BF OSD.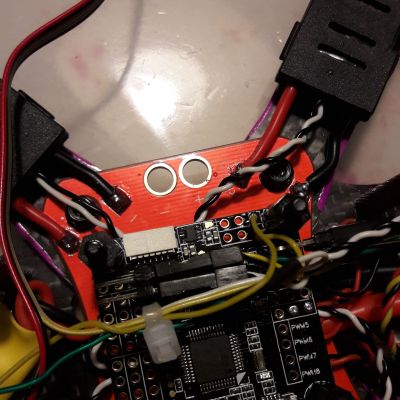
Audio cables were shortened and connected directly together.
I also connected Foxeer camera VSens to LC Filter positive lead so that I can get this info directly from this awesome cam in case I do not like BF OSD.
VTX is mounted on top plate with right angle antena extension going through top. This does not seem to be very good solution because my XT60 is also in the back and antena is now in the way. I will have to decide whether to use the side mounted XT60 or place antena elsewhere.
TODOs
- Setup LEDs
- Test Failsafe and transmitter range
- 3D print Xiaomi Yi mounts
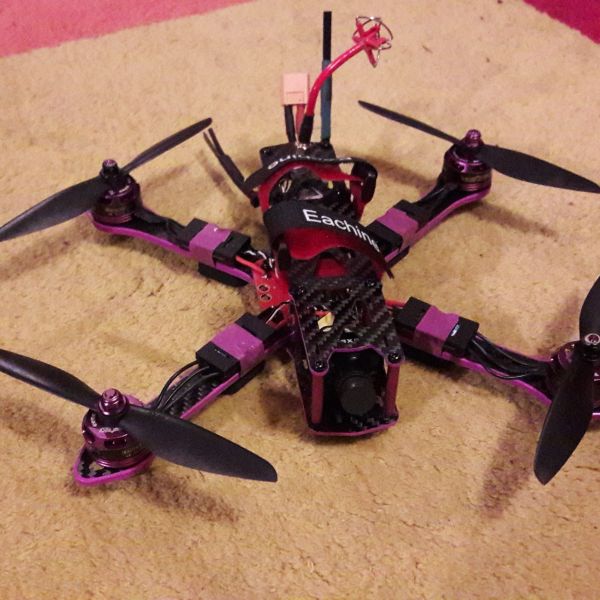










I like the 180mm version, but wouldn't mind building a 250mm size quad. Please do keep us posted on how it flies.
It flies really well. Betaflight does really good job.
I fly it mostly with 6" props. I was able to switch to PT1 and remove all BF notch filters on 3S battery with motors only bit warm.
On 4S motors were getting bit warm so I brought back the notch filters after this test and motors are cool. So I can recommend 6" on 4S with PT1 and all notch filters. It is really joy to fly on 4S. Much more responsive than on 3S.
I still need to 3D print Xaomi Yi mount so that I can post some flight footage. And I also wait for FPV Googles. So far I was flying only LOS and I must say I like it more then my BeeRotor130 with is pretty agile but has more propwash and it is harder to maneuver in LOS flying.