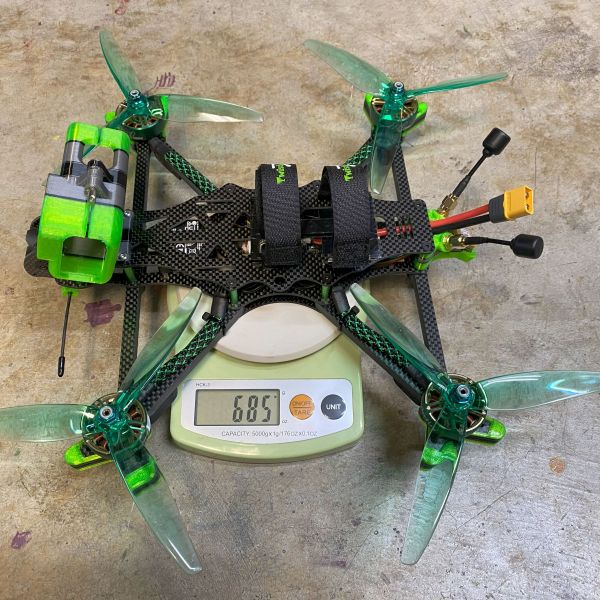
RIP to the first AOS7 O3 that I built in the beginning of 2023 because it was lost to the mountains in California and yes it was 100% my fault. For this build I used an updated AOS7 frame that now includes a built-in vibration dampener for the FPV camera. Unlike the previous version of the AOS7 it is not a simple switch if you want to use the updated camera mount too. You will need a new top and bottom plate to accommodate the wider spacing for the new camera plate. I am glad to see they did not use a cheap 3D printed vibration dampener for the camera mount, because I do not think the typical 95A TPU is soft enough to provide the dampening needed for the sensitive gyro in the DJI 03 camera.
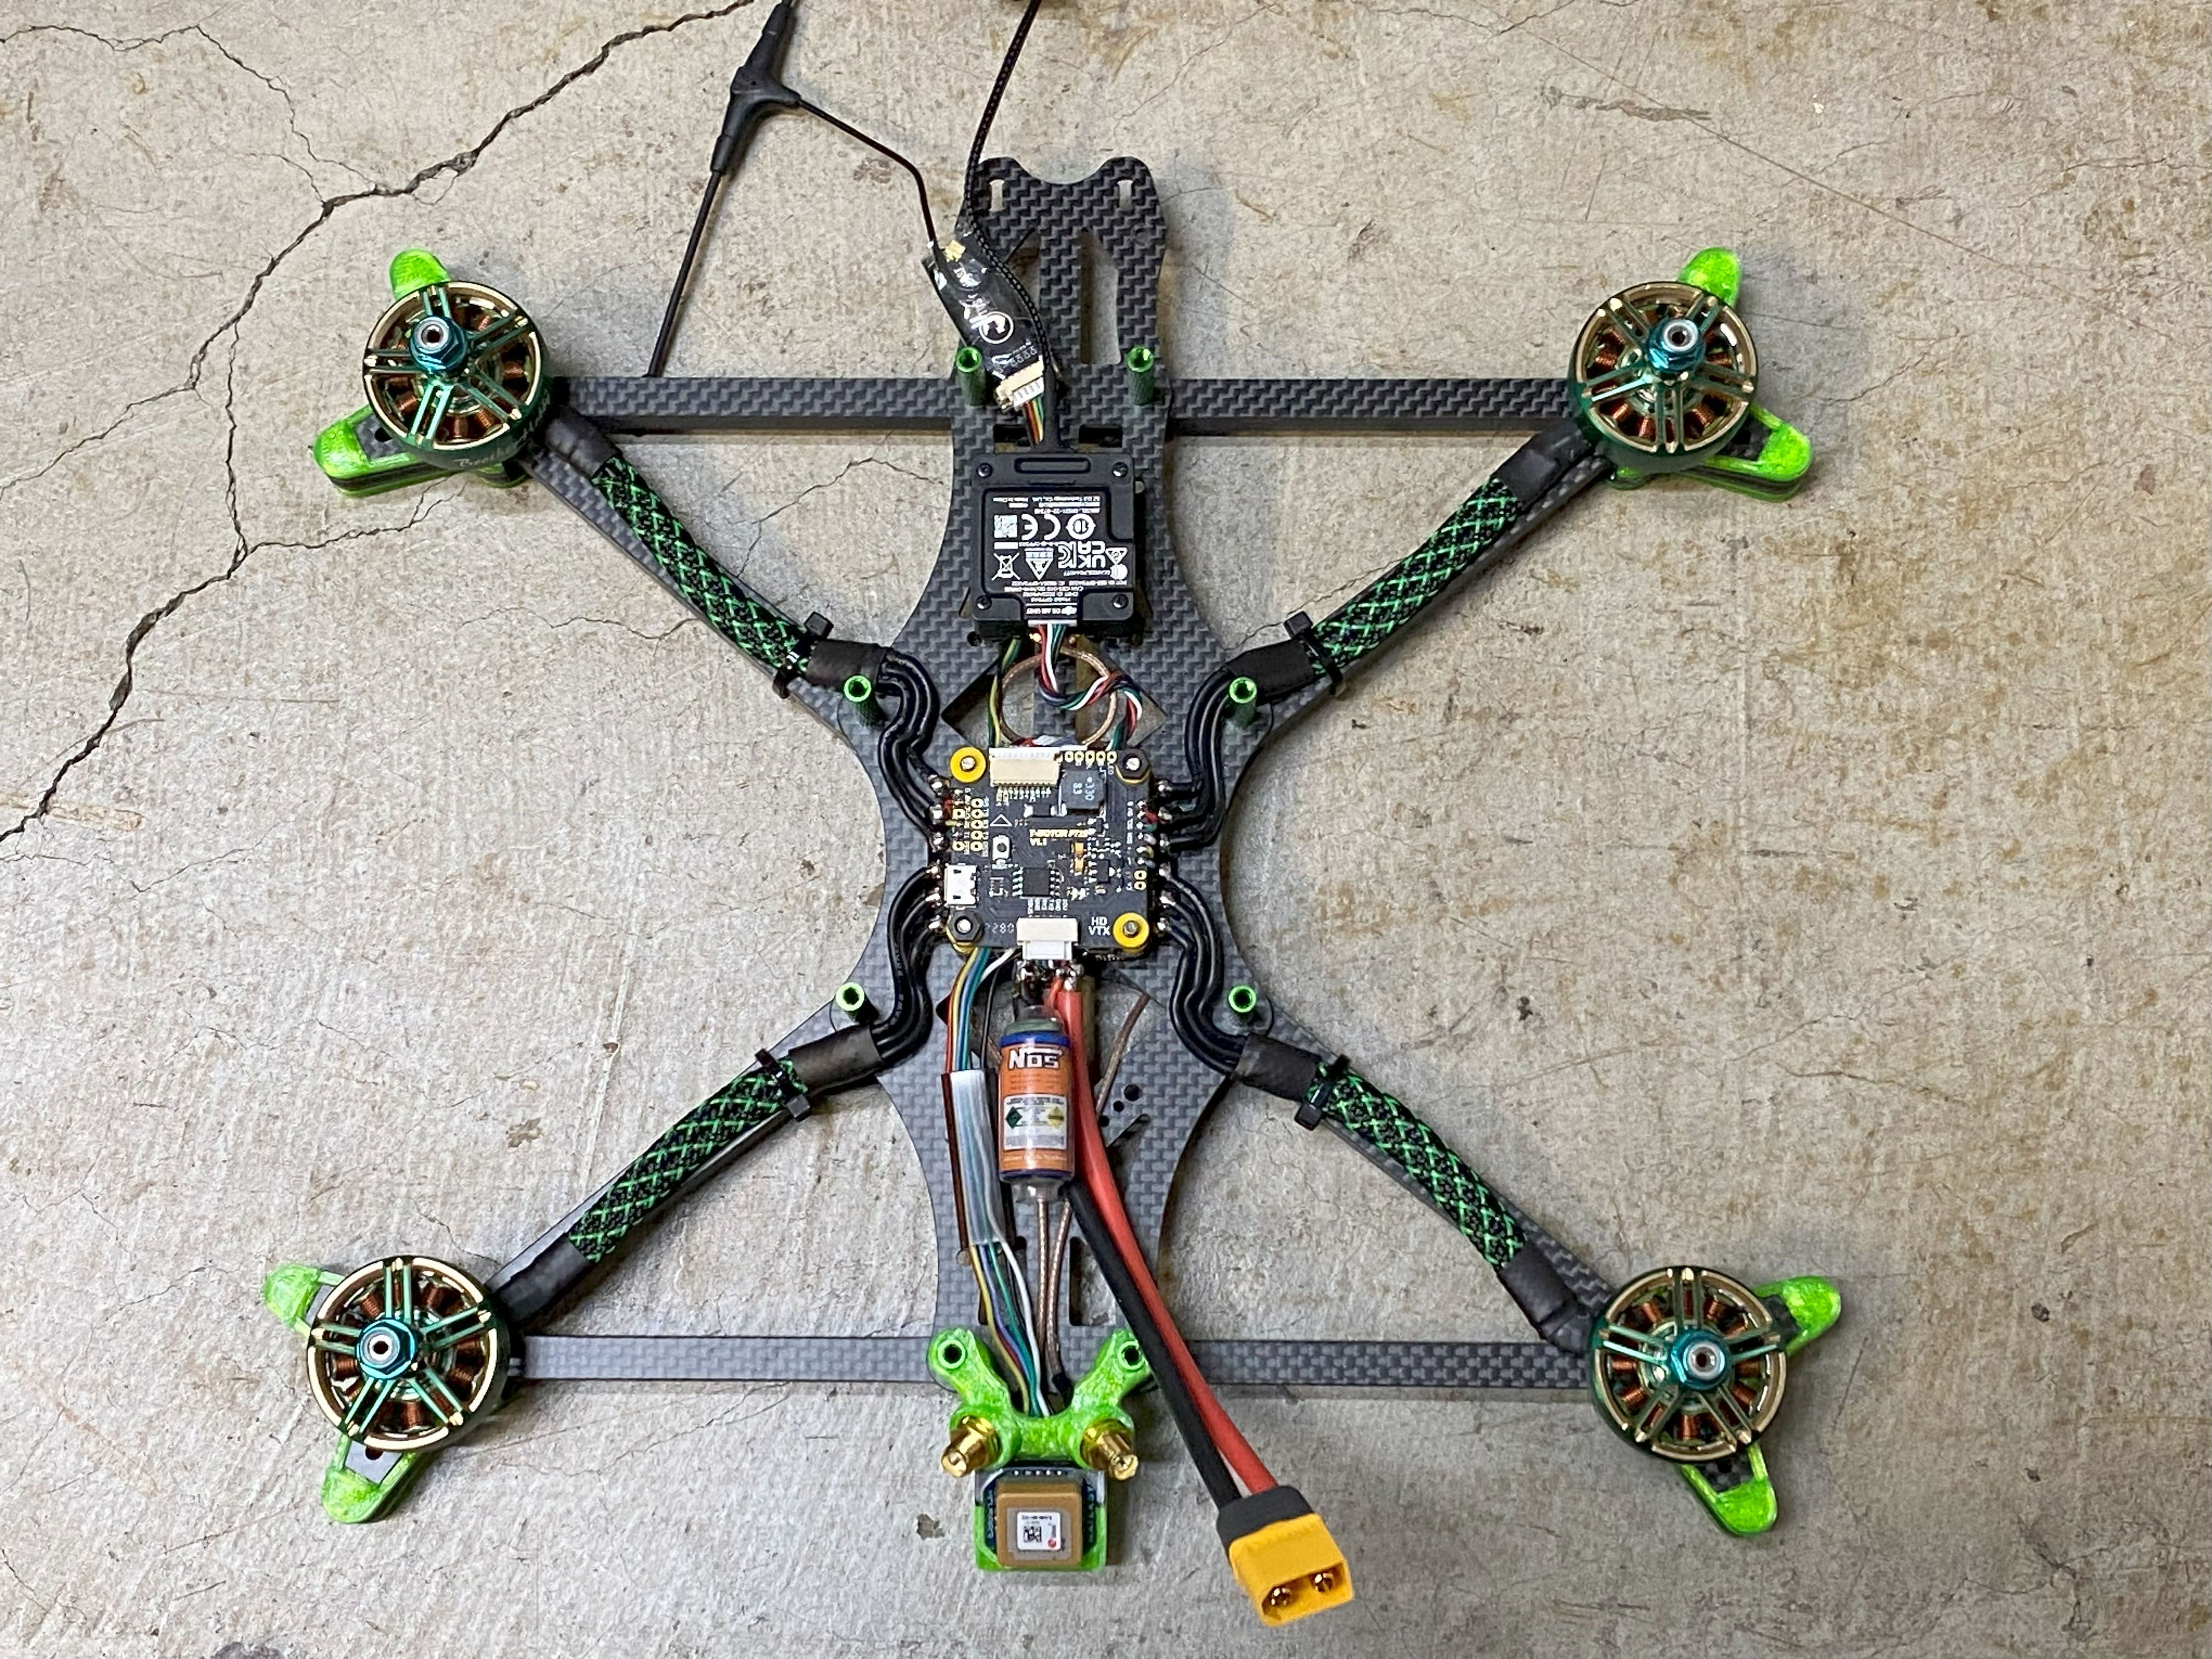
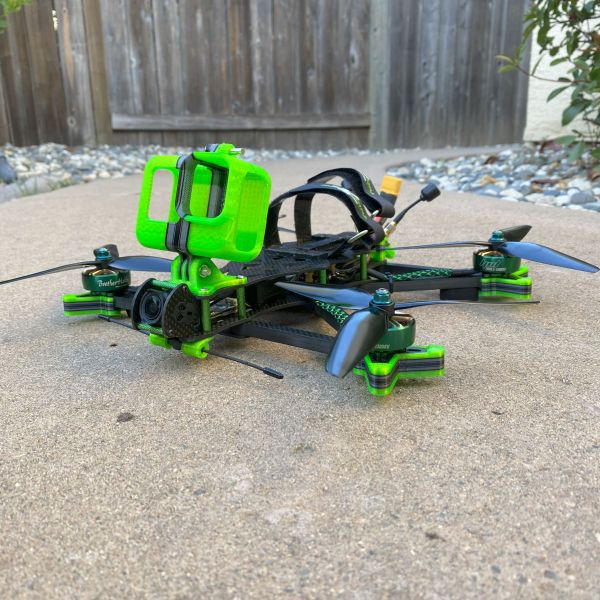
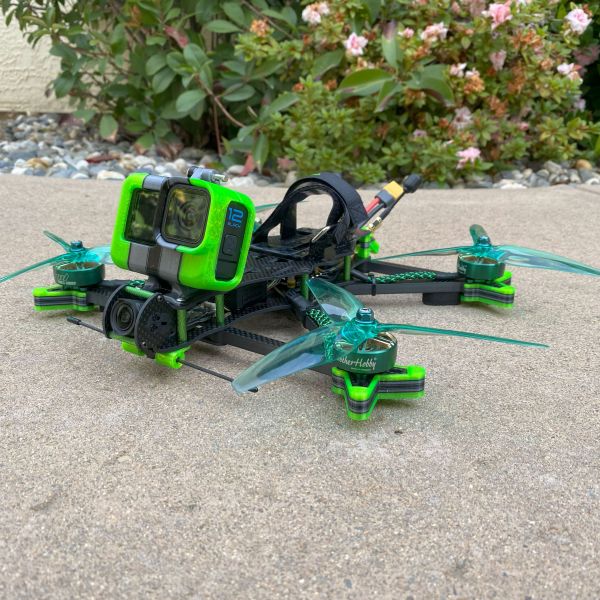
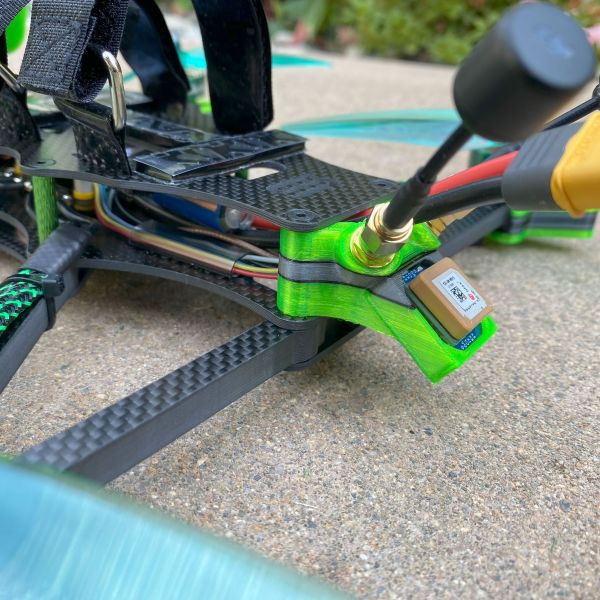
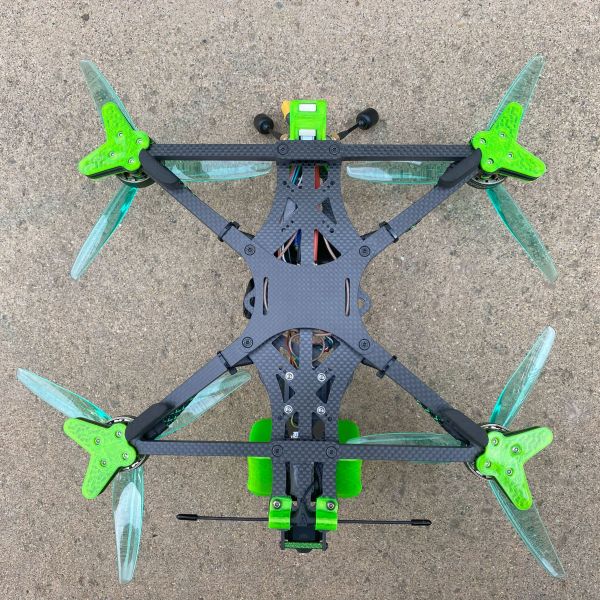
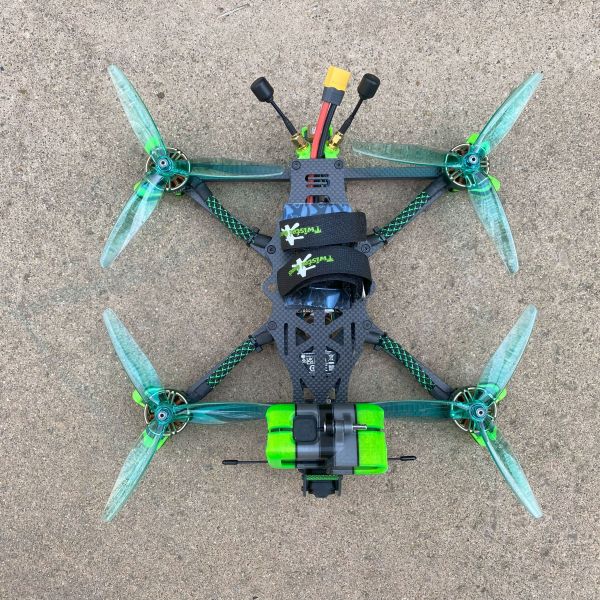
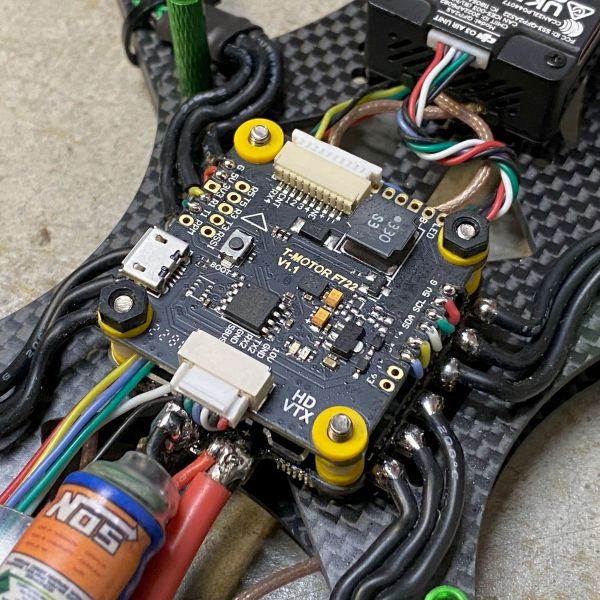
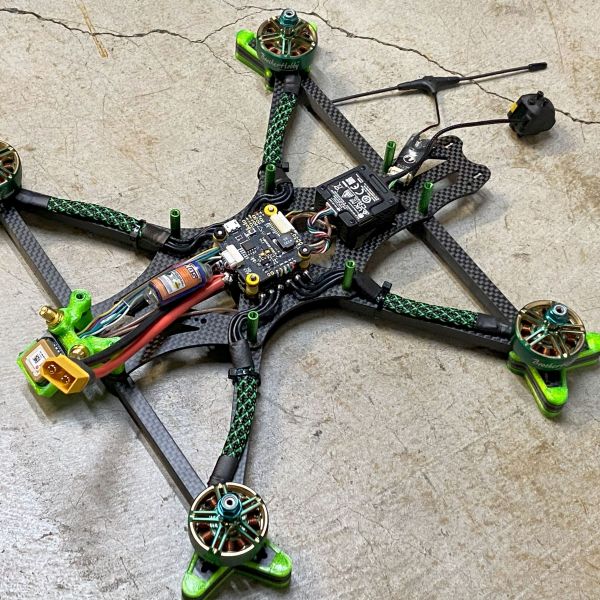
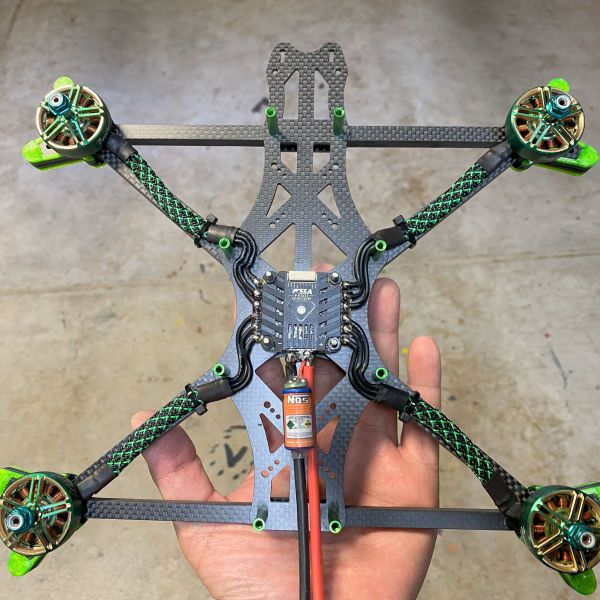
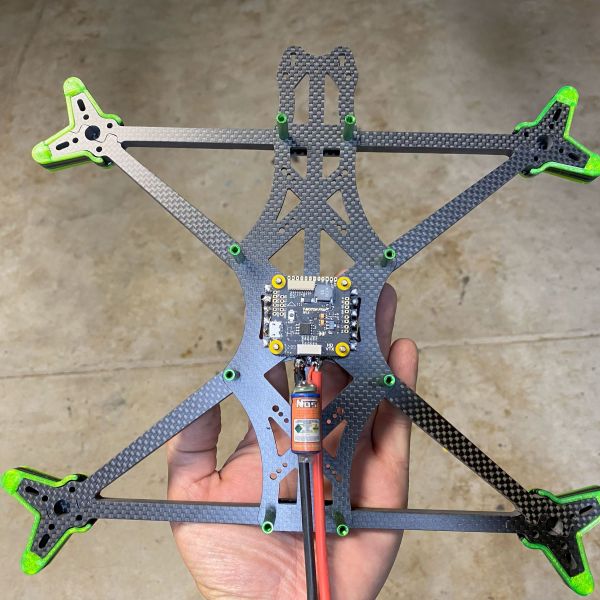
Overall, this build was easier the second time around because I plan to do the same thing. The AOS 7 frame is kind of big and the DJI O3 air unit does not have many options without replacing stock antennas. If you place the air unit in the back of the quad, the camera wire is way too short. Even with a 200mm cable, it is still a tad too short. You need to have the air unit in the front of the quad. I noticed that the EVO version of the AOS7 added 2 mounting holes for SMA style connector in the middle of the top plate. But I am not a fan of the antenna placement, plus it may get in the way if I used a larger battery. Here you will see in this picture of the basic layout of the quad. I ran an extended RP-SMA cable to the rear of the quad, right next to the GPS.
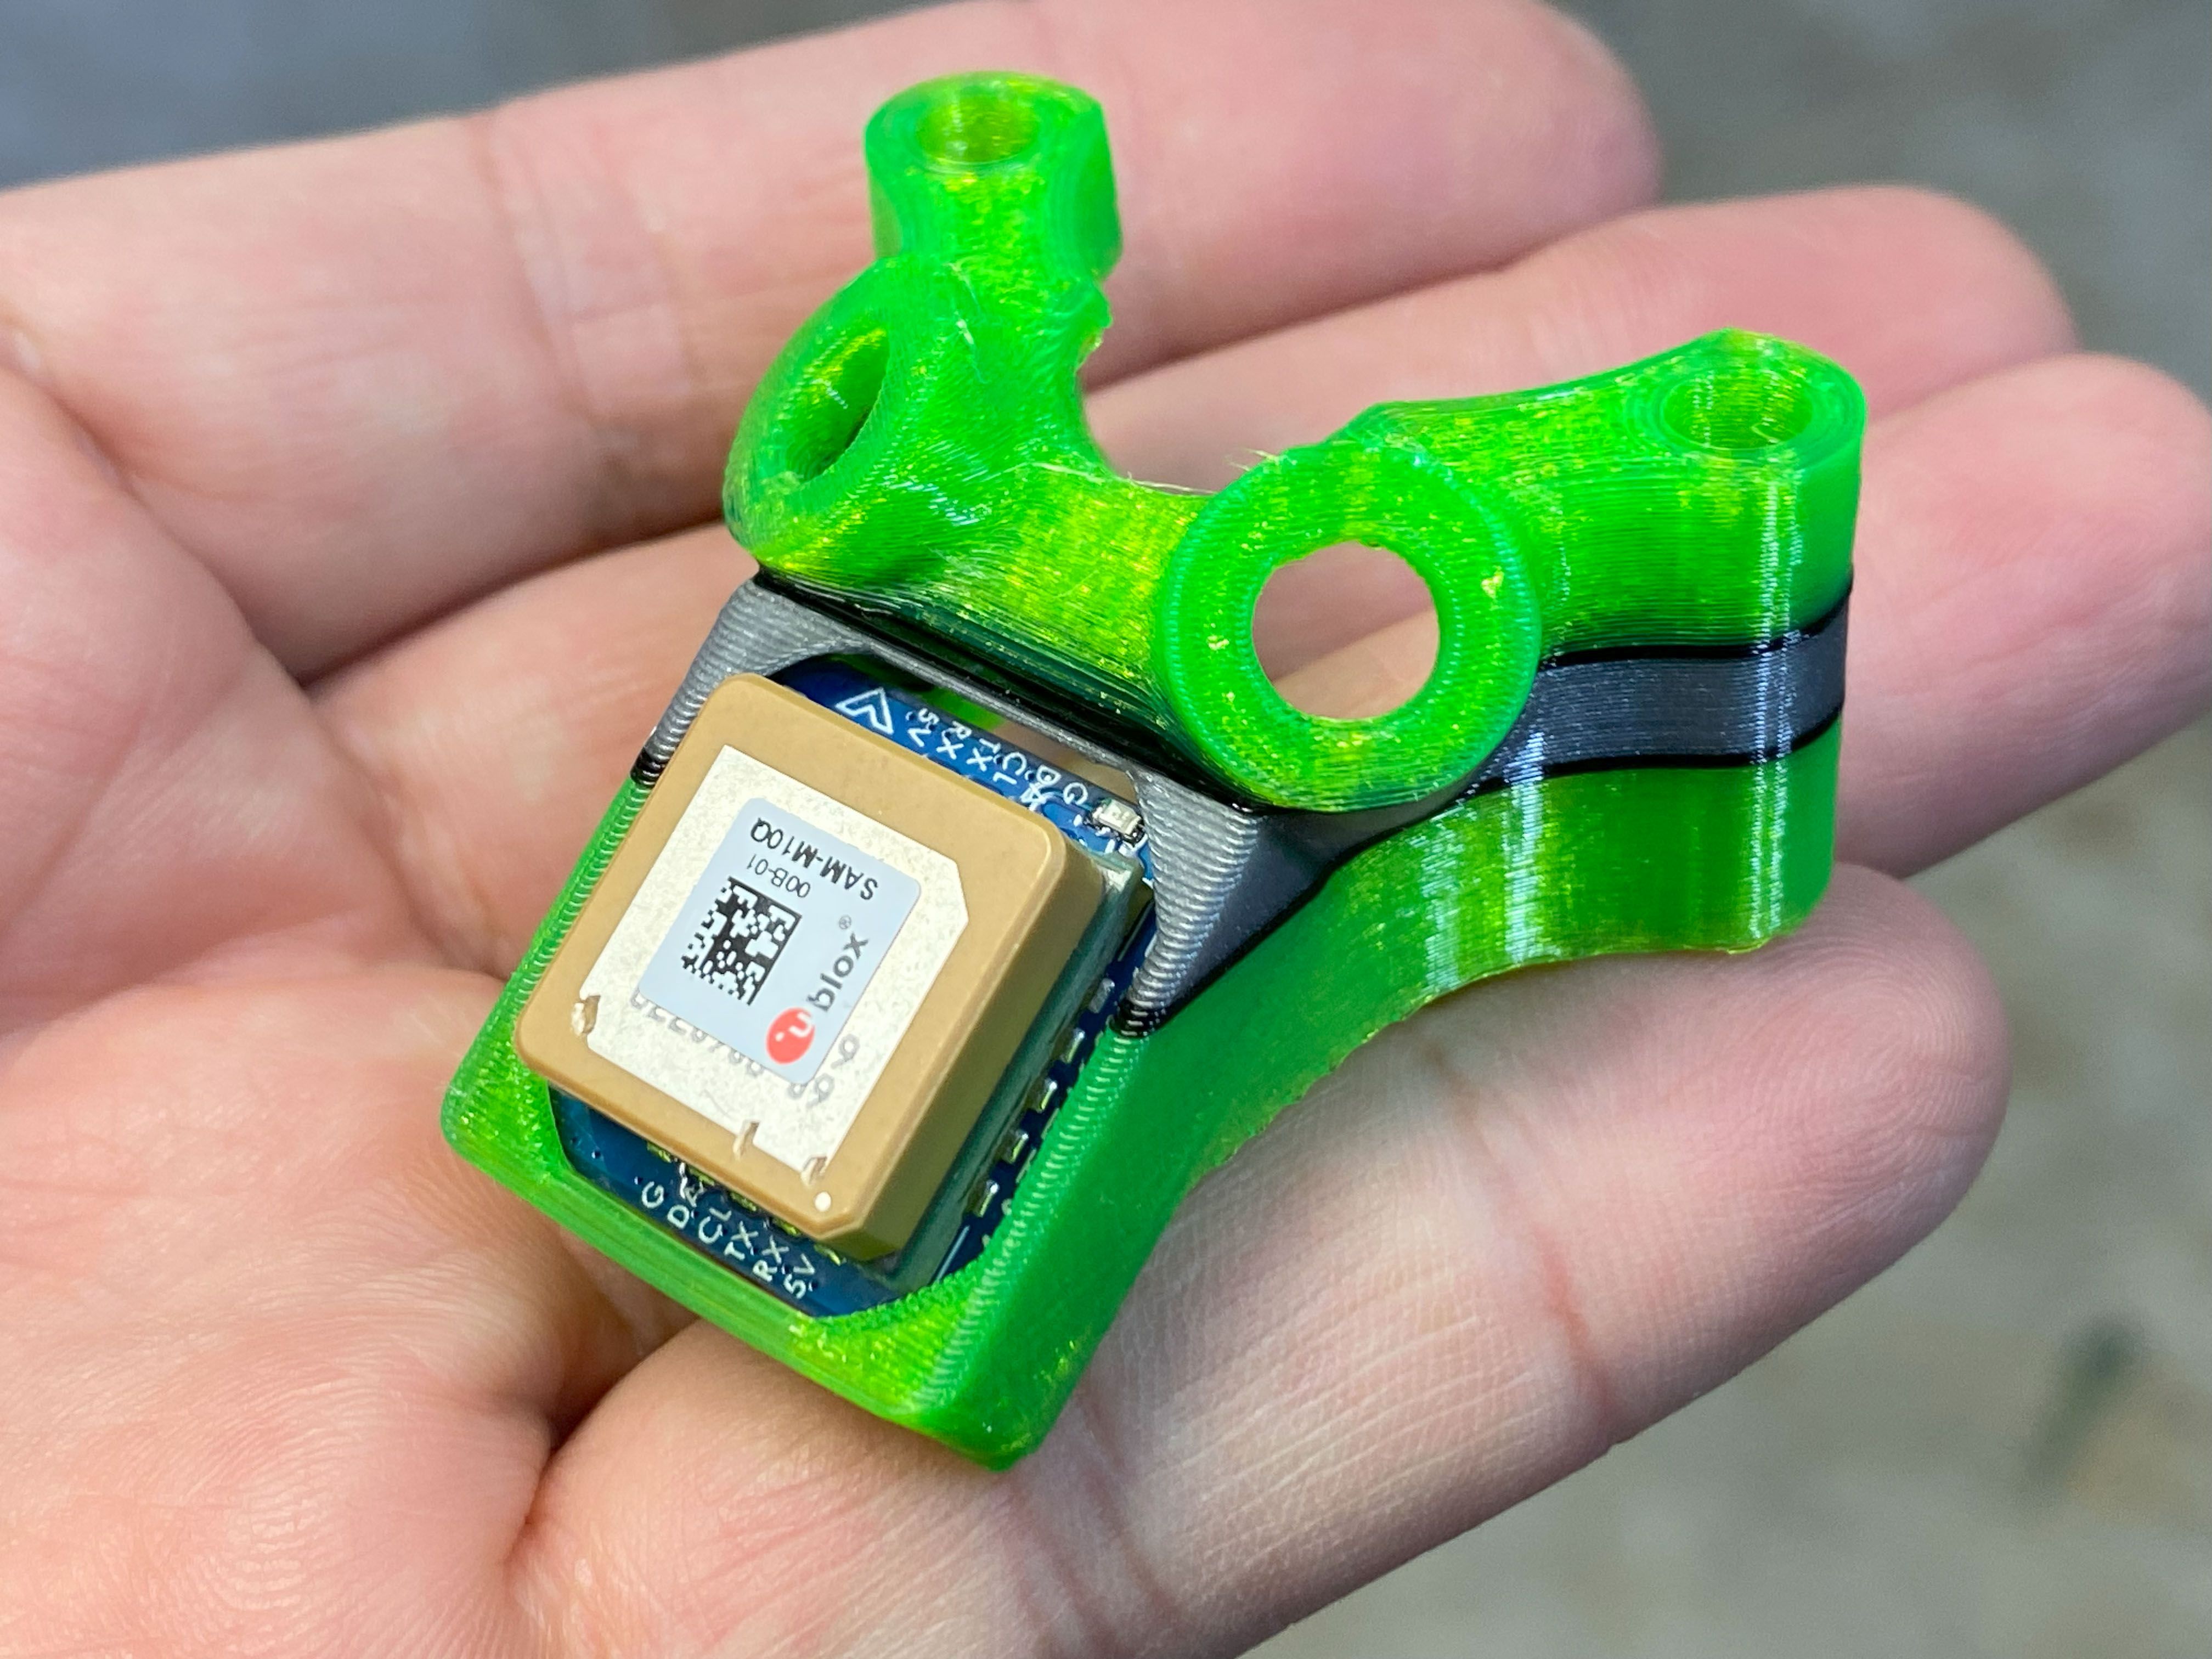
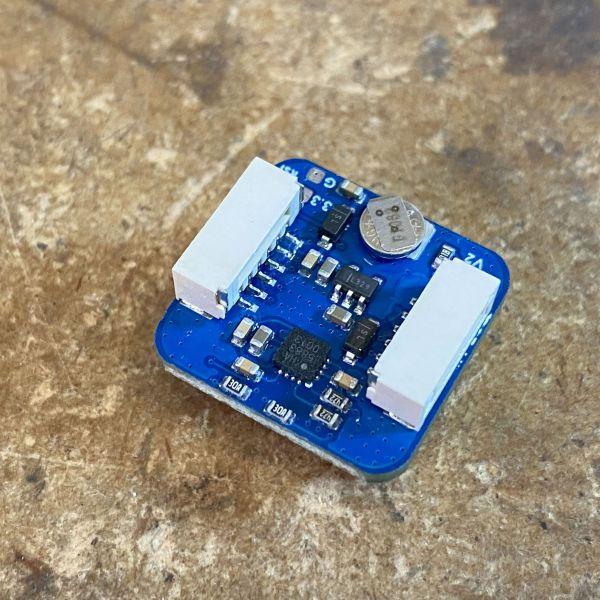
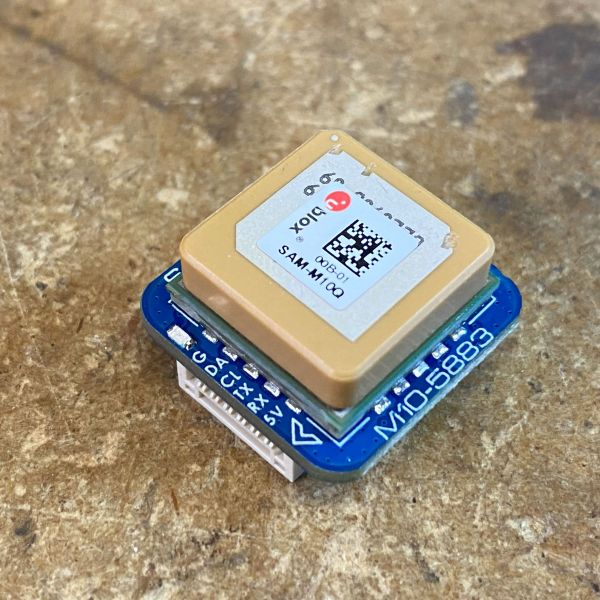
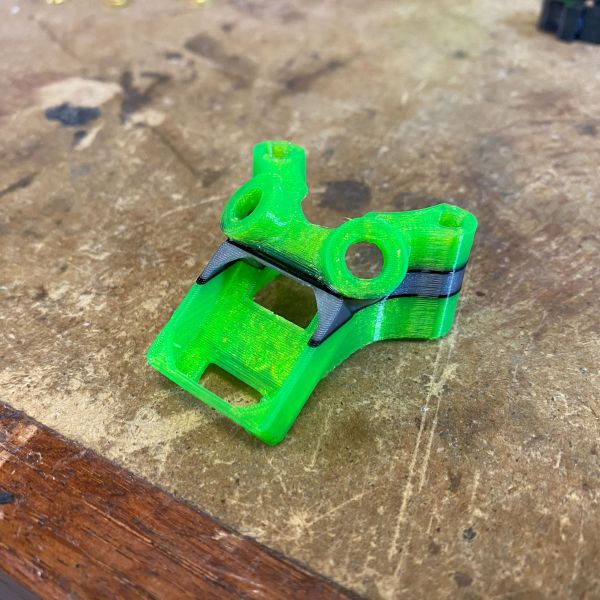
I used a different GPS this time, so I had to modify the mount to accommodate the larger connectors on the bottom of the Matek M10Q GPS.
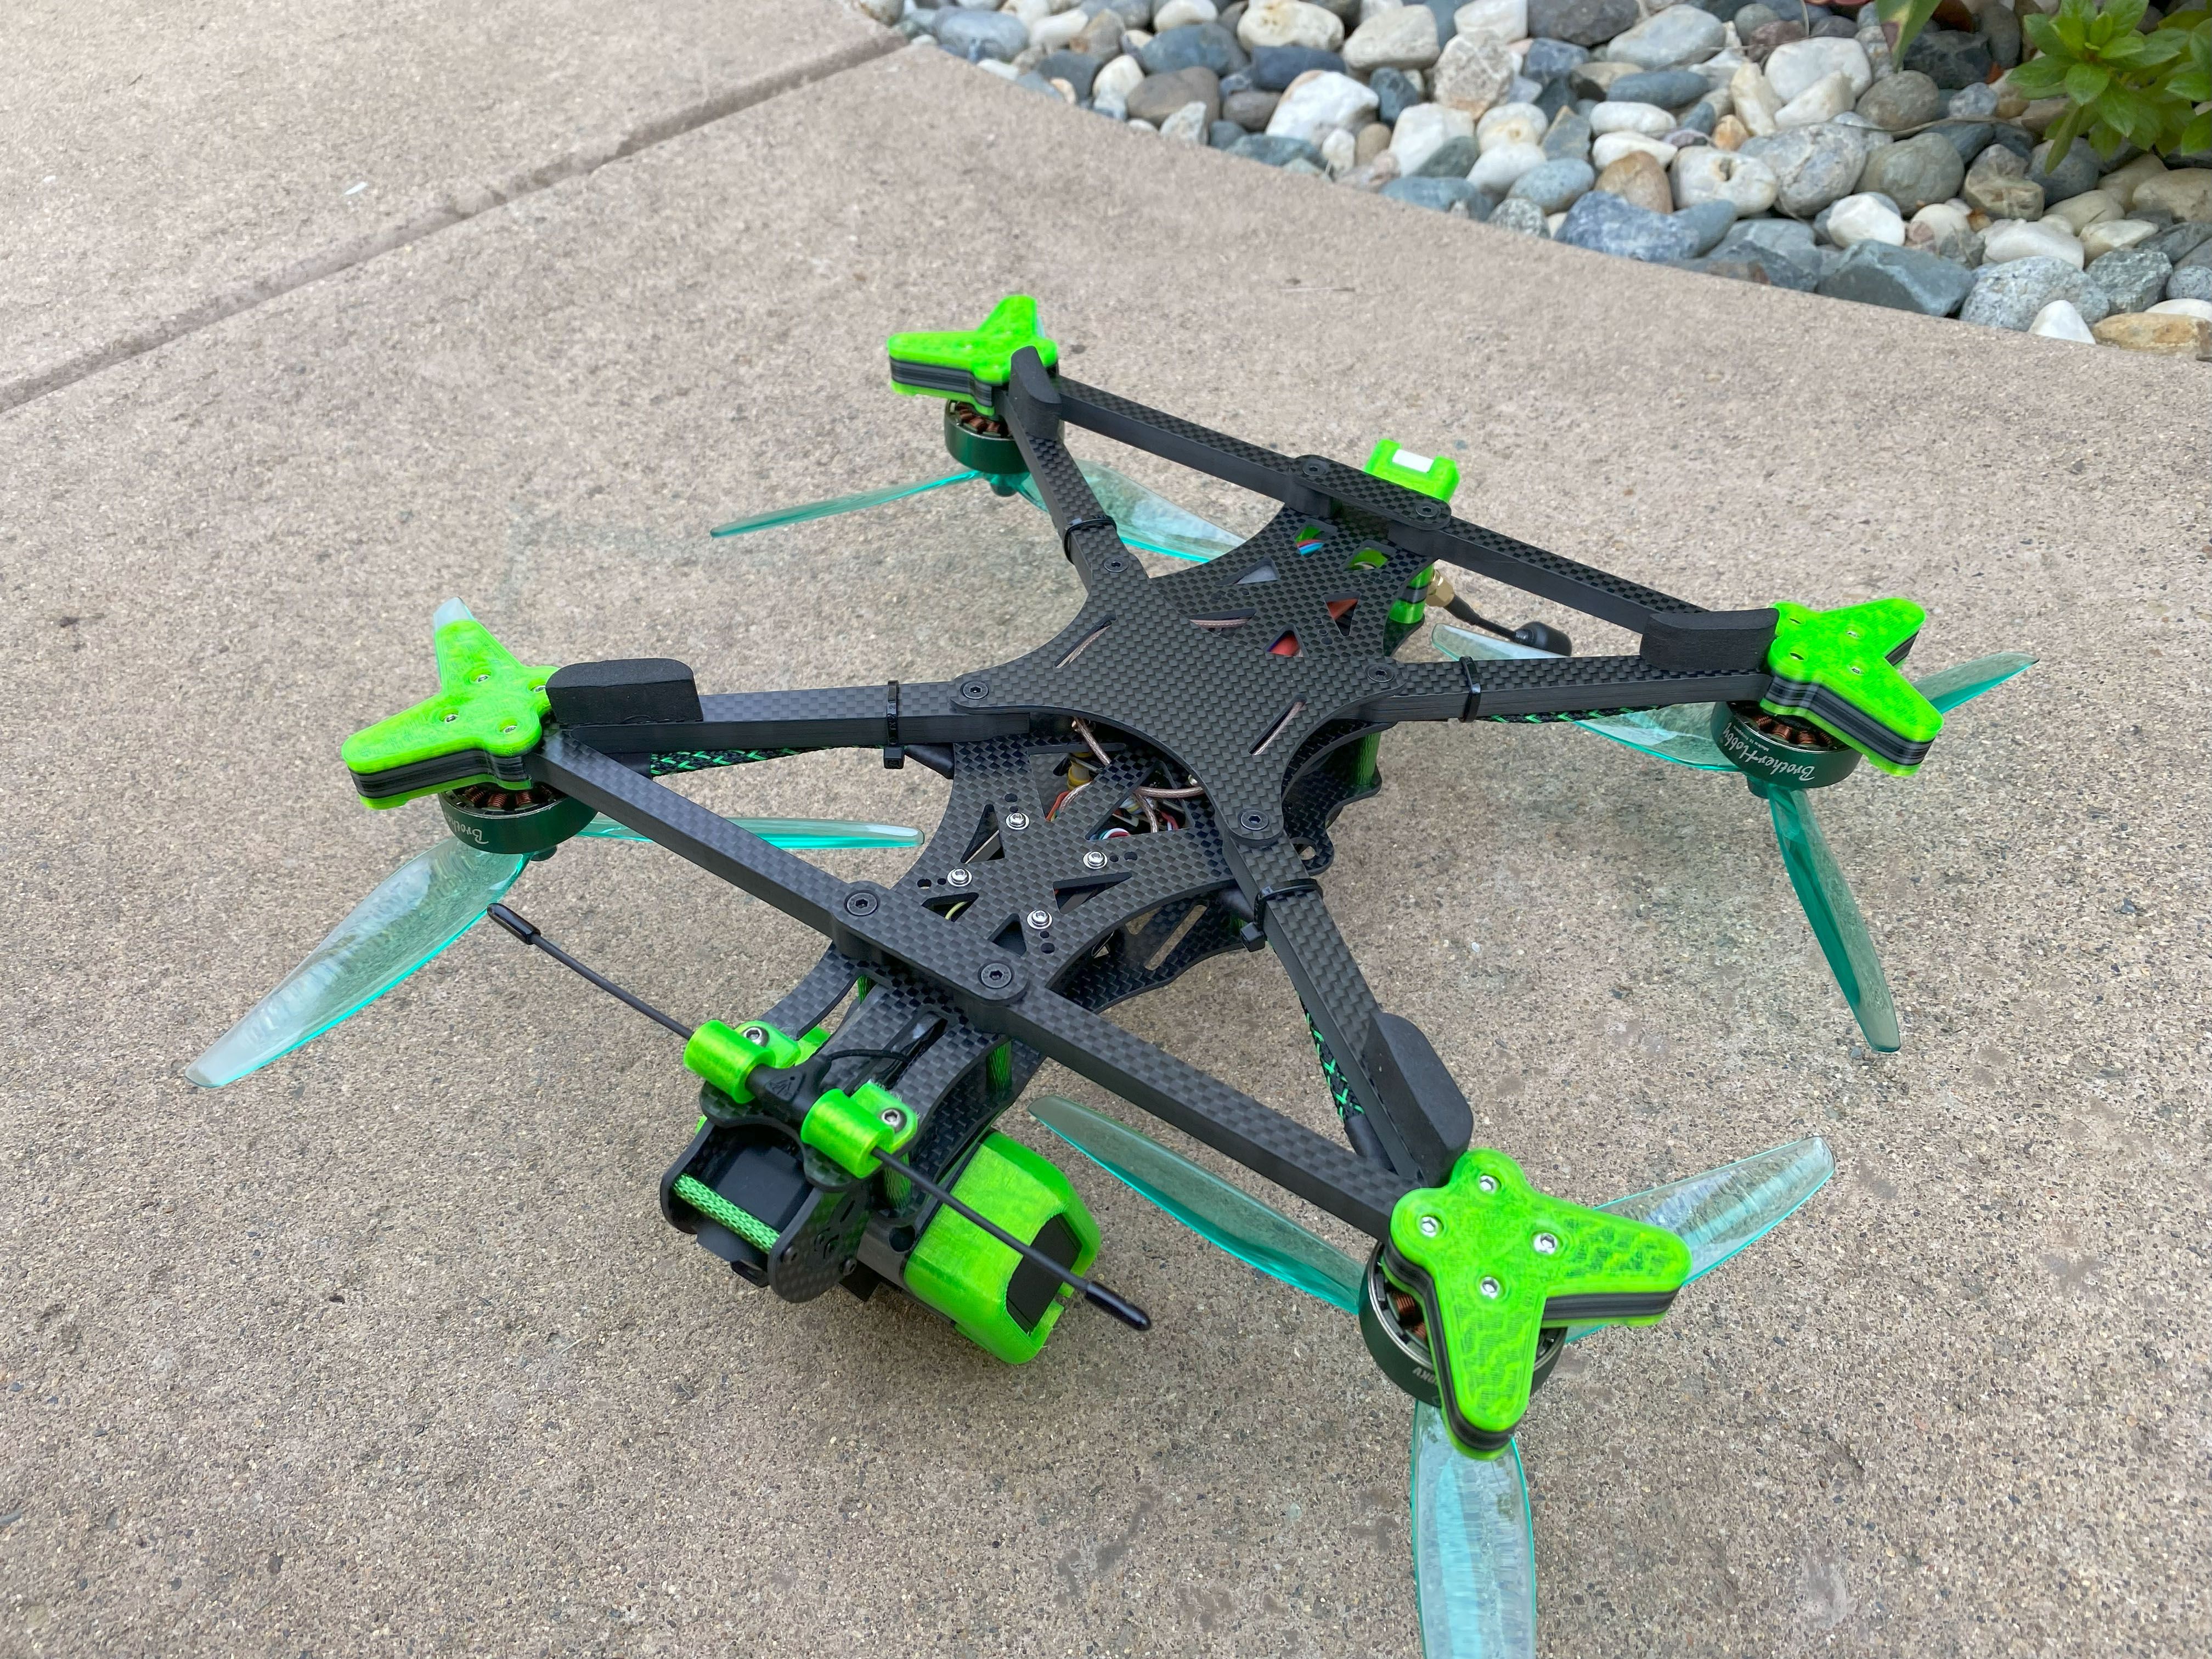
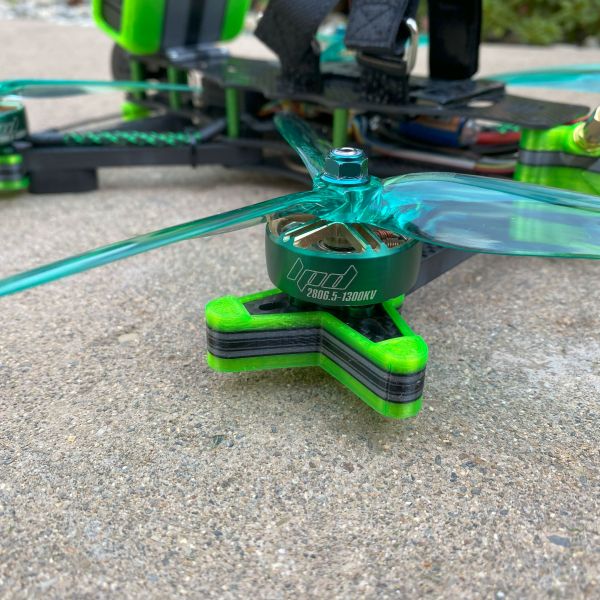
Initially I was planning to zip tie the Immortal T antenna to the front camera cage but the O3 camera was a tad too close to the standoff to allow me to fit a zip tie in between. So, I used the 3D printed mount instead. I also added some foam landing pads to the arms to help protect the carbon fiber when landing. It is not the arms that needs the protection, it is the bottom plates that get banged up. Soon, I plan to 3d print something to give is some more protection.
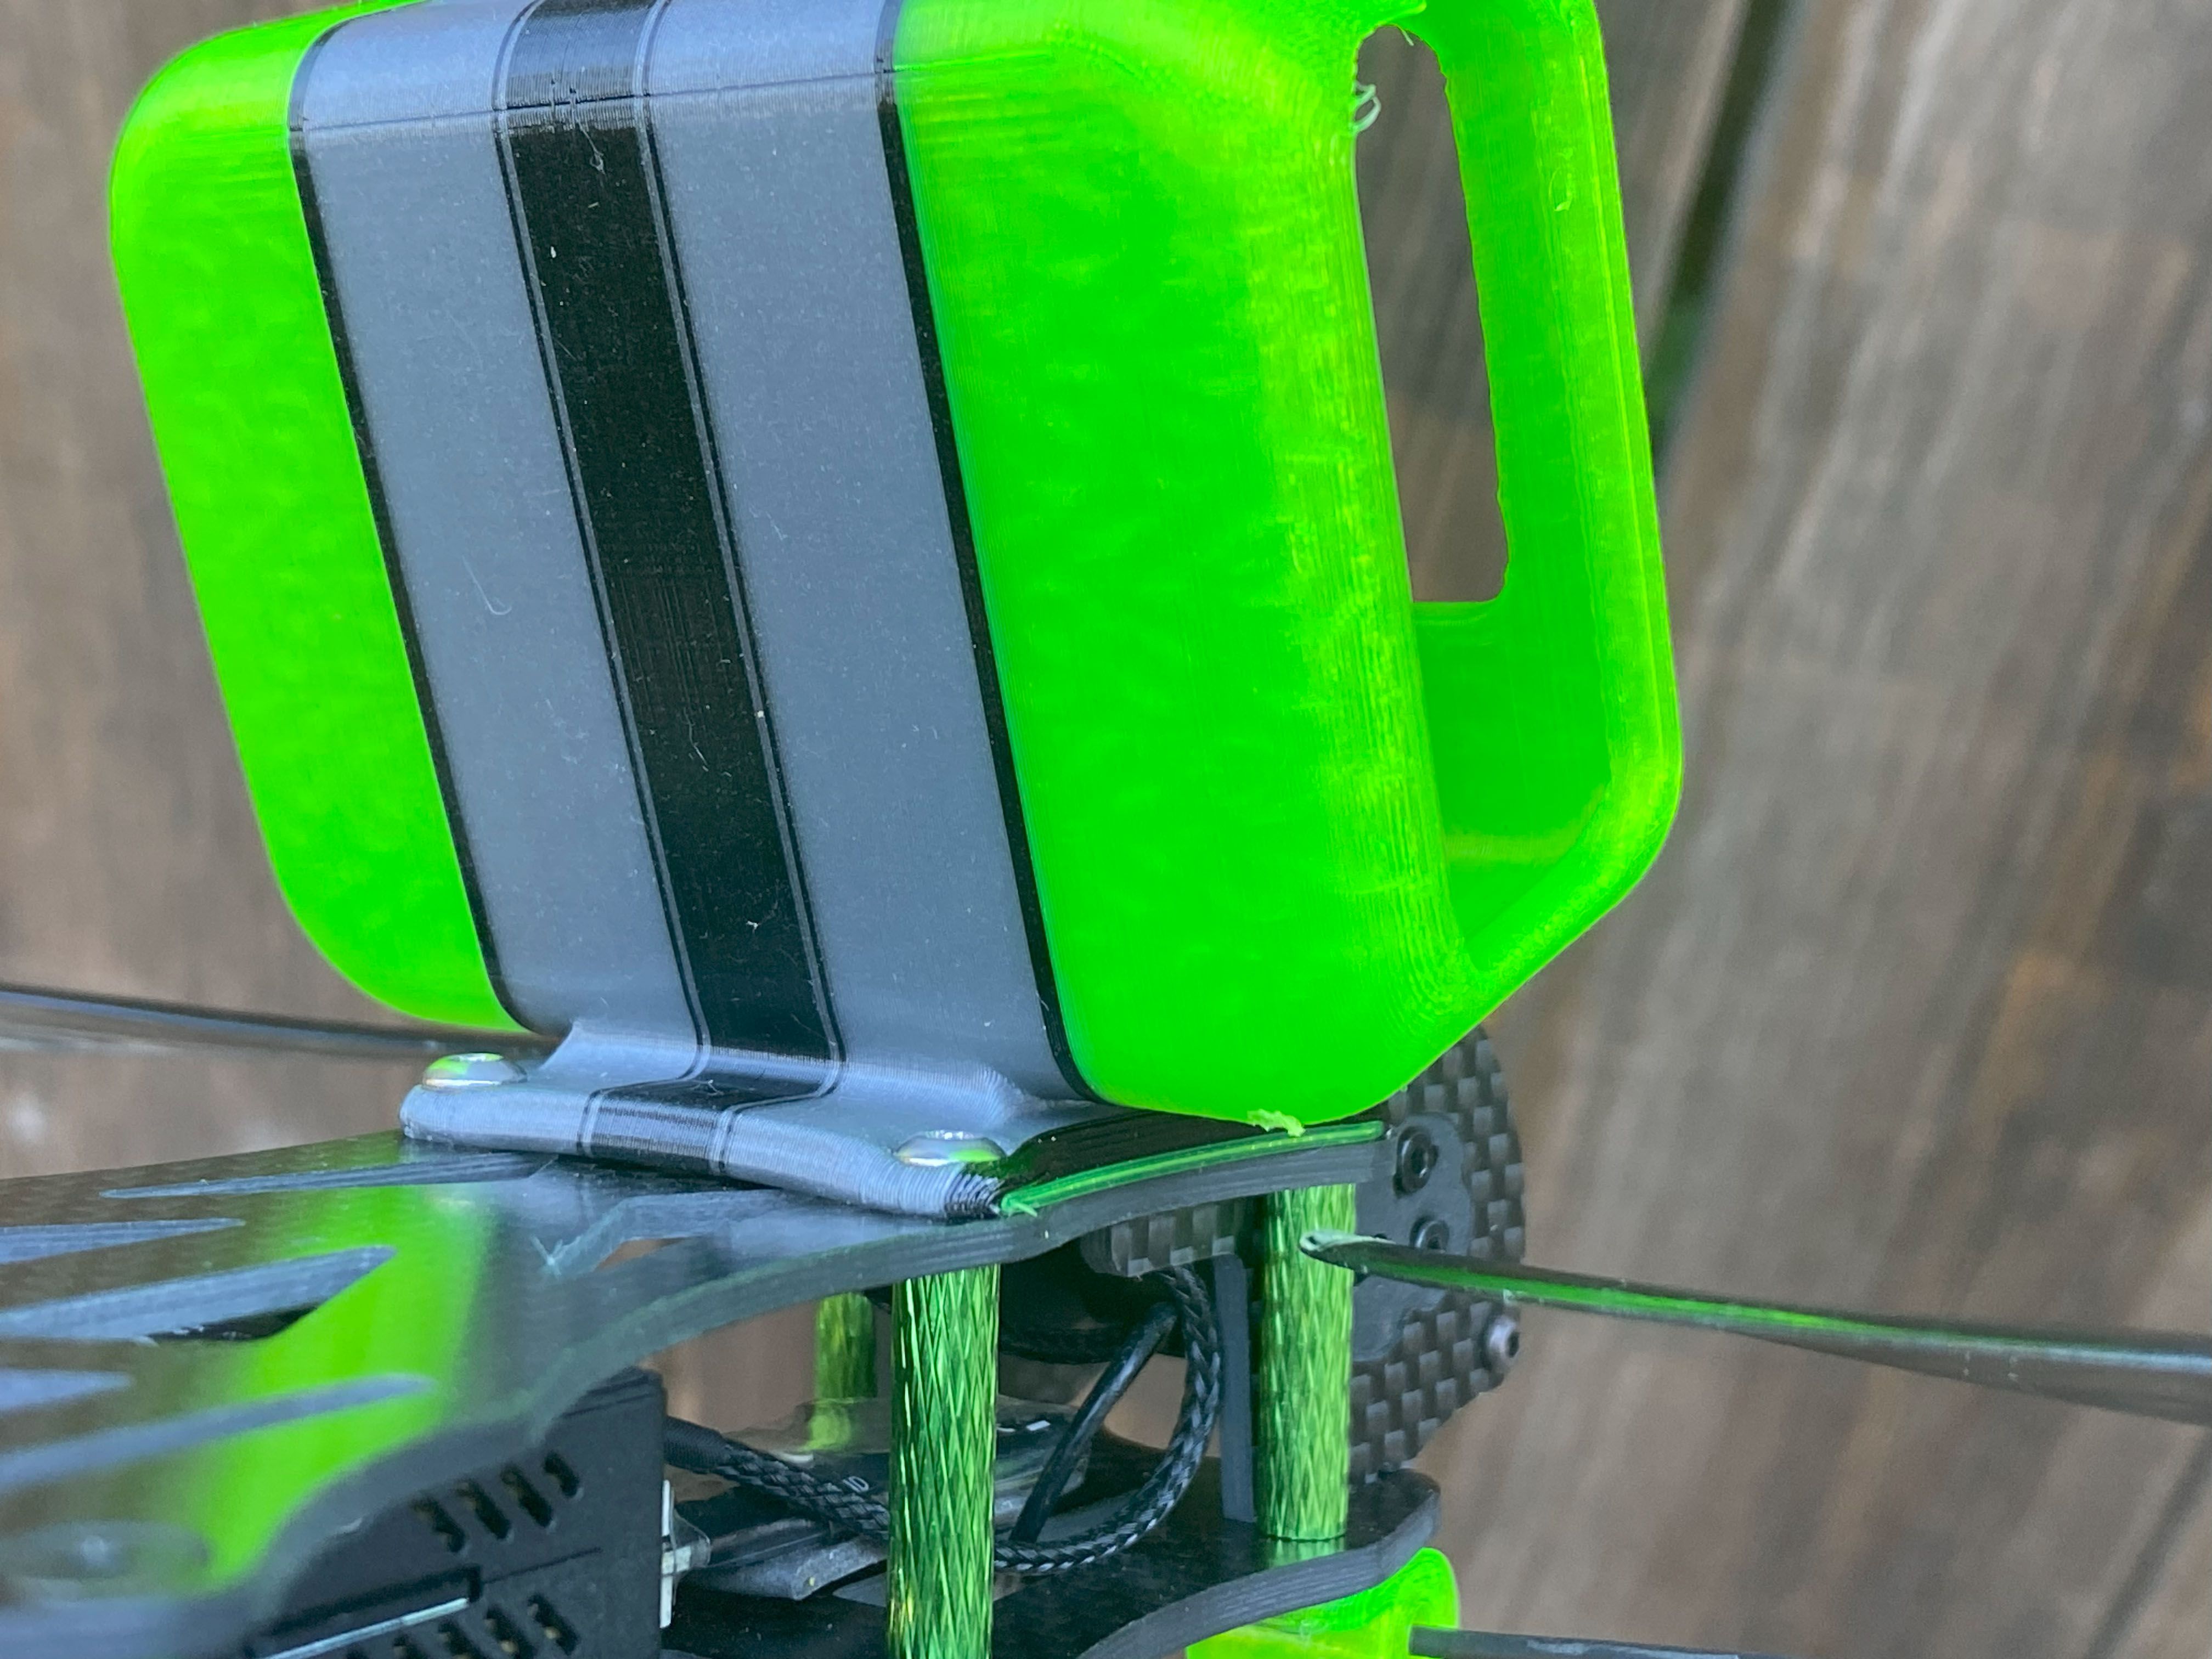
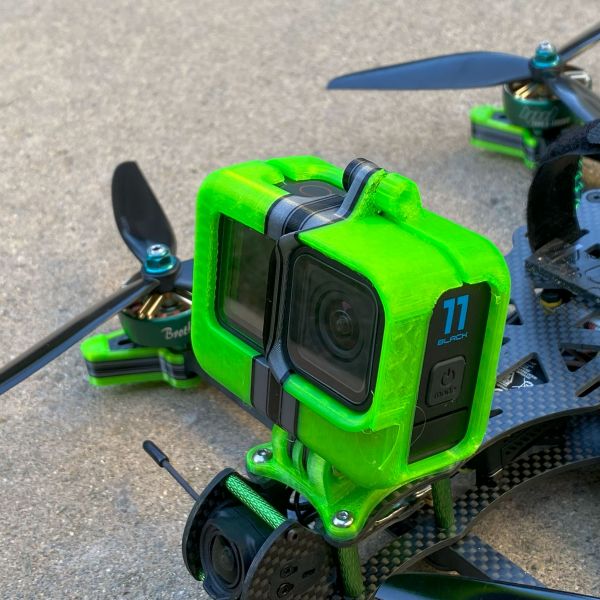
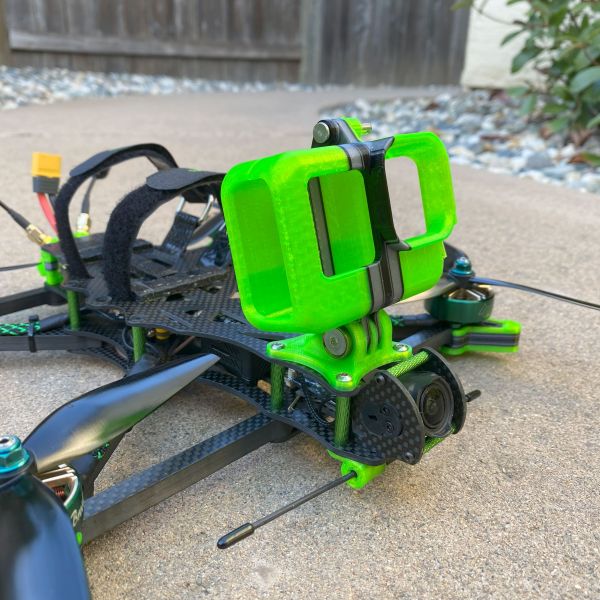
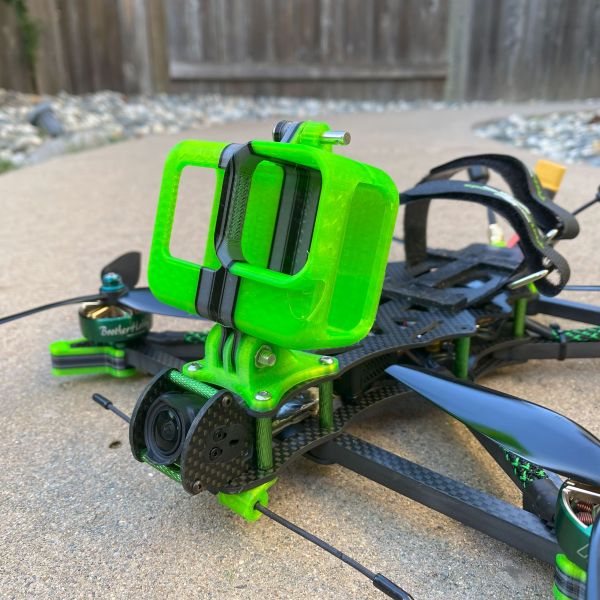
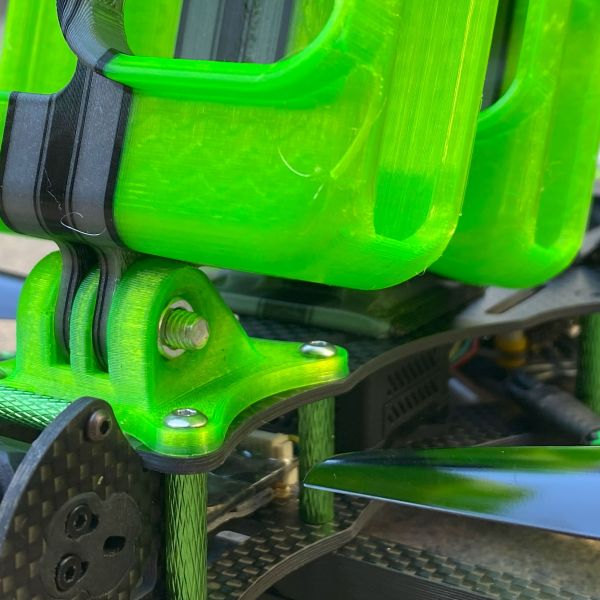
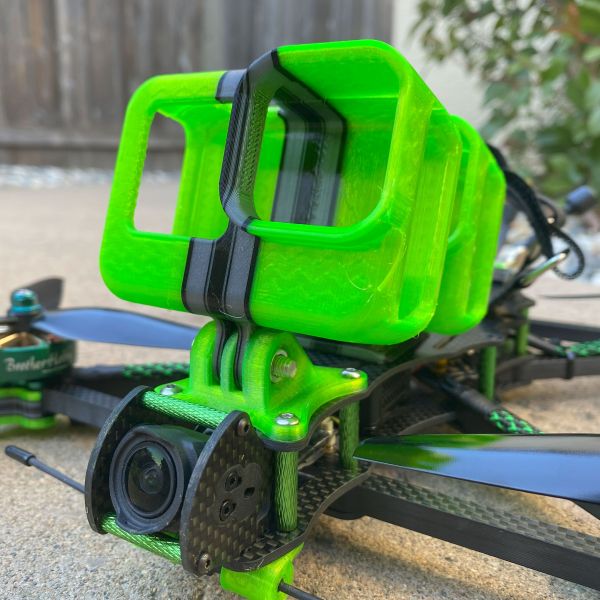
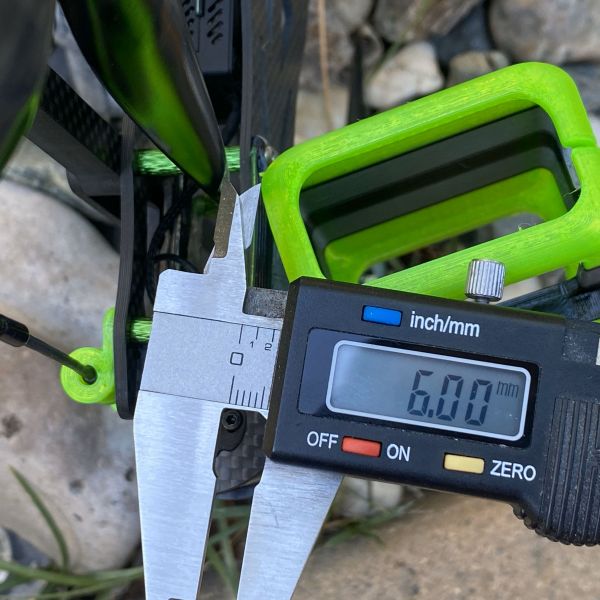
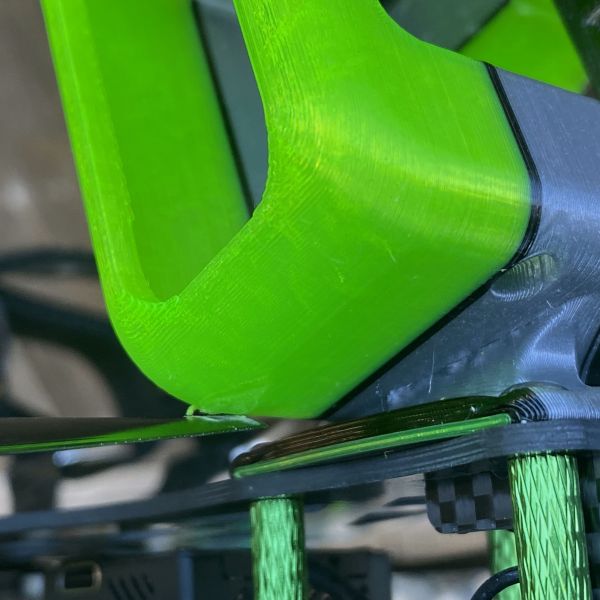
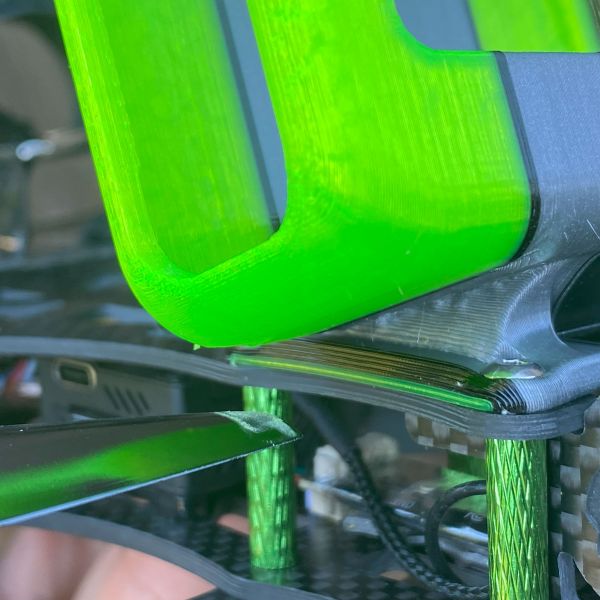
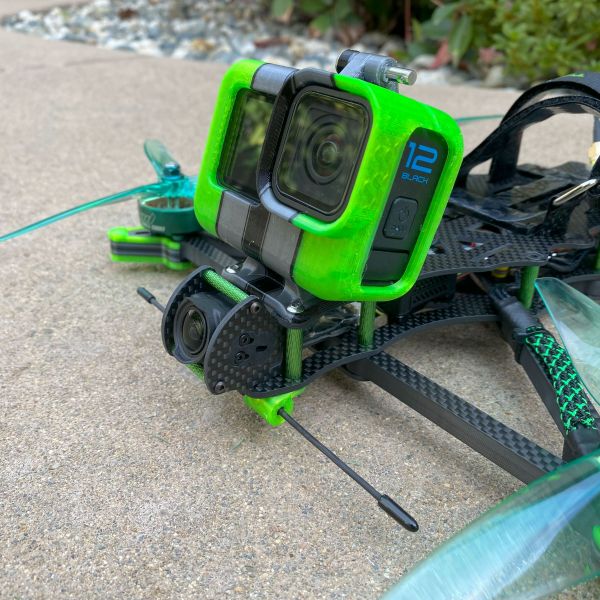
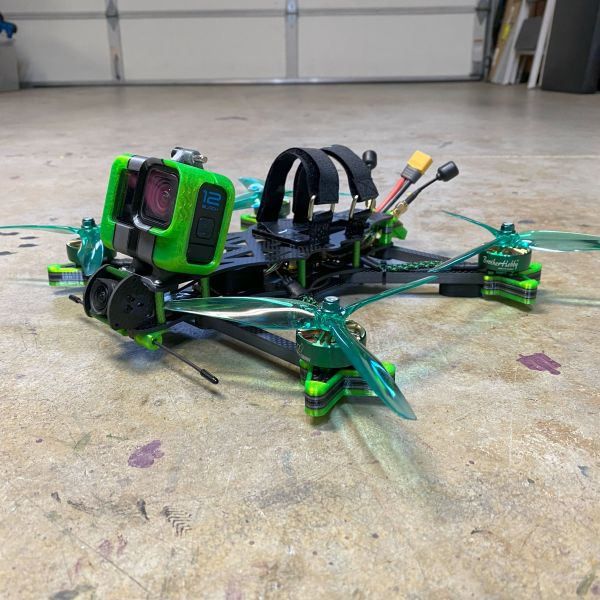
Typically, I like to keep the GoPro mount as low as possible to keep the CG low. But I forgot about how close the prop is to the bottom of the full-size GoPro. The last build I used a GoPro 11 mini, and it is narrower, so I did not have this issue. At rest, I have about 6mm space between the top of the prop to the bottom of the GoPro mount. If cruise around there is not force to cause the props to flex but if I start cornering faster the props will rub against the GoPro mount.
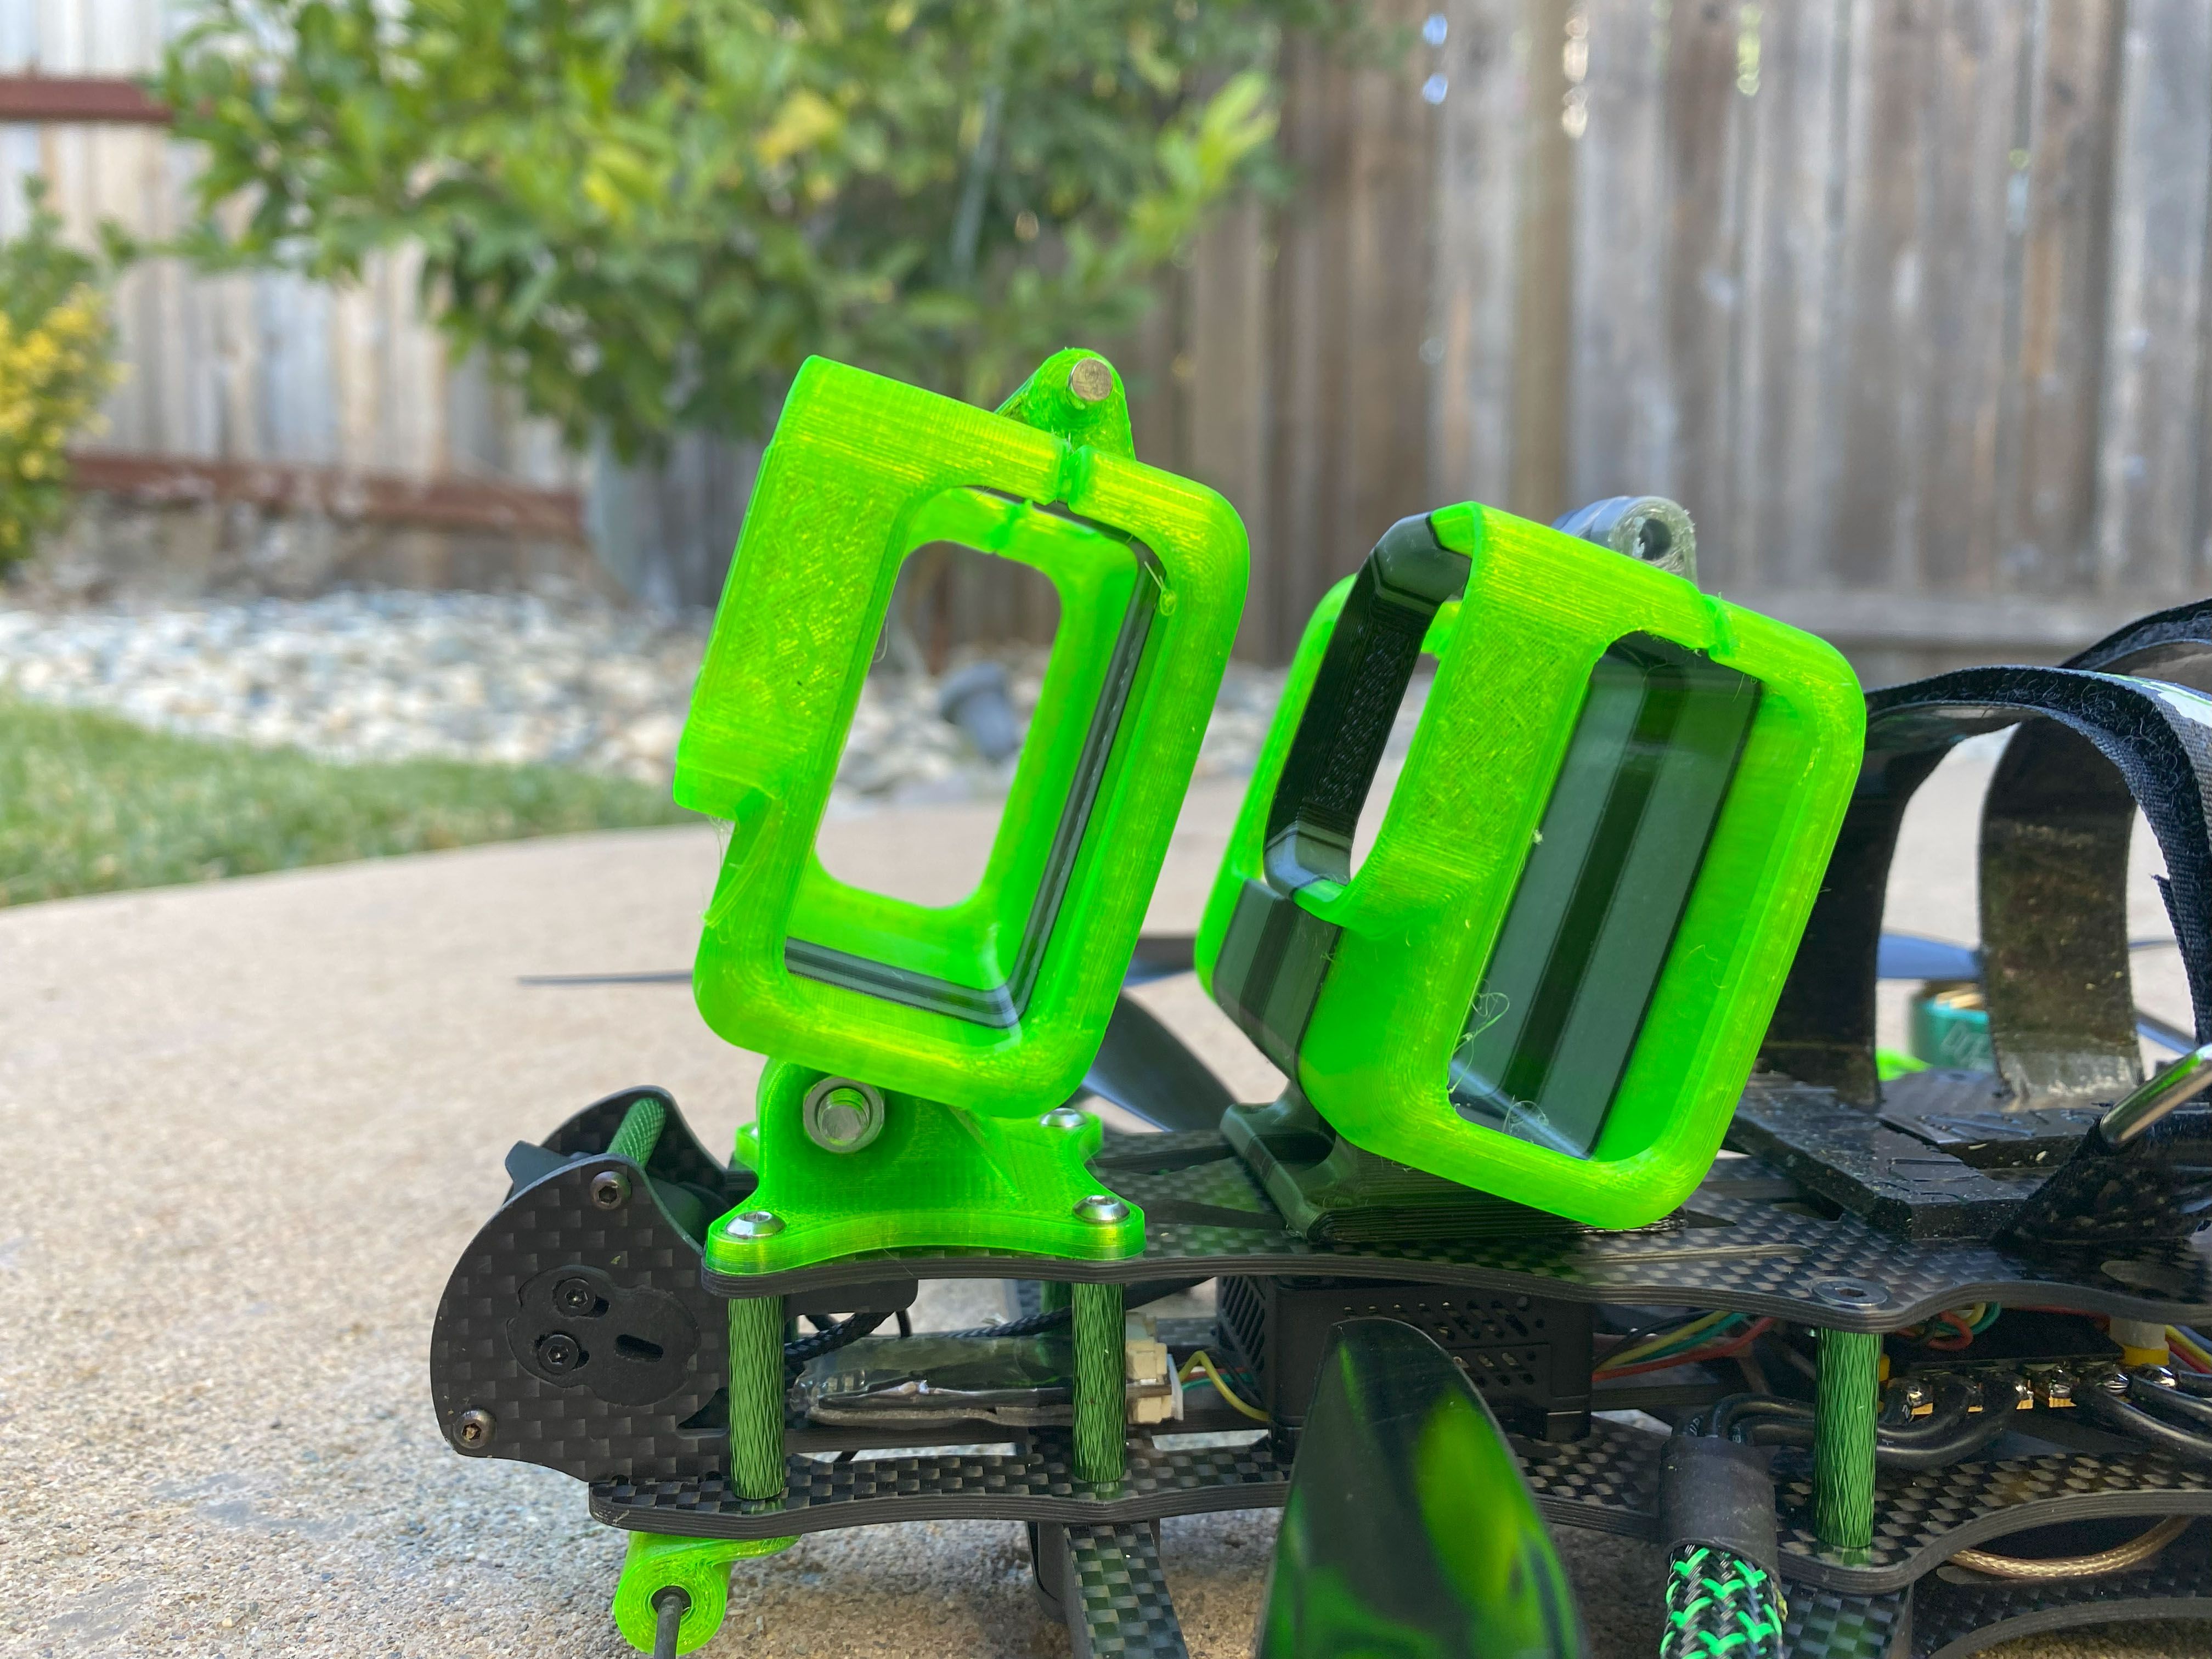
Here you can see the height difference between the adjustable angle camera mount, and now I will not have any issues with the props hitting the GoPro.
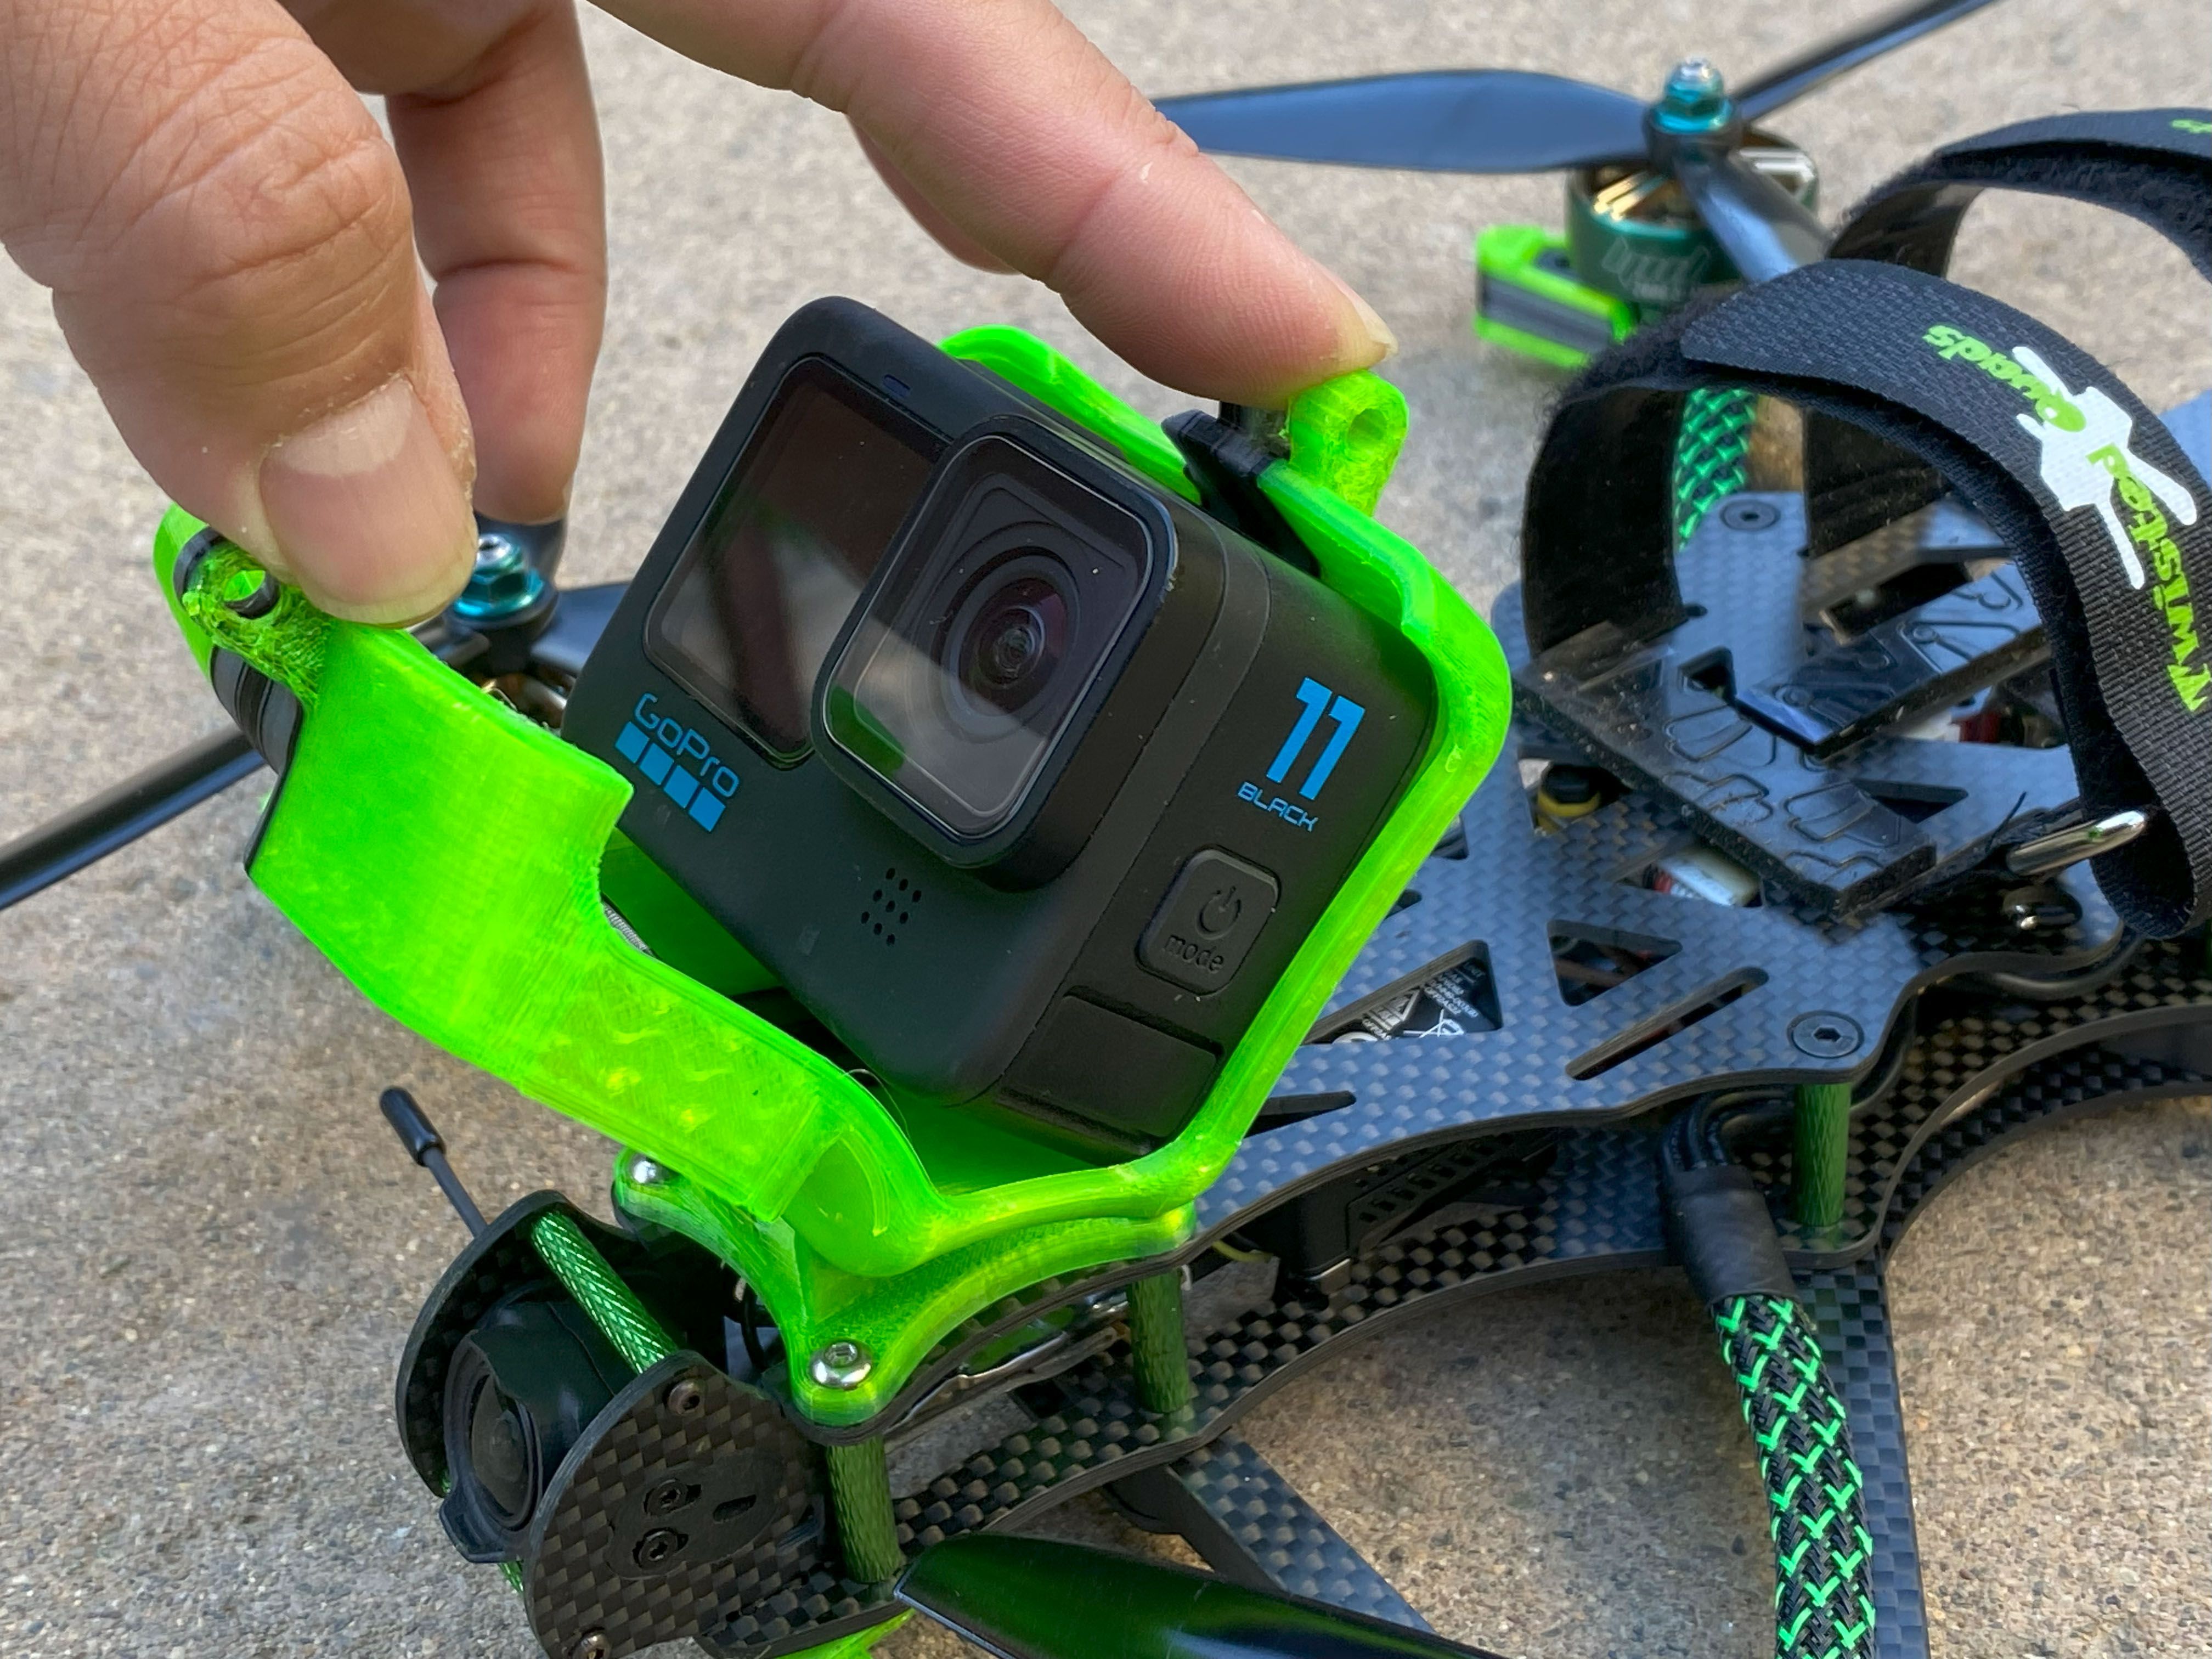
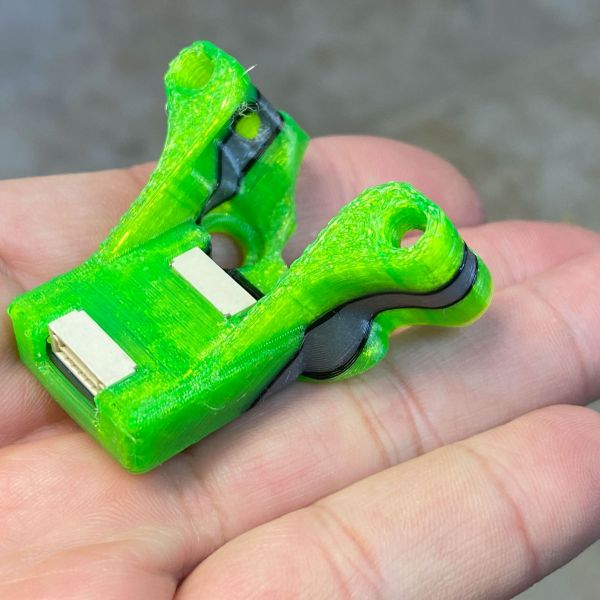
I do not like sliding the GoPro in and out of the mount, and I do not need to do that anymore with this clam shell GoPro mount that I found on Thingiverese.
Lots more about the build and test videos coming soon!!
Videos
Test flight footage - 3 versions of the same flight - GoPro 11, DJI O3 HD, and DJI DVR
GoPro 11 Recording: (Warning - Turn OFF your Sound)
DJI O3 HD Recording:
DJI DVR:
Photos
Part List
Show stores (10)Guides & Reviews
AirbladeUAV has done it again and this time they've brought long range to the 5" class! Based on the popular Transformer Mini, the new Transformer 5" Ultralight adopts a lot of the same design philosophies with larger props and more payload capacity. It can fly upwards of 20 minutes on a 4 cell Li-Ion battery pack and in ideal conditions it's got a range of over 4 to 5 miles. In this guide I'll walk..
Read moreWith the release of the DJI FPV Drone cinematic FPV has become a lot more accessible, but you certainly don't want to crash a $750 drone! The QAV-CINE Freybott is a compact, lightweight cinematic FPV drone that can take a hit and keep going. It's a lot safer to fly indoors and around people. With a naked GoPro or the SMO 4k you can capture some great stabilized footage. In this guide I'll show you..
Read more








New Message for wrong17