BumbleBeast - Brushless TinyWhoop
 By ShutterPriority on May 08, 2017
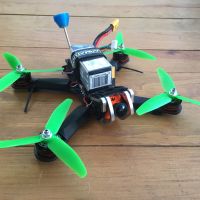
What do you get when you cross rainy-day TinyWhooping, a desire for brushless performance, a couple beers too many, and BangGood? The Bumblebeast.
05/08/2017 - Complete! flight tests and flight vids to come.
An indoor/outdoor TinyWhoop that performs as close to a "Big Quad" as possible in this form-factor.
Summary
What I liked
- Small(ish) more agile TinyWhoop package that is fully indoor/outdoor capable
- Much more responsive than even a well-built-insane-motors TinyWhoop - very responsive throttle
- A TinyWhoop with an OSD! No more guessing at battery voltage!
- It sounds like a flying hair-dryer!
What I didn't like
-
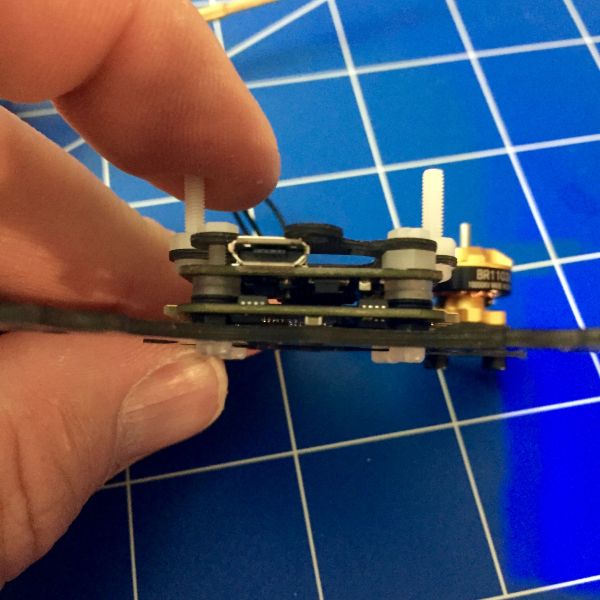
Too-tight build
The components chosenbarelydidn't fit into the frame. The frame was built with BangGood suggested parts (yes... I know...), but there was no way to build it with those parts without serious modifications/extra parts.
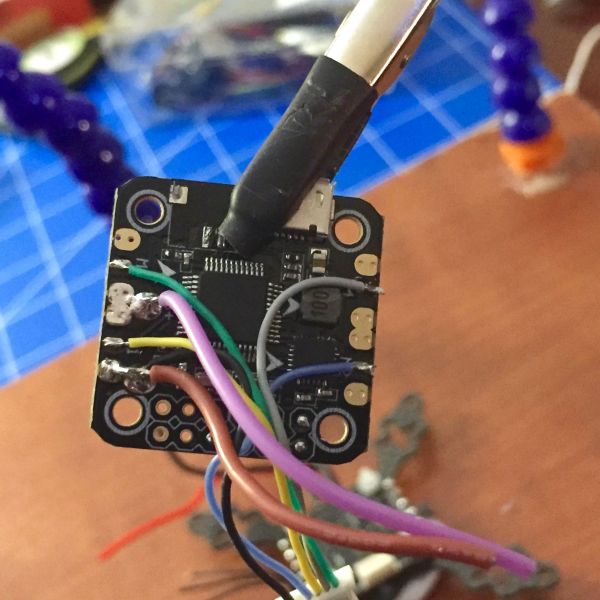
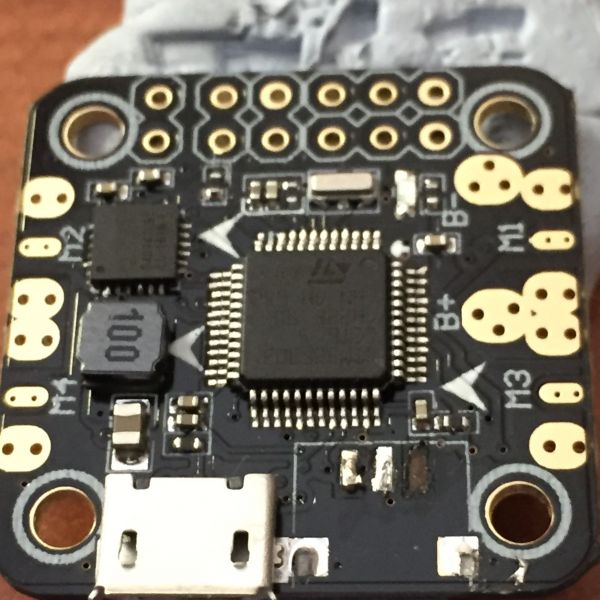
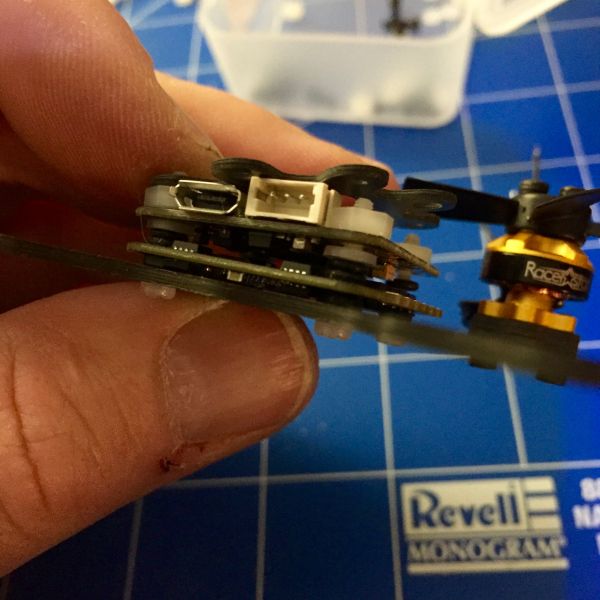
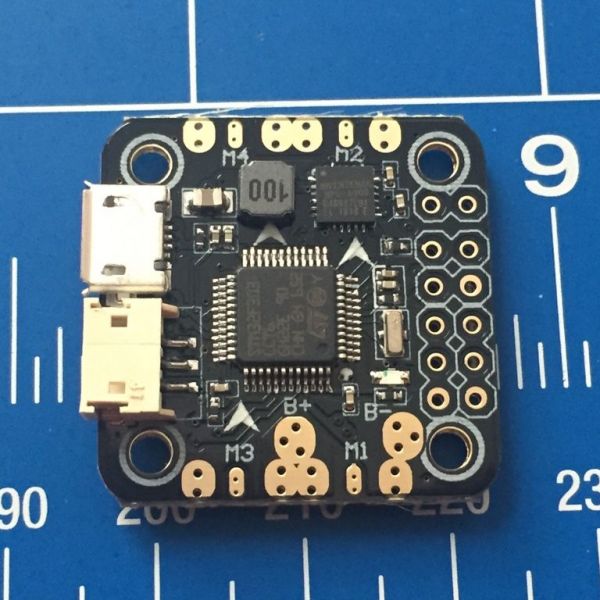
I had to remove a JST port on the FC because 3mm high was too high to fit this in the stack.
I had to use electrical tape to line certain sections of the frame, to ensure any flexing would not allow a solder-joint to touch carbon-fiber.
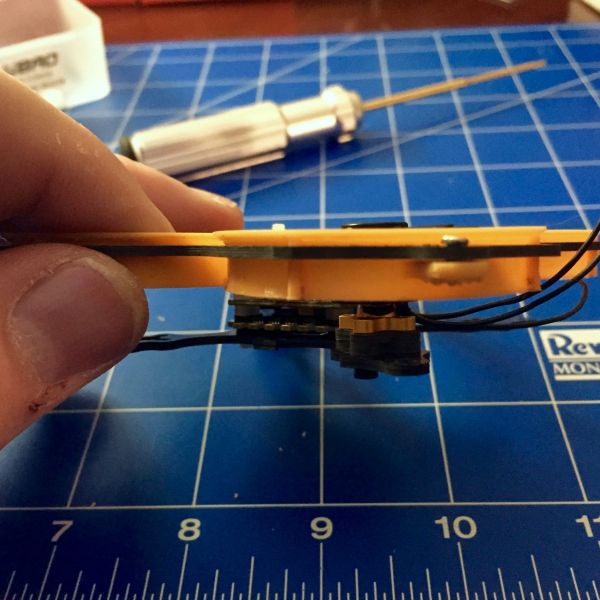
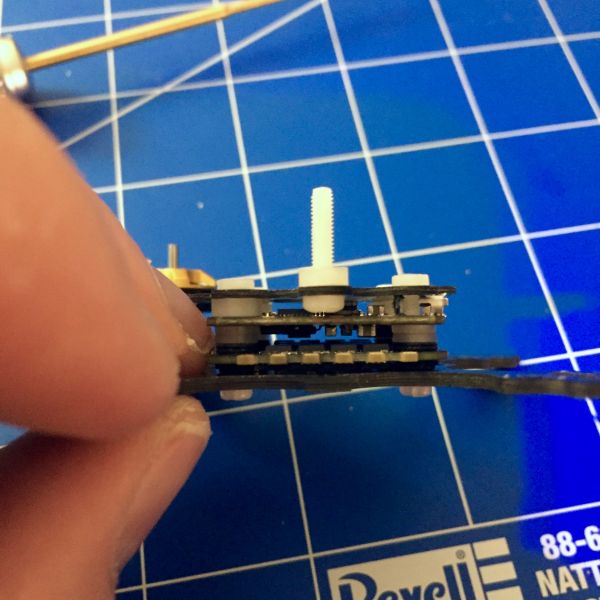
The height-budget for the stack was 14mm total, above the baseplate, and including the top-nuts. Any higher and it would hit the props.
Standard M2 standoffs (5.5mm) would have top-nuts hitting the props, and the props would be below the ductwork when mounted. - Mini F3 Omnibus BEC only 500ma - required external BEC to drive AIO Cam/VTX -- more weight
- Did I mention too-tight build? When dry-fitting the components takes longer than putting it all together in the final build....
- I don't expect detailed instructions, but some diagram showing how this frame was supposed to go together would've been nice. It was like putting together a puzzle without the box-top to even see what the picture was.
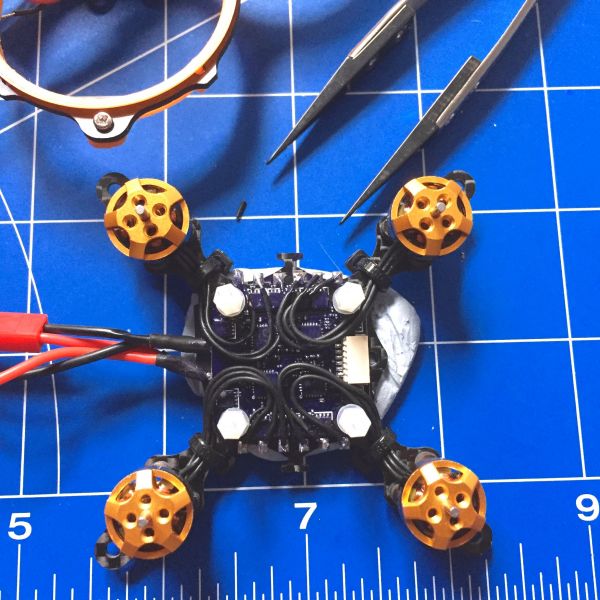
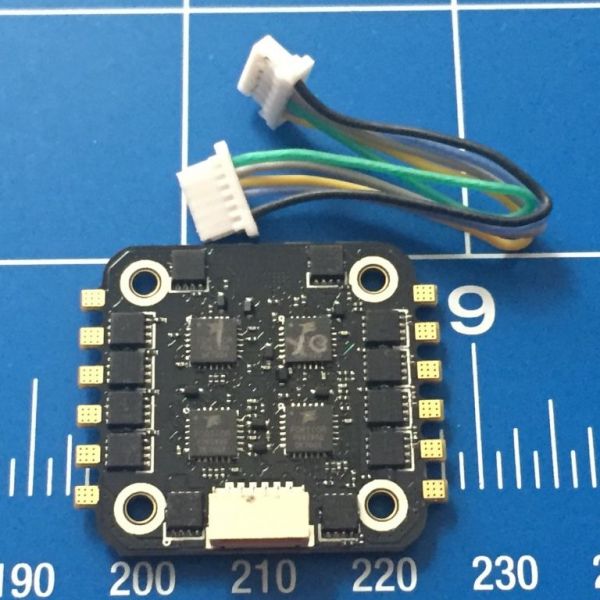
- Eachine Minicube 4-in-1 10A ESC - the corner FETs are too close to the mounting holes. M2 round spacers would hit, and M2 standoffs would have one flat side touching the FETs, which made me think that a few crashes might loosen a FET off its SMD mount. I used very small O-rings there as a spacer in the final build.
Would I build it again?
No.
You'll note I left the motor wires long (yet still nicely laid out) when attaching them to the ESC's -- I did that knowing that if I break this frame I would move to a larger frame. The pain of building this does not justify the size.
While this is ducted, and generally small enough to run in the house, I'm not sure how much I'll do that with this build as it's pretty heavy and has potential to damage an object/person more if you hit them.
Original Goals (and did I acheive them?)
- Close to brushless performance in a TinyWhoop 65mm package (I hope)
It performs better than a TW, and the throttle is truly responsive so yes
- Longer motor life than brushed (given)
- Integrated OSD: intercept video out on TX03 (partial mullet-mod)
Acheived! See photos. DVR Flight vids to come!
- Full range RX/VTX for outdoors/neighborhood 'whooping' (given, tests to come)
- DSHOT300 with 4K/2K Gyro/PID loops (acheived)
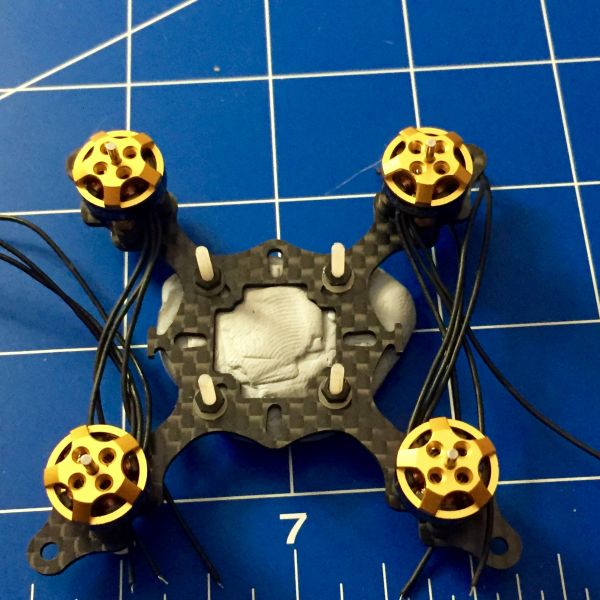
Soft mount as much as possible to try and run with limited filtering and PT1 dterm_lowpass_type for a smooth whoopNope: There wasn't enough room to fully soft mount the FC. Will try to Soft mount the motors later with small o-rings as there is a little room if you take away one of the carbon mount shims (see side photo of motor mount)
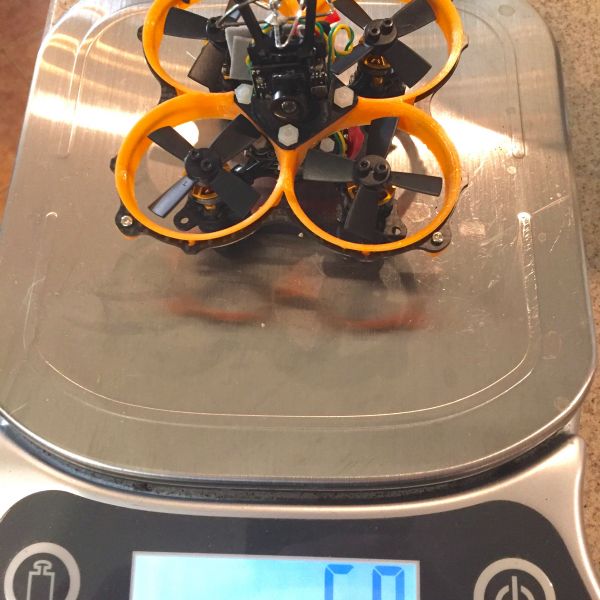
Final weight (dry) was 58g + 21g for 350mah 2S Battery.
That's about 13g heavier than I estimated. Some of that is the 5v 1.5A BEC I had to add to support the VTX, but I suspect the rest is errors in estimated/documented frame weight, wiring, and conformal coating/electrical tape to prevent boards from shorting out in the tightly packed stack.
As far as final thrust:weight values -- will try and reverse-mount props and do an informal thrust-test on a scale later. Original estimate was for about a 2.5:1 Thrust:Weight ratio.
Thrust-to-Weight Test Video
UPDATED: 05/09/2017
Link to Thrust Test video on Youtube
This is the BR1103B 10,000KVs with a 1.5" set of blades from BetaFPV
While my assumptions about single motor thrust were about right (46.5g thrust average), sadly when all 4 motors are spun up the limitation is the 450mAh LiPO not being able to keep up with the current draw, so that drops down to about 30g.
In the end that means that this build, in the air, only gets about 1.5:1 Thrust:Weight, instead of the intended 2 to 1.
I have other LiPo's coming for this build, so hopefully one will work out better.
Now that I've sobered up done some analysis after ordering, I realize I should have went with a frame that would take 55mm/2.1in props for the best thrust-to-weight in a small brushless class, but this frame was already ordered. When I crack an arm, these motors will go on a 2.1inch build without ducts. (Update: 05/30/2017 - Yep, cracked an arm. Was flying without ducts and "alternative motor mounting" to fit 1935x4 props and hit a tree. The 1935x4 blades work pretty well on this motor - ordering up some other frames from ArmattanProductions to test/build a true 2" with these BR1103Bs, and hopefully the 2mm thick frame on the ArmattanProductions version is still light enough. )
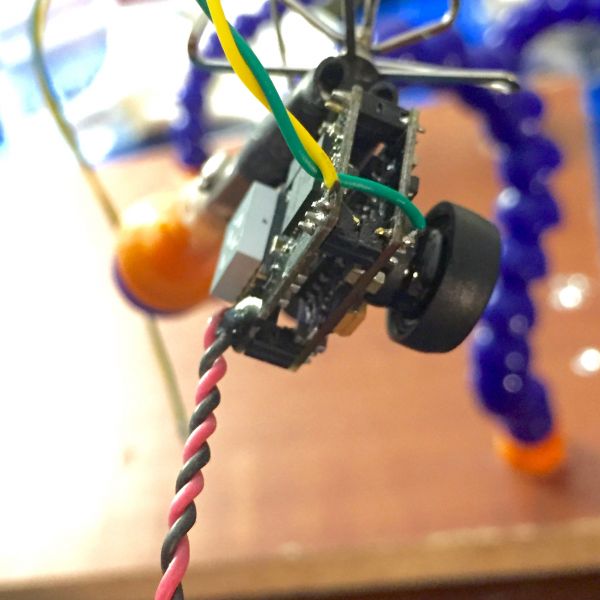
Still need to clean-up the mounting of the BEC/Frsky XM+ on the back. There is no room between the duct and the carbon top-plate to put either of them.
I cleaned up the BEC from the back and managed to make room between the TPU ductwork and the top carbon-plate. Now only the XM+ receiver is left behind the camera. You can see the cleaned-up layout in the thrust-test video.
Photo Notes
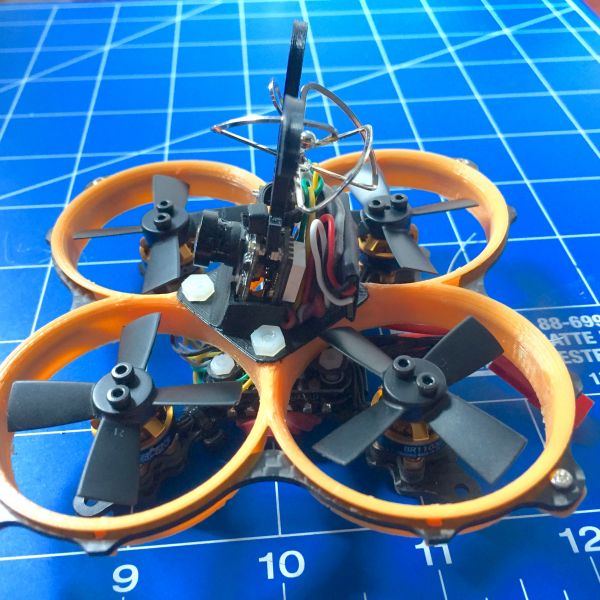
- Profile view
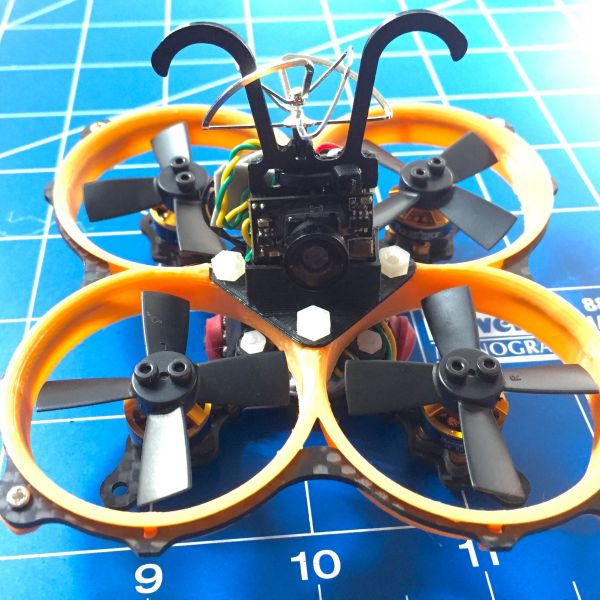
- Front view
- Dry weight 58g
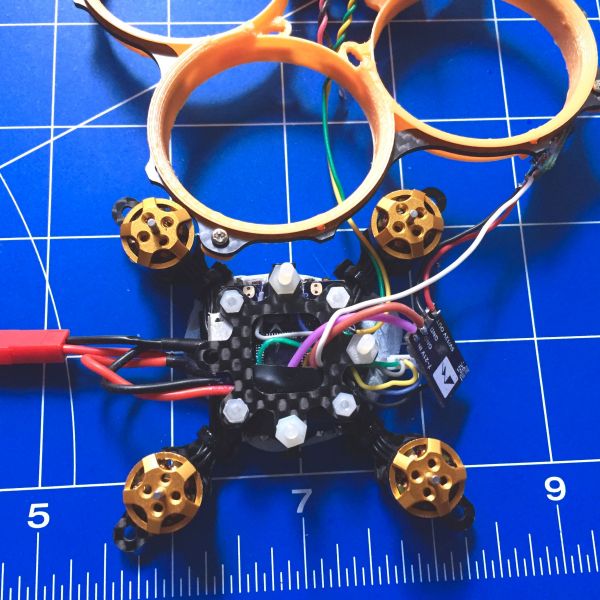
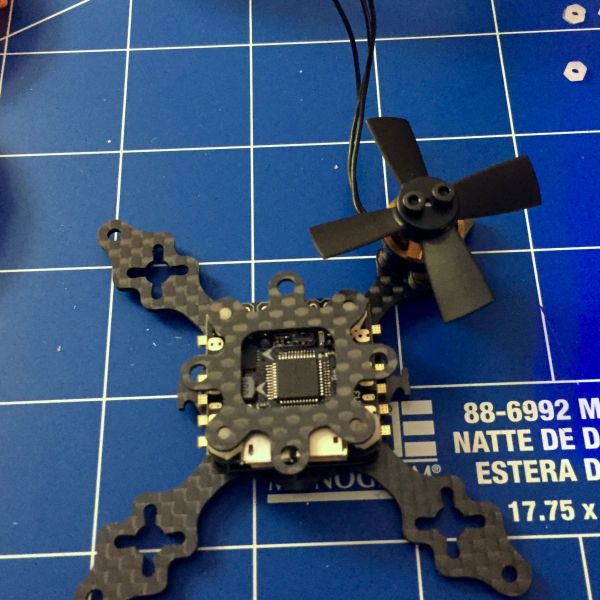
- Top mounting plate on the stack, preparing to mount ducts/camera - yes that's electrical tape.
- Motor to ESC wiring. Yes they're long. So I can reuse these motors on a better frame when I break this one.
- Frame baseplate and motor mounting
- Soldering up the Omnibus F3 mini
- TX03 - intercepting video signal on outer pin between camera and VTX, to insert OSD overlay.
- Dry fitting components - side view of mounted BR1103B and mount shims provided with kit for appropriate height
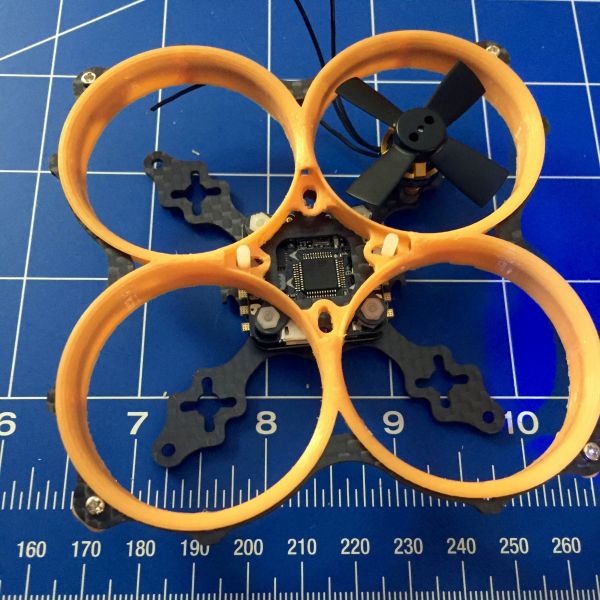
- Dry fitting components - top view of partially mounted ducts
- Dry fitting components - side view of stack space (or lack thereof)
- Dry fitting components - top carbon duct-mount-plate now fits after removing JST-SH DSM/X port
- Dry fitting components - Omni F3 with removal of JST-SH DSM/X port (luckily I'm using SBUS)
- Dry fitting components - JST-SH is too fat... now you can see how tight this build is
- Dry fitting components - my first halfway successful attempt at how-the-fuck-do-you-build-this-thing? (27 other tries not shown)
- Omnibus F3 Mini
- Eachine Minicube 4-in-1 10A ESC - note that the corner FETs are too close to the mounting holes.
Photos
Part List
Show stores (2)What's the PDB for?
Yeah, it's improperly titled on Amazon. It's a 5V BEC that does 1.5A (instead of the 500mAh limitation of the Mini Omni F3's built-in BEC). If you click the link you can see it's just a micro BEC.
I needed more than the 500mAh so I could do 200mw on the TX03 AIO. At peak the specs say it draws about 750mAh when it's on 200mw. The build is so tight I didn't want to take a chance at adding heat in the middle of that stack, as the Omni F3's are pretty well known for slightly dodgy BEC circuitry.
If you look at the 4th photo from the top, with the carbon-fiber top-plate installed, you can see the Matek BEC hanging off the Brown/Purple wires without any heat-shrink on it yet.



Will you do another build that accomplishes your old/new goals o