
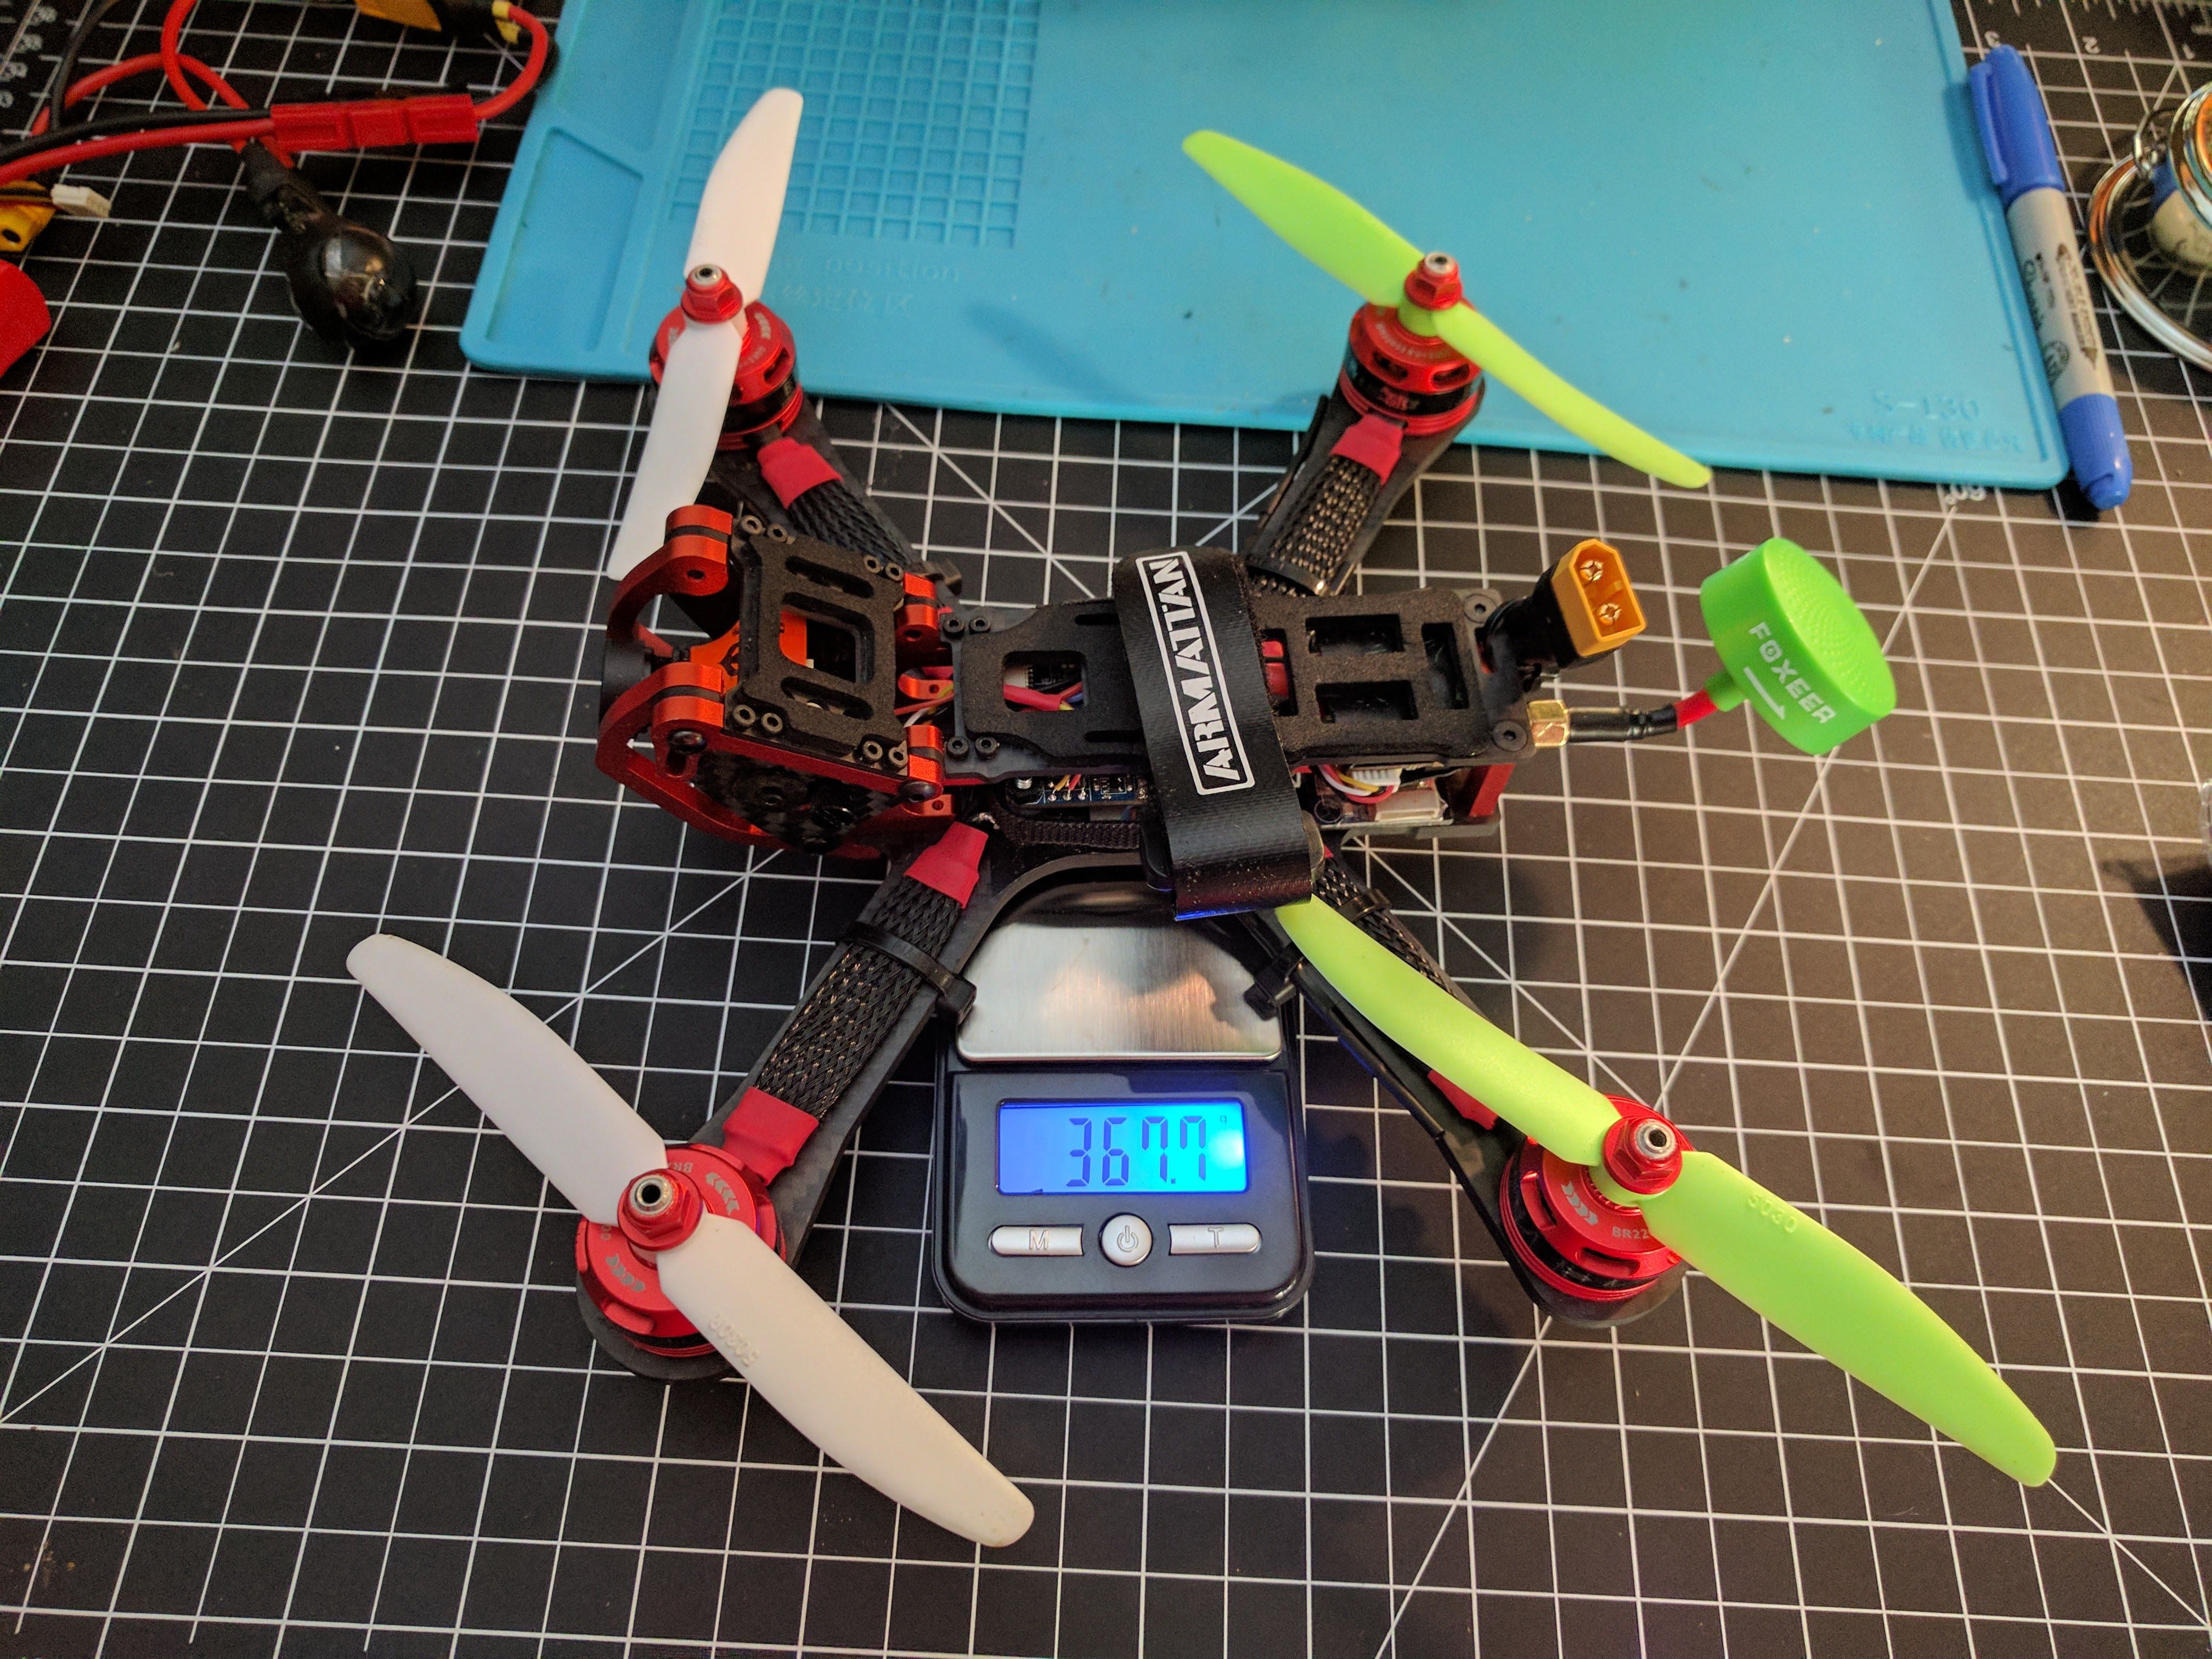
My first 5" build. Note that pics progress in time downwards (newest last).
- Went with the Chameleon frame as it seems like it should be pretty durable and also protect the camera. Also like the low-rider battery placement on the top.
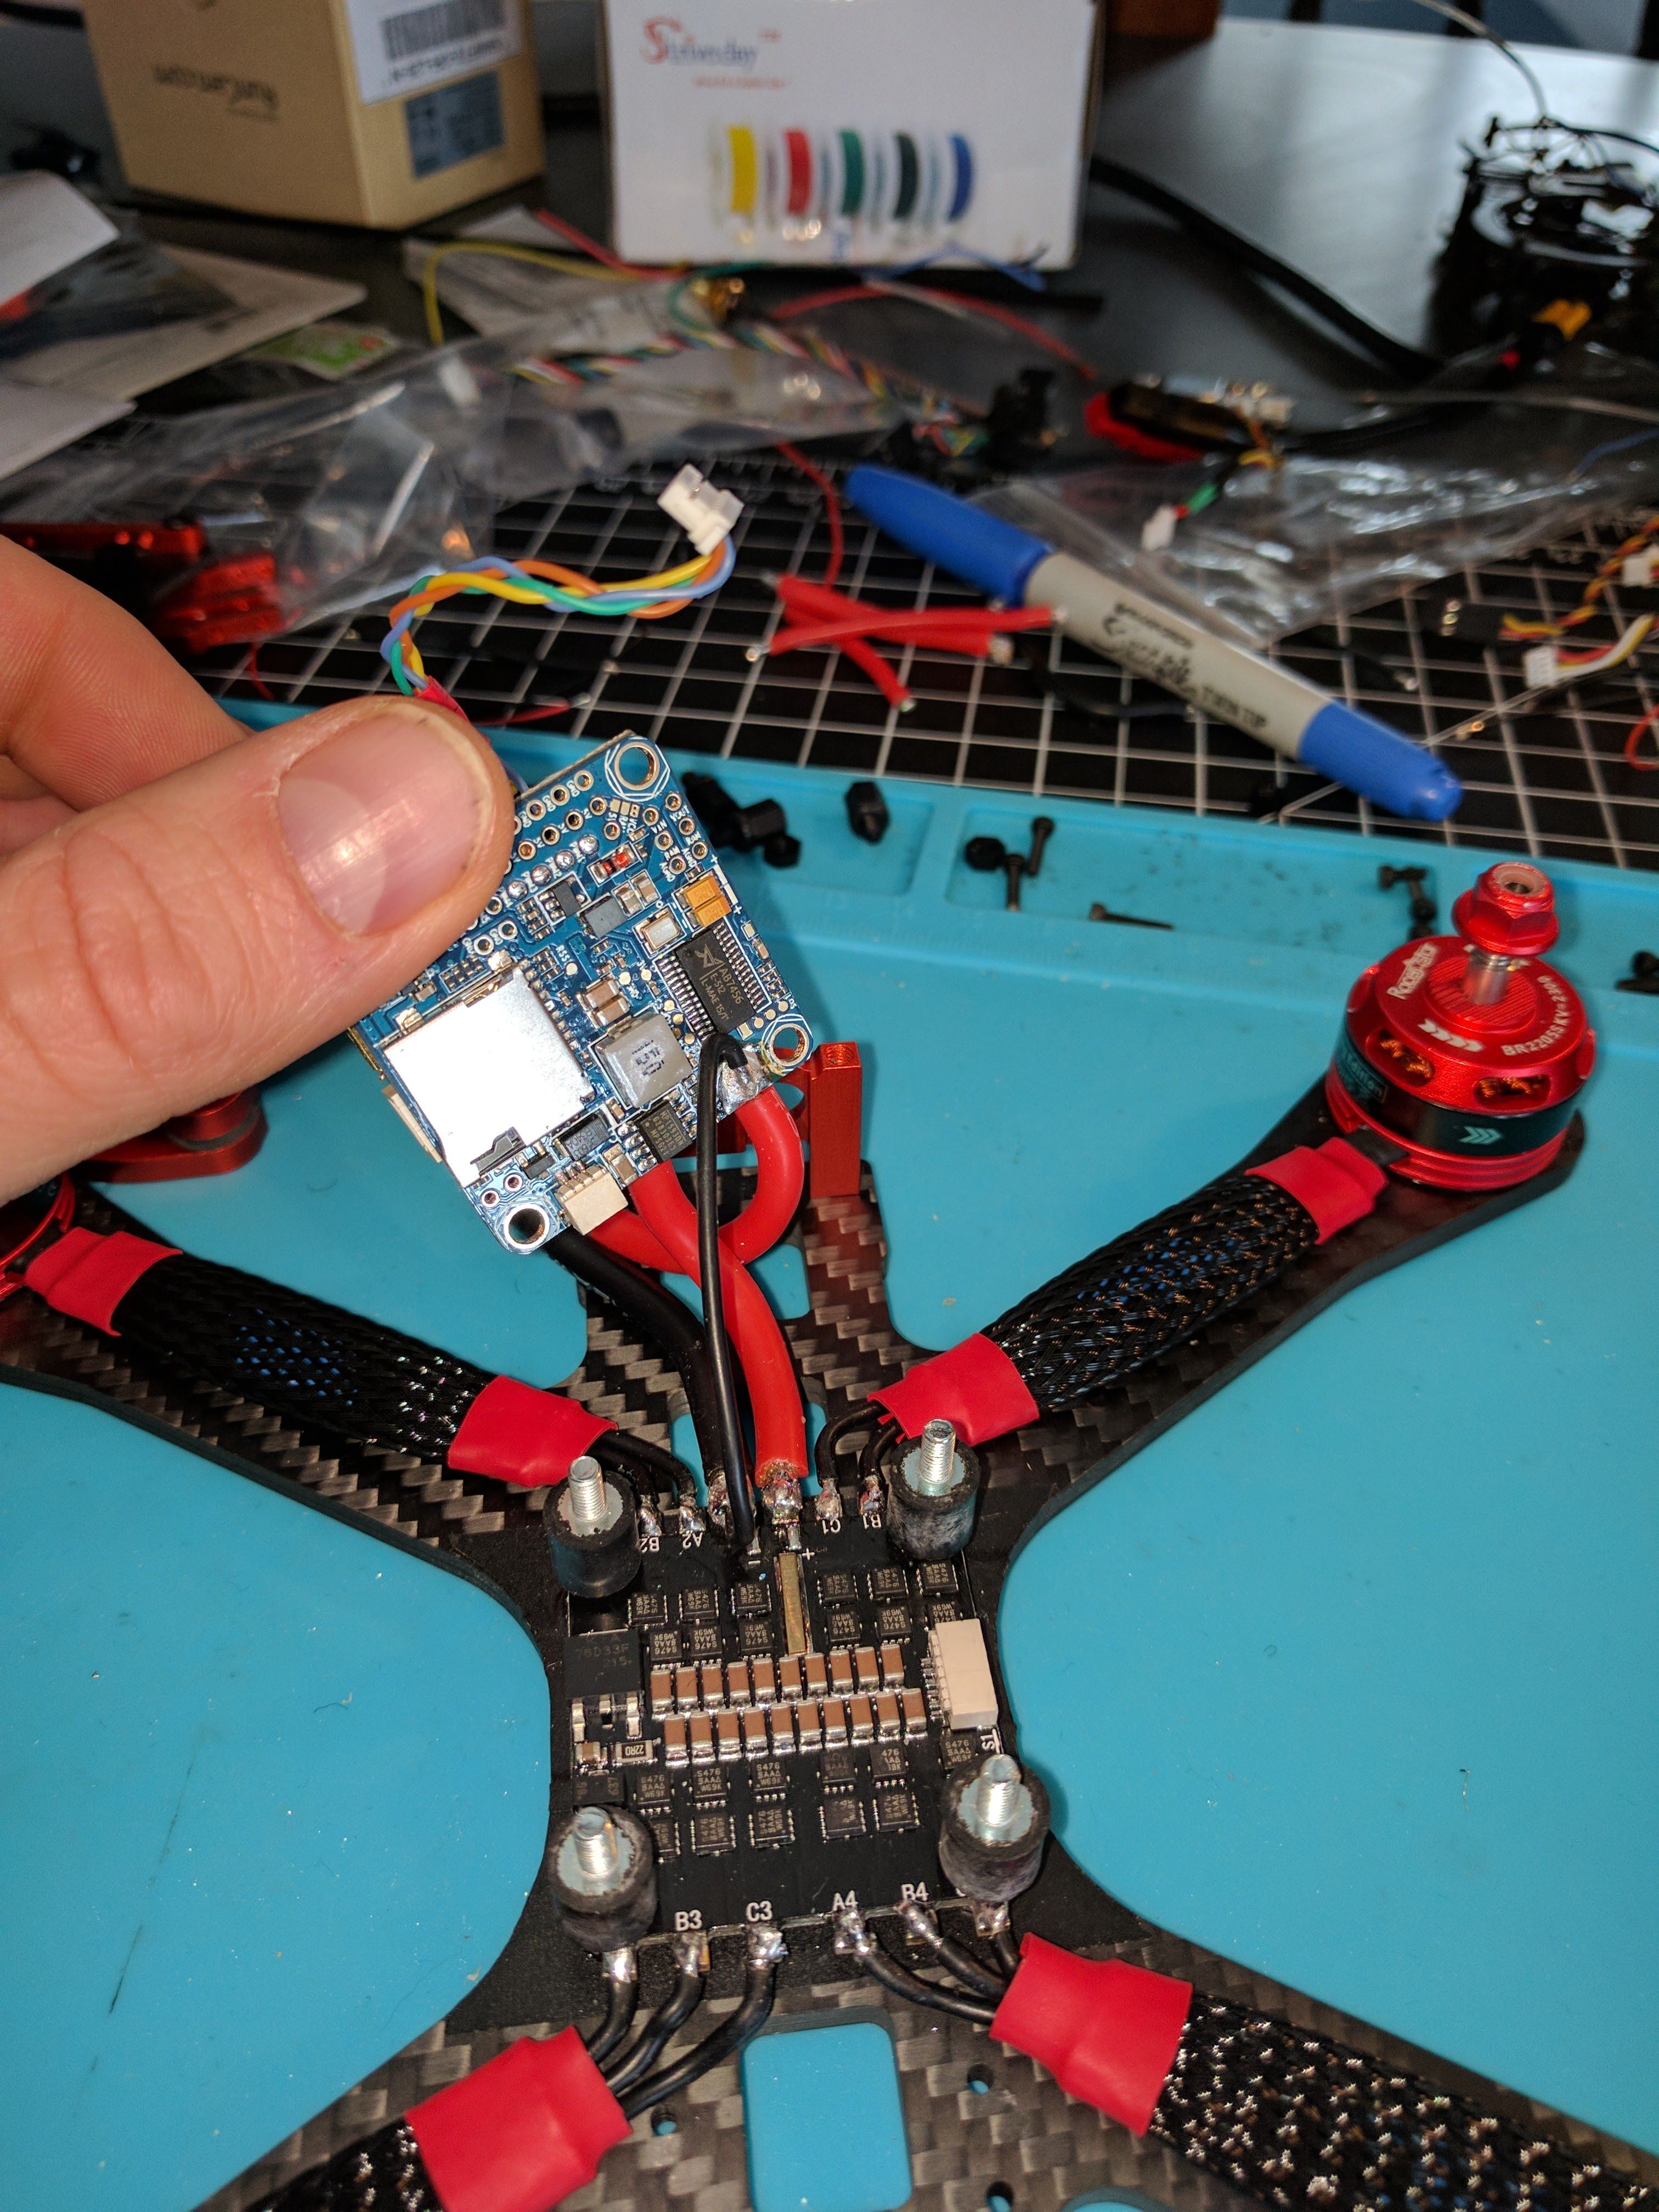
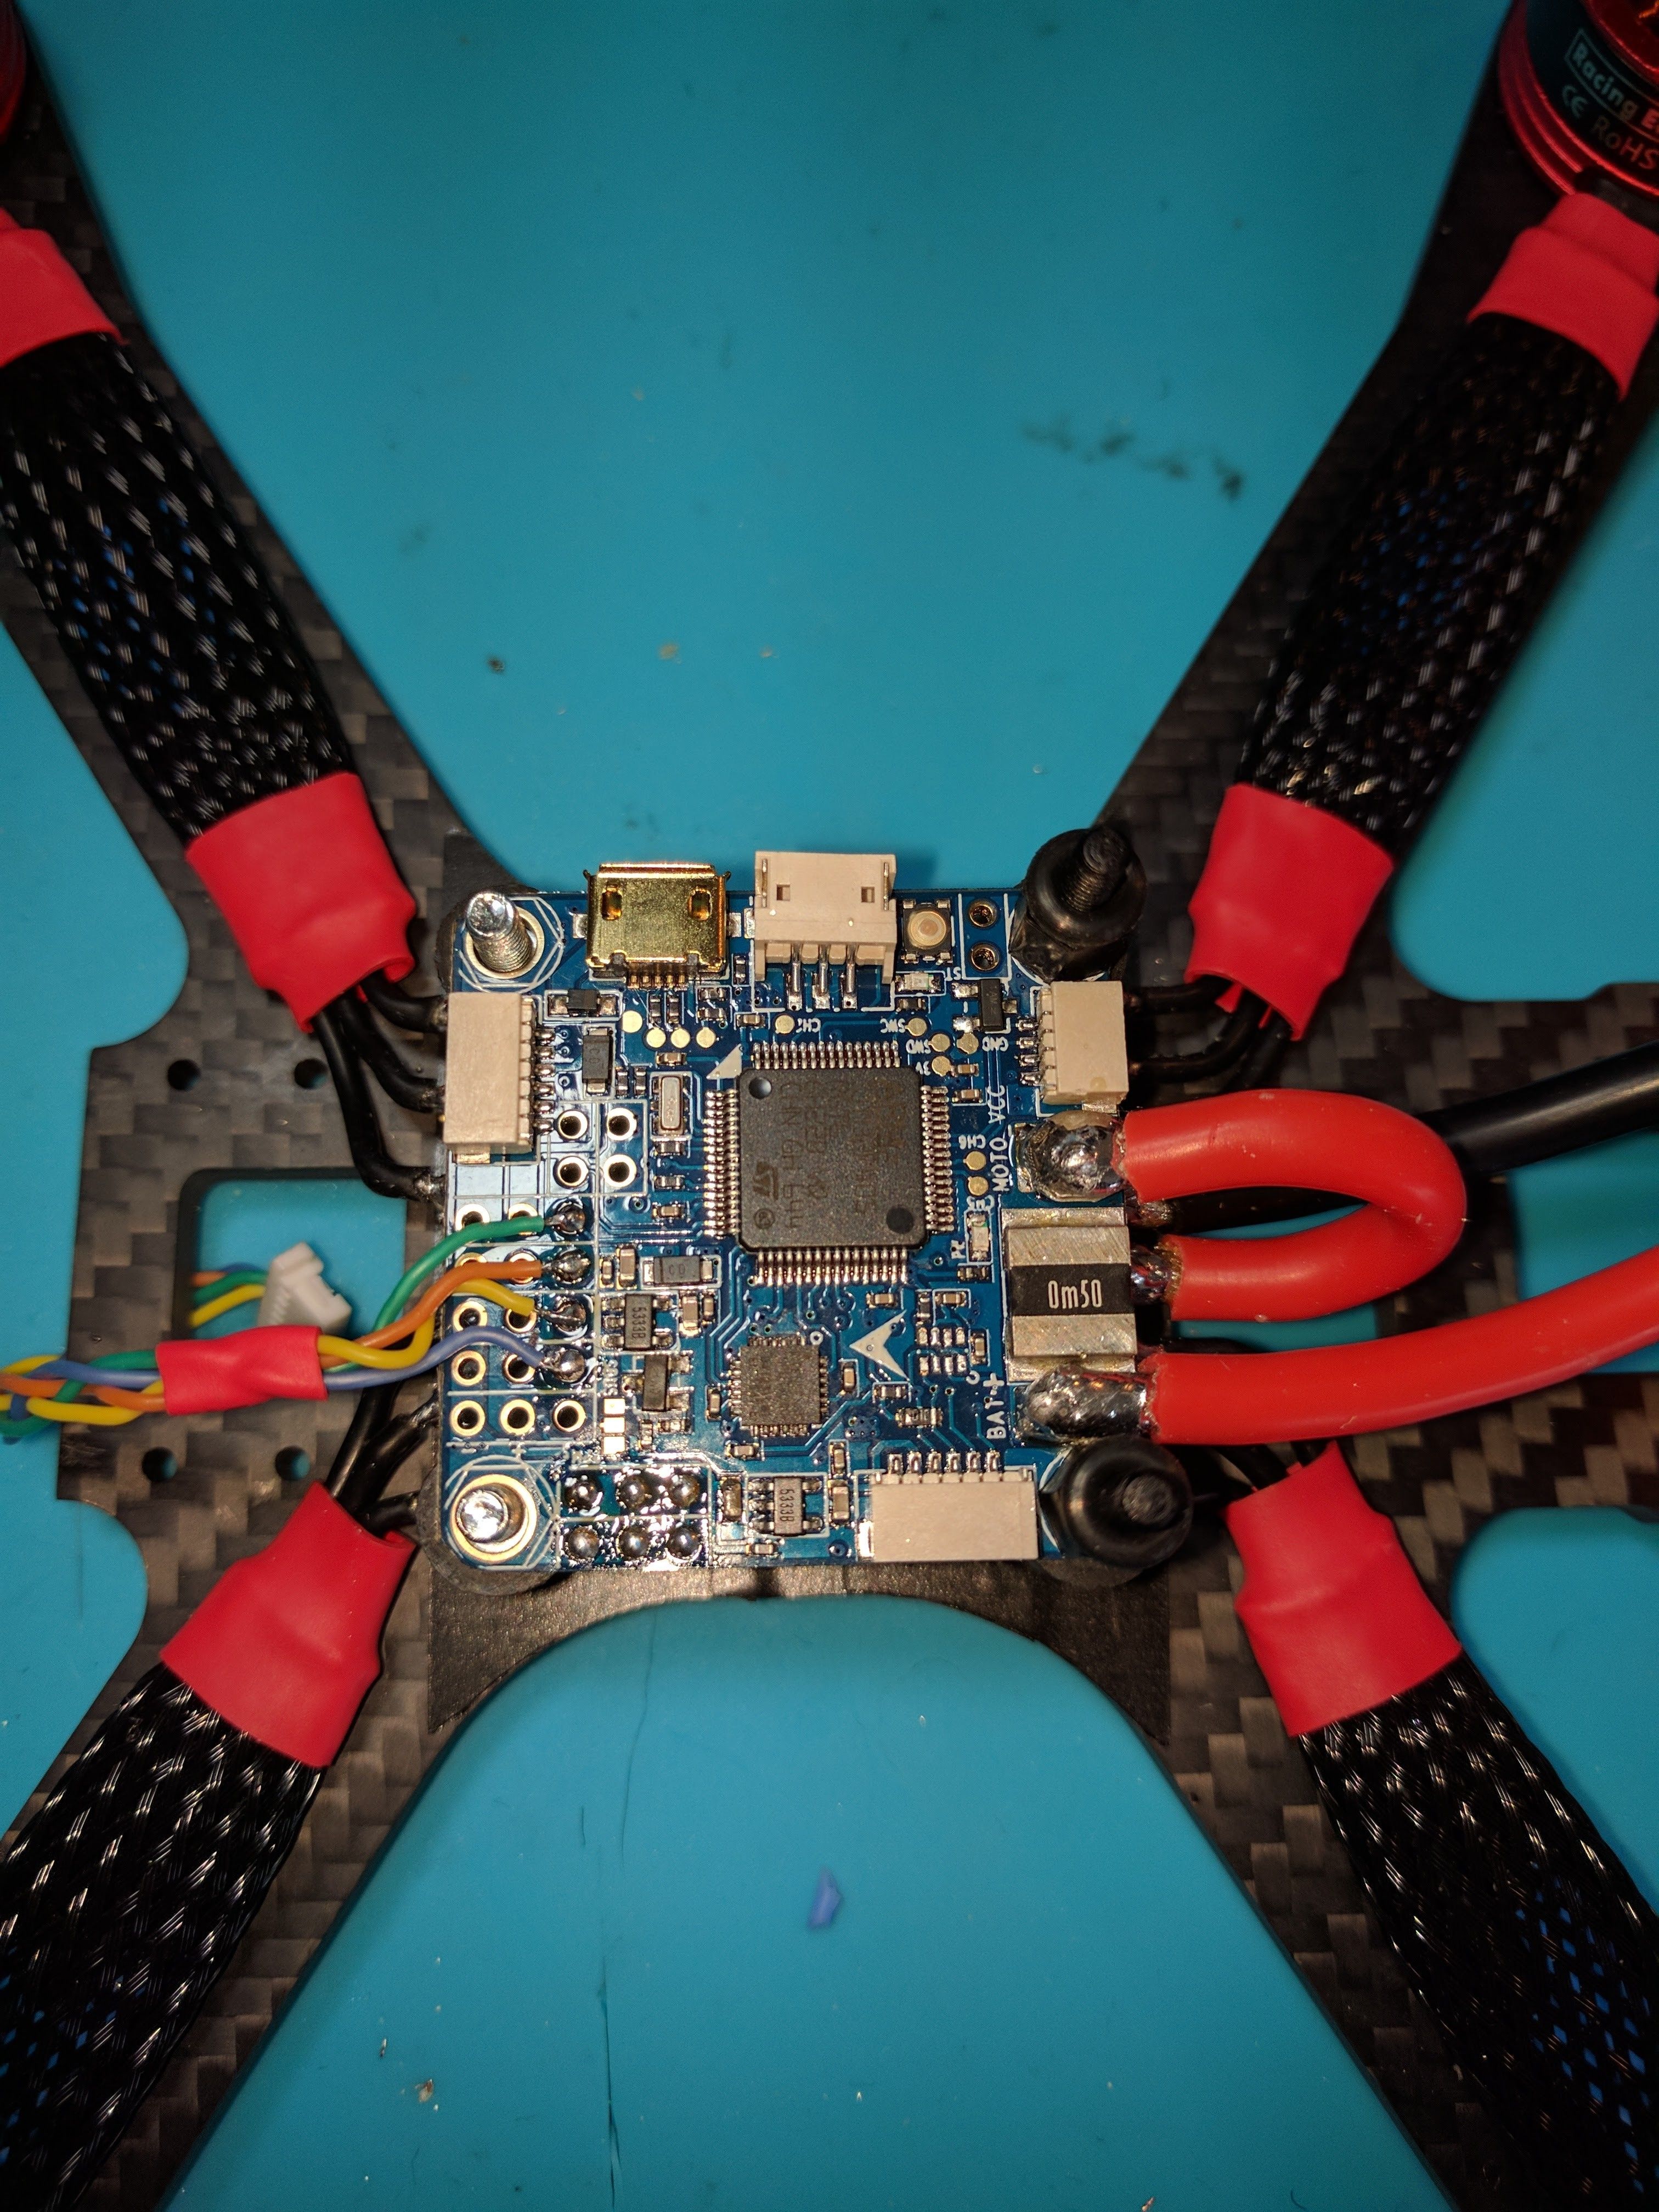
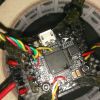
- Using a Omnibus mainly for the built in betaflight OSD, but also seems like a kitchen sink, so should future proof a bit (assuming it survives).
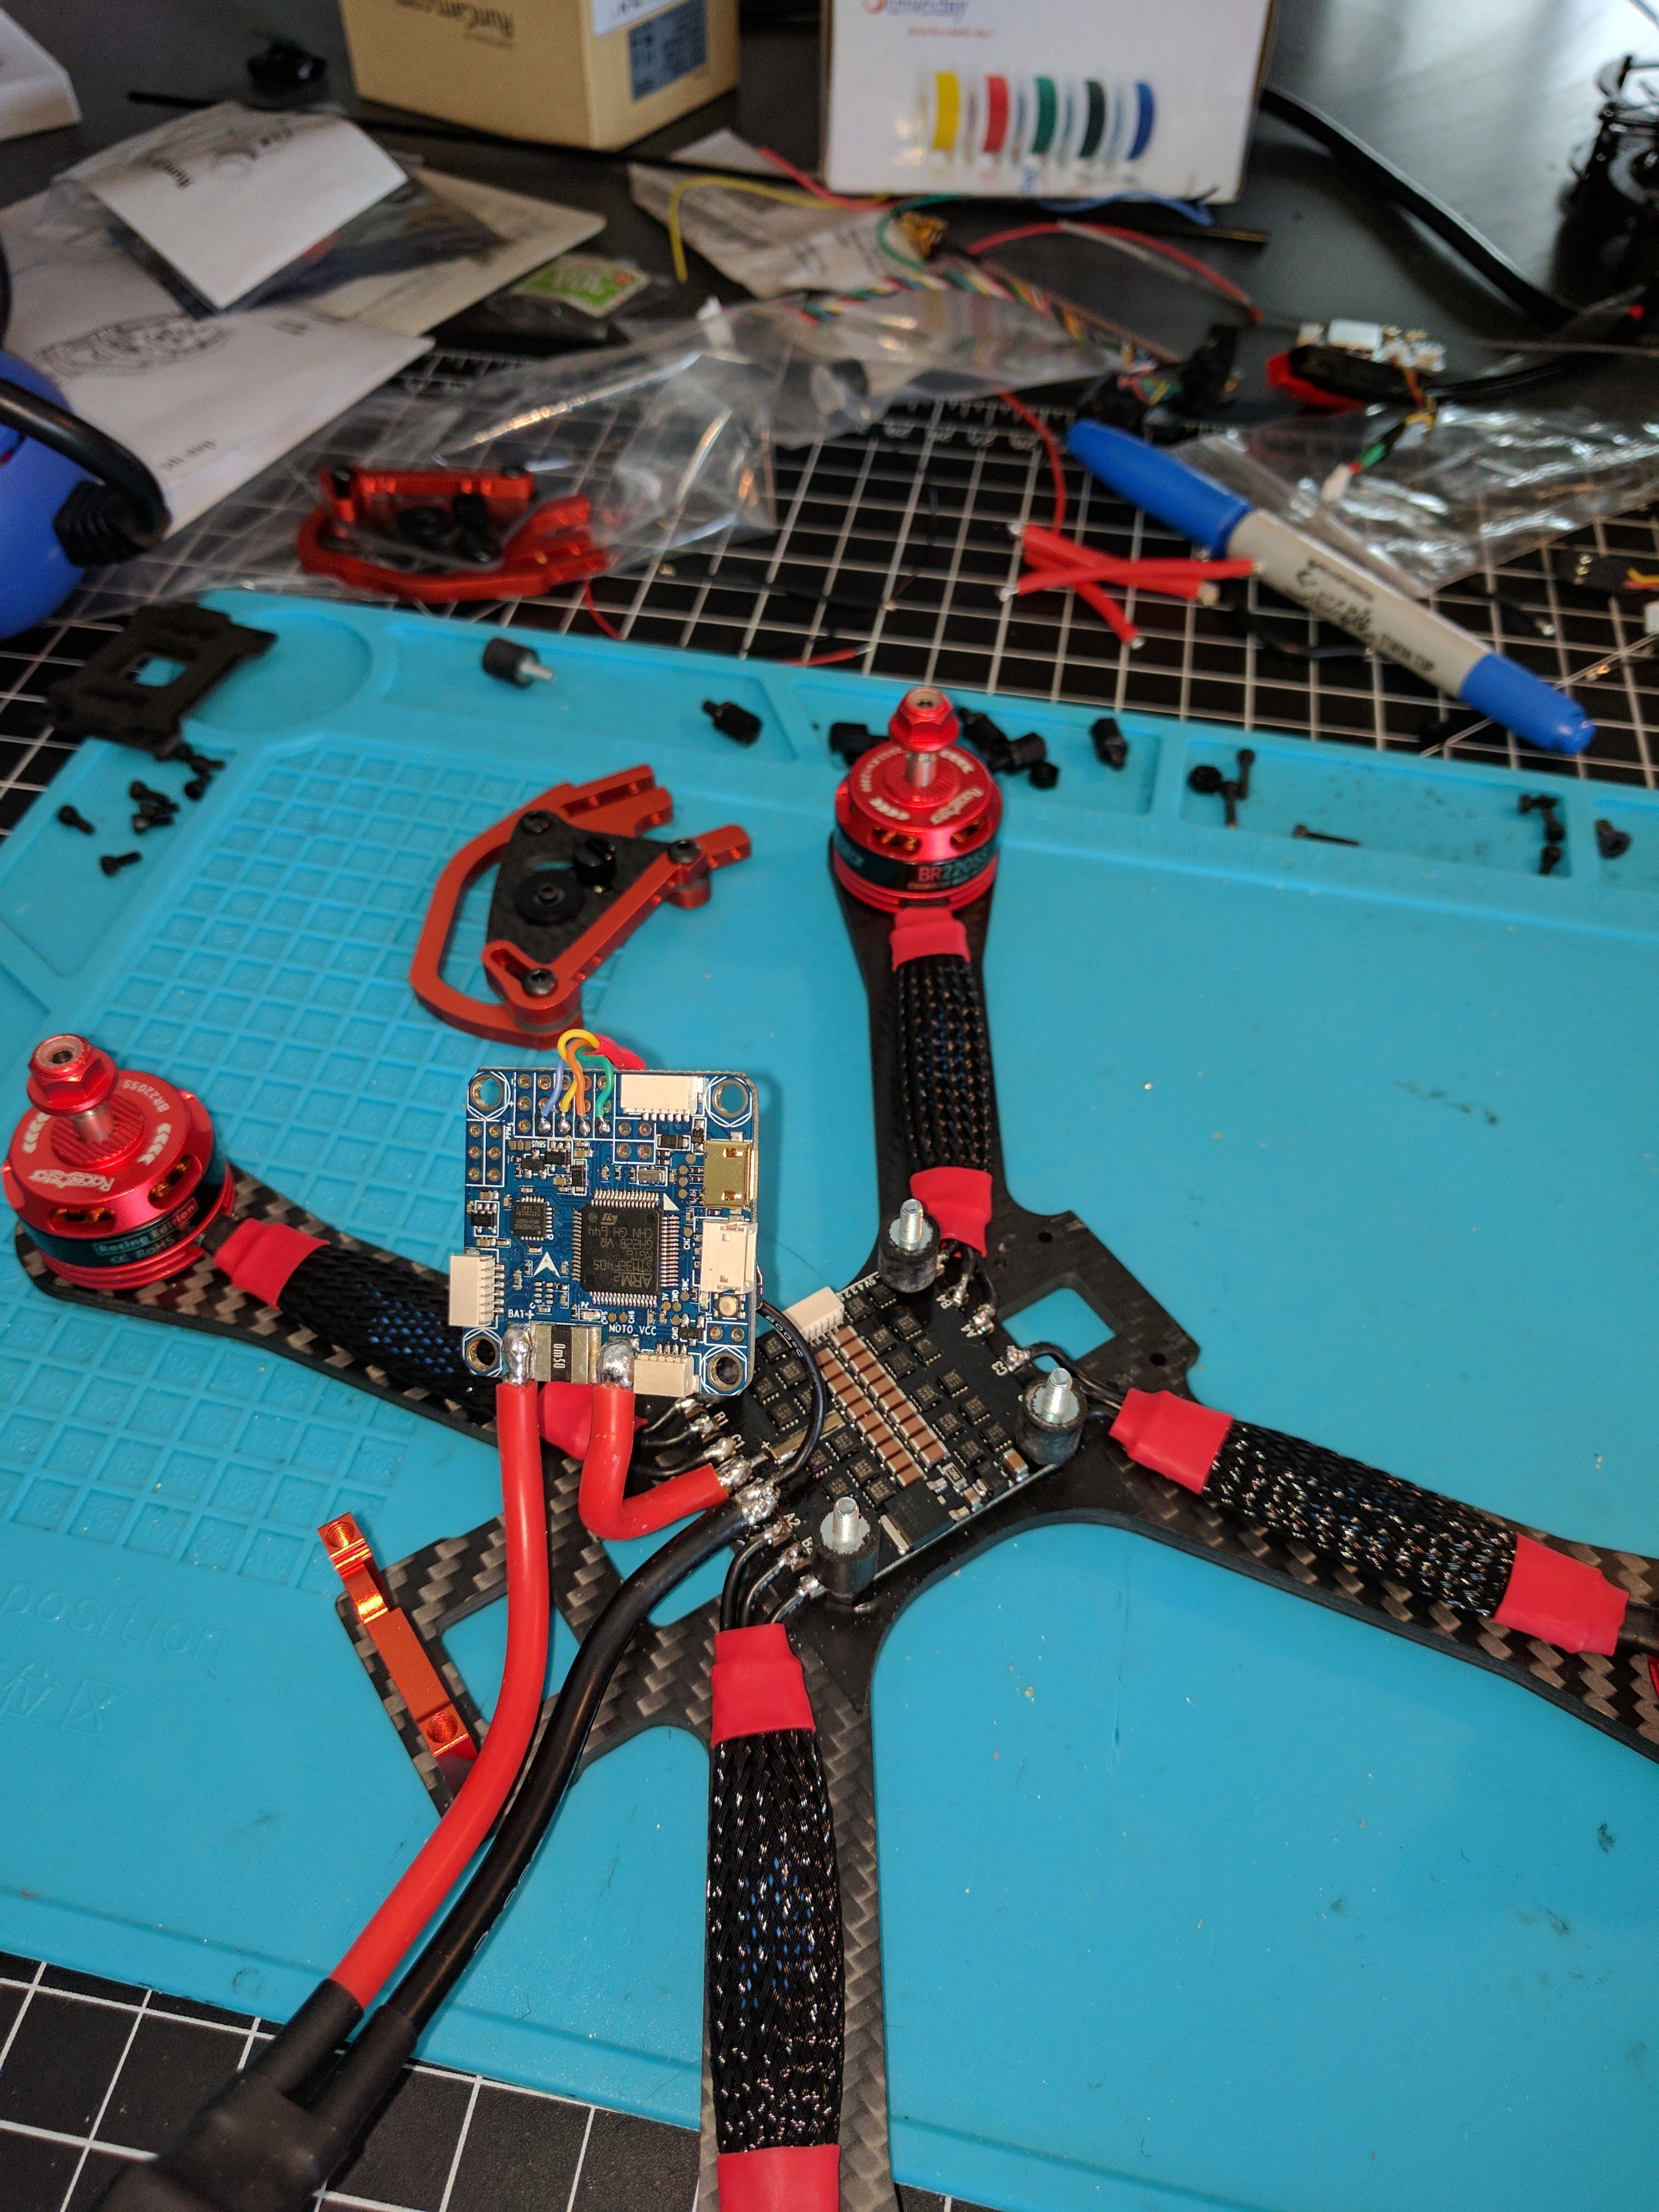
- Went with cheaper Racerstar motors as they should be good enough for a beginner, and I've heard they are durable, and cheap to buy some spares as motors seem like the most likely thing to be damaged. Got entirely CW thread motors since they have locknuts and I didn't want to deal with different threading.
- Also used a 4in1 ESC for convenience/space/cleaner look. Racerstar seems well regarded by the community, and is DSHOT compatible as-is
- I bought a range of DAL props, 5030x2, 5040x2, 5040x3 so I could keep things slower while learning.
- Went with the Unify for the HV/Range as I mostly fly alone, and the OSD integration seems cool (though unlikely to use it much).
- Picked a cam known to fit the Chameleon, and prefer the mic placed on the back in the Runcam vs Foxeer.
- I have an Evolution Tx, thus the Flysky Rx
- IndestructibleQuad batteries (1500mah, 80C) come highly rated, I also got some 1300mah 45C Pulse batteries from local supplier to try.
- Also listed some the of the supplies I bought that I intend to use in the build.
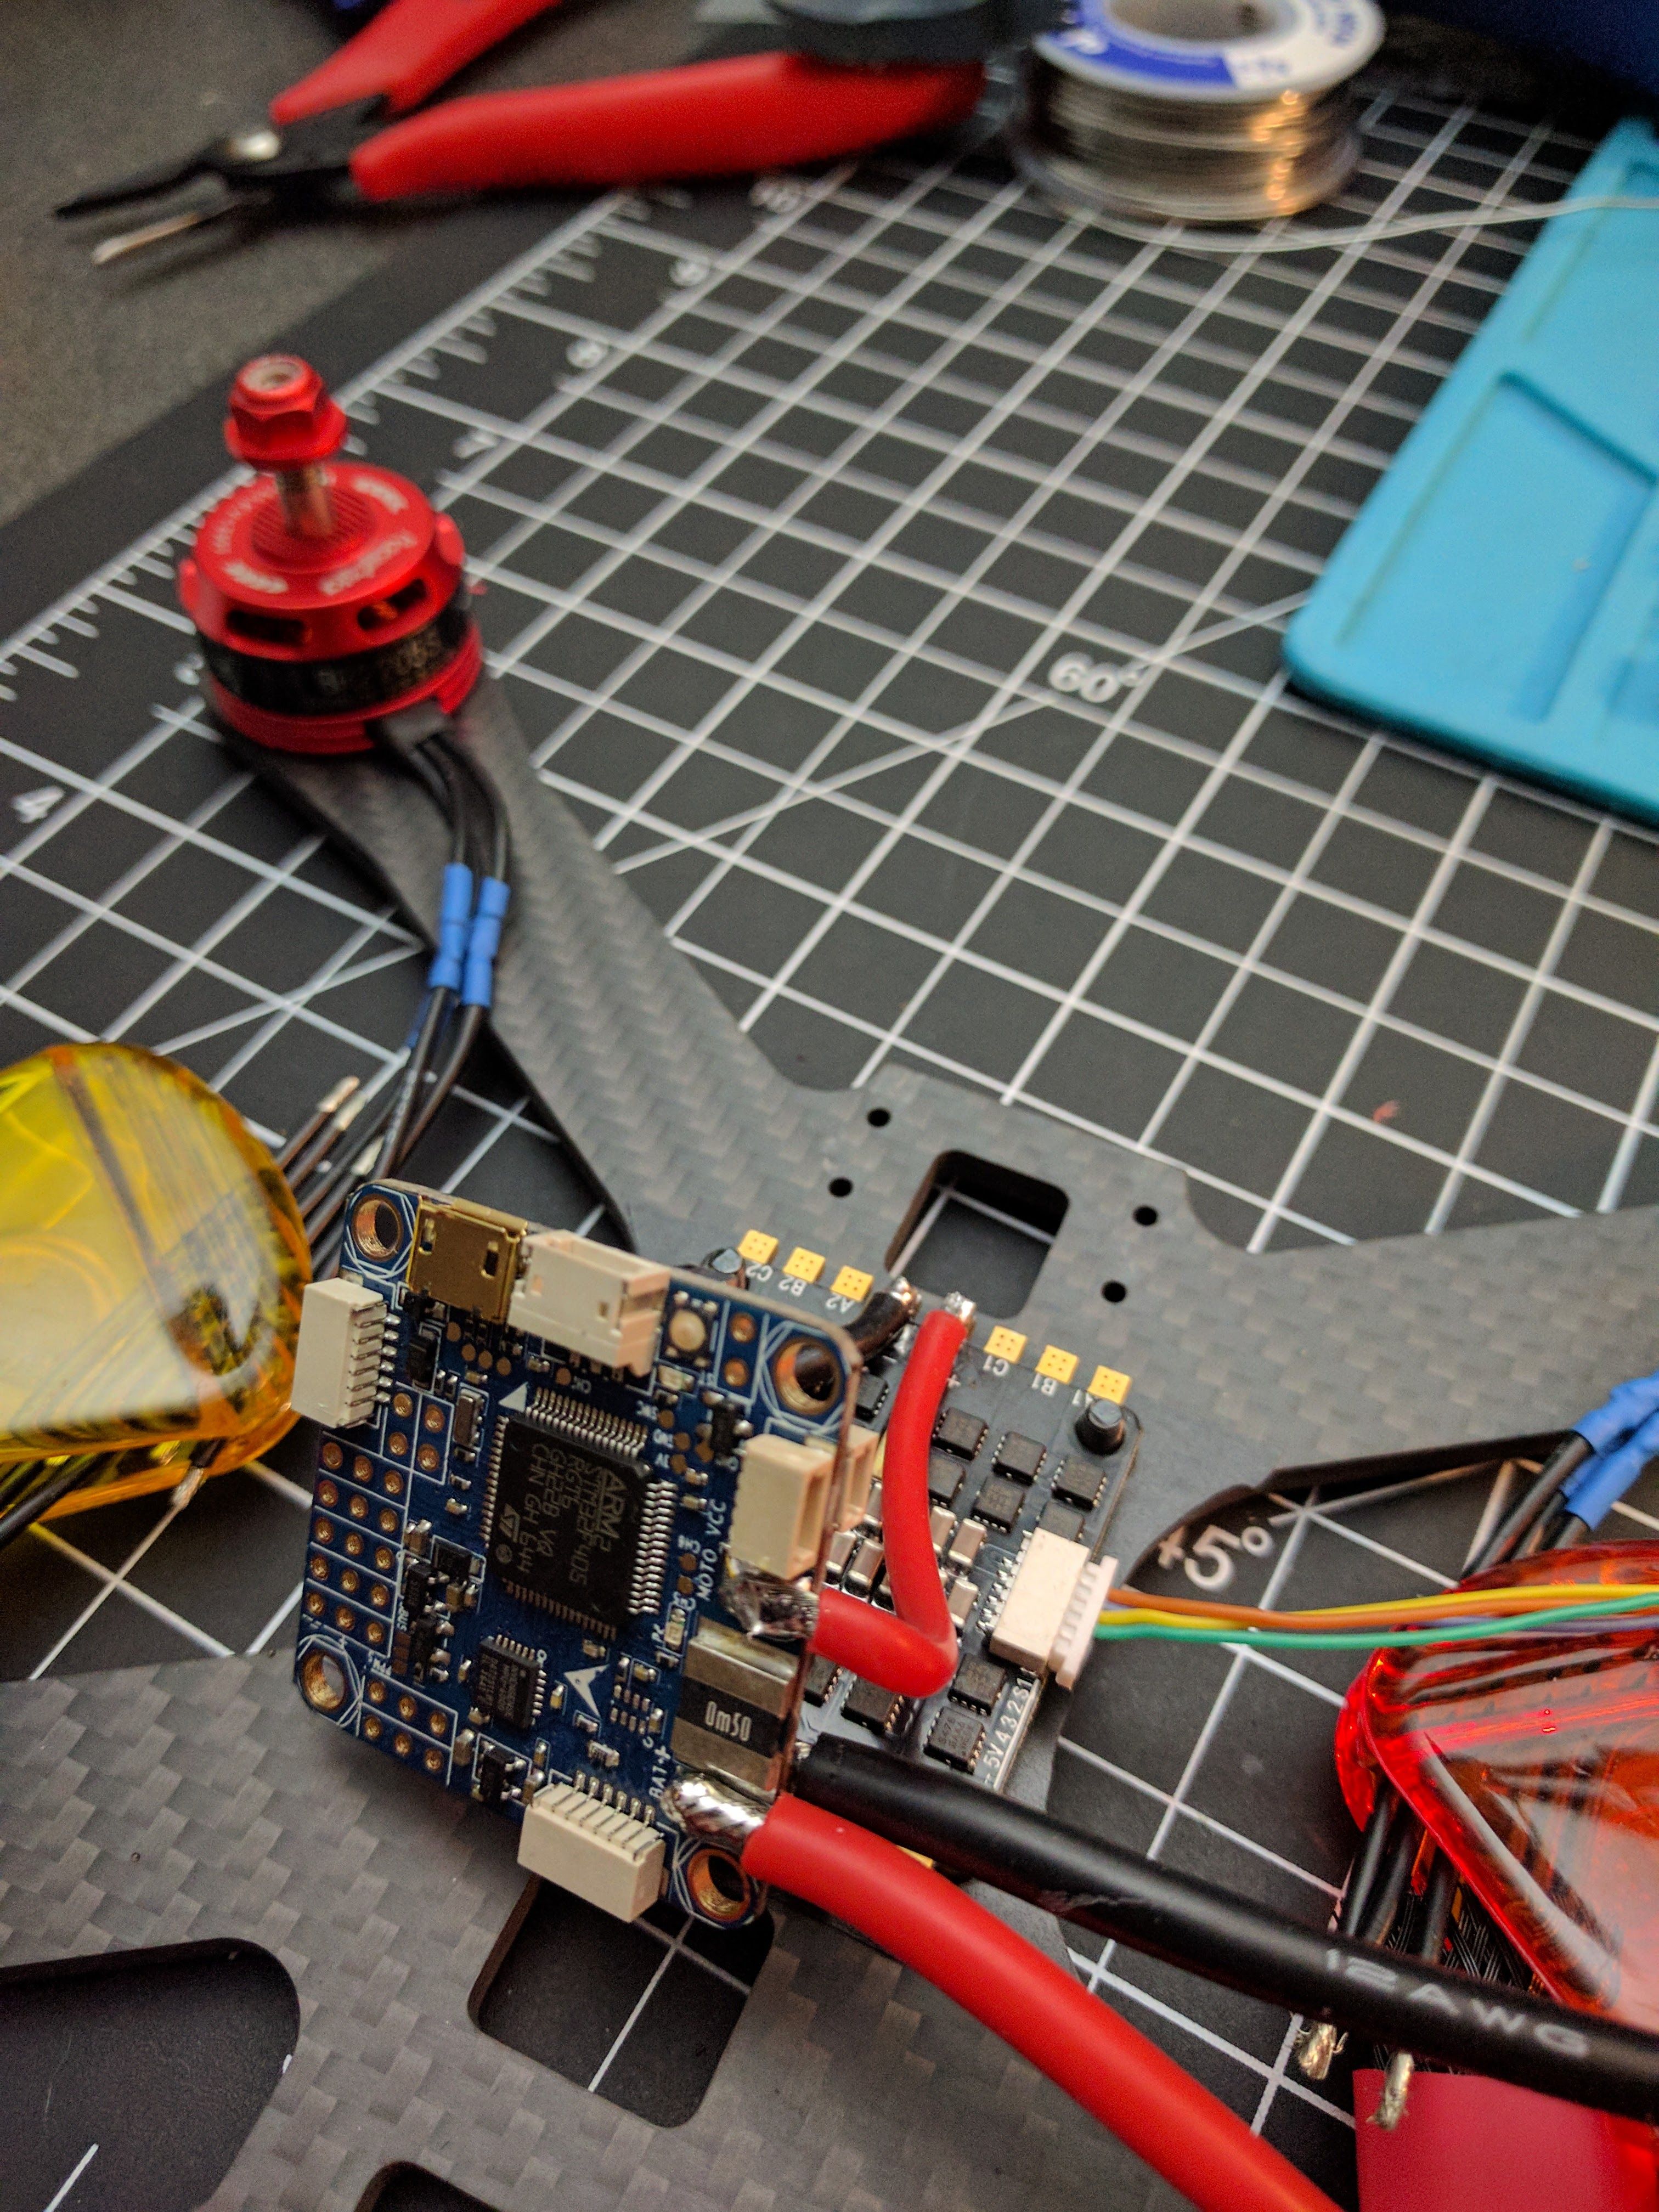
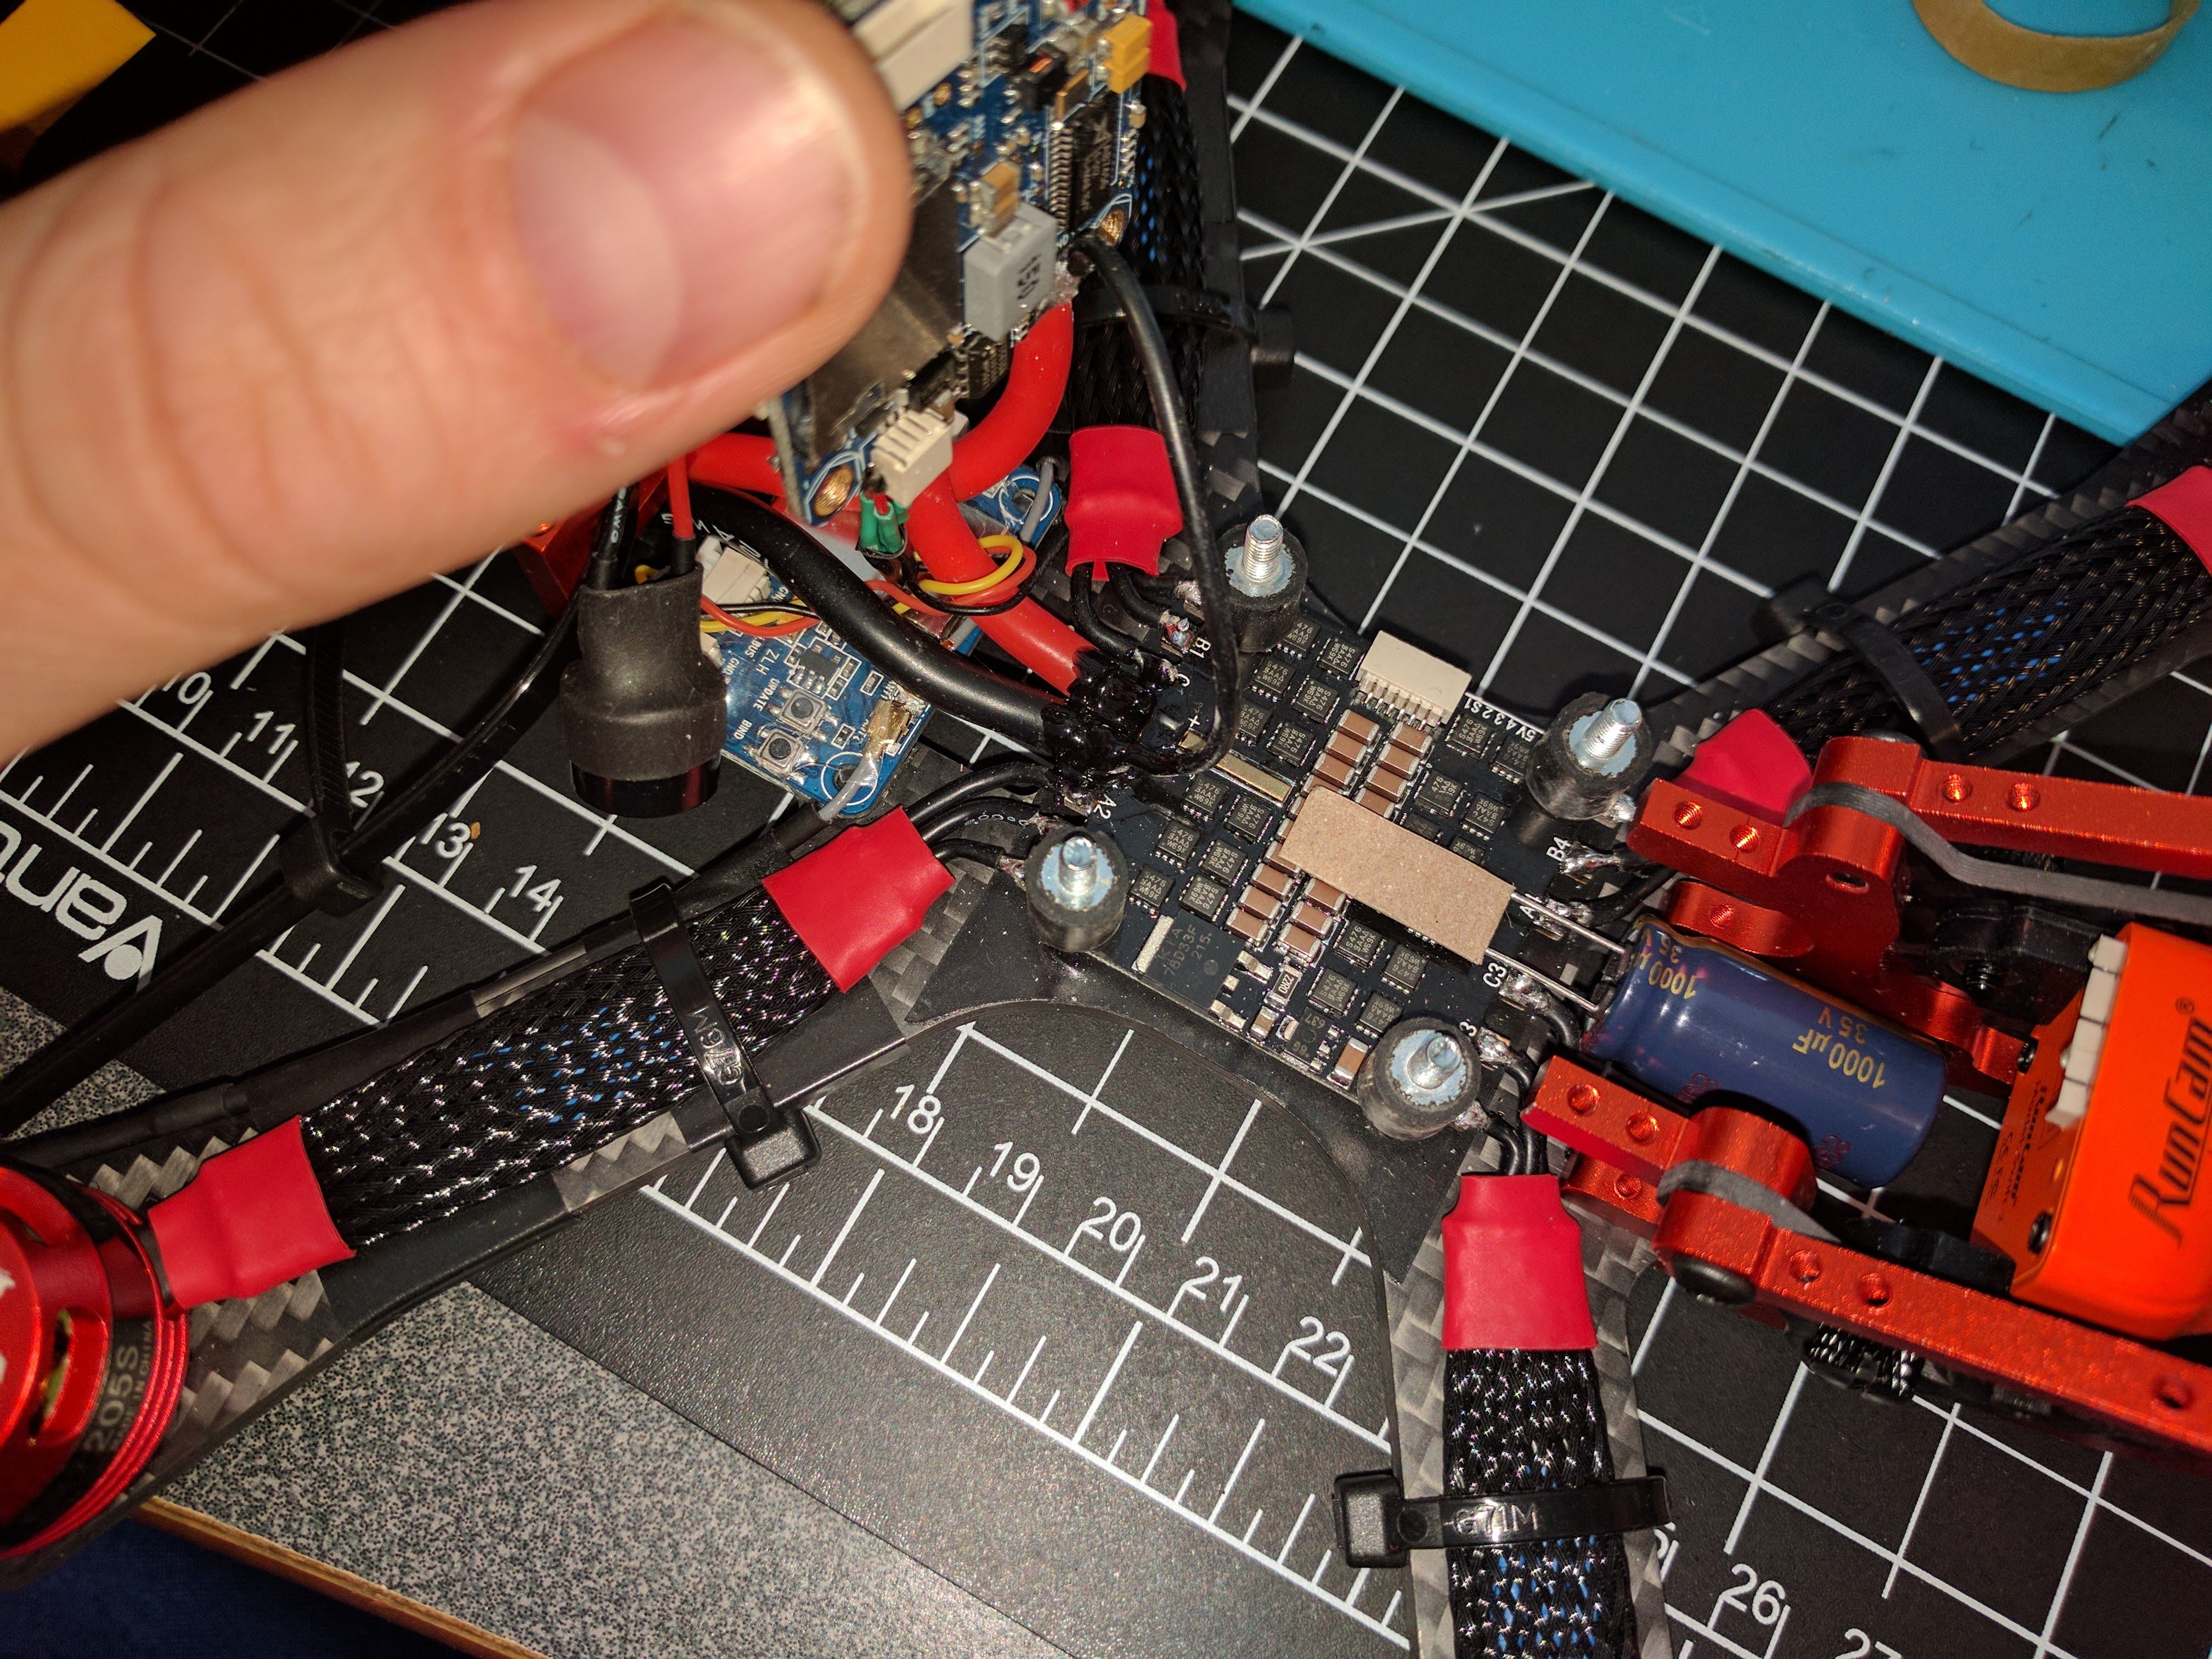
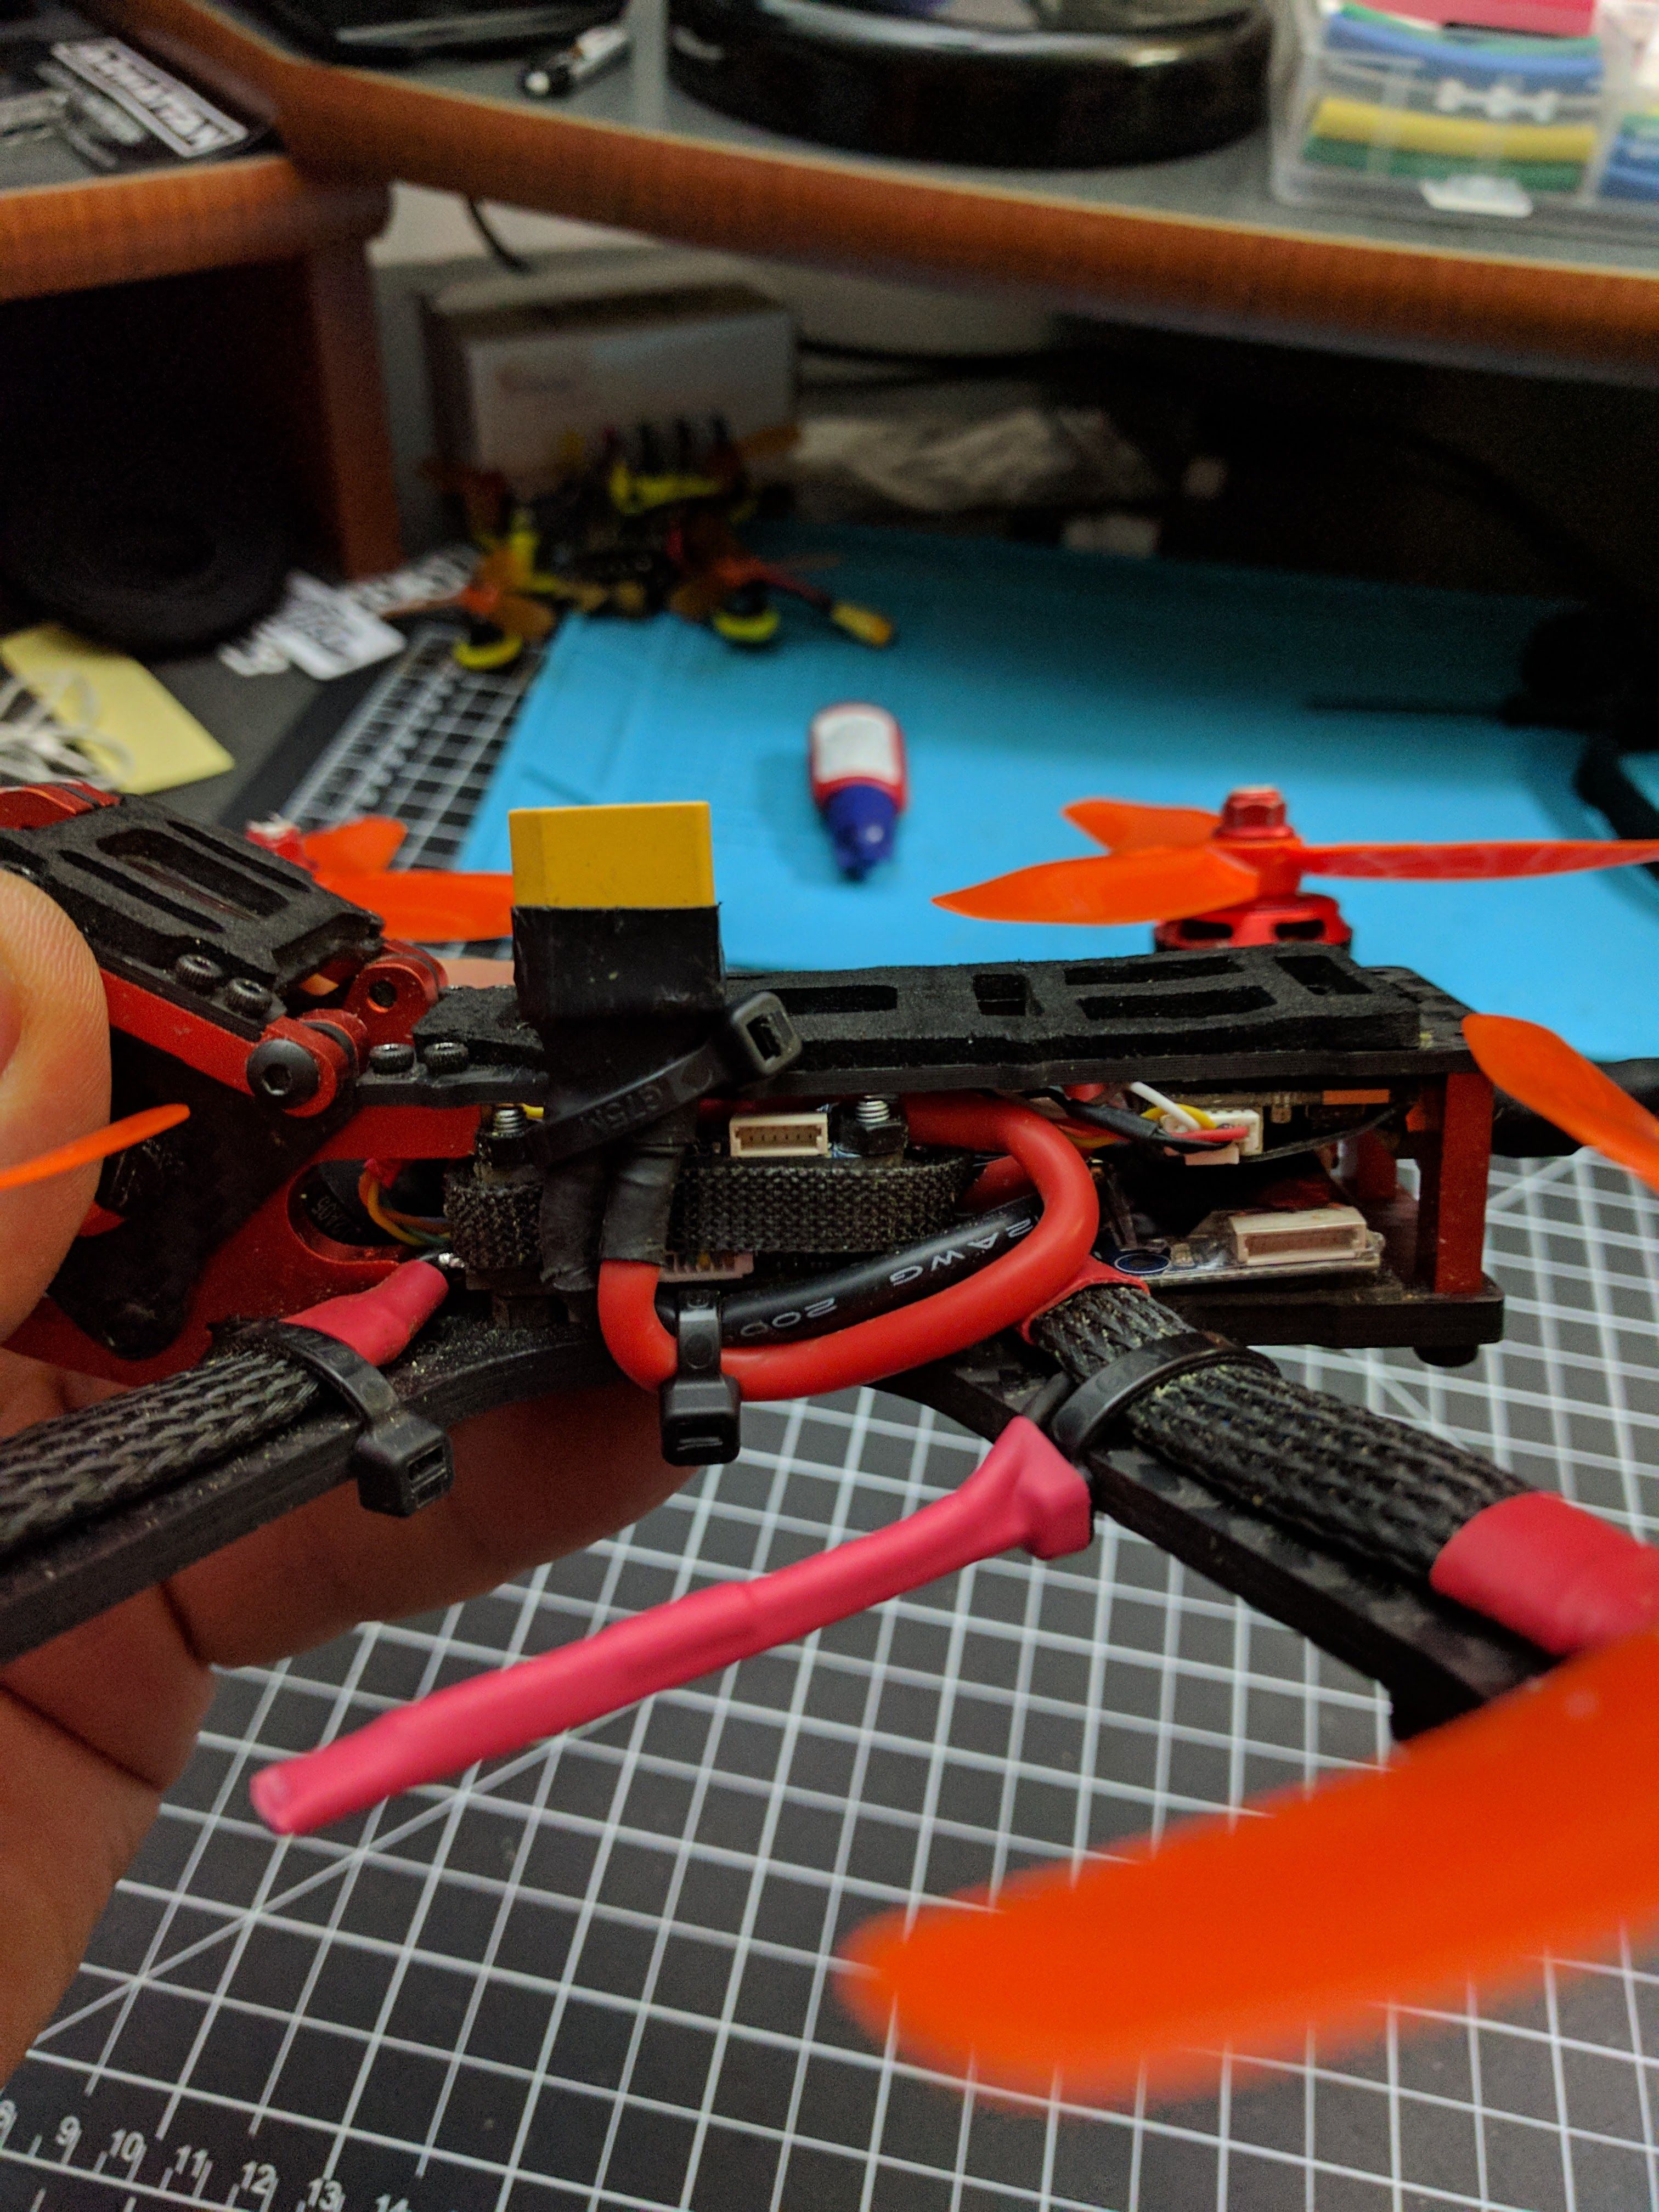
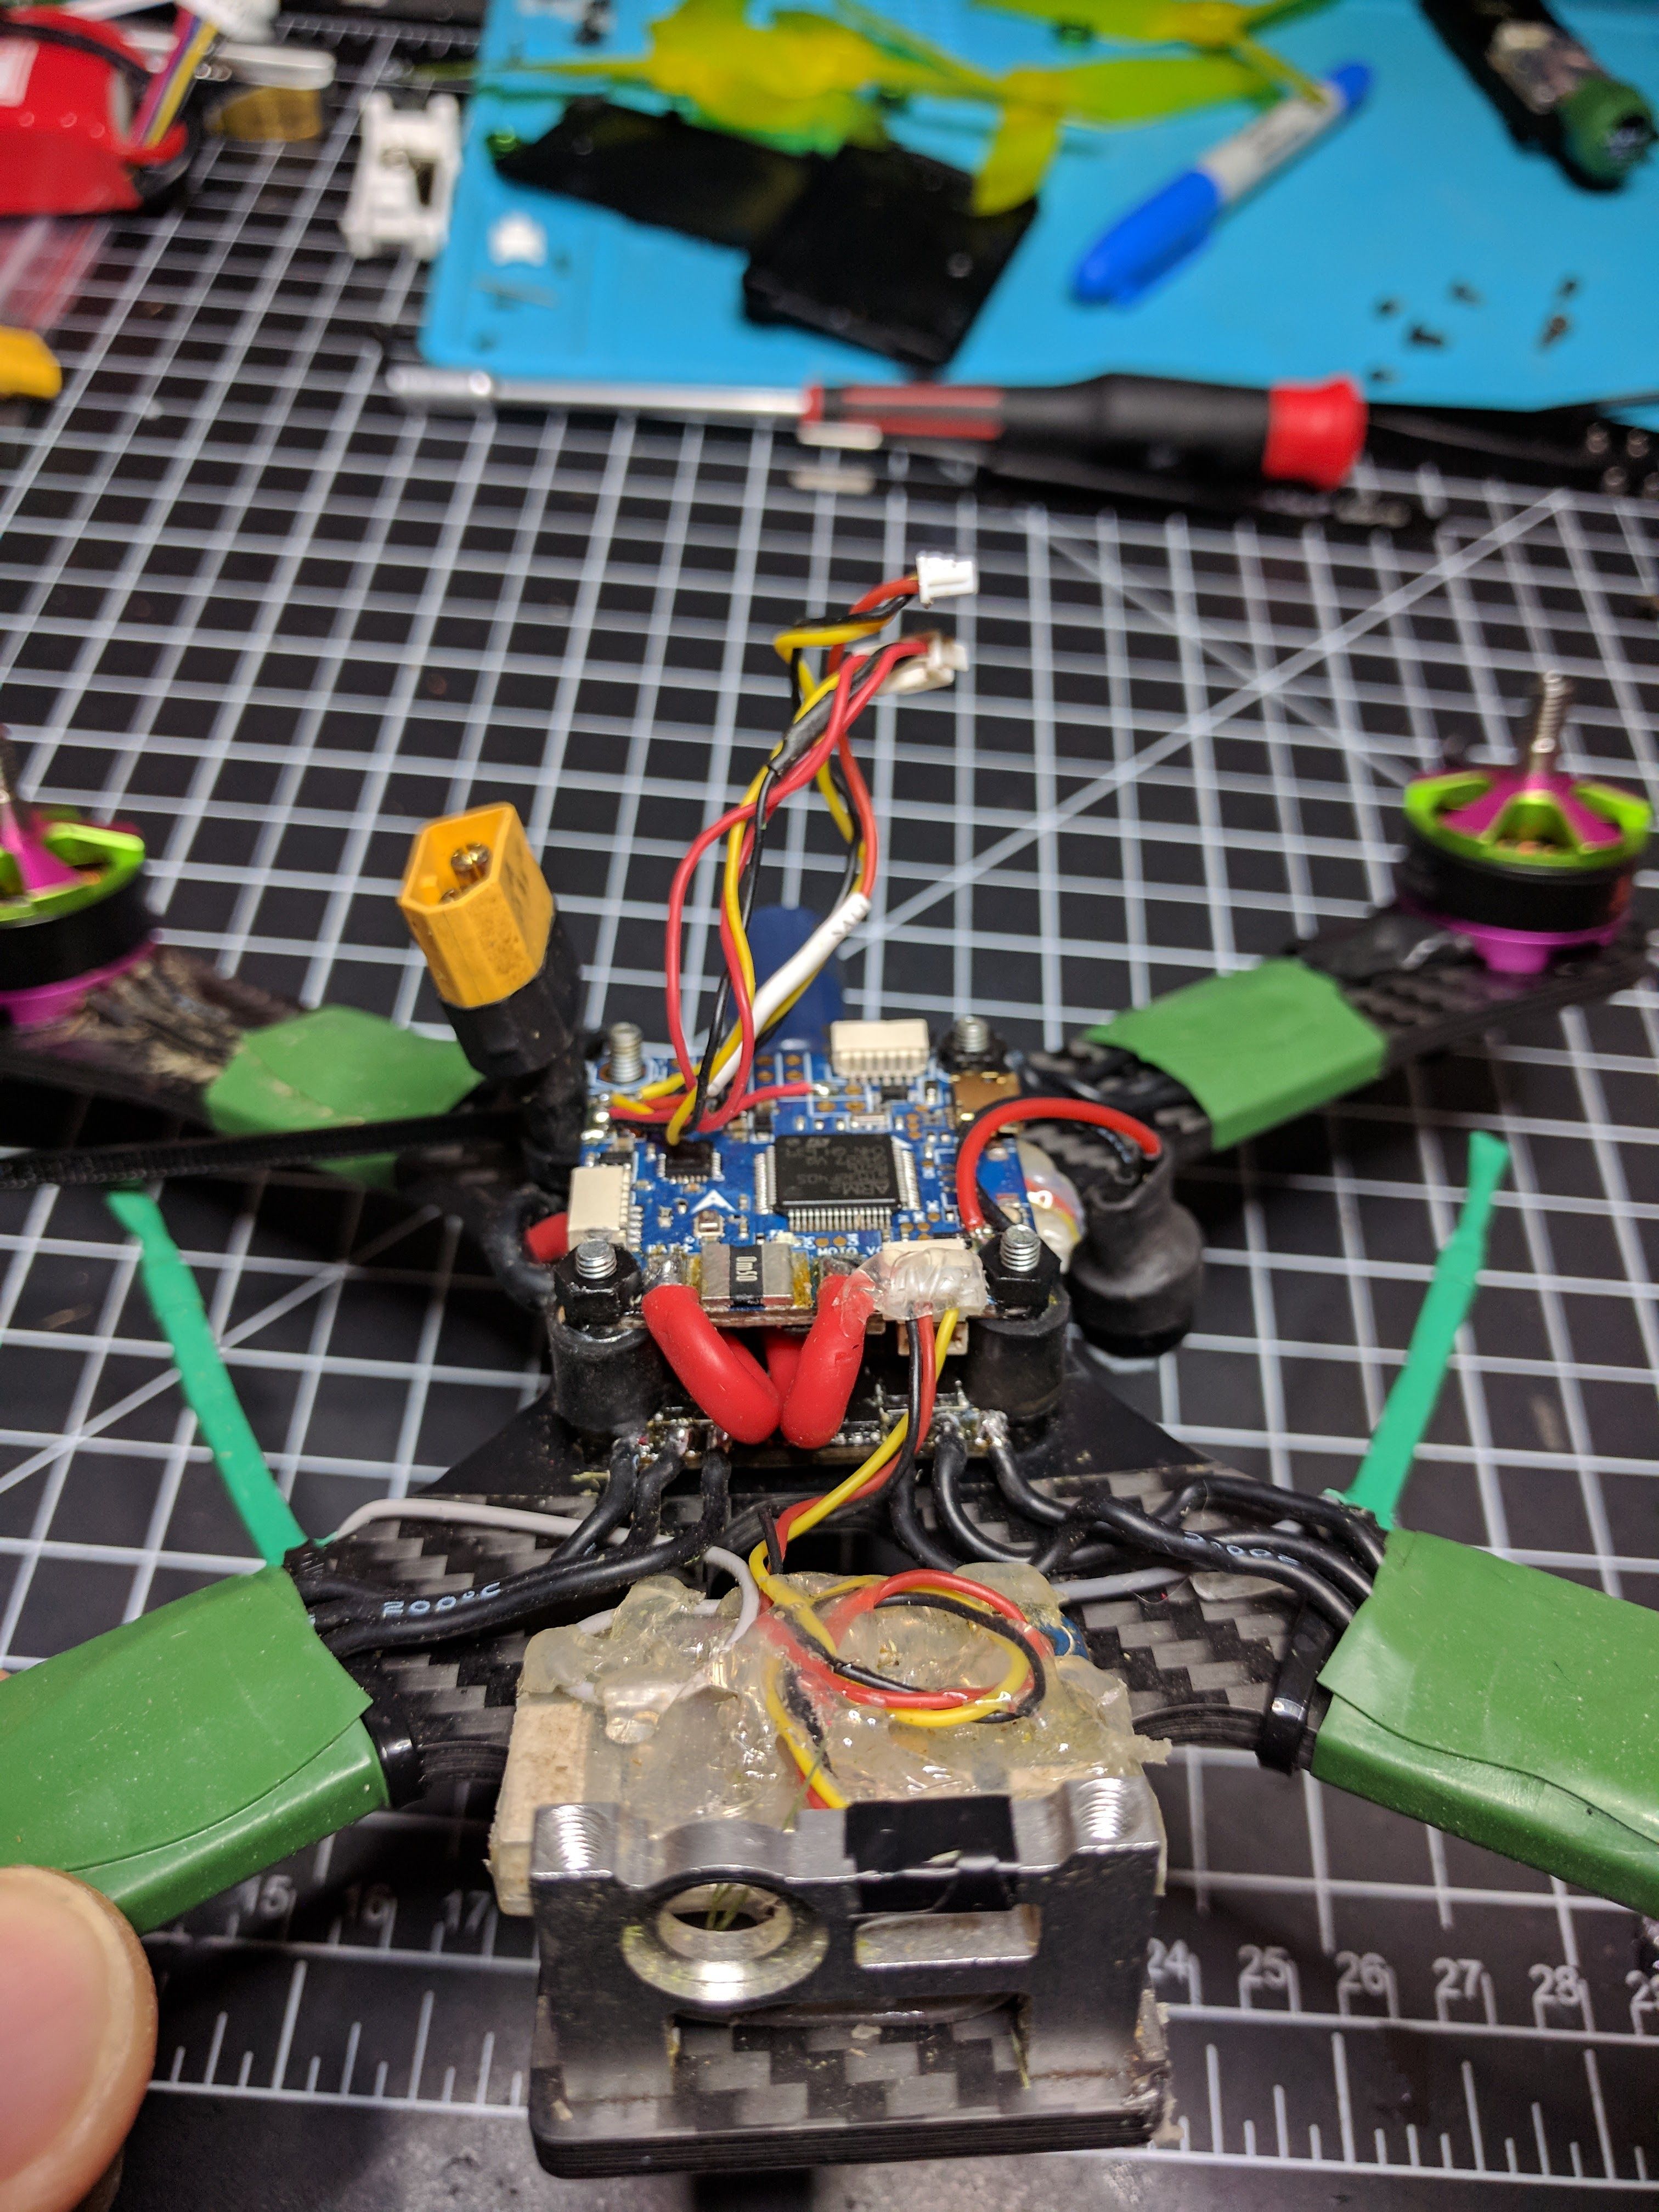
Initially I tried connecting both lipo leads to the FC, then 12awg for both Pos/Neg from FC to ESC. That was a little too unwieldy and took up too much room, so I switched to connecting Lipo+ to FC, Lipo- to ESC, a single 12awg positive from FC to esc, and 20awg ground from ESC back to FC. Should be fine as majority of current flow will be Lipo+ -> FC (current sensor) -> ESC -> Lipo-
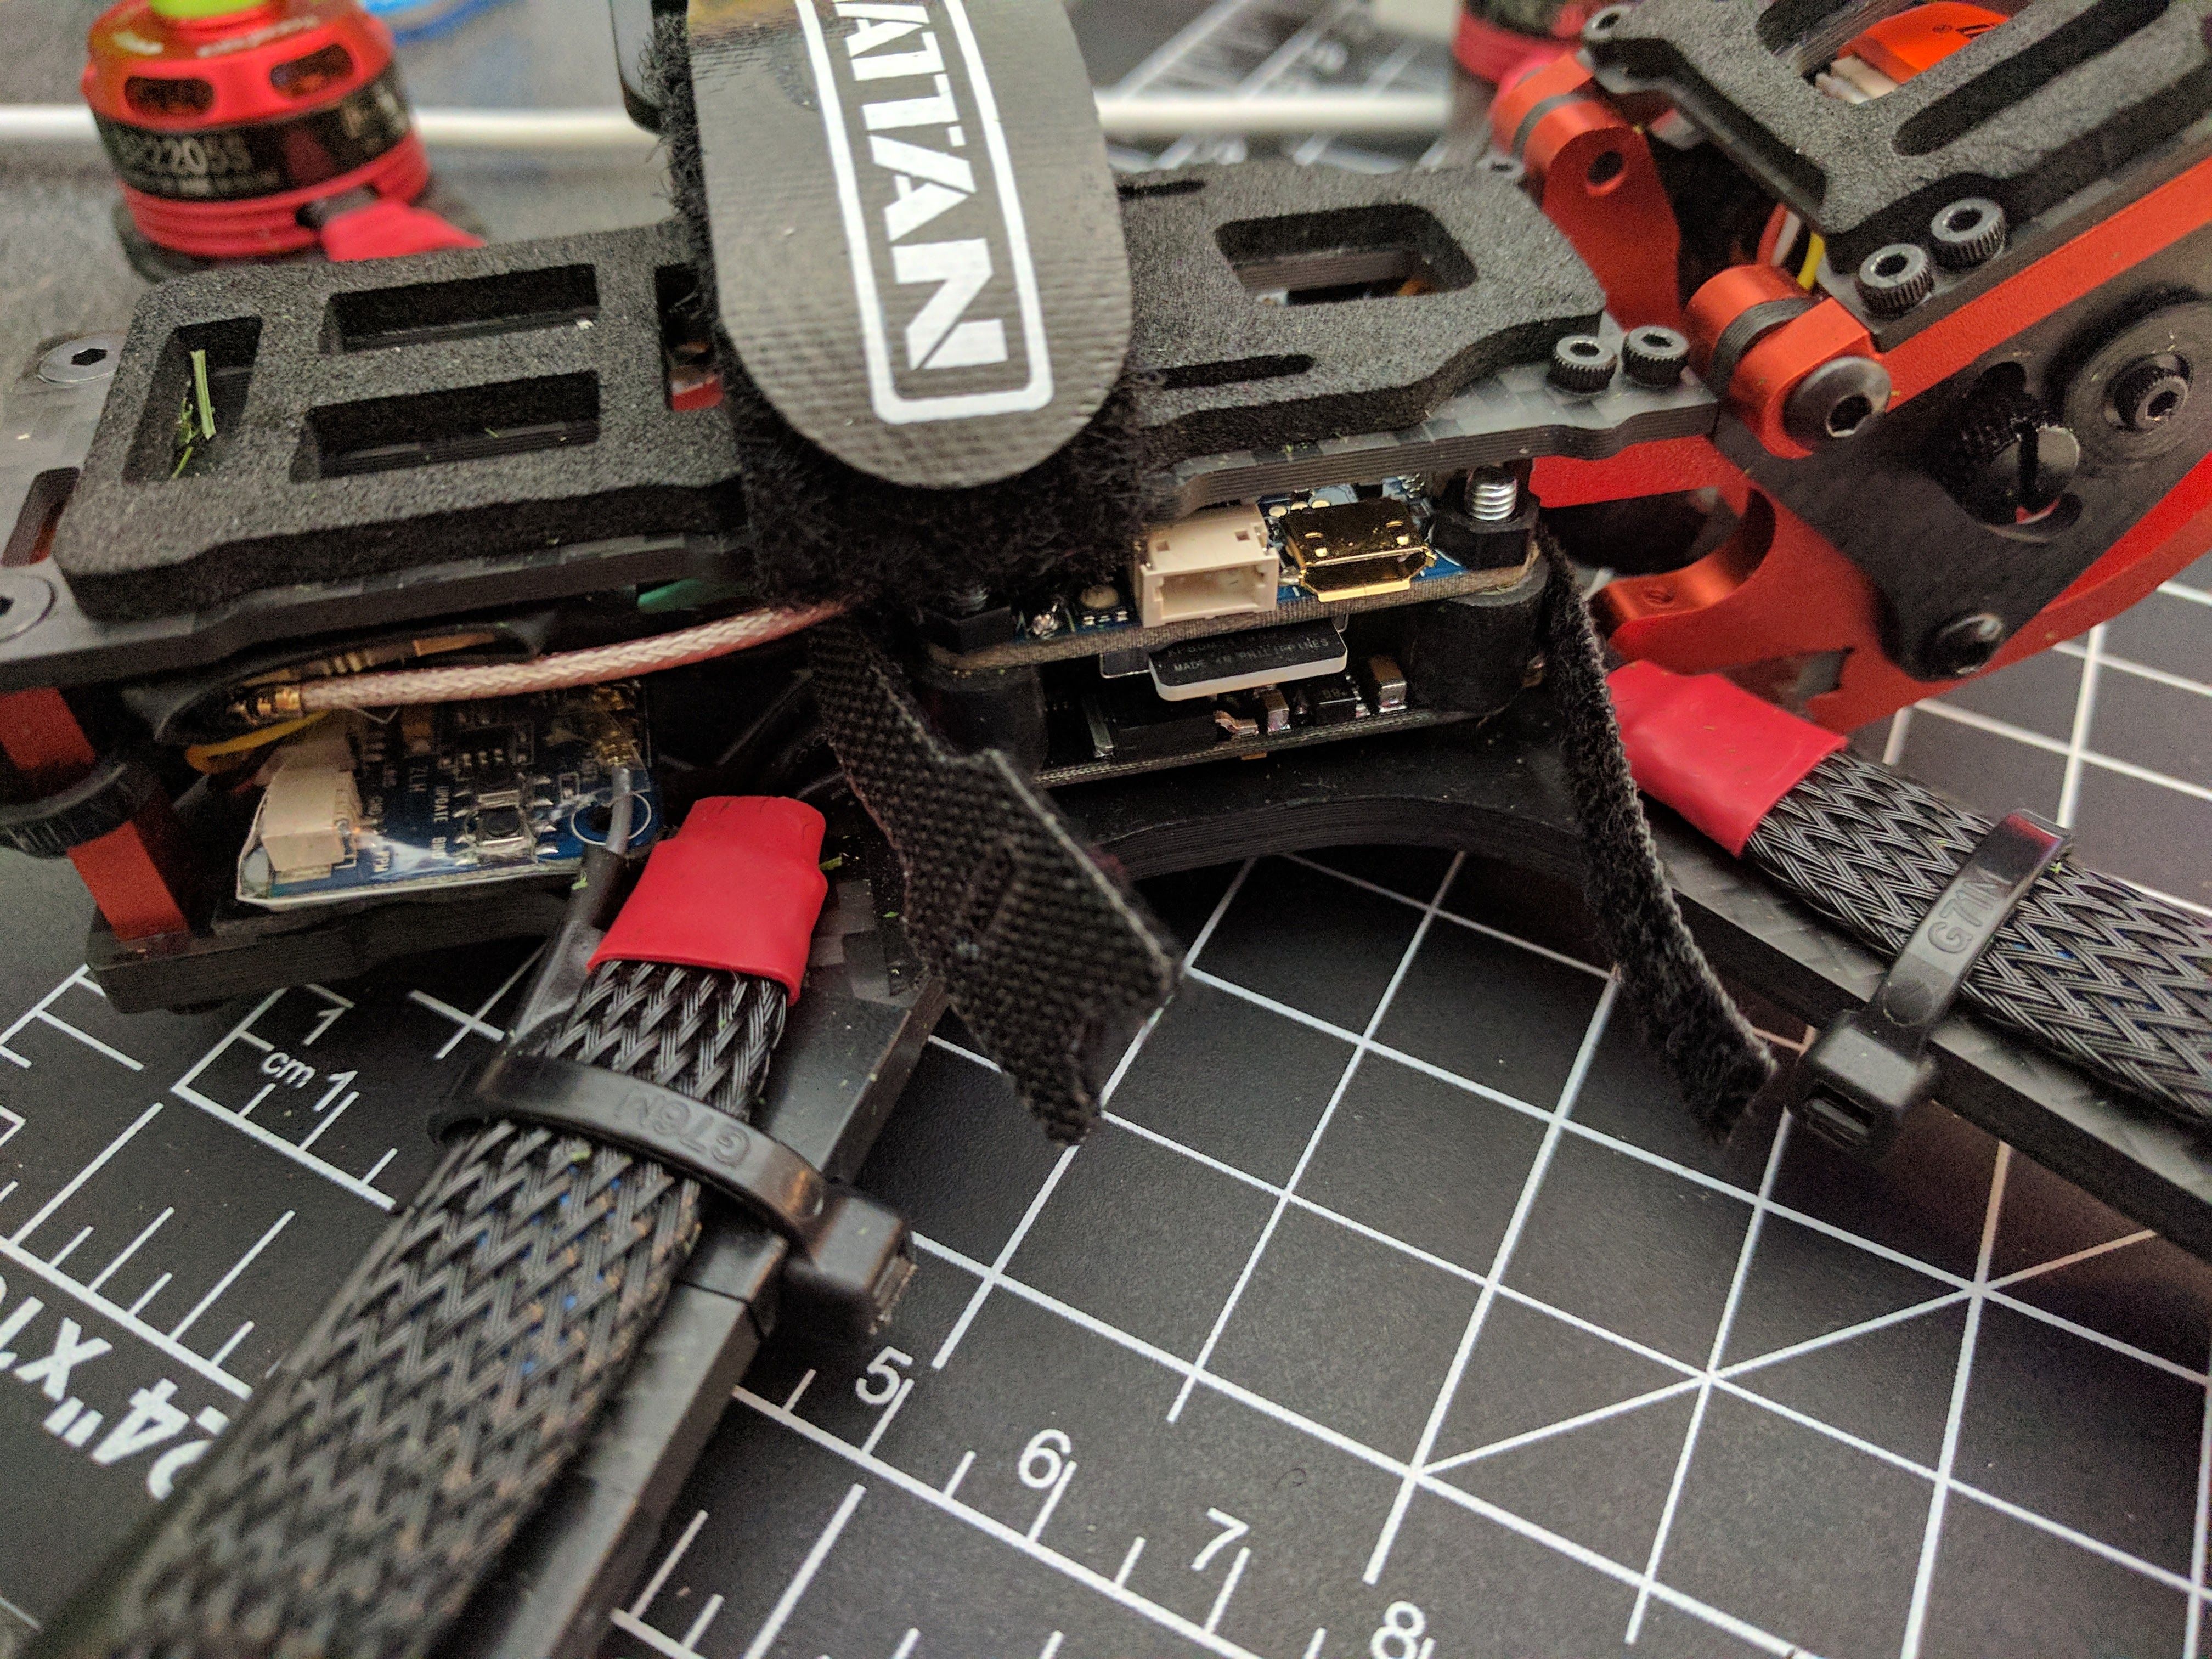
Note, that to get the vibration mount to screw down all the way to the ESC, you have to be clean with the motor wire solder and keep it out from under where the mount screws down.
Receiver double sided stuck to rear base, Vtx double sided stuck to top plate right above receiver. Used the UFL pigtail instead of the stock TBS one. A single layer of electrical tape under ESC as a couple of its larger components make contact with the base plate when using a single nylon nut as a spacer (more spacer would cause vibration mount to hit top plate). I may go back and add a second layer when I replace the Omnibus (got a defective one missing the barometer).
I've jumpered VCC-RAM, and have one RAM/AGND/VidIn going to the camera and the other RAM/AGND/VidOut going to the VTx . When powered on the bench, with VTx set to 200mw, and stock betaflight (3.1.7) current sensor settings, I see about 2A draw in the OSD. At 25mw I saw about 1A (I forget the exact numbers). Hover during maiden was about 6-7A draw. So it looks like the Club 24A bypass is no longer neccessary.
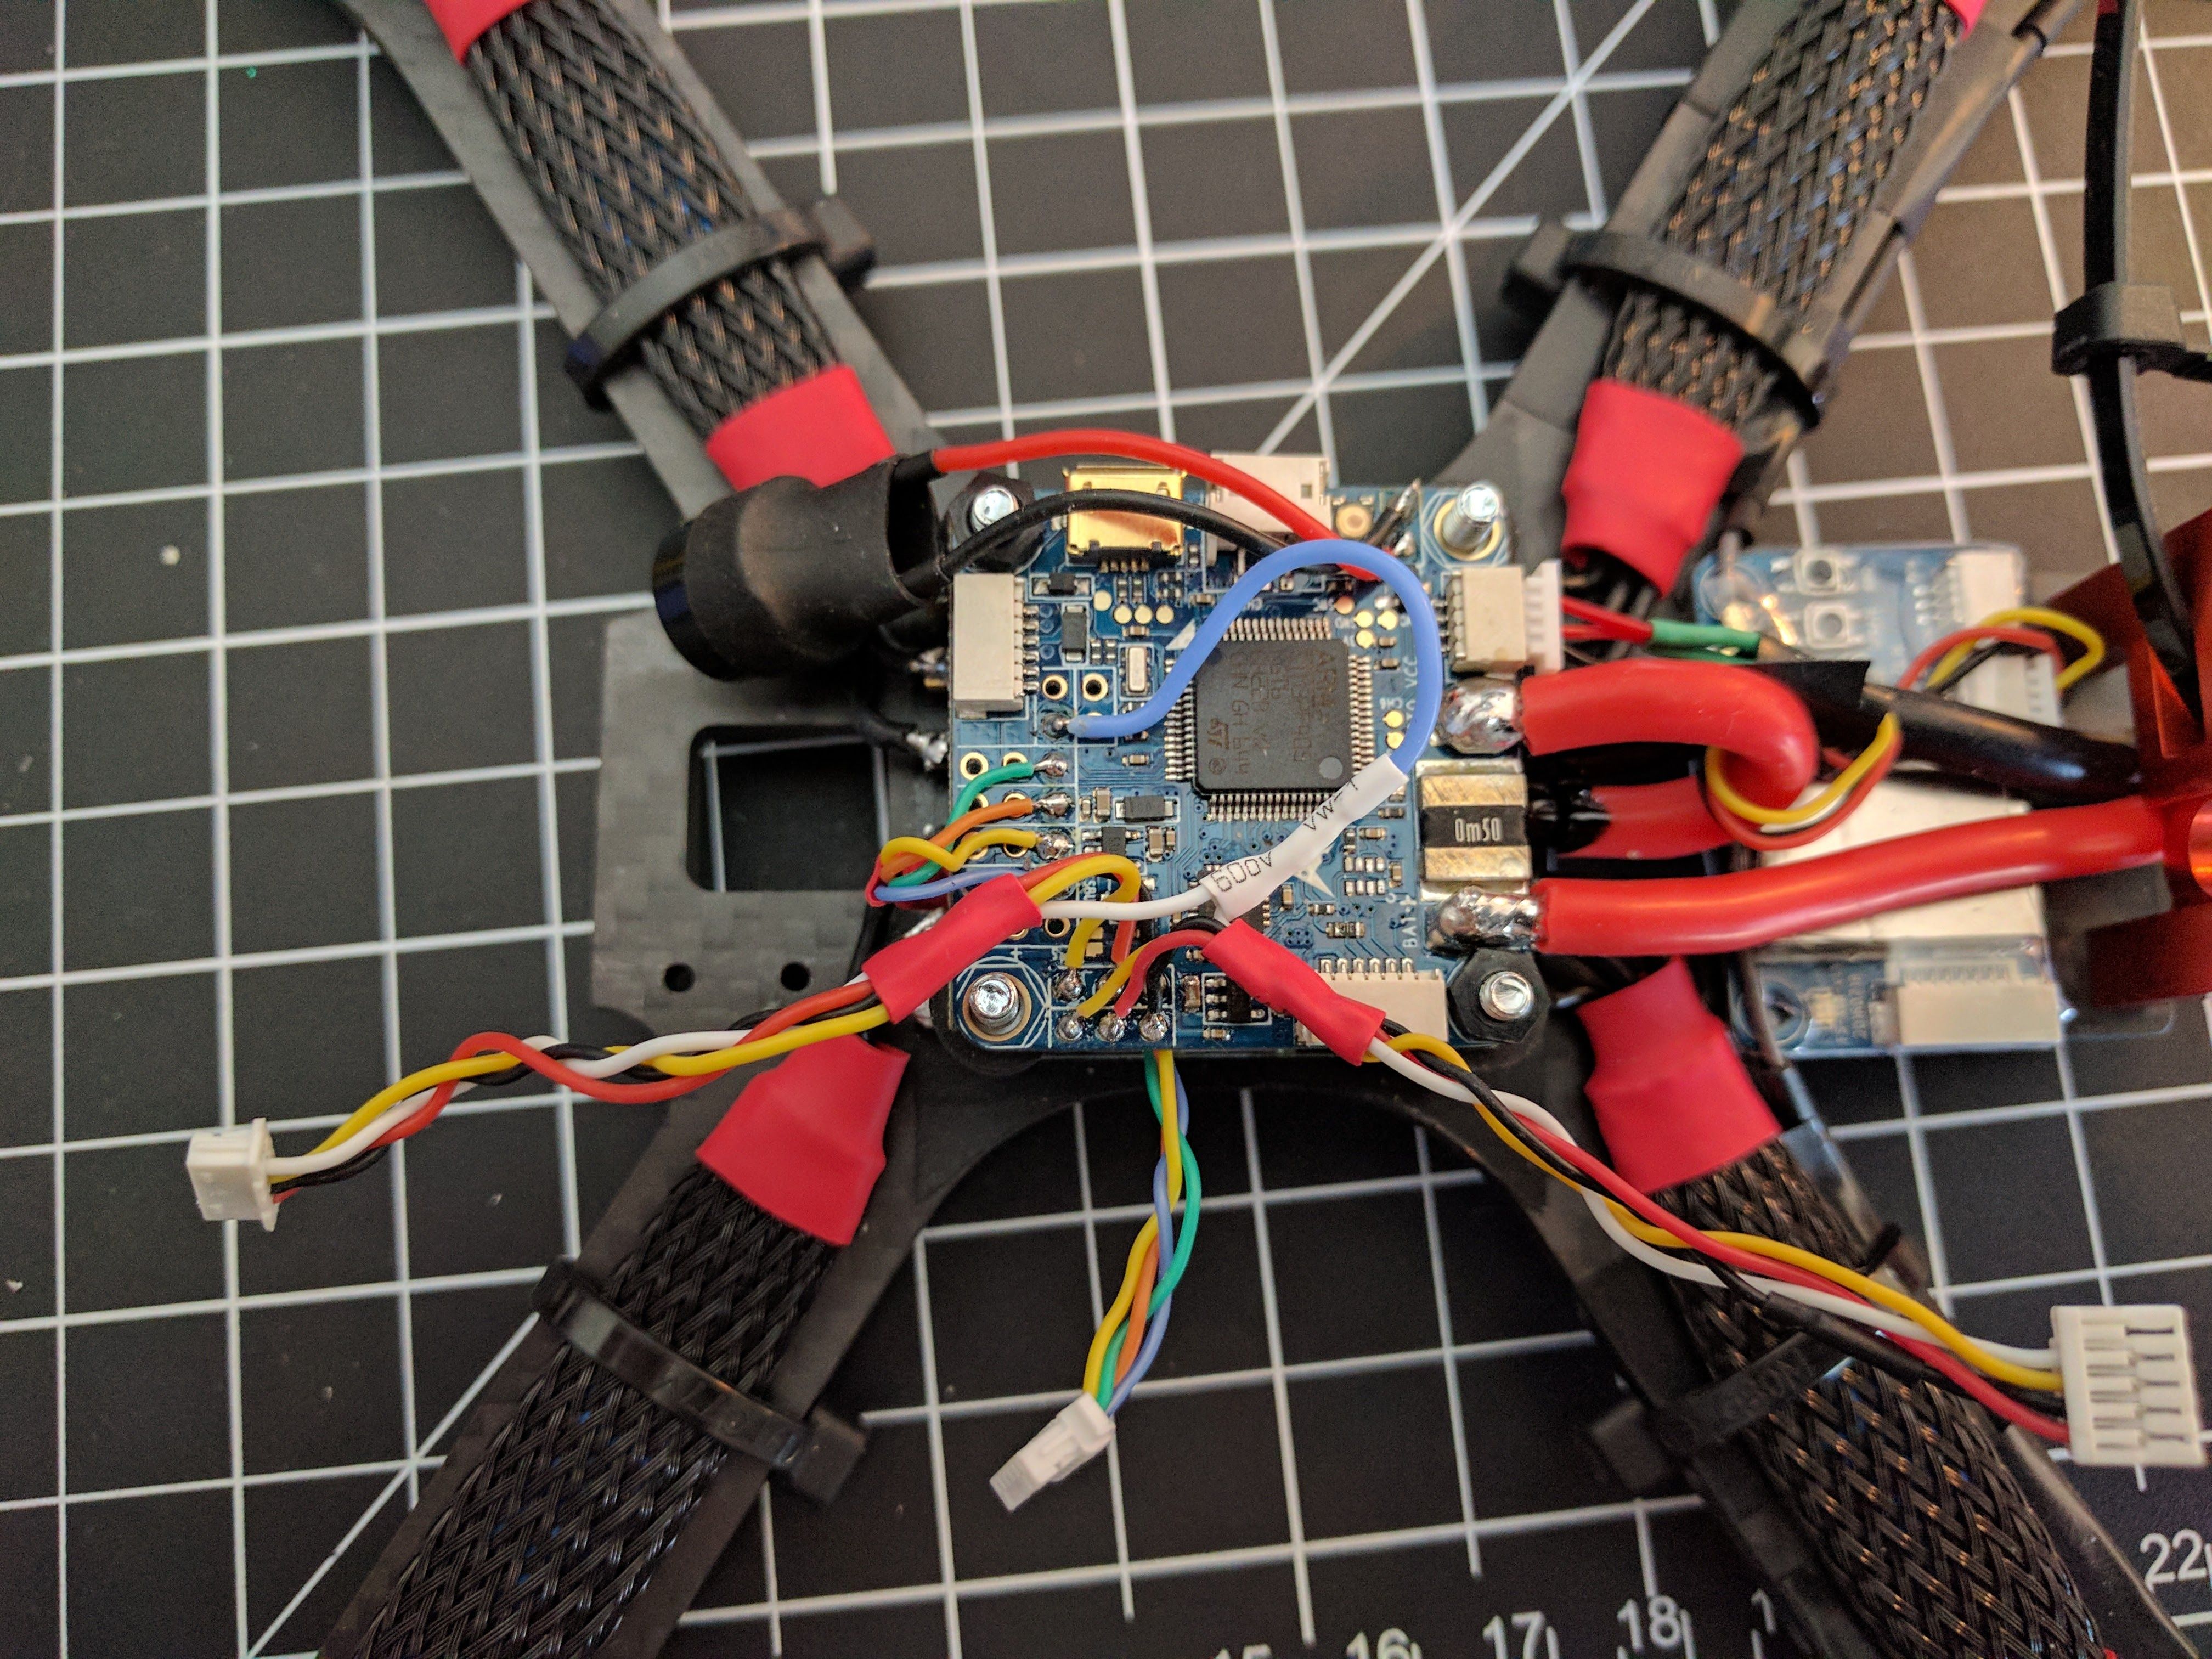
I also joined camera audio to VTx audio to PWM5/J6 to see if I could get smartaudio to co-exist with audio. Confirmed from maiden DVR that audio does work, though there is some digital signalling noise pre-arm from smartaudio. I tried modifying the circuit, but that didn't eliminate the noise. I tried all three circuit combinations, and none eliminated the noise, and in some cases causes SmartAudio to stop working, so I reverted back to just directly wiring together. Given that the noise is only there when unarmed, I can live with it. The betaflight configuration for using PWM5 as a softserial tx was:
- CLI
resource motor 5 none resource motor 6 none save resource serial_tx 11 a1 save - Configuration -> Turn on SOFTSERIAL -> Save
- Ports -> Select TBS SmartAudio under Peripherals for SOFTSERIAL1 -> Save
Video seems pretty clean without an additional filter or capacitor - though I may add a capacitor for circuit protection from esc braking.
I ran the receiver antennas down the outside of the back legs, and positioned zipties to hopefully act as a minimal guard against prop strikes till I can do something better. Then changed my mind and relocated to the inside of the back legs so that the propeller would hit the leg before the antenna (pic shows it on the outside).
For a SD Card retention device, I added a small velcro wire tie wrapped all the way around the stack and fastened in front of card. Wide part is in front of card to account for slippage. I may secure it to the stack with glue if its not secure in crashes
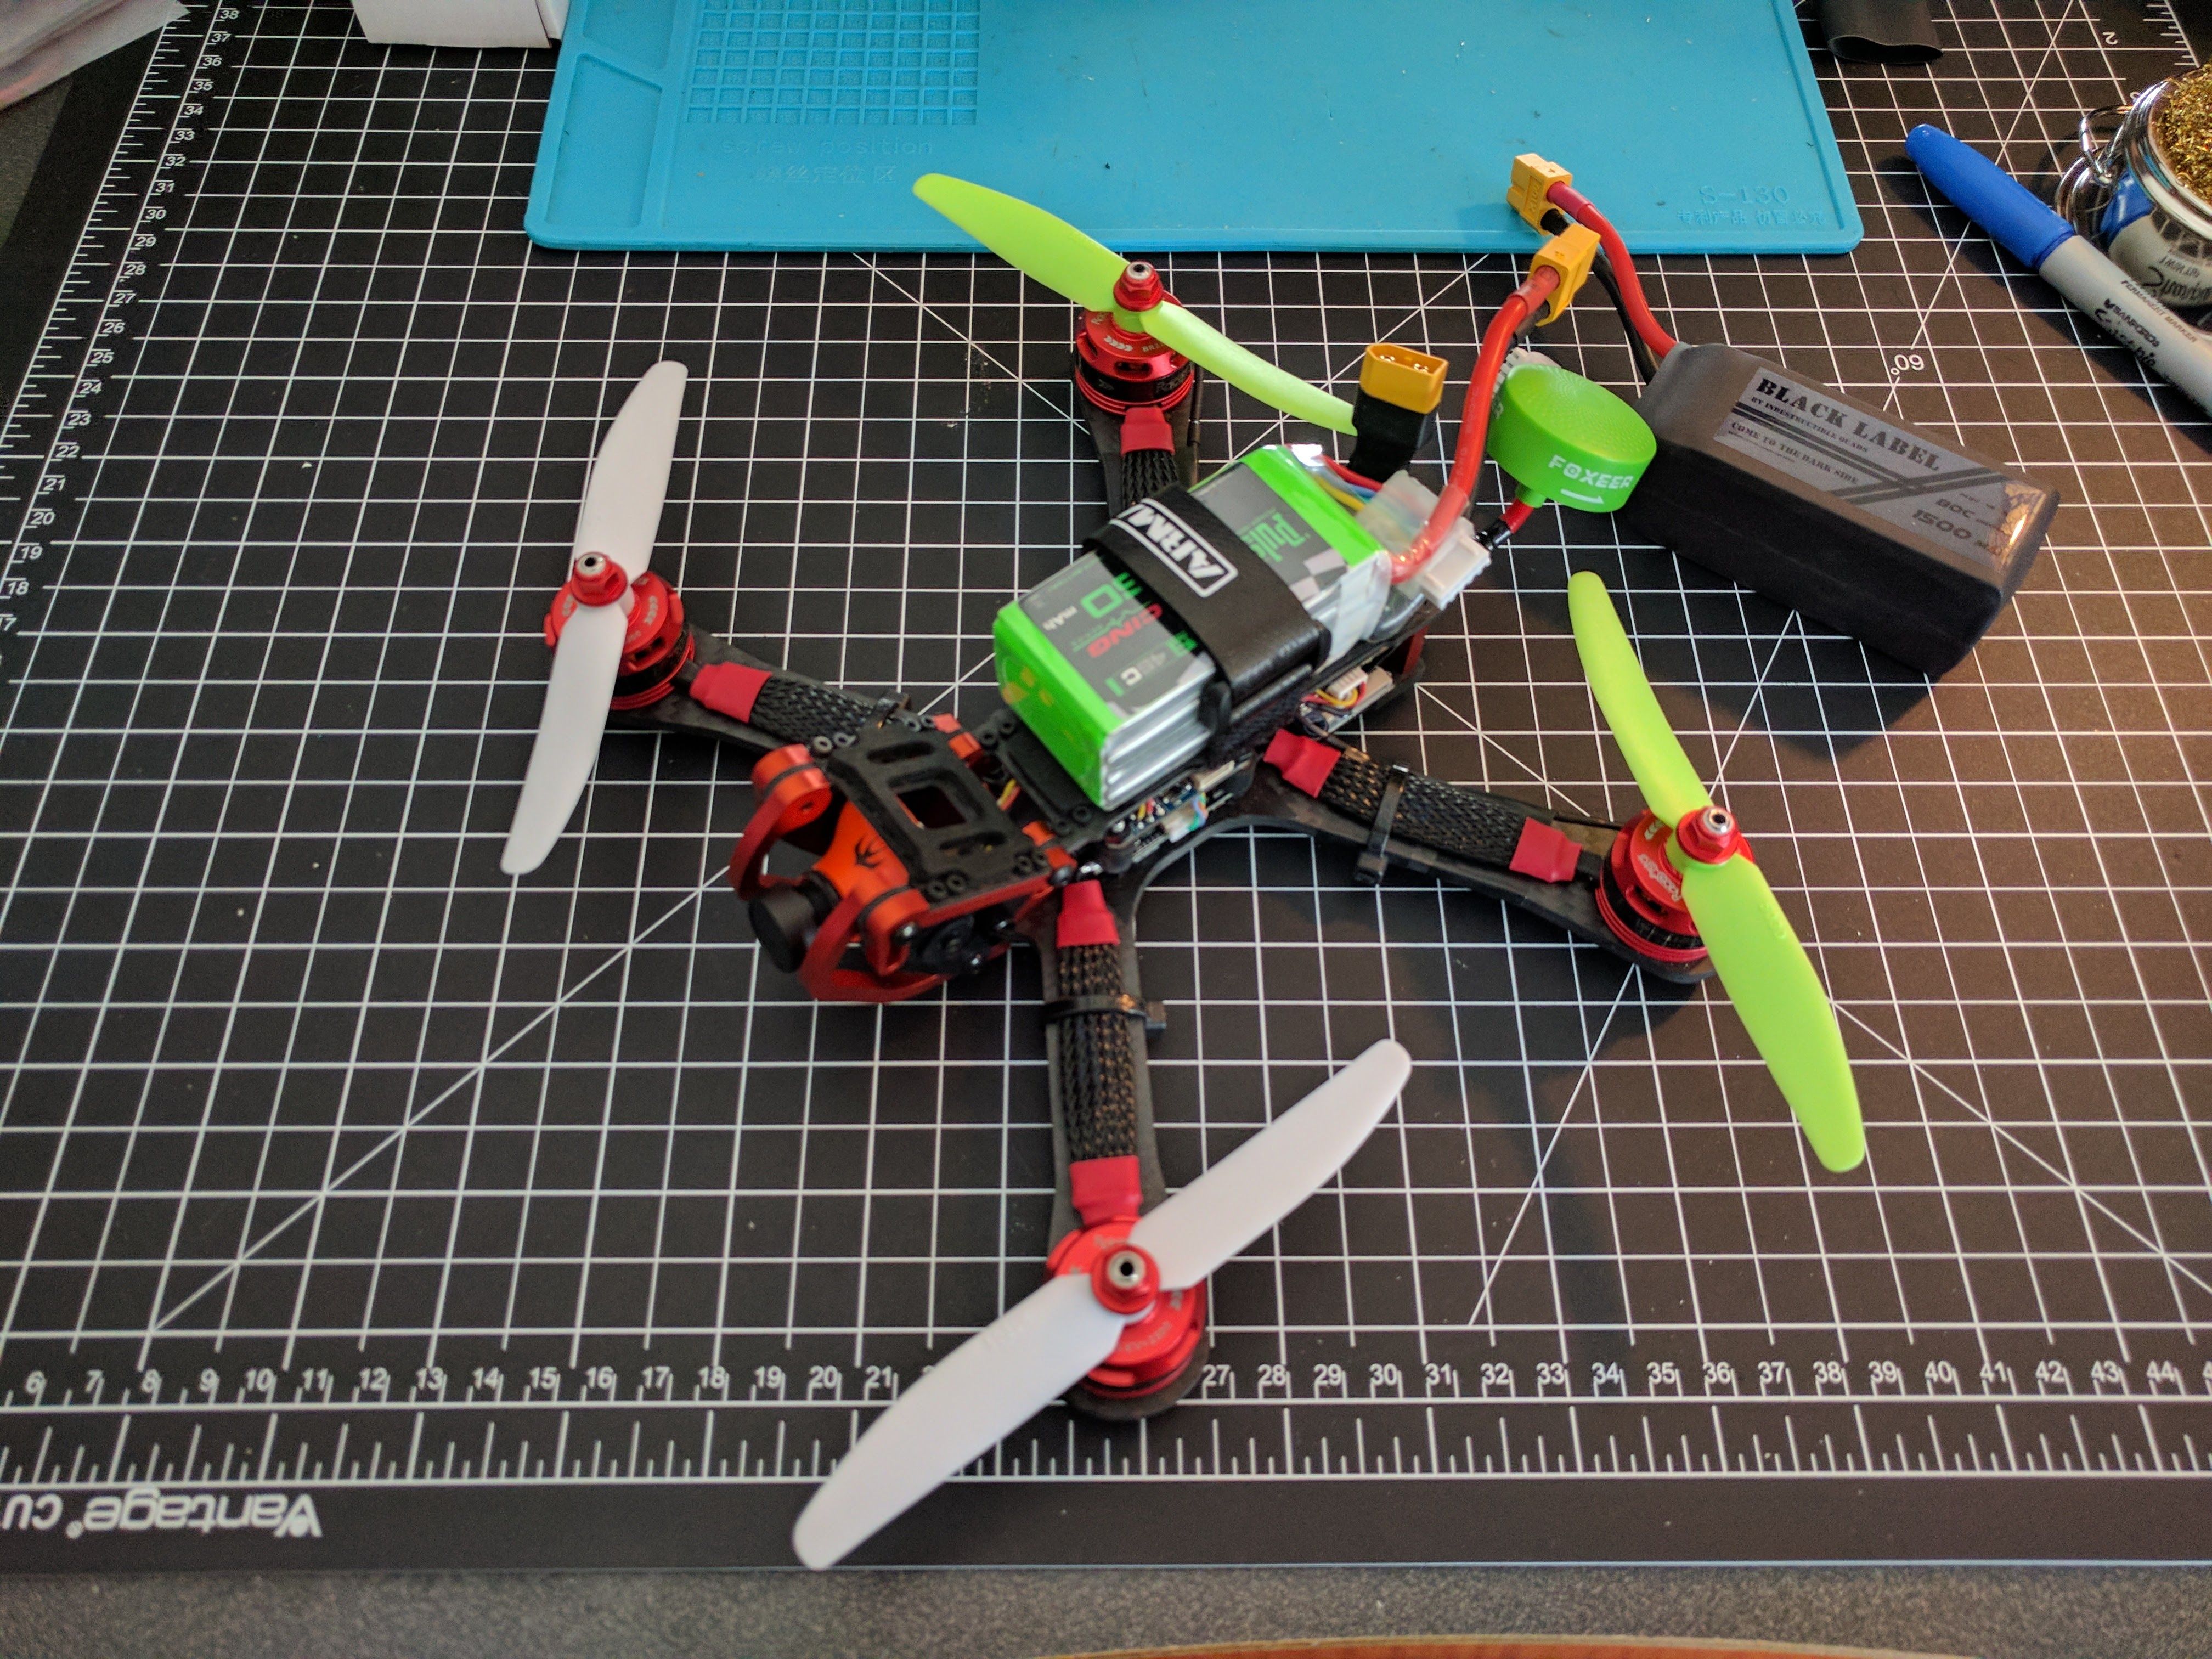
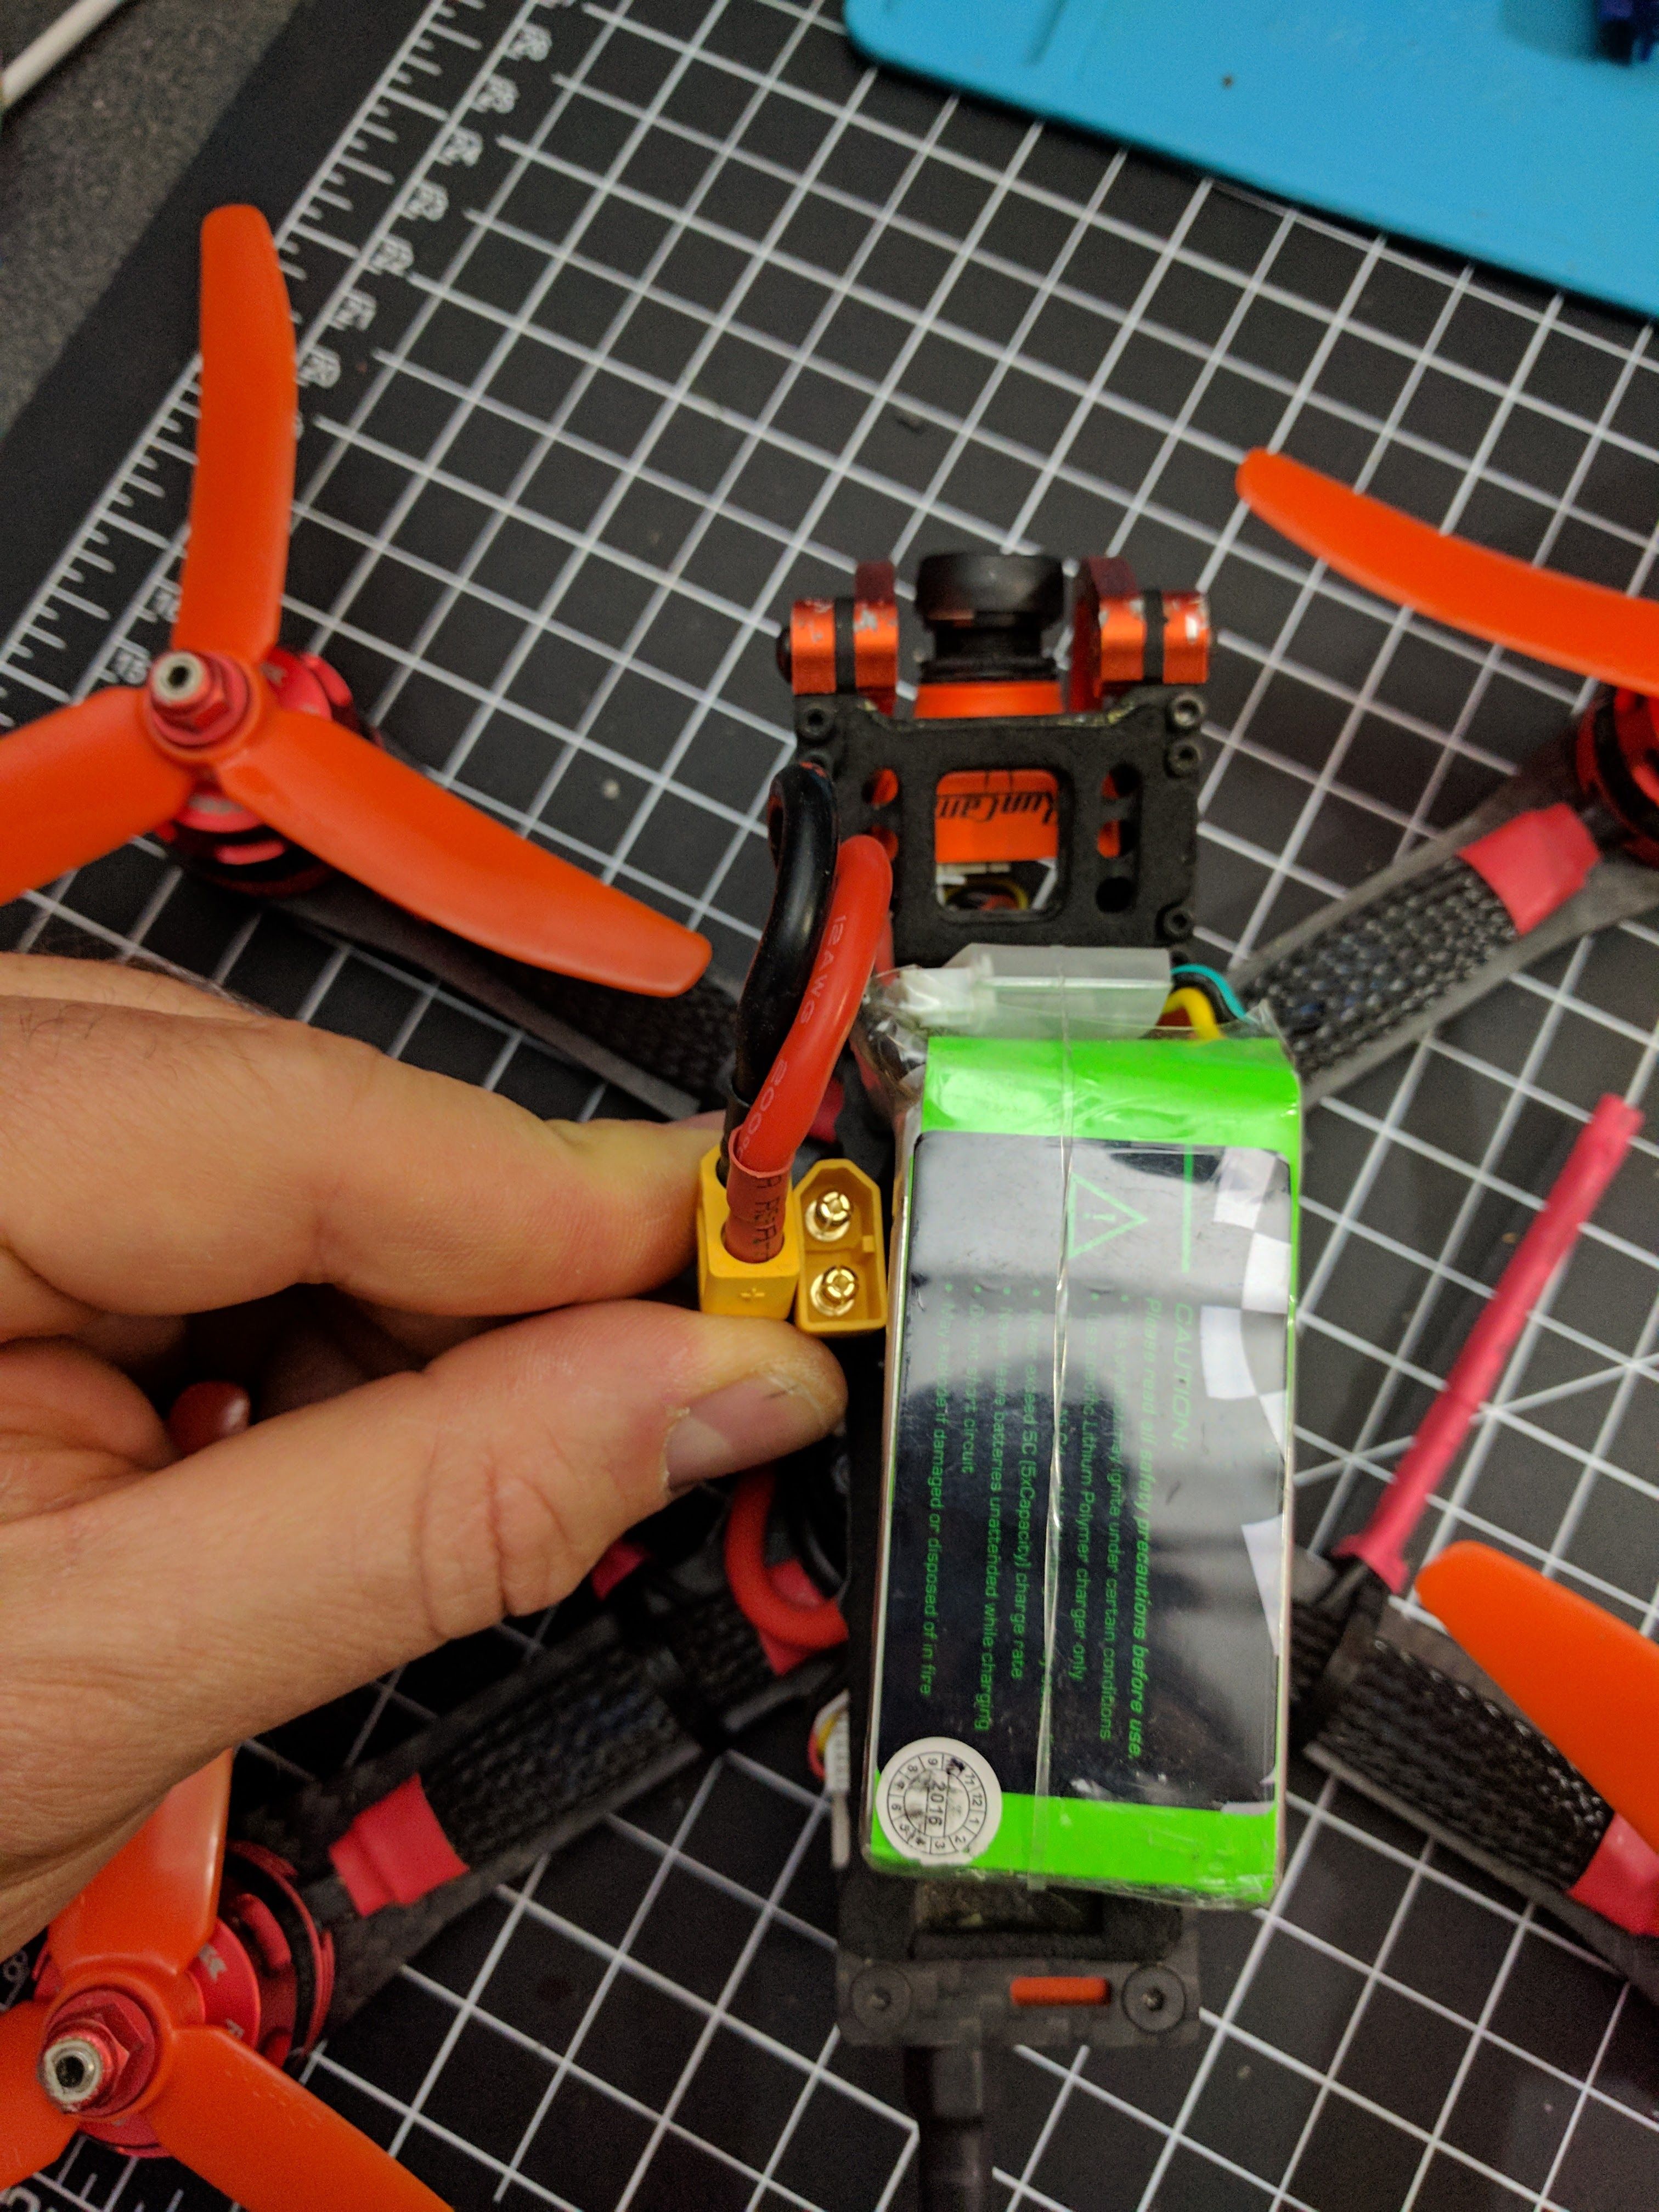
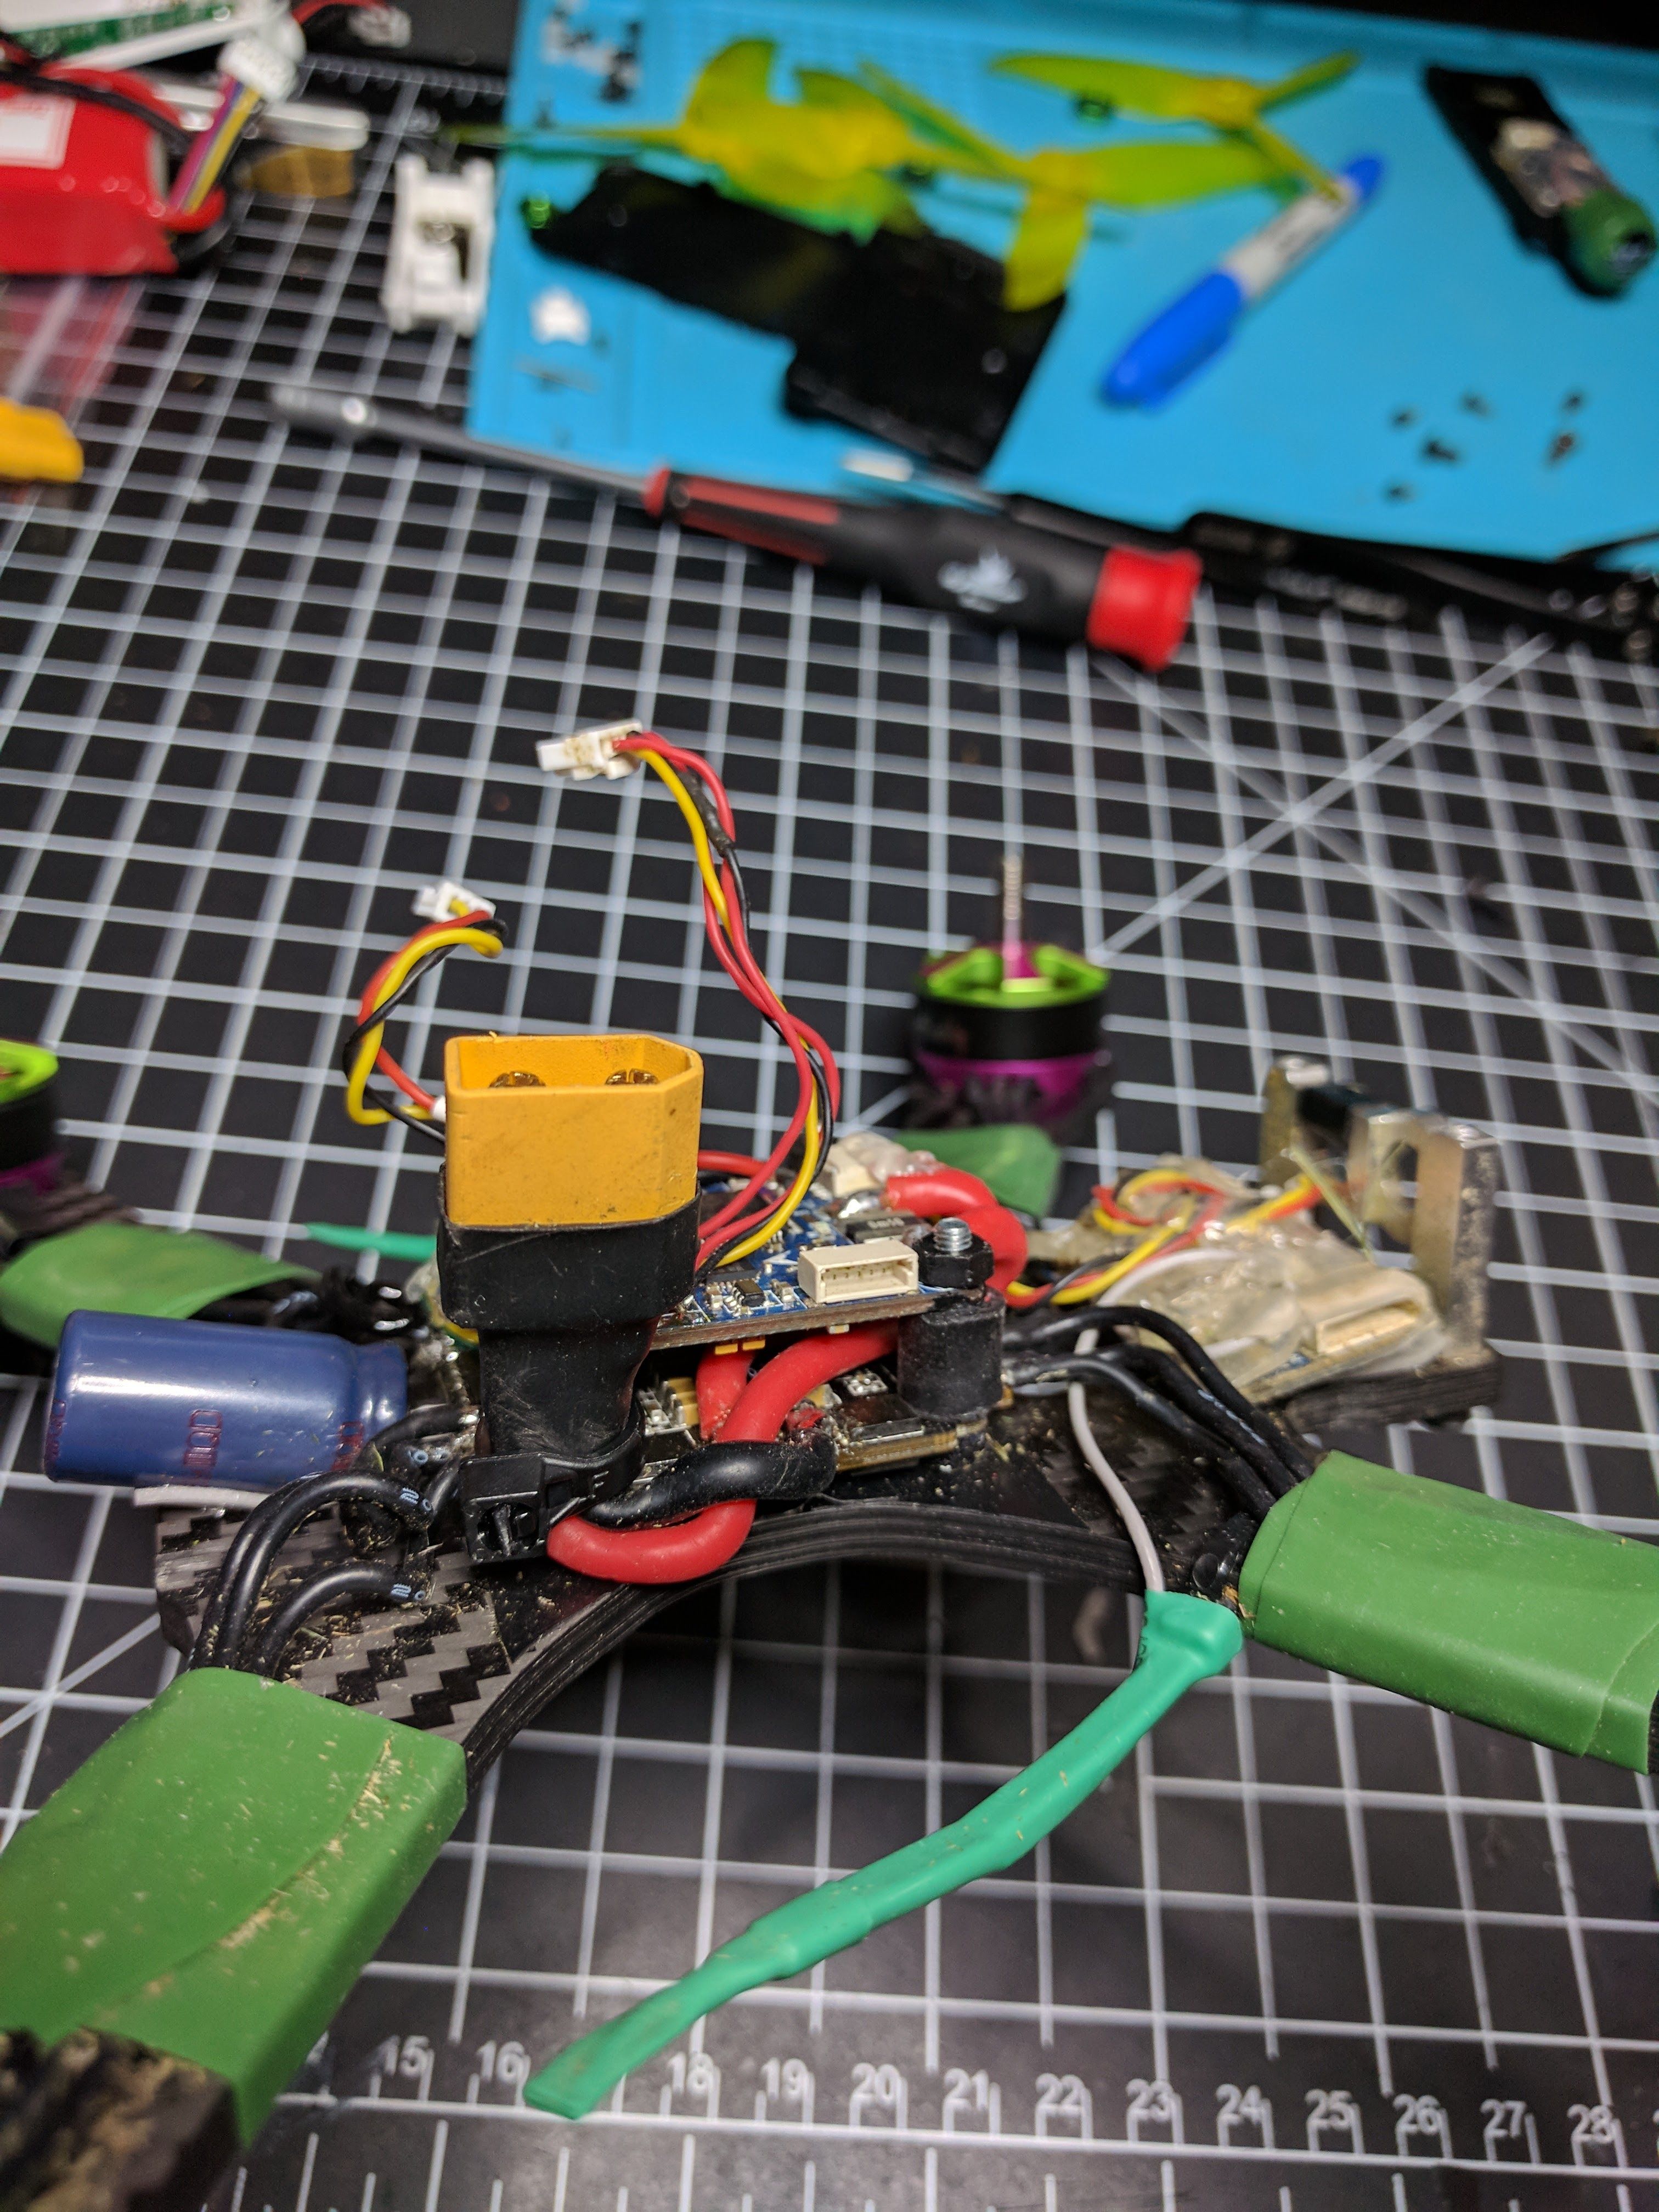
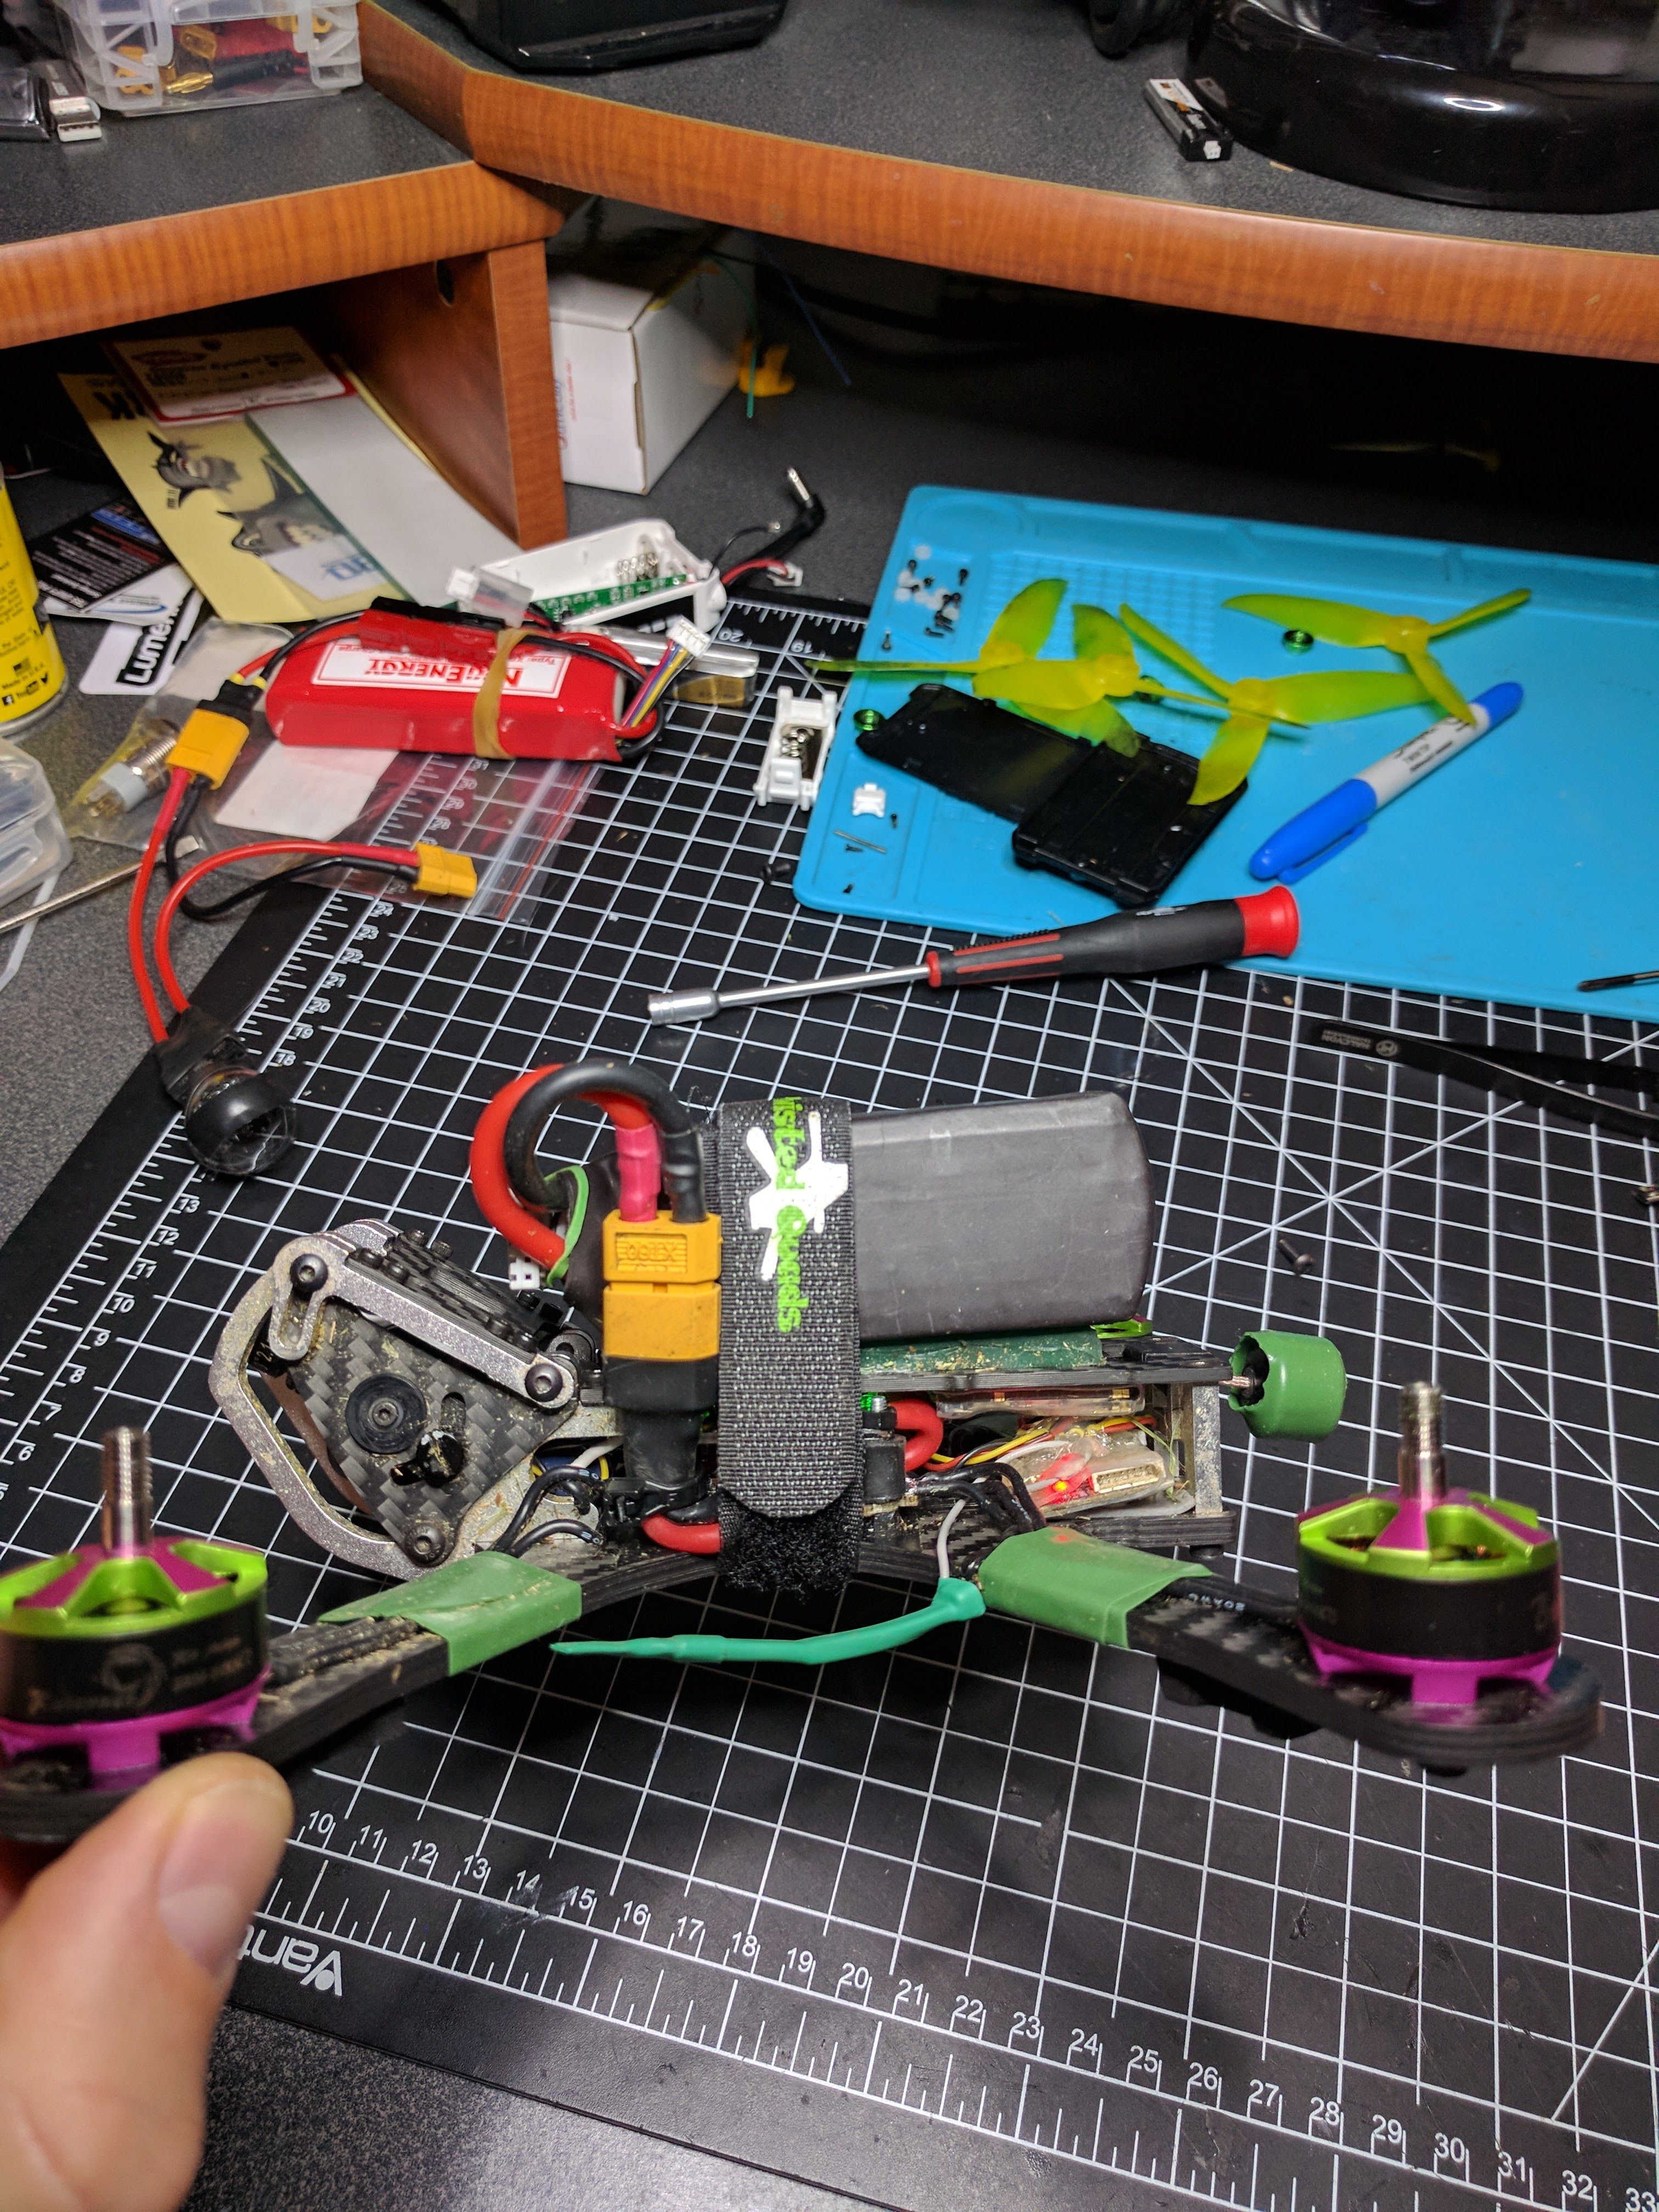
The original antenna placement gave me some failsafes at moderate distance with some trees in line of sight, so moving them away from the frame to see if that helps. The xt60 and lipo wires were also getting hit on crashes, so moving to the side to see if that helps -
looks like it will as there is more clearance to the props at that location and battery wire plugs in without any slack.
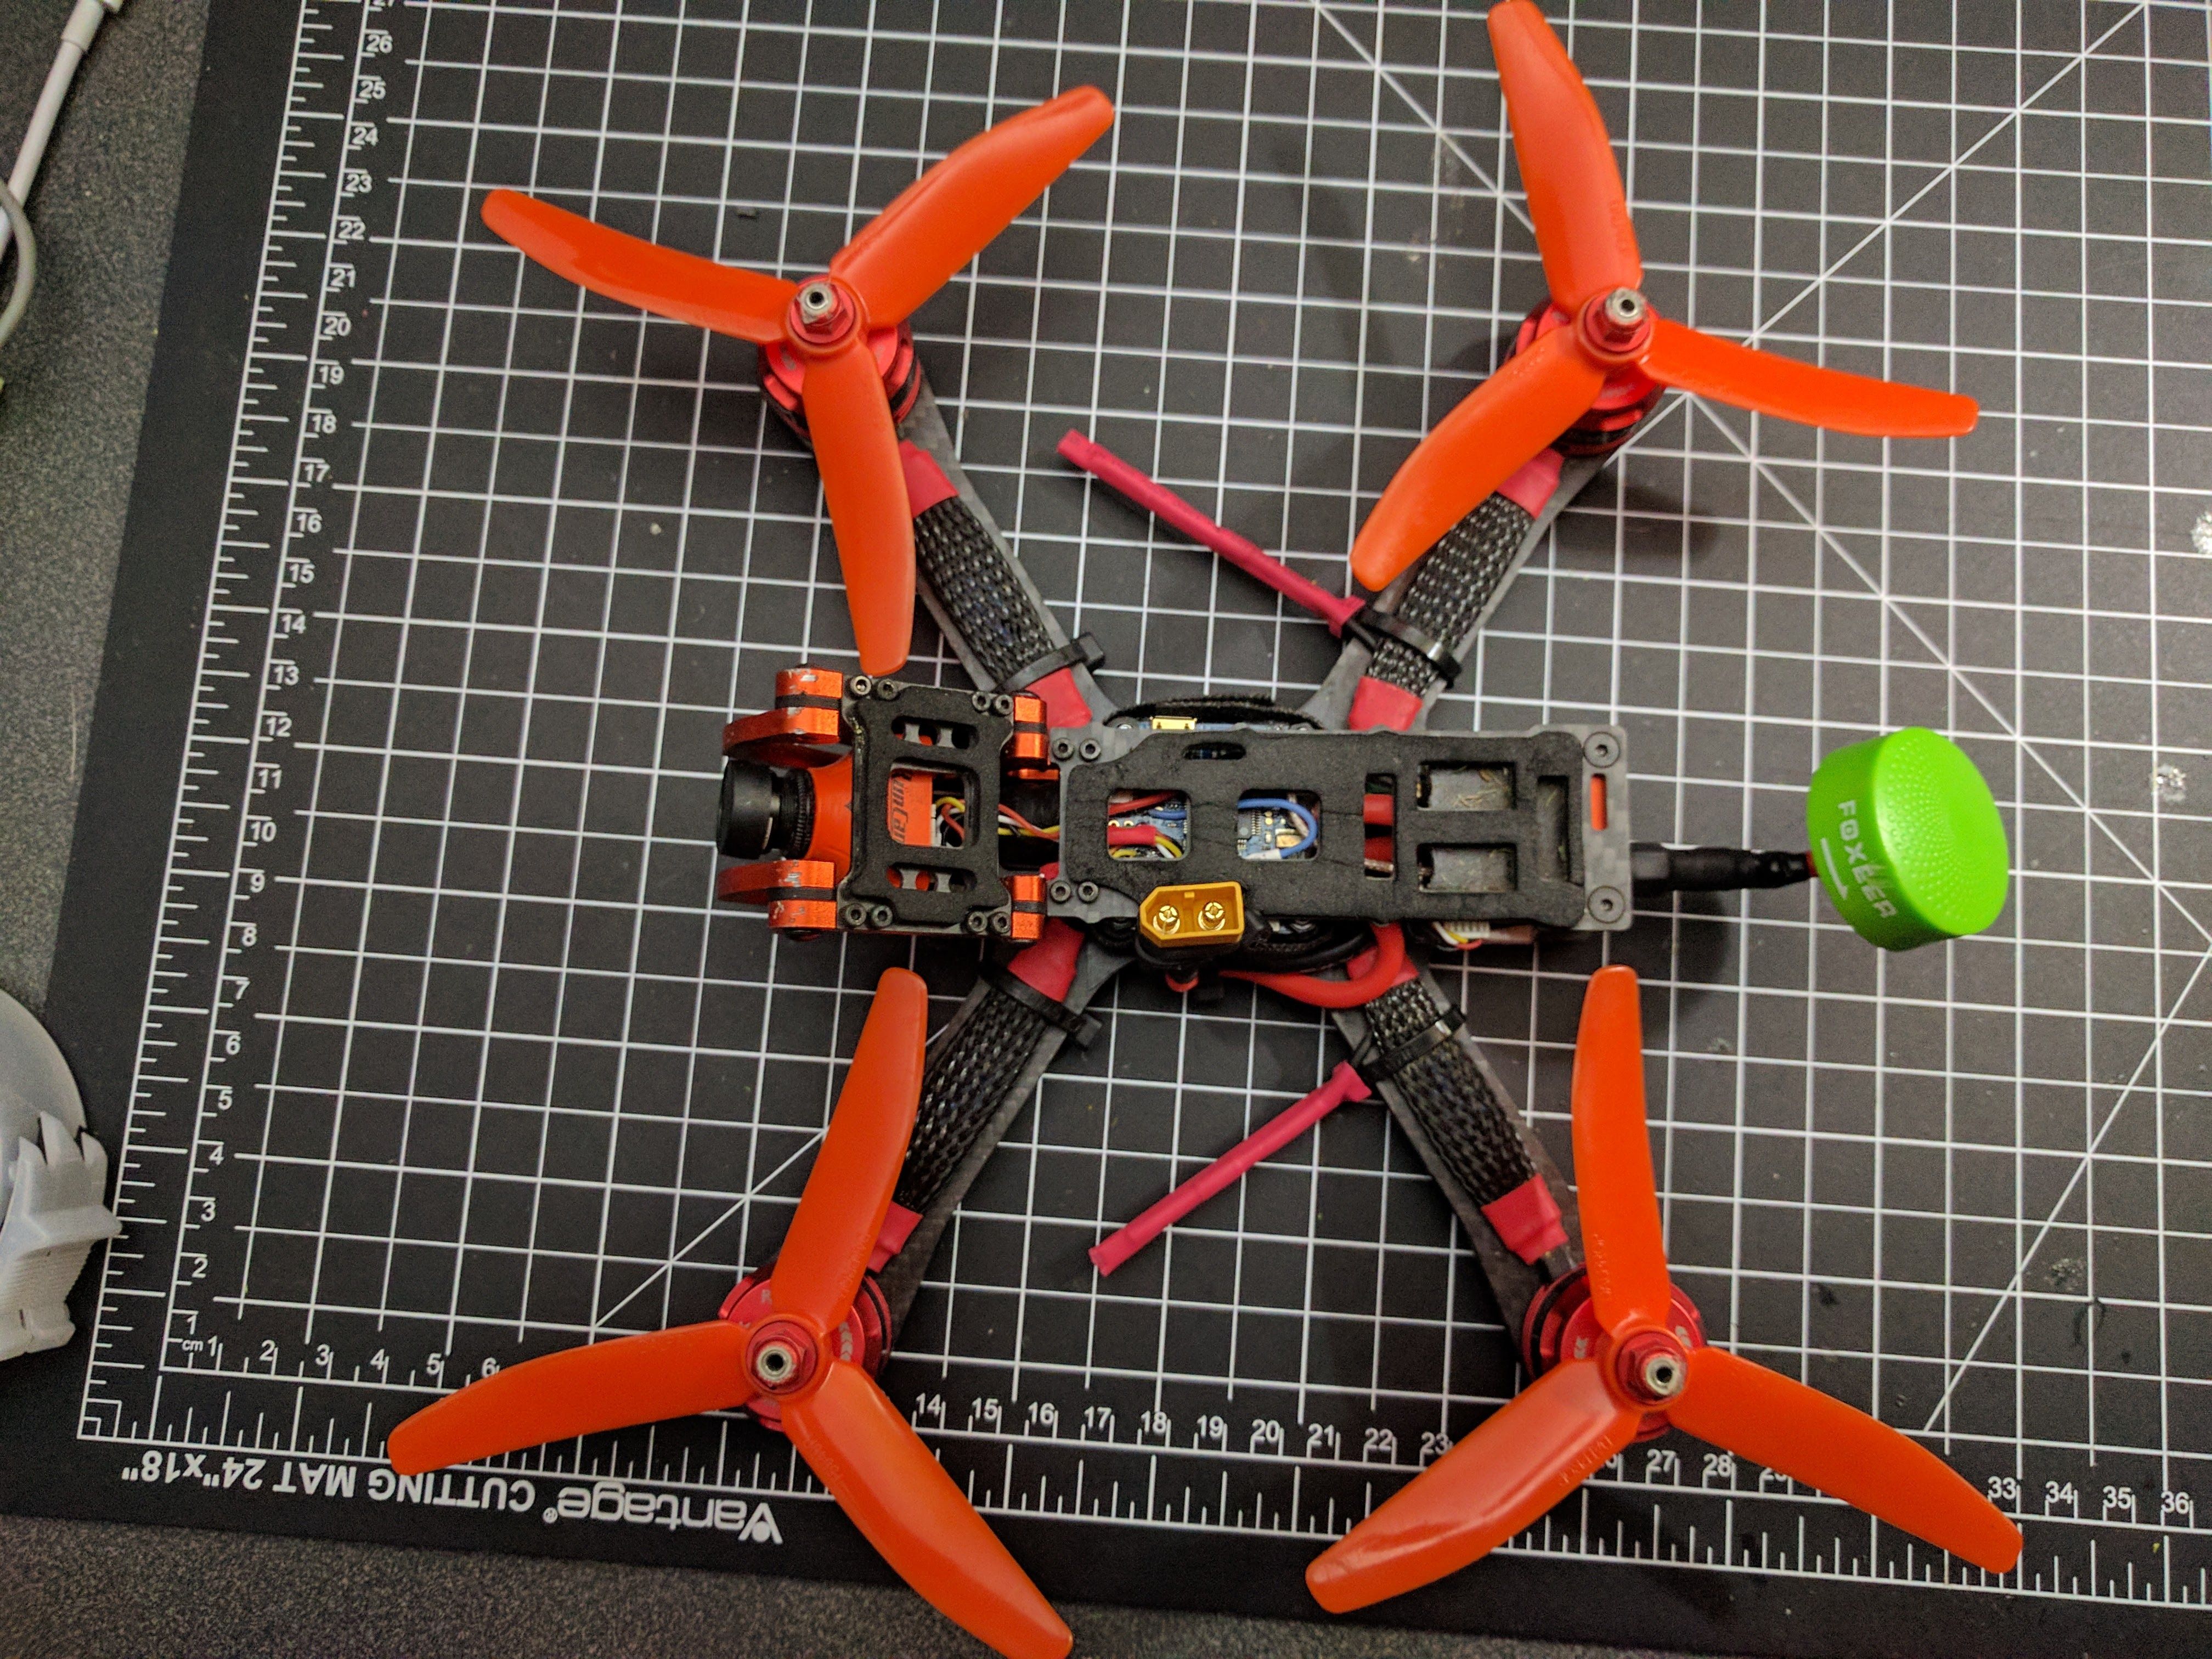
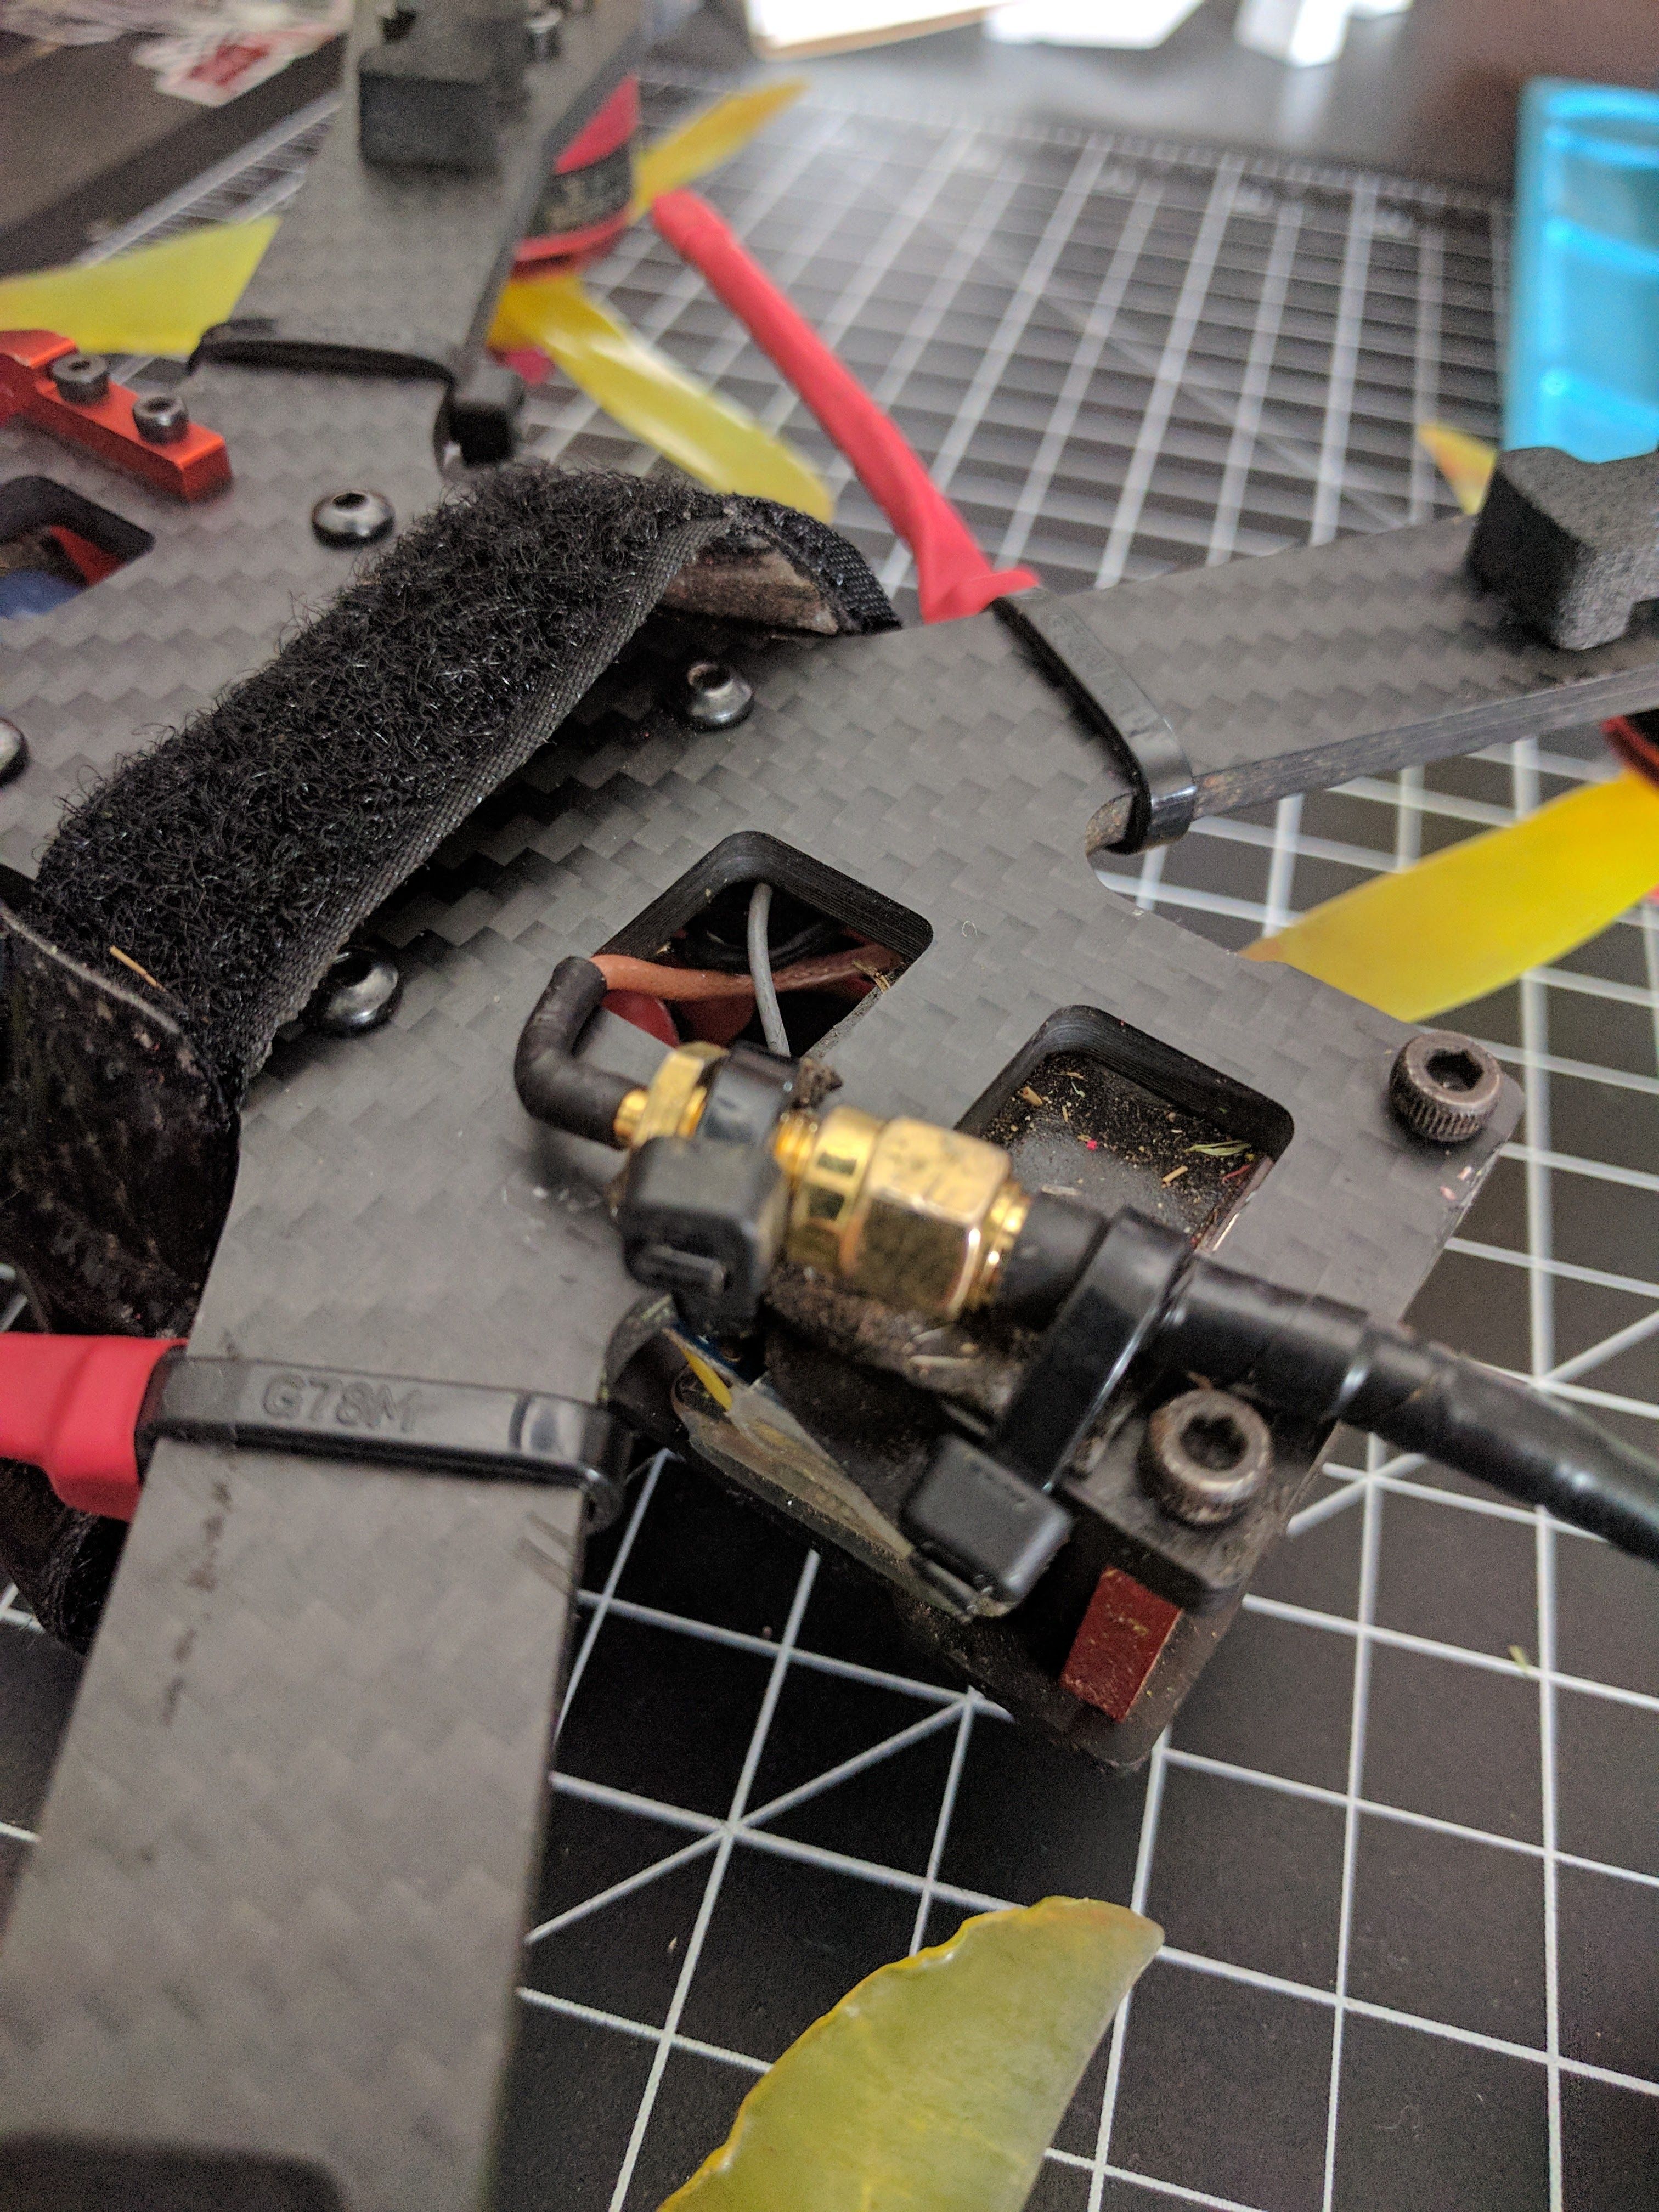
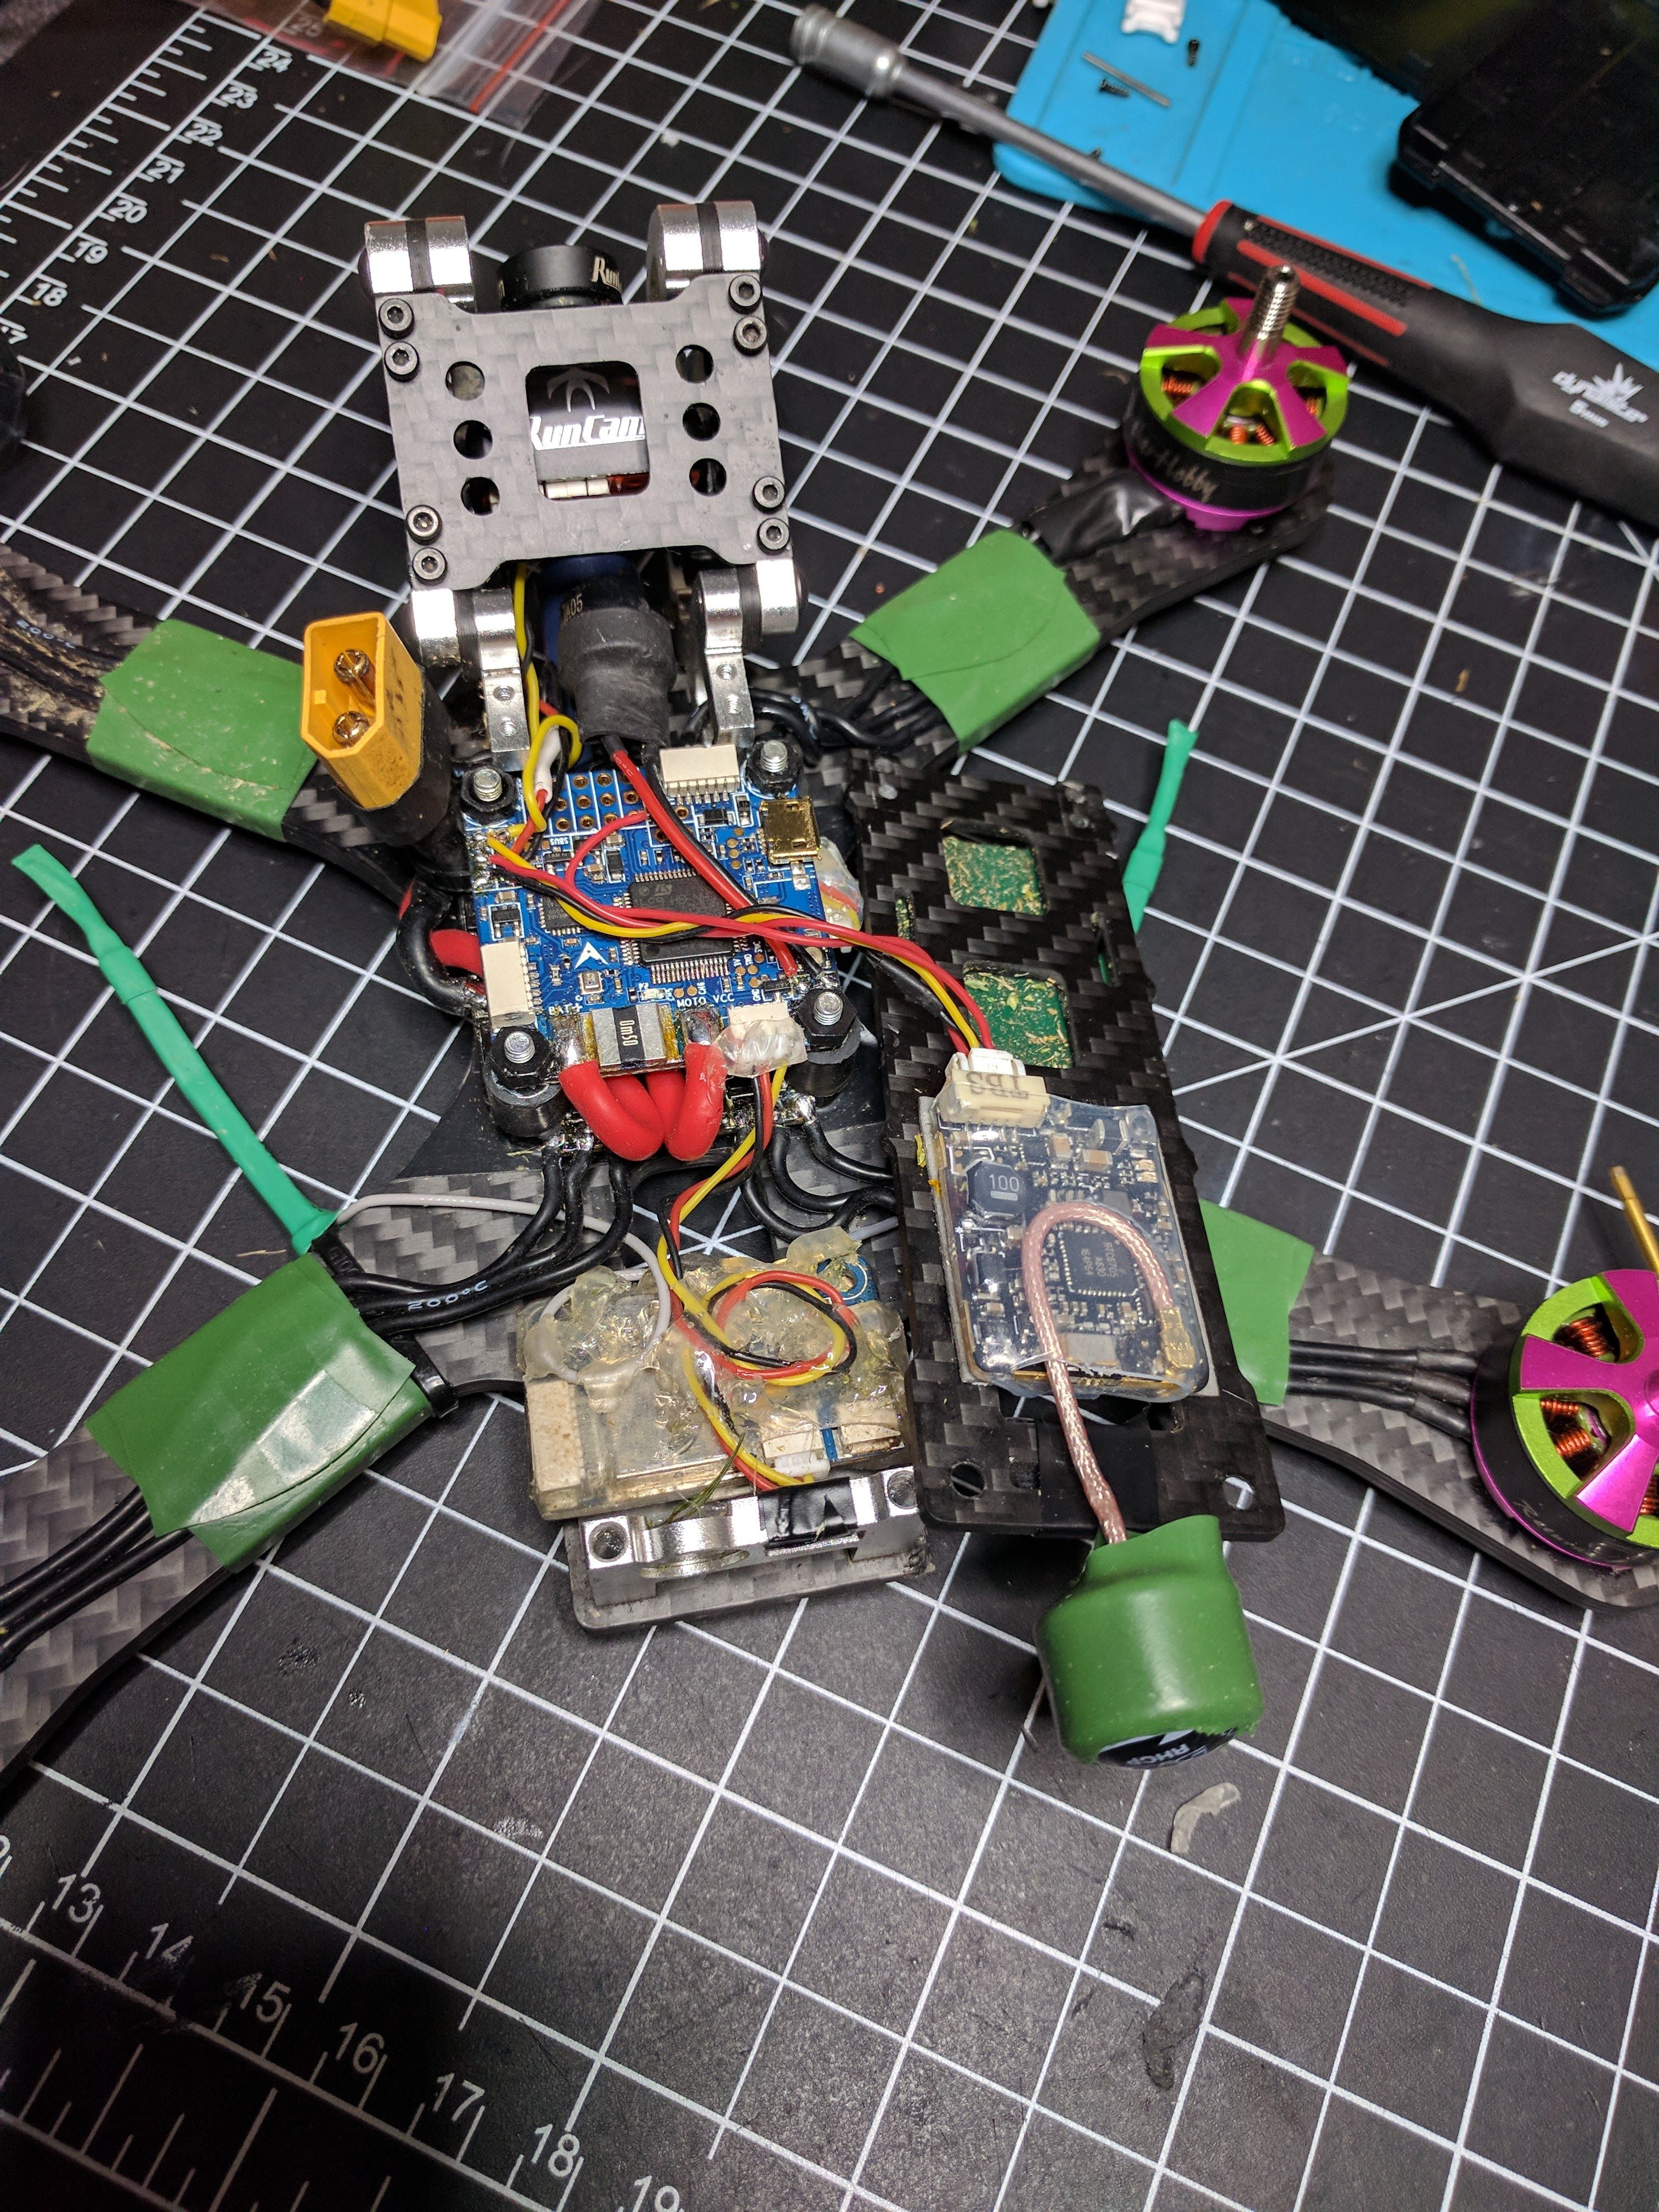
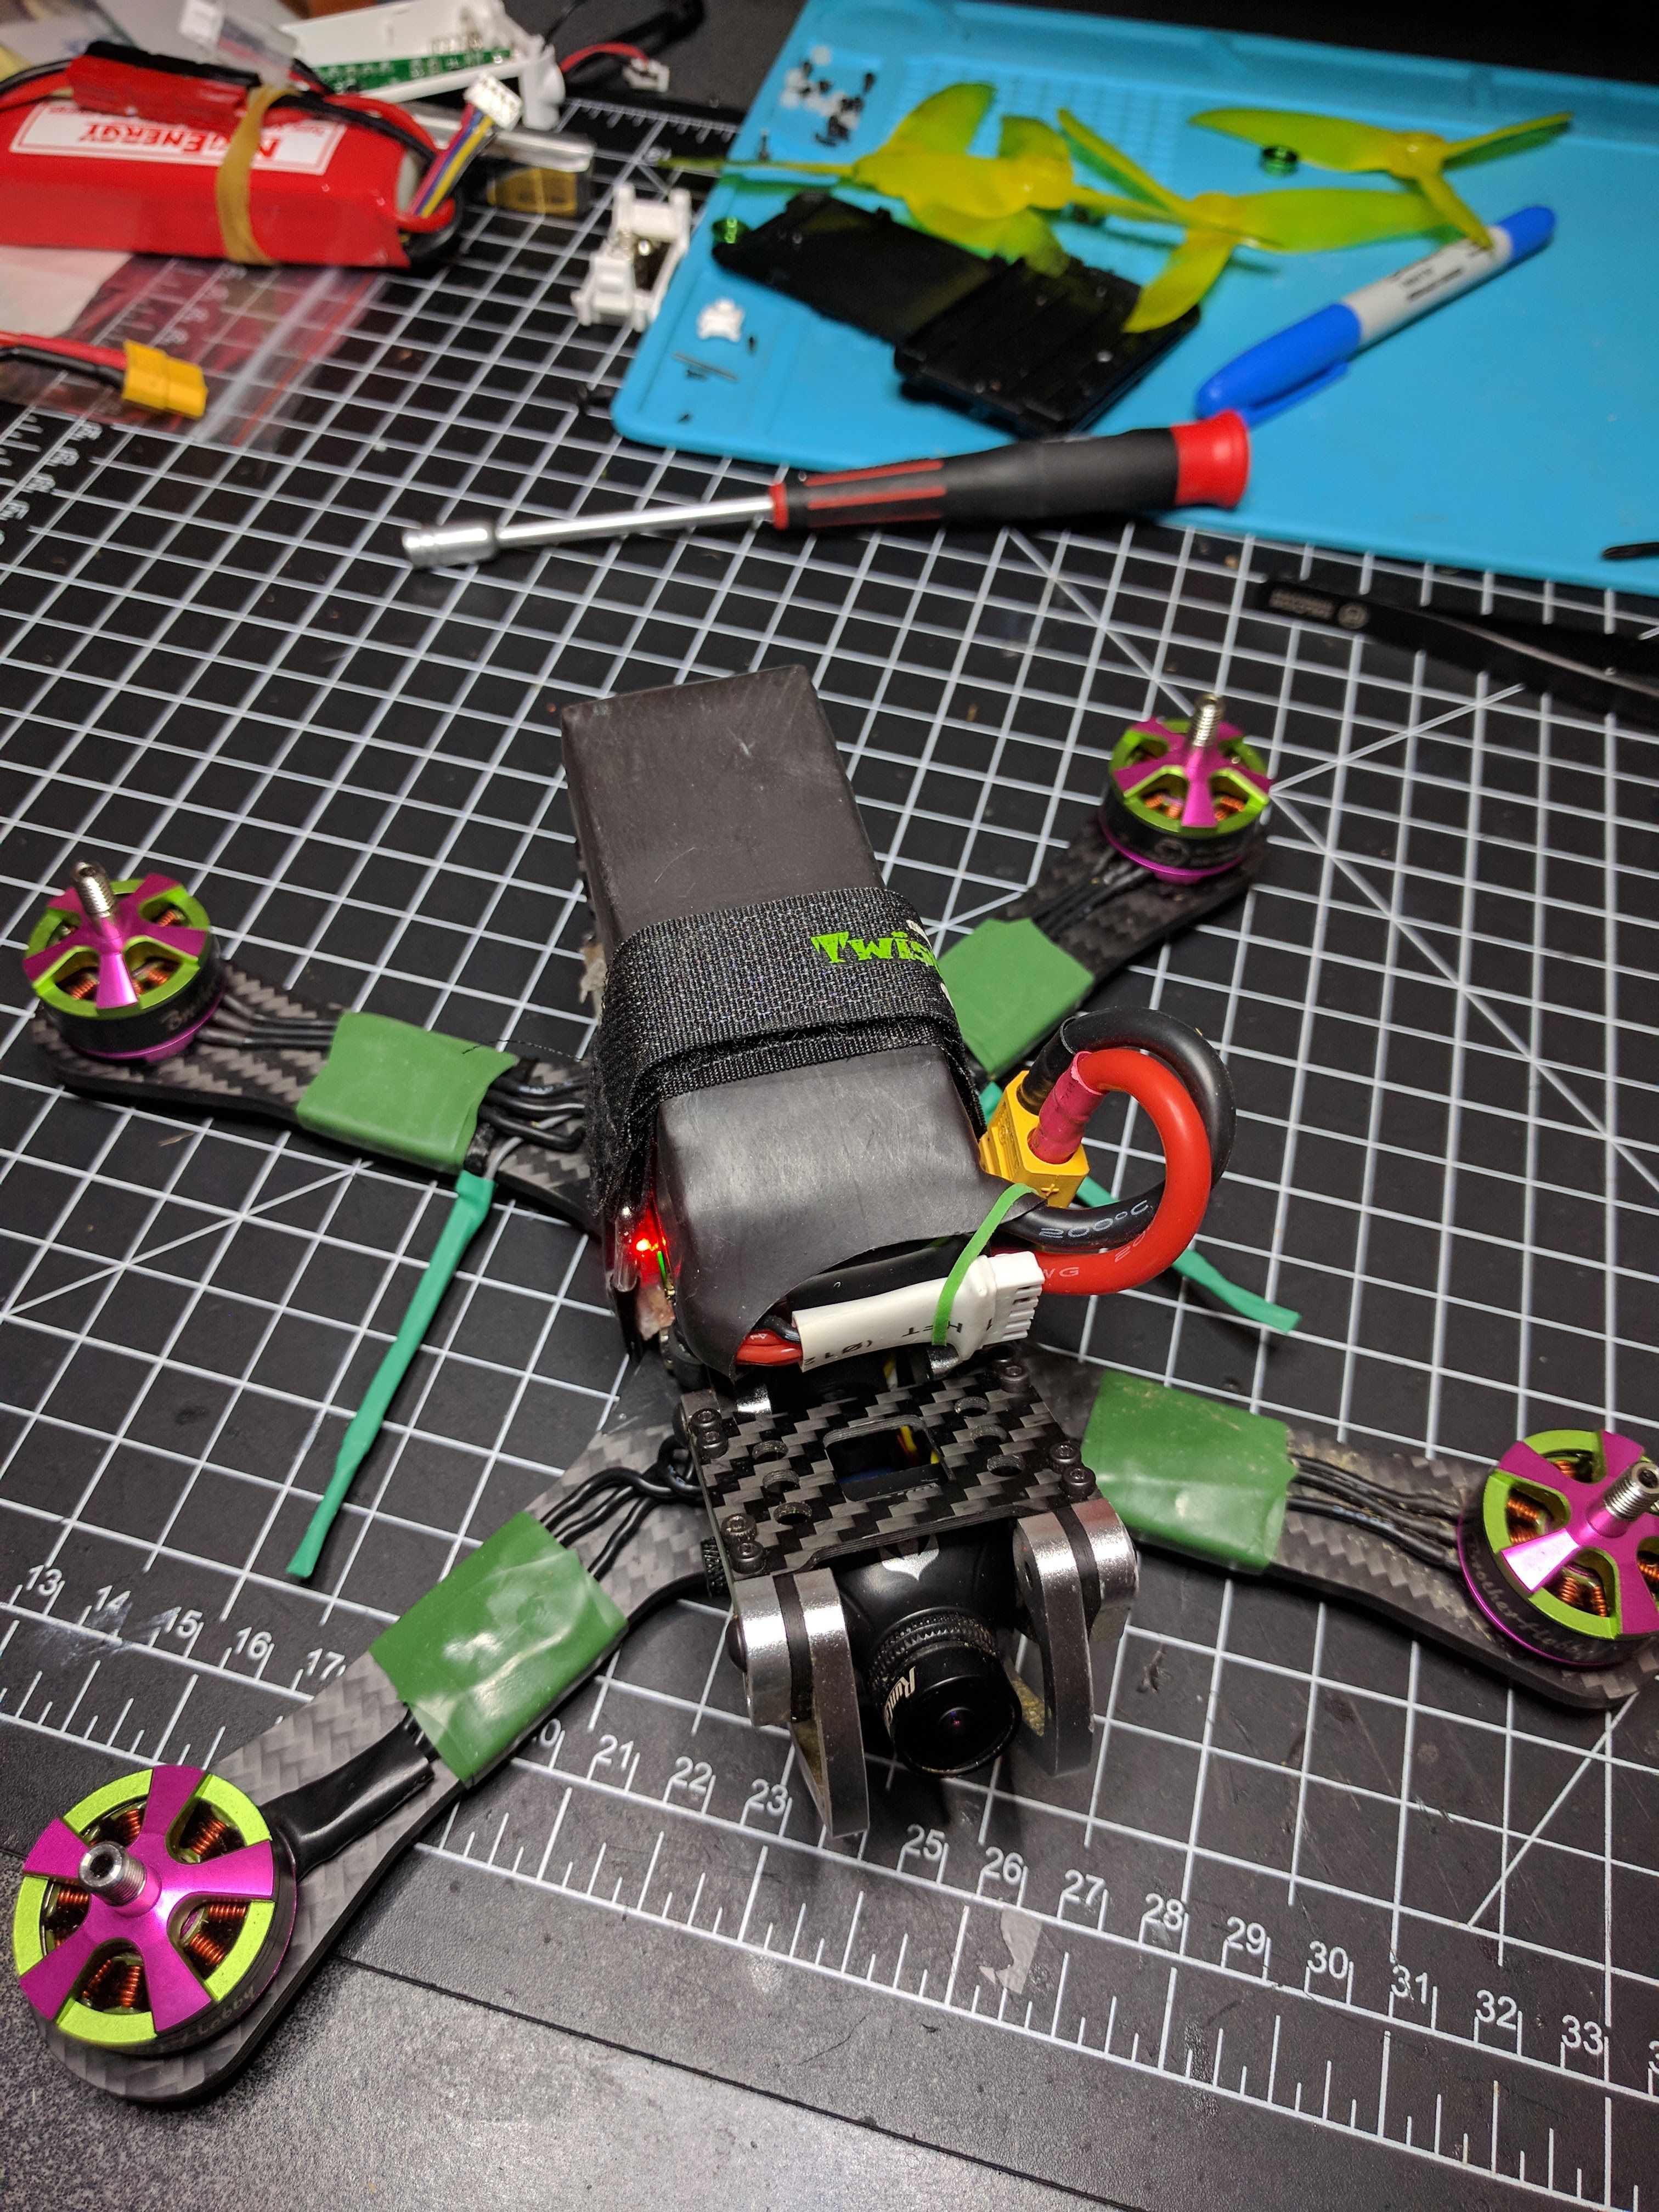
I was breaking a vtx antenna at the connector pretty much every 2 or 3 crashes, so decided to investigate a better way of mounting it to avoid breakage. By using a zipties to mount it to the bottom of the frame, I was able to use a second ziptie to alleviate the strain on a connector during a crash by securing the part of the antenna directly above the connector (see pic). Since mounting it this way I have yet to break another vtx antenna. I also put a little foam tape under the pigtail connect or to give it some vibration and electrical isolation from the frame.
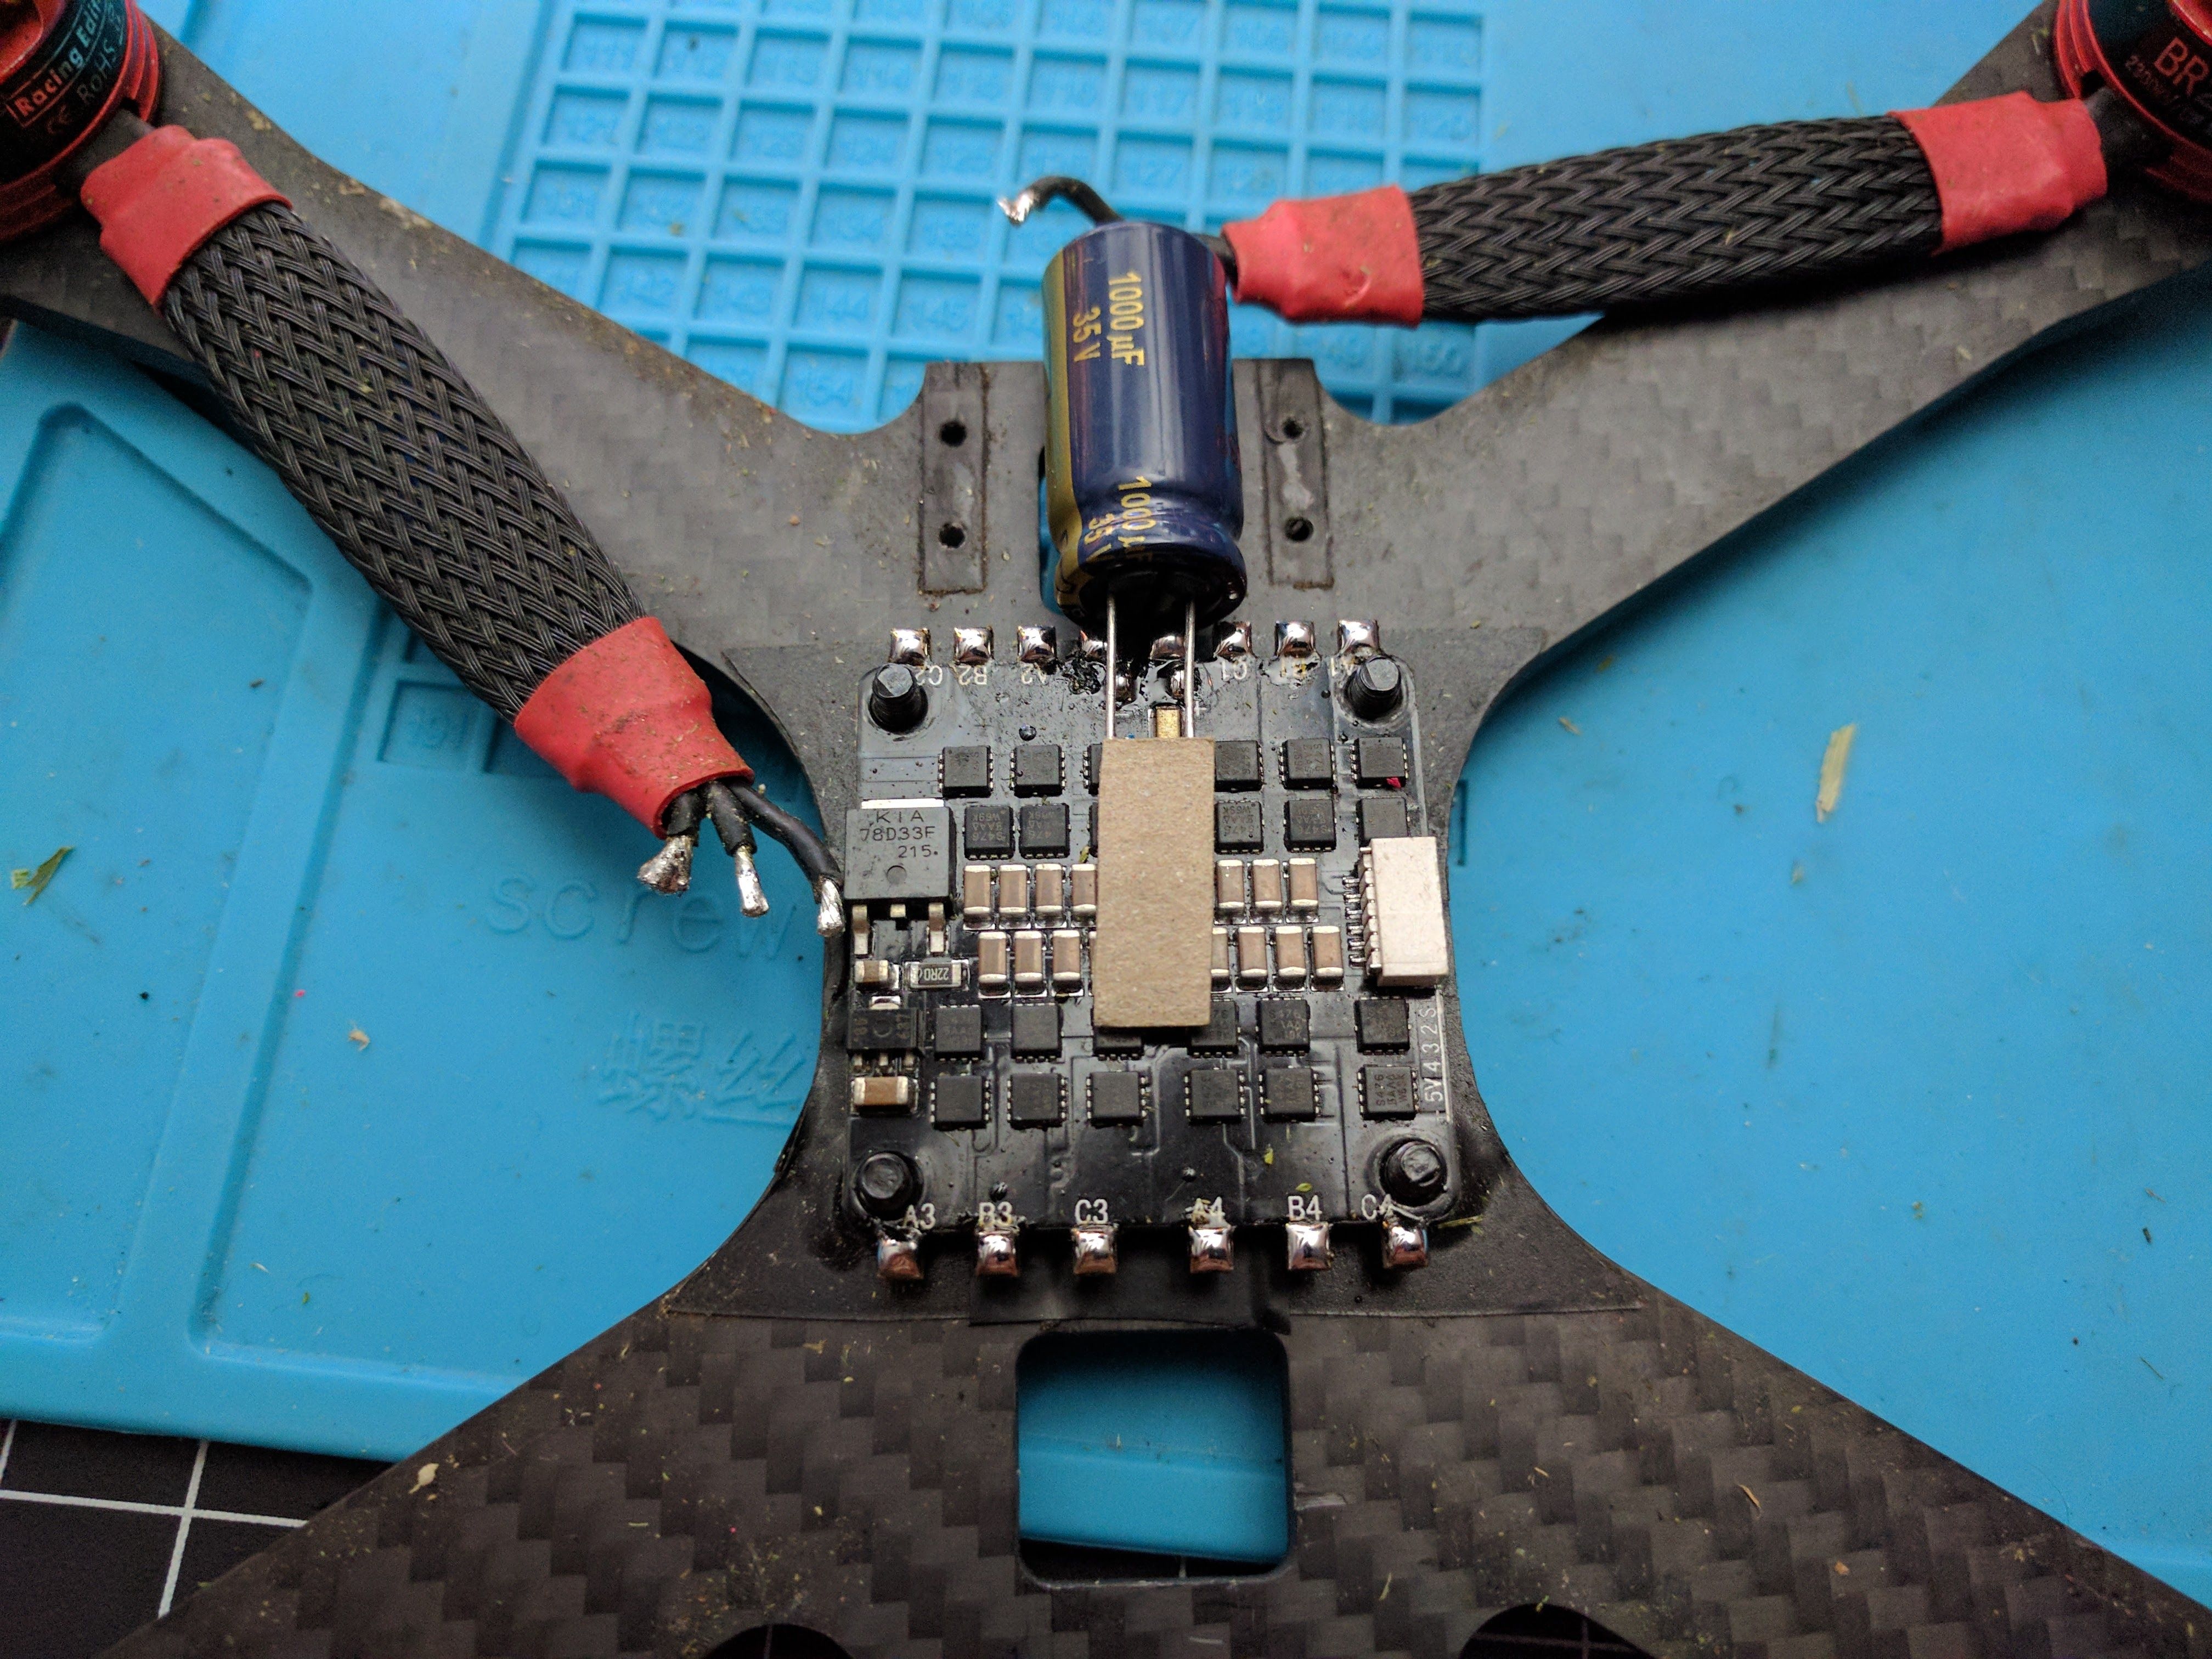
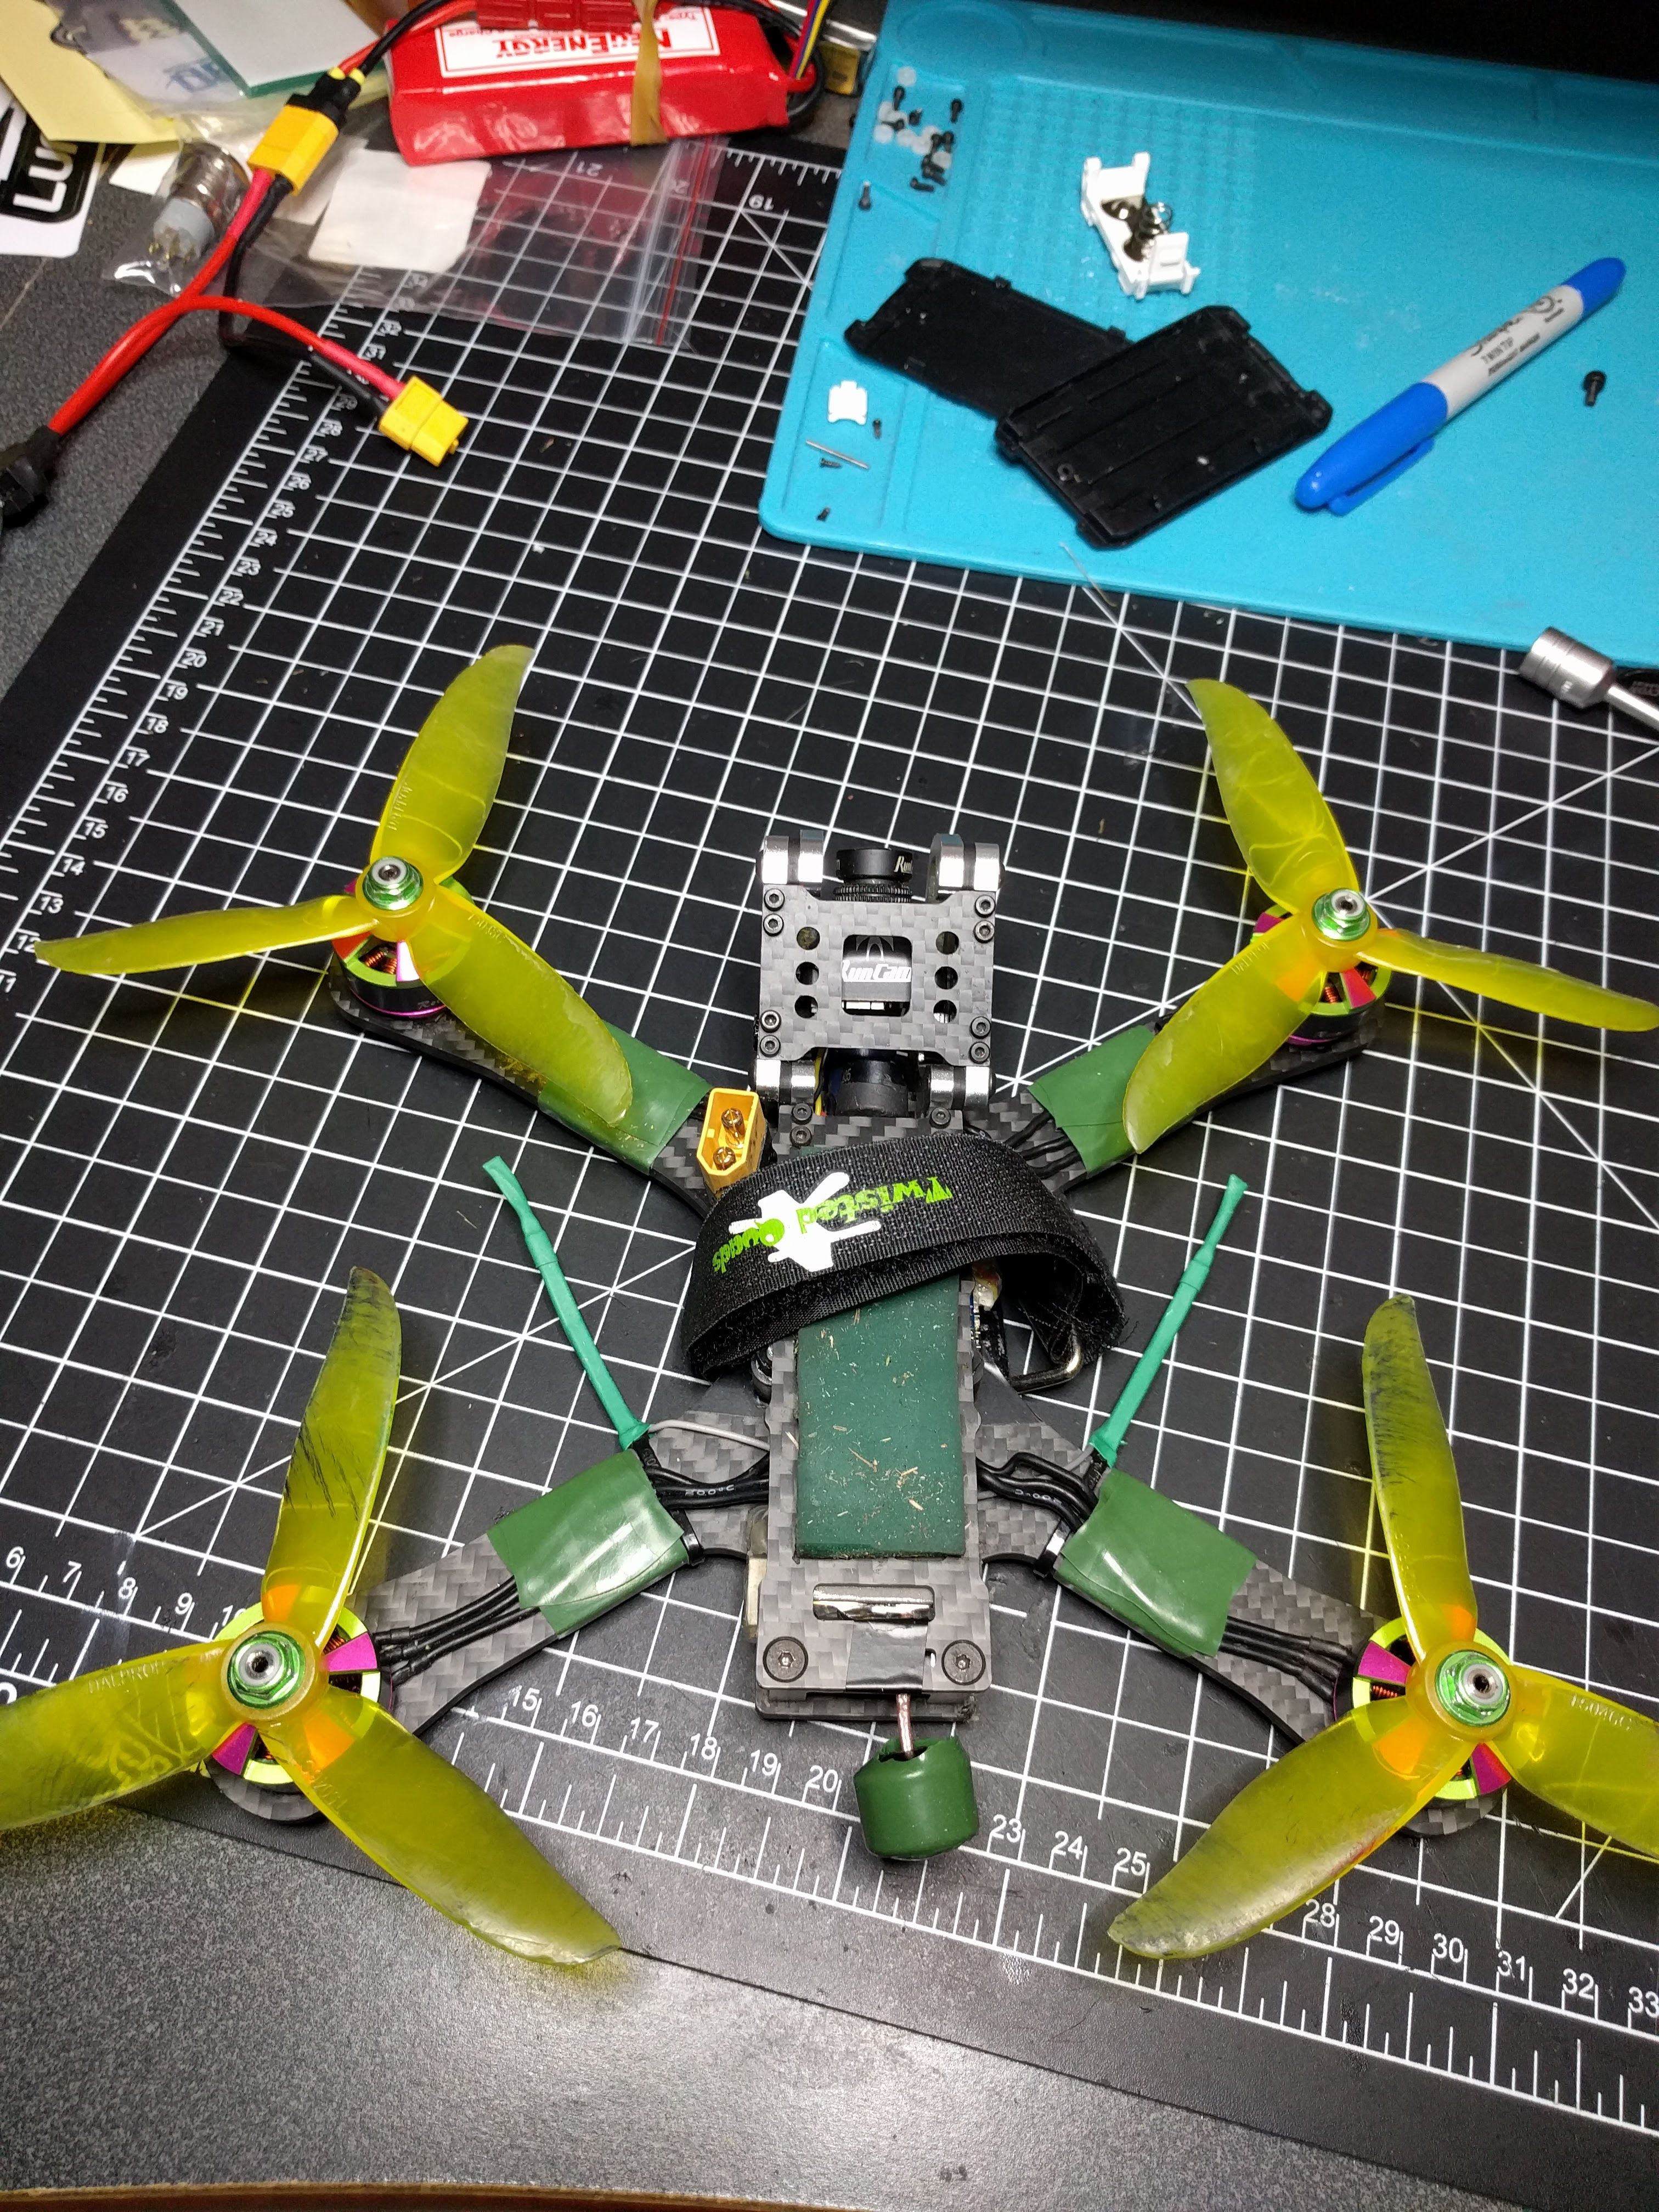
I also rebuilt the stack recently to add in a capacitor, and the video is definitely clearer - though it wasn't that bad before. While rebuilding I made some more room by dropping the wire gauge down to 14awg for positive lead between FC/ESC, and seems ok.
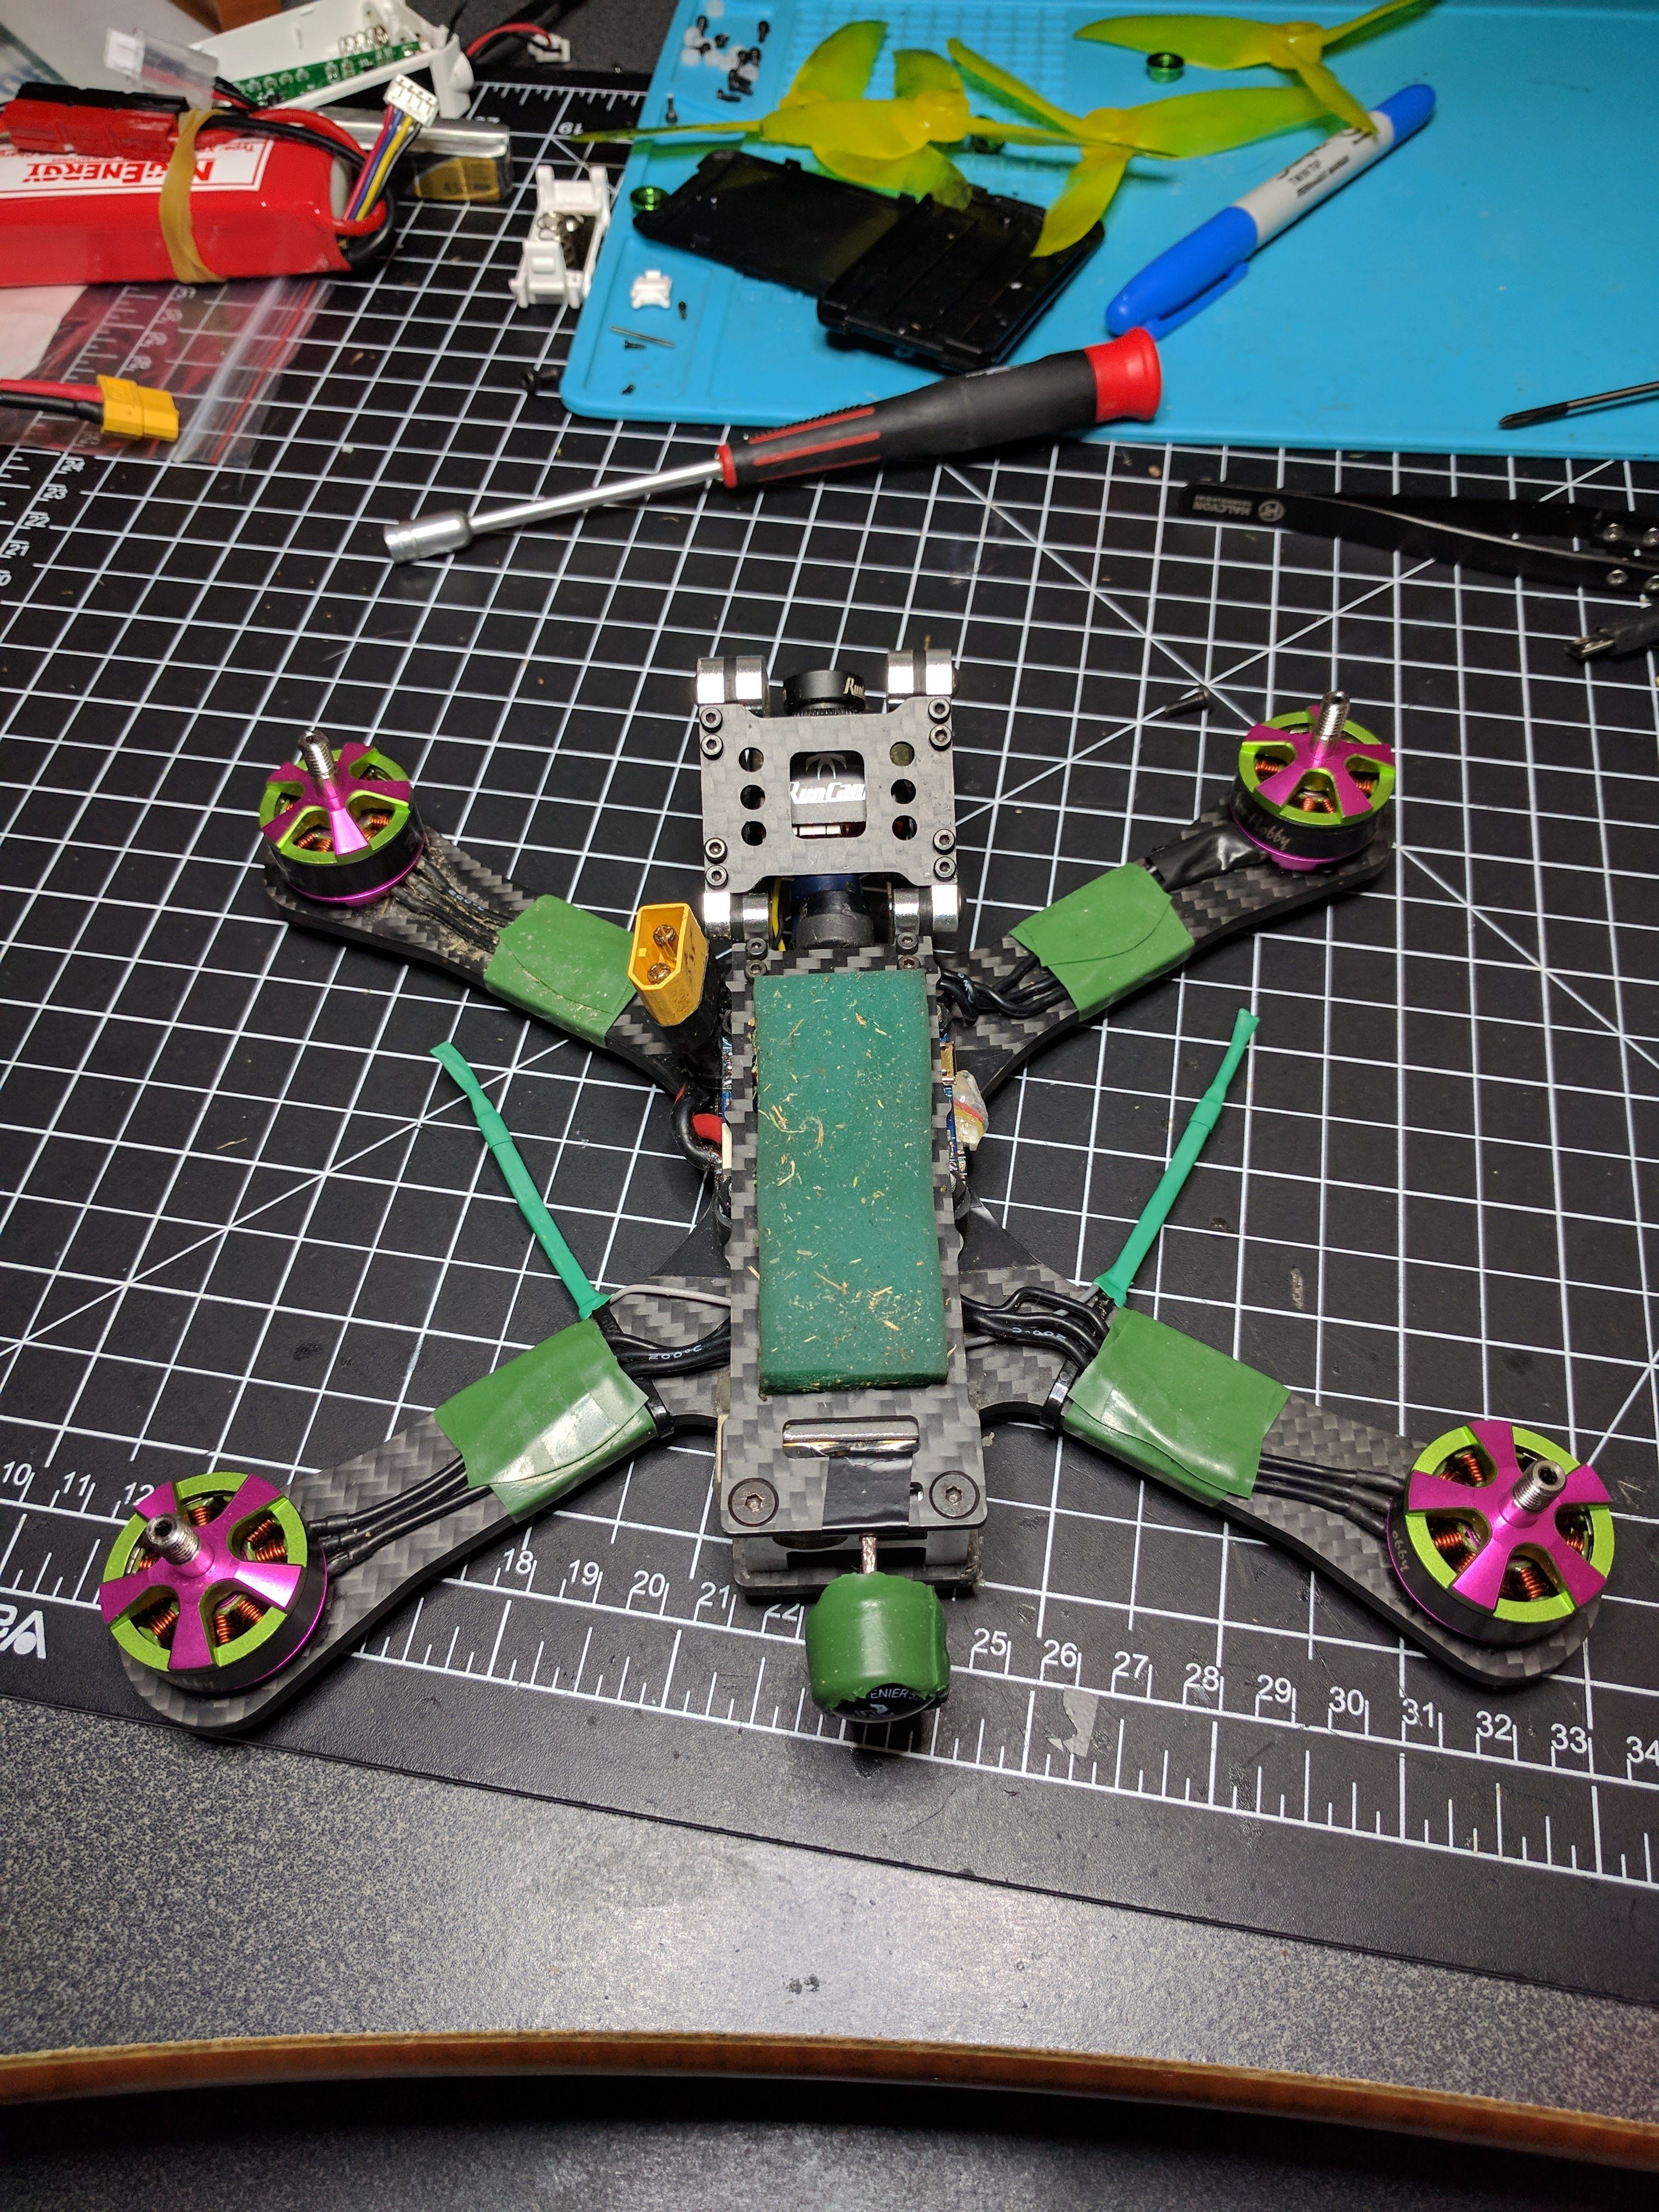
Broke my frame :( Armattan replaced the broken pieces though. I rebuilt. I also ended up needing a new ESC as I shorted the Racerstar, and ended up with the DYS F30A. Also upgraded motors to BrotherHobby Returner R4s - my Racerstars died one by one with the shaft breaking right under the bell - either because I reversed my motors and they were used to stresses the other way, or they were just finally giving in from all the crashes. Also trying a new antenna placement using a U.FL Axii antenna, we'll see if it holds up. No longer the pretty girl she used to be, but easier to maintain :D
Edited 5/4/17 to add actual links to where I bought the parts
Edited 6/16/17 to add pics of new placement of antenna and xt60
Edited 7/12/17 to add pics of new placement of vtx antenna
Edited 7/12/17 to add pic of rebuild with capacitor placement
Edited 9/19/17 to add pics of rebuild with warranty replacement frame and some other tweaks
Photos


Part List
Show stores (7)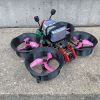
Nice detail. I'm still in the process of speccing my own Chameleon build and making notes. (https://rotorbuilds.com/build/4203)
Like you, choosing between various 4-in-1 ESC's is confusing.
So happy to see your build. I had the same idea to build the chameleon with 4in1 esc and just ordered all the parts (chzameleon frame, oomp2206, FrSky XSR, and my omnibus F4 Pro what i had ghere) in the last few days except the esc. I have to choose between the aikon 4in1, the spedix 4in1, the dys 4in1 and the Racerstar 4in1.
Does the recerstar esc working well on your build?
Have you extended the motor cables?
Any other suggestions what would you make different now?

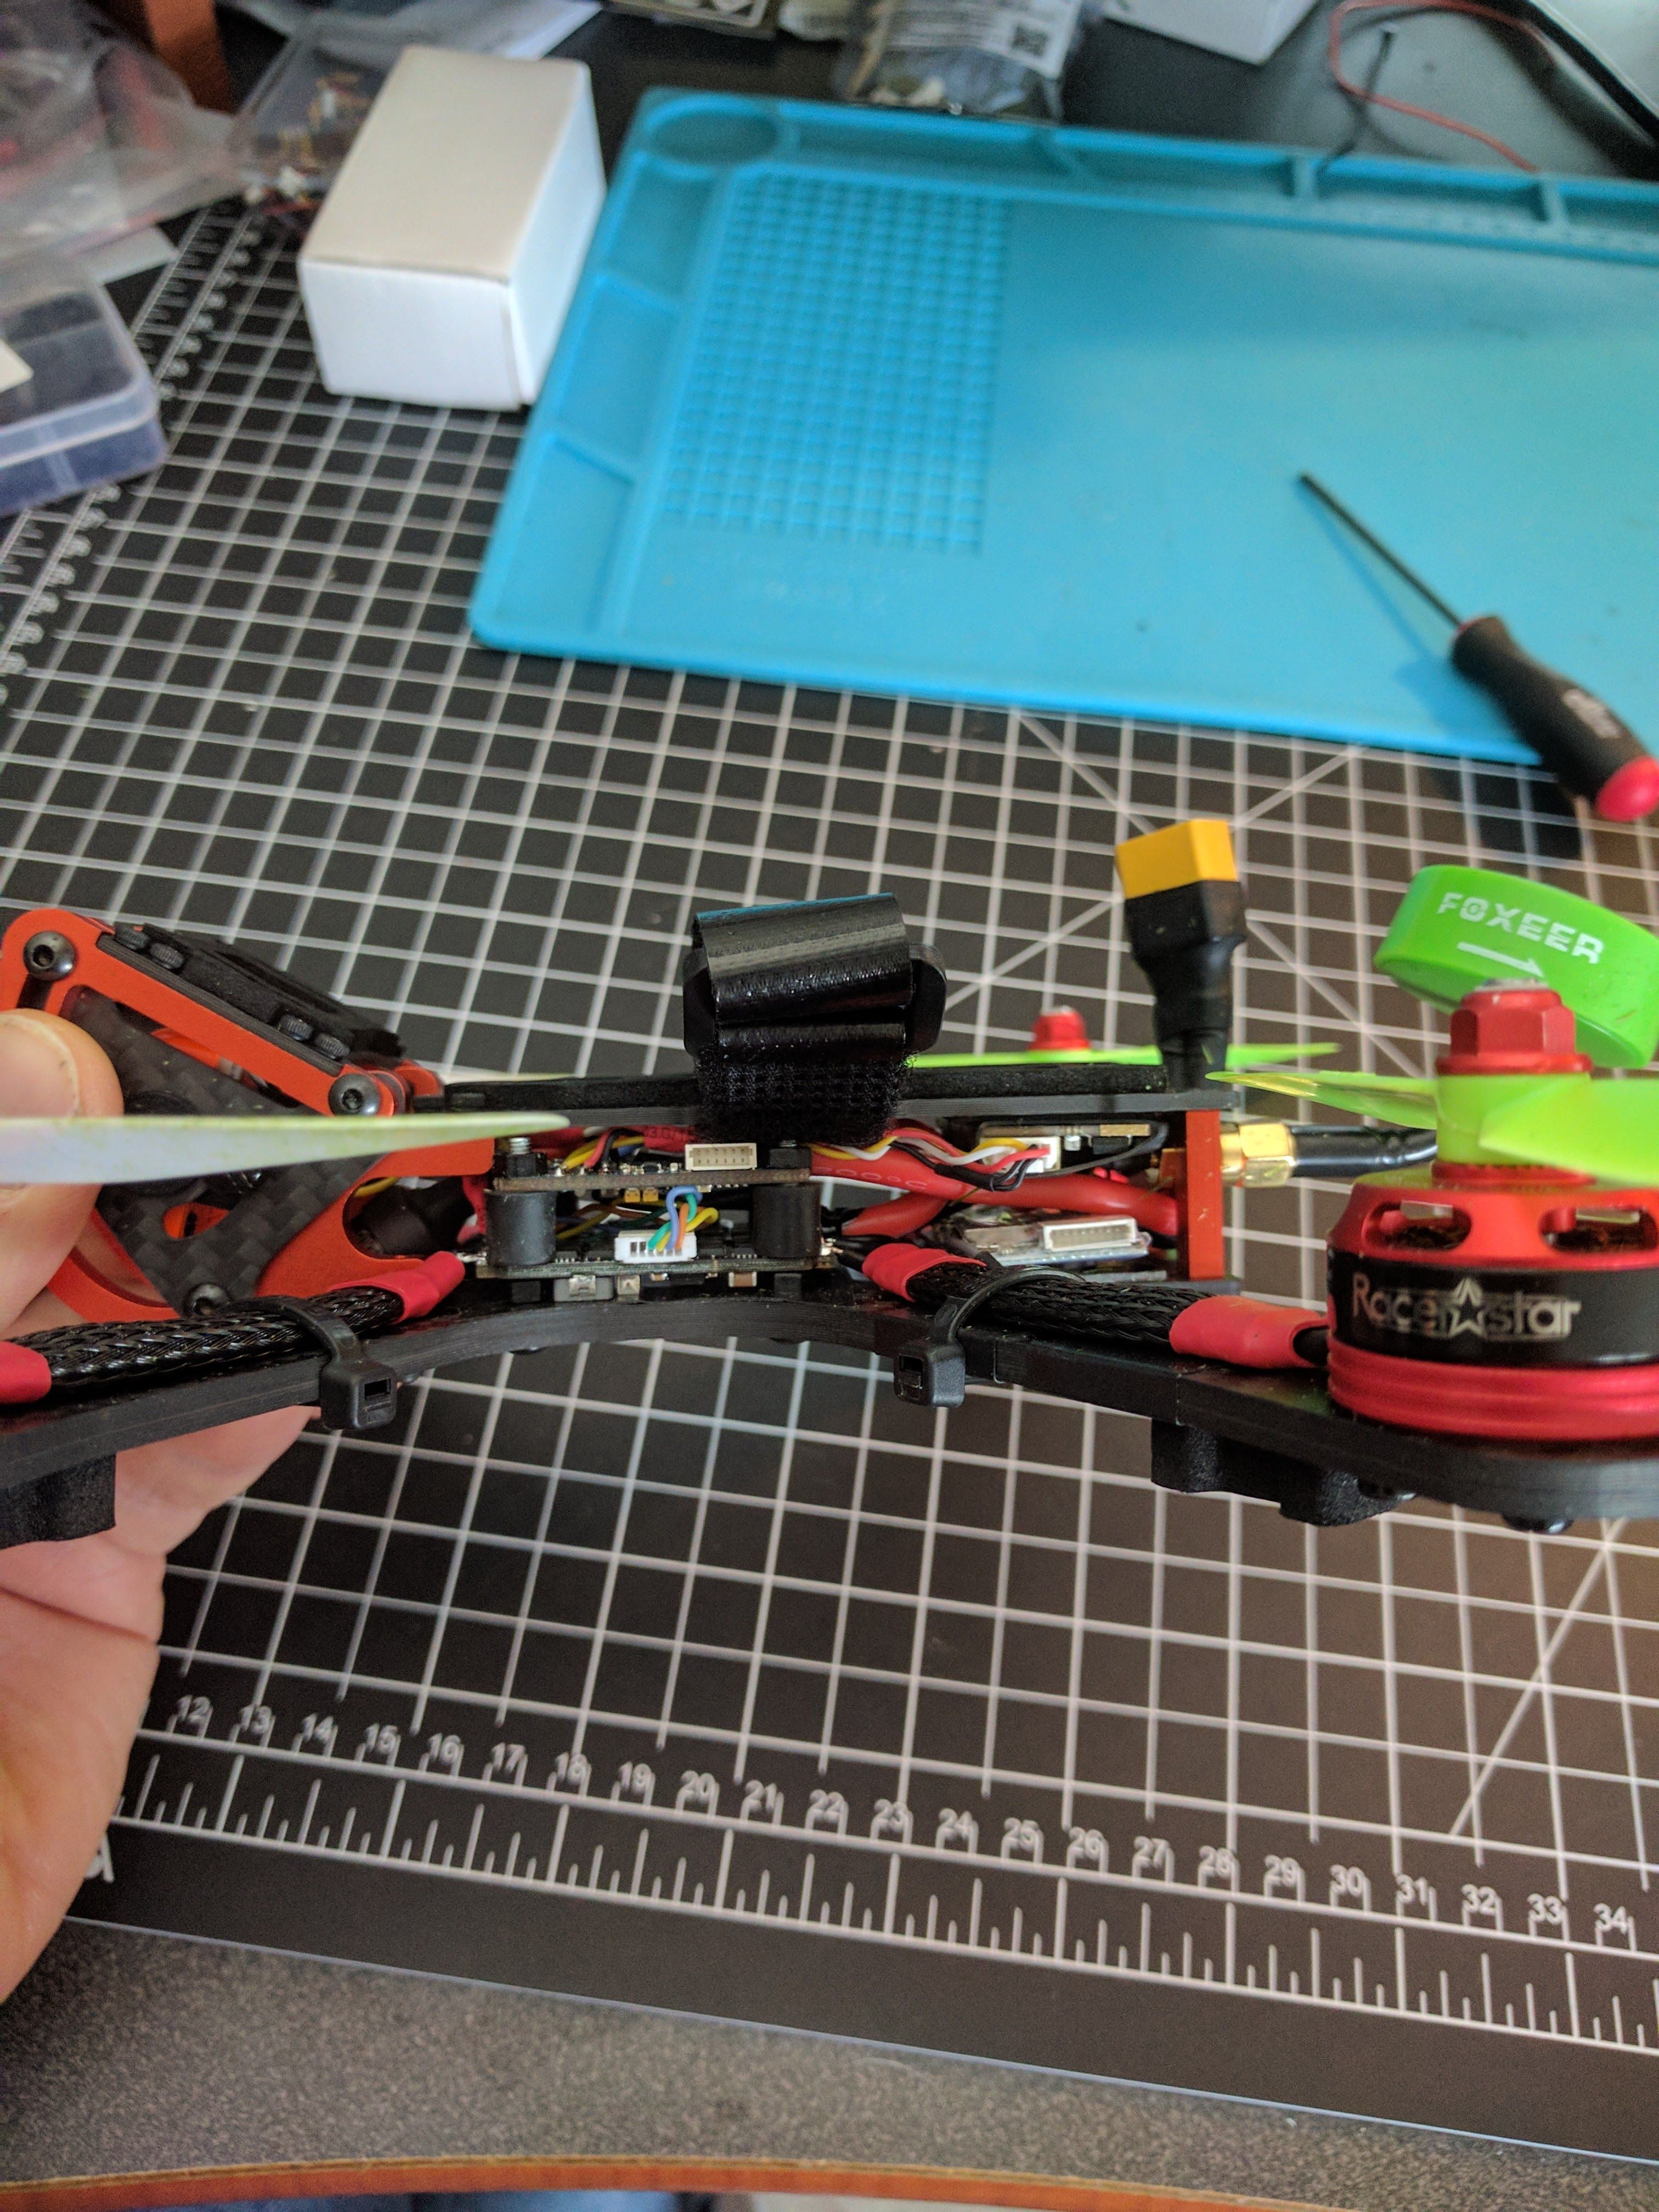
The racerstar works fine for me, but I hardly tax it as I'm still learning to fly. Any of those would probably be good. I did have to extend the motor cables for them to reach, but I first cut them back a bit so that the solder joint from the extension wouldn't be in the way when connecting to the esc. I'll add a picture which shows it, but it was before I changed my mind on how to wire FC to ESC, so ignore that part - its also a correct wiring, just not optimal for reducing use of 12awg between FC/ESC as both battery leads go into FC, vs Gnd going into ESC on final layout.
The only thing I would have done different would be to probably use a smaller gauge wire - the 12awg between FC/ESC was a pain to work with, and while technically correct, probably overkill for my level of flying :) 14awg would have made things easier, just touch it periodically to see how warm it gets under usage.
Also, I would have also made the lipo plug a little shorter or figured out a better way to mount it as the extra length has cause a prop strike.


Thank you for adding the two photos of your side mounted battery connector, and the top view with battery. I've looked at almost every Chameleon build on the site to see how guys are routing the main battery leads, and you are the only one to provide good photos.
As I began my build, I quickly realized that the choice of how to route the leads was going to be an important decision. Route it out the back, and you have prop strike possibilities if you place your battery with its supply lead out the back. Place the battery lead to the front, then you have to either make a short connector or make an extra long lead off the PDB. And with both, you have the issue of sandwiching the leads under the battery strap, which never seems to hold the battery very well. I saw several builds with the PDB lead coming up behind the camera, which I thought was a good idea, but struggled with how to route the 14ga wire from the back of PDB to the front (using the BrainFPV RE1 FC and its companion PDB so there is limited space between the two). I could choose to rotate the PDB and FC 180 degrees, so that the lead comes off the front, but that means routing all other wires for the camera, vTx, Rx, etc over/under the FC/PDB combo.
Therefore, your side mount is a great looking alternative. Is this the version that you refer to when saying that you would have made it shorter, or was it when you had it out the back?
Glad it helped. The shorter was referring to when it was out back. On the side mount, since I zip tie it to the top plate, any extra length coils up a bit underneath it, so it gives you more room for error. I recently tried to fit a runcam split in there as well, but it was too tight, but I ended up breaking my esc as a result and had to put in a new one in a hurry, so got a DYS F30A from amazon. Still doing the side mount, but the new ESC has different wire placement, so I'll take some new pics today. In trying to figure out the best way to route wires for your case, don't be afraid to rotate/flip the FC and/or esc. The ESC doesn't care - though I prefer the motor connectors front/back so my lipo strap doesn't push on them. I use an extra long strap around the entire body rather than just around the top plate. For the FC, there are simple settings in betaflight to tell it which way it is oriented - just play with them till the animated pic responds the same as reality.