
3" micro quad build. The concept of this build is to be able to fly safely in a park where a few people are walking around, to have relatively longer flight time (targeting 8 mins for cruising), and to be able to record in at least 1080p. 5" quad makes me nervous worrying if it hurts people around. I think 3" quad is much safer than 5" but still gives puchy fun. Ascent 3" frame which is designed for Runcam Split 2 was an ideal frame for the purpose. I chose HGLRC Zeus AIO board to save weight and make the micro build easy and clean.
Attached photos are arranged in the order of build. I will explain them in order.
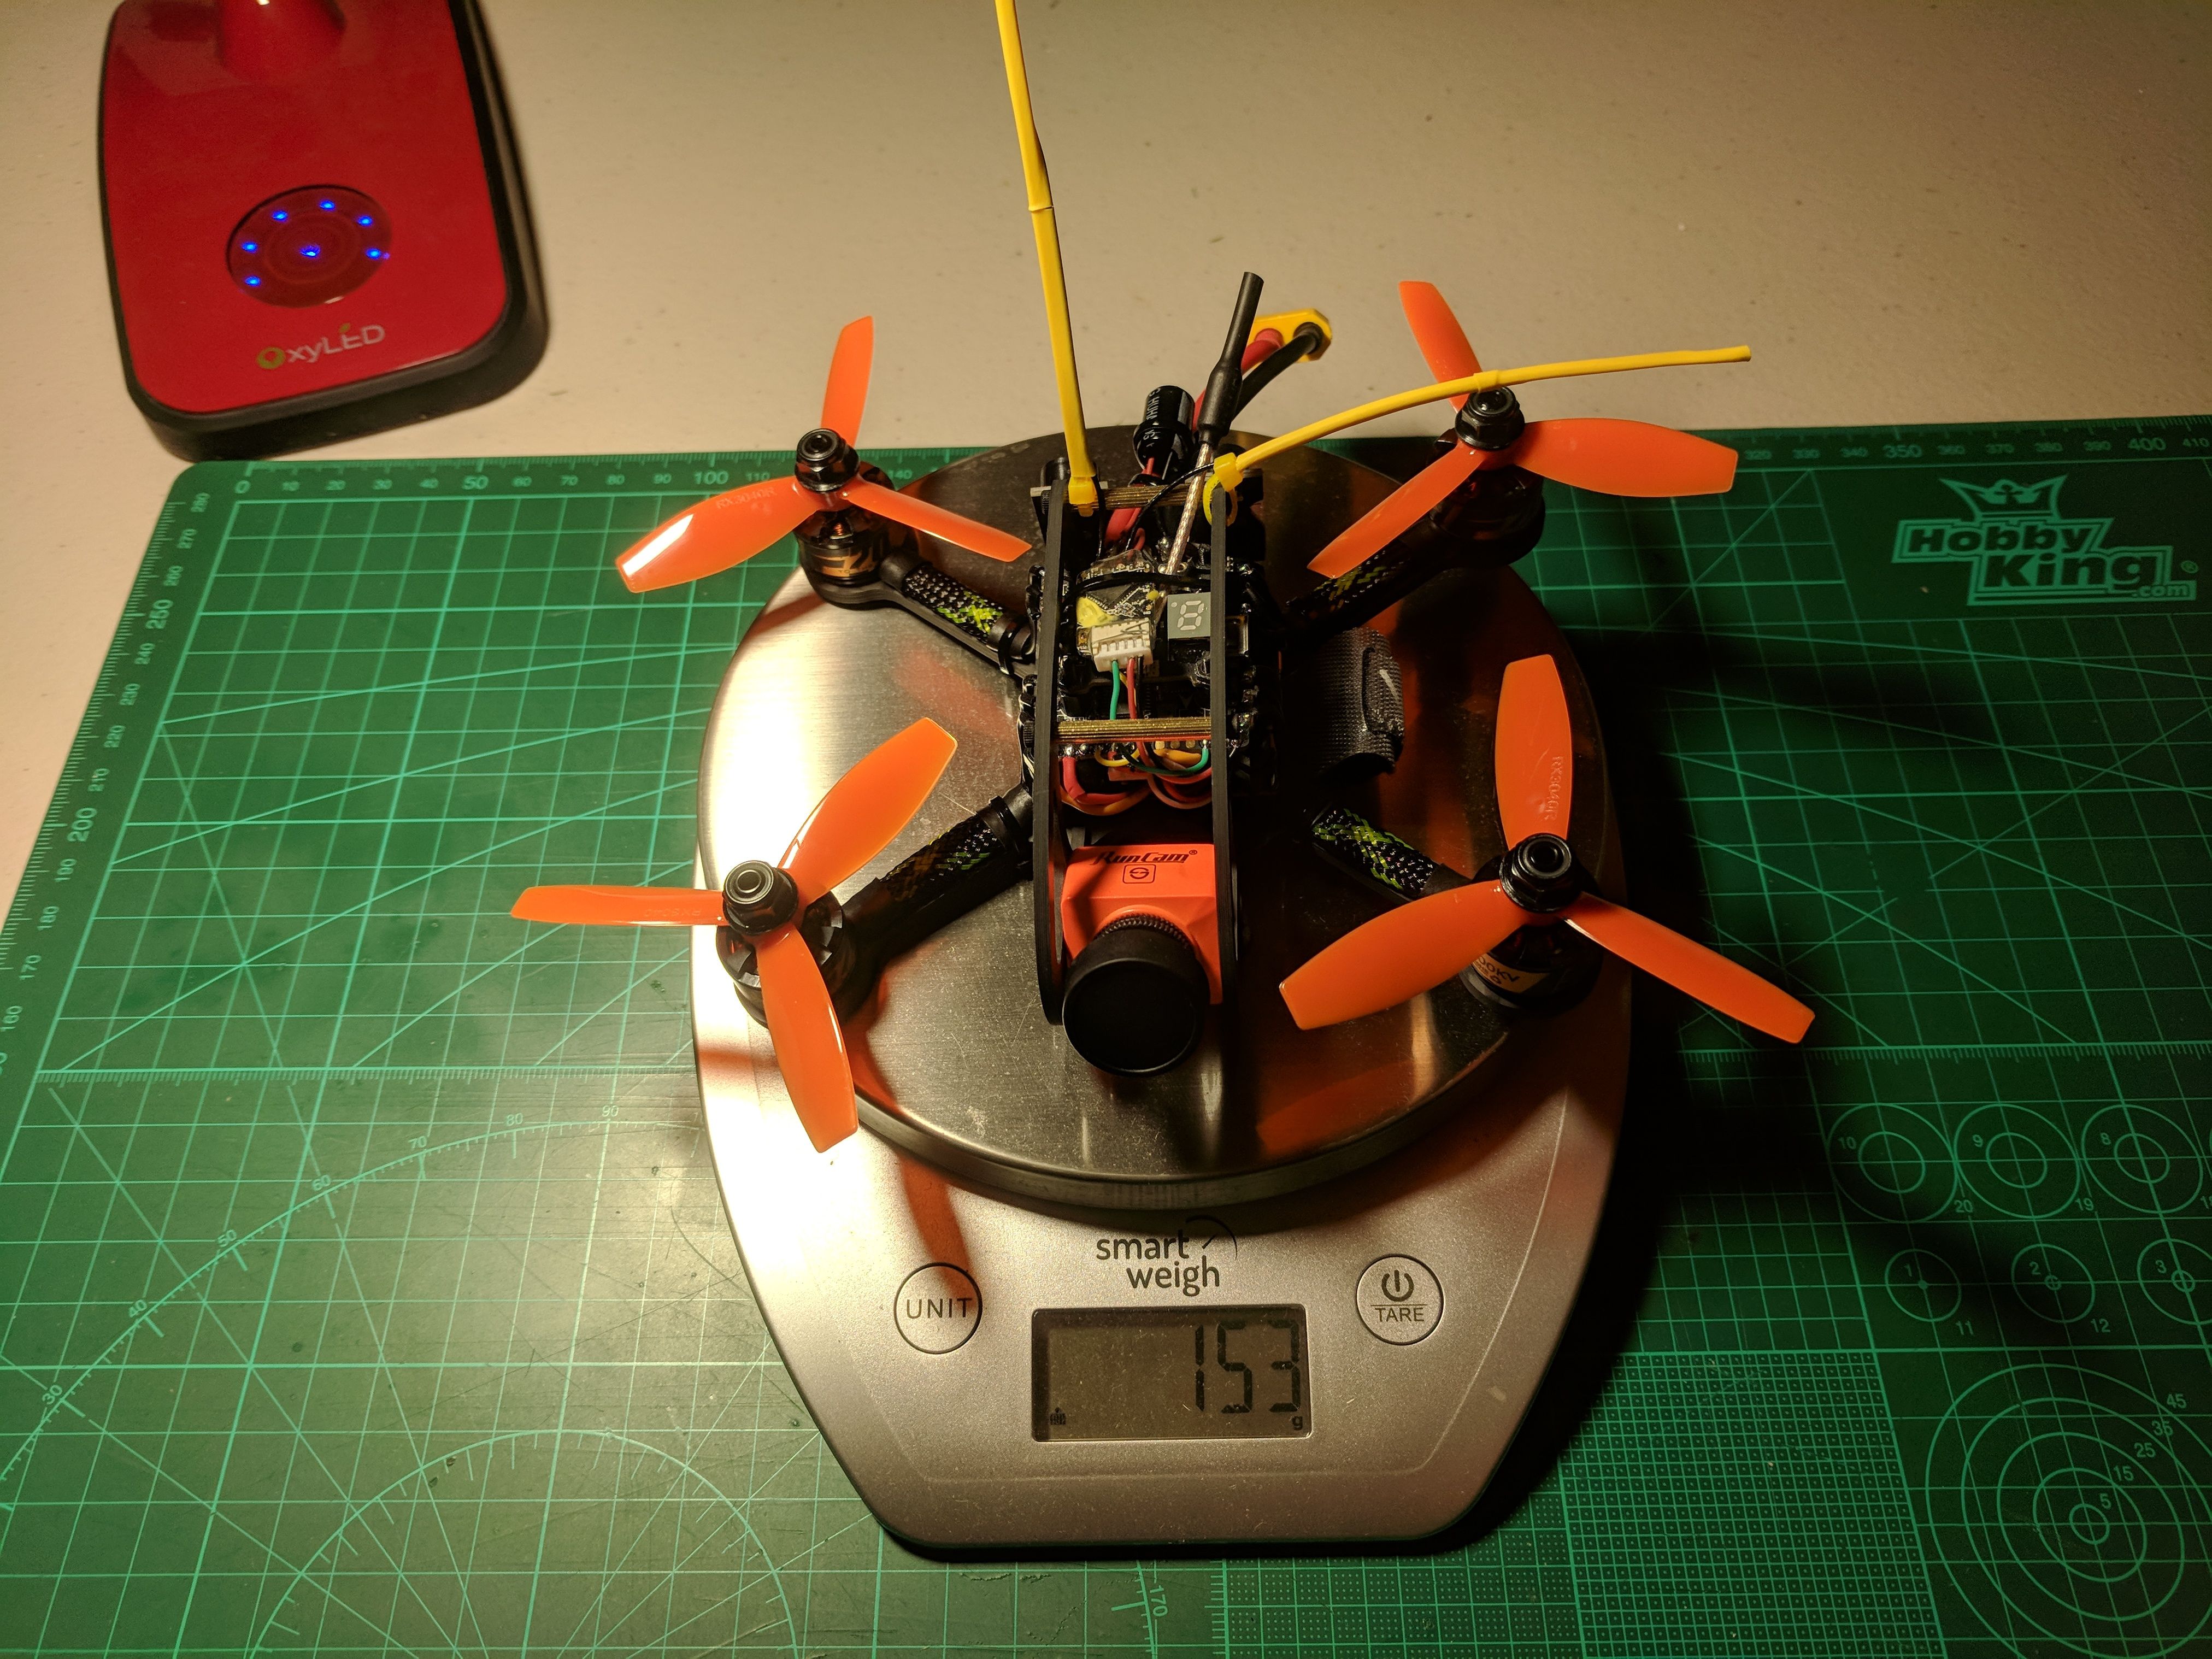
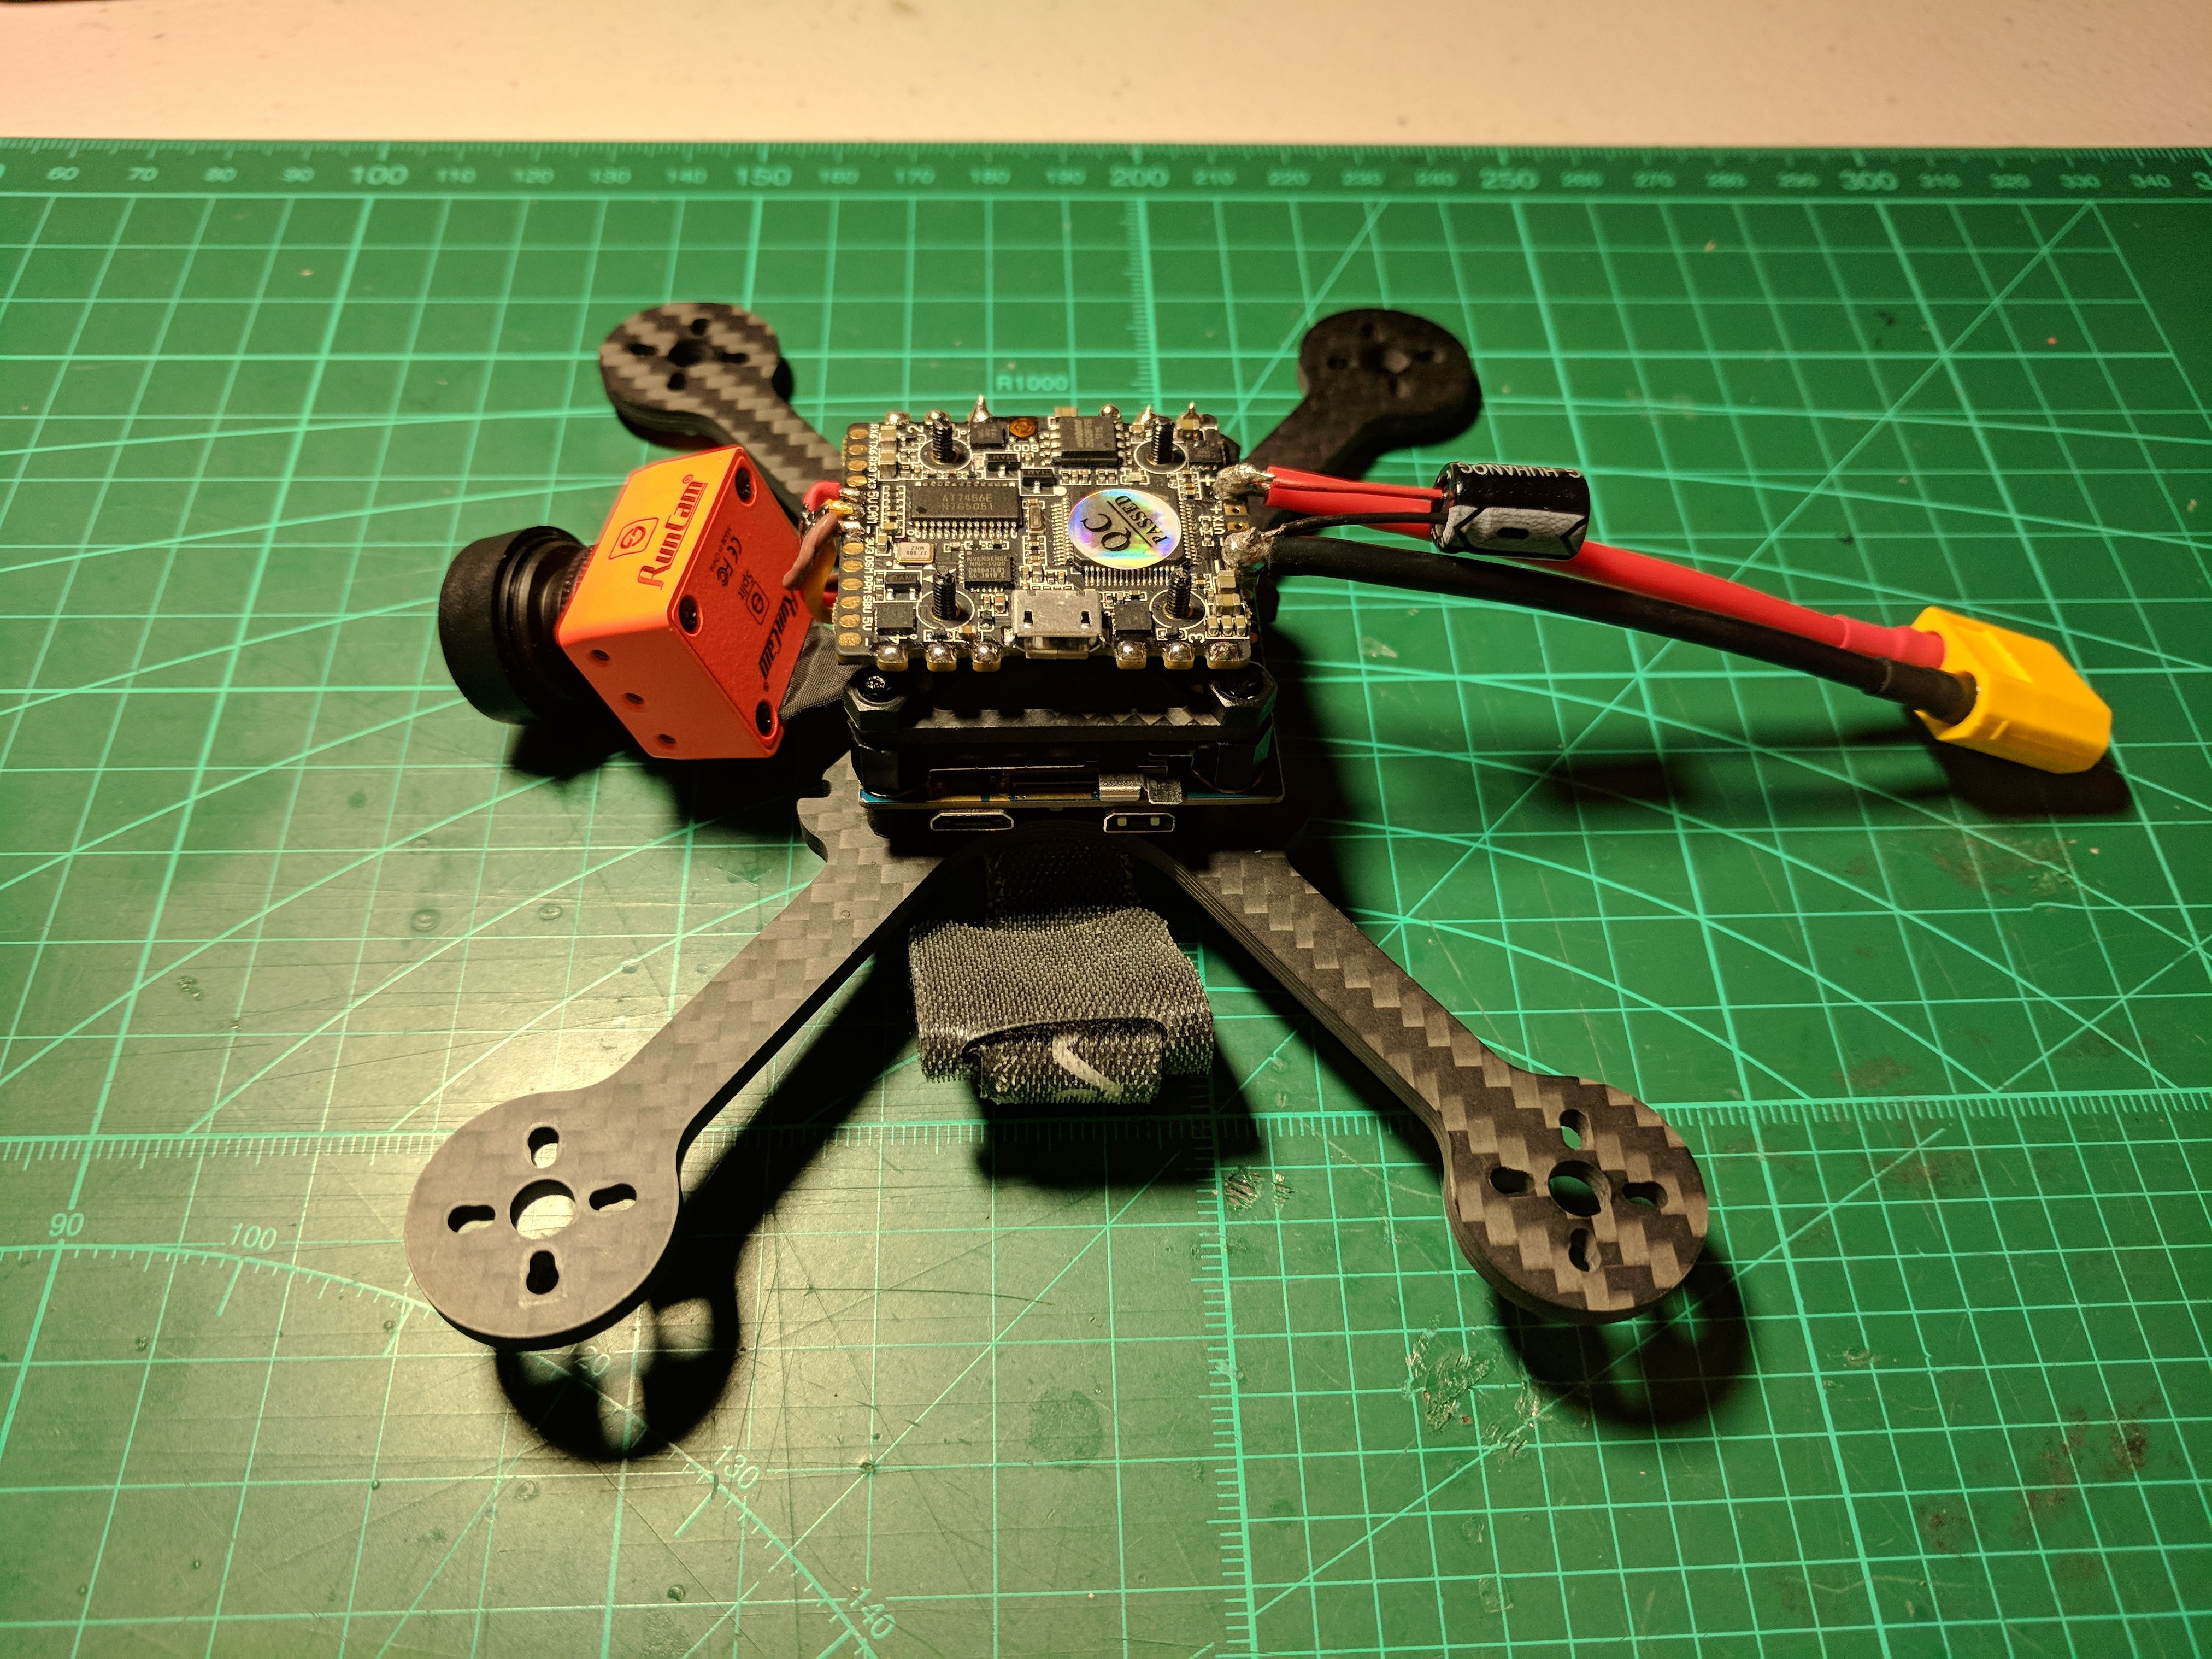
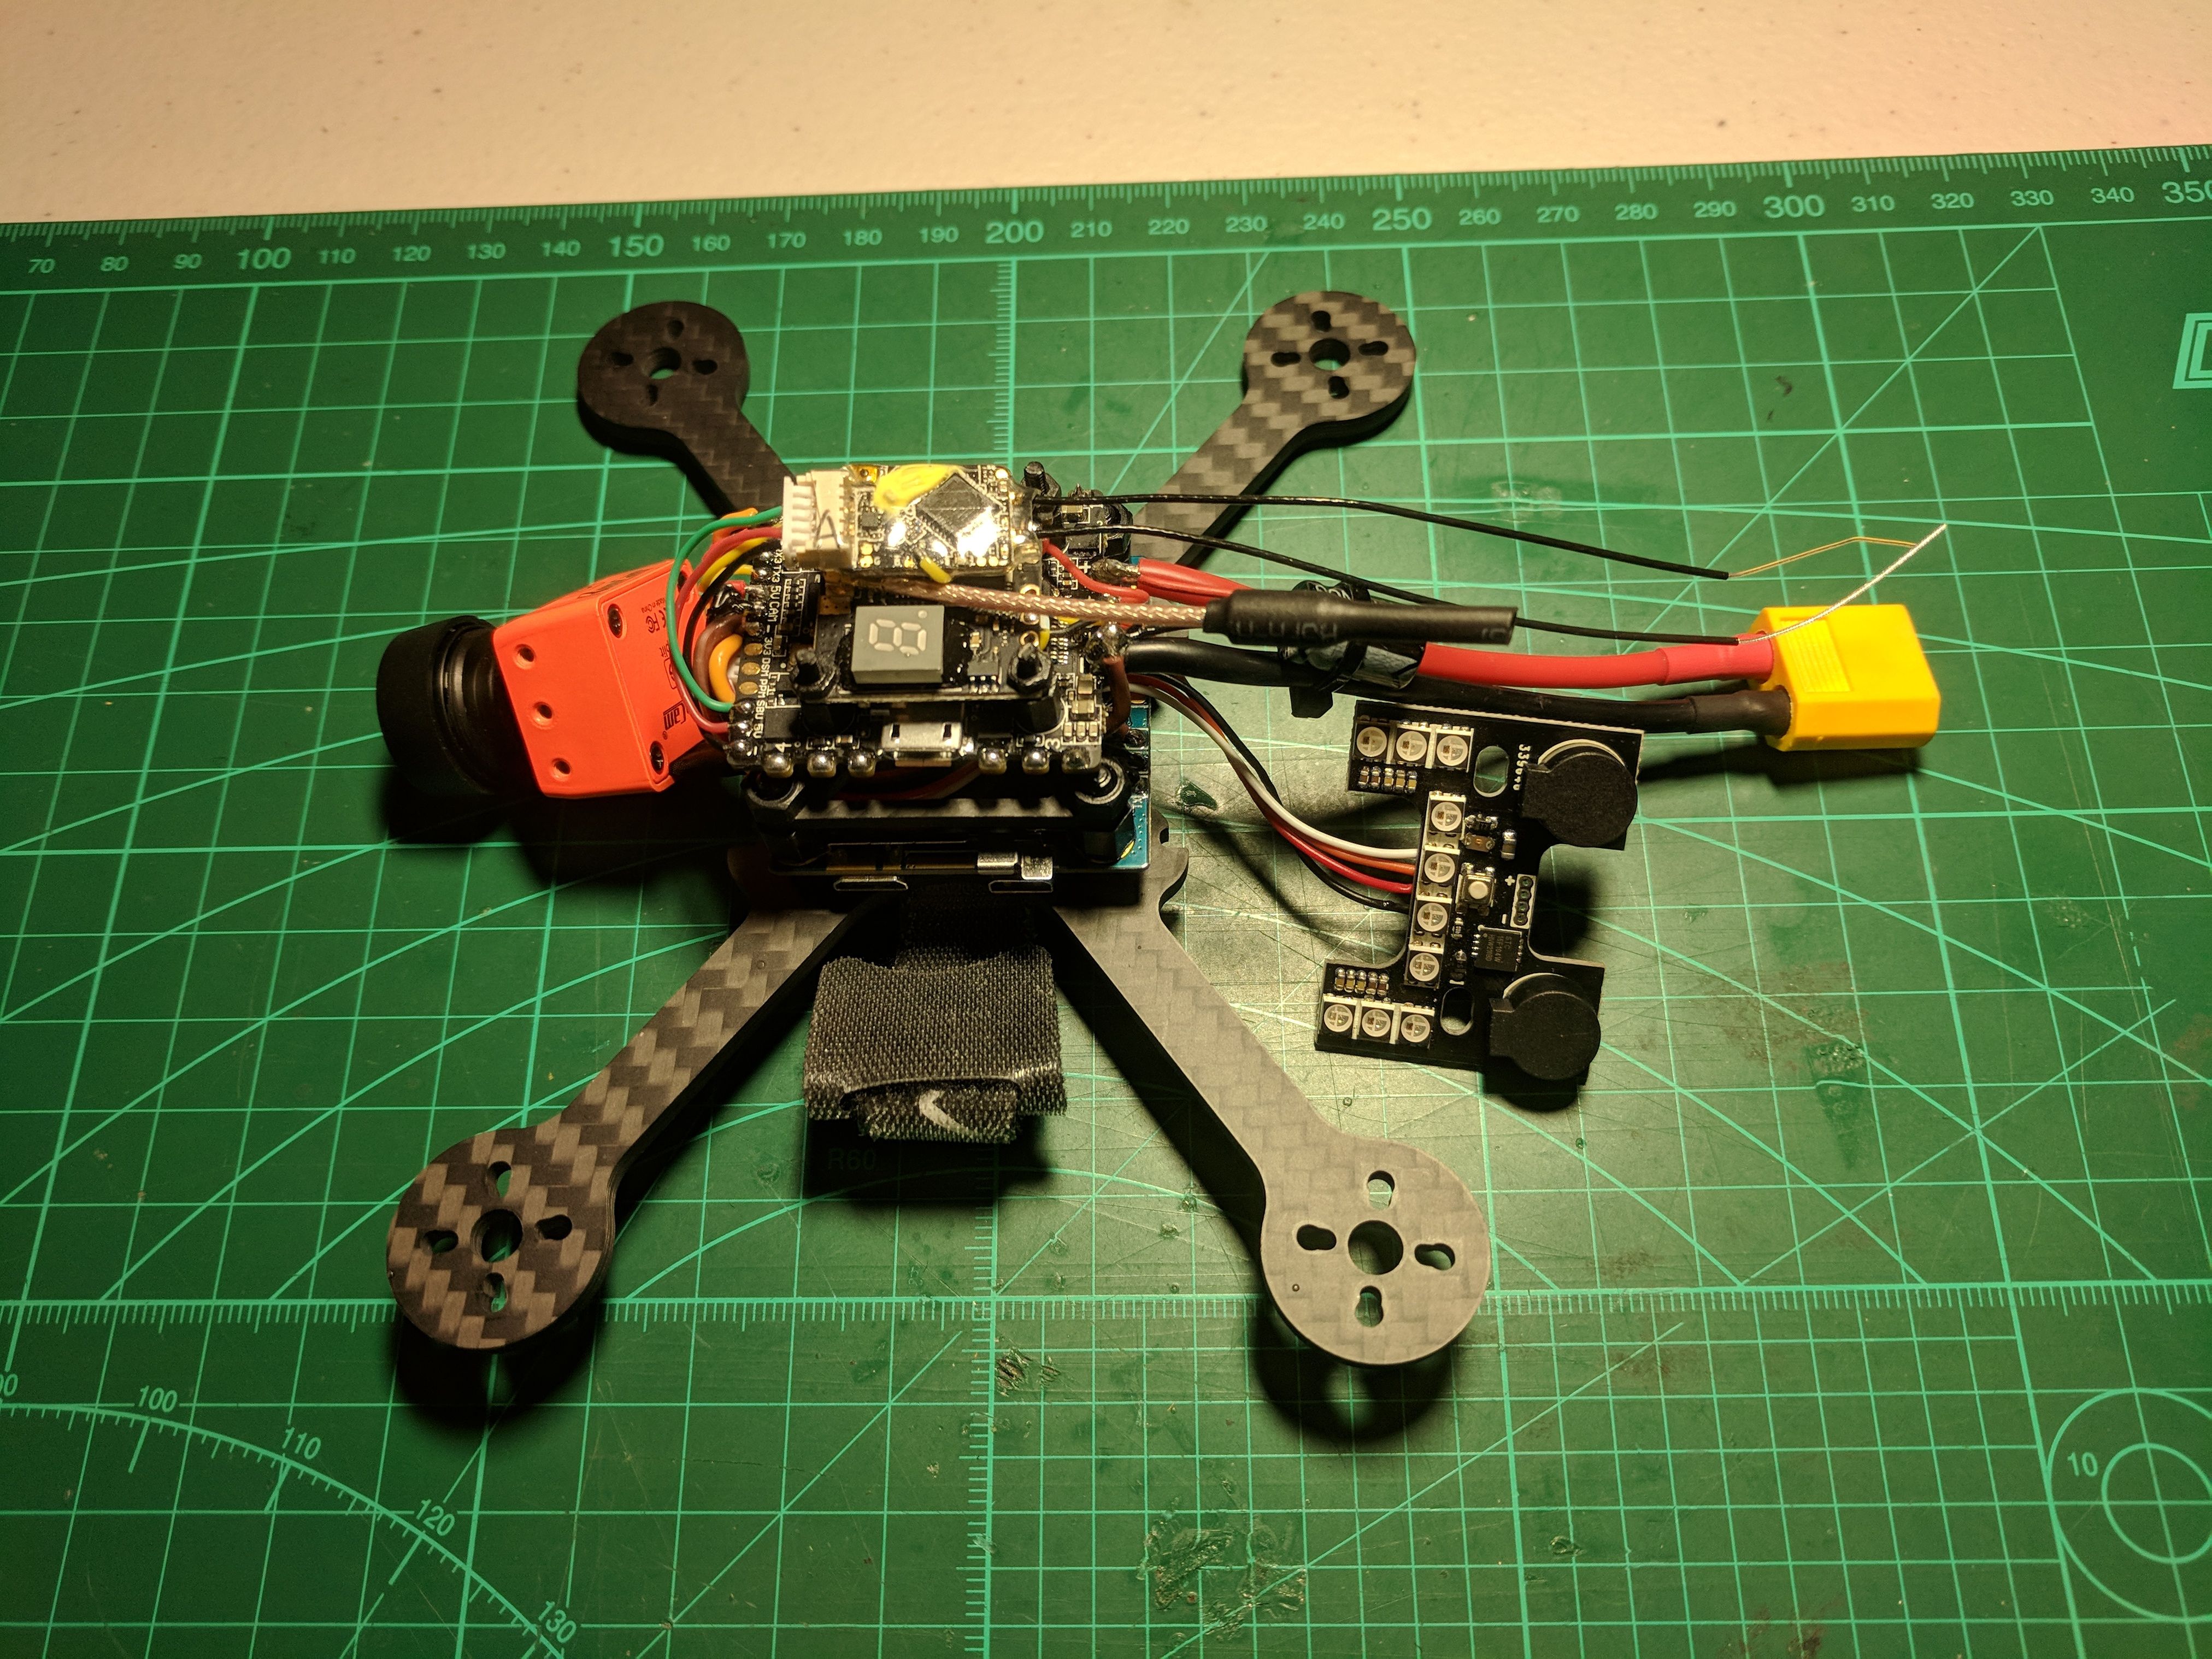
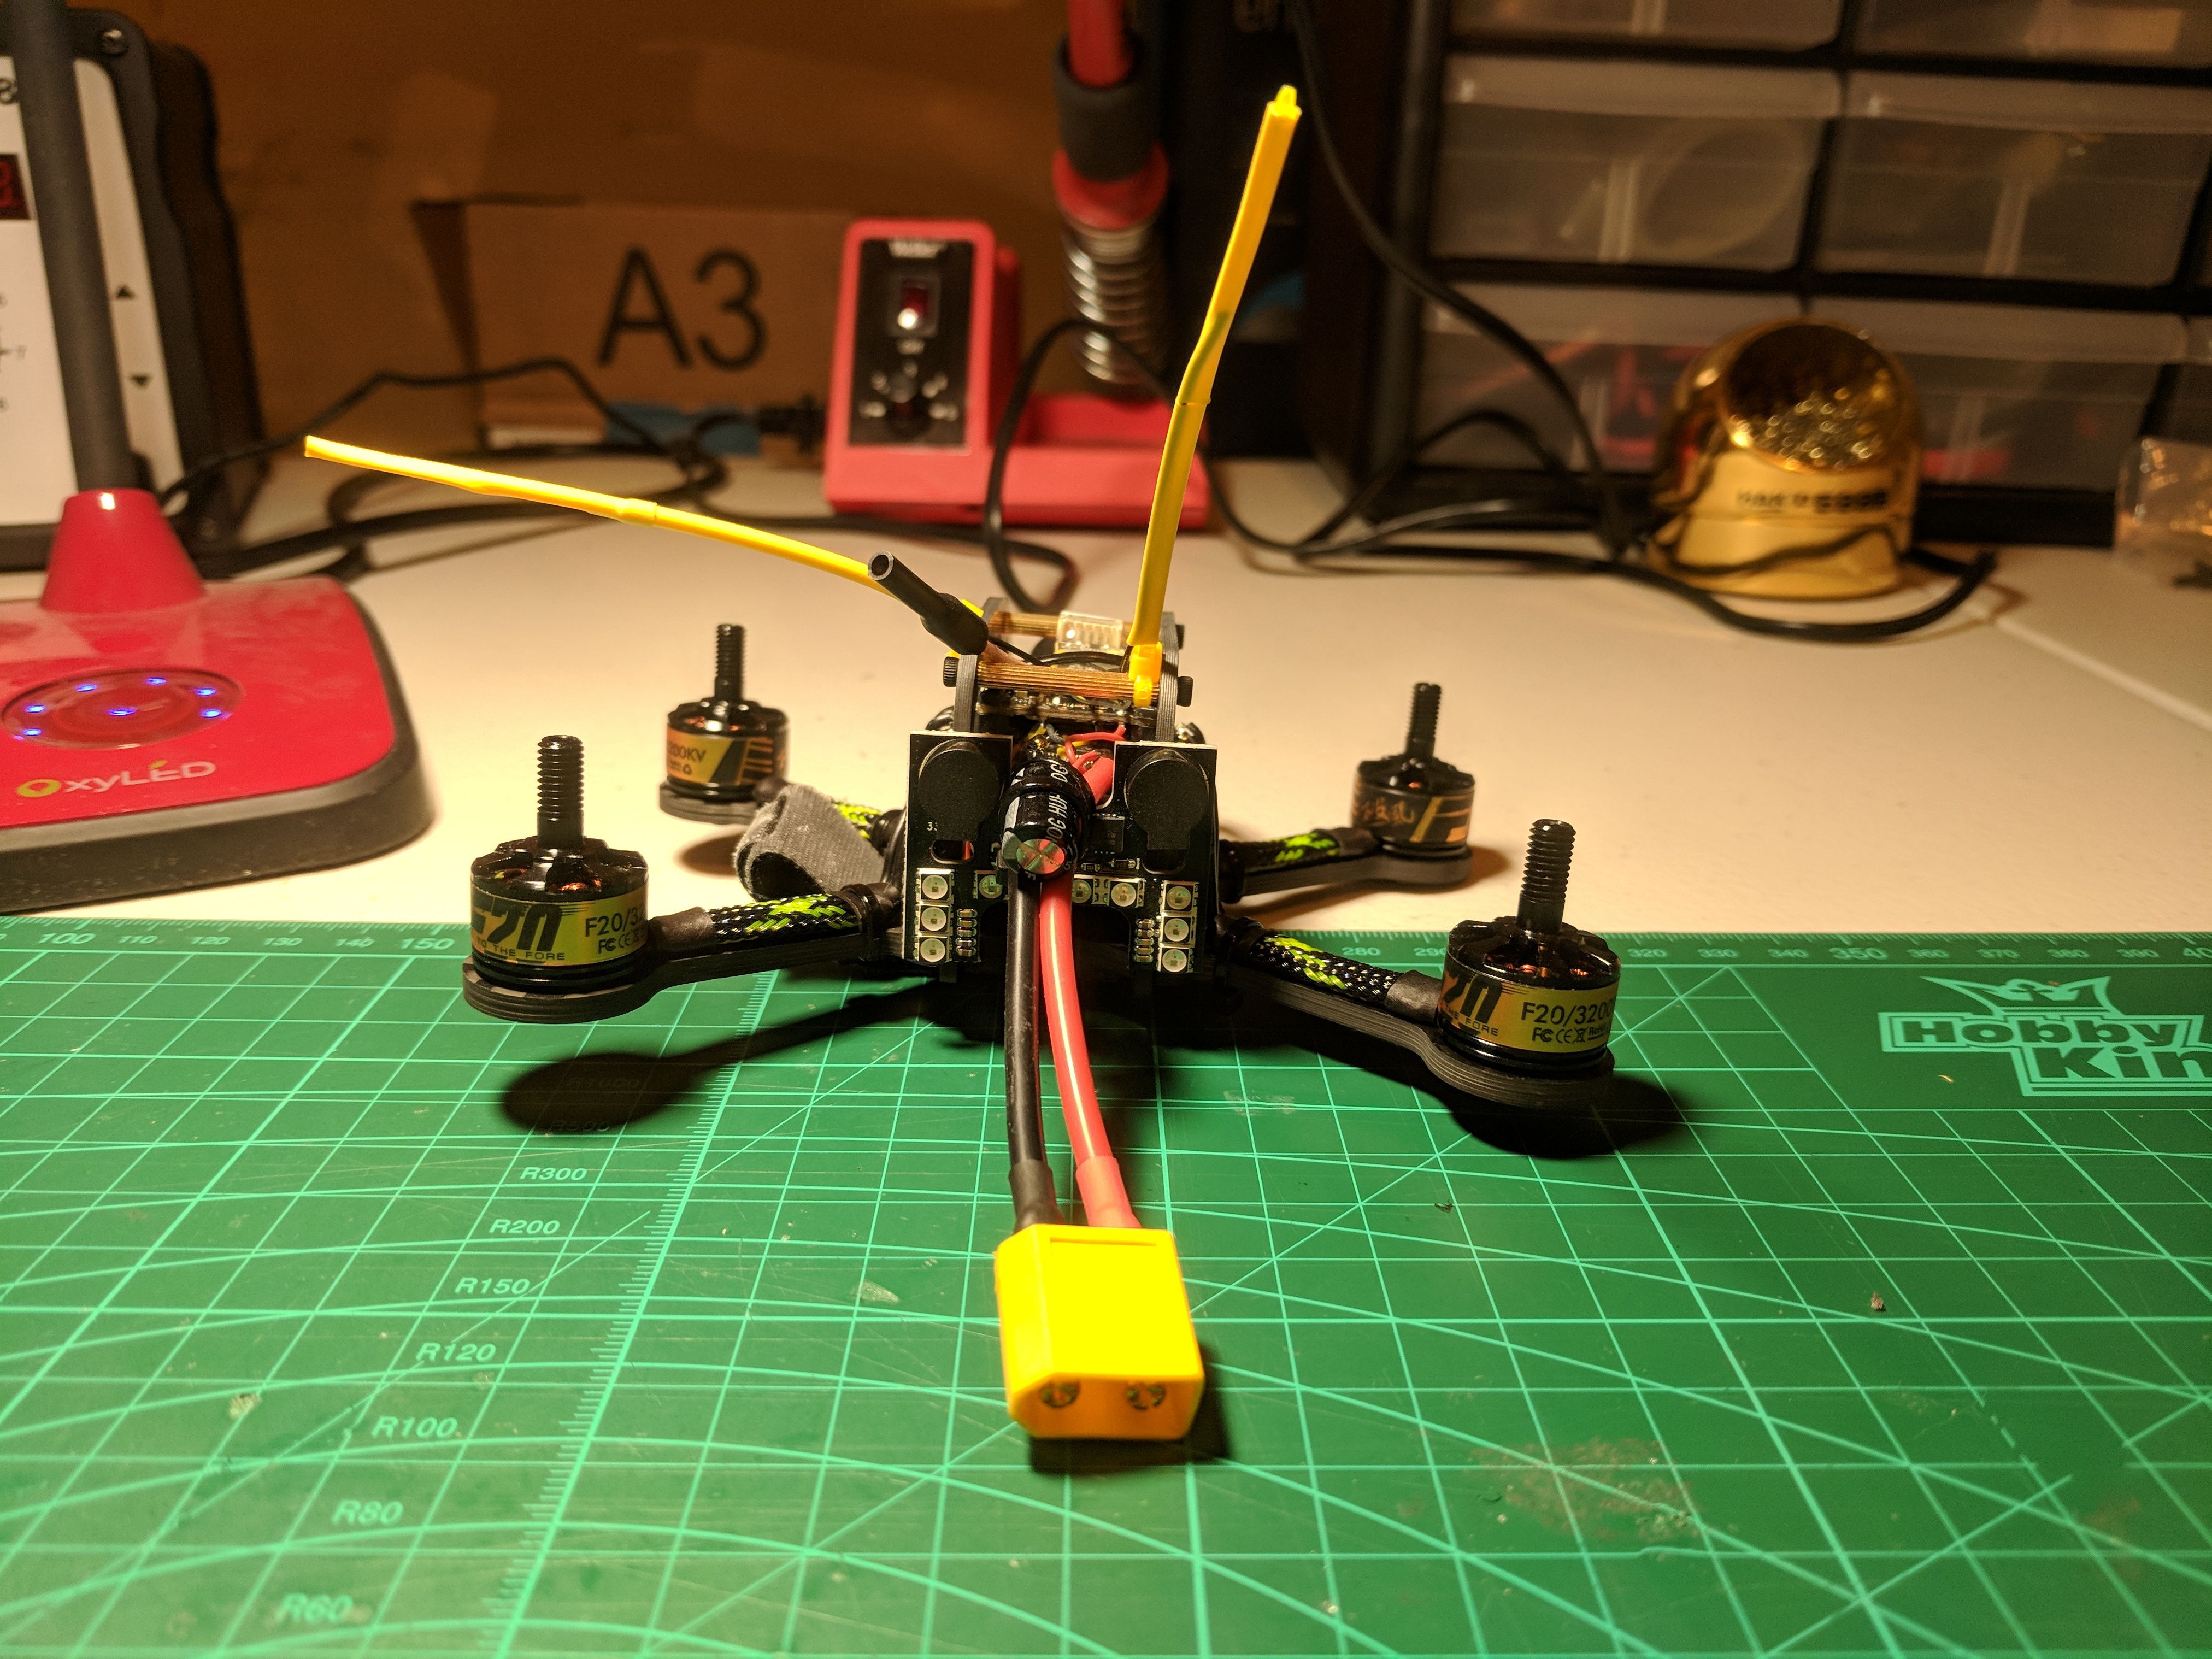
Pic 1. Total weight without battery: 153g.
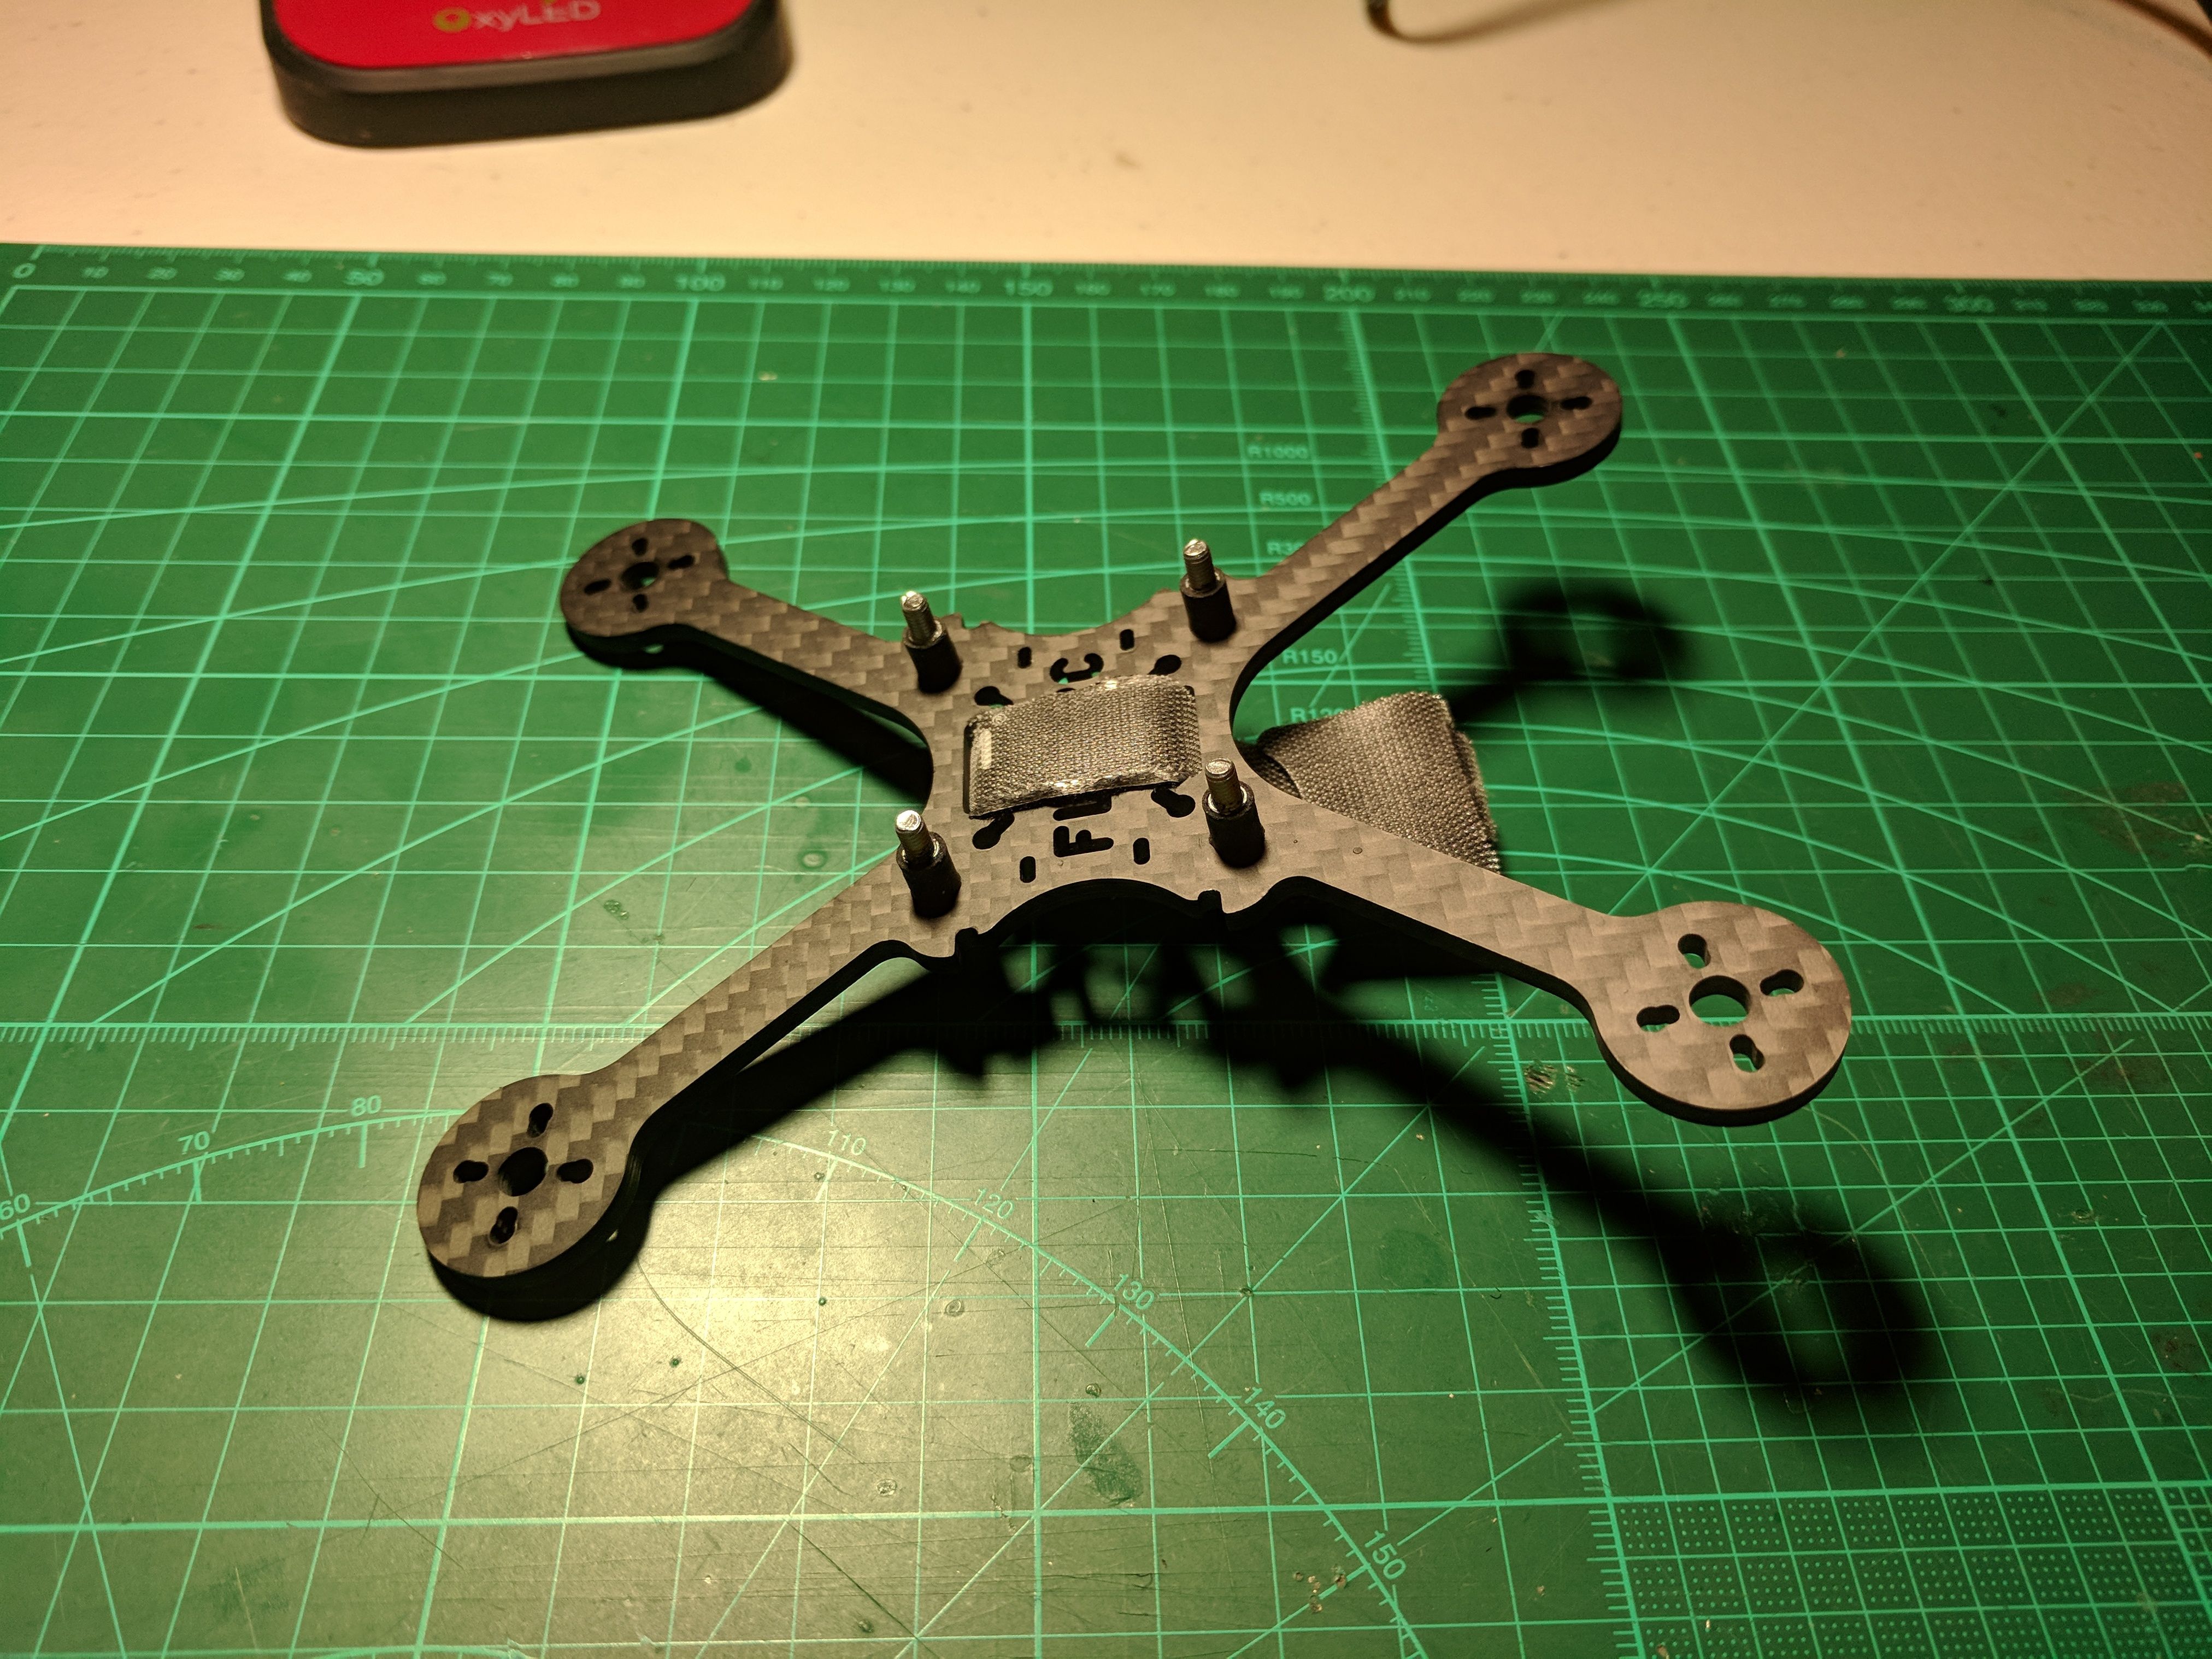
Pic 2. Always do soft mount your flight controller! Install M3 soft mounts and battery strap to the frame.
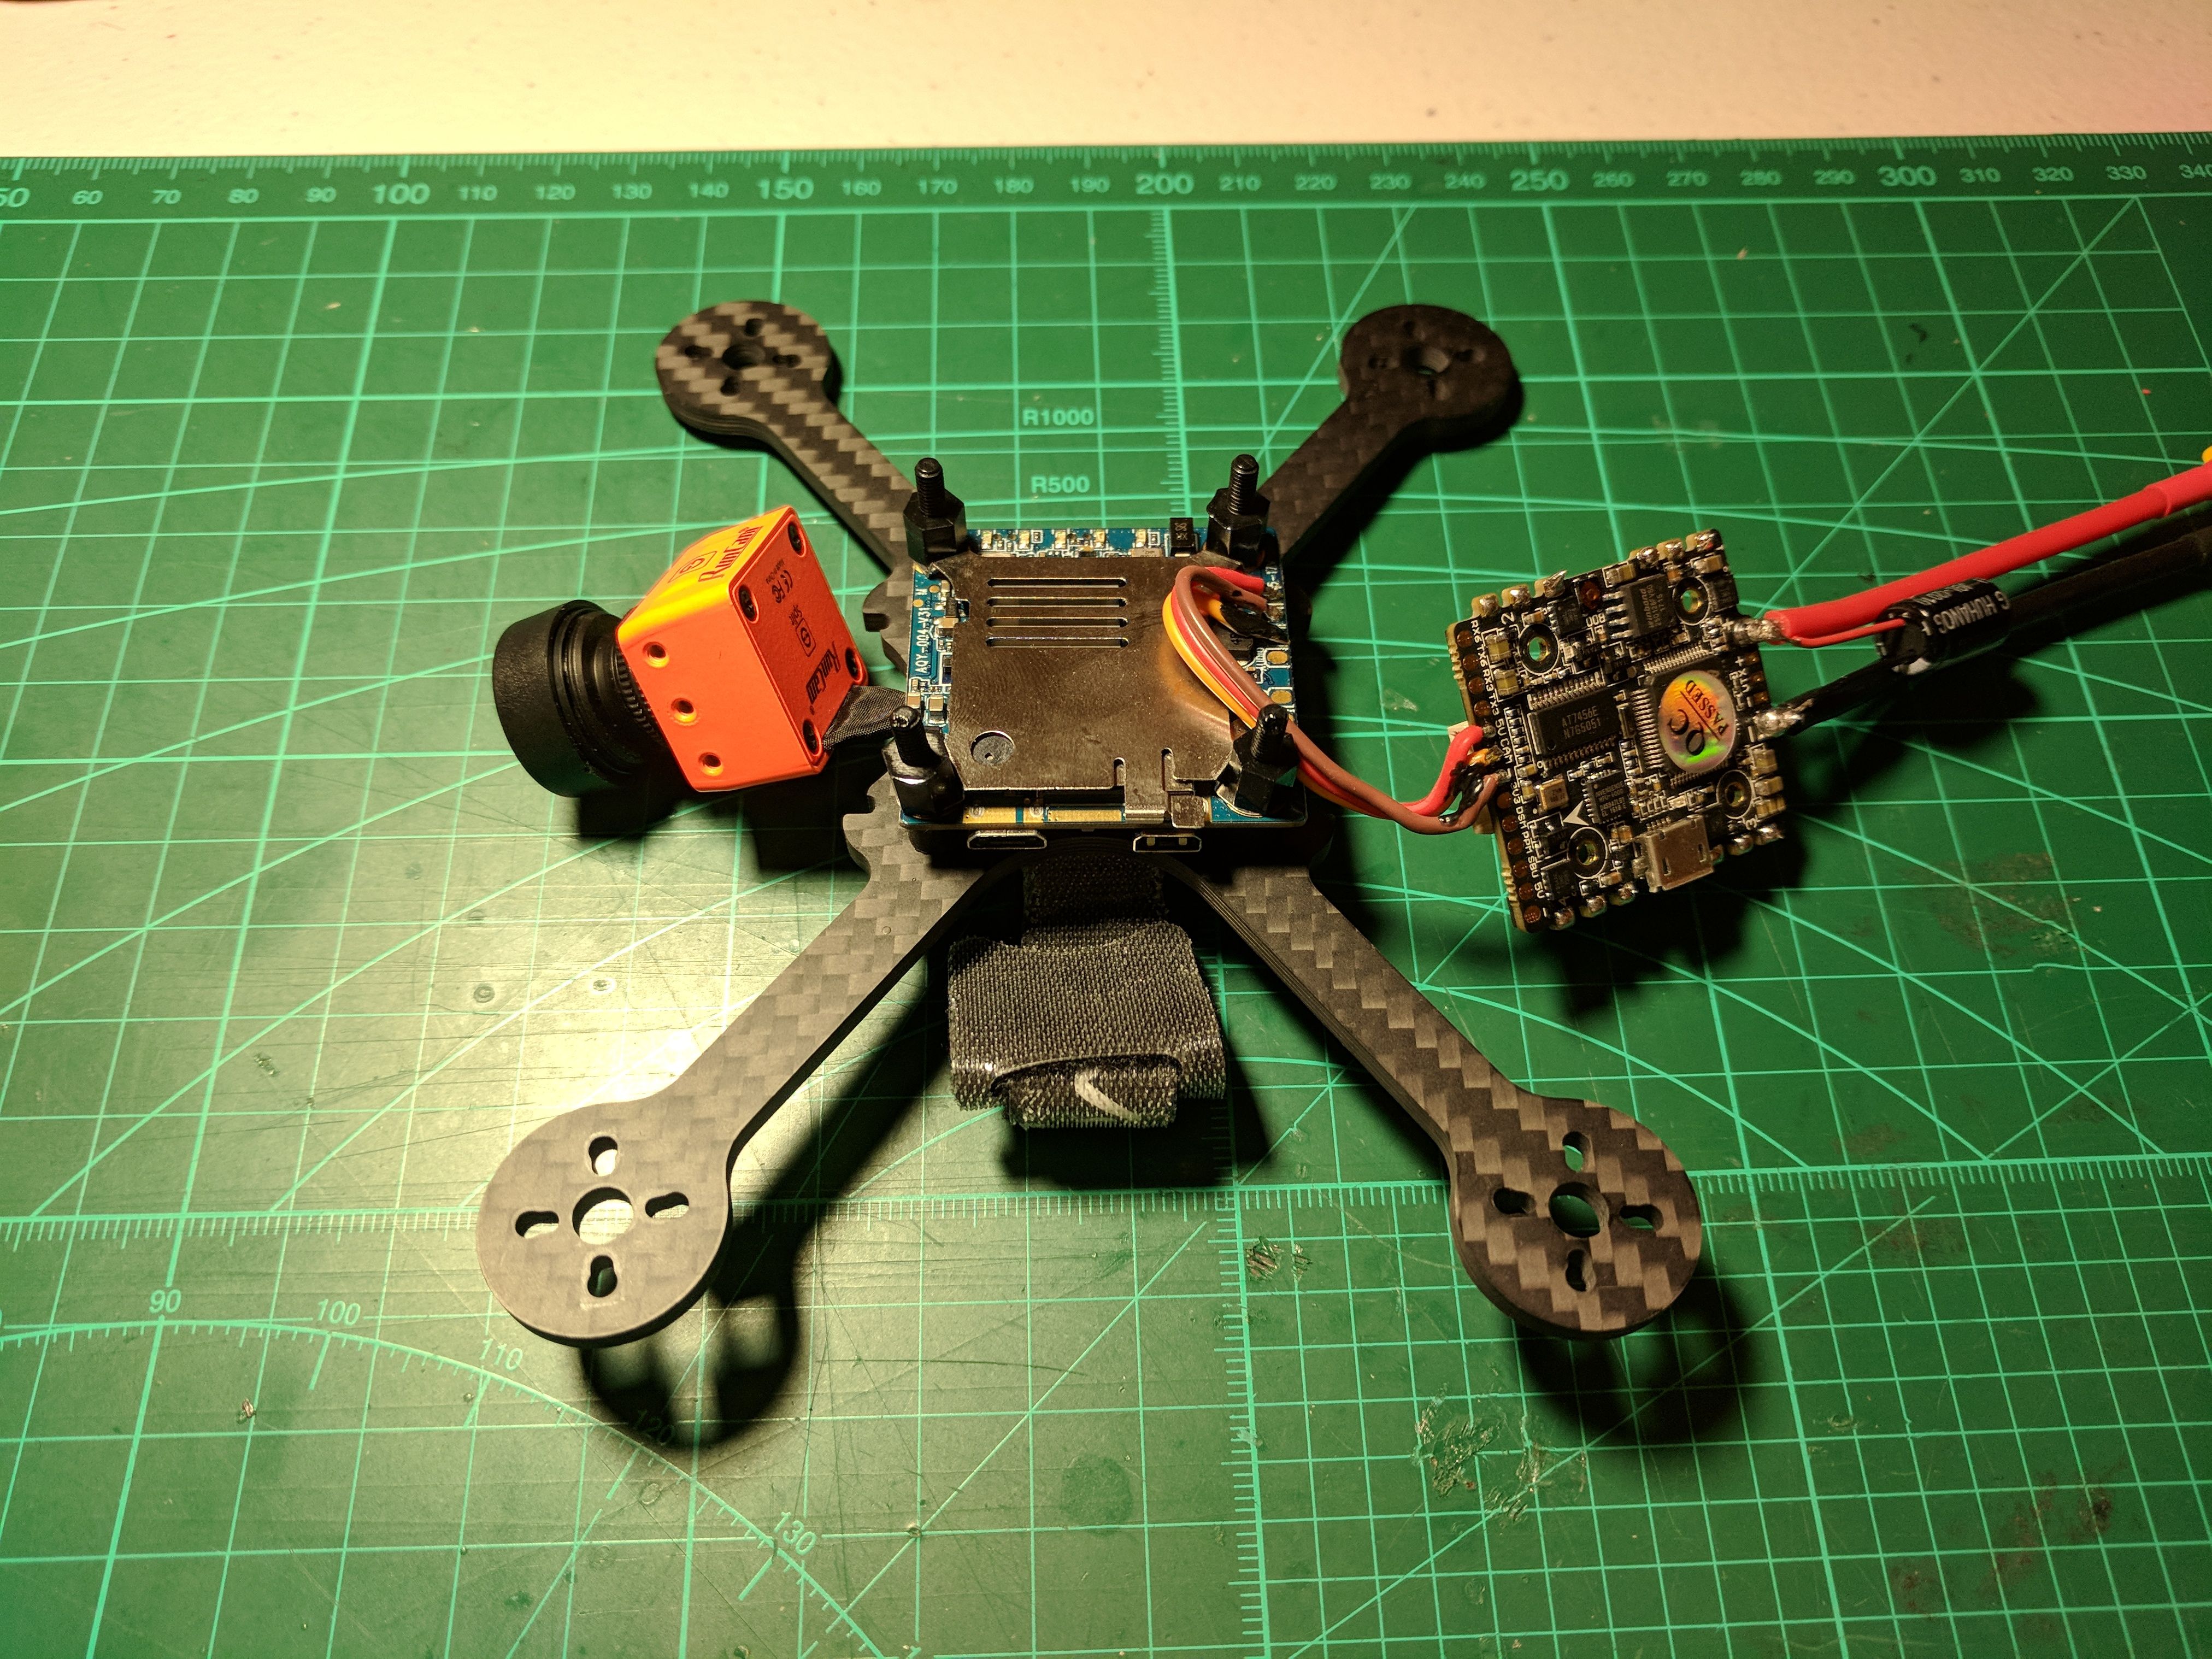
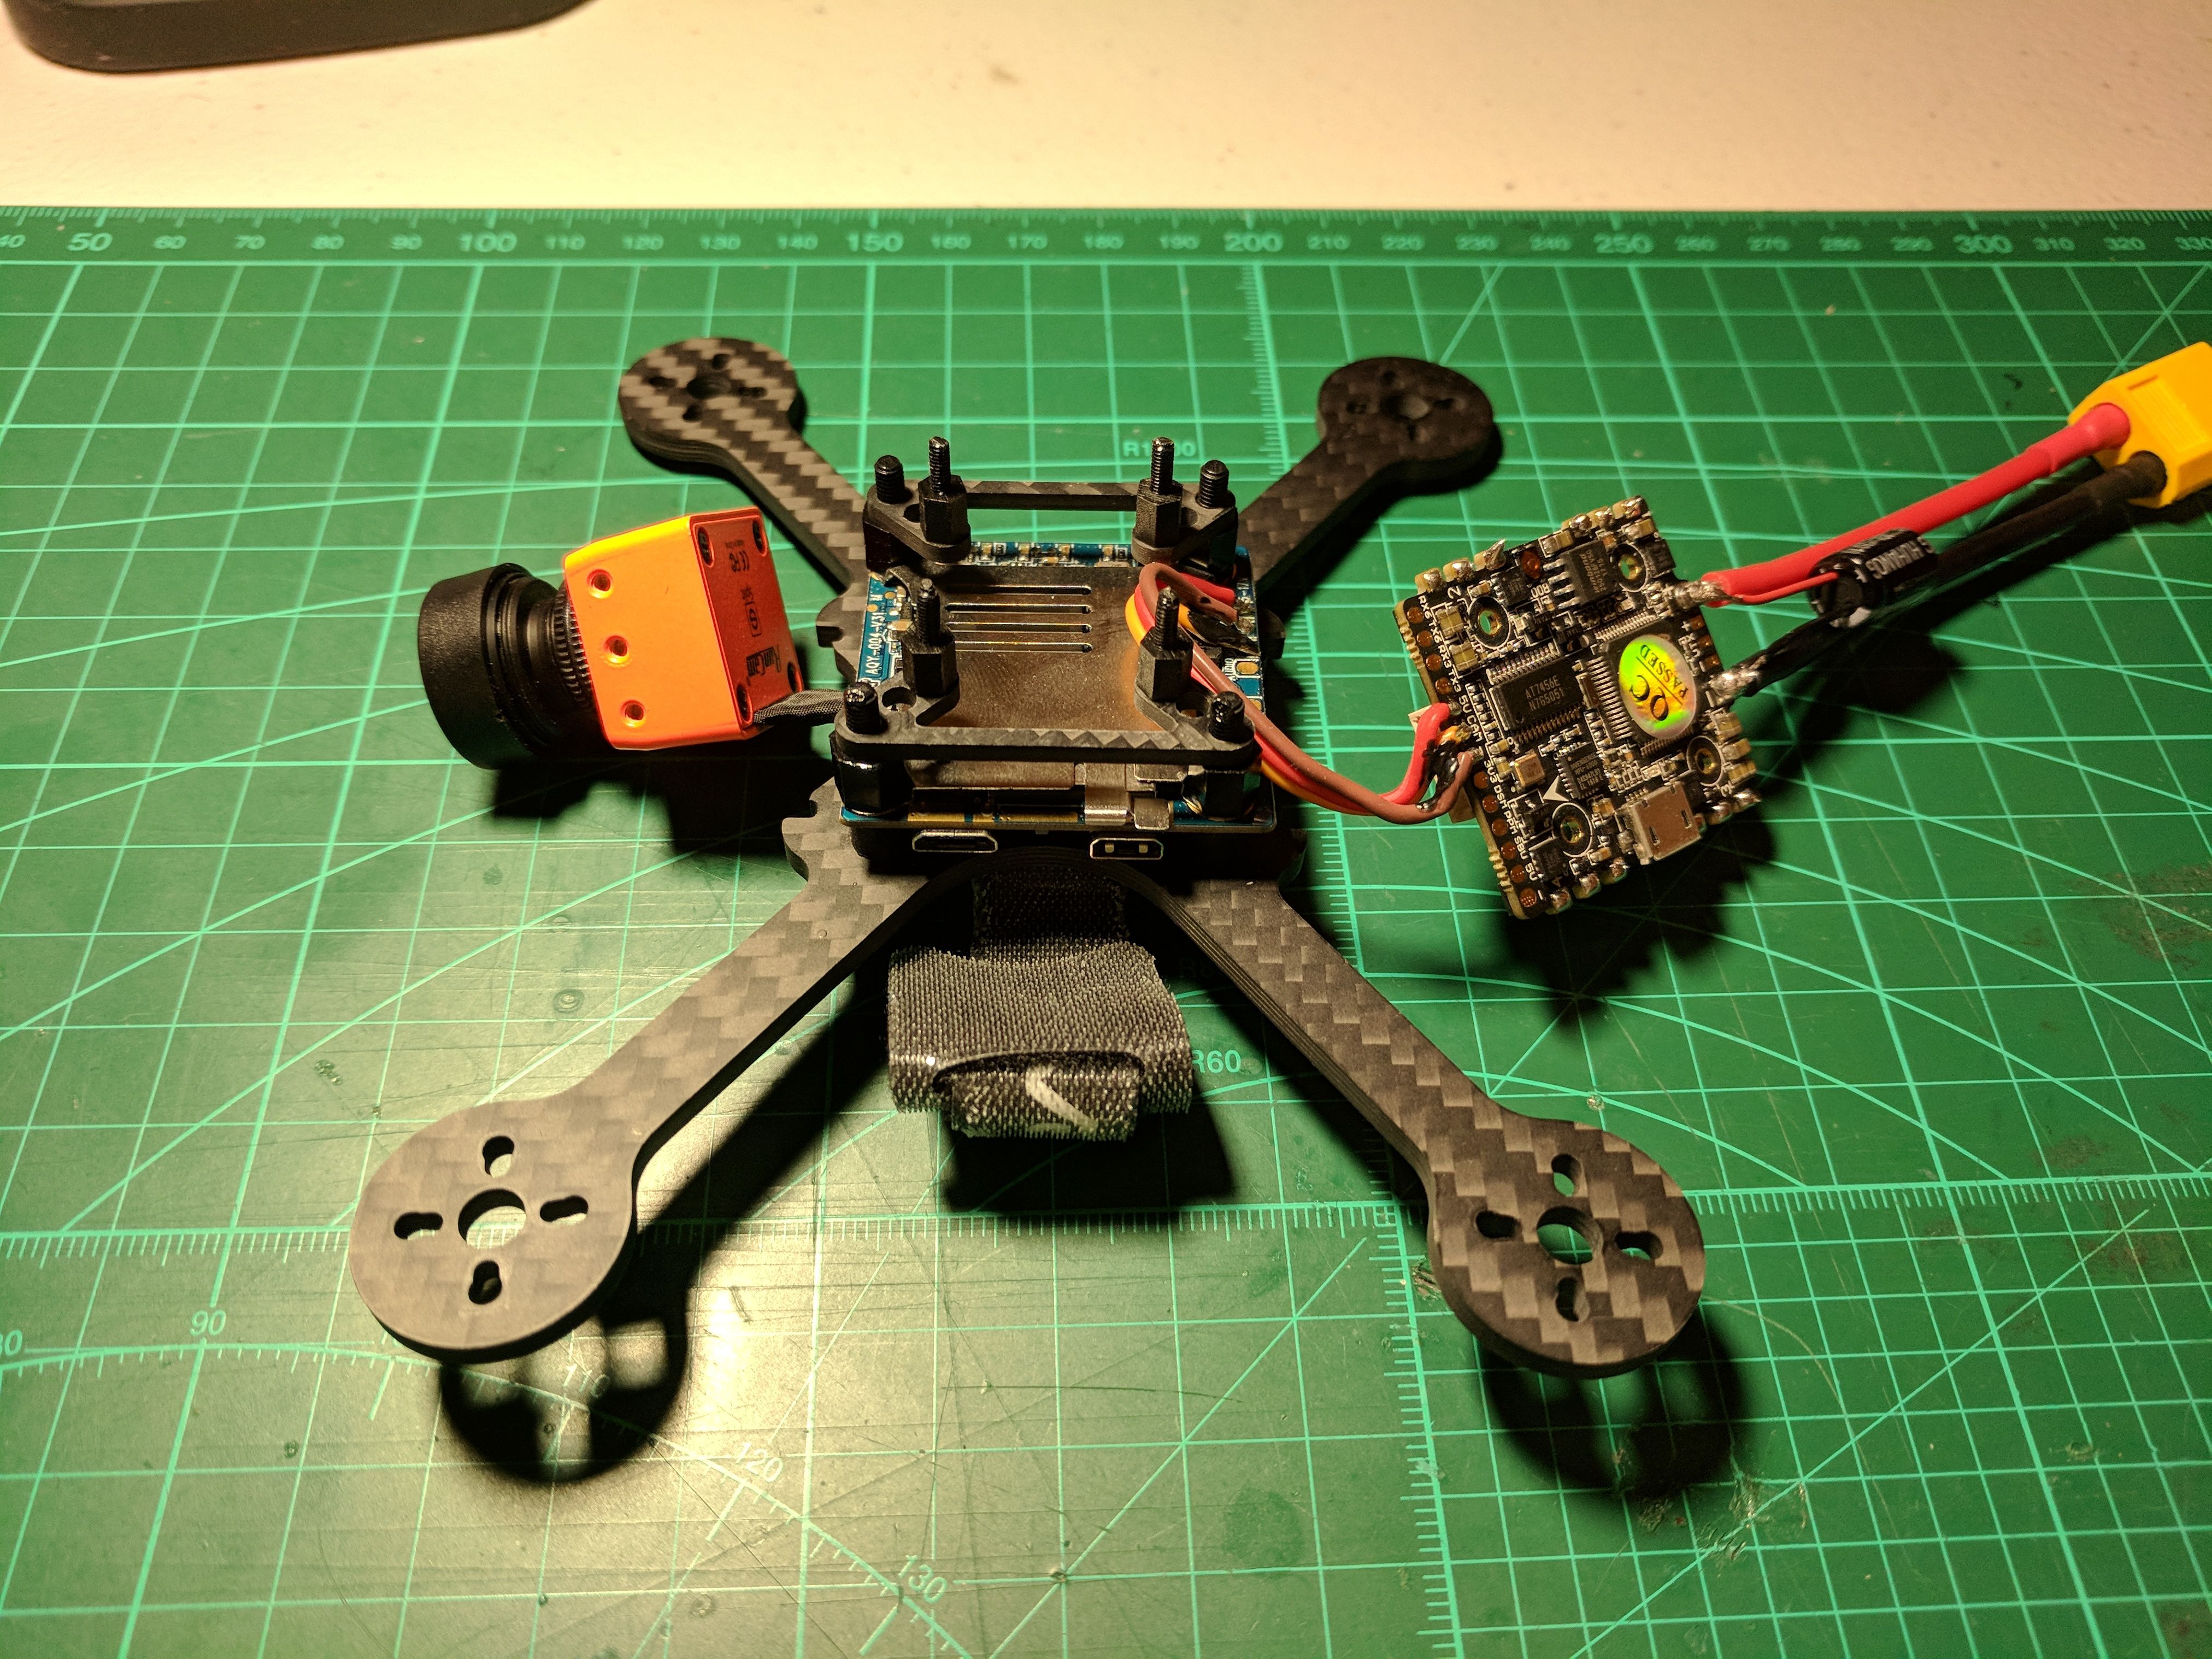
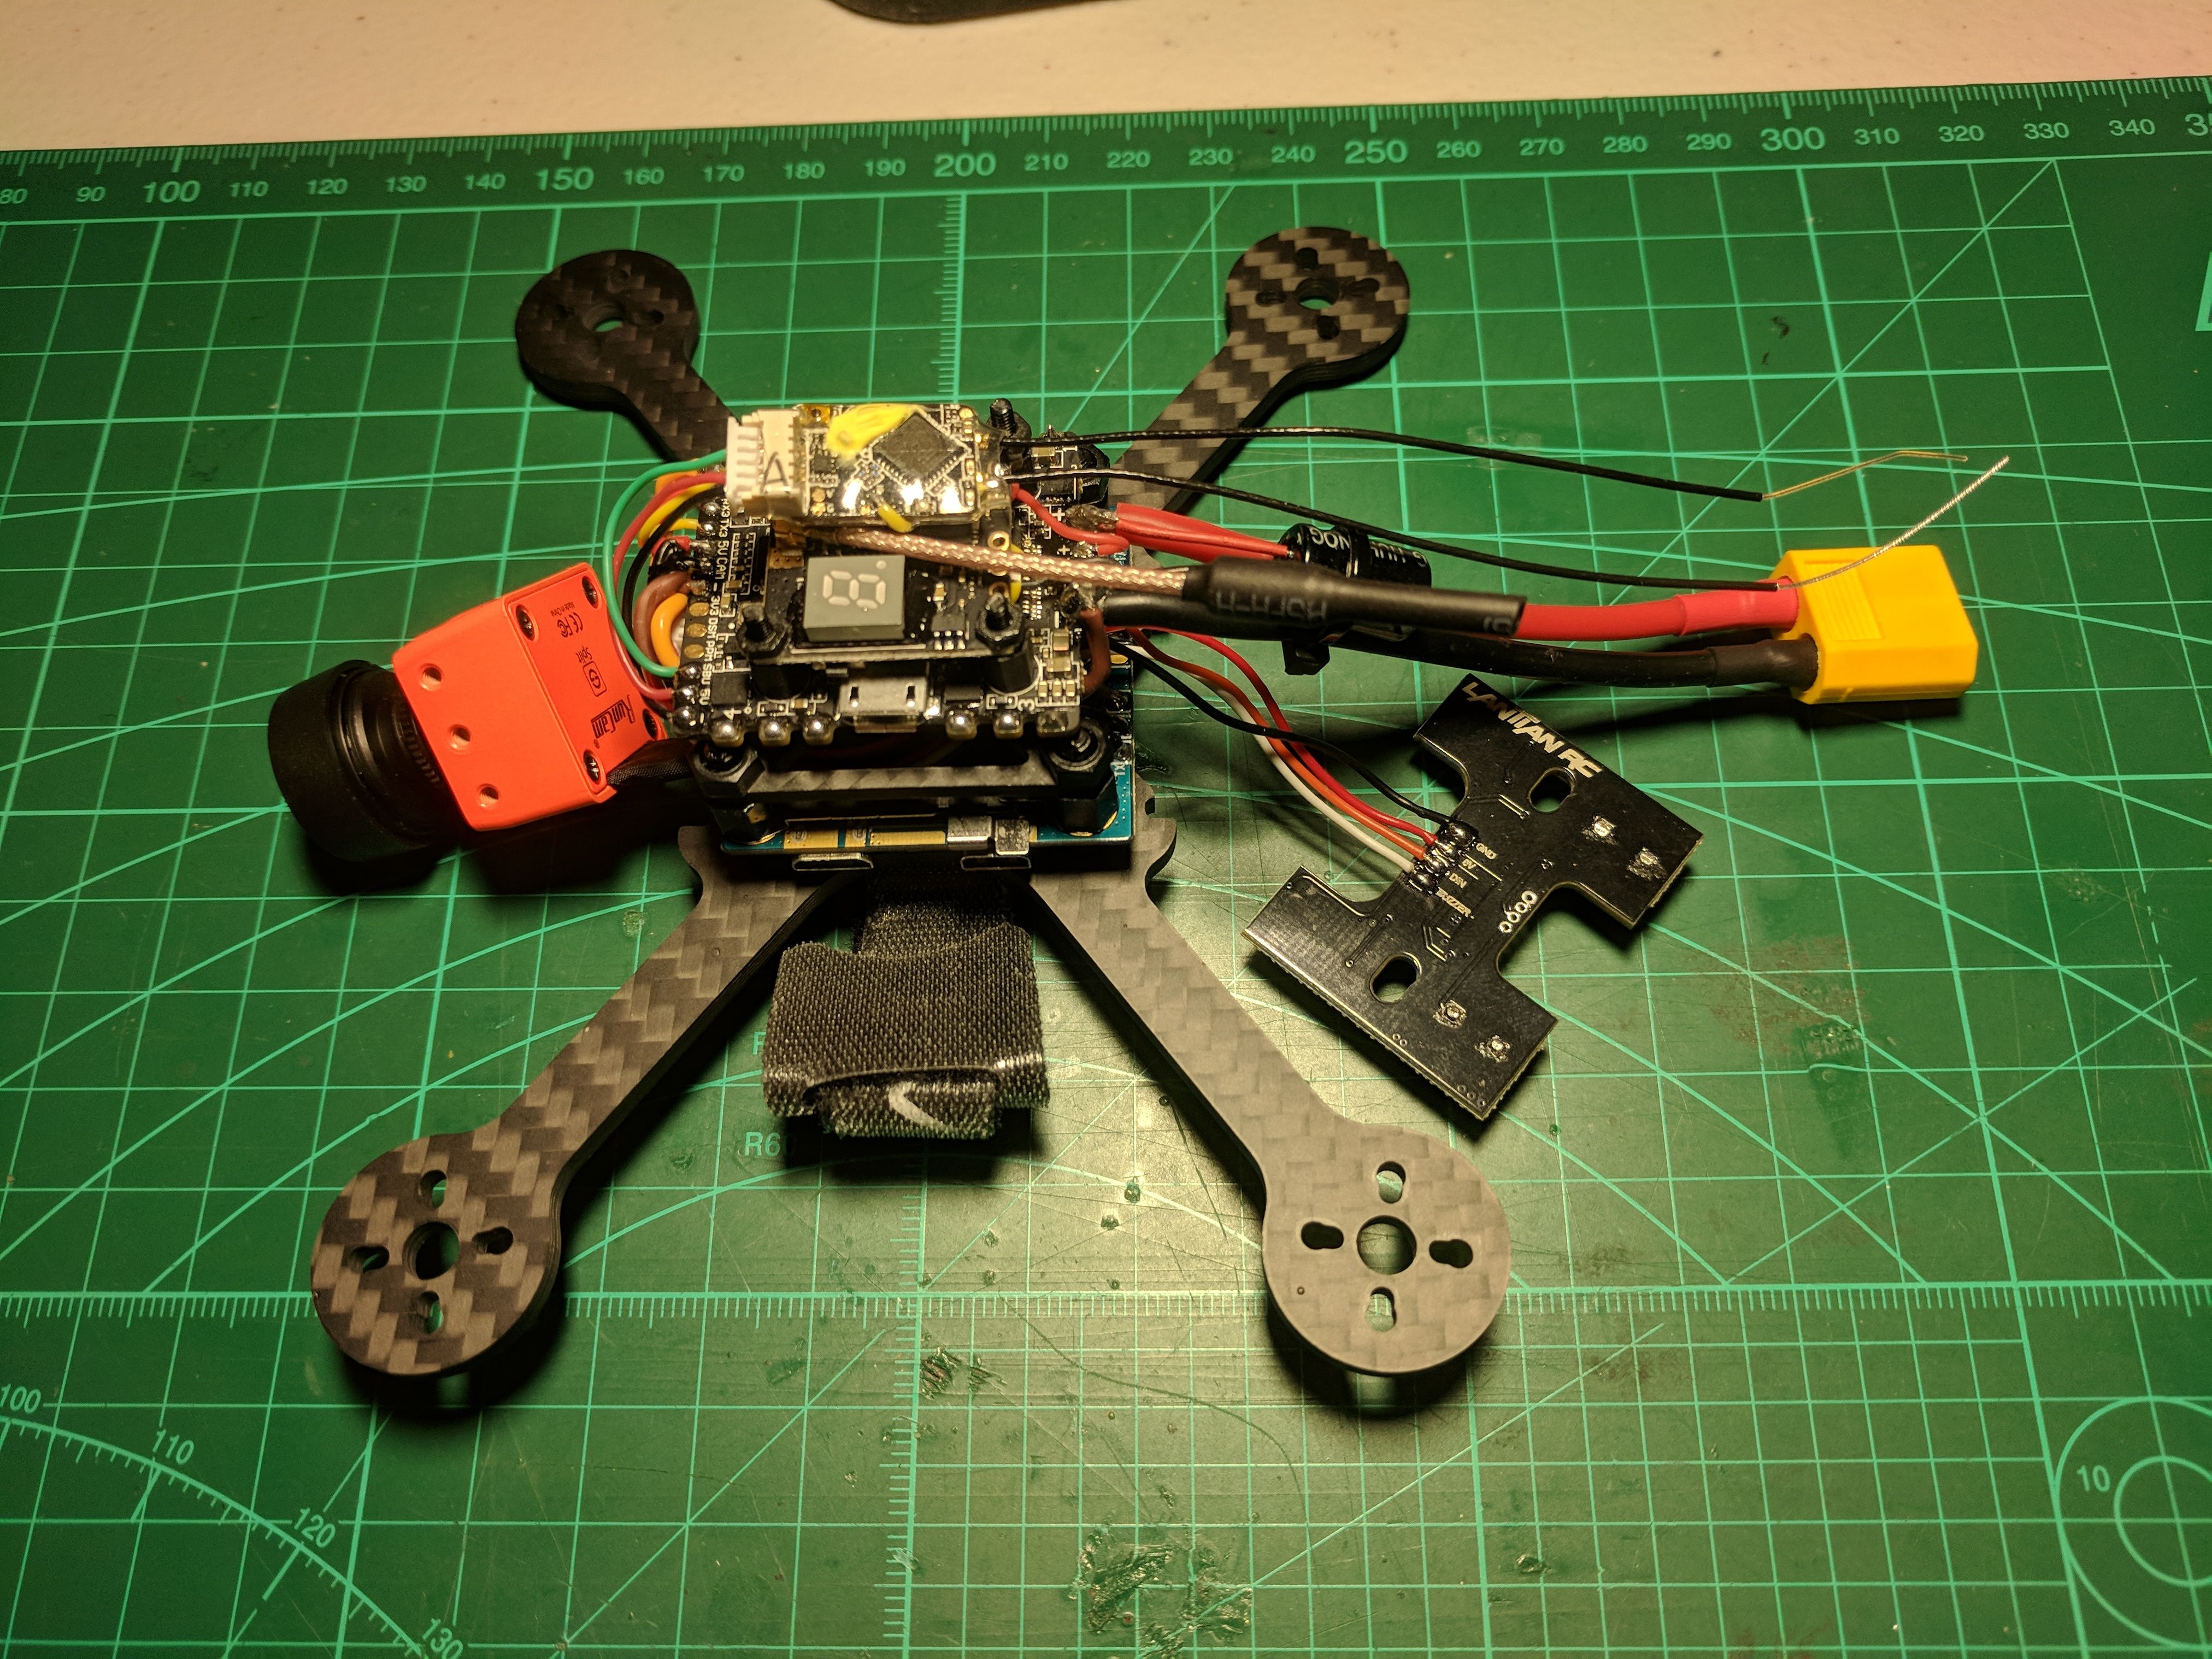
Pic 3. Install Runcam Split 2 on the soft mounts and wire the video signal, ground, and 5v to Zeus board.
Pic 4. Install 30x30mm to 20x20mm adapter that is included in the Ascent 3" frame kit. Zeus board has 20x20mm holes. Note the standoffs on the adapter to mount the Zeus board is M2 (not M3). They come with the board.
Pic 5. Put the Zeus board on the adapter.
Pic 6. Install R-XSR receiver and TX20 VTX on the board. TX20 also has 20x20mm holes.
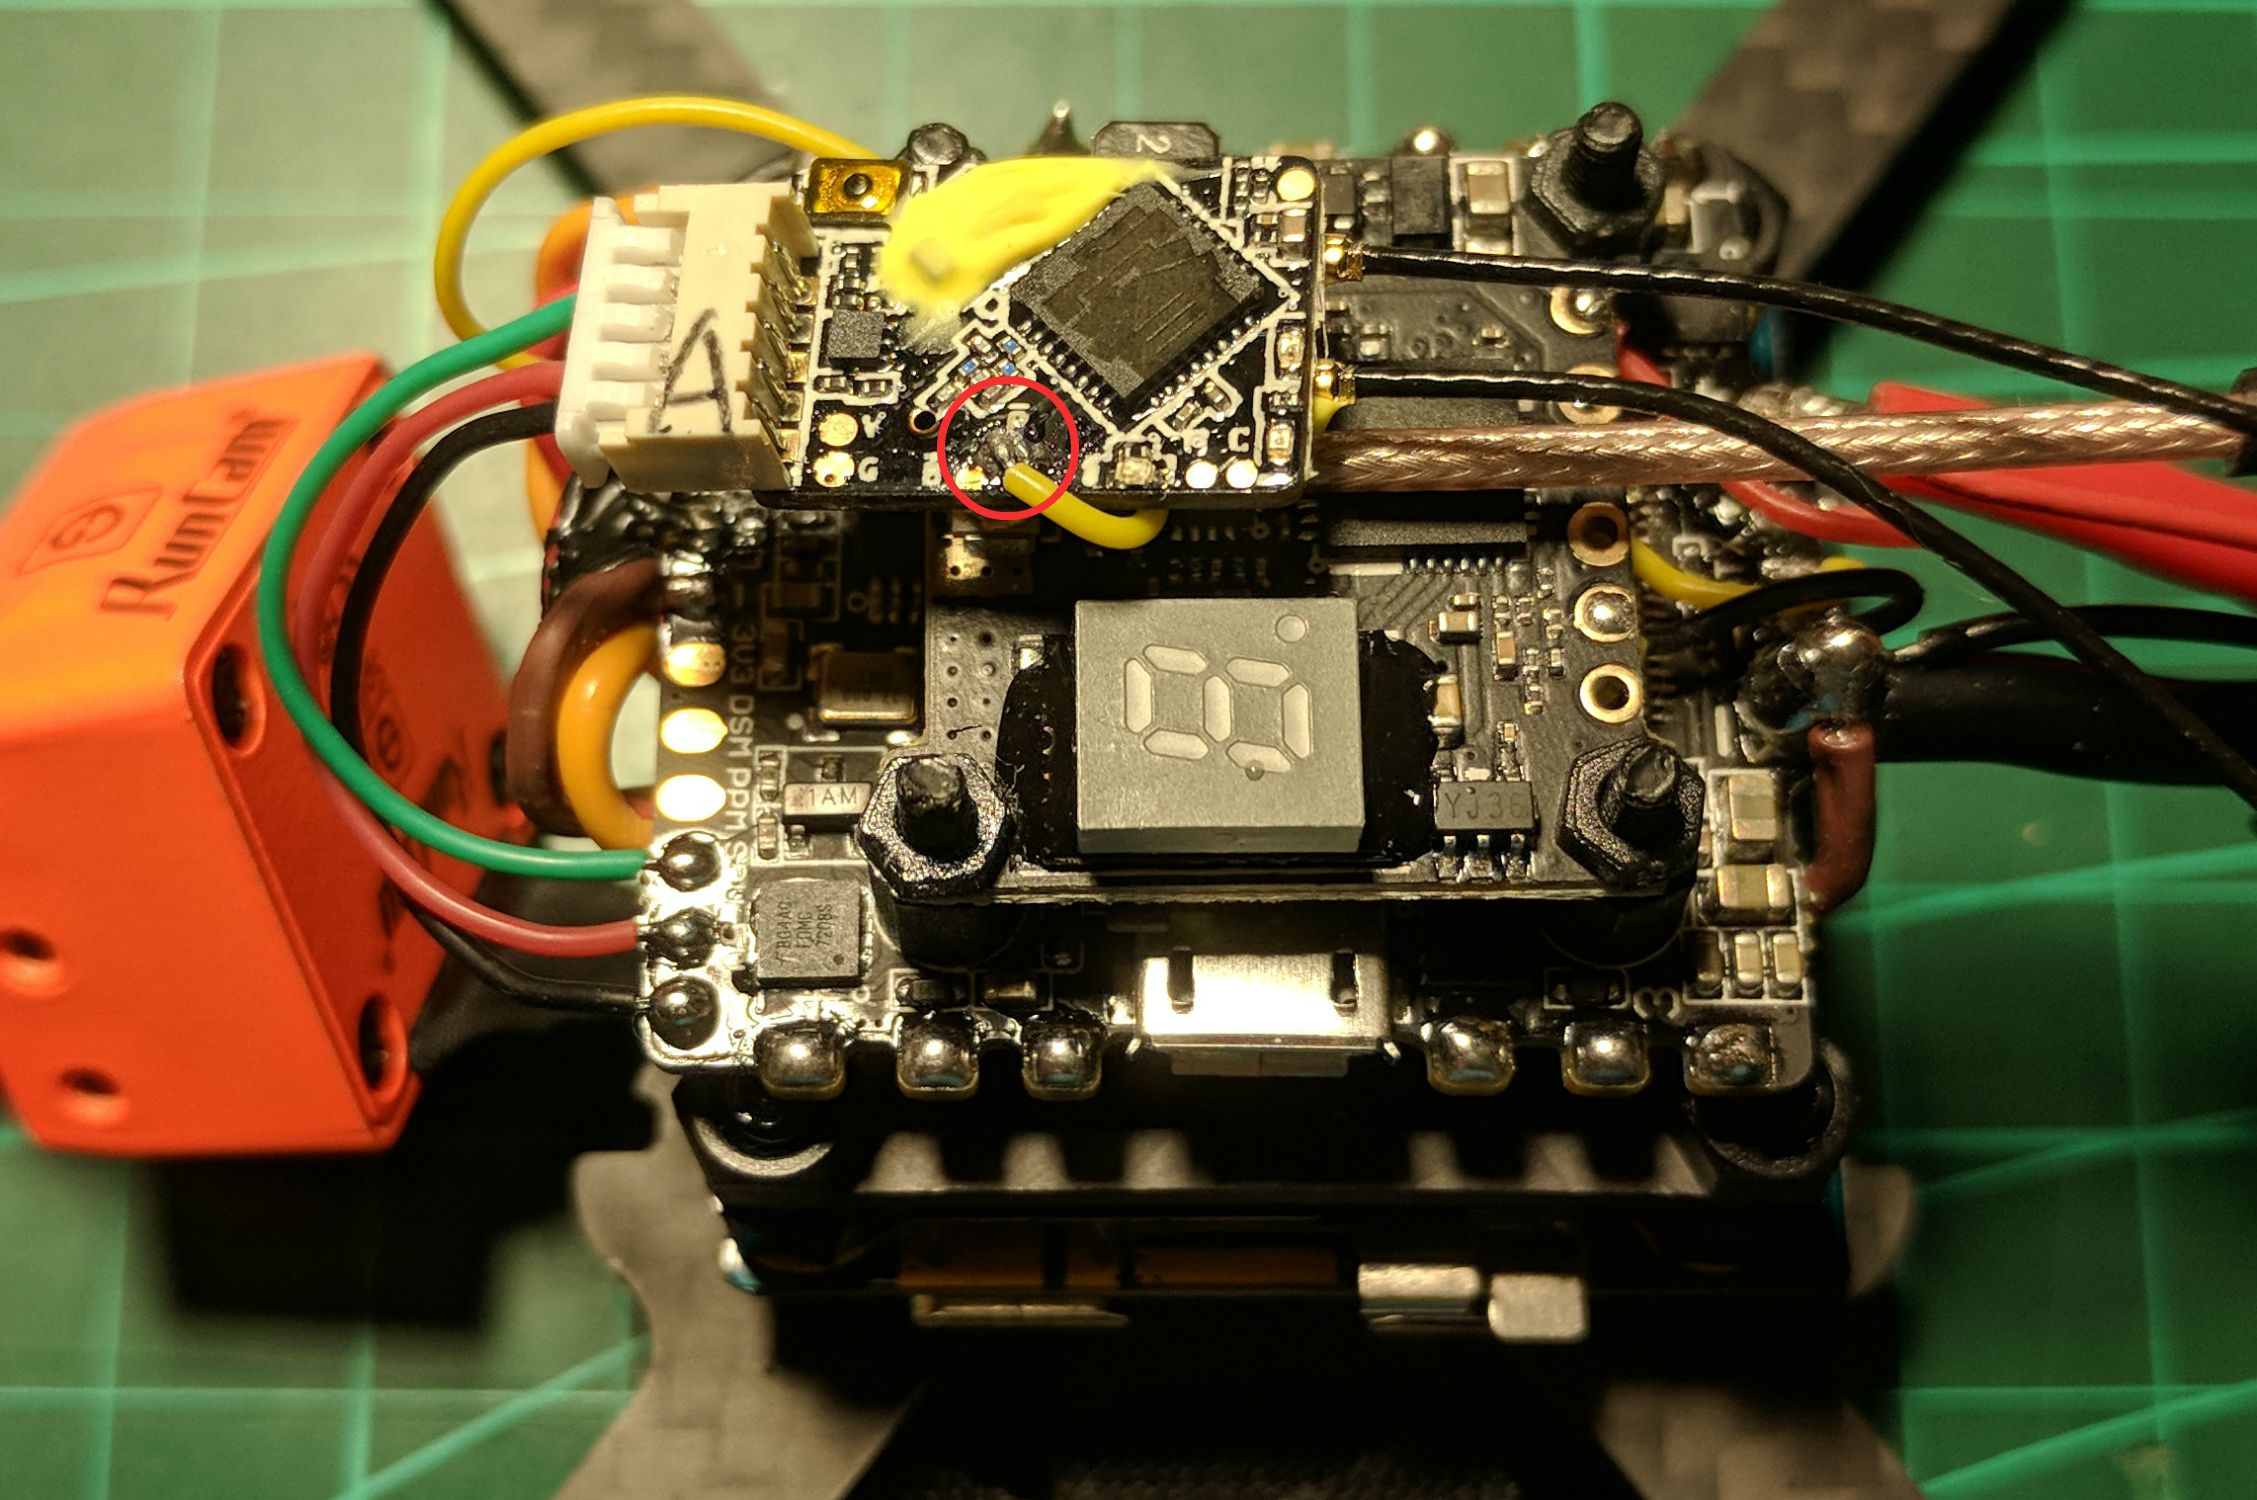
Pic 7. Use uninverted SmartPort pad (P pad) on R-XSR and wire to TX3 pad on Zeus.
Pic 8. Wrap the R-XSR using a clear heat shrink and mount to the VTX using a double-sided tape.
Pic 9, 10. Wire up the buzzer and LED. I used this integrated board, however, i don't recommend it. First, half of LEDs were not working when I got it. Second, it's slightly wider than I thought, and the rear props hit the board. I had to cut out a little of the side of the board. The dual buzzer is super loud though. I'd recommend this buzzer + LED board instead. I was not aware of this one when I ordered parts.
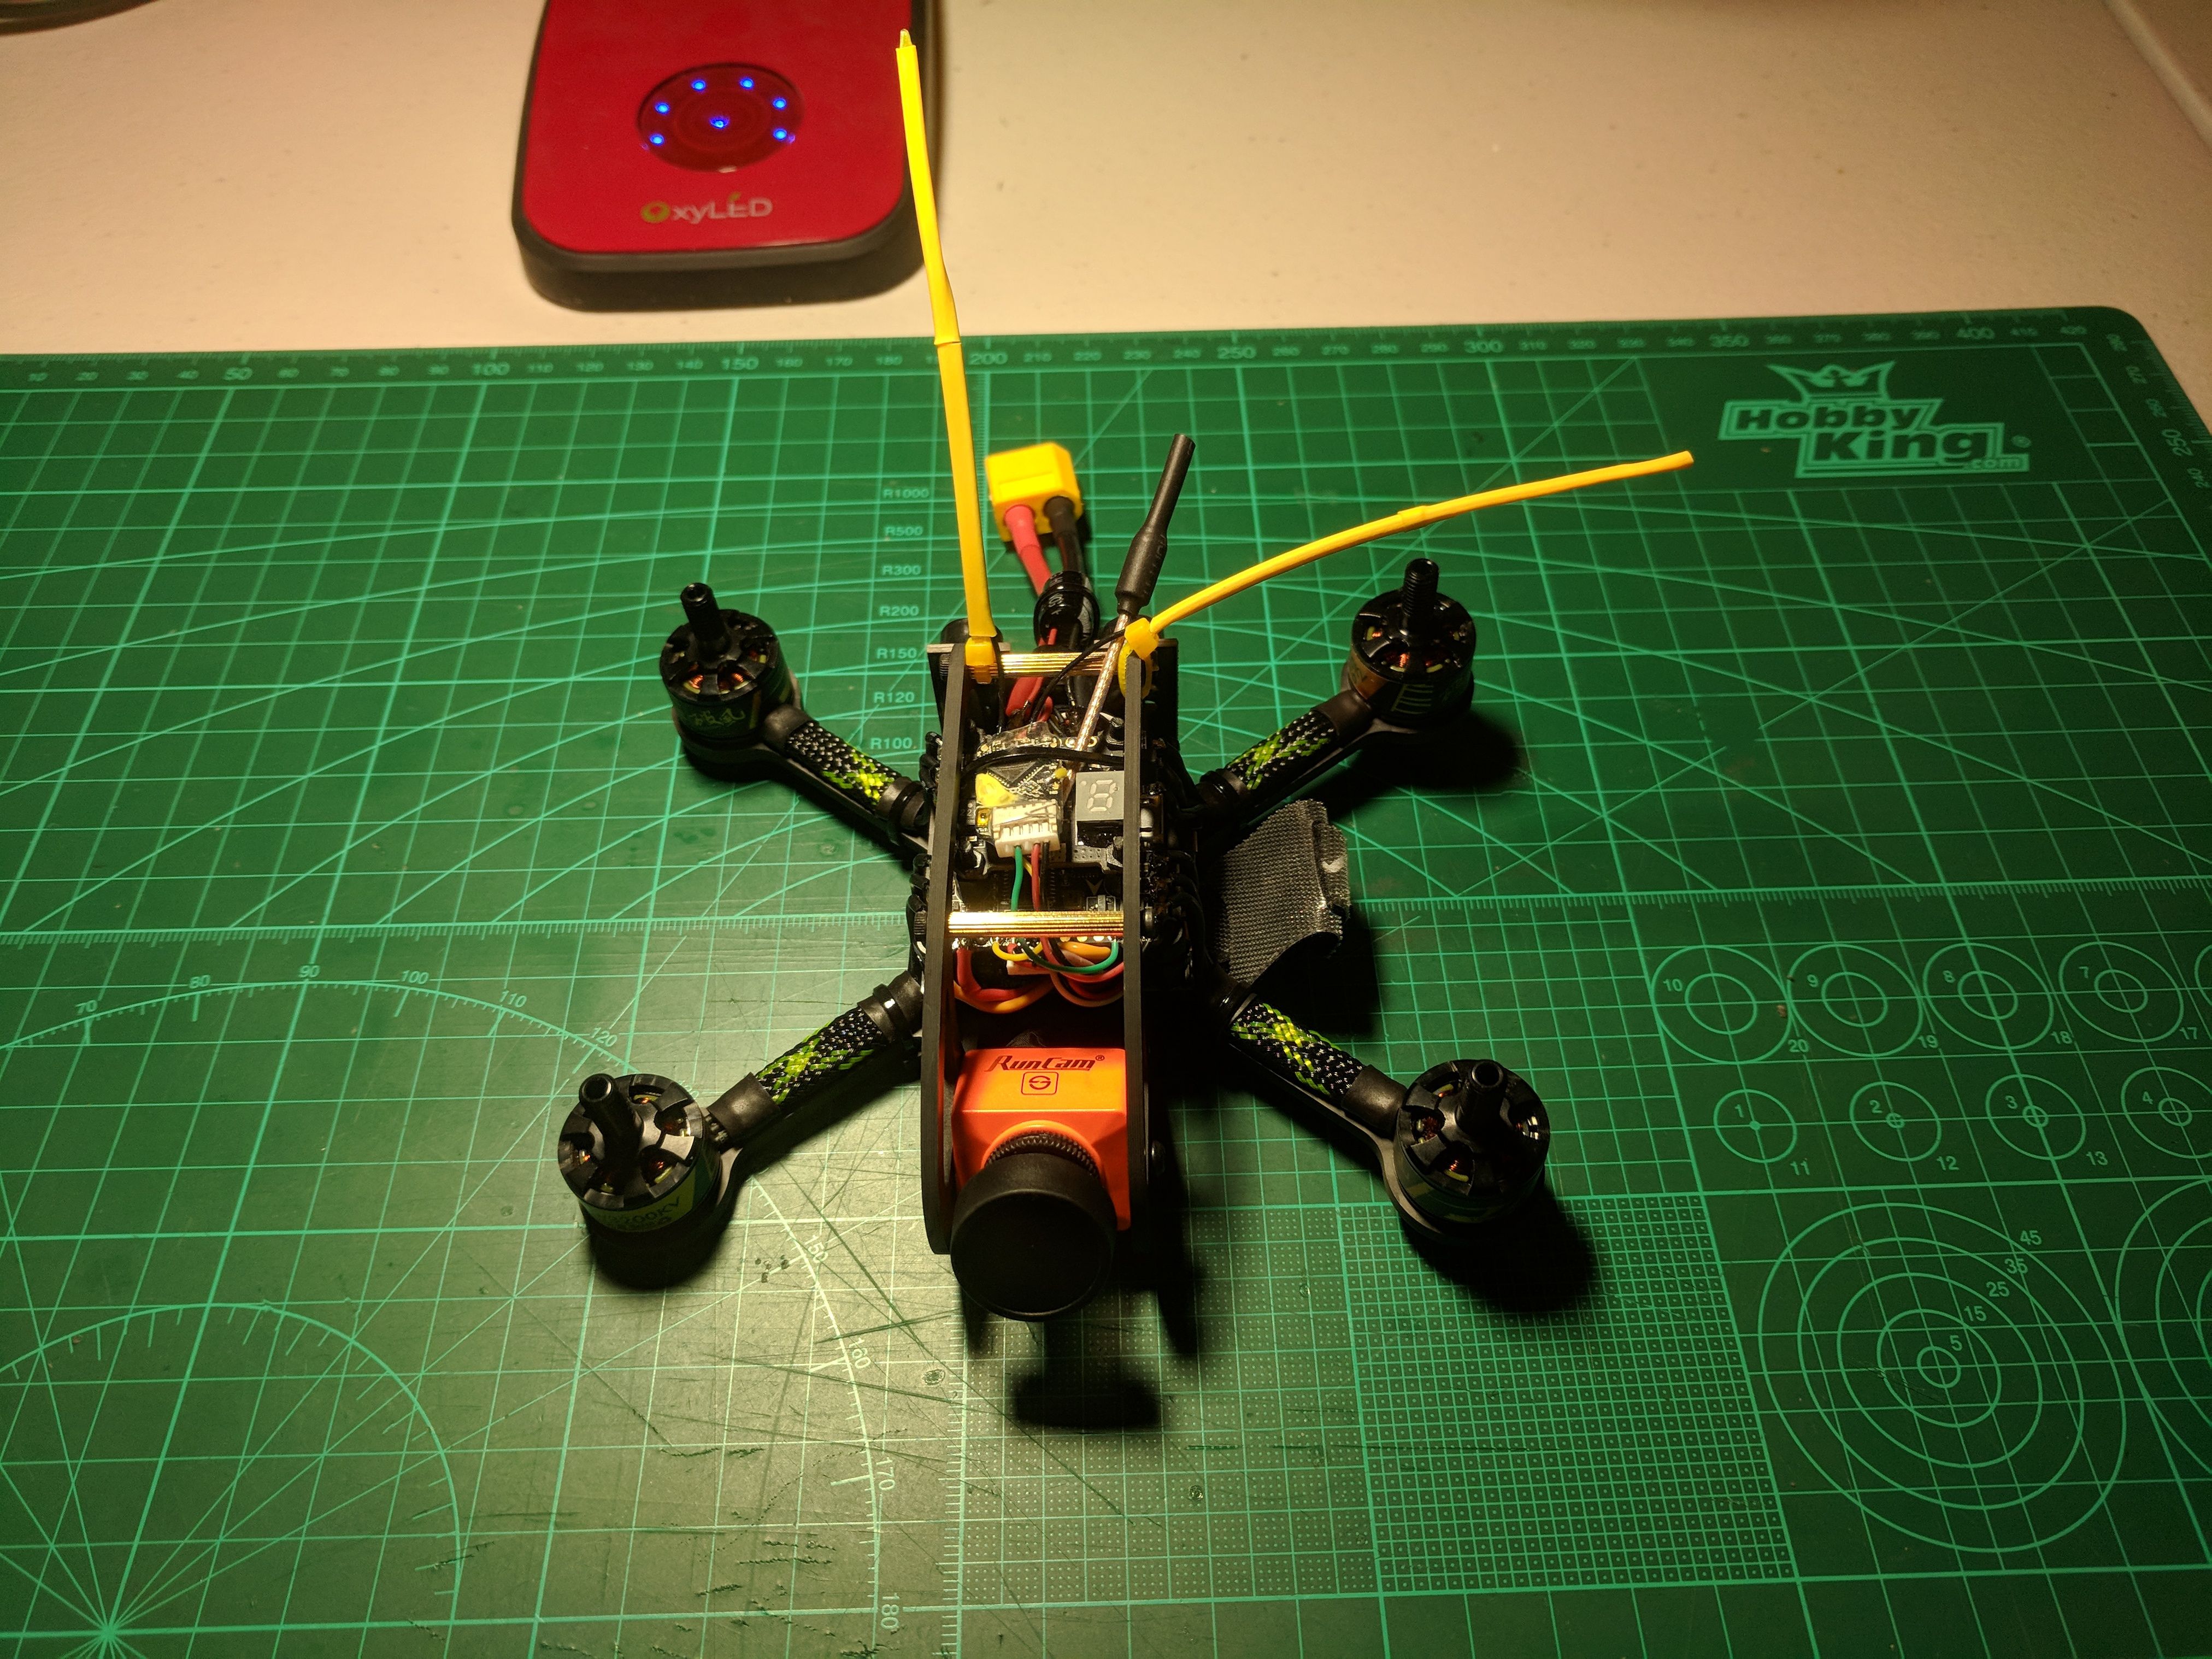
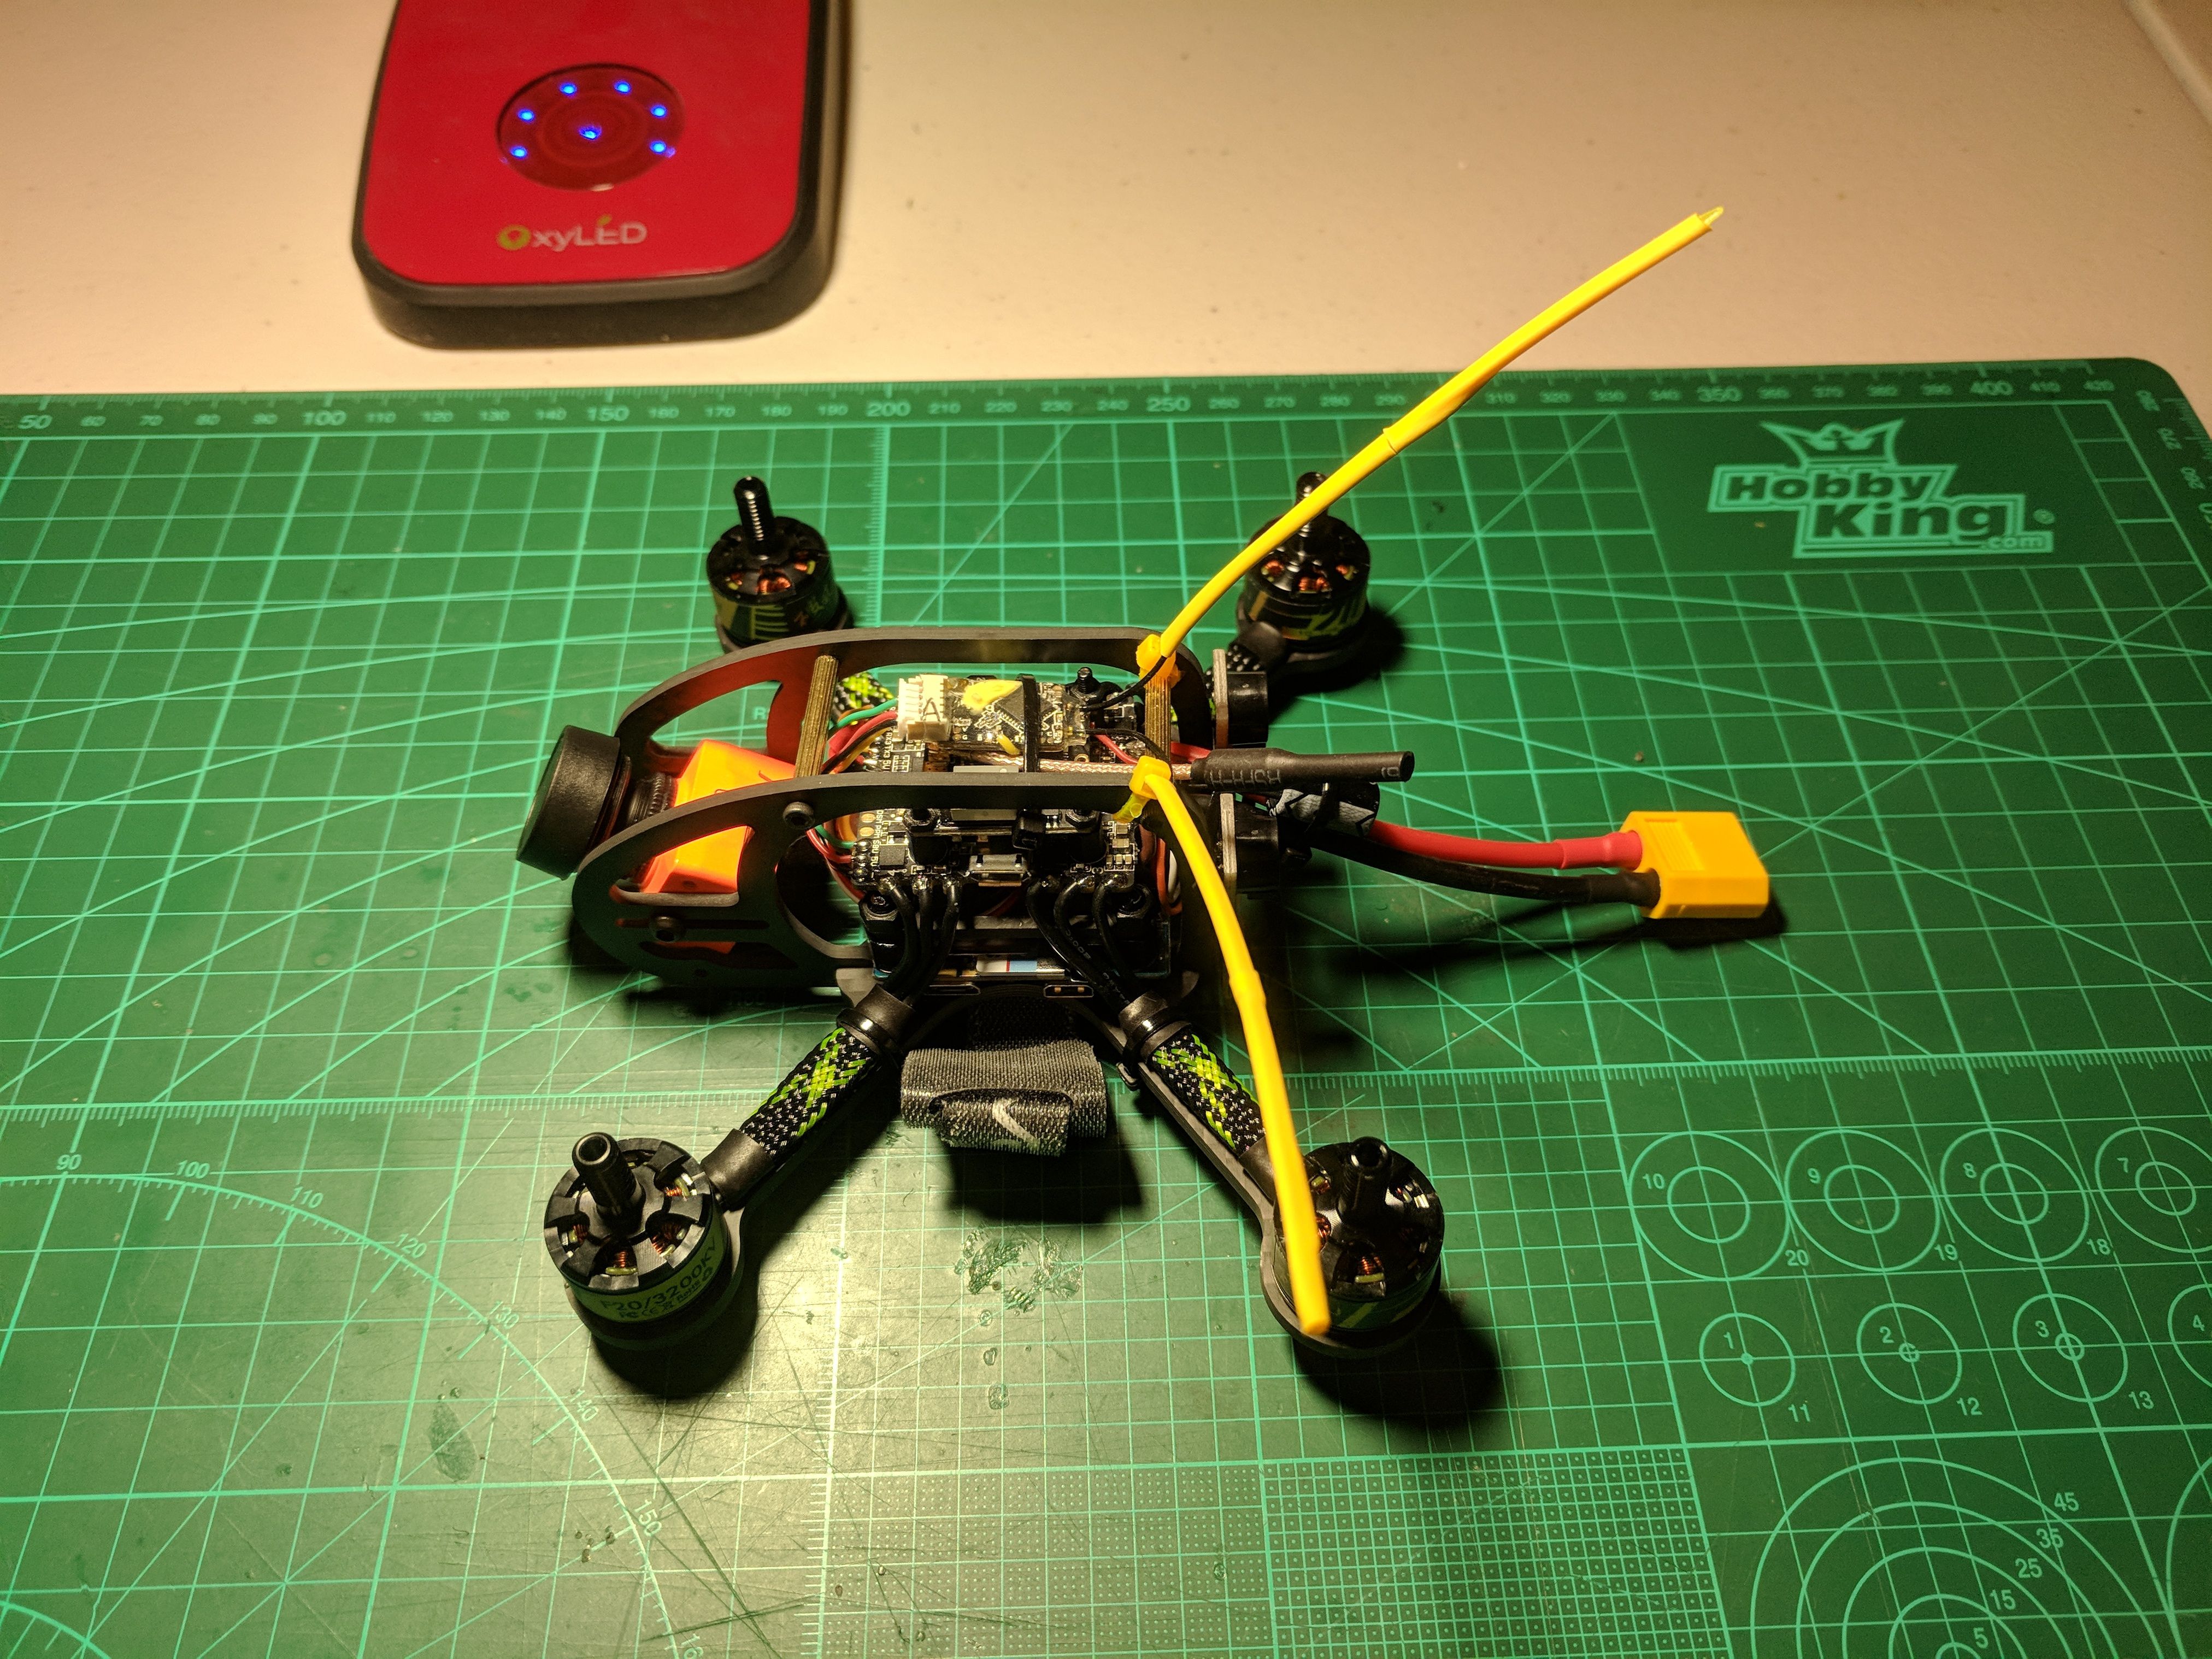
Pic 11, 12, 13. Install motors, put the side plates, and position RX antennas using zip ties.
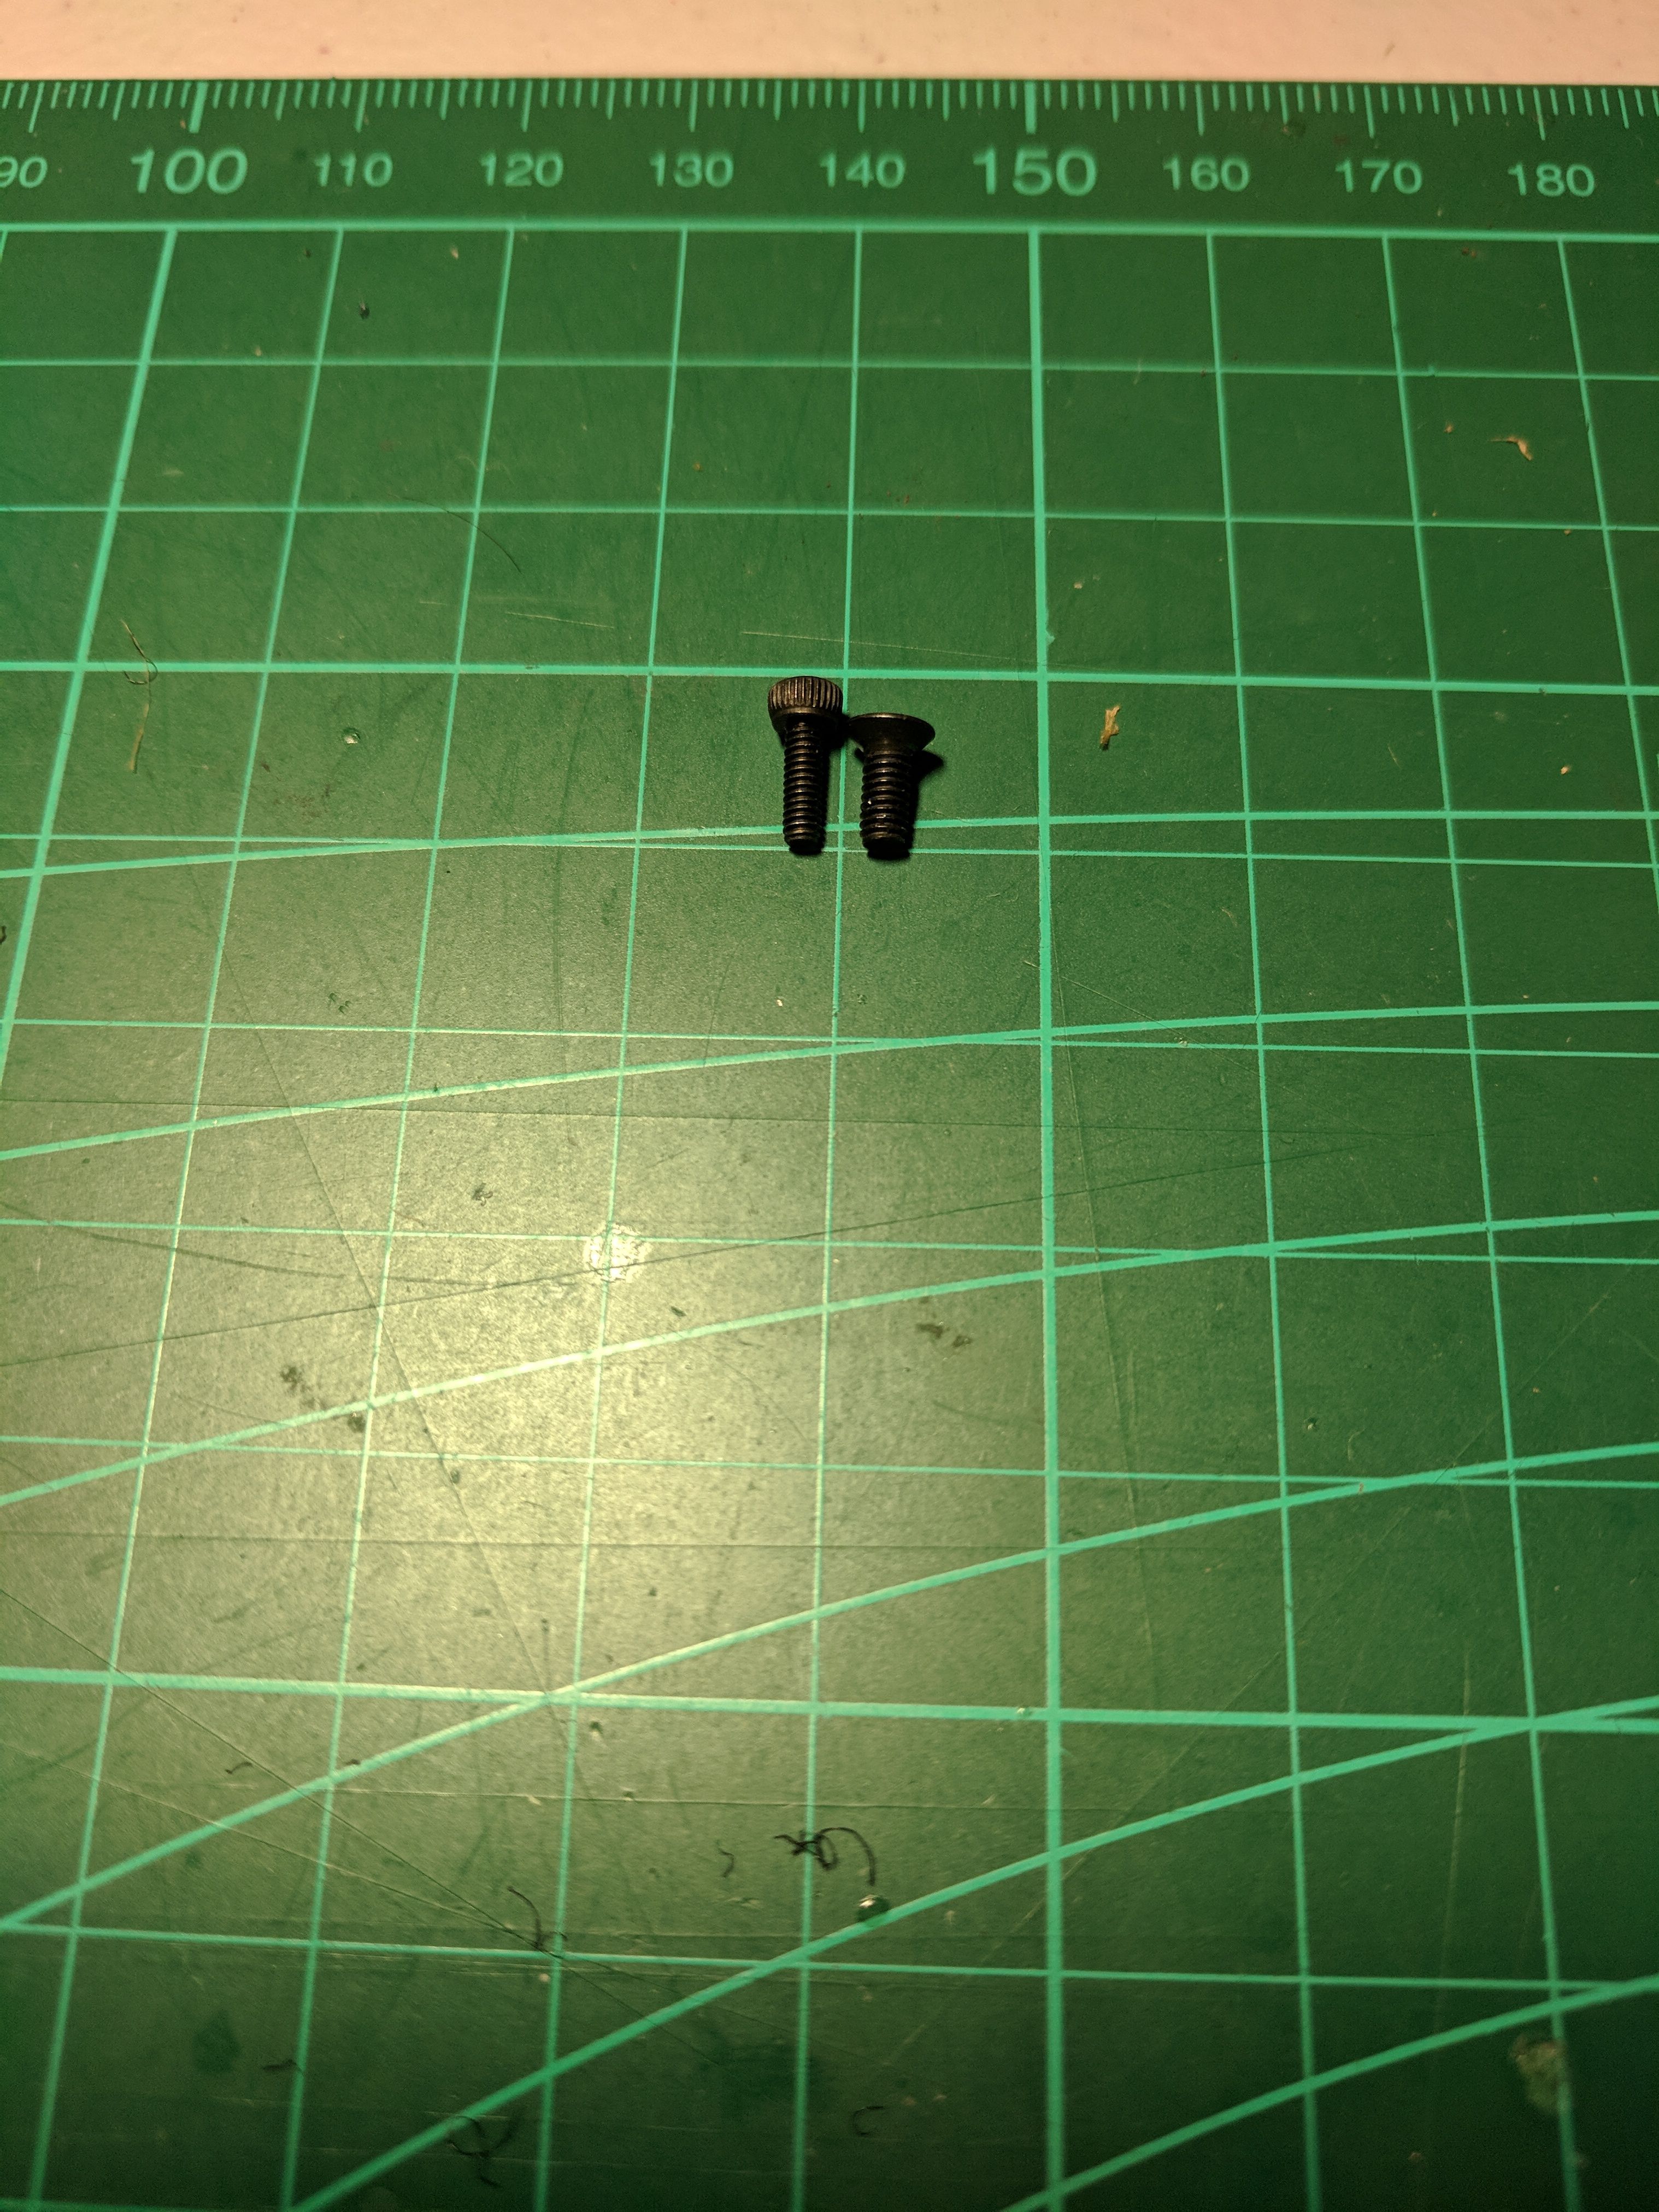
Pic 14. ATTENTION! Ascent 3" frame kit includes these two screws. The left is M2 6mm socket head cap screw and the right is M2.5 6mm flat head screw. There are 10 screws for each type in the kit. However, T-motor F20 has 4 holes for each motor. You need 16 screws for four motors! T-motor F20 uses M2.5 hole, therefore, you'd need extra 6 x M2.5 6mm screws.
Maden Flight:
Flew 10 packs using stock pids and rates of Betaflight 3.2.3. The flight time is 6 mins on average using Glacier Ice 75C 850mah 3S and 8 mins using Glacier Ice 75C 1300mah 3S. However, 1300mah feels a bit heavy in the air for this quad and not easy to control at corners. I prefer 850mah. This is a lovely setup to have a fun fly in the proximity near your home or park!
Photos
Part List
Frame |
Ascent 3" - FPV Racing Drone Frame
(6 builds)
Flexrc.com
|
$35.00 |
Flight Controller |
HGLRC F4 Zeus F4 Flight Controller Integrated with OSD BEC PDB AIO 15A BLheli_S 4 In 1 ESC for RC Racing Drone
(15 builds)
Banggood.com
|
$49.20 |
Motors |
FlexRC FPV Racing Drones | FPV Multicopter Store | Quadcopter Parts
(101 builds)
Flexrc.com
|
$52.50 |
Propellers |
RotorX Triblade RX3040T Props (2CW, 2CCW) Polycarbonate
Flexrc.com
|
$4.99 |
FPV Camera |
RunCam Split 2 HD/FPV Camera with Wifi Module and GoPro Quality Lens
(80 builds)
Getfpv.com
|
$79.99 |
FPV Transmitter |
20x20mm XJB TX20 Mini 5.8G 72CH 0/25mW/100mW/250mW Switchable FPV Transmitter Raceband
(3 builds)
Banggood.com
|
$18.99 |
Receiver |
FrSky R-XSR 2.4GHz 16CH ACCESS/ACCST Micro Receiver w/ S-Bus & CPPM
(937 builds)
Getfpv.com
|
See Site |
Misc Parts |
HGLRC Super Mini 1.38g WS2812 Colorful LED w/ 5V Active Alarm Buzzer Support Cleanflight Betaflight
(19 builds)
Banggood.com
|
$3.24 |


cool ! i want the same attributes in my build
i'm assuming it doesn't have much acro ability ?
how would you change up this build to make it faster ?
This setup is not meant to be insane power. Motivation of this build is to fly safe but still fun.
If you want more power, then you'd go for 4S battery. Zeus FC supports up to 3S, therefore, you should find out other FC and ESCs that support 4S. I'd recommend HGLRC XJB F428 stack.