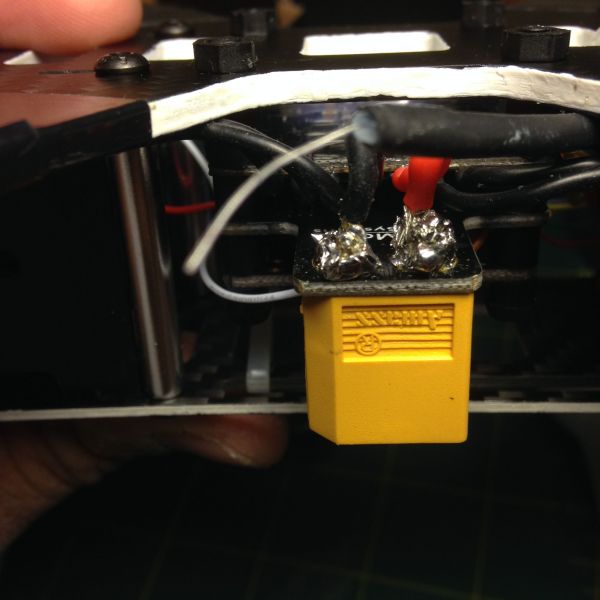
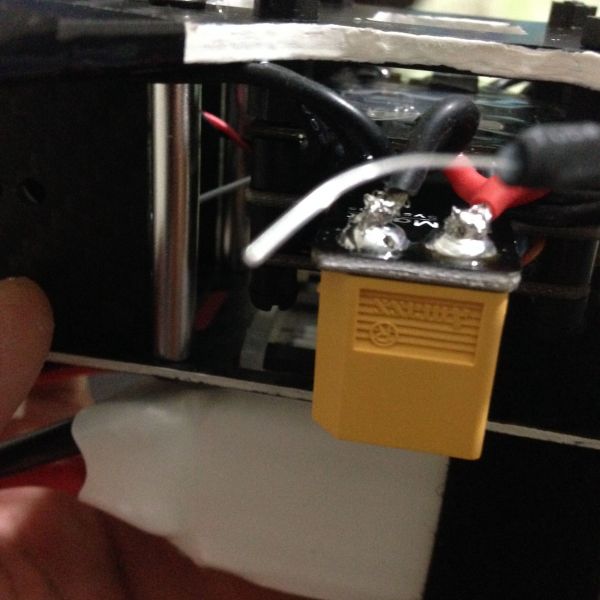
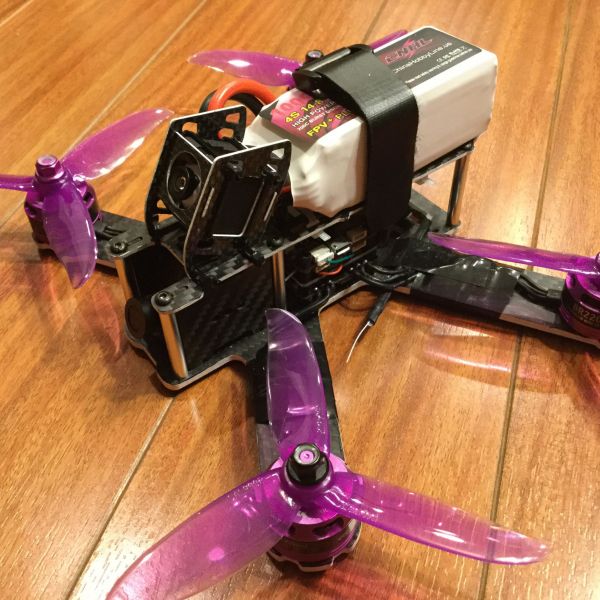
This was my first attempt at building a mini quad. I have experience creating circuits and soldering from school but I've learned a lot through this 1st build. Lot of hair-pulling and teeth-grinding, at times I just wanted to throw it at the wall, like when I messed up soldering the XT-60 connection to the PDB. That was a pain! Something new would always come up for me to fix. But all in all, I had a ton of fun building this. Maybe even more than flying? Who knows...we'll see in a little bit. All I've been doing lately is sim flying. This one hasn't even had her maiden flight yet. (Pacific Northwest weather sucks during this time of year.) And I'm already thinking about what I'm going to build next. I'm really liking the Moka Simplex with that split frame configuration. Anyways, thanks for stopping by, please like and/or leave a comment below.
01.17.2018
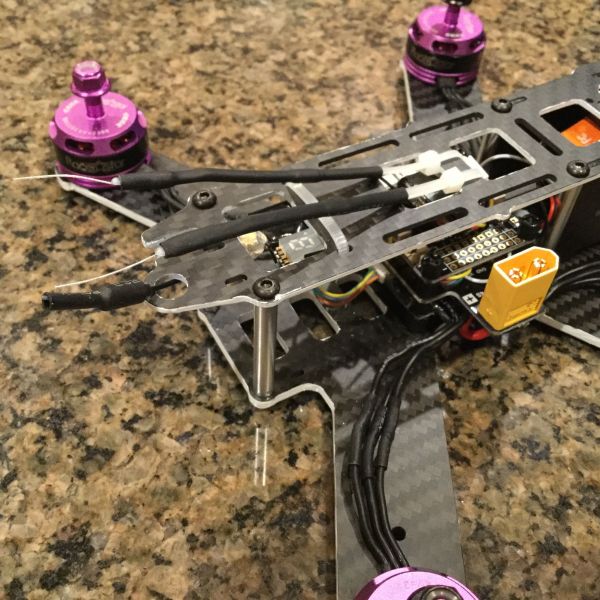
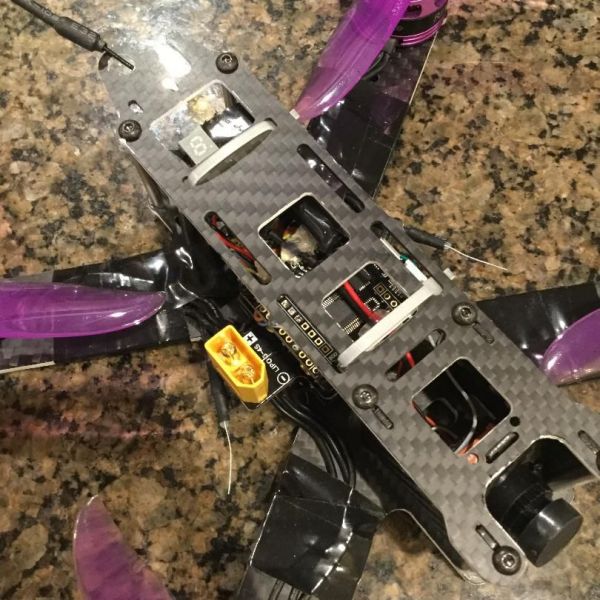
Relocated my receiver antenna. I was told they should be ~90° from each other. Even though, I liked how it originally looked on top...if i got into a crash, it would probably break off and besides putting it on top took away real estate for the batteries.
01.24.2018
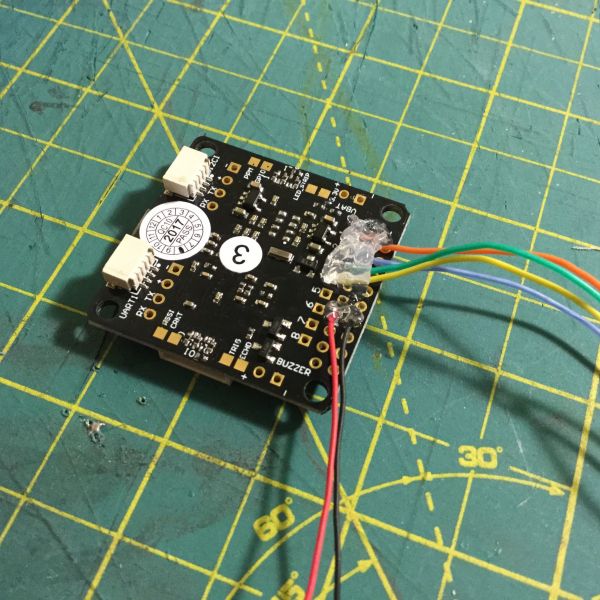
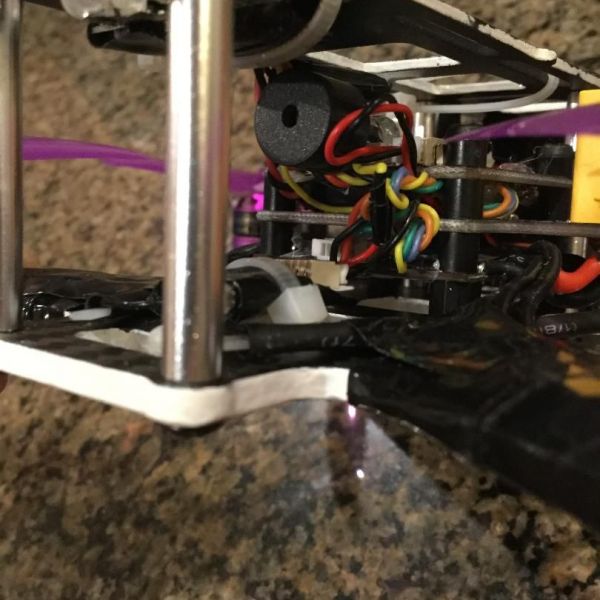
I gave up trying to make it look pretty...maybe once i get everything up and flying and I'm comfortable with it, then I'll probably go back and clean the wiring. I soldered in the buzzer and hot glued it in place, but now I've gotta change some Betaflight settings because it beeps all the time.
01.30.18
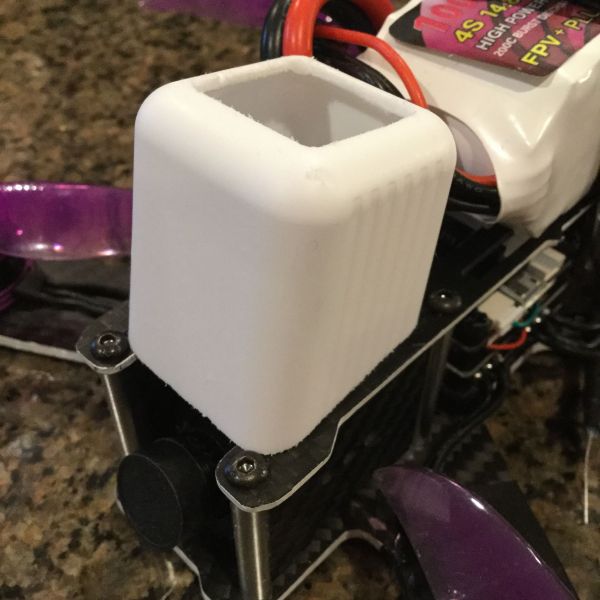
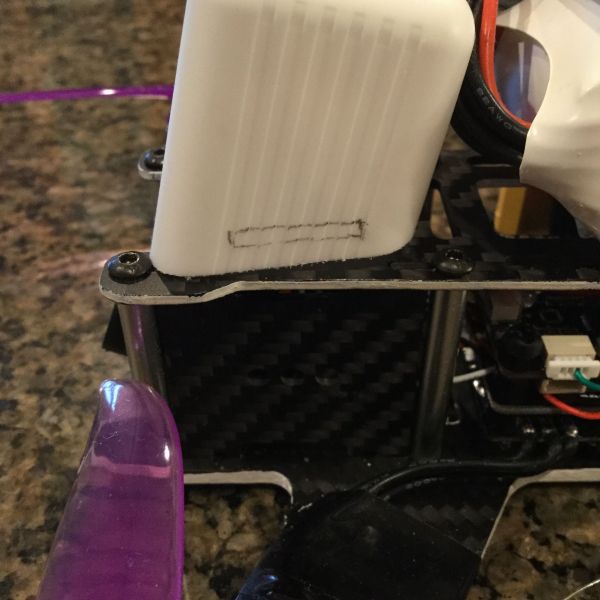
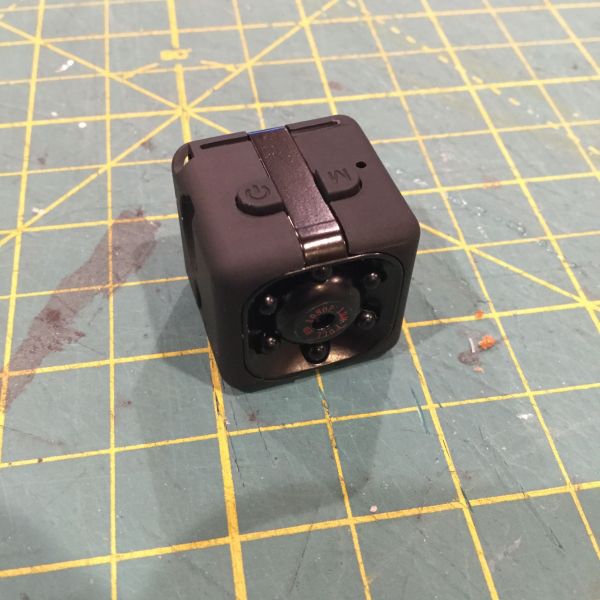
I've got this SQ11 HD camera lying around. Thought I could save a little money for now and just mount this to my quad for her maiden flight. I've already ordered the carbon fiber mount and SQ11 lens mod from China and its been almost a month. In the meantime, I thought I could fabricate another mount while I wait. ( I couldn't just slap some zip ties on it and call it a day!) So I looked around the house and noticed how the dental floss container was pretty close to the size of the camera. I did some cutting and it's starting to come together. Maybe this will gimme a chance to learn how to hydrodip?! I could hear my wife right about now..."Another hobby?!" I swear, this is how it starts...
01.31.18
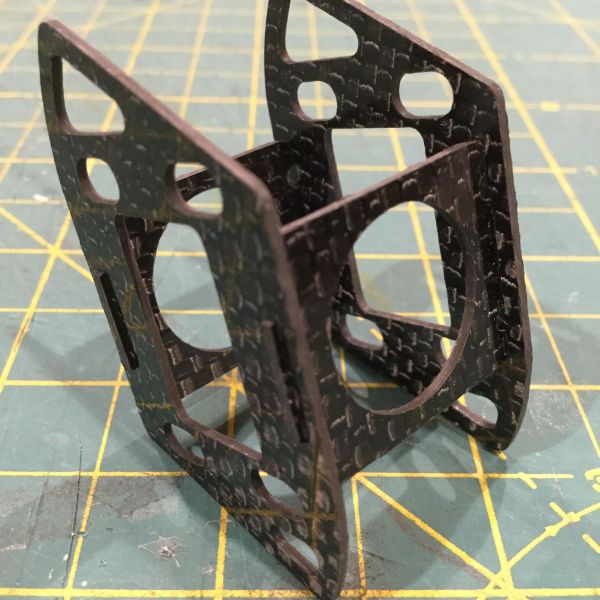
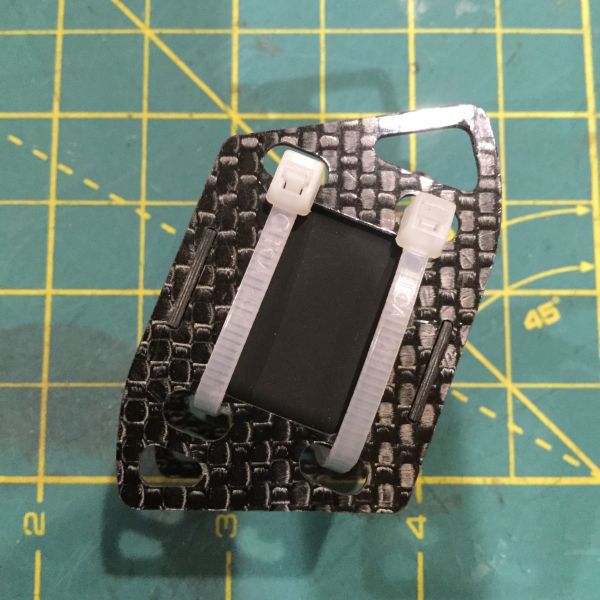
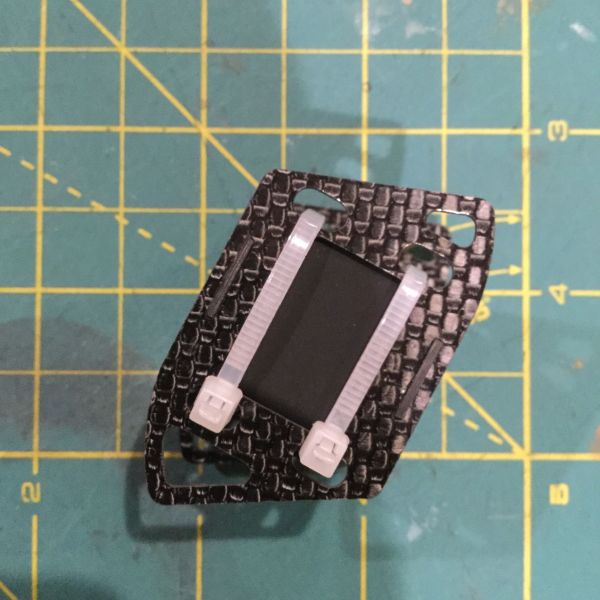
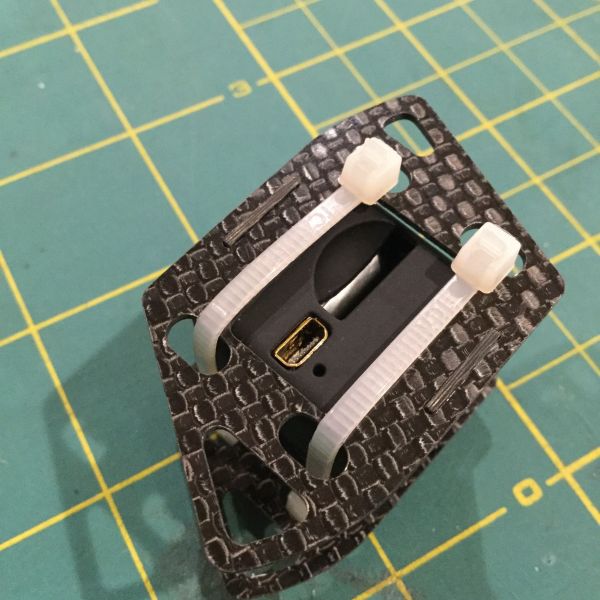
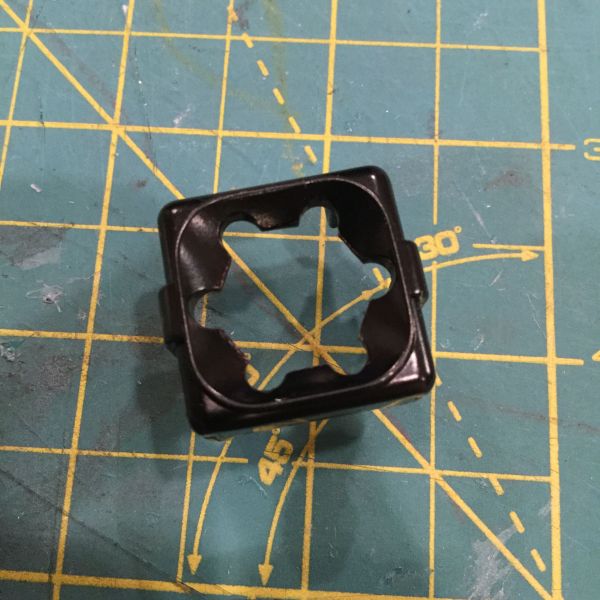
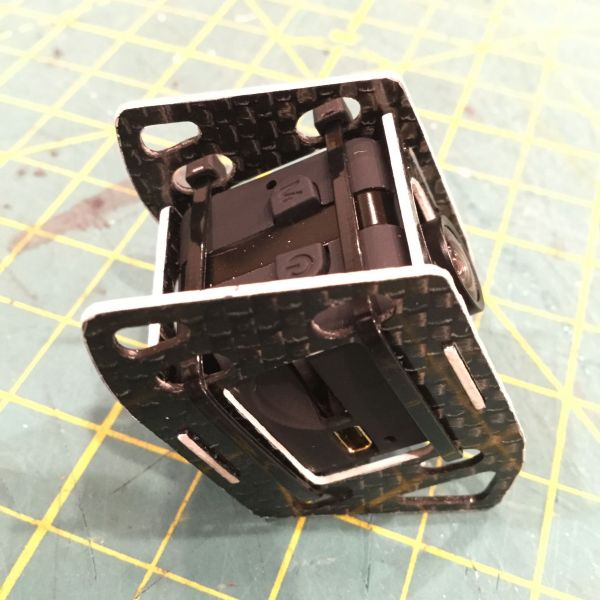
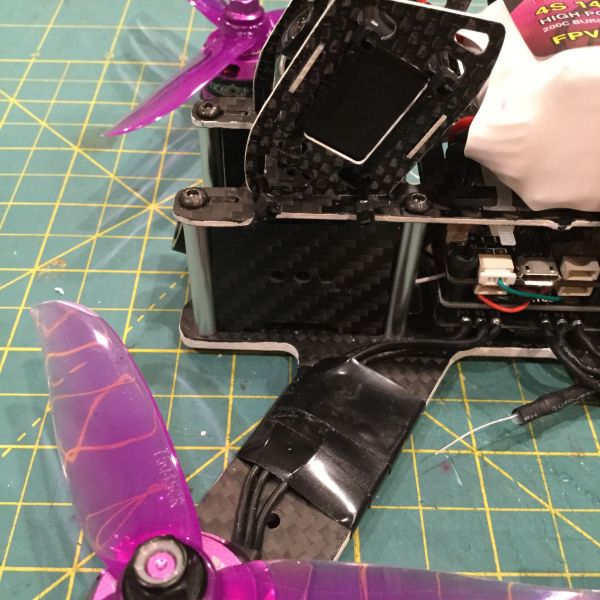
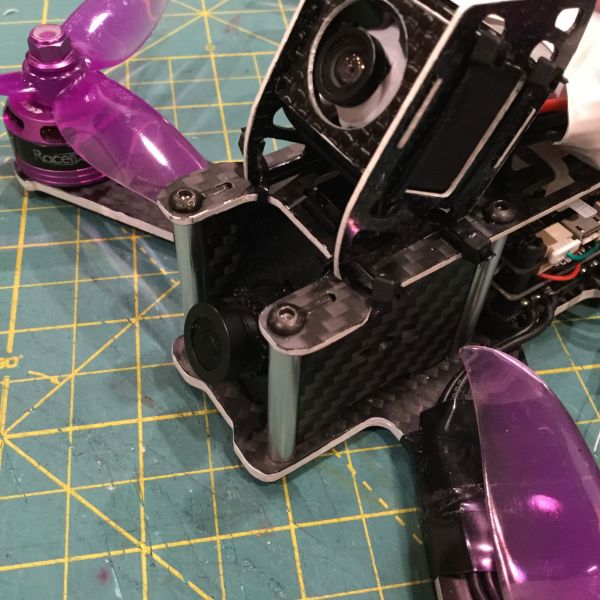
I've got good news and bad news....shoot, I don't even know which is which, but that carbon fiber mount came in today, which I'm pretty stoked about. But, I was really hoping for the lens mod to come first, that way I could swap that out and build that "dental floss" mount I've been thinking about. Below are a couple pictures of where I'm at with it. So the bad news, now that I've got the mount...should I even finish the dental floss mount? I dunno. I was thinking about it today and how I could go about accessing the mini USB port and sd card w/o having to take it all apart. I've gotta couple ideas that I need to flesh out first. We'll see how it goes. So anyways, with this c.f. mount...lot less bulkier than the dental one, therefore alot less protection, especially with a lens mod. Well, more like, ZERO PROTECTION. Depending on how you wanna mount it, you have the choice of 20° or 30° (Dotted-line in picture). I also, took a shot of the side where the mini USB port and sd card were at. The cutouts on the side pieces make it convenient to get to them, but function-wise I think it'll be near impossible to pull out the memory card w/o a pair of needle-nose pliers.
UPDATE: 02.03.18
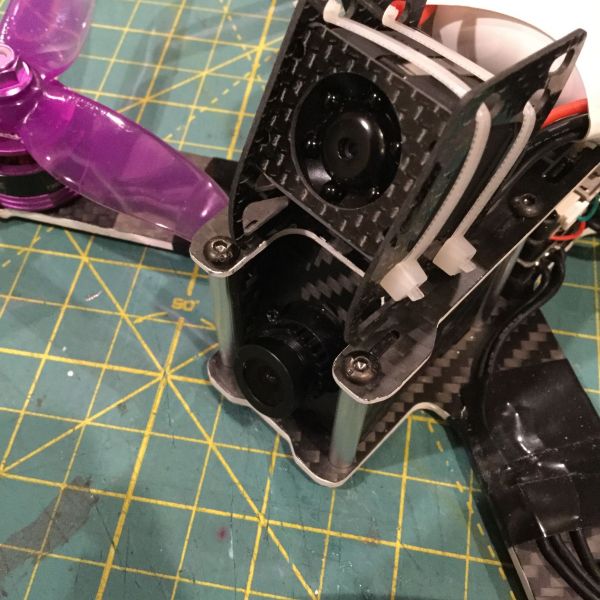
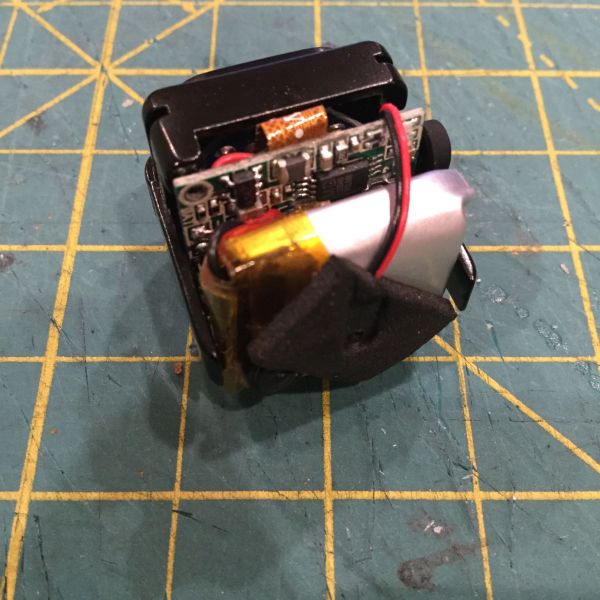
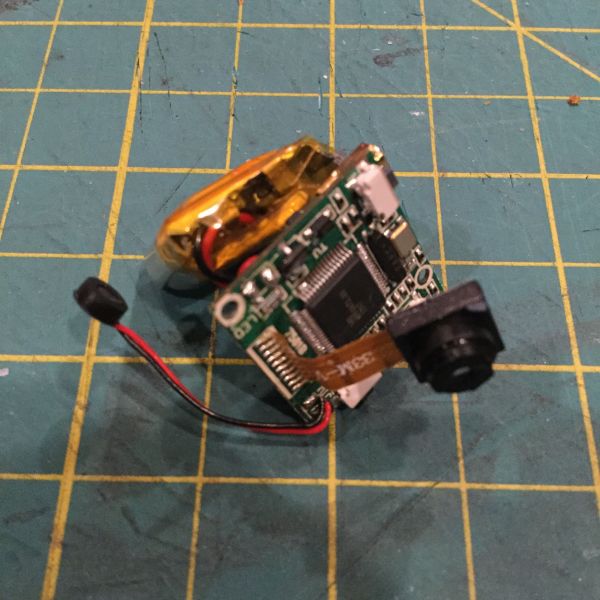
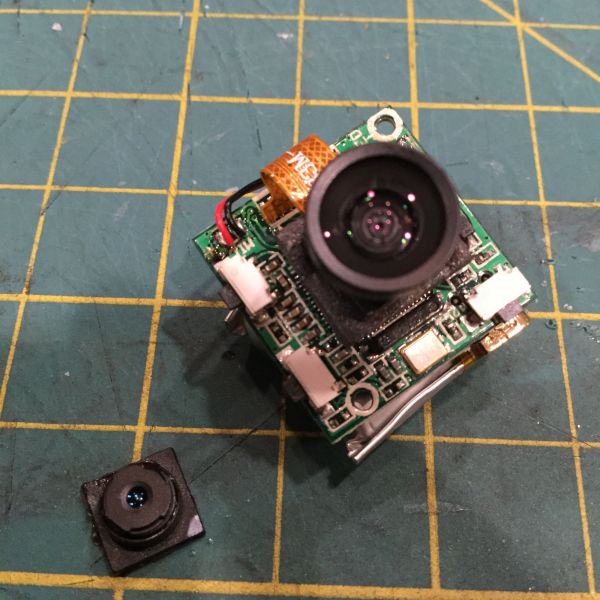
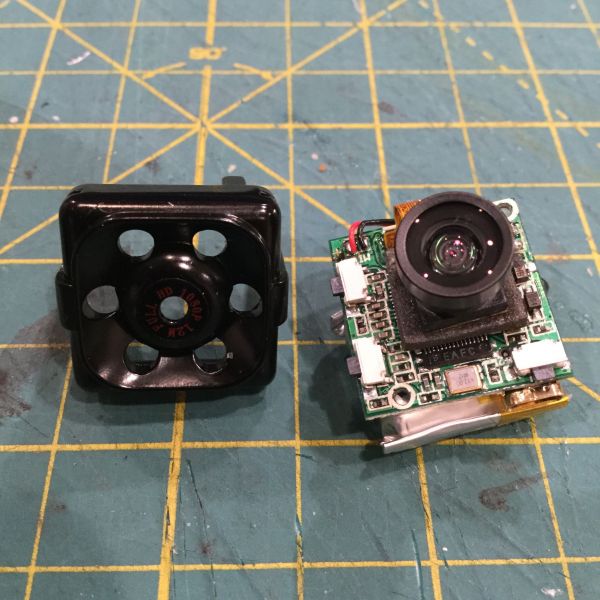
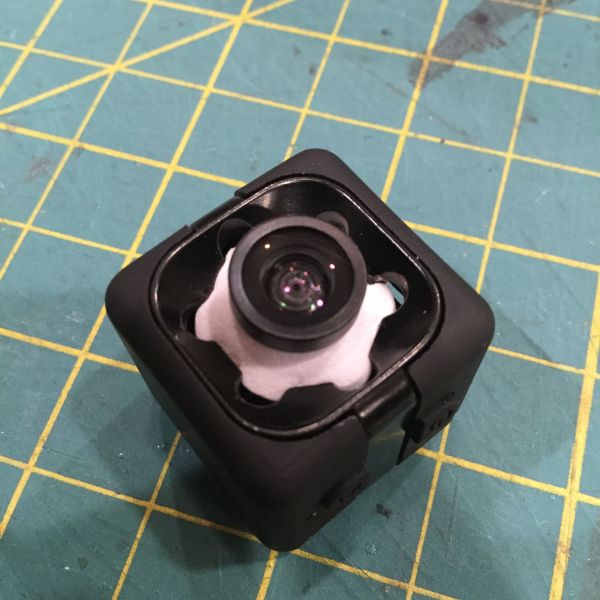
Think I'm done with this build for now. I was so happy that the donor lens finally came in the mail...I couldn't wait to get her done. I think I actually finished this build back in early December, or maybe late November? It's been that long! I was waiting for everything to be in place for her maiden flight. And I HAD to have the video to capture it! (However that turns out...wish me luck!) In the videos below, they completely lose the camera housing and since I wanted to keep it as close to original as I could, I had to modify the frame to fit the new lens. Since the only thing that kept it in place was some mounting tape, I wrapped some foam around it to give it some support. I cut another piece for added protection which made it flush with the mount, (no picture) but decided to keep it off, since I wouldn't be able to put the lens cap back on. There's a shot of the old and new lens side by side for comparison. With the new lens, you have a larger field of view but from what I've seen...there's still a "jello effect" that you can't get rid of, but hey, it's a "Poor Man's Go Pro Hero Session" so my hopes aren't high. My friend's got an expression, "It's good enough for the girls we hang out with." It'll do for now until I get my skills up and some money to afford the real thing. As for the "dental mount" I posted a couple of pictures of my work in progress, I'm gonna have to put that on the back burner. I need to finish some other projects. I'll post a couple of flight videos once the weather clears up and I've got some time. Thanks again for checking in! Feel free to post below if you have any questions or comments. I'll get back to you as soon as I can.
Thanks!
Bingerz
UAVFutures $99 Full Build Guide:
SQ11 Camera Lens Mod by nomand
SQ8 HD Camera mod for Micro Kwads by FPV log
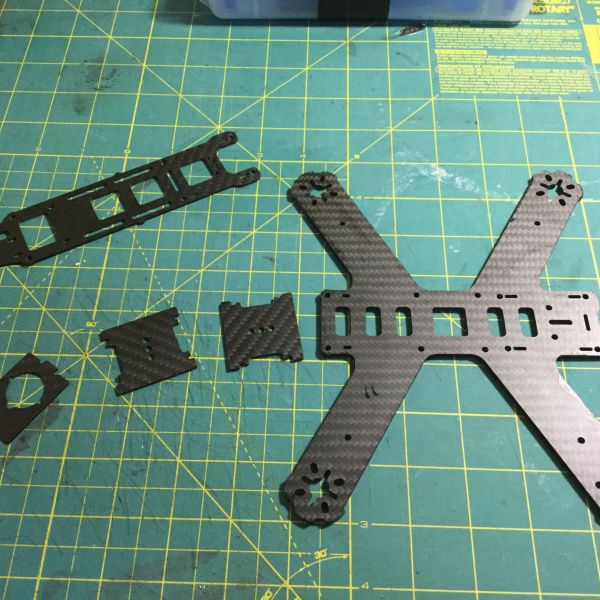
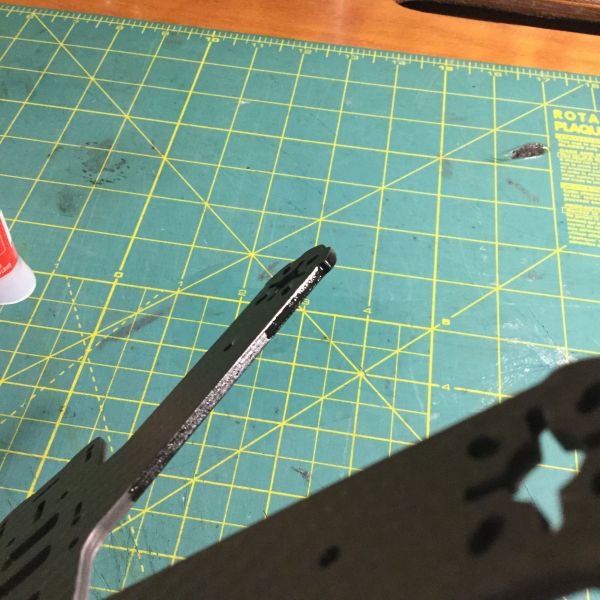
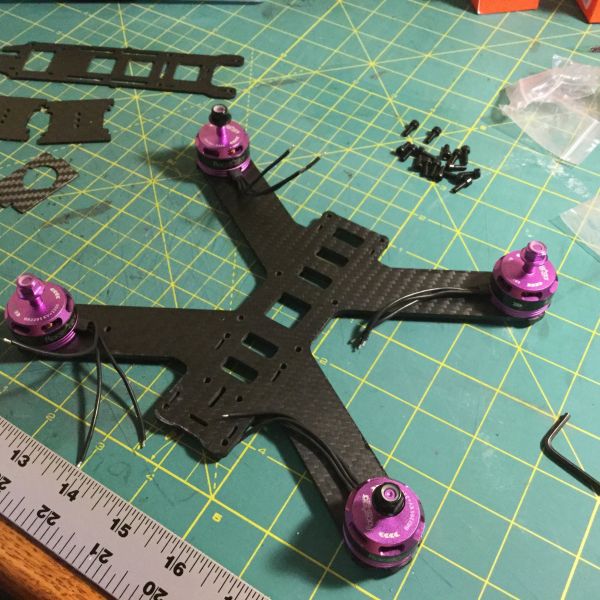
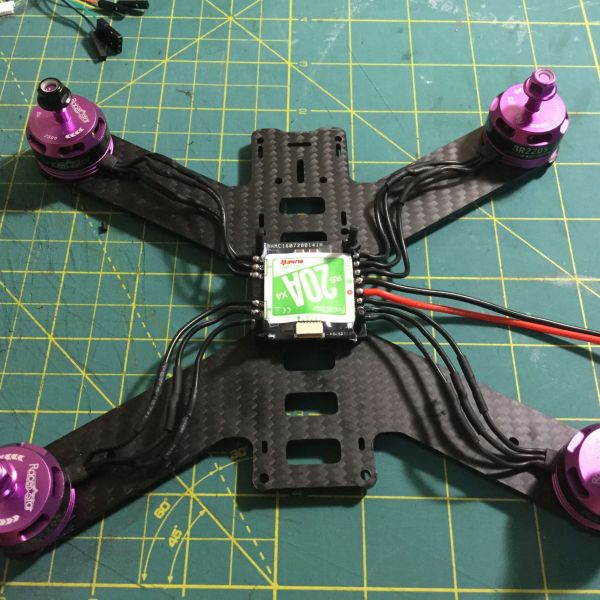
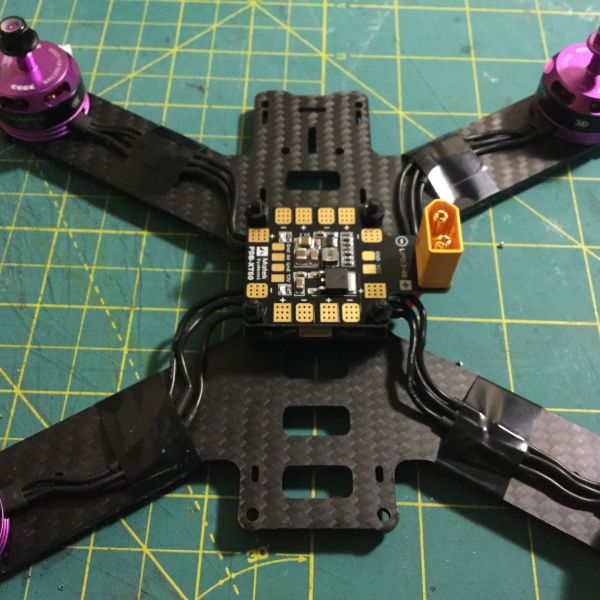
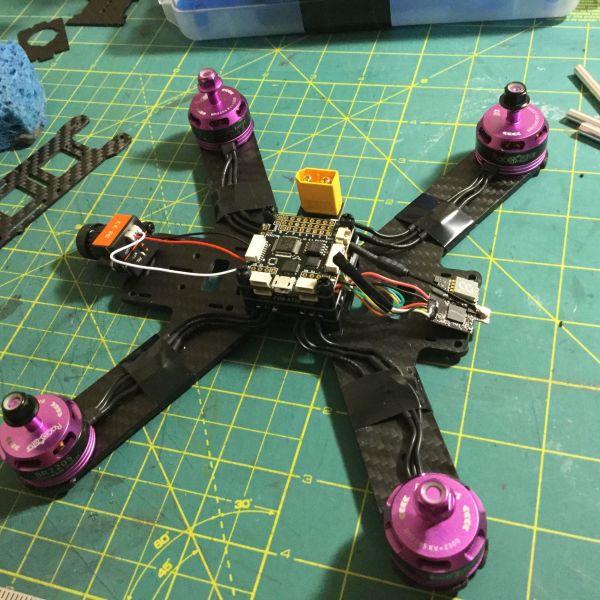
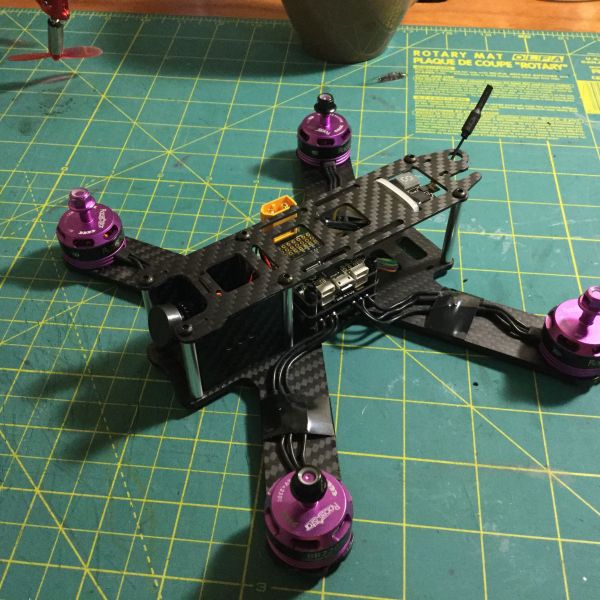
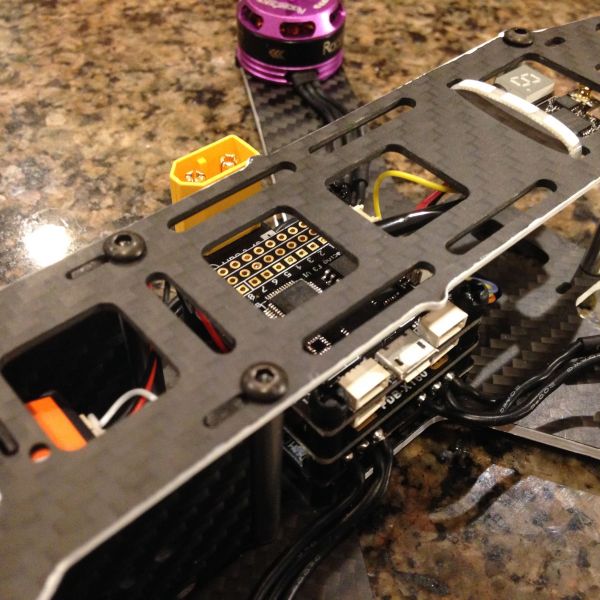
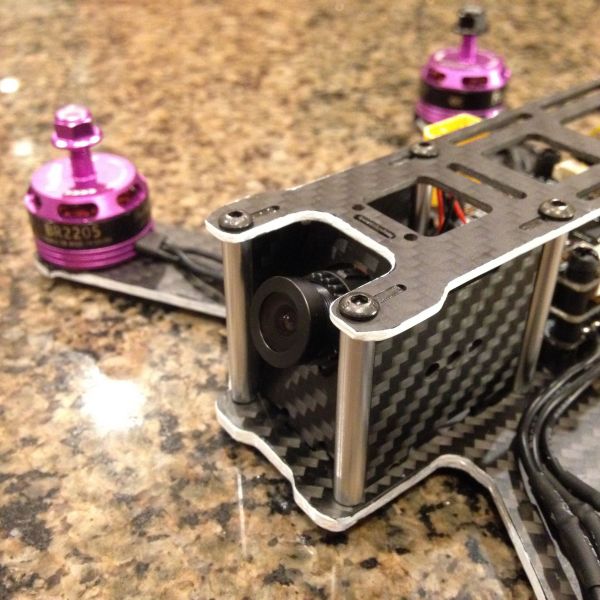
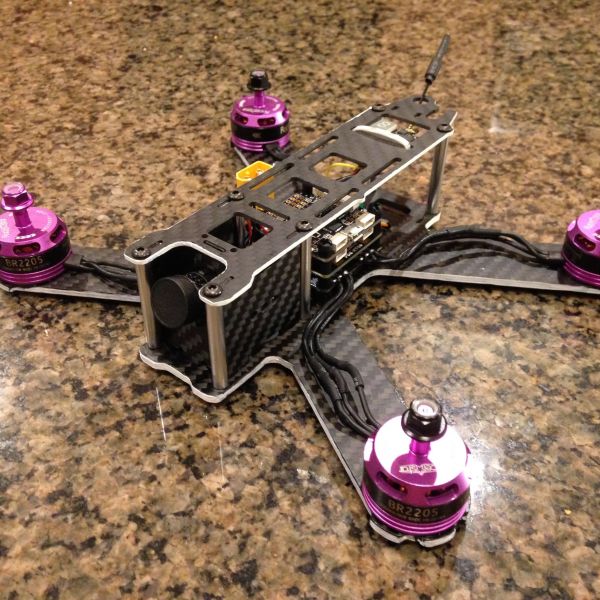
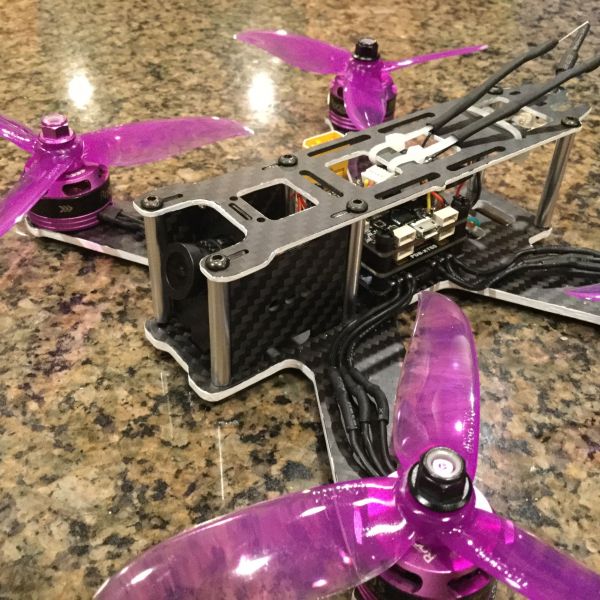
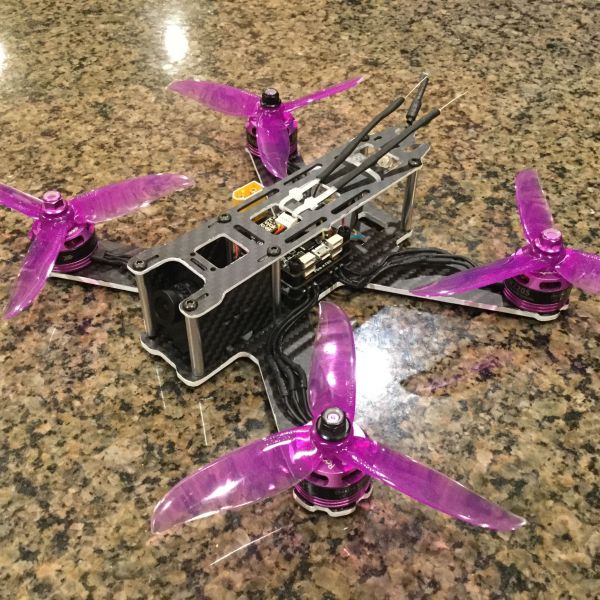


This is an awesome build. Finished it much faster then I thought I would as it was my 1st build. Hoping the weather is nice this weekend for my maiden!
I know, right!? Same here, I was surprised how fast it took. The quad itself took me a few hours cuz I was trying to make things all pretty. Then I got the receiver...took it apart. Figured out the pins and ran the antennas out the top like in the pic. Then I got my batteries and when I plugged it in that’s when that whole XT-60 issue came up...my solder job on that was disgusting. Any little nudge would cut the power. I’ll throw up a picture of that as a “What not to do.” I’m just waiting for a mount to come in for my SQ11 camera...I’ll slap that on till I could get a go pro or something. Kinda just waiting for that before I do a maiden flight.GL with yours, have you posted it on here yet?
I just joined this site. My profile pic is the ls210 frame.
Welcome!! Lemme know when you post it...I’ll check it out!!