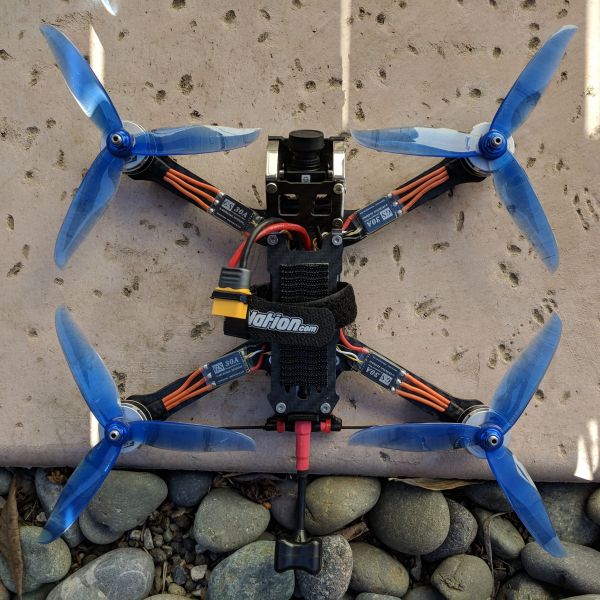
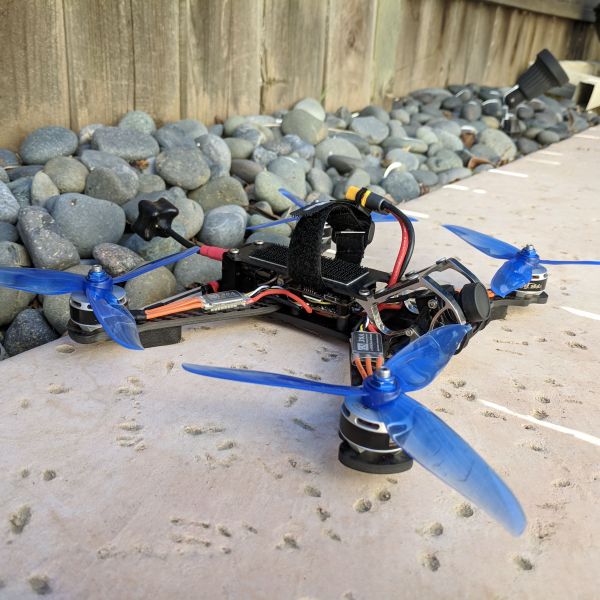
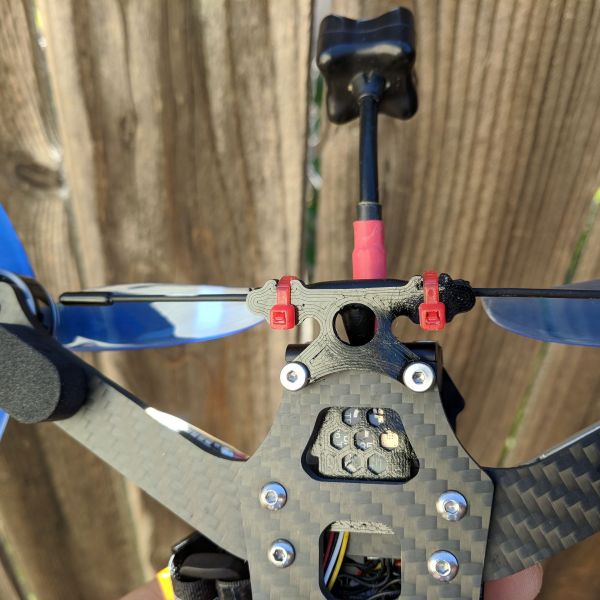
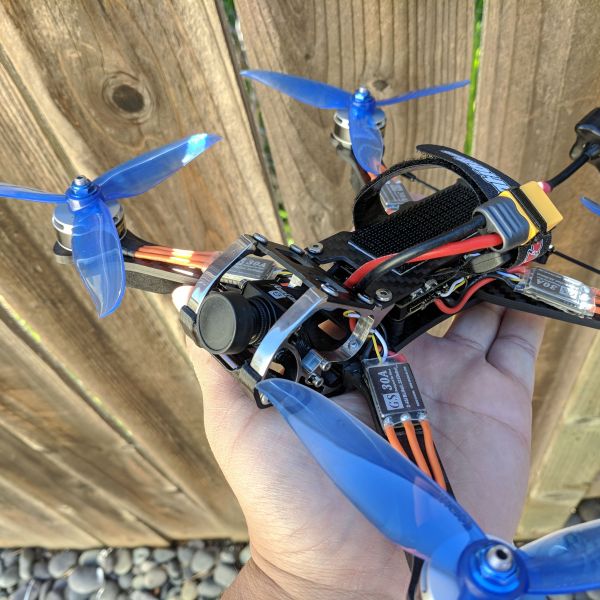
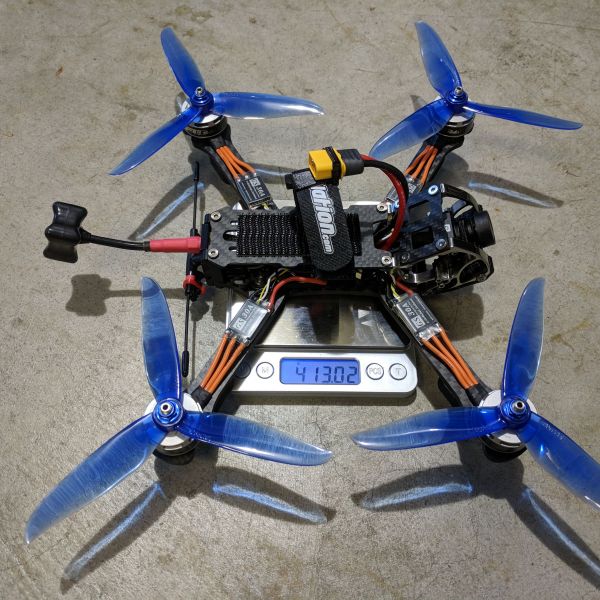
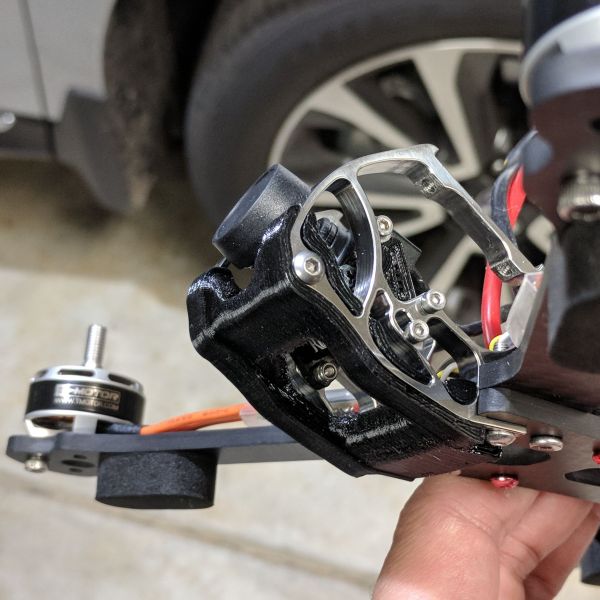
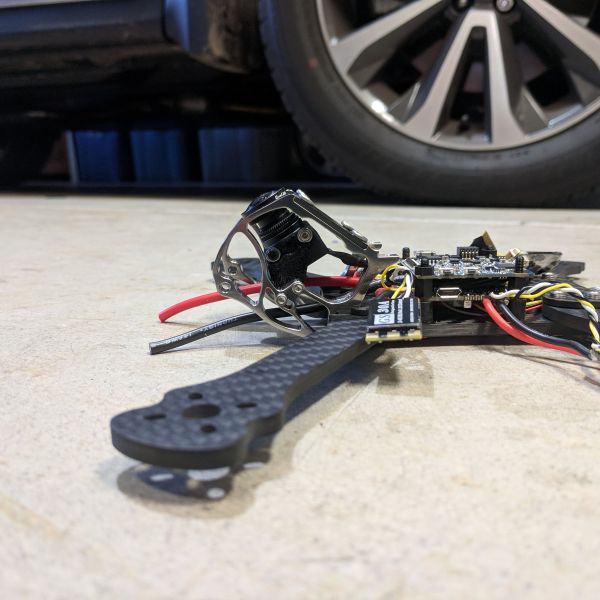
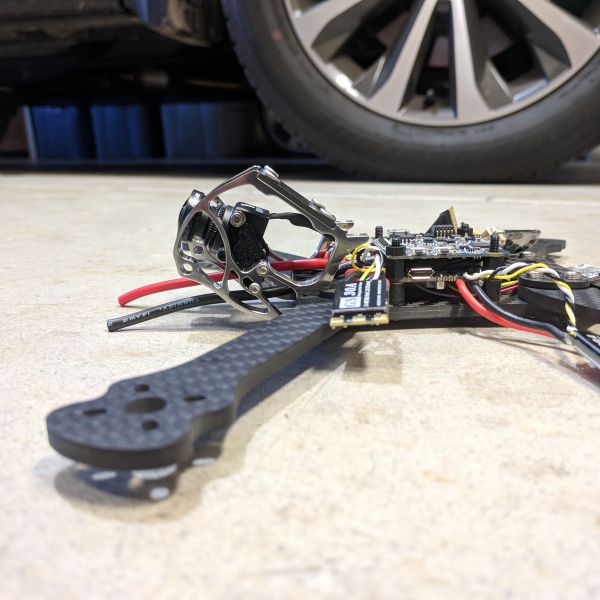
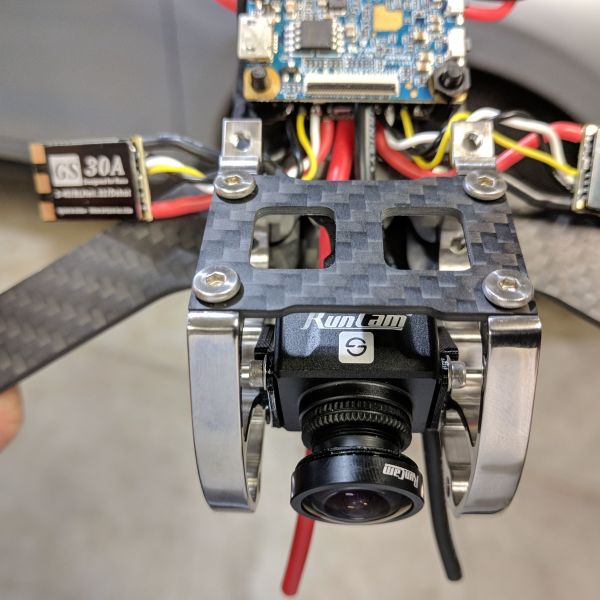
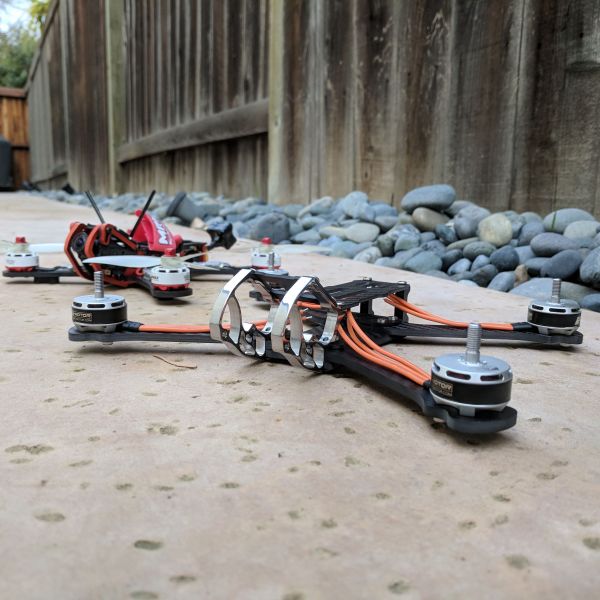
Here it is.... the Armattan Rooster 6" with a Runcam Split and Crossfire system. I am kind of glad I waited a little before start building because there are a lot more 3D printed parts available as time goes on. I also included a list of 3D printed parts, so if you are interested in printing your own parts you can find the 3d files below.
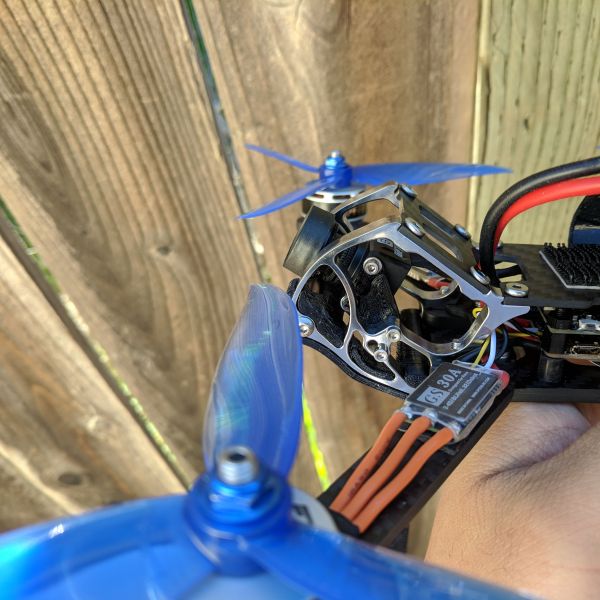
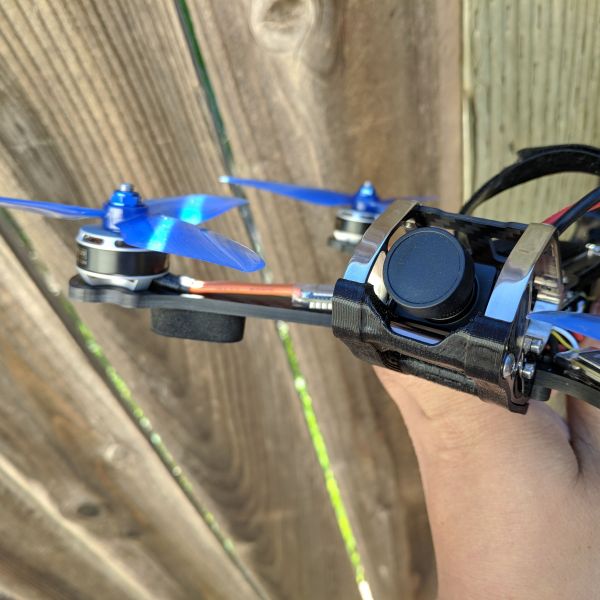
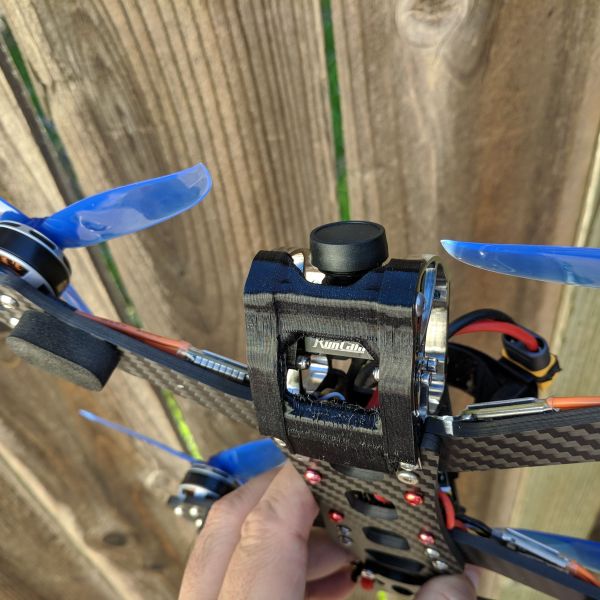
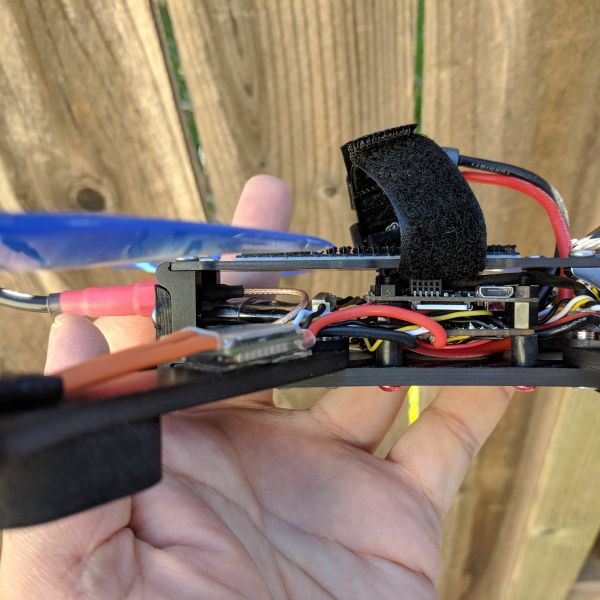
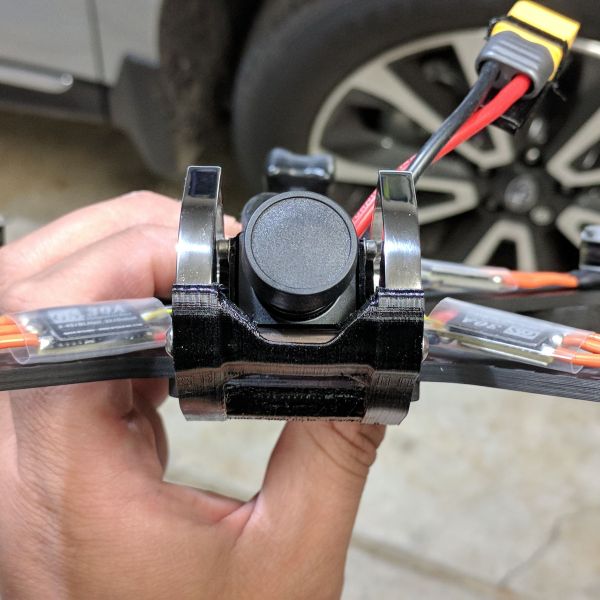
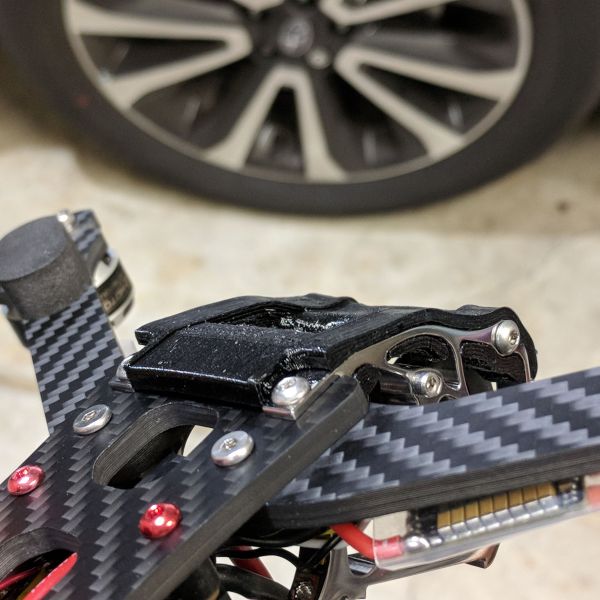
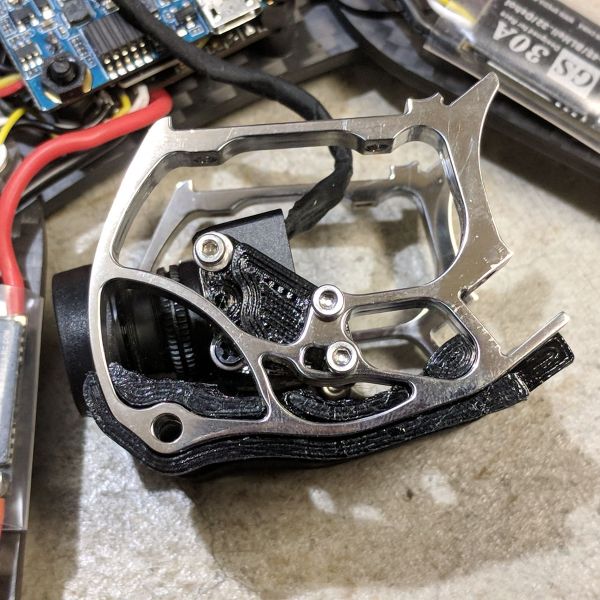
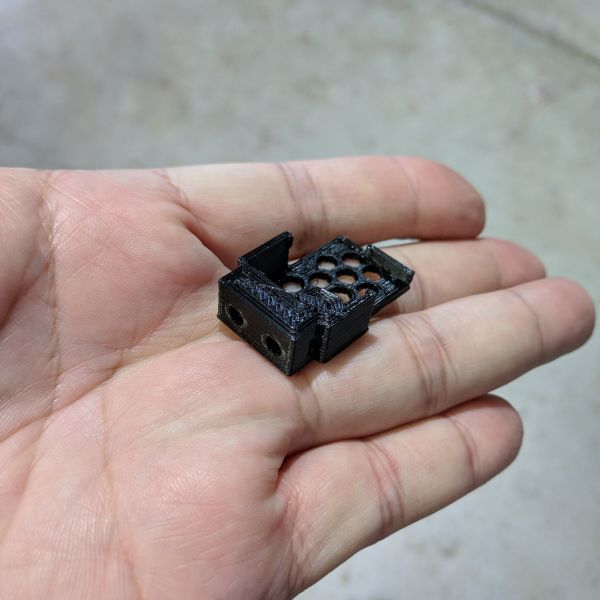
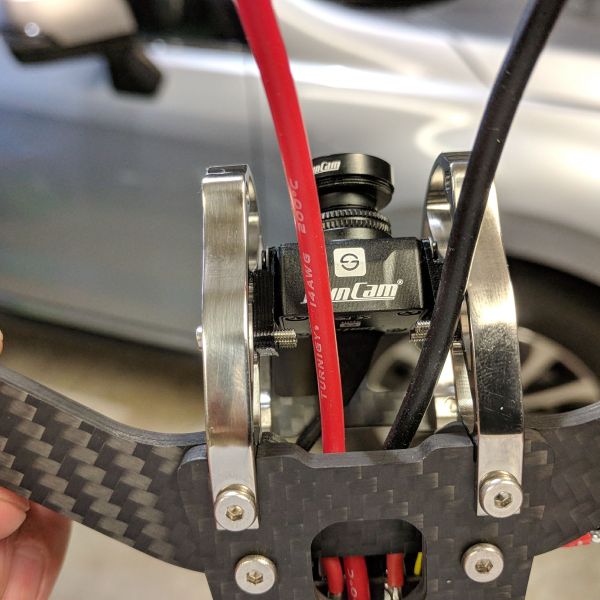
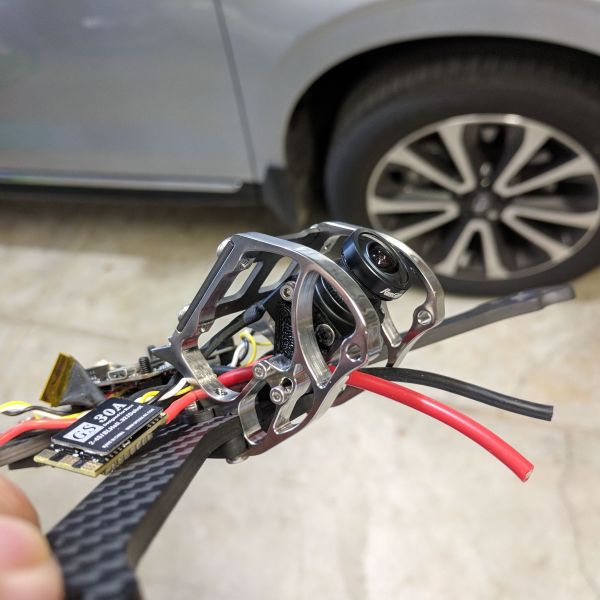
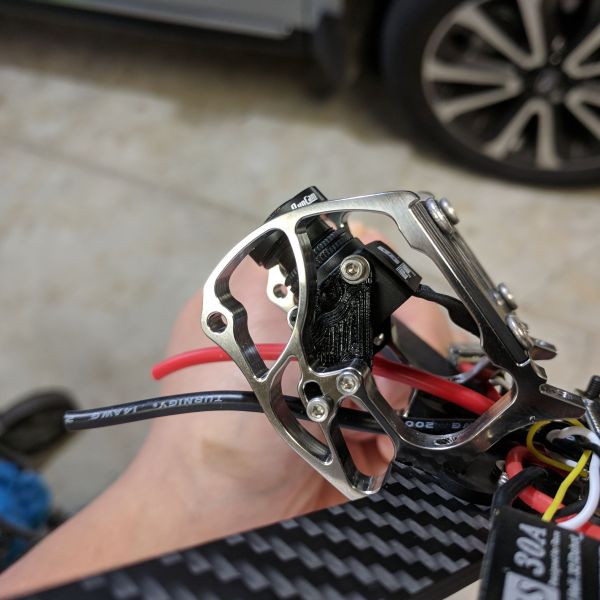
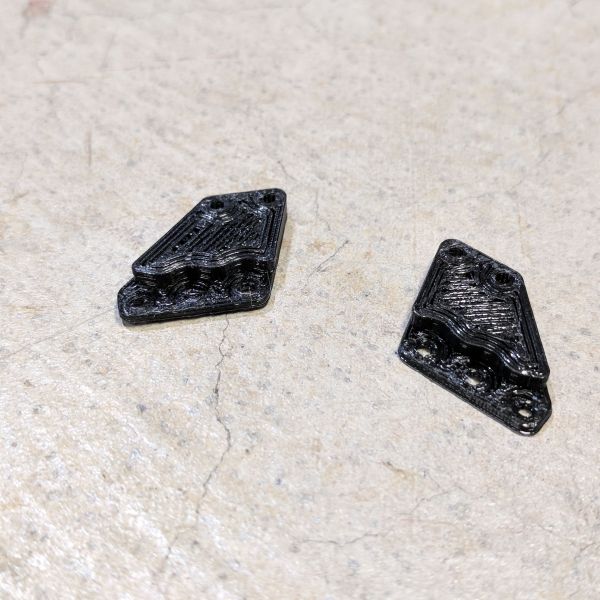
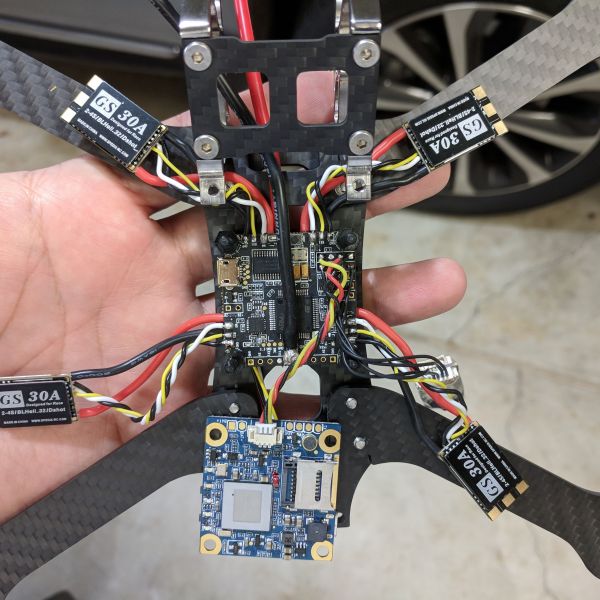
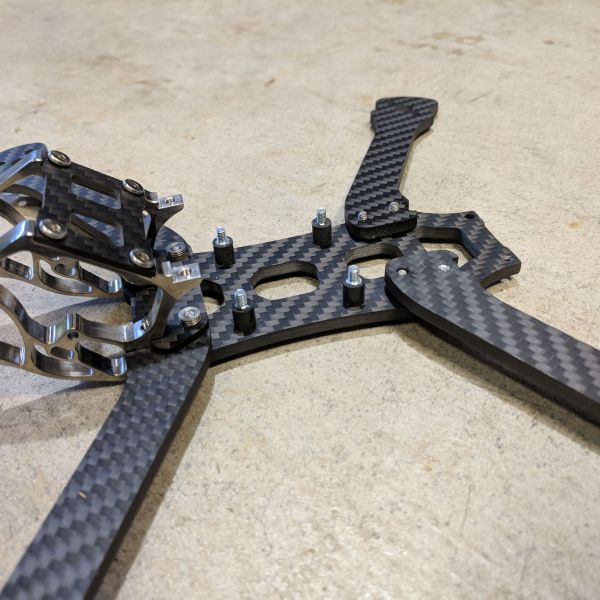
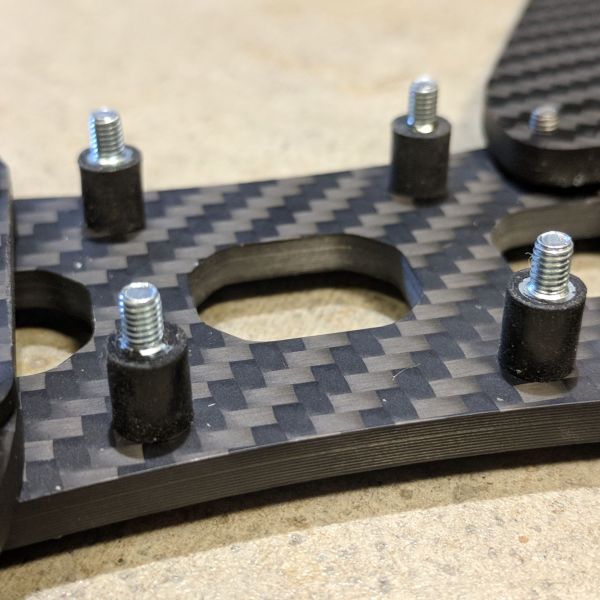
The first thing I did is soft mount the Betaflight F4 flight controller with rubber dampers. This frame only allows room for a stack that is 2 high, so I cannot use a 4 in 1 esc with a RunCam Split. The next thing I need is a way to mount the RunCam Split camera because it is smaller than a standard FPV camera. Thingiverse is my go to site for all the 3D printed source and that is where I found camera mount. Just to be clear, everything I printed for the Rooster is with TPU.
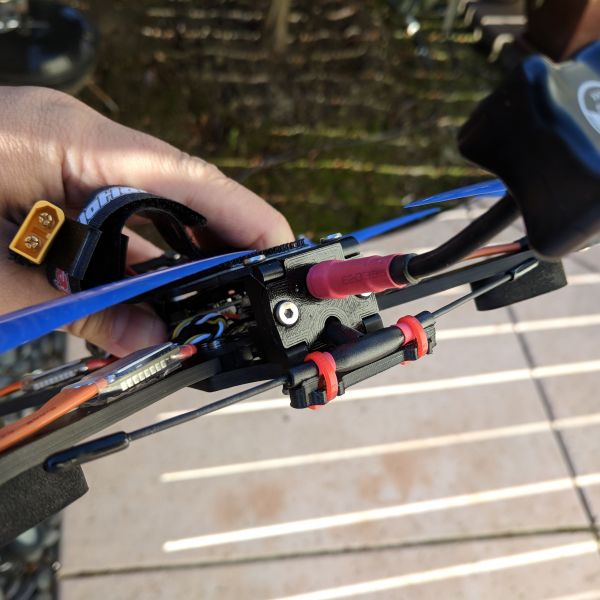
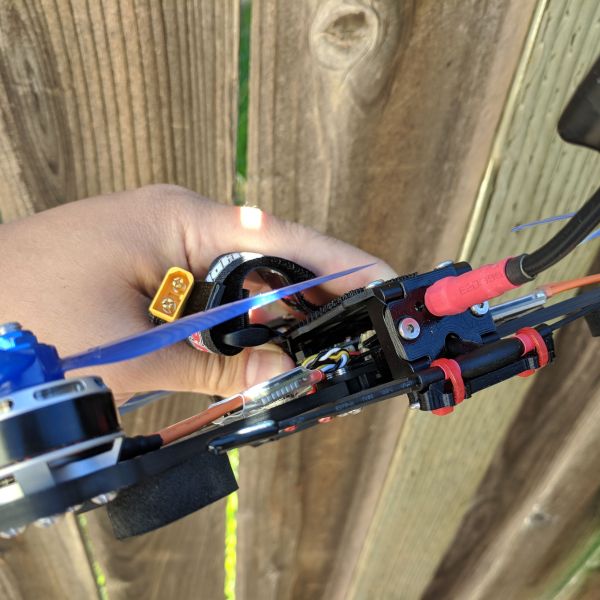
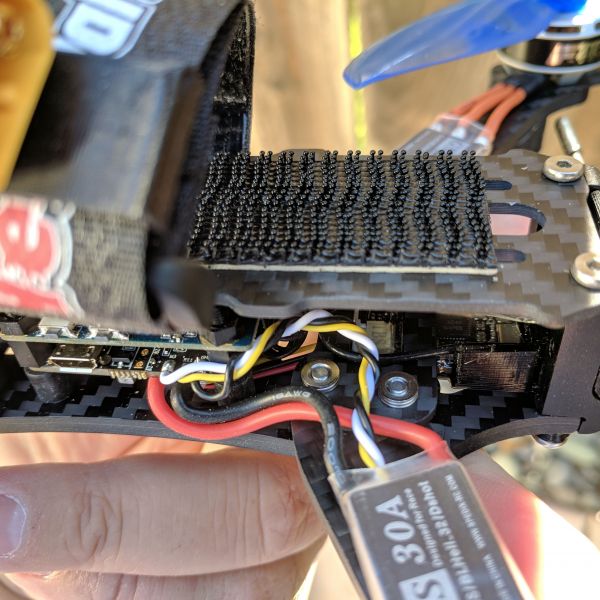
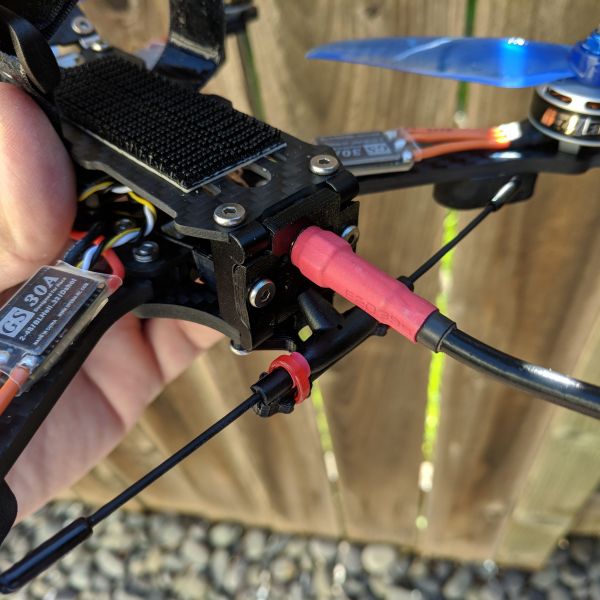
After building the Armattan Chameleon I did not like how I ran the power plug in the back of the quad. So, this time around I will try running it in the front, right behind the GoPro mount.
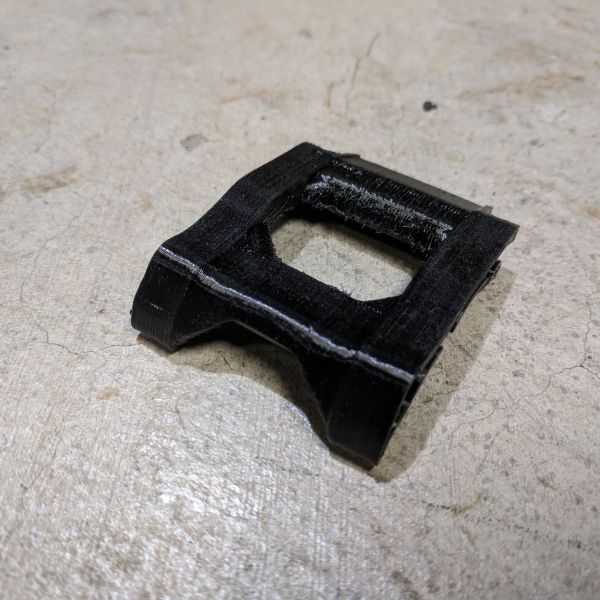
Here are a few more 3D printed parts that I though worked well with my setup:
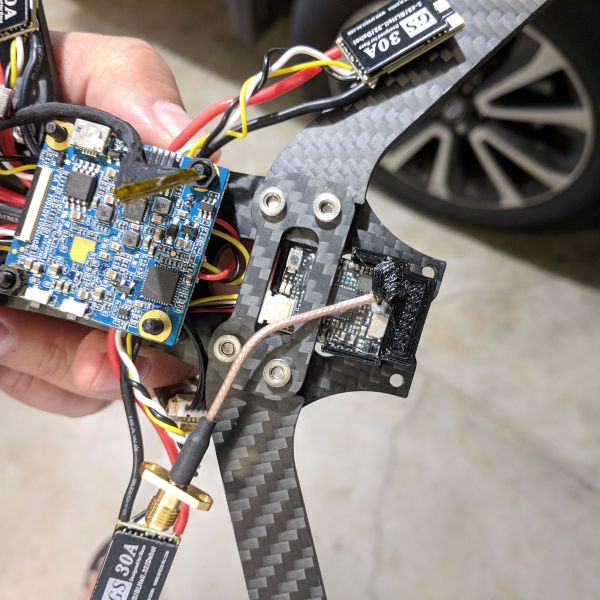
- TBS Unify VTX mount (non HV version, it is smaller)
- Front cage skid (help protect the shiny Ti cage)
- Crossfire Micro Rx Mount (I did not use the original Armattan Rooster Frame Standard VTX Plate. I did have to modify the 3D file a little because I did not need the T part on top)
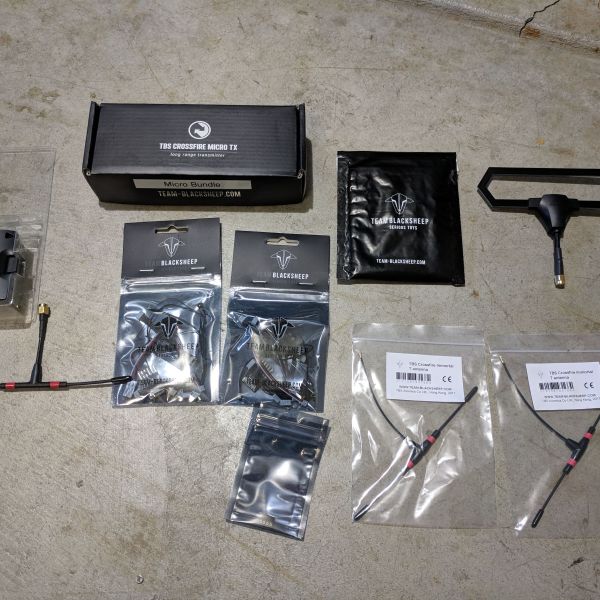
- Crossfire Immortal Antenna (even with TPU is was firm enough to keep it in place)
- XT60 Battery Strap (Keeps the power cable in place)
A few thoughts about this build. The hardware that is included with the $100 frame is a bit disappointing. When I first received the Rooster from Heli Nation I was like, Cool it comes with upgraded screws. As I start building I did not have any problems with the screw, it was the Skunk Nuts. The M3 Sunk Nuts are defective because there is not enough thread inside. So, when I apply some torque to tighten the screws it will slip. I am not able to secure the arms and now the arms are loose. I have owned many Armattan frames and this is the first time I have ever experience such low quality hardware. At first I thought I stripped the screws. So I tried using my own m3 screw and I still had the same issue. I also thought it was just one defective M3 Sunk Nuts but the majority of them are like that. I happen to have my own Skunk Nuts because I us them with the DSLR brushless gimbals I use to build.
Other than that, the build seems to come together as it should. I opt for a 6 inch frame because I already have a 5 inch Chameleon so whats the point in having 2 frames that are so similar. Plus I can use 5 inch props on a 6 inch frame too.
Photos
Part List
Show stores (9)how about props in a view ?
Where did you find that hook velcro for the battery?
Guides & Reviews
AirbladeUAV has done it again and this time they've brought long range to the 5" class! Based on the popular Transformer Mini, the new Transformer 5" Ultralight adopts a lot of the same design philosophies with larger props and more payload capacity. It can fly upwards of 20 minutes on a 4 cell Li-Ion battery pack and in ideal conditions it's got a range of over 4 to 5 miles. In this guide I'll walk..
Read moreWith the release of the DJI FPV Drone cinematic FPV has become a lot more accessible, but you certainly don't want to crash a $750 drone! The QAV-CINE Freybott is a compact, lightweight cinematic FPV drone that can take a hit and keep going. It's a lot safer to fly indoors and around people. With a naked GoPro or the SMO 4k you can capture some great stabilized footage. In this guide I'll show you..
Read more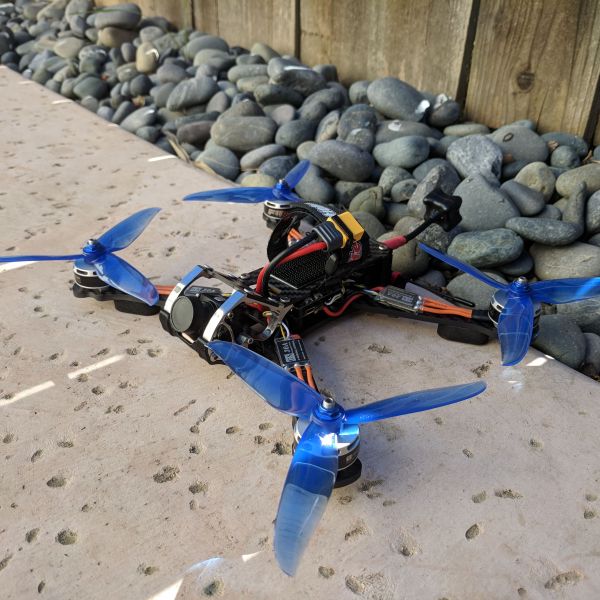



awesome ! have you considered FC like Lumenier Alpha AIO ? that would allow you to skip escs from the arms ... that would make 2 boards stack, and there should be enough space to place a vtx and Rx ...
I never looked in to the 4in1 with a built in FC and I do not think the Lumenier Alpha AIO will work well on the rooster. Take a look at where the USB plug is positioned. It will be difficult to access it on a Rooster frame. I can turn the board 90 degrees and remap the motors but I am not sure if the part where you solder the power wires is sticking out too far. The VTX and RX is not really a space issue because I have plenty of room to put it behine the 30.5x30.5 stack.
You are right, Lumenier Alpha AIO has tricky layout. As a mater of fact we don't use USB port too often. I think I will give it a try... I have some broken boards I will test on this frame ,once I've got it. If that works we could have some pretty clean build with no escs on arms, only two boards stack and the SPLIT on board. VTX and RX will always fit somewhere if can't be placed on top of the stack. I'll keep you posted with the results. Soon I will publish on rototbuilds my 3" build on Nano 130mm frame using mentioned approach :)
Here is the build I mentioned: https://rotorbuilds.com/build/13881