The Frame
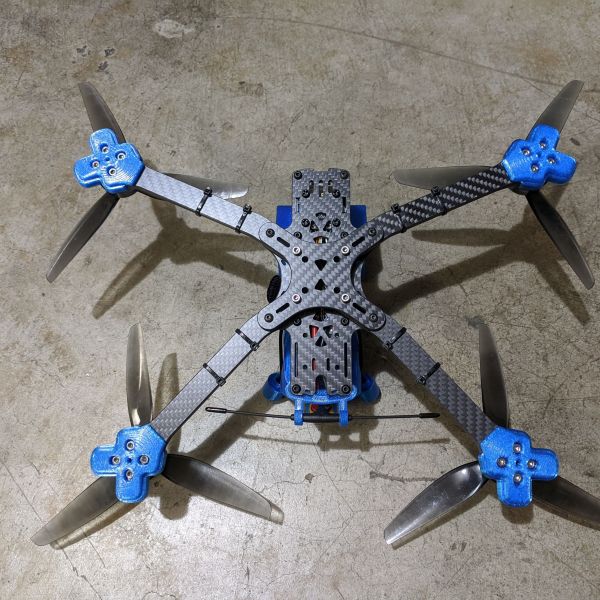
I am not sure how TBS does it because the Source One frame is so cheap in price. I know the frame is open source, and anyone can take the files and get it cut, but for $30 you can get a 7” frame with all the hardware from RDQ. Typically, I was paying about $20 shipped for a custom cut toothpick frame and it was only 2.5mm thick too. I am just amazed about what you can get for so little money. The best part is that is just as good if not better than all the other brands with this layout.
3D Printed Parts
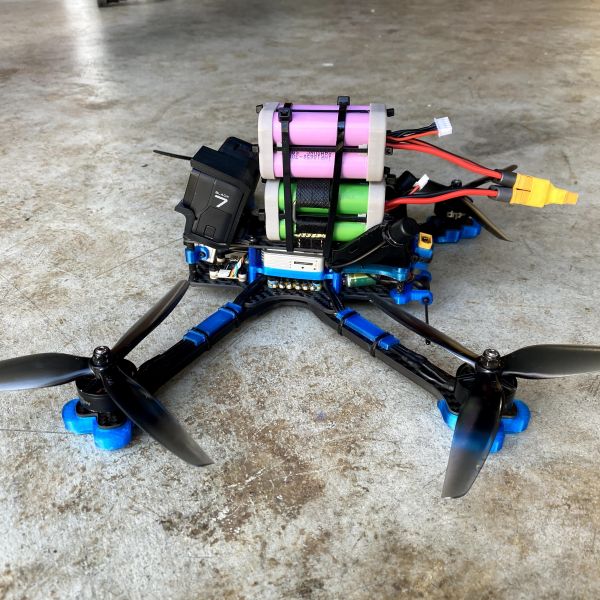
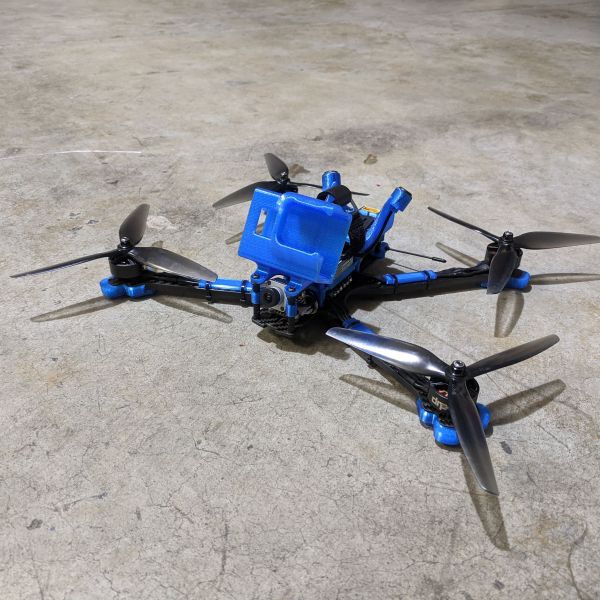
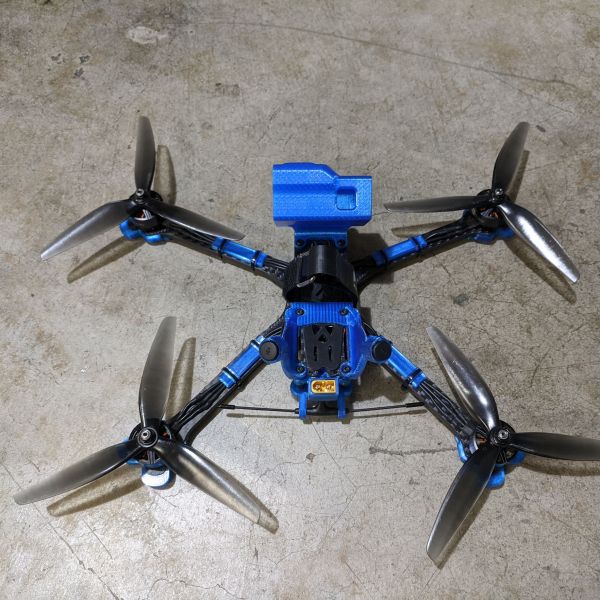
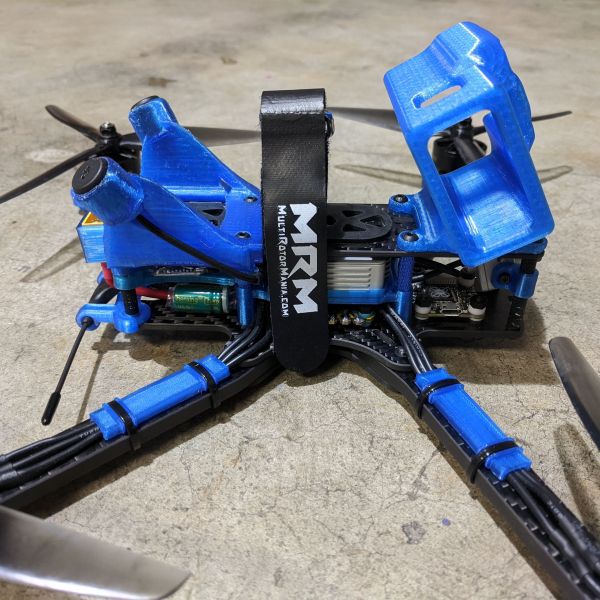
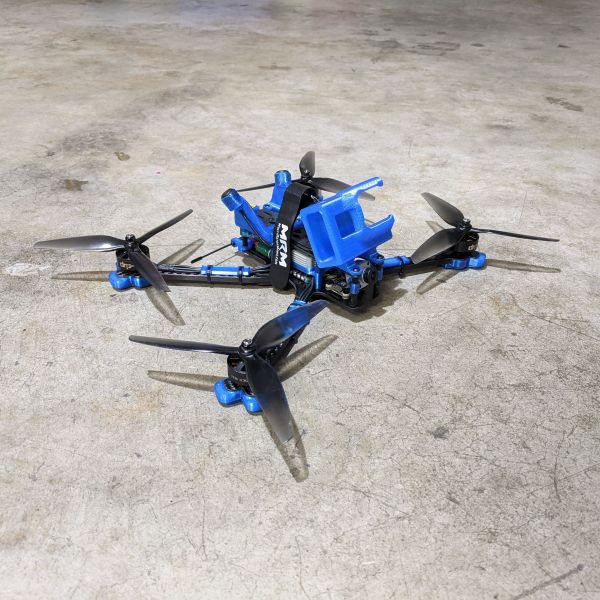
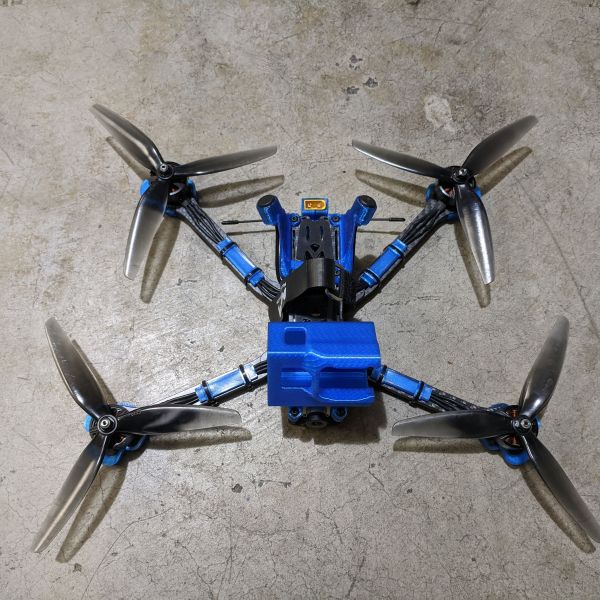
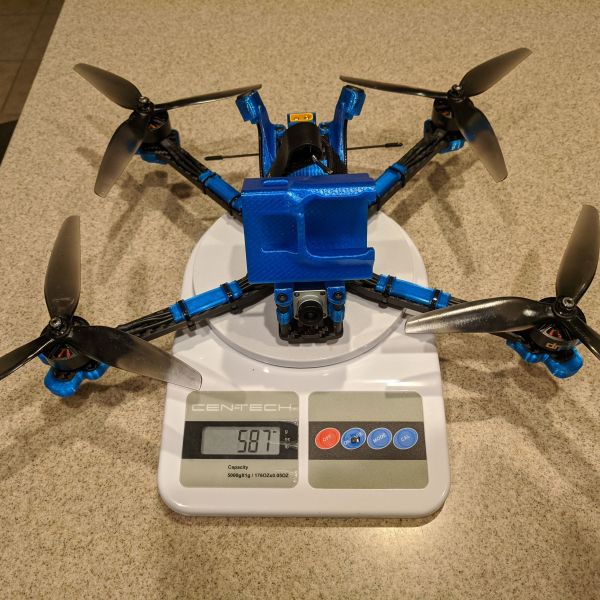
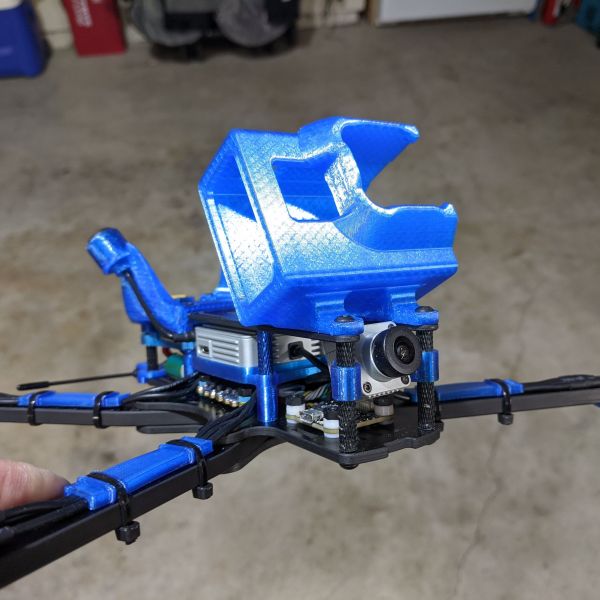
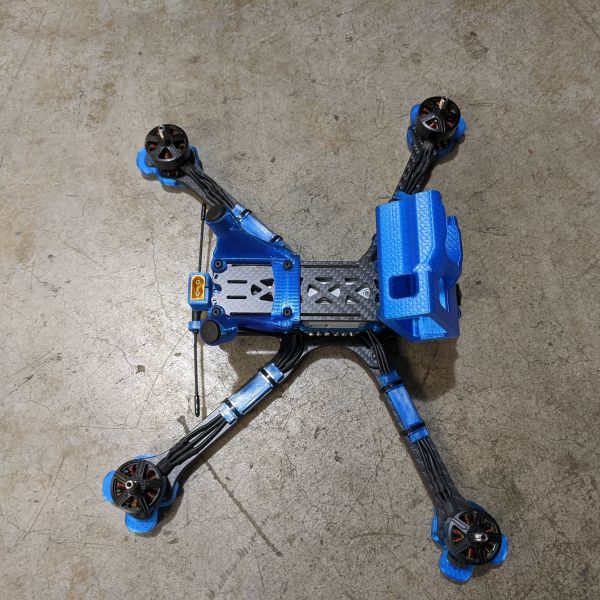
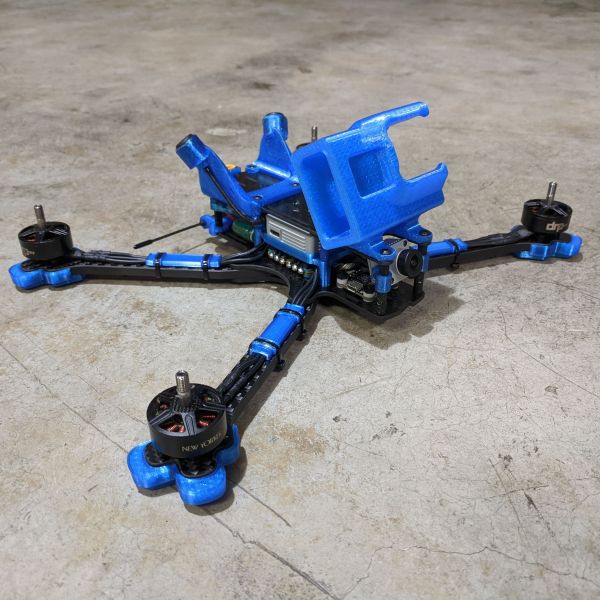
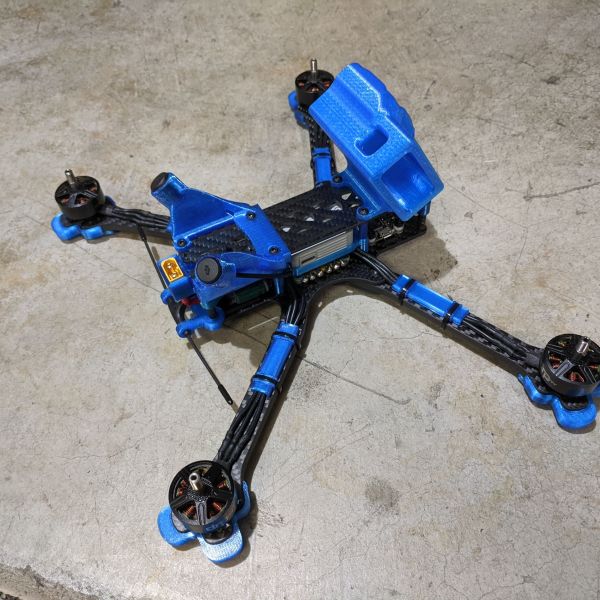
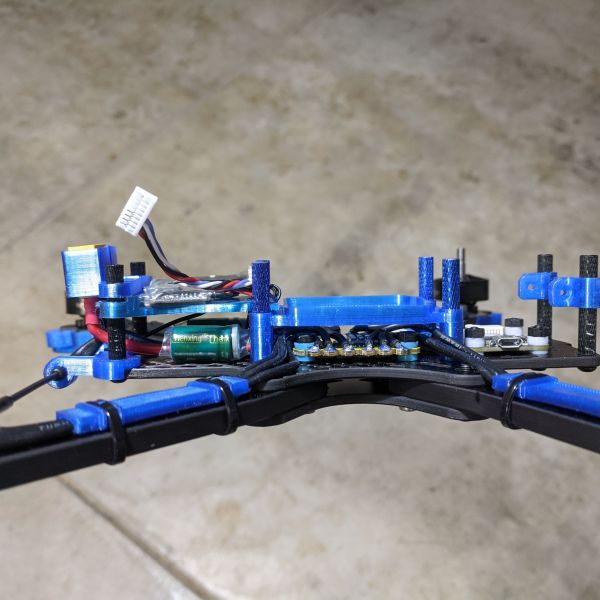
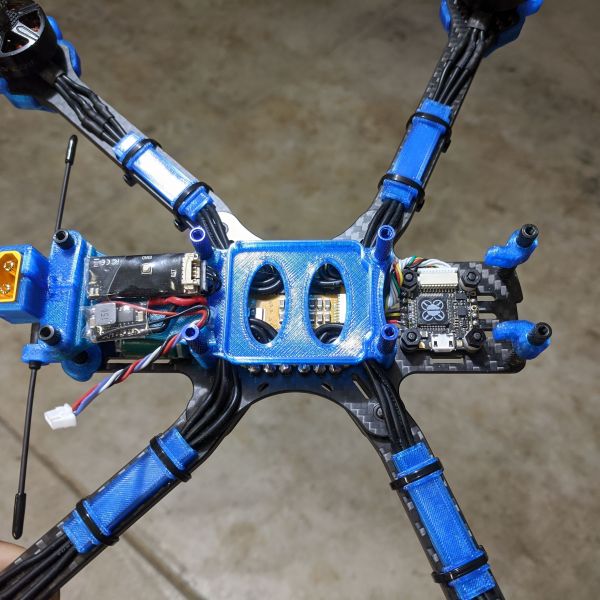
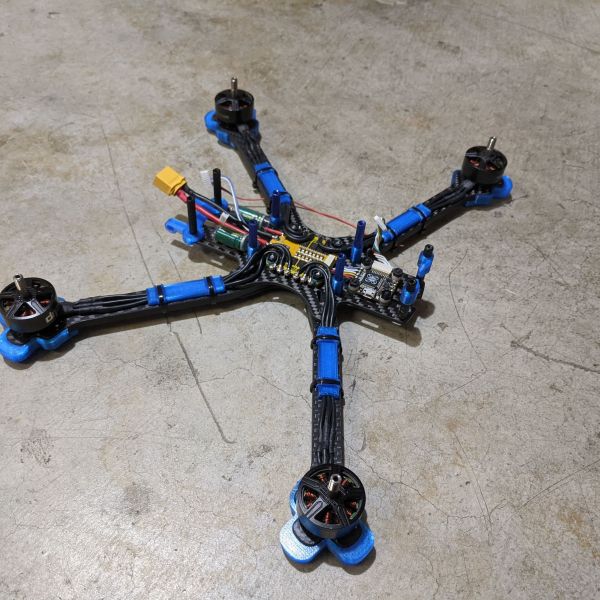
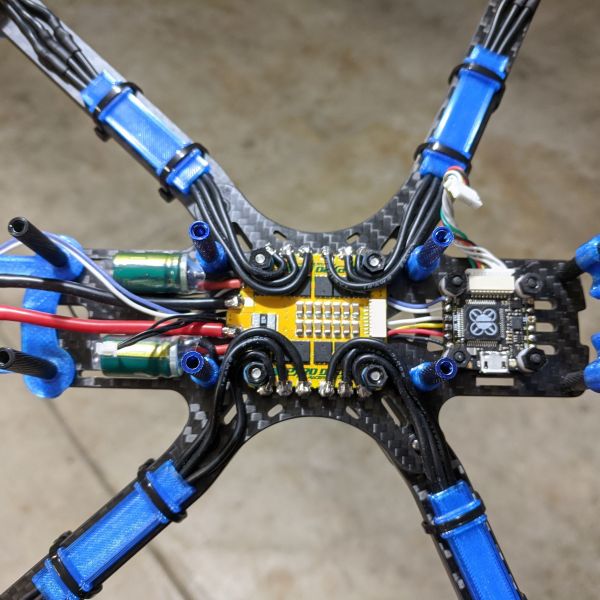
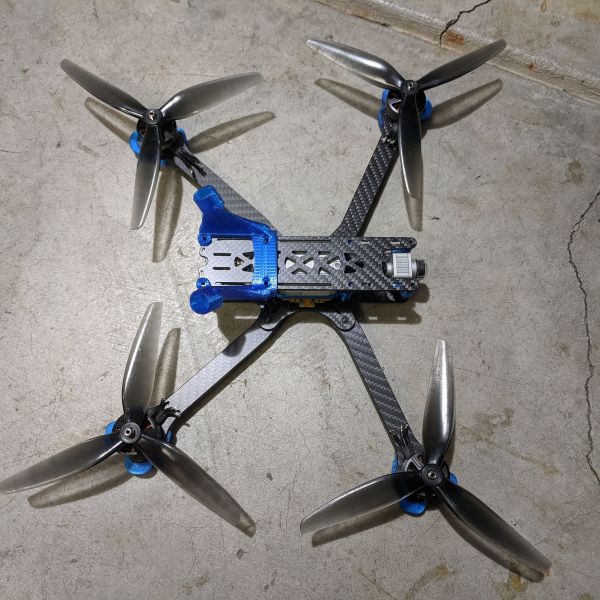
One of the first things like to do is go on thingiverse and see what I can used for my build. I tend to start with a GoPro 7 Case and Arms Guards. Since I already have a Source One frame, I did not need to look for a GoPro 7 mount. But the Arm Guards is a different story. I had the very first version of the Source One frame which has a different are design than the v3. So, I needed to find a v3 arm guard that I “liked.” The only one that I found is for a 5” v3 arm, that means I will have to modify the 3D file to fit the thicker 6” arms.
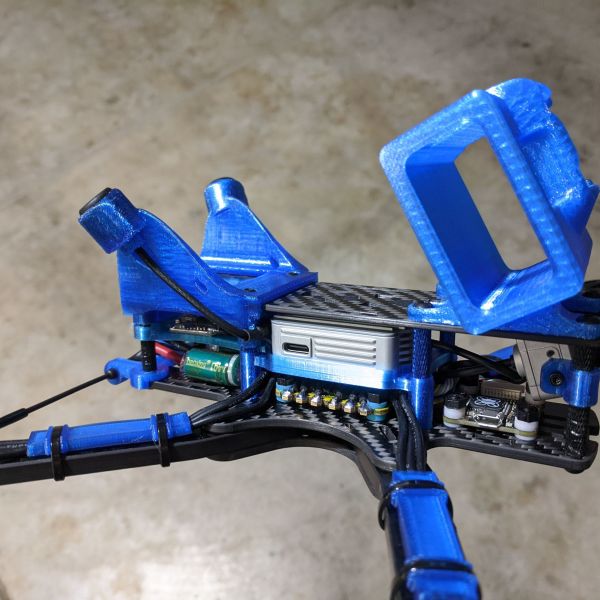
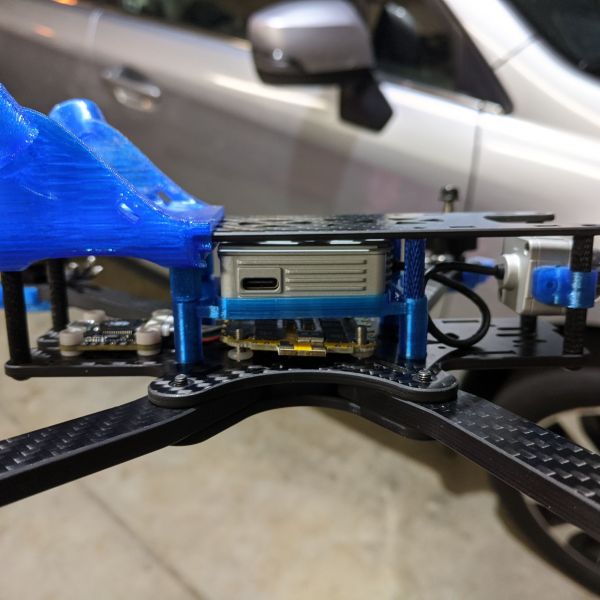
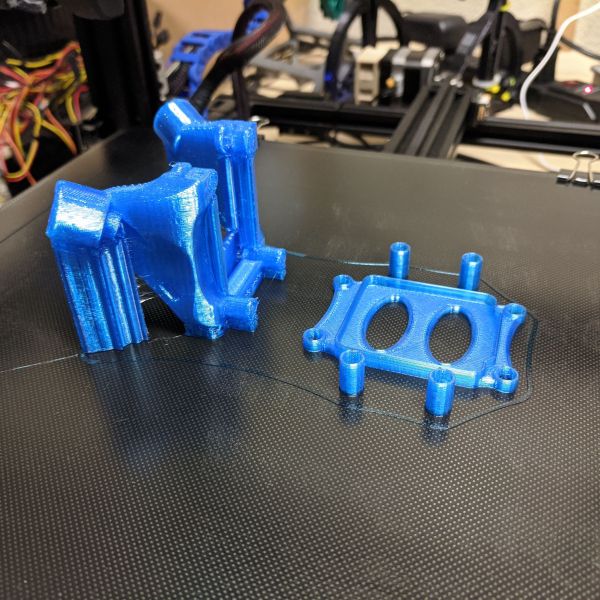
After finding an Air Unit mount, I remixed the original files, so it was easier to print. The original designer had spacers that kept the Air Unit mount that sits above the 4in1 esc, but it was built into the tray. That means I will need a lot more time and material to print it. I separated the parts instead of printing it as one piece and now I no longer need any supports to print it.
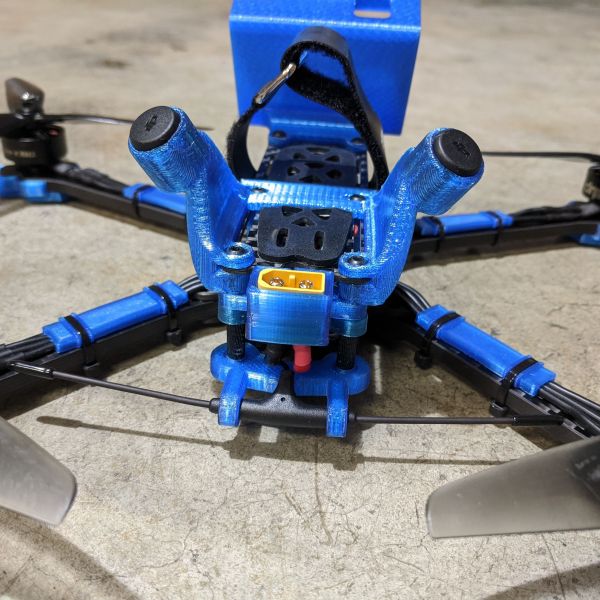
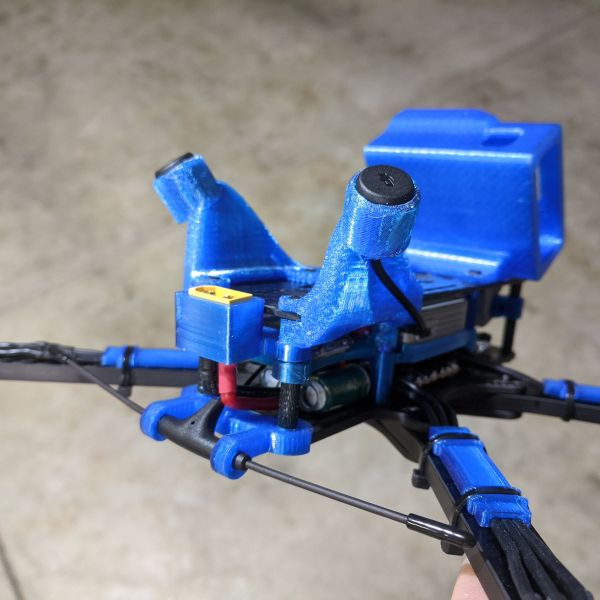
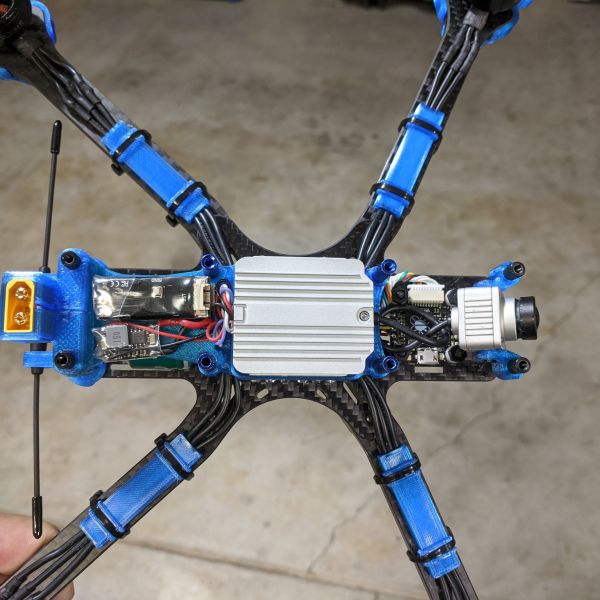
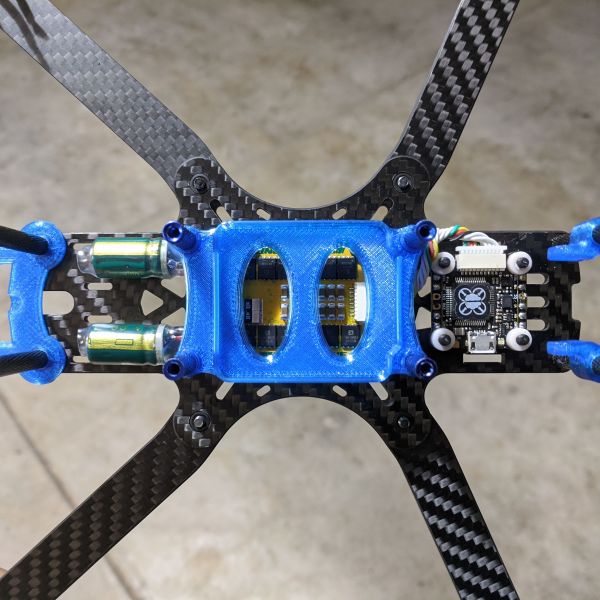
After deciding to have the 4in1 ESC to stay in its original position (I will talk more about that later), with the power cable facing the rear. I wanted to mount that holds the XT60 connector, so cable does not flop around. The one I found on thingiverse fits perfectly with my setup, but it did not seem to grip on the XT60 connector too well. I even put a zip tie around the 3D printed part, but it still slips. To solve my problem, I put a thin layer of Welder Glue in the inside of the XT60 holder and let it dry overnight. Now it inside surface of the 3D printed XT60 mount is rubbery and grips on to the connector very well.
I end up using a front mount immortal T holder in the rear of the quad. At one point I was planning to put the antenna in the front of the quad, but things changed and now it will go to the rear. I was lucky enough that the same mount fits in the rear too. It is not perfectly contoured to the frame as the front, but it still worked without any modifications.
As I build more quads, I am slowly building up some staple items that are 3D printed. The motor lead cover is my newest one to my collection. I just happen to come across it when I was building the Floss 3.0. The motor lead cover is actually for a totally different quad that I do not even have, iFlight XL8 v3.
Finally, the last 3D printed part is more like a hack job because I used an old 3D printed DJI Air Unit tray from my Floss 3.0 build. I cut one end of the tray off and use it as a platform to mount my electronics on it. I double side taped the TBS Crossfire Micro and 12v BEC right above the capacitors and power cable.
Electronics Layout
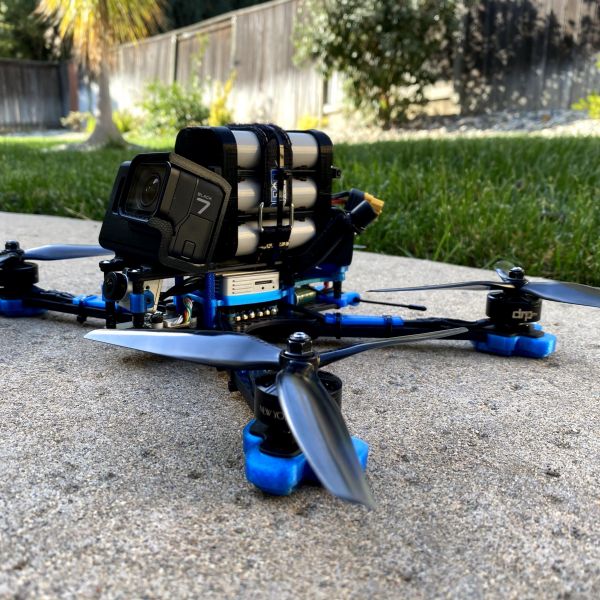
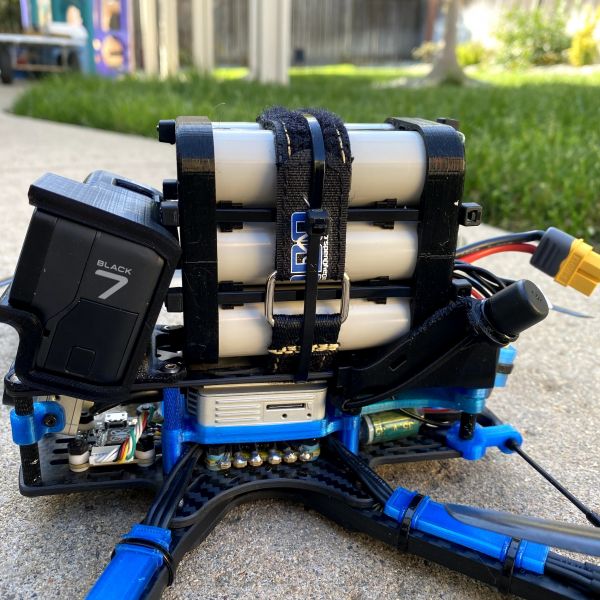
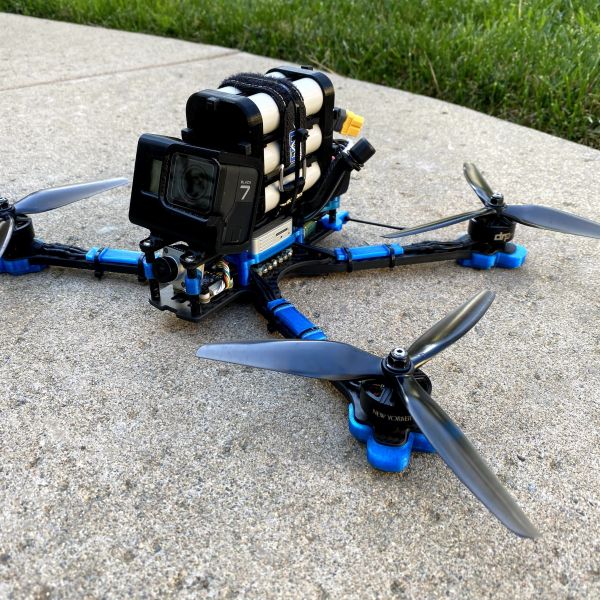
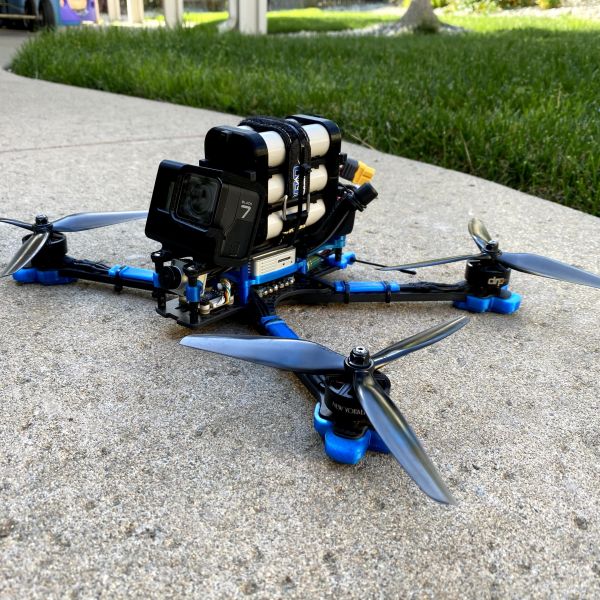
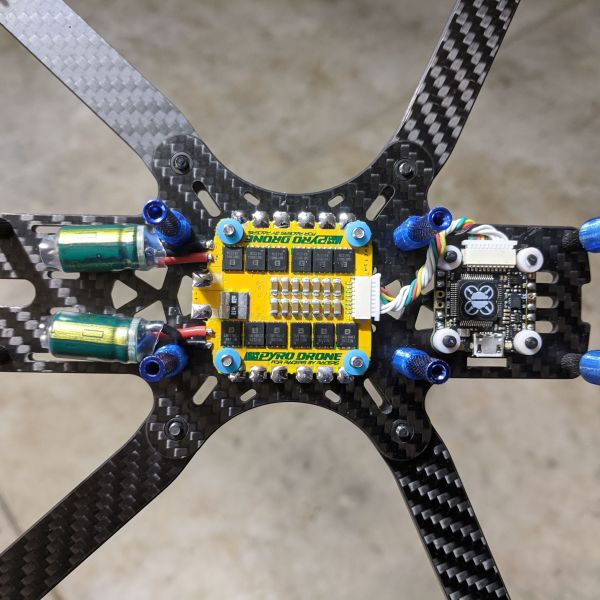
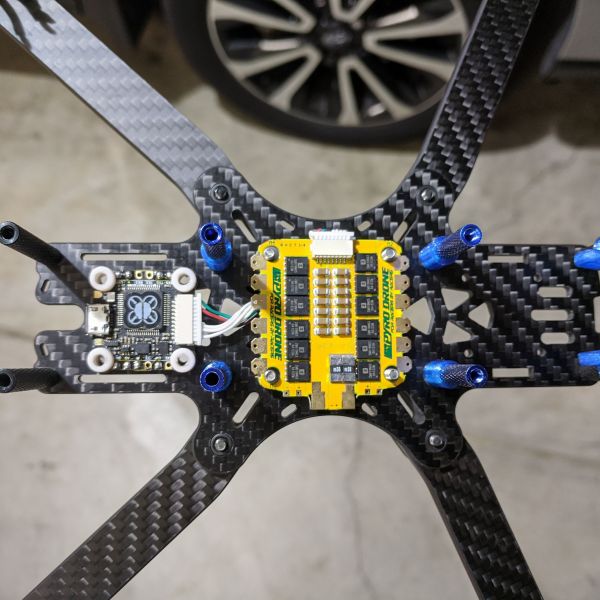
Somewhere in between looking for all the 3D printed parts, I needed to figure out how I should layout the electronics, because I needed to look for various mounts based on my electronics placement. I was planning to use a 30x30 stack but that would make the stack too high for the DJI Air Unit to fit on top. So, I used a Radix Li 20x20 FC and a Pyrodrone 30 x 30 45a 4in1 ESC. I was debating if I wanted to mount the FC in the front or the rear of the quad. Depend on how I position the ESC the battery leads position; it would change where I place the FC. Initially I planned to have the battery leads on the side of the quad and that will give me room to place the FC on the rear of the quad. This would leave me a lot of space for the BEC and RX in the front of the quad, but then I do not have space for the capacitors. Unless I mount the caps right next to the XT60 connector. Or I can mount the 4in1 in its original position with the power leads facing the rear and have the FC in the front of the quad. As you see in my pictures, I have both layouts shown but I end up choosing the rear facing power lead because it kept everything protected and tucked inside the frame. Plus, nothing is even close to any of the props.
Long Flight Times with Lipo
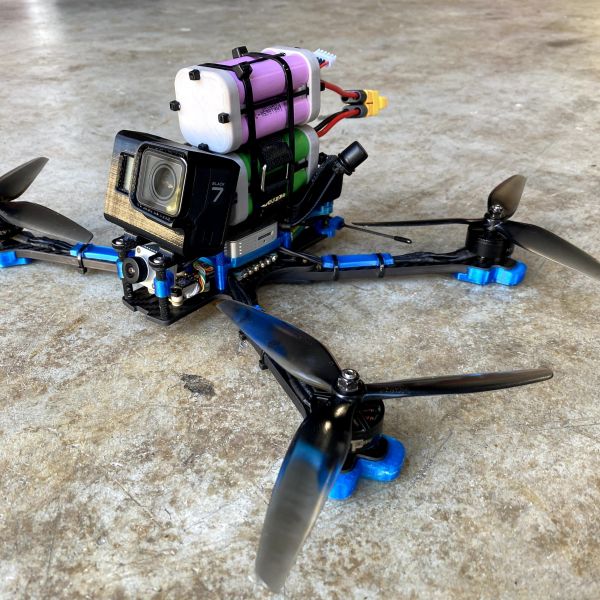
I wanted to see what kind of flight time I could get if I used a GNB 1800mah 6s Lipo, and I got 12 minutes!! I stopped flying when I hit 3.5v per cell. Keep in mind I was just cruising around the park so I was not doing any freestyle flying.
18650 and 21700 Lithium Ion batteries
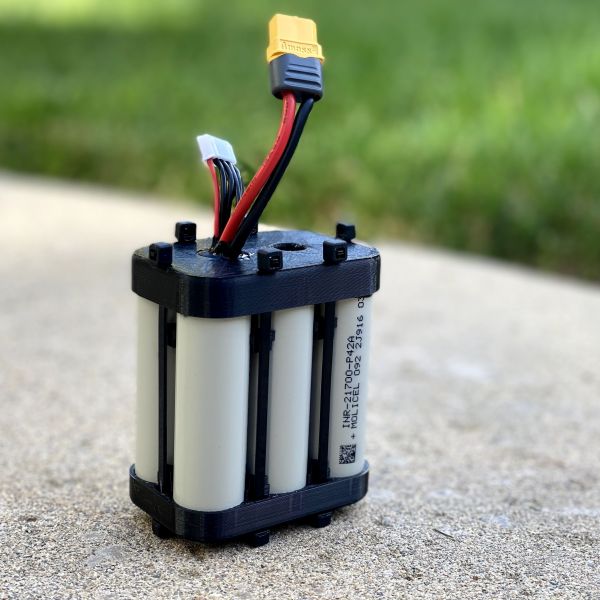
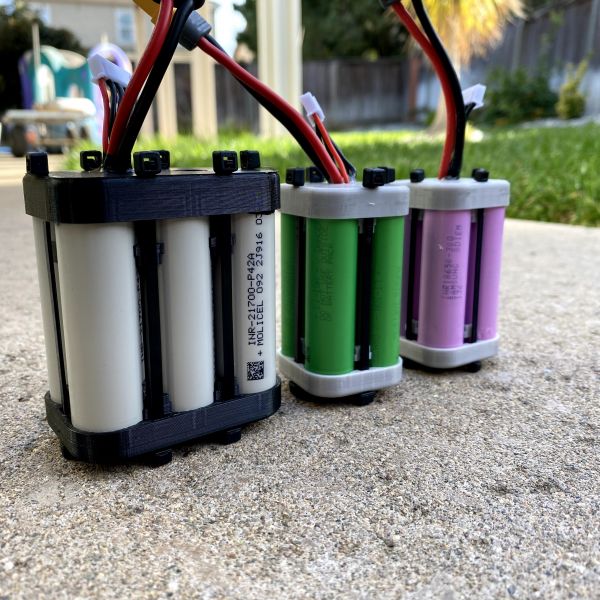
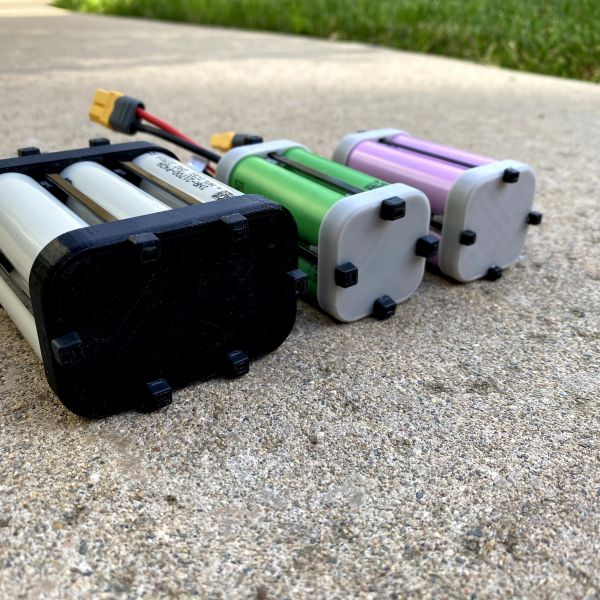
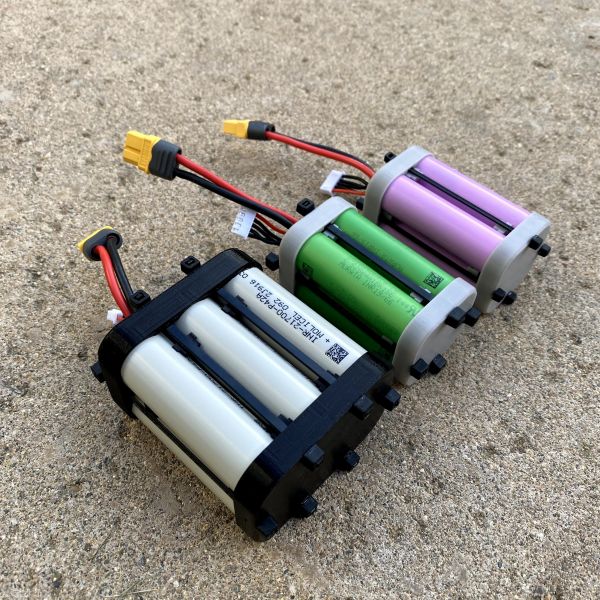
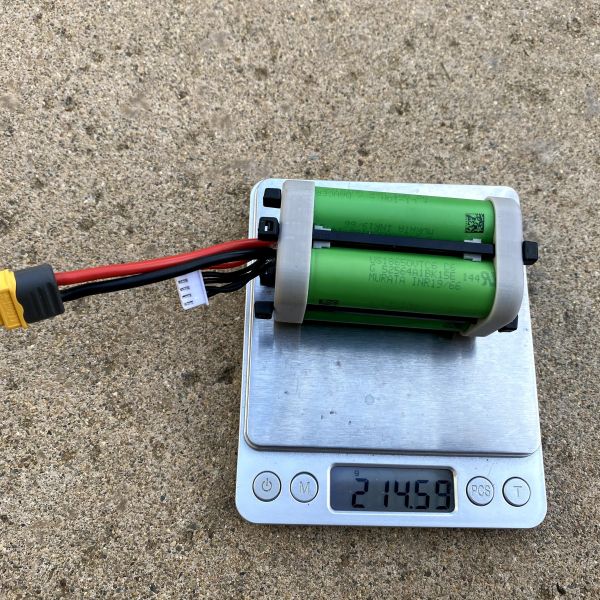
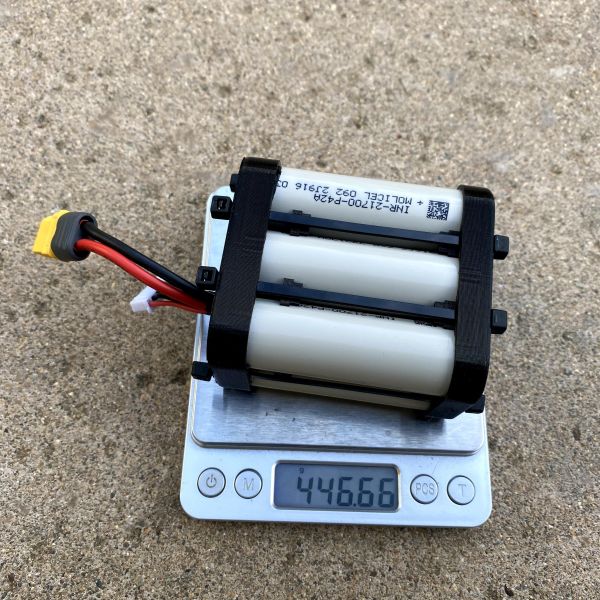
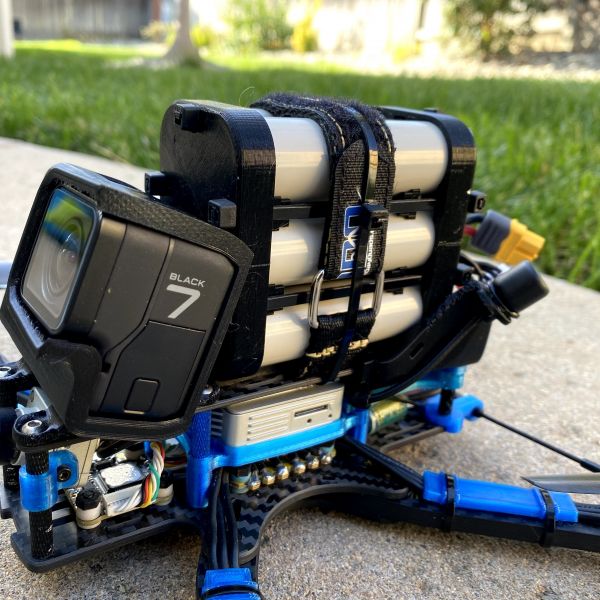
It has been a while since I updated this page and it also been a while when I did my test with a set of 18650 lithium ion batteries that I built. Here is a link to the 3D printed parts that was used to build the battery packs. https://www.thingiverse.com/thing:4628783
Warning!!!!! 18650 flight packs are not for everyone.
What is your purpose with these batteries? If you want to go fast and race, these batteries is not for you. But if you are able to manage your amp draw and fly for maximum flight time, this is perfect for you. Make sure you pick the correct 21700 cells that matches your applications. For me I am using: MOLICEL 21700 P42A 4200MAH 45A BATTERY
https://www.18650batterystore.com/collections/21700-batteries/products/molicel-p42a
Initially I was impressed with the 17 minutes of flight times with 18650 6s lithium ion batteries. But when I picked up the pace the flight times dropped down to about the same as the 1800mah lipos. So, I did not continue the testing. I disassembled the 6s pack to build something else. I think the 15a rating on the 18650 cells I was using was great for cruising but not much more.
During Black Friday sale of 2020, I bought a set of Molicel 21700 P42A 4200mah 45a cell to build a 6s pack. About 3 months later I finally built these packs to test. I think the motivation came from the release of DJI’s new FPV drone and my friend’s interest in getting longer flight times. I started by testing an 4S2P 18650 pack, and I got 18 minutes of flight time. Next, I tried the Molicel 21700 P42A 6s pack and got 25 minutes. When I tired flying the 21700 faster it did a lot better than any of the 18650 packs because I can draw more constant amps (45a). Even when I ran the two 4s 18650 packs in parallel I only have 30amps.
Here is a video of the faster flight with the Molicel 21700 P42A 6s pack. It is only a 16:39 minute flight because my fingers was getting numb and I can not feel the sticks anymore. Typically I land around 2.8v per cell, and in this flight I landed at 3.0v.
If you want to see the footage of the 25minute flight, here is the DJI DVR recording. I have the HD GoPro 7 footage too, but it is broken up in to 4 parts by the camera because the video was too long :) I do not expect anyone to watch this but it is only here to prove the flight times.
Photos
Part List
Show stores (8)Do you not find that 1800kv is too much for 6s? I'm looking at doing a similar build with 2405 1700kv motors and I'm considering rewinding down to 1400kv or so.
Yes, 1800kv is too much for 6s with 7" props. That was the only motor that I had on hand. You can always put a motor output limit in betaflight and you can get similar results. It not the same as having a real 1300kv motor but it will get the job done. As you can see for this build, it worked pretty well, plus it actually more efficient than my emax 2807 1300kv on a different 7" build. Unless you are good at rewinding motors, I would suggest putting a limit in betaflight.
Great write-up. So much good information. I appreciate you linking the thingiverse files and also adding in the varios flight times with li-ion batteries. Beautiful pictures also.
Hello, very nice bird, thanks for sharing. How do you like the BH 2507 1850kv on 6s / 5s with 7"? Could these motors provide enough torque?
Thanks!
Thank you for your kind reply bro!
Mines are on the way...currently I have Emax 2807 1700kv motors waiting to finish the built and try them. (As the BH 2507 1850kv motors are nearly 60g lighter for the 4 (40g vs 56g / each) I have decided to pick the BH 2507 for the 7" dragster and the Emax 2807 go for my LOS battery eater monster... :)
Please let me know how you like the Emax 2807 because I was to give those a try too. Typically most people are using 2806 ish size motors and I would have gone that route if the 2507 motor did not workout. But with the lighter weight, 12 plus minutes of cruising and tons of power for freestyle, so why would I change since it is working so well. The 2807 motors could be even better. One day, when I find a good deal for the 2806ish size motors, I would like to try it too.
This is a beautiful build. What angle are you running on your GoPro? Do you get any props in the GoPro footage?
Would you also send me your stl files? (or upload them to thingiverse) I've tried to have that air unit mount printed twice on treatstock and it's been rejected both times. Nice build by the way.
I uploaded the files to thingiverse, I hope that is what you are looking for. Let me know if that is not it: https://www.thingiverse.com/thing:4576344
Nice build! How does it perform on 6s with those motors?
I think 6s will be more efficient because for the higher voltage and lower amp draw, especially if you are going for long range cruising. I did a test flight with the a 5s lipo and if feels good too. Maybe the 5s would be a good freestyle lipo because its smaller and lighter. I need to test it at a park to get a better feel of the 5s lipo.


What a beautiful bird. Thank you for the thoughtfulness put into this writeup. I'm about to put together my first 7" quad and may start with this frame, or possibly an FR7.
Thanks, if you do not mind the extra cost, I would totally recommend the FR7 frame over the source one because there is a lot more space to layout your components and even fit a larger battery. You can check out that build here: https://rotorbuilds.com/build/30120
I am also building another 7” quad (AOS 7) that you might consider but I have not finished it yet, so I do not know how it will perform. You can check out my work on progress here: https://rotorbuilds.com/build/30453
Cool, thanks. I'll check them out.