"Widget" Toothpick Quad
 By FrozenLiquidity on Aug 18, 2021
My second build. I love the idea of something between the 250 I had previously built and the Tiny Whoops I’d played around with. Toothpick builds seemed to fit that sweet spot, so shortly after completing “Sprocket” I started researching components for the next build, affectionally named “Widget”.
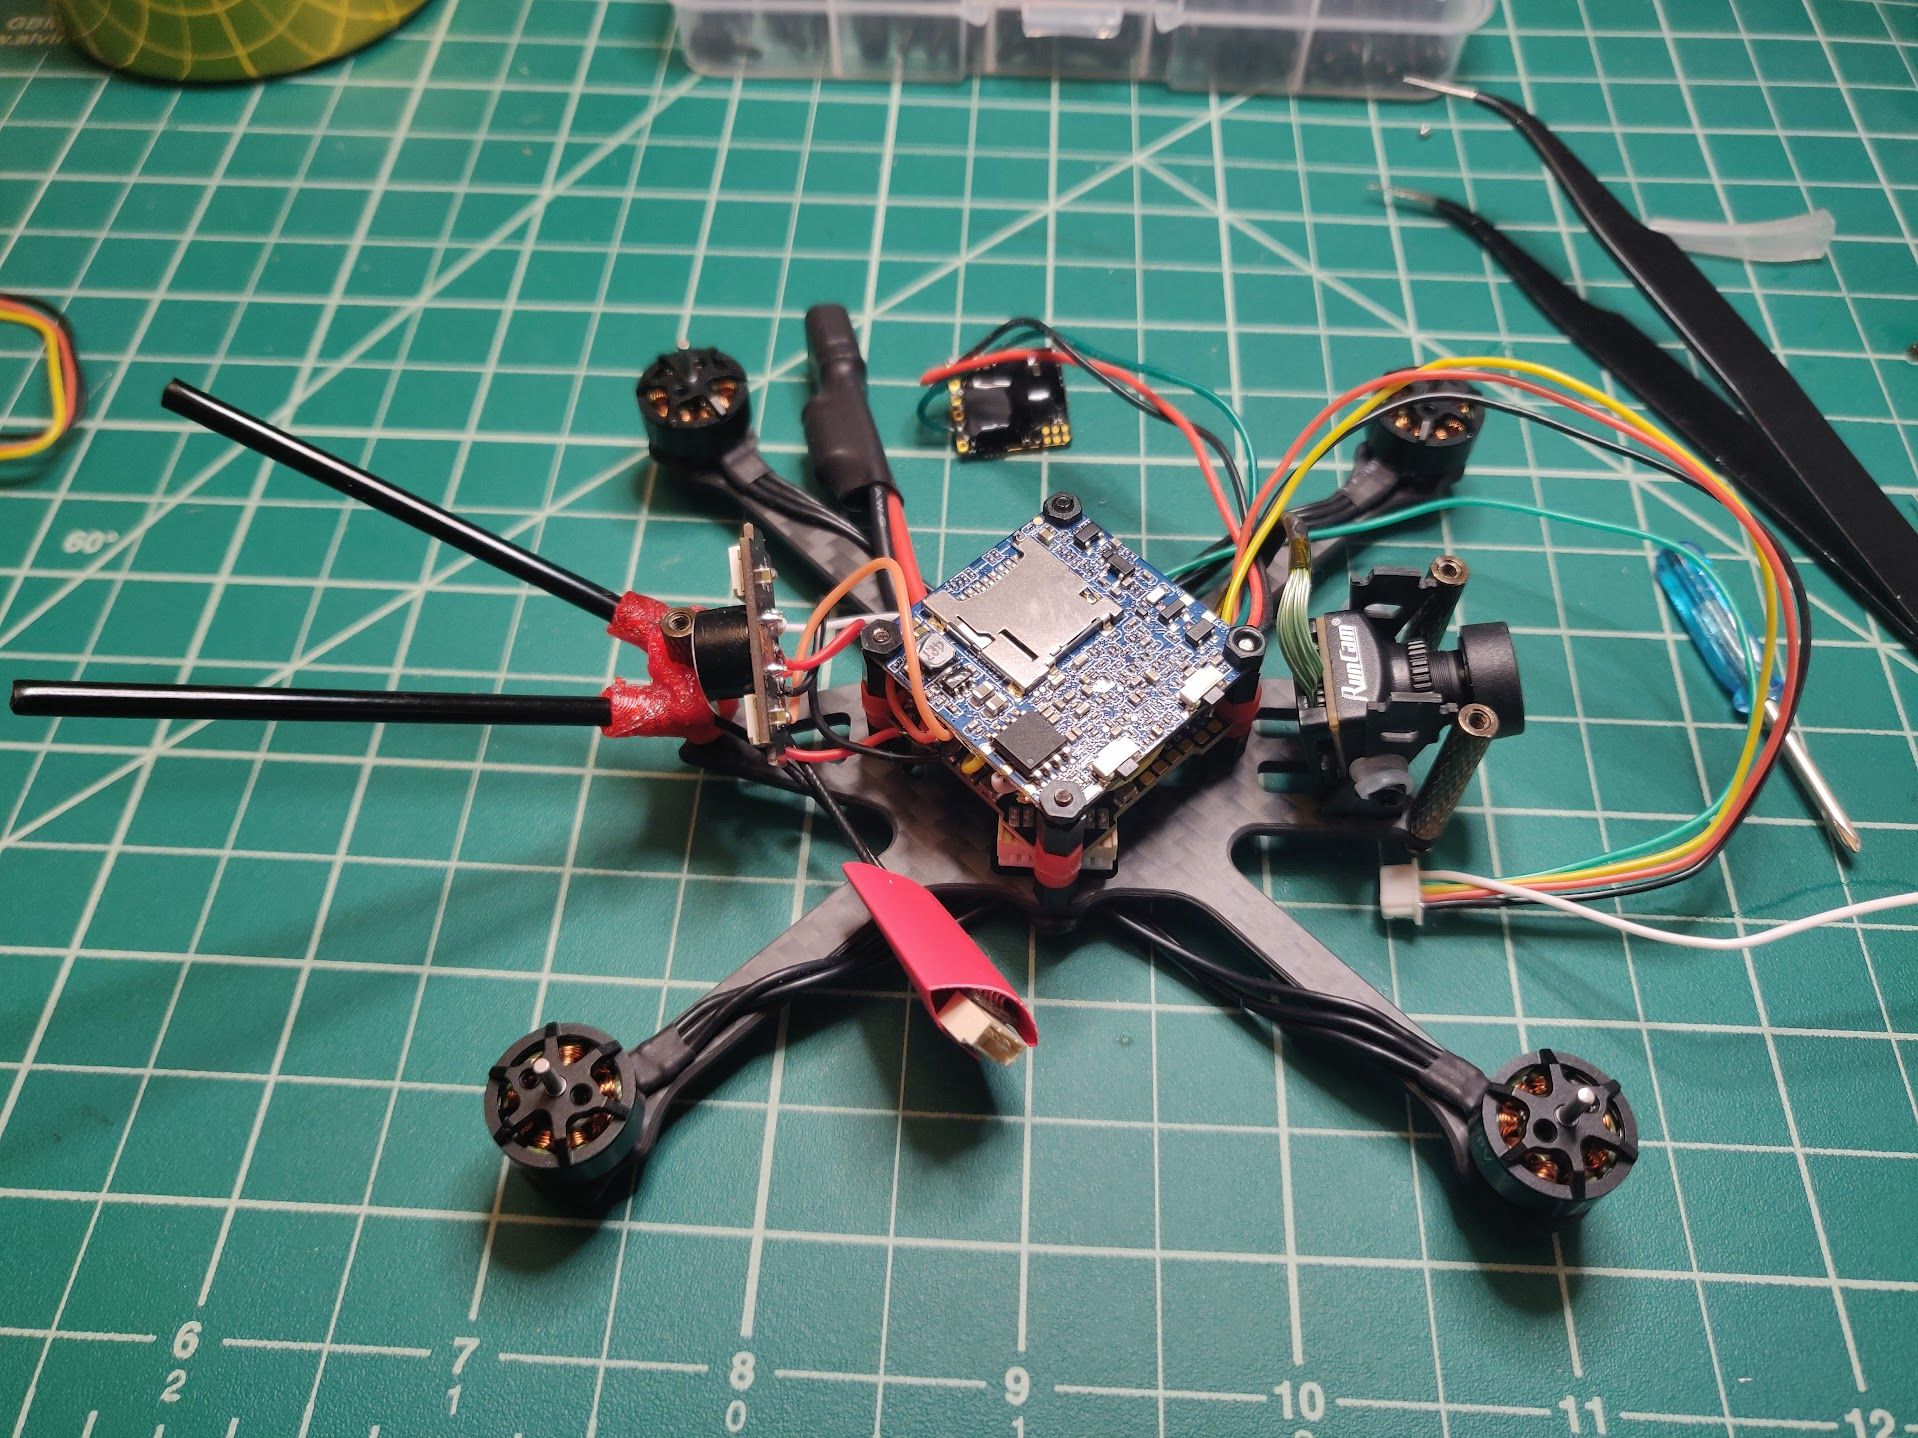
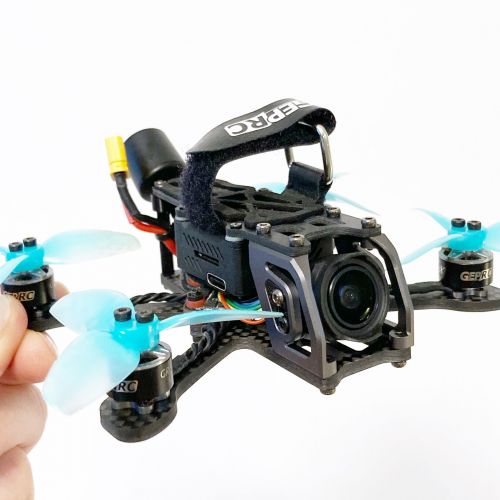
Loved the look of the small-scale GEPRC frame, but didn’t realize just how tiny it would be! It still feels roomy compared to the other Toothpick frames I was looking at, but I wasn’t sure how all of this would fit in there. With the flight controller and the Runcam Split 4 both being the same dimensions, that would effectively be my core stack, with the FC on bottom for easy access to motor leads. The VTX, RX and Buzzer/Mini lightbar combo had far fewer obvious mounting points and I could tell getting them into the frame would be a squeeze.
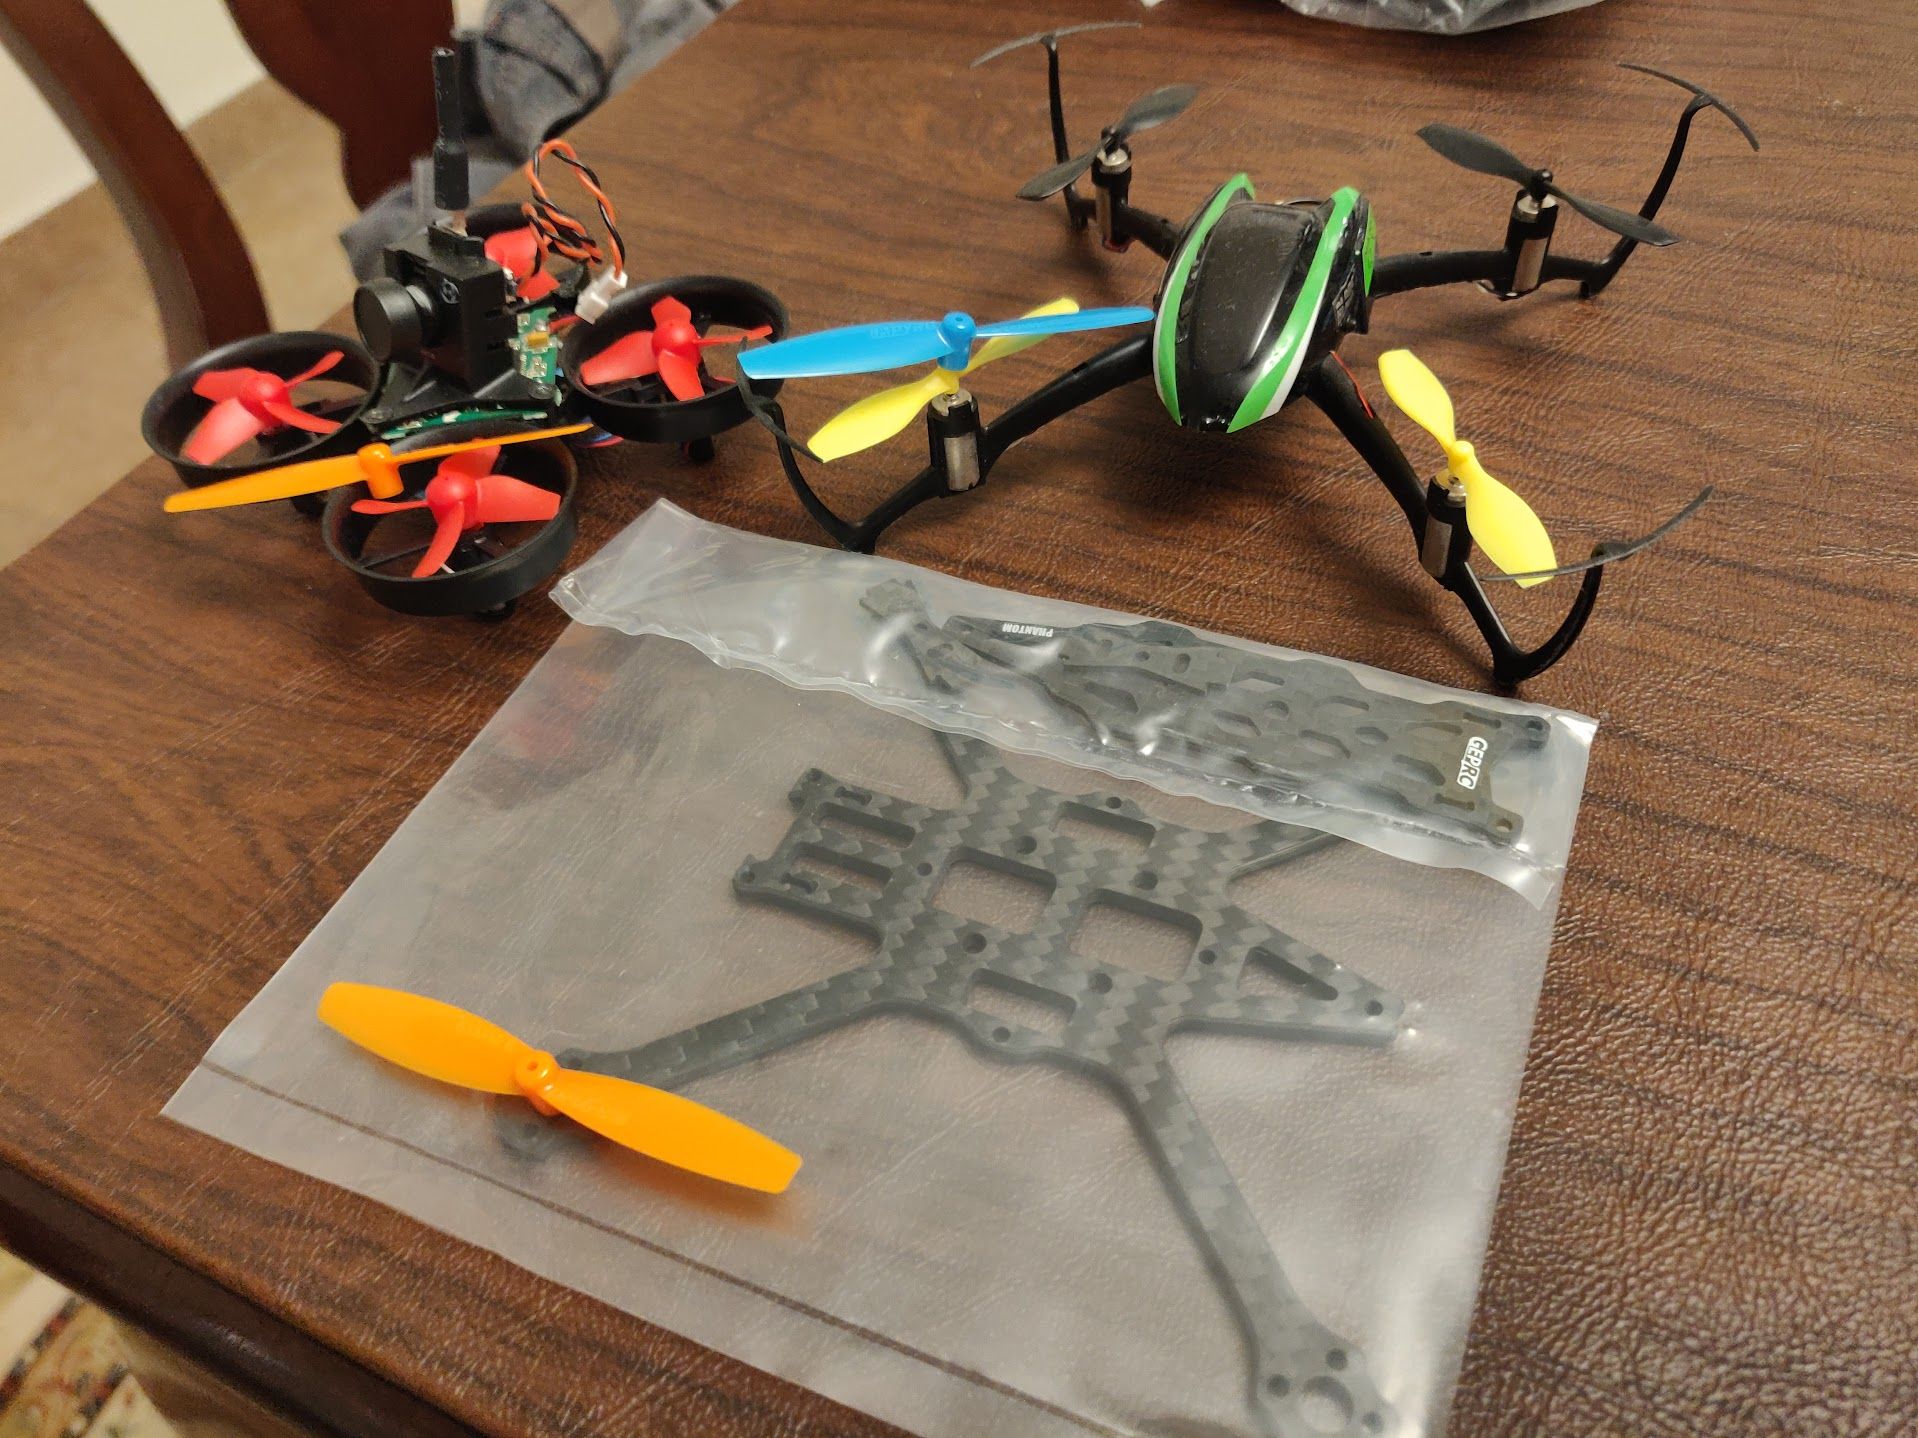
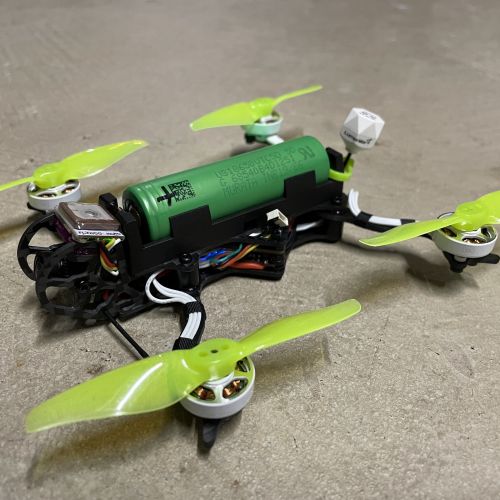
How the GEPRC frame and props compare to the size of other relics
Size comparison to prop and motor from "Sprocket"
First things first, I would wire up the FC to everything and ensure that I had all the components connected correctly and working before mounting them in the frame. The FC gets very crowded towards the aft of the board and I found myself cursing this cluster of tiny soldiers. There was simply not enough room to fit the VTX, Runcam and Light bar on this area and I ended up doubling up the VTX and the light bar to the same pair of 5v/G rails (probably a mistake). Receiver was connected on the forward area of the board on primary UARTs. (A note about this board, it is advertised as having 3 full UARTs, but this is incorrect. It has two UARTs and a Softserial port. I am not sure why this is being advertised as such, but it does not have 3 full UARTs! Figuring this out helped me learn what UARTs were, what Softserial was, what the difference was and how it applied to me, so another good learning experience!)
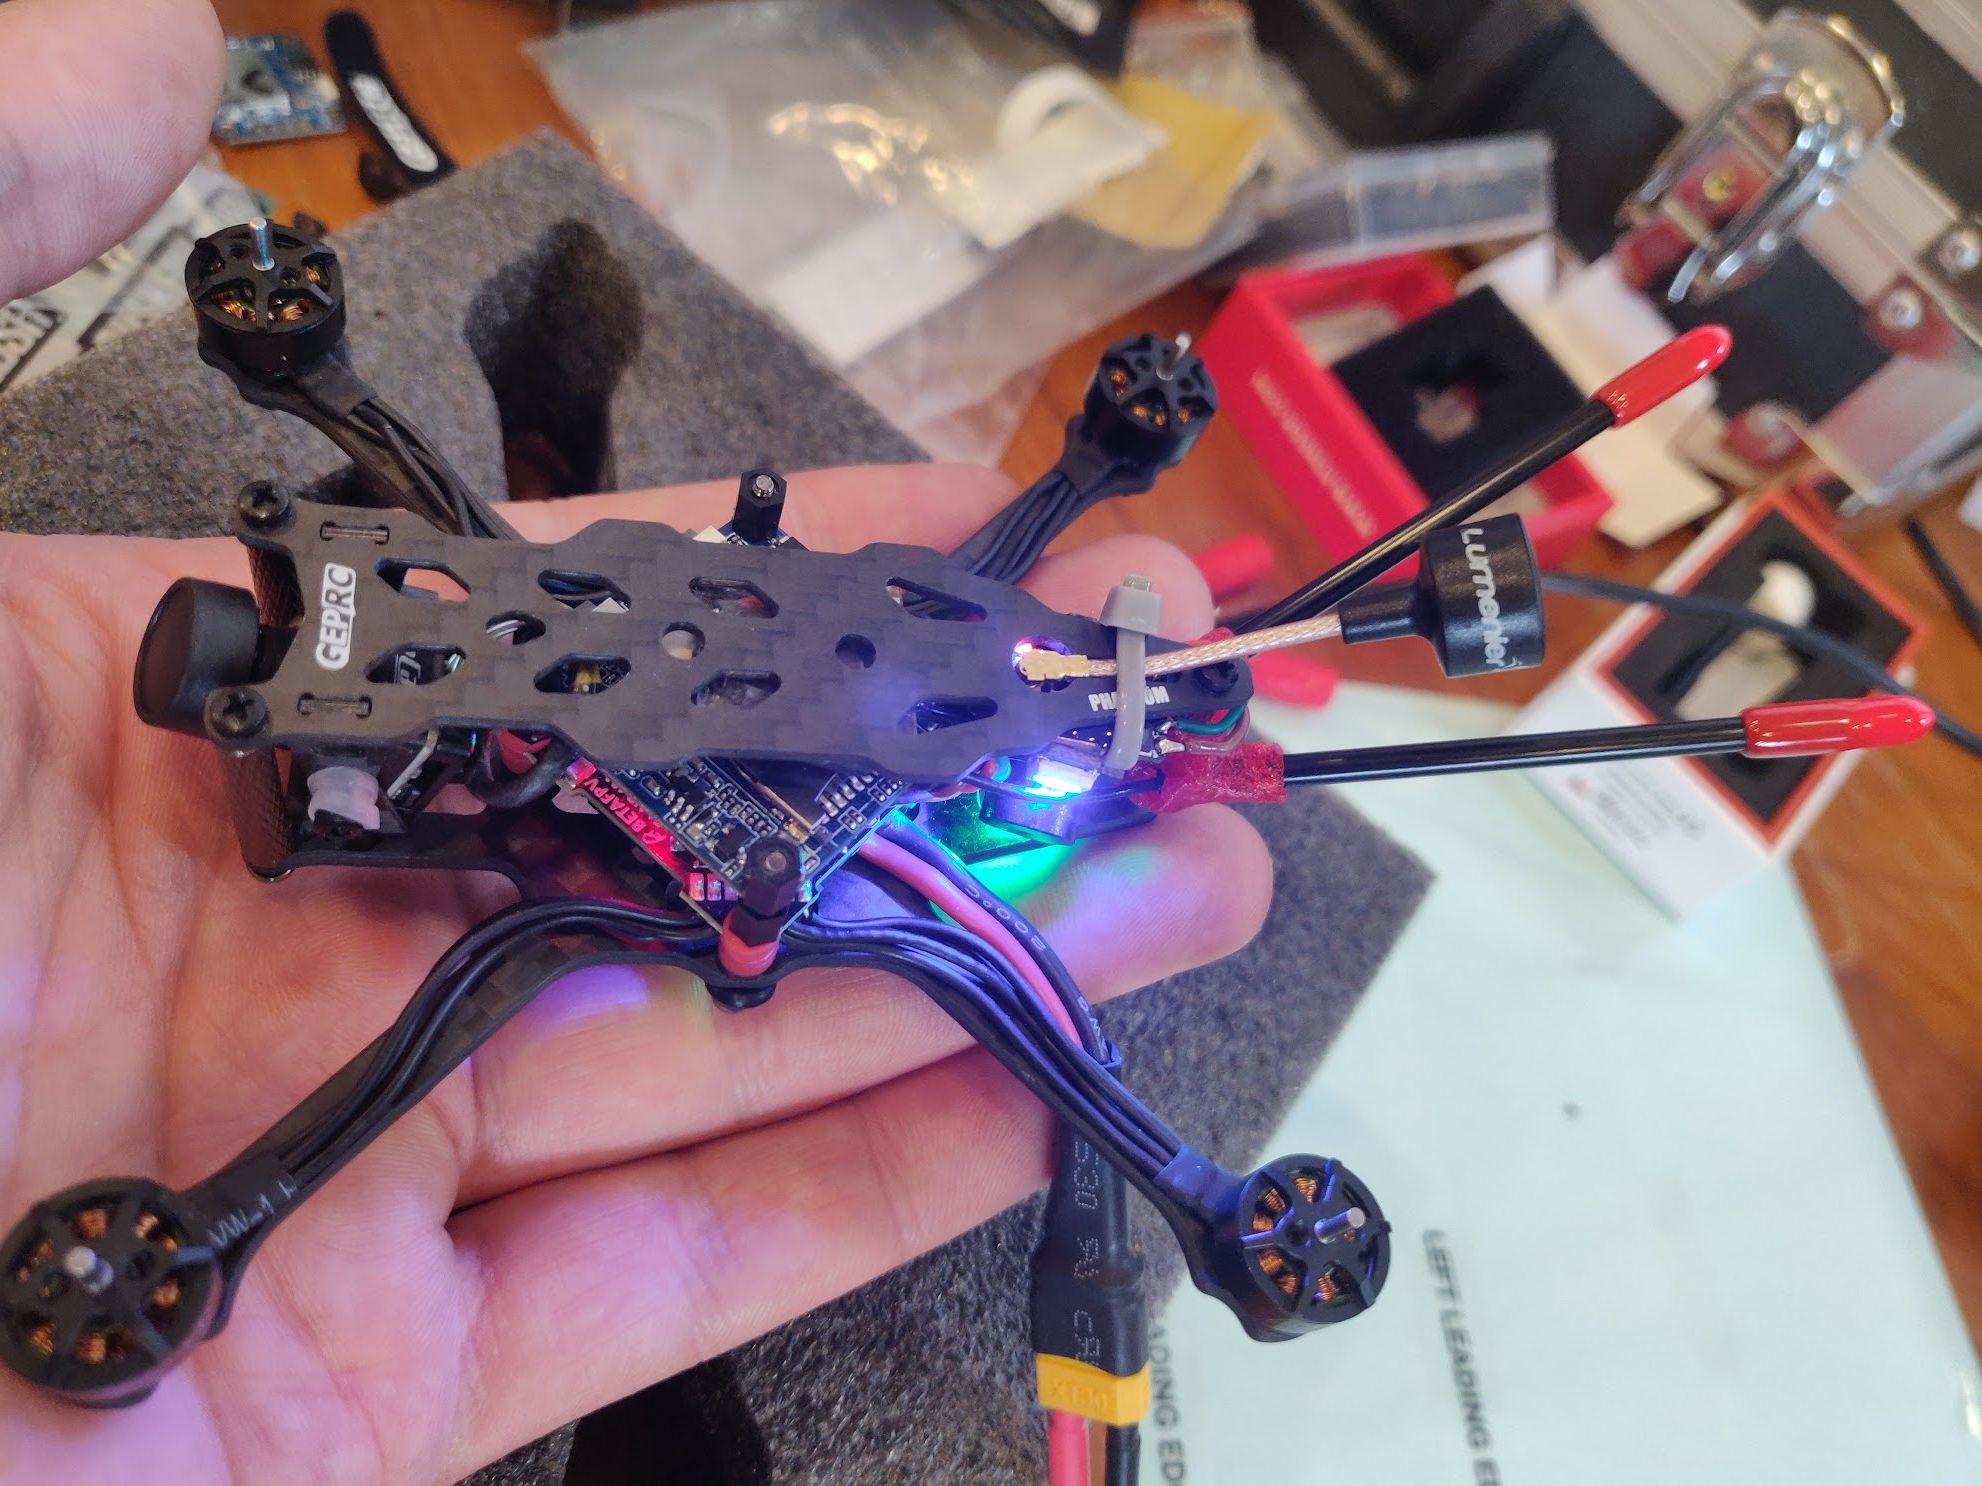
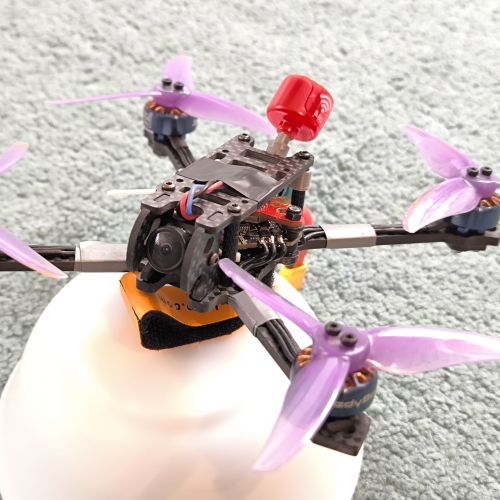
After wiring everything up, the resulting abomination of wires and solders lit up like a happy Christmas tree when provided power. Good deal! Did some basic configuration and testing in Betaflight, and then got excited and worked on getting it mounted in the frame. The flight controller and Runcam stack went in easily with the provided mounting points on the GEPRC frame, while the camera slid into the frame’s mounting brackets with the help of a few spacers that would also reduce the vibration. Finally, the VTX, RX and Buzzer/lightbar assembly would need to squeeze somehow into the rear of the frame, with the RX Antenna being routed through the provided 3D printed aft mounting-mechanism. It made sense to place the VTX out the rear of the craft as well, like a third tail between the two RX antennas. Buzzer/Lightbar would go…. Somewhere.
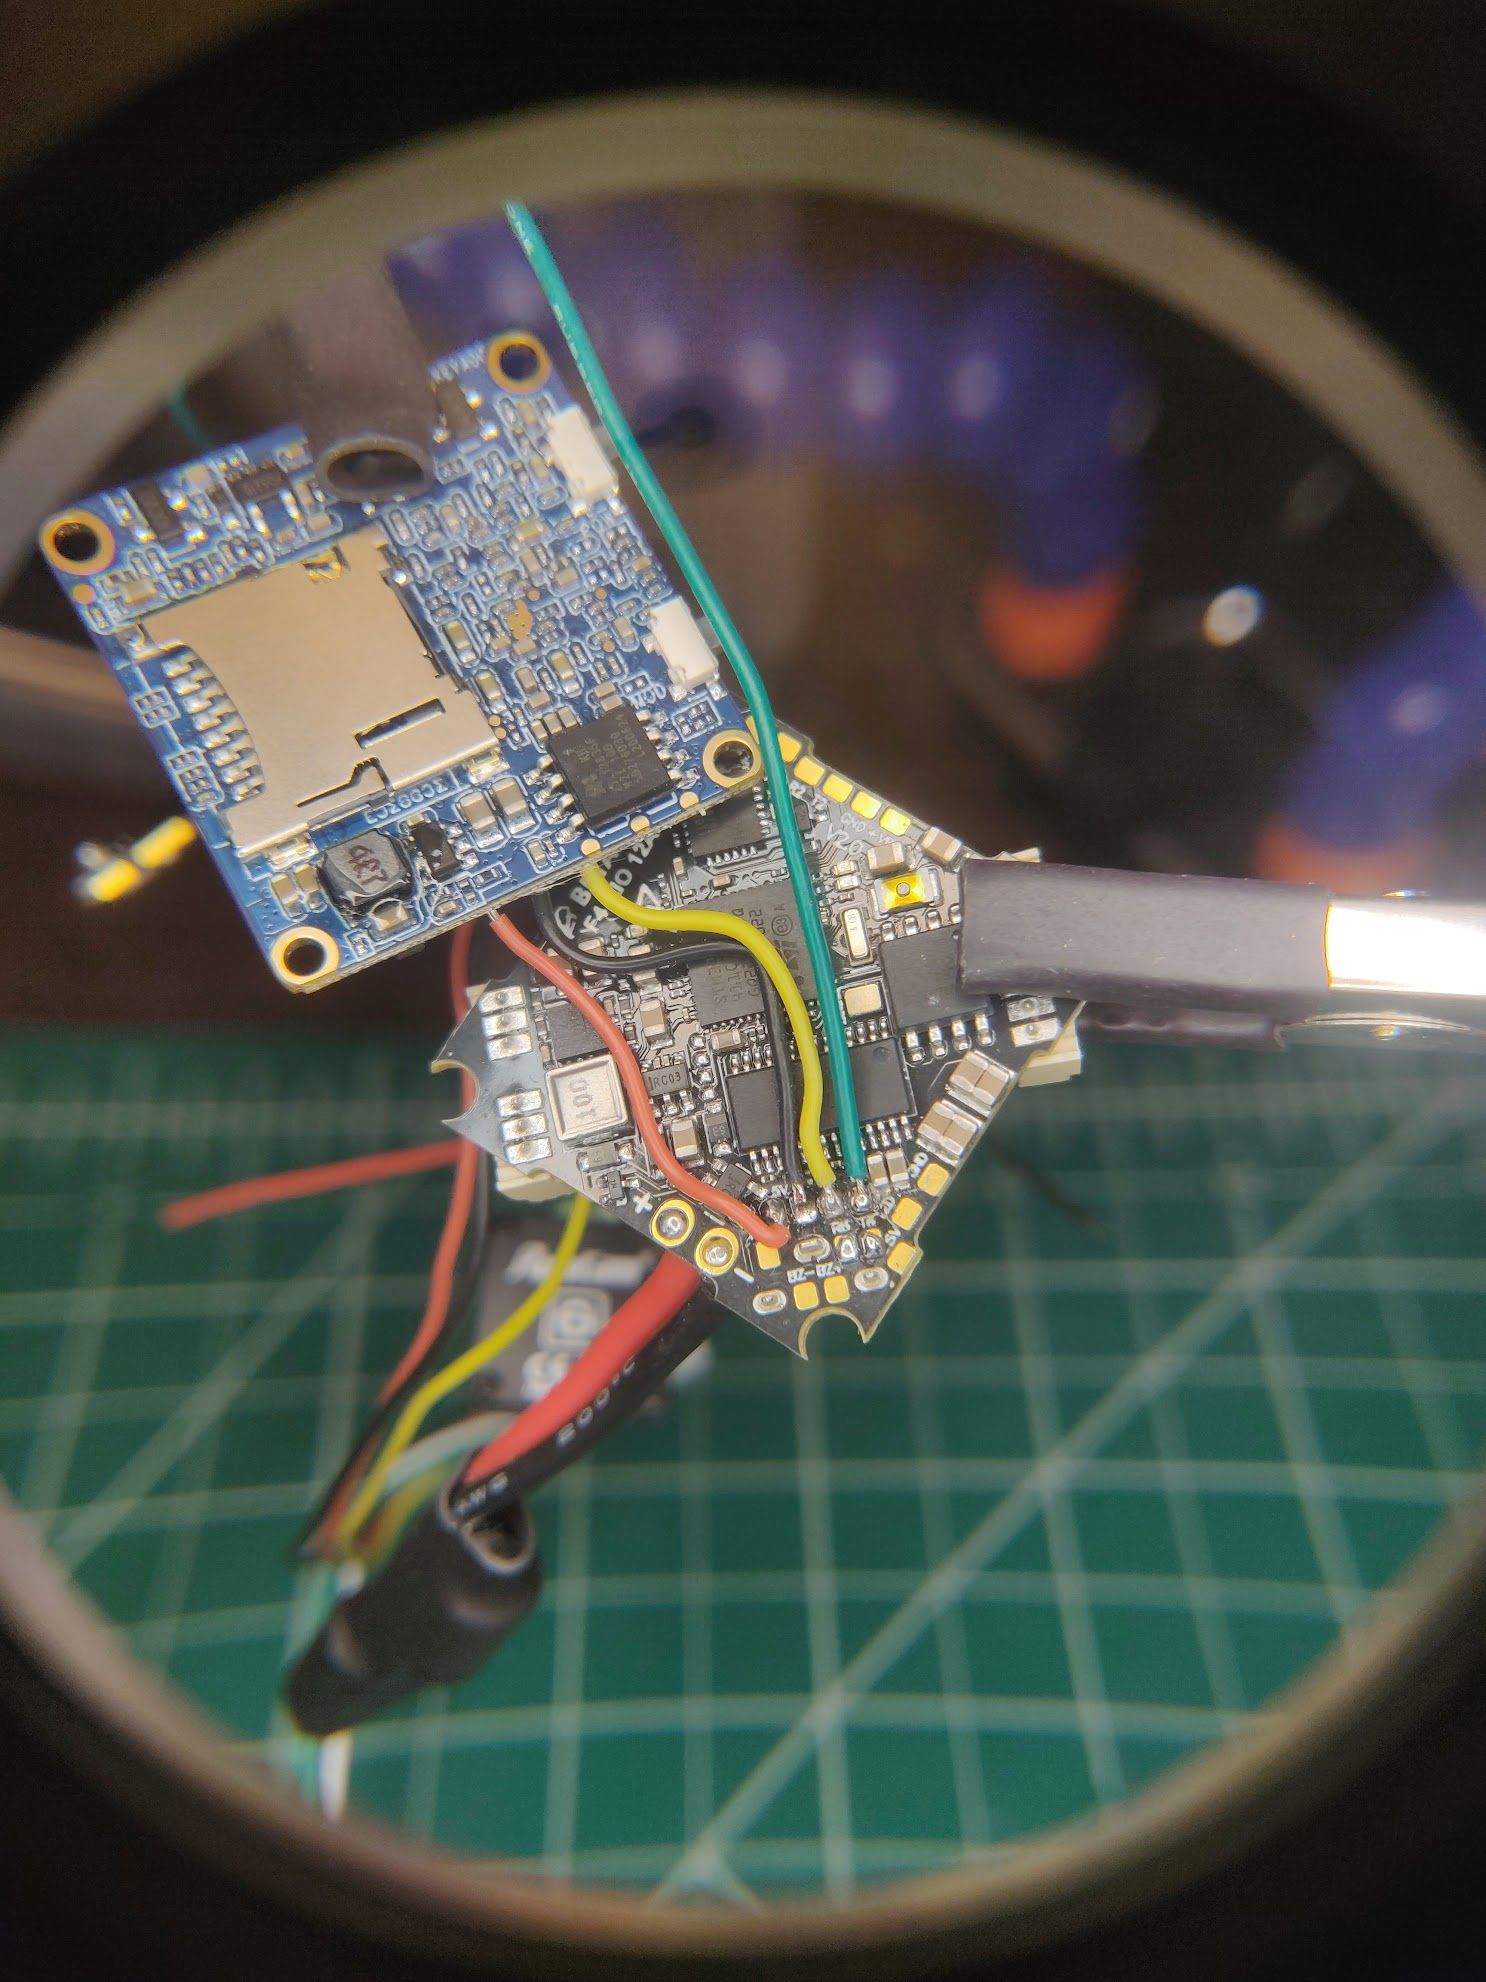
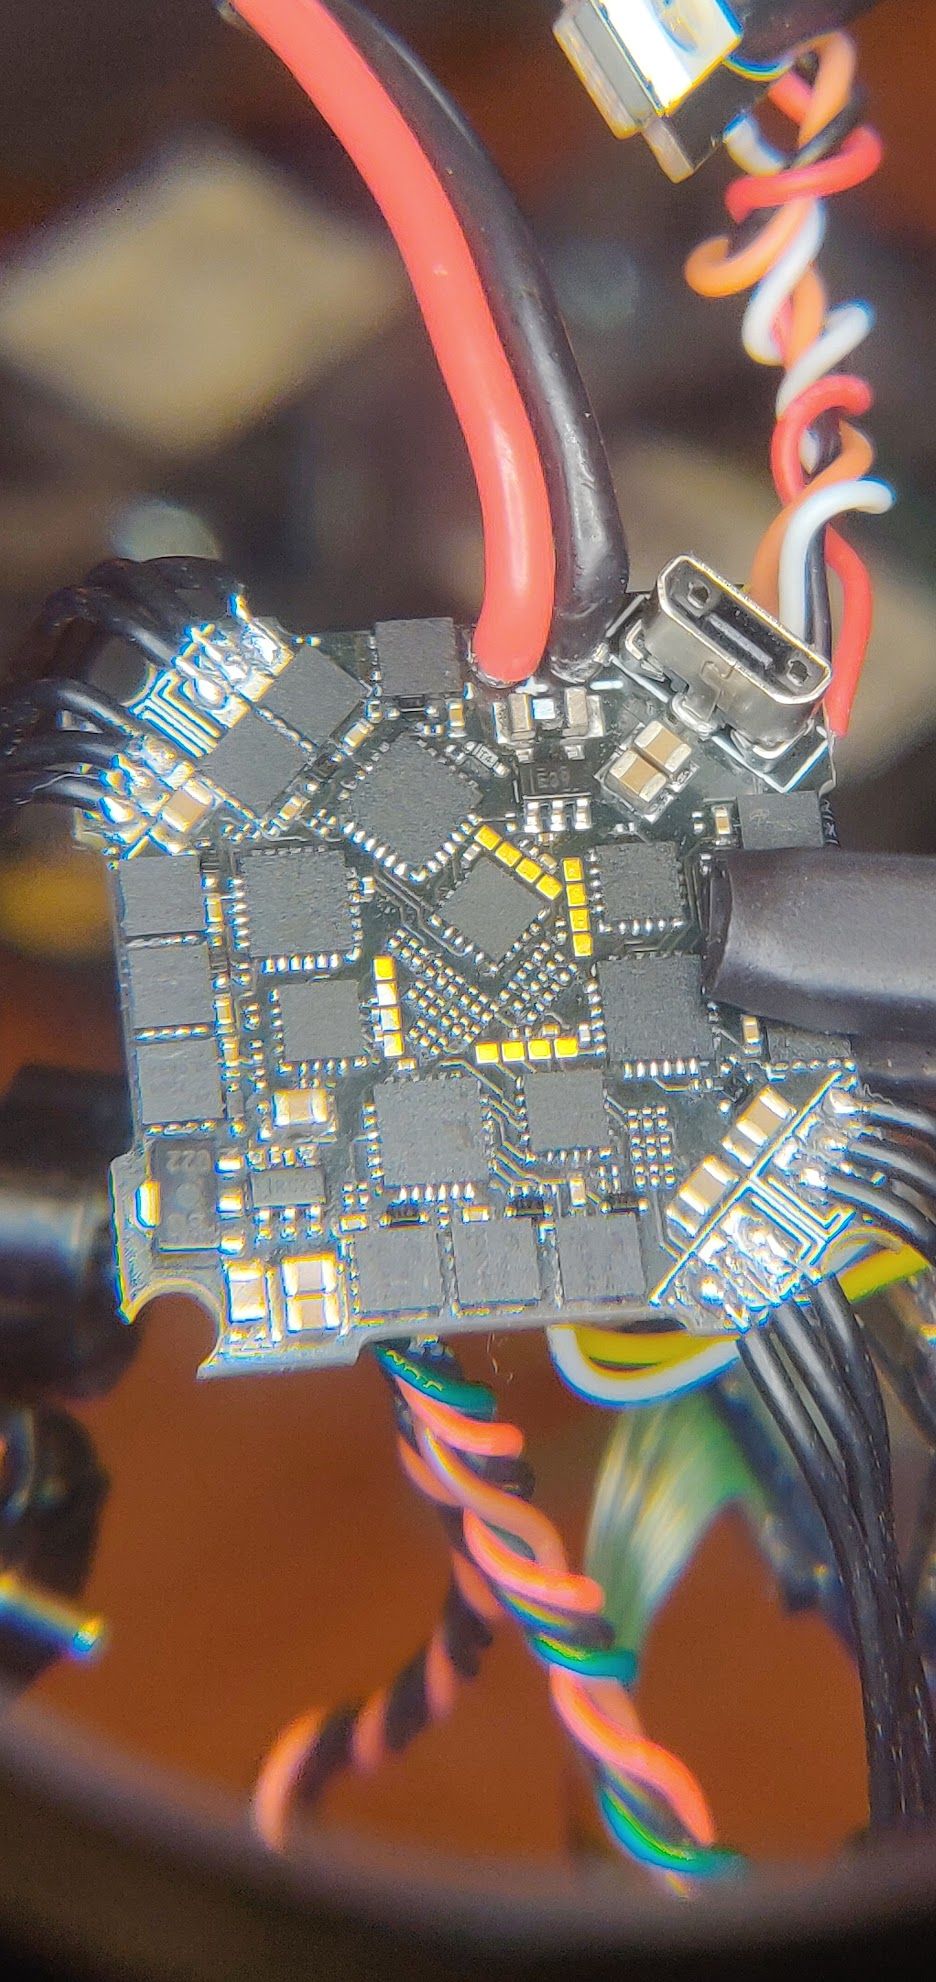
I know, my soldering sucks... This small pad on the aft of the flight controller contained a high density of tiny pads to solder components to, it was tricky working on such a small scale

Close-up of the above
All lit up and no smoke!
The longer RX antennas made it easier to place the actual RX unit somewhere centrally, above the stack. While the shortness of the VTX antenna mandated that it be placed right next to the rear of the craft, so both of these were mounted to the underside of the top plate frame, while the Buzzer/Lightbar was placed below the VTX, wedged in pretty well, but not permanently attached. A zip-tie and some double-sided adhesive strip helped keep these in place. It was obvious during this time that I would need to cut wires down to smaller lengths and re-solder, but found that twisting the wires from the FC to any component to make a nice band not only significantly cleaned up the and cabling, but also helped with shielding and interference (Lesson learned – twist/wrap wires!). For these micro/nano-sized components, I also found that putting heat-shrink over them would prevent unwanted contact with other points of the craft, while also providing a ready-made surface for adhesives.
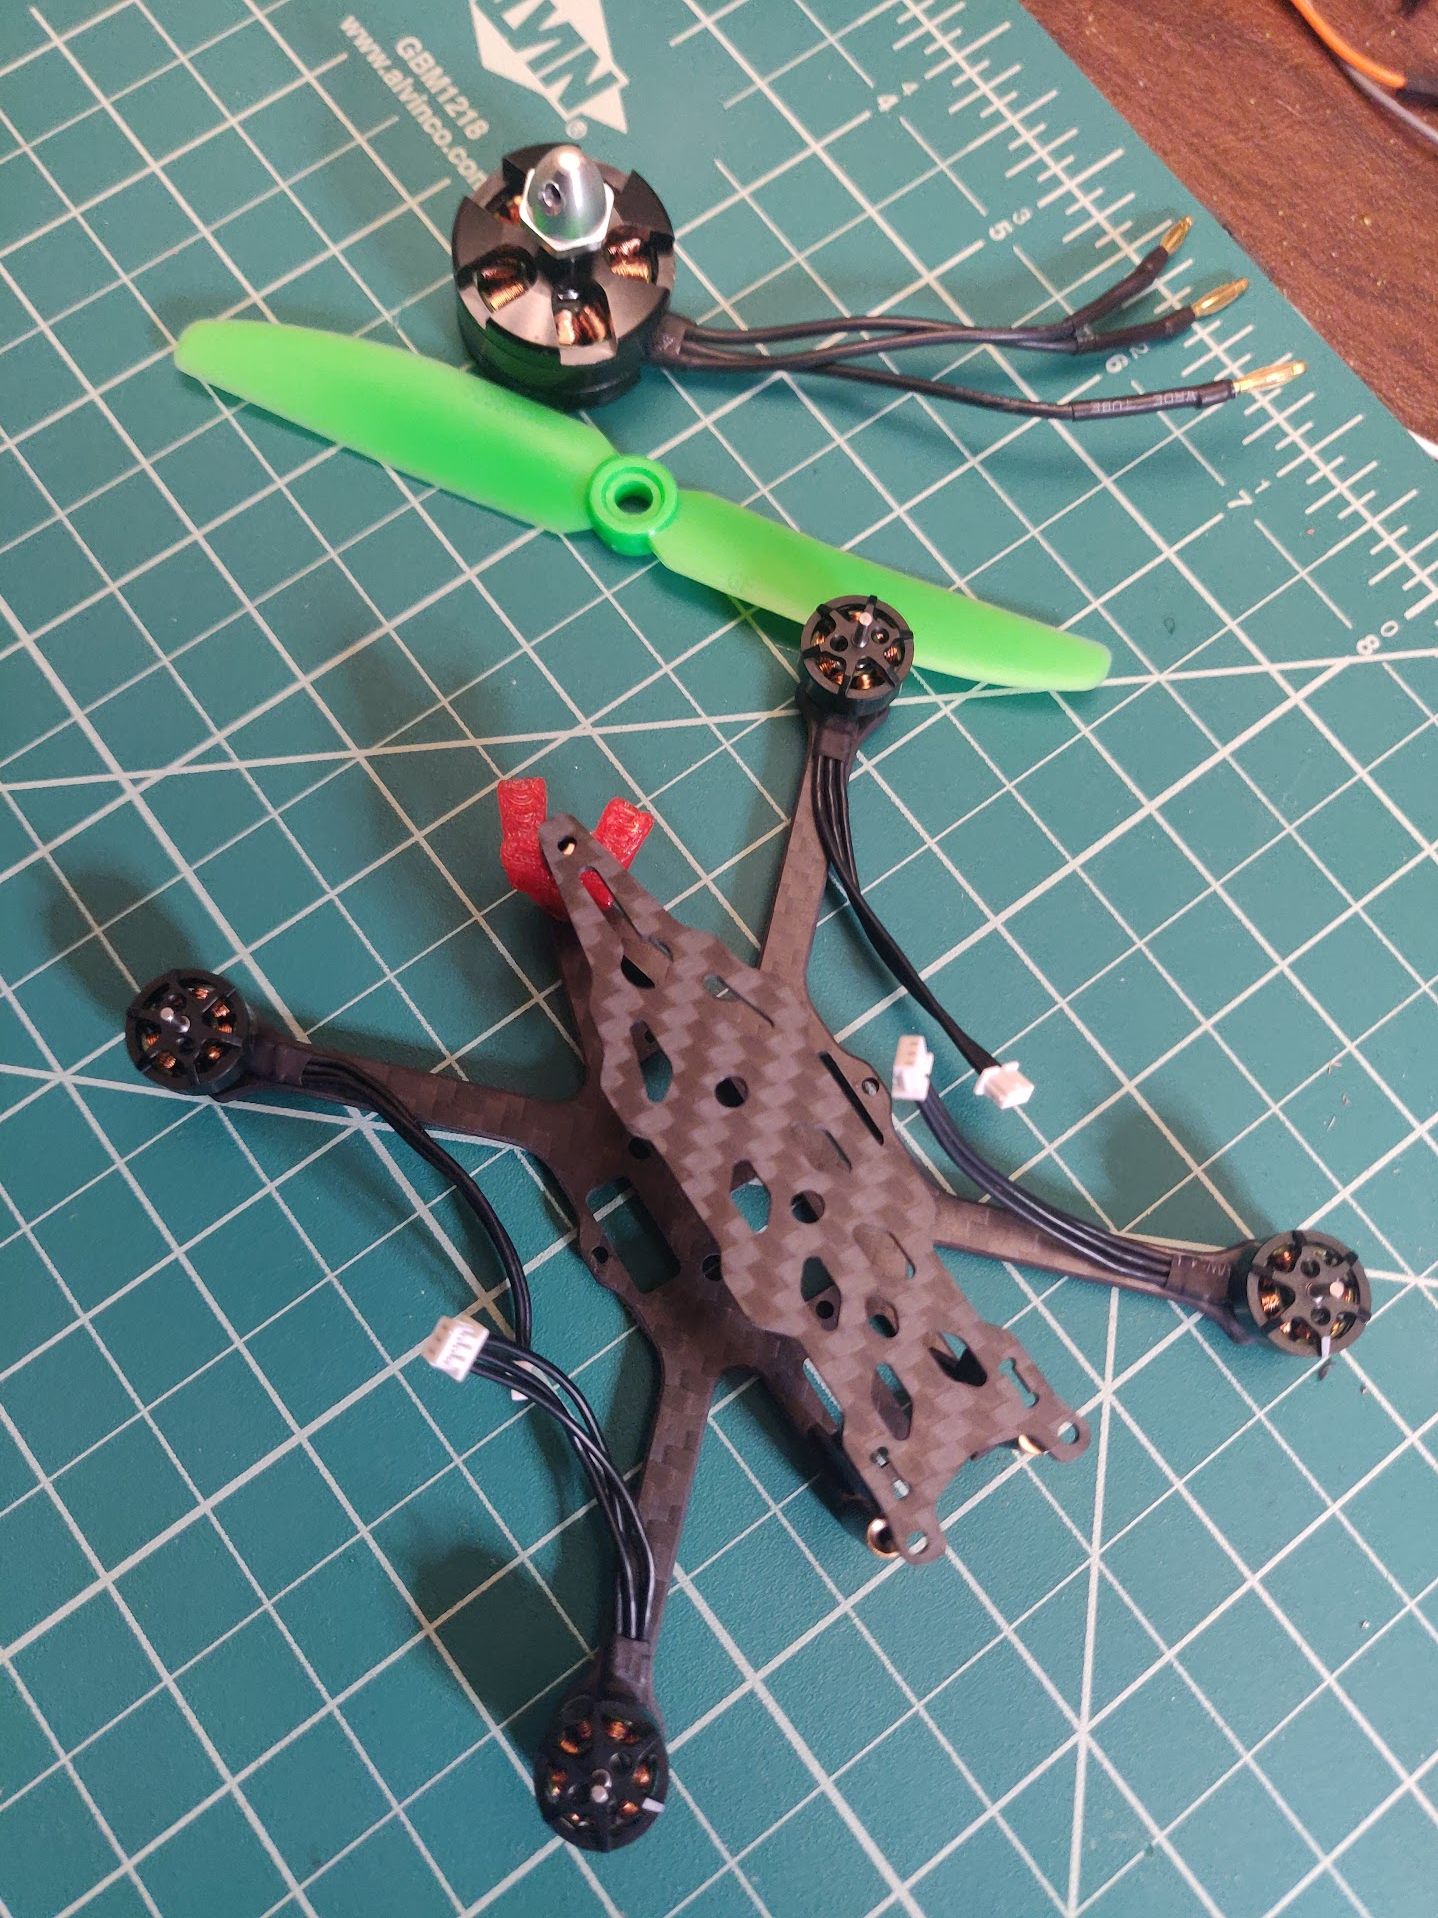
I ran into additional issues when connecting the motors. These used small 3-pin plugs to connect to the AIO FC, which would not only limit currently flow, but the connector would frequently get “stuck” and couldn’t be popped out. At one point I ripped the motor plug from the connector and decided to hell with it – did the same with the rest of them, lowered the flight controller closer to the bottom of the frame and soldered the motors directly to it. While this eliminates some problems, it adds others – with the frame no longer being separable from the FC/Motors without de-soldering. With the permanence of the FC on the frame, I also needed to modify my USB Micro B connector to plug into the recessed FC USB port without being caught on the frame.
Throwing components on the frame before directly soldering motors
Soldering motors directly to the underside of the FC. The frame is not pictured, but the wires coming from the FC routed through holes in the bottom of the frame before connecting to the motors. These solders were also difficult to perform, and it was additionally difficult to test for continuity since the current passes through a motor. Measuring resistance on this path and comparing it to the resistance of a small directly-connected piece gave me a heads up of any shorts
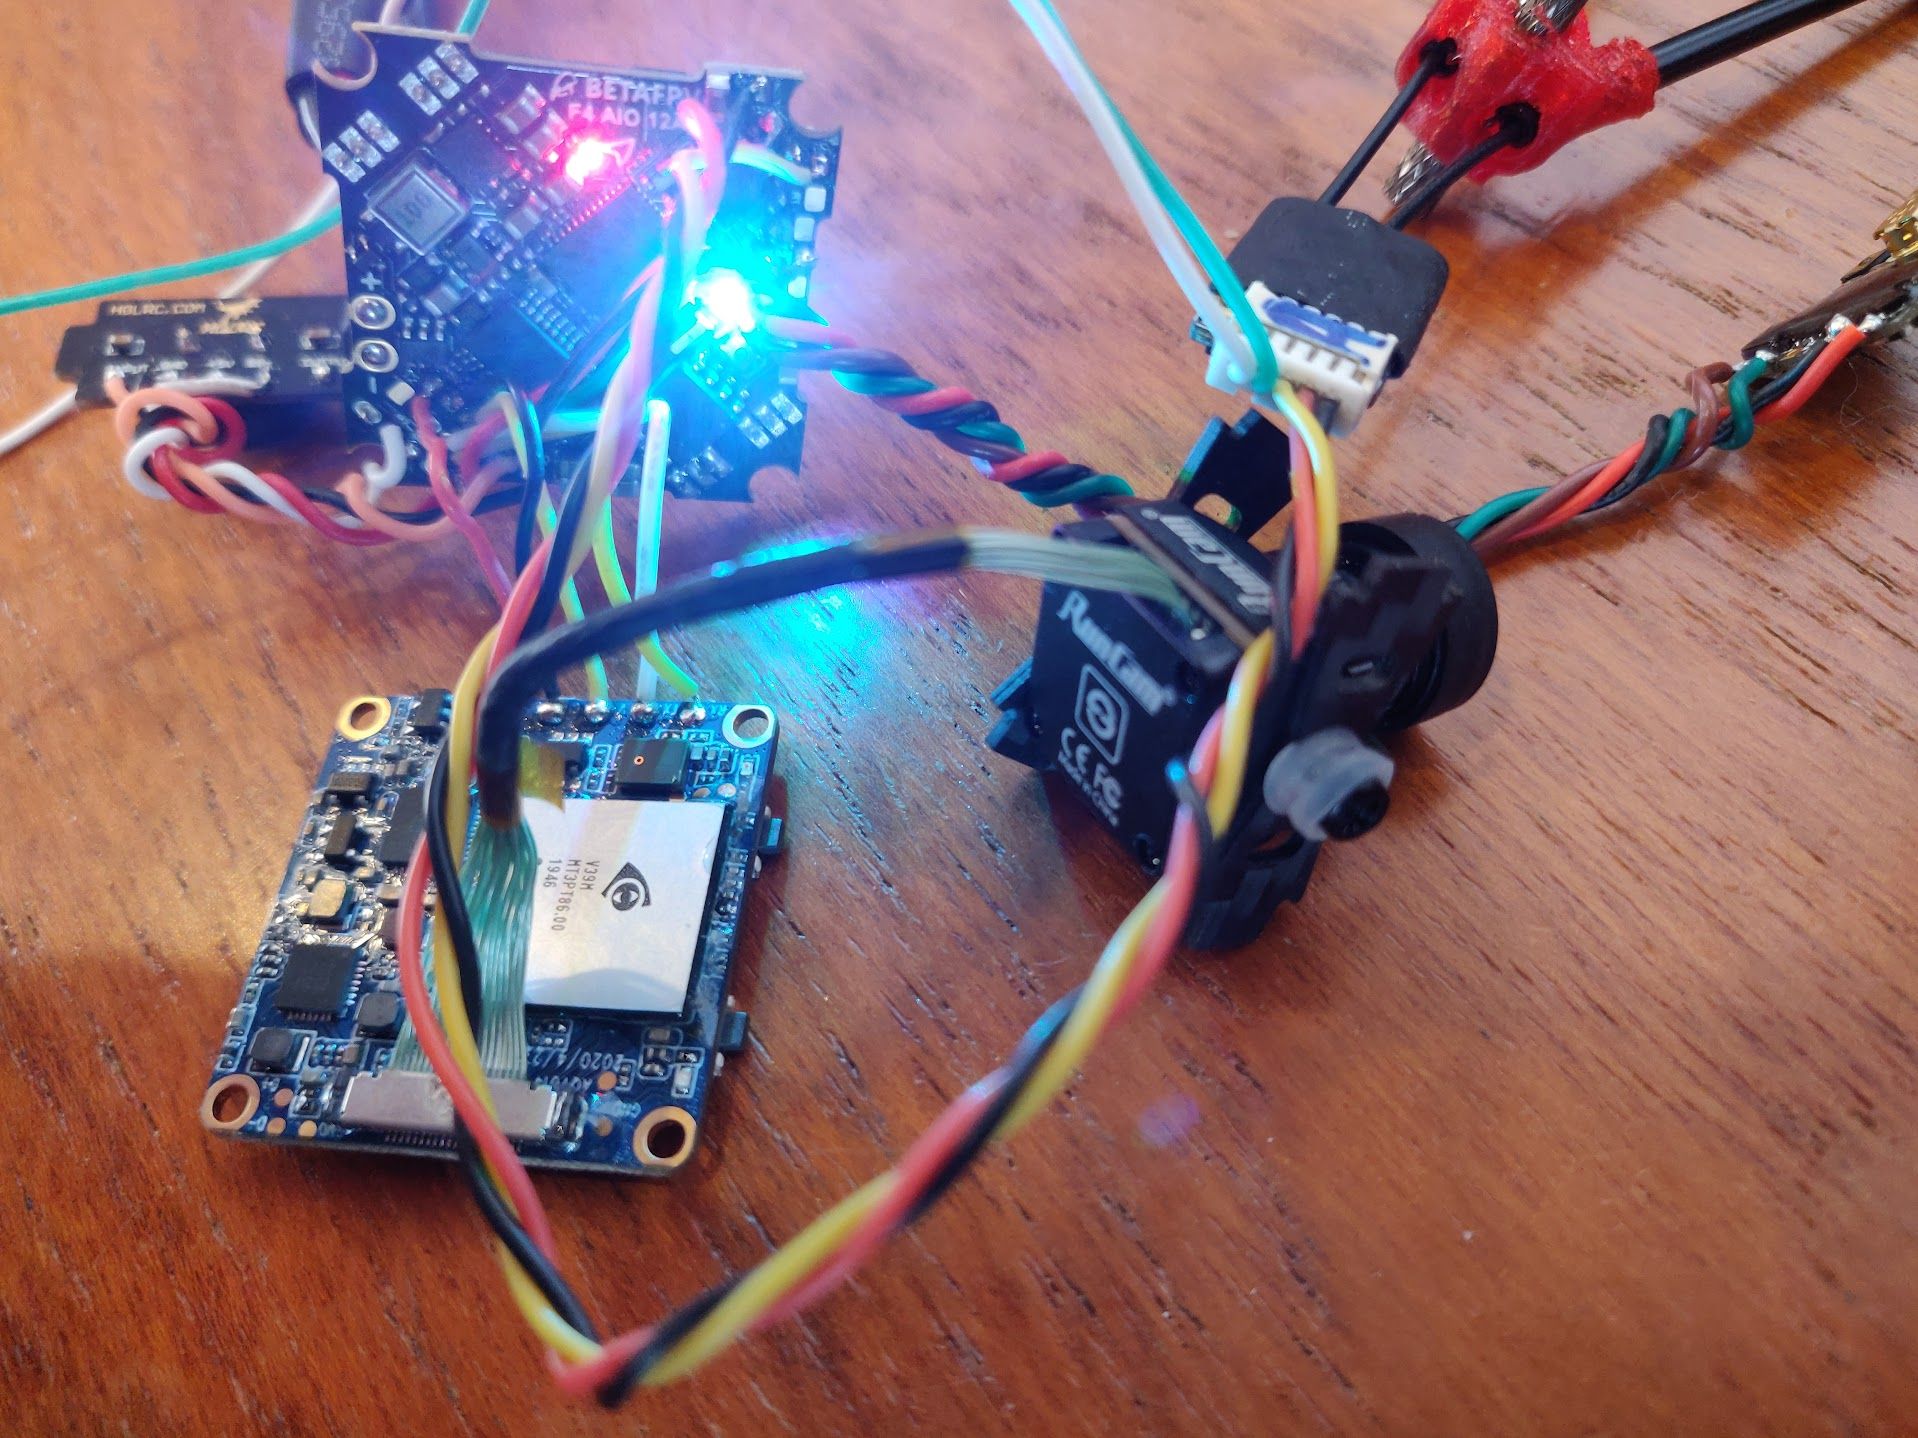
I encountered additional problems along the way when working with the software side, Betaflight, and performing component tests. My Taranis X9D Plus would not bind to the receiver. After updating the firmware on both devices (using alligator clips and a salvaged ESC lead from a previous build) I was able to get these two units to connect. Additional issues arose when I could not get the receiver to register any inputs from the transmitter, but the transmitter was receiving telemetry – so it didn’t seem like a simple problem and no amount of betaflight port configuration got it to work the way I wanted to. After some frustration in betaflight and research online, it turned out I was using the F.port protocol, but on an inverted port with an F4 controller. That was my problem, and peeling back the heatshrink on my R-XSR revealed an tiny uninverted F.port which I soldered my signal for the FC UART to. This resolved the problems I was seeing and allowed the quad to register inputs from the transmitter.
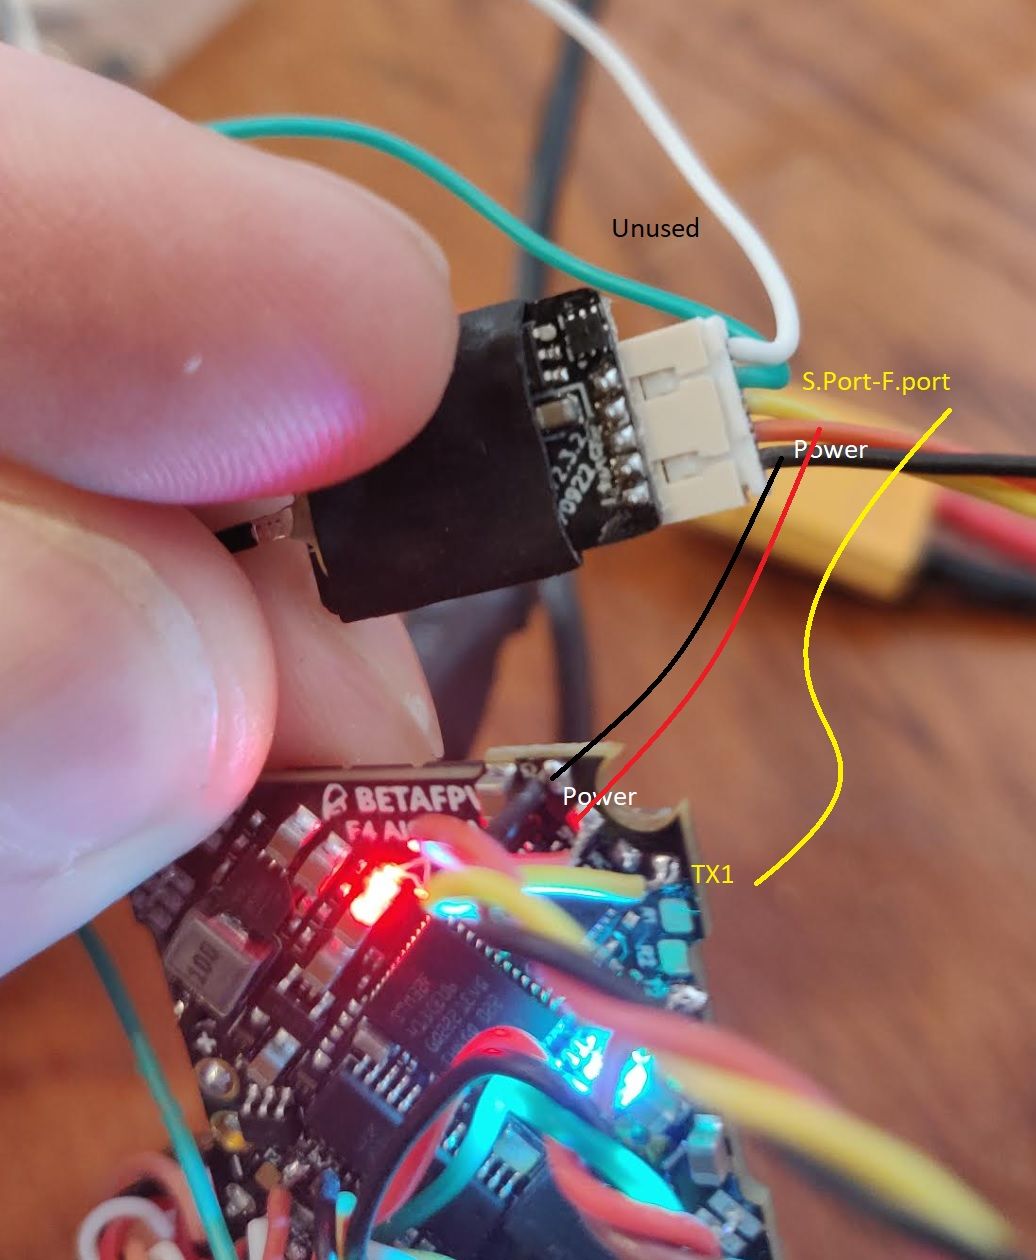
Hiding behind this heat-shrink was the uninverted F.port which I needed to connect to the UART on the FC
Betaflight configuration and build finalization on the bench - notice wire sneaking under RX heatshrink, which connects to the uninverted F.port
Complete, but propless
During this, I somehow wiped the configuration of my Taranis and had to reconfigure all of my other aircraft. While frustrating, this helped me rediscover parts of this process I had long forgotten and introduced me to OpenTX Companion, which is infinitely helpful when setting up the Taranis in a timely manner (Lesson learned – Use OpenTX!). So far so good! I then discovered another issue. Upon powering up the craft I would have a solid video feed, but when my transmitter powered on and bound to the receiver, my video signal would go to shit. At first I thought this was some sort of interference, but after disassembling, separating circuits and experimenting with different placements and power levels, the issue didn’t appear to be related to antenna placement. Instead, I believe it was due to a VTX pit mode switch I had bound that was enabling pit mode (VTX lowest setting) right when it bound to the receiver. Subsequent testing and separating out cables eliminated the issue. Upon finalizing configuration in Betaflight and the Taranis, it was ready for flight testing!
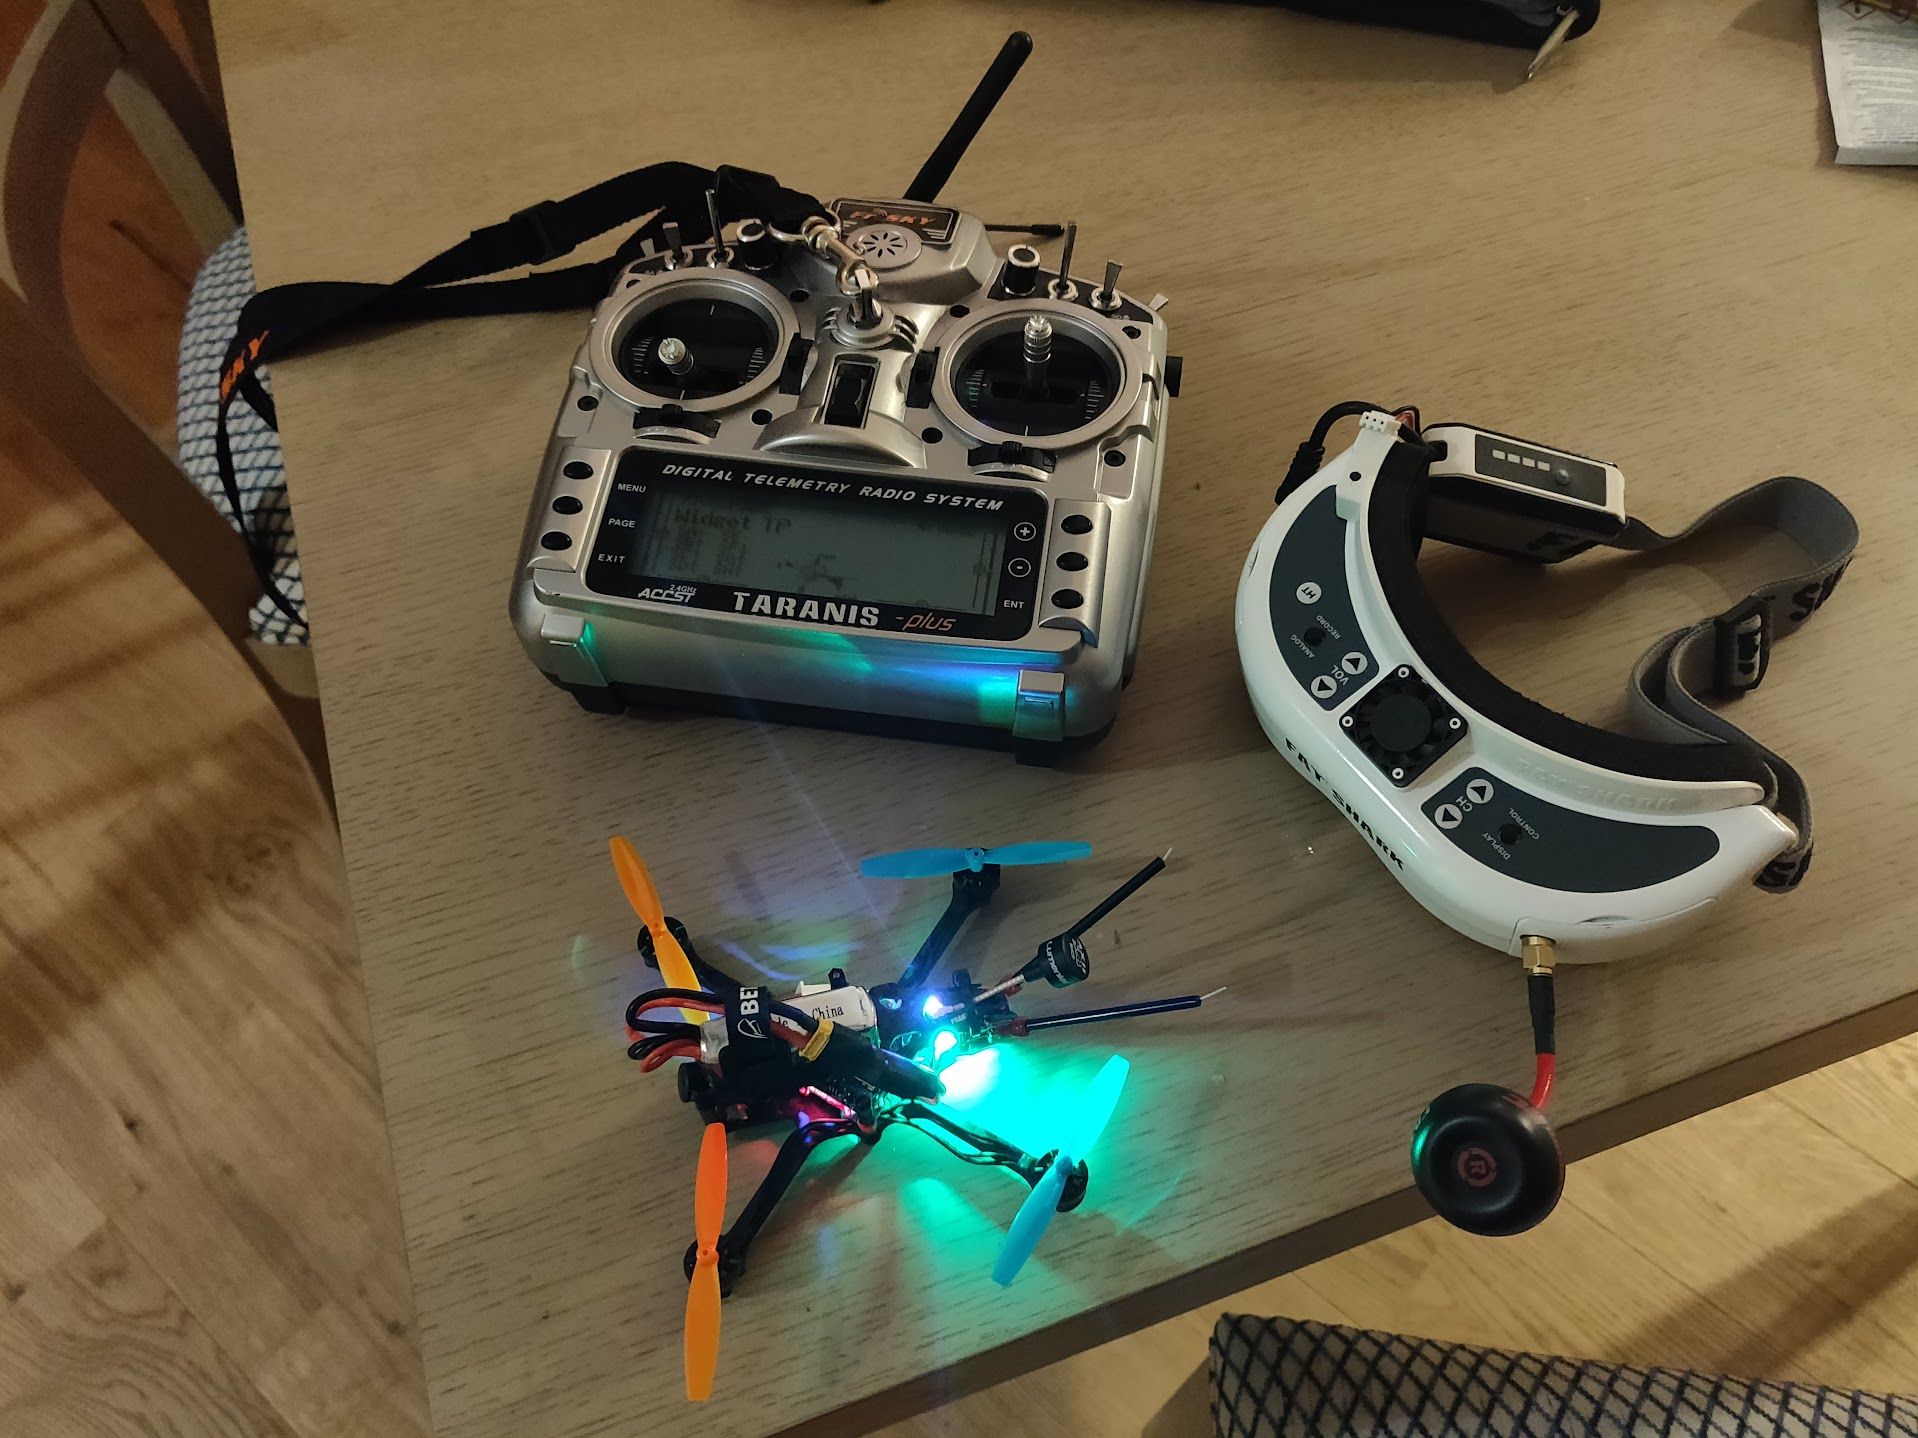
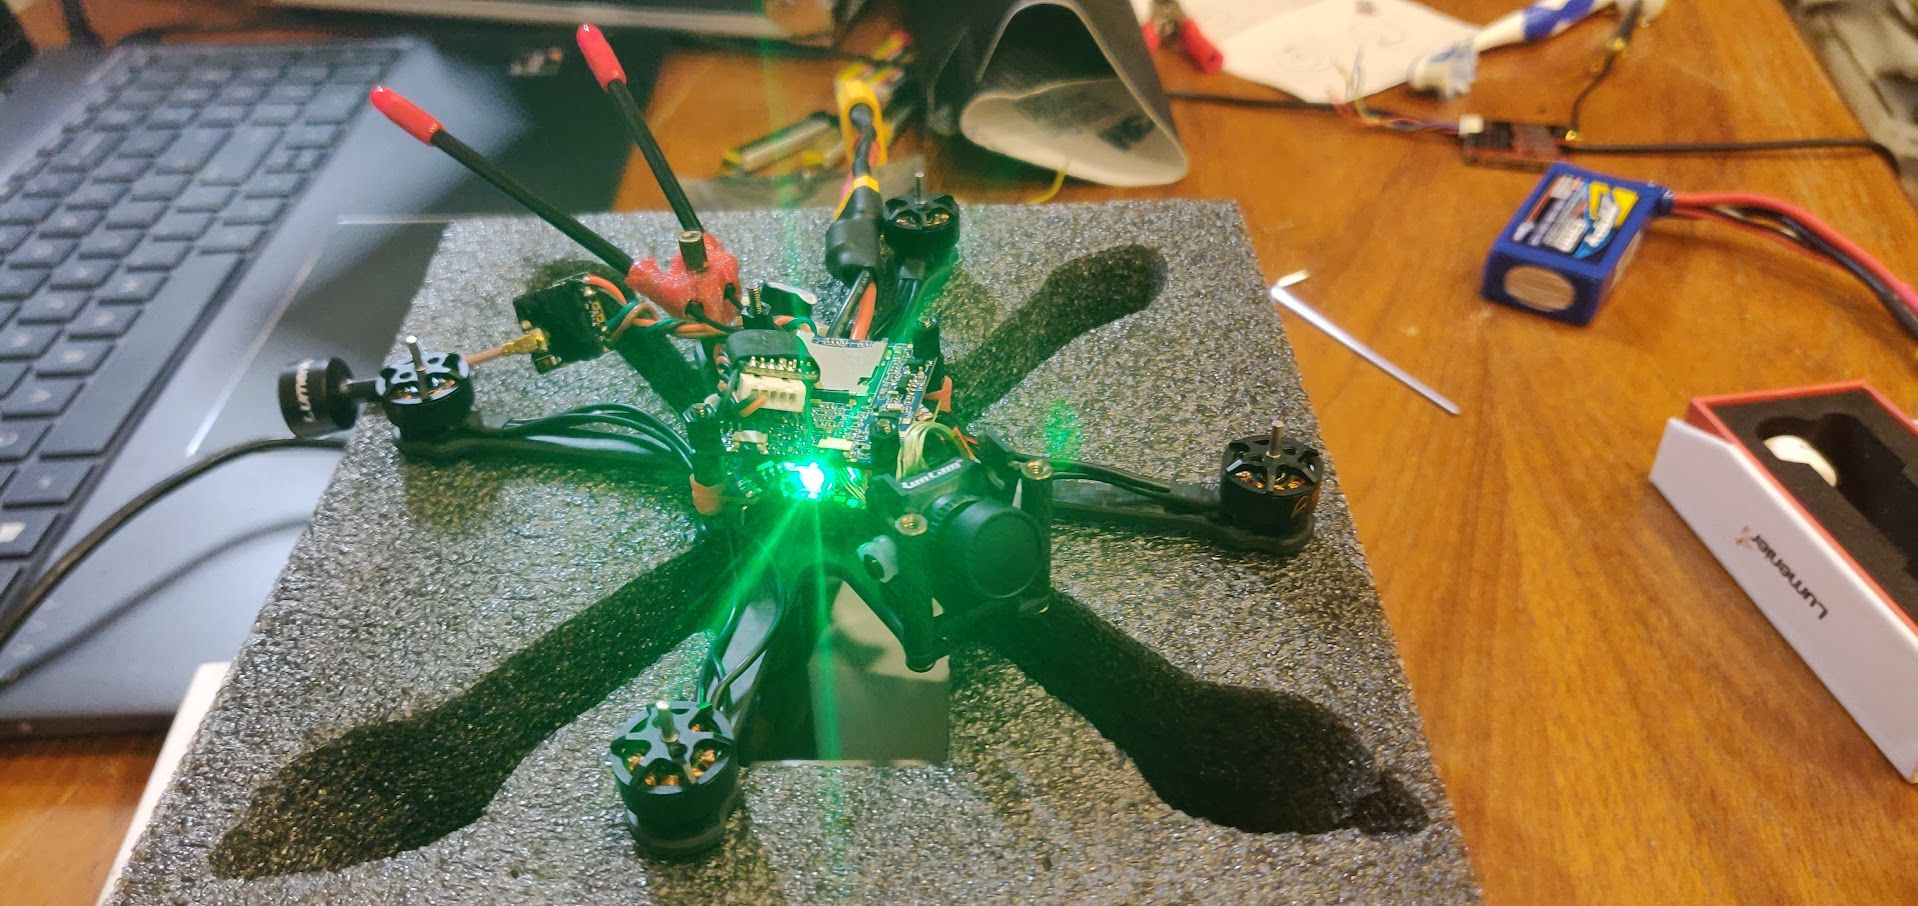
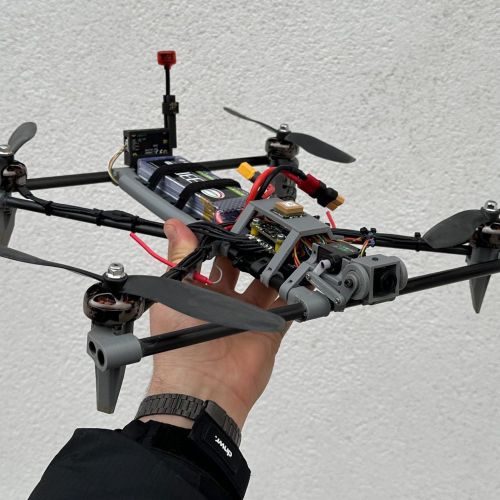
Flight ready!
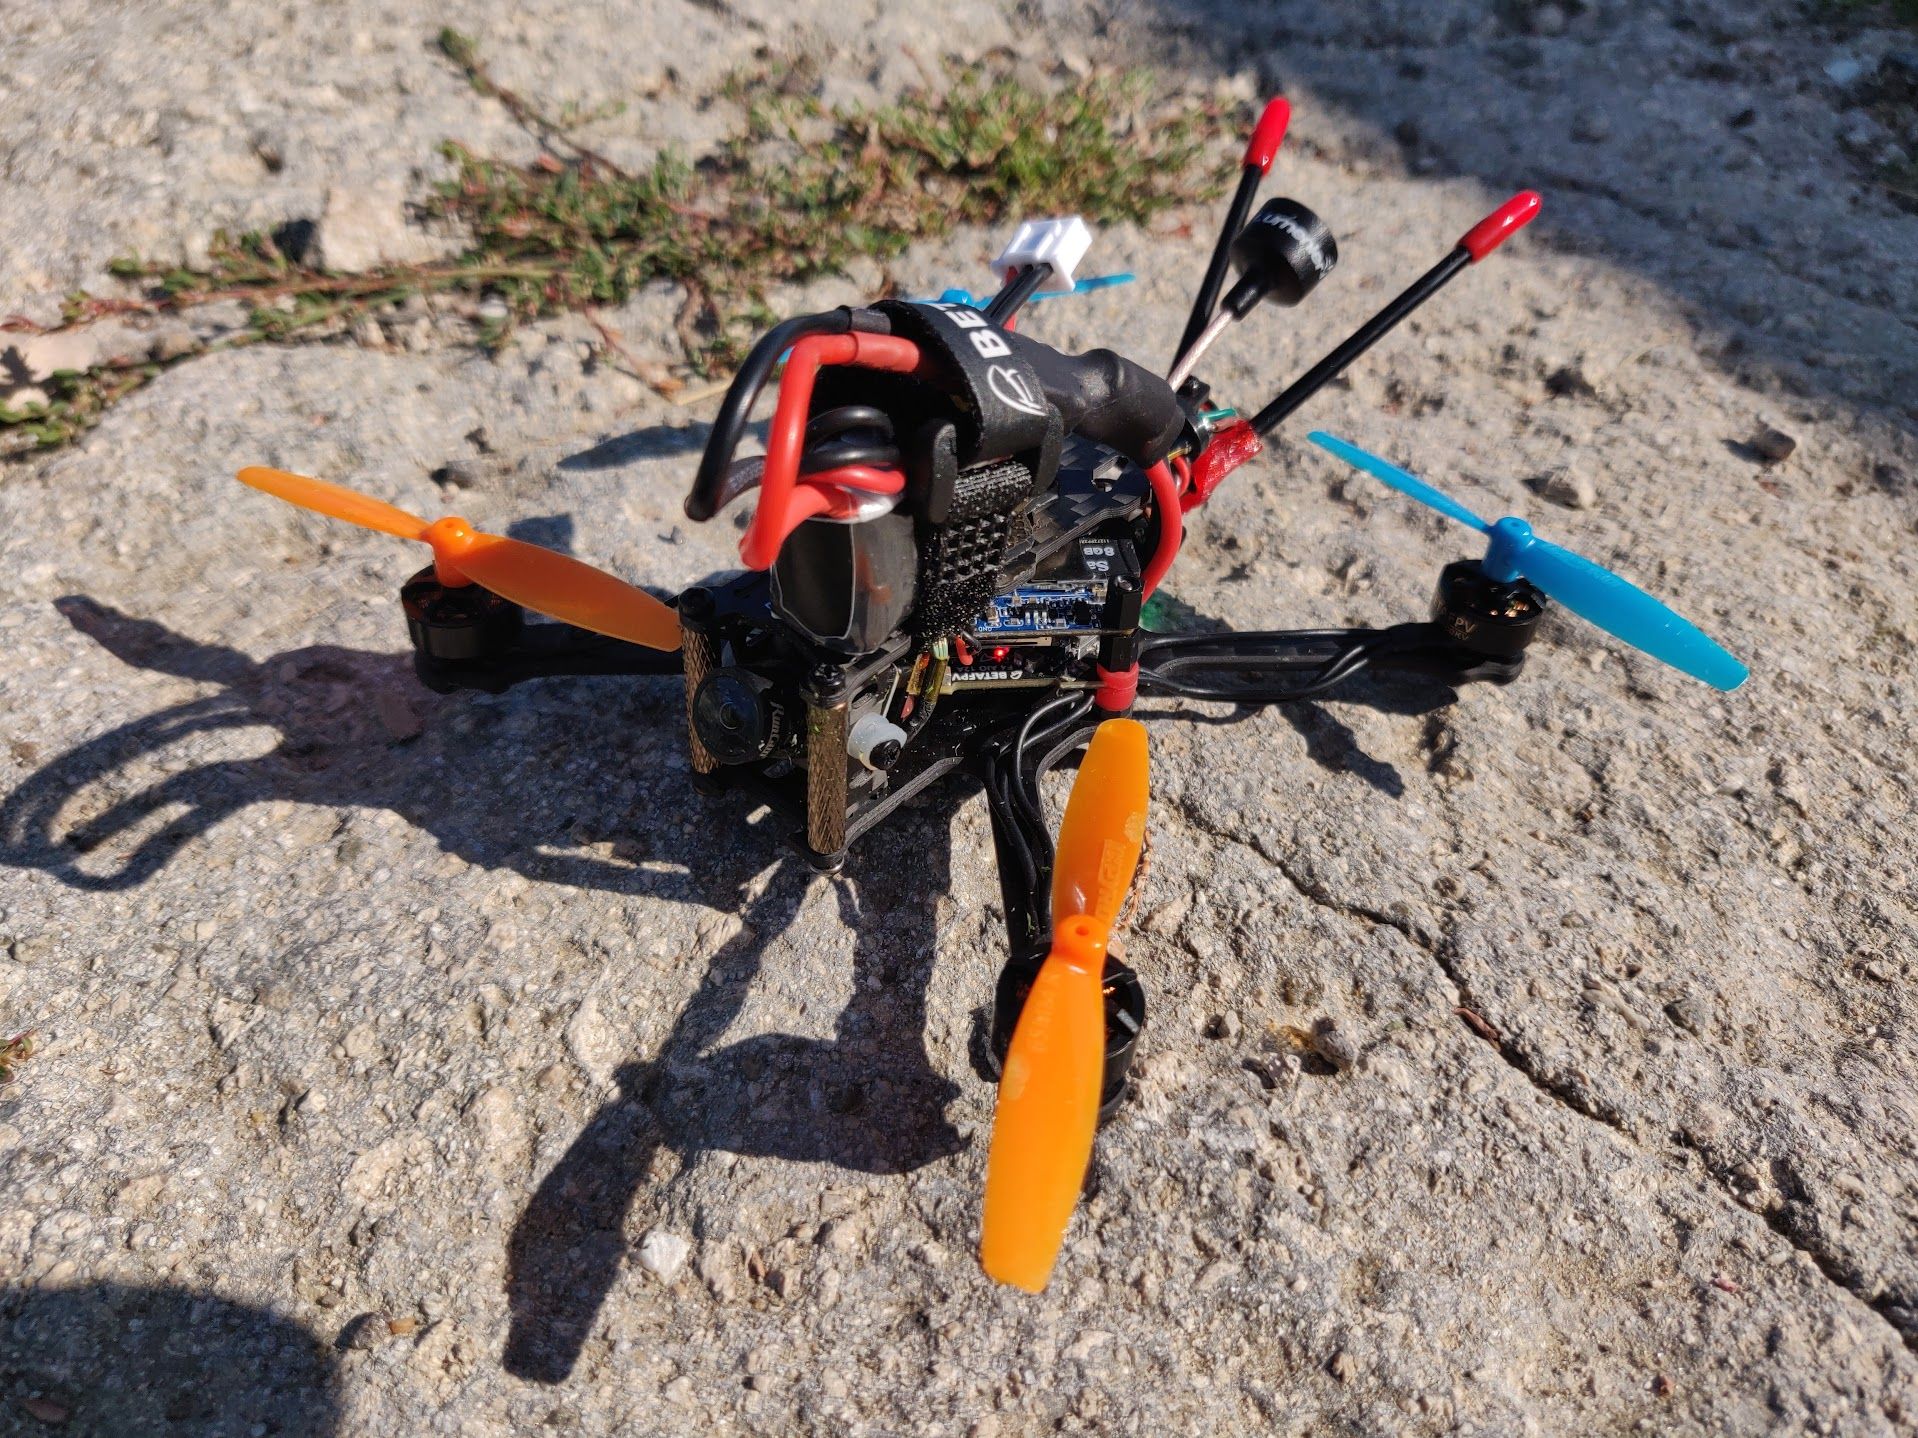
Flight test status: Success! - But returned to bench.
Hover and subsequent flight testing demonstrate that the quad performed well and with more oompfh than I would have ever gotten out of a mini-whoop. However I noticed a few things that bothered me. Firstly, the motors would do some funky stuff and display runaway characteristics on the bench and upon landing after a flight. I am pretty sure this is due to the Airmode that was permanently enabled in betaflight. This was moved to a toggle switch. I also noticed that the buzzer on this quad was simply not loud enough, and as a result I changed the betaflight configuration so that the motors would also chirp and add to the noise – this should enable me to find it more easily should it go down in dense foliage or tall grass. I still wish the buzzer was louder.
Most significantly though, I noticed that when juicing the motors above 50% or so that black bands started appearing in the video feed. After a little research I suspect this is due to a sag in supplied voltage to the VTX when the motors ramp up. I disassembled the quad and removed the VTX power from the 5v/G channel shared with the Buzzer/Lightbar, and moved it over to a vBat pad on the FC. I am hoping that this maintains a higher power output to the VTX and eliminates the black banding.
Finally, an additional issue when testing the DVR found that one needs a fast micro SD card in order for the recording feature to function. There is a little circle on these SD cards with a number in it, if that number isn’t up to spec (10 or so) then the DVR will not record and the “Low card speed” message will be displayed on the DVR OSD. Thankfully I had a spare high-speed micro SD card on hand in an older phone, so was able to pop it in and get HD DVR recordings working from the Toothpick quad.
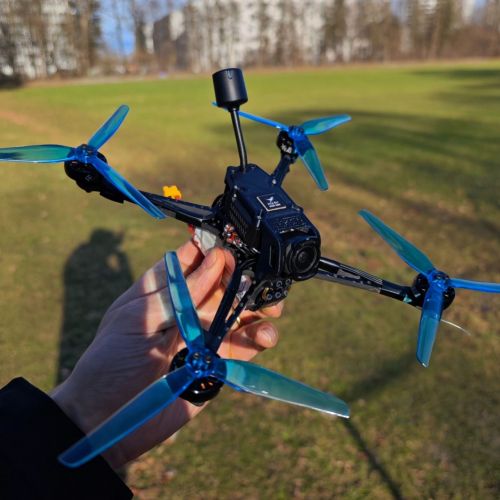
Current status: Flight ready!
The fixes applied after the flight test above resolved the issues I was seeing with the FPV feed and quad behavior. Widget made a number of subsequentially successful flights, harassed some wildlife and captured some good footage from the RunCam 4. Looking forward to having some more fun in the countryside with this one!
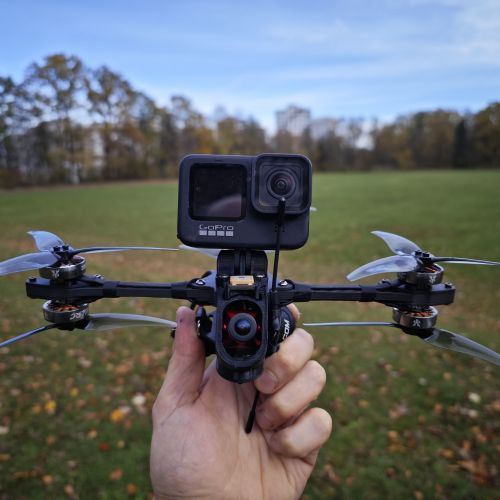
In the wild
Photos
Part List
Frame |
GEPRC GEP-PT 2.5" Frame Kit
Getfpv.com
|
$18.99 |
Flight Controller |
BETAFPV F4 2-4S 12A V2 BLHeli_S AIO Brushless Flight Controller
Getfpv.com
|
$34.99 |
Motors |
BETAFPV 1103 8000KV Brushless Motors
(4 builds)
Getfpv.com
|
$39.99 |
Propellers |
Pyrodrone 65mm Toothpick Propeller (1.5mm Shaft - 5 Sets)
Amazon.com
|
$7.91 |
FPV Camera |
RunCam Split 4 Whoop 14x14 FPV / 4K HD Camera
(3 builds)
Getfpv.com
|
$74.99 |
FPV Transmitter |
TBS Unify Pro32 Nano 5G8 V1.1 500mW Video Transmitter
(396 builds)
Getfpv.com
|
See Site |
Antenna |
Lumenier Micro AXII U.FL 5.8GHz Antenna (RHCP)
(11 builds)
Getfpv.com
|
See Site |
Receiver |
FrSky R-XSR 2.4GHz 16CH ACCESS/ACCST Micro Receiver w/ S-Bus & CPPM
(936 builds)
Getfpv.com
|
See Site |
Batteries |
TATTU 4PCS 7.4V 300mAh 2S 45C LiPo Battery Pack with XT30 Plug for Emax Babyhawk Micro FPV Quad Racing Drone
Amazon.com
|
$29.99 |
Misc Parts |
HGLRC WS2812 Colorful LED&5V Active Alarm Buzzer
(5 builds)
Hglrc.com
|
$4.99 |
Guides & Reviews

AirbladeUAV has done it again and this time they've brought long range to the 5" class! Based on the popular Transformer Mini, the new Transformer 5" Ultralight adopts a lot of the same design philosophies with larger props and more payload capacity. It can fly upwards of 20 minutes on a 4 cell Li-Ion battery pack and in ideal conditions it's got a range of over 4 to 5 miles. In this guide I'll walk..
Read more
With the release of the DJI FPV Drone cinematic FPV has become a lot more accessible, but you certainly don't want to crash a $750 drone! The QAV-CINE Freybott is a compact, lightweight cinematic FPV drone that can take a hit and keep going. It's a lot safer to fly indoors and around people. With a naked GoPro or the SMO 4k you can capture some great stabilized footage. In this guide I'll show you..
Read more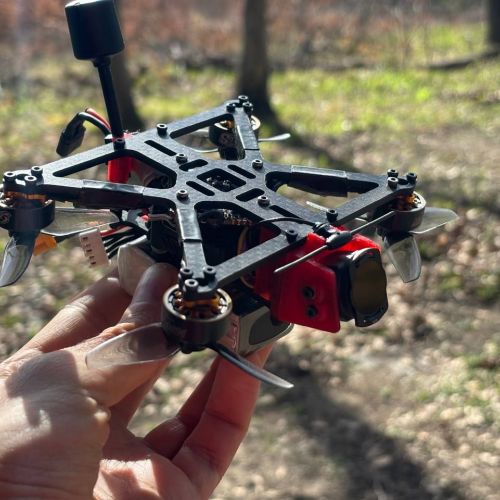

New Message for FrozenLiquidity