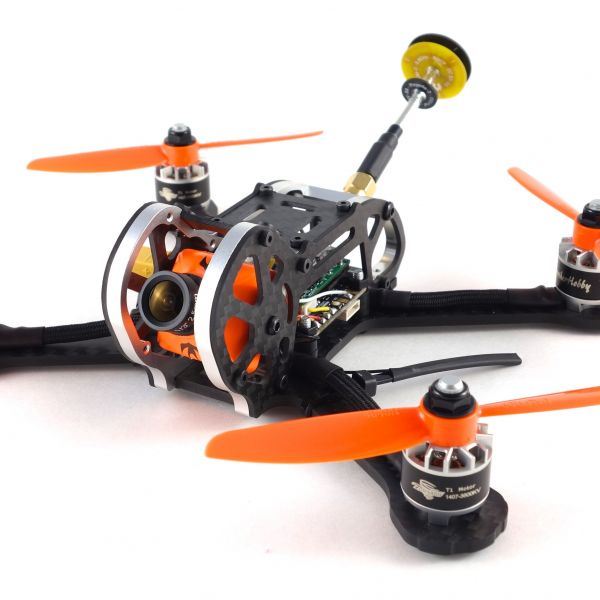
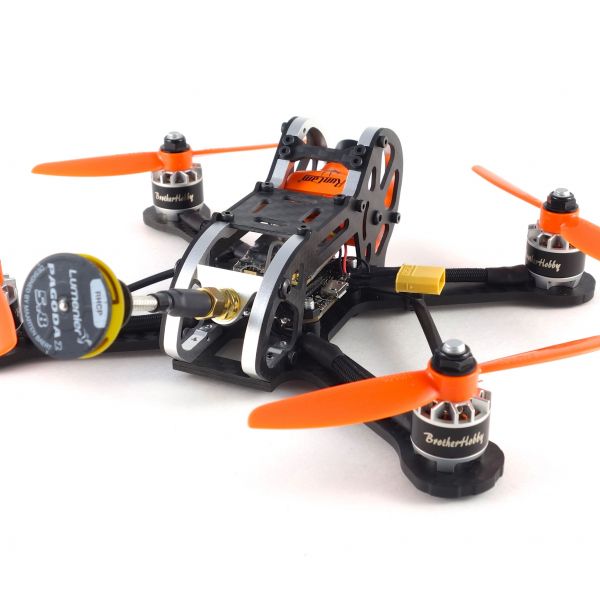
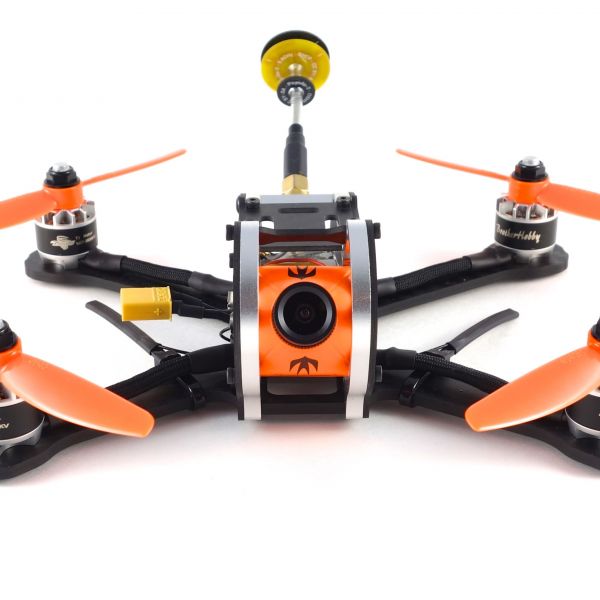
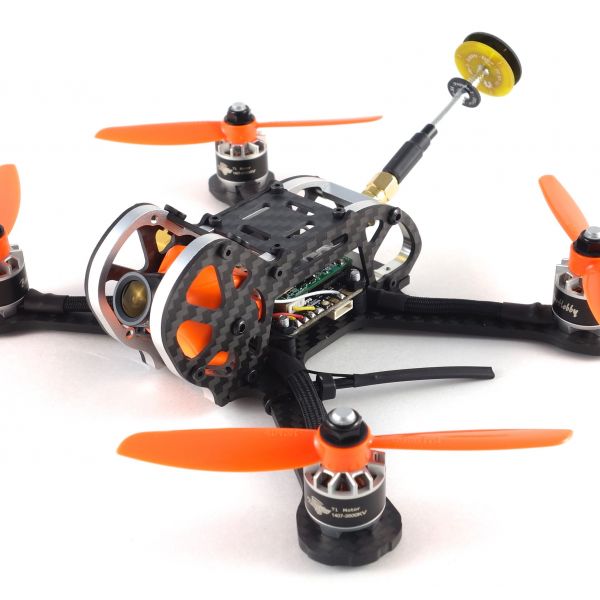
The Armattan Japalura is the little brother to the popular Armattan Chameleon. The components used here will work on either the 3" or the 4" baseplate. Traditionally 1407 motors have been used exclusively on 3" builds, but a new trend has emerged putting 4" props on a 3" powertrain. The advantage is a light-weight build with the flexibility to choose either 3" or 4" props and carry an HD camera. This particular configuration can easily handle a Mobius mini.
Here we're using the new KISS All-in-One flight controller. Joined with the X4R receiver and TBS Unify VTX we can tune PIDs and change radio frequencies through a Taranis. While support for the TBS Unify isn't cooked into the KISS firmware at the moment, it will be released any day now.
Other than what is listed below, here are a few bench necessities for any build:
- Zip ties
- Blue loctite
- Heatshrink of various sizes
- Paracord 550 (optional)
- A nylon nut set with 2mm and 1mm spacers
Mounting the Flight Controller
It's best to start by fitting the stack. Sometimes this can be the most time consuming part of the build depending on your stack space and standoff selection. It's definitely good to have a wide variety of standoffs on hand because the included standoffs rarely ever work. Here I used 7mm anti-vibration standoffs. While most flight controllers work just fine, soft mounted or not, these are less prone to break and could potentially improve flight performance. That being said, they can be troublesome to fit as the female end is more shallow than a typical standoff. I ended up sending a 5mm screw with a 1mm spacer through the bottom plate into the anti-vibration standoffs. Without the spacer the threading is too long.
Motors
Next you'll want to mount the motors. Normally I attach them using two screws at first in the event that I need to remove them for whatever reason. Just don't forget to finish them up with loctite before the maiden. Once the motors are in place and the flight controller is mounted you'll want to cut the wires to length. I used 2" lengths Paracord 550 to protect the wires, but that's entirely optional.
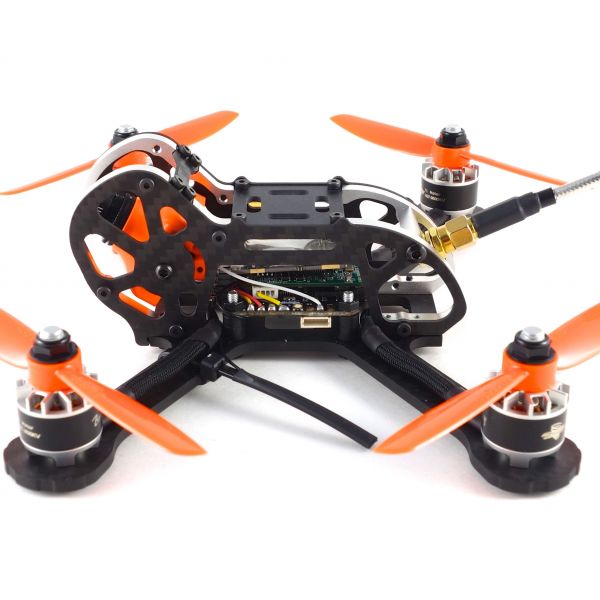
You'll want to cut each motor wire to length individually to reach their respective ESC pads. While KISS doesn't support motor rotation changes via software, you can solder jumper pads to change the rotation as necessary. To cut each wire you need to lay it down flat against the arm, run it up to the standoff, follow the edge of the board and divert straight up into the groove of the ESC pad. It's important that the wires remain under the flight control board otherwise they'll get in the way of the canopy mounts.
You'll also want to solder the XT30 connector to the Lipo input pads of the flight controller. I like a short lead here, so 2-3cm should be sufficient.
Receiver
Since KISS doesn't allow you to test your motor rotation without a bound transmitter, you'll want to wire up your receiver first. This is fairly straightforward, so just refer to the photos to learn the wire positions. To prepare the FC pads, add a little flux and create a nice shiny pillow of solder. The key is to leave none of the copper pad showing. This is where a quality iron is important. If the solder makes a pointy bit as you pull away you either aren't operating at a high enough temperature (750 to 800 degrees) or your iron tip lacks sufficient flux.
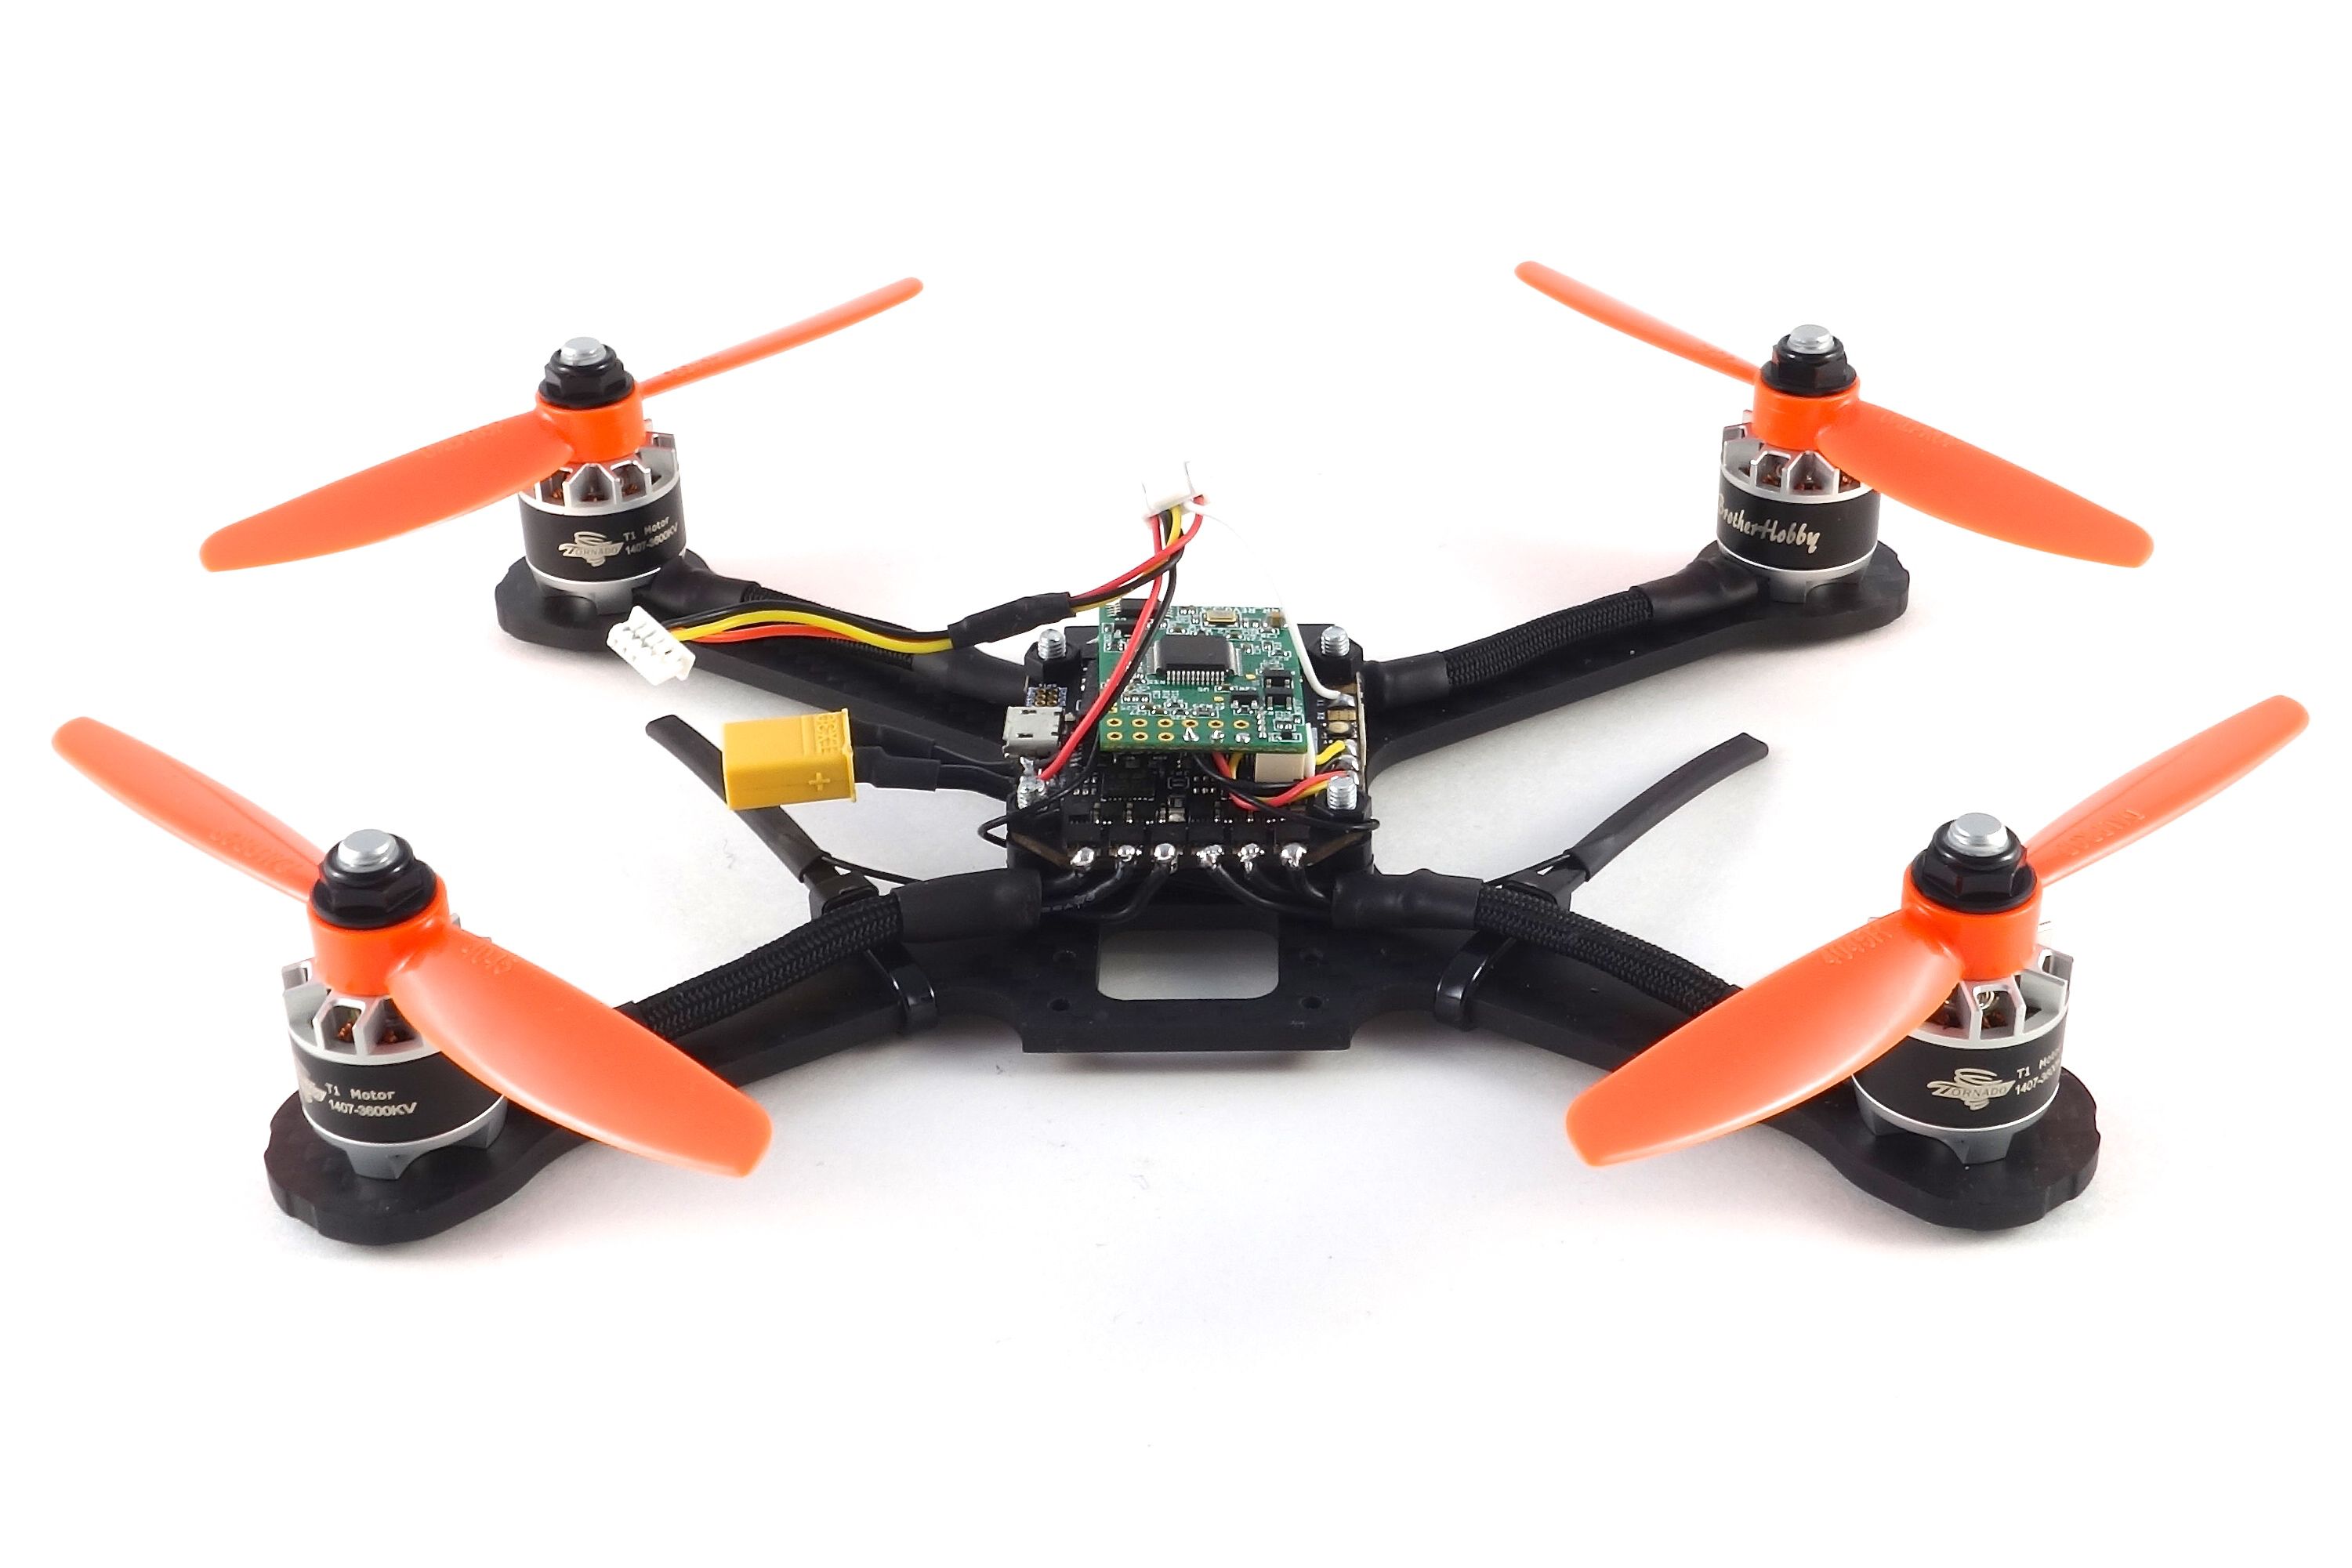
Now you need to bind your RX and test the motor rotation. First download the latest KISS "CC" FC Firmware and install KissFC to Google Chrome. To update the firmware open KissFC, plug the USB cable into your flight controller, hold the boot button and plug the other end into your computer. While continuing to hold the button choose the firmware you downloaded and flash it. If you let go too early the process will fail.
After the firmware has been updated, attach a lipo, connect to the board and click "Data Output" to test the motor rotation. I normally rub each motor to feel the rotation direction. For any motor that spins the incorrect direction solder the corresponding JP1 jumper for that motor. Refer to the KISS CompactCTRL "CC" Manual for details.
Once you've completed these steps you can mount your RX and antennas. What I did was use a couple layers of double sided tape to prevent any potential shorts against the flight controller. Using wide shrink tube would be a better solution, but I had none wide enough for this RX. The antennas are incredibly long, so I rotated the U.fl connectors 180 degrees to send the antennas forward. I wrapped them around the standoffs across to the other side, and out behind the front arms. If you do it just right you'll manage 2in of zip tie for the tips of both antennas.
Canopy and FPV
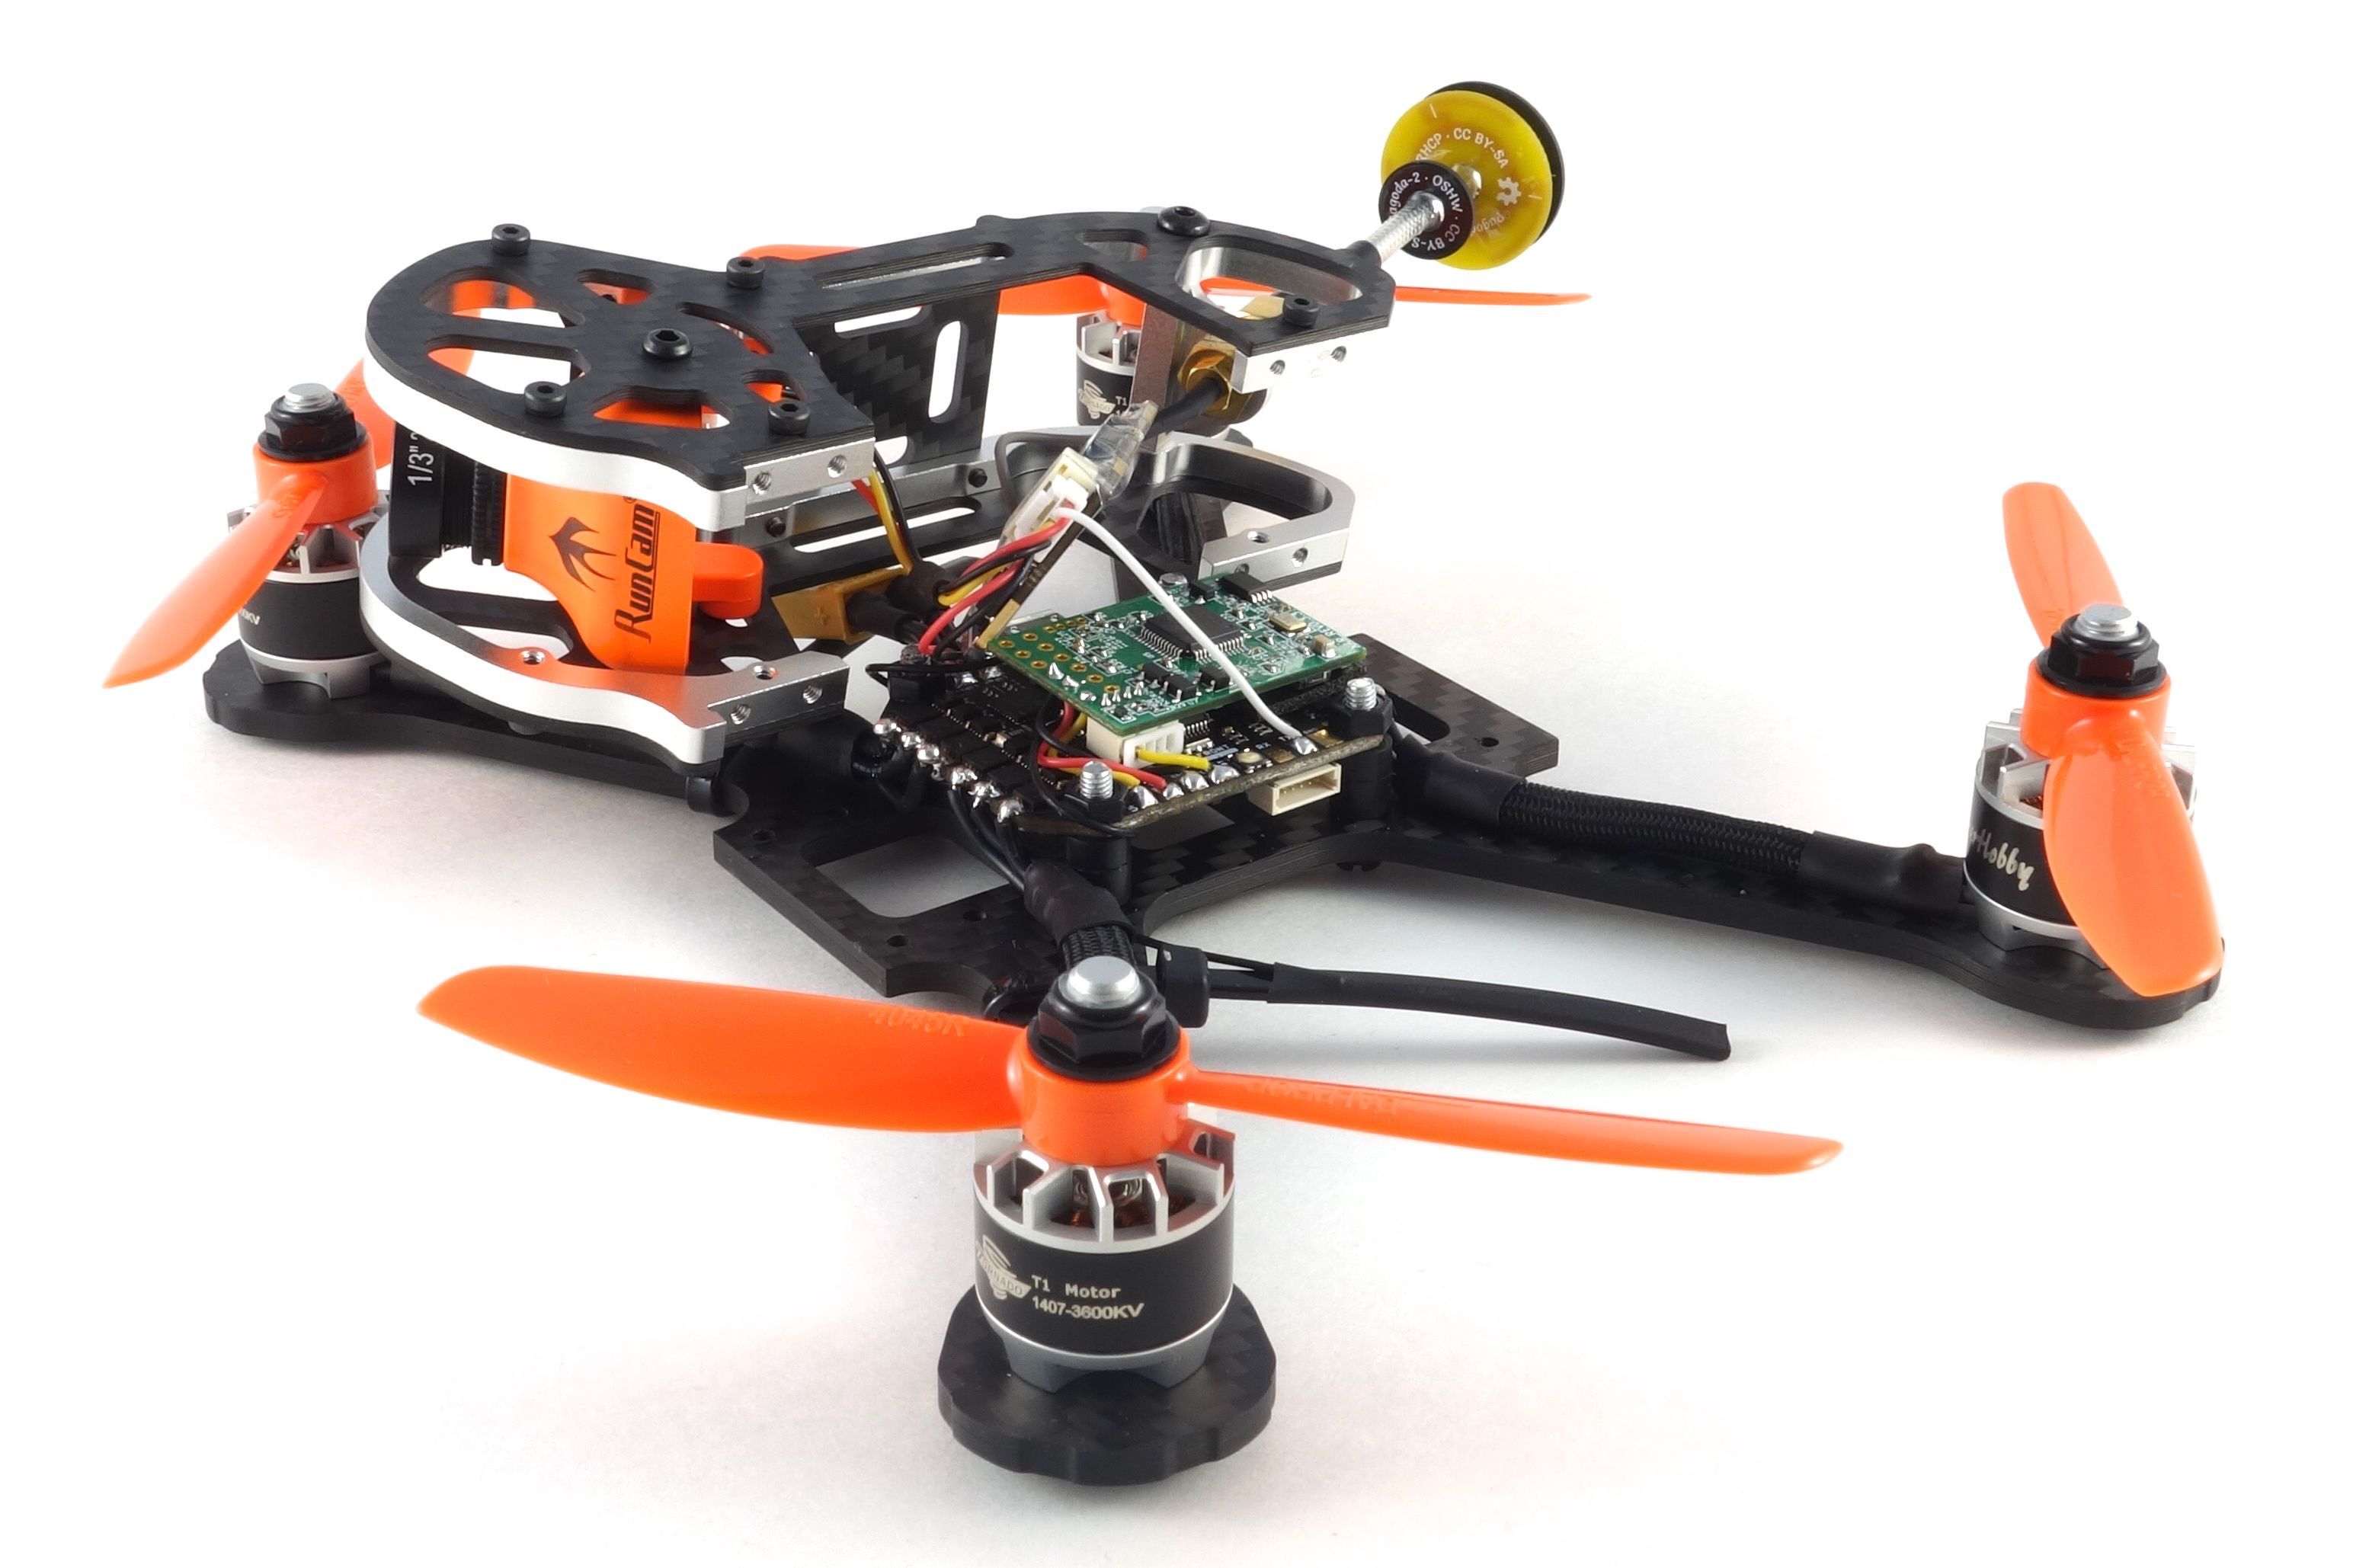
Now you can assemble the canopy and wire the camera and VTX. Be sure to mount the antenna holder flat side out so the wings of the pigtail catch the lip. This prevents the pigtail from rotating as you attach your antenna. Since we'll eventually be using TBS Smartaudio, you can solder the audio wire of the VTX to the TX pad of the FC. Now depending on which version of the TBS Unify you're using (HV or 5V) you'll either want to solder the power leads to the lipo input pads or the RX 5v/GND pads. Once you've done this you can solder the Runcam wires to the VTX wires to complete the wiring. Just be sure to leave enough slack to remove the canopy.
Finishing up!
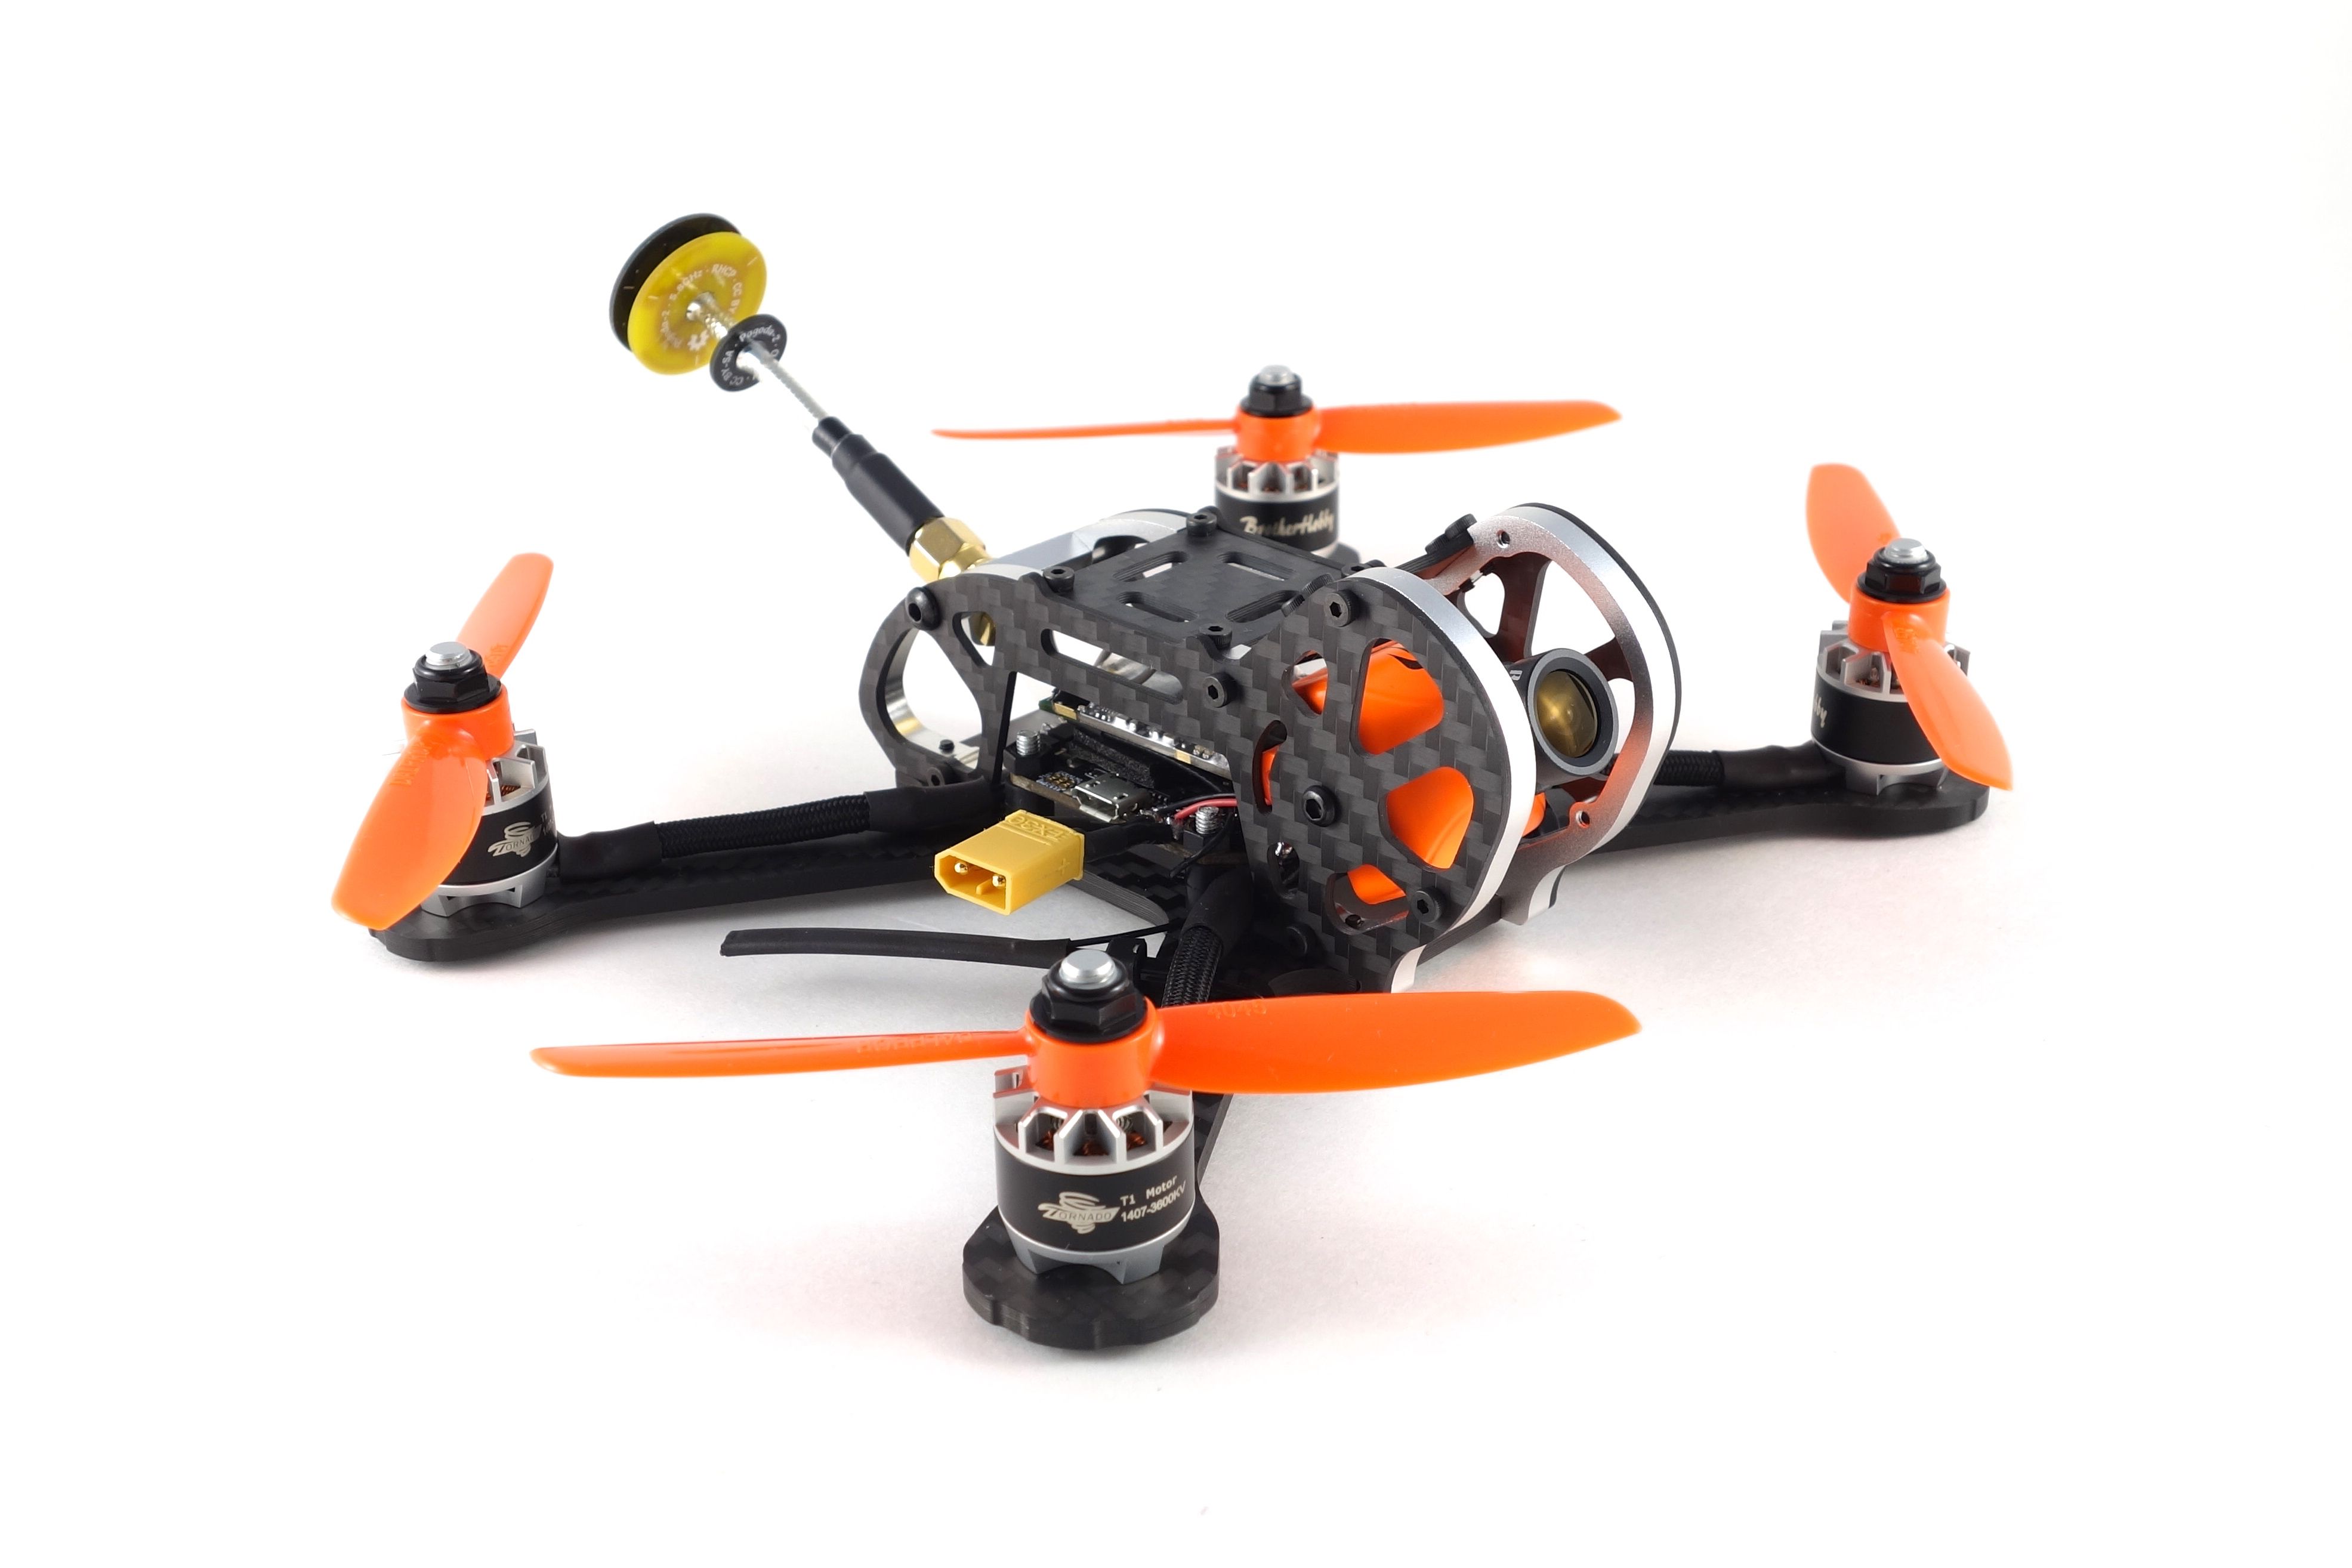
Now you can attach the canopy being careful not to pinch any motor wires. I found that the pigtail can assert just enough pressure to hold the VTX to the top of the RX, so I didn't use any tape to hold it down. It seems to fit just right behind the camera, so I don't believe it'll be moving around in there. Be sure to loctite your motors and you should be ready to maiden!
Photos
Part List
Frame |
Armattan Japalura 4" - Silver
(13 builds)
Getfpv.com
|
$77.99 |
Flight Controller |
KISS CompactCTRL CC All-in-One (FC + 16A ESC x4)
(42 builds)
Getfpv.com
|
$95.99 |
Motors |
4 x Brotherhobby Tornado T1 1407 3600KV
(329 builds)
Getfpv.com
|
$63.96 |
Propellers |
DAL 4045 Regular
(8 builds)
Dalprops.com
|
$0.99 |
FPV Camera |
RunCam Swift 2 (2.5mm lens) - Orange
(412 builds)
Getfpv.com
|
$34.99 |
FPV Transmitter |
TBS Unify Pro 5G8 HV (SMA)
(596 builds)
Getfpv.com
|
See Site |
Antenna |
Lumenier Pagoda 2 5.8GHz Antenna (RHCP)
(25 builds)
Getfpv.com
|
$8.49 |
Receiver |
FrSky X4R-SB - 3/16 Channel Receiver with SBUS and CPPM without pins
(128 builds)
Getfpv.com
|
$22.49 |
Misc Parts |
Anti-Vibration Flight Controller Standoff
(7 builds)
Getfpv.com
|
$3.99 |
What sort of flight time are you seeing with what battery type? I am thinking 1000 mAh or 1300 mAh, looking for longer flight time
That is a sick build, you gonna run batteries on top or bottom? Think a 1000mah 4s would fit up top?
What size battery could this carry? (I'm trying to figure out if I can use my collection of 1300mah batteries on a smaller build)
Hi! I can't stop watching this beauty, thanks for posting it! I love it and I'll build it with the exact same setup but 3". I was wondering how much does it weigh? (I really want to be sub-250g) Thanks in advance for your answer, and congrats ...Nicely done!
Glad you liked the jap 4. I had a lot of fun designing that one. I thought the 5" would be my favorite, but the 4" definitely takes the win for me. I built 2 and I don't really fly anything else now.
Well congrats on the successful designs! The Chameleon really has taken the scene by storm. I don't think a day or two goes by without a new Chameleon post here. Whose idea was it to go with the reptile theme?
The Japalura really looks like it was meant to be 4". The Chameleon has 5" covered and the Jap is a little heavy for 3", so 4" really hits that sweet spot.
Which 4" props are you using?
Work of art! O-rings work great to cover that extra distance the anti-vibration standoffs leave as well as a 1mm spacer.






amazing build! would you mind sharing your KISS CC settings?
I've been itching to fly this one. I'll see if I can take a screenshot when I get in there.