Ænima
 By Third Eye FPV on Nov 07, 2017
Ænima
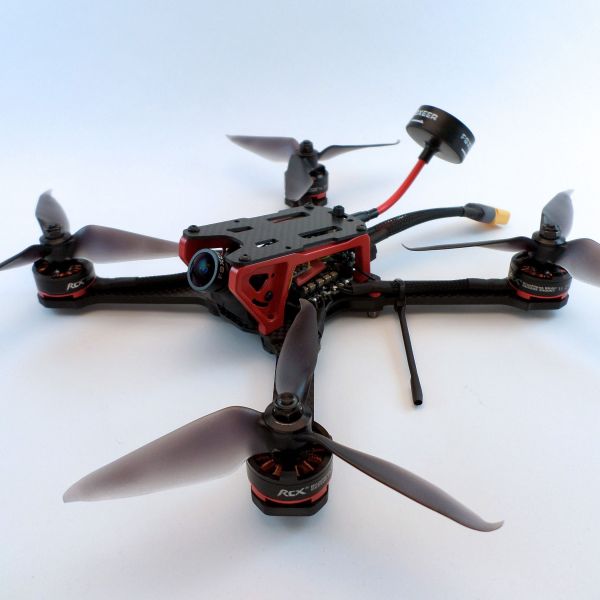
I've been into FPV for a few months now and was already thinking about my second quad half-way through the first! With this build, I wanted to spend a bit more time - and budget - into the components that I wasn't happy about in my first build - Undertow.
What's with the weird names?
Firstly, it's pronounced "ON-ima". If you're a Tool fan, you'll know exactly what's going on here - my builds are being named after Tool's albums in chronological order. When the new album drops, this will leave me with five large quads and micro-builds (Whoop Whoops etc.) will be named after EPs. I'll probably move onto favourite songs if I'm still into the hobby!
Frame
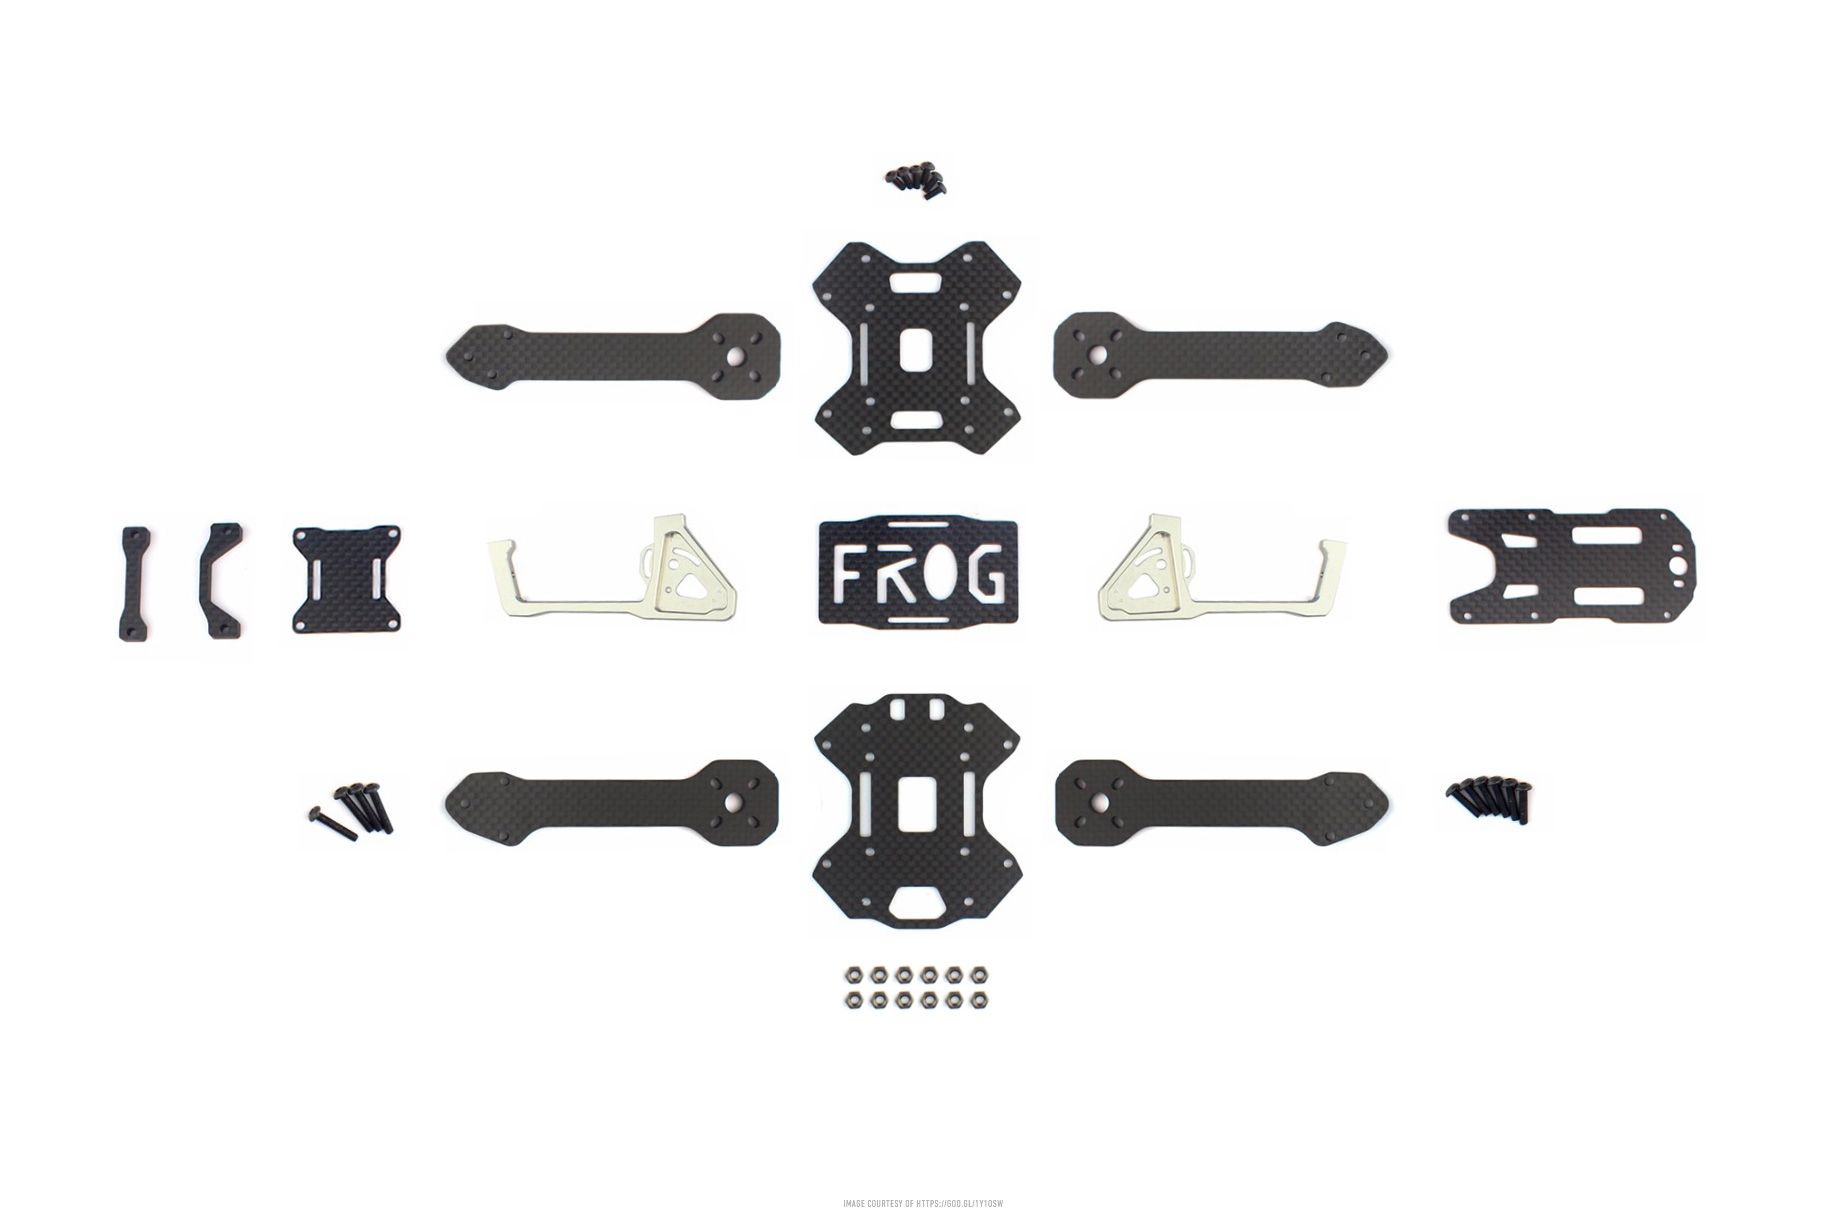
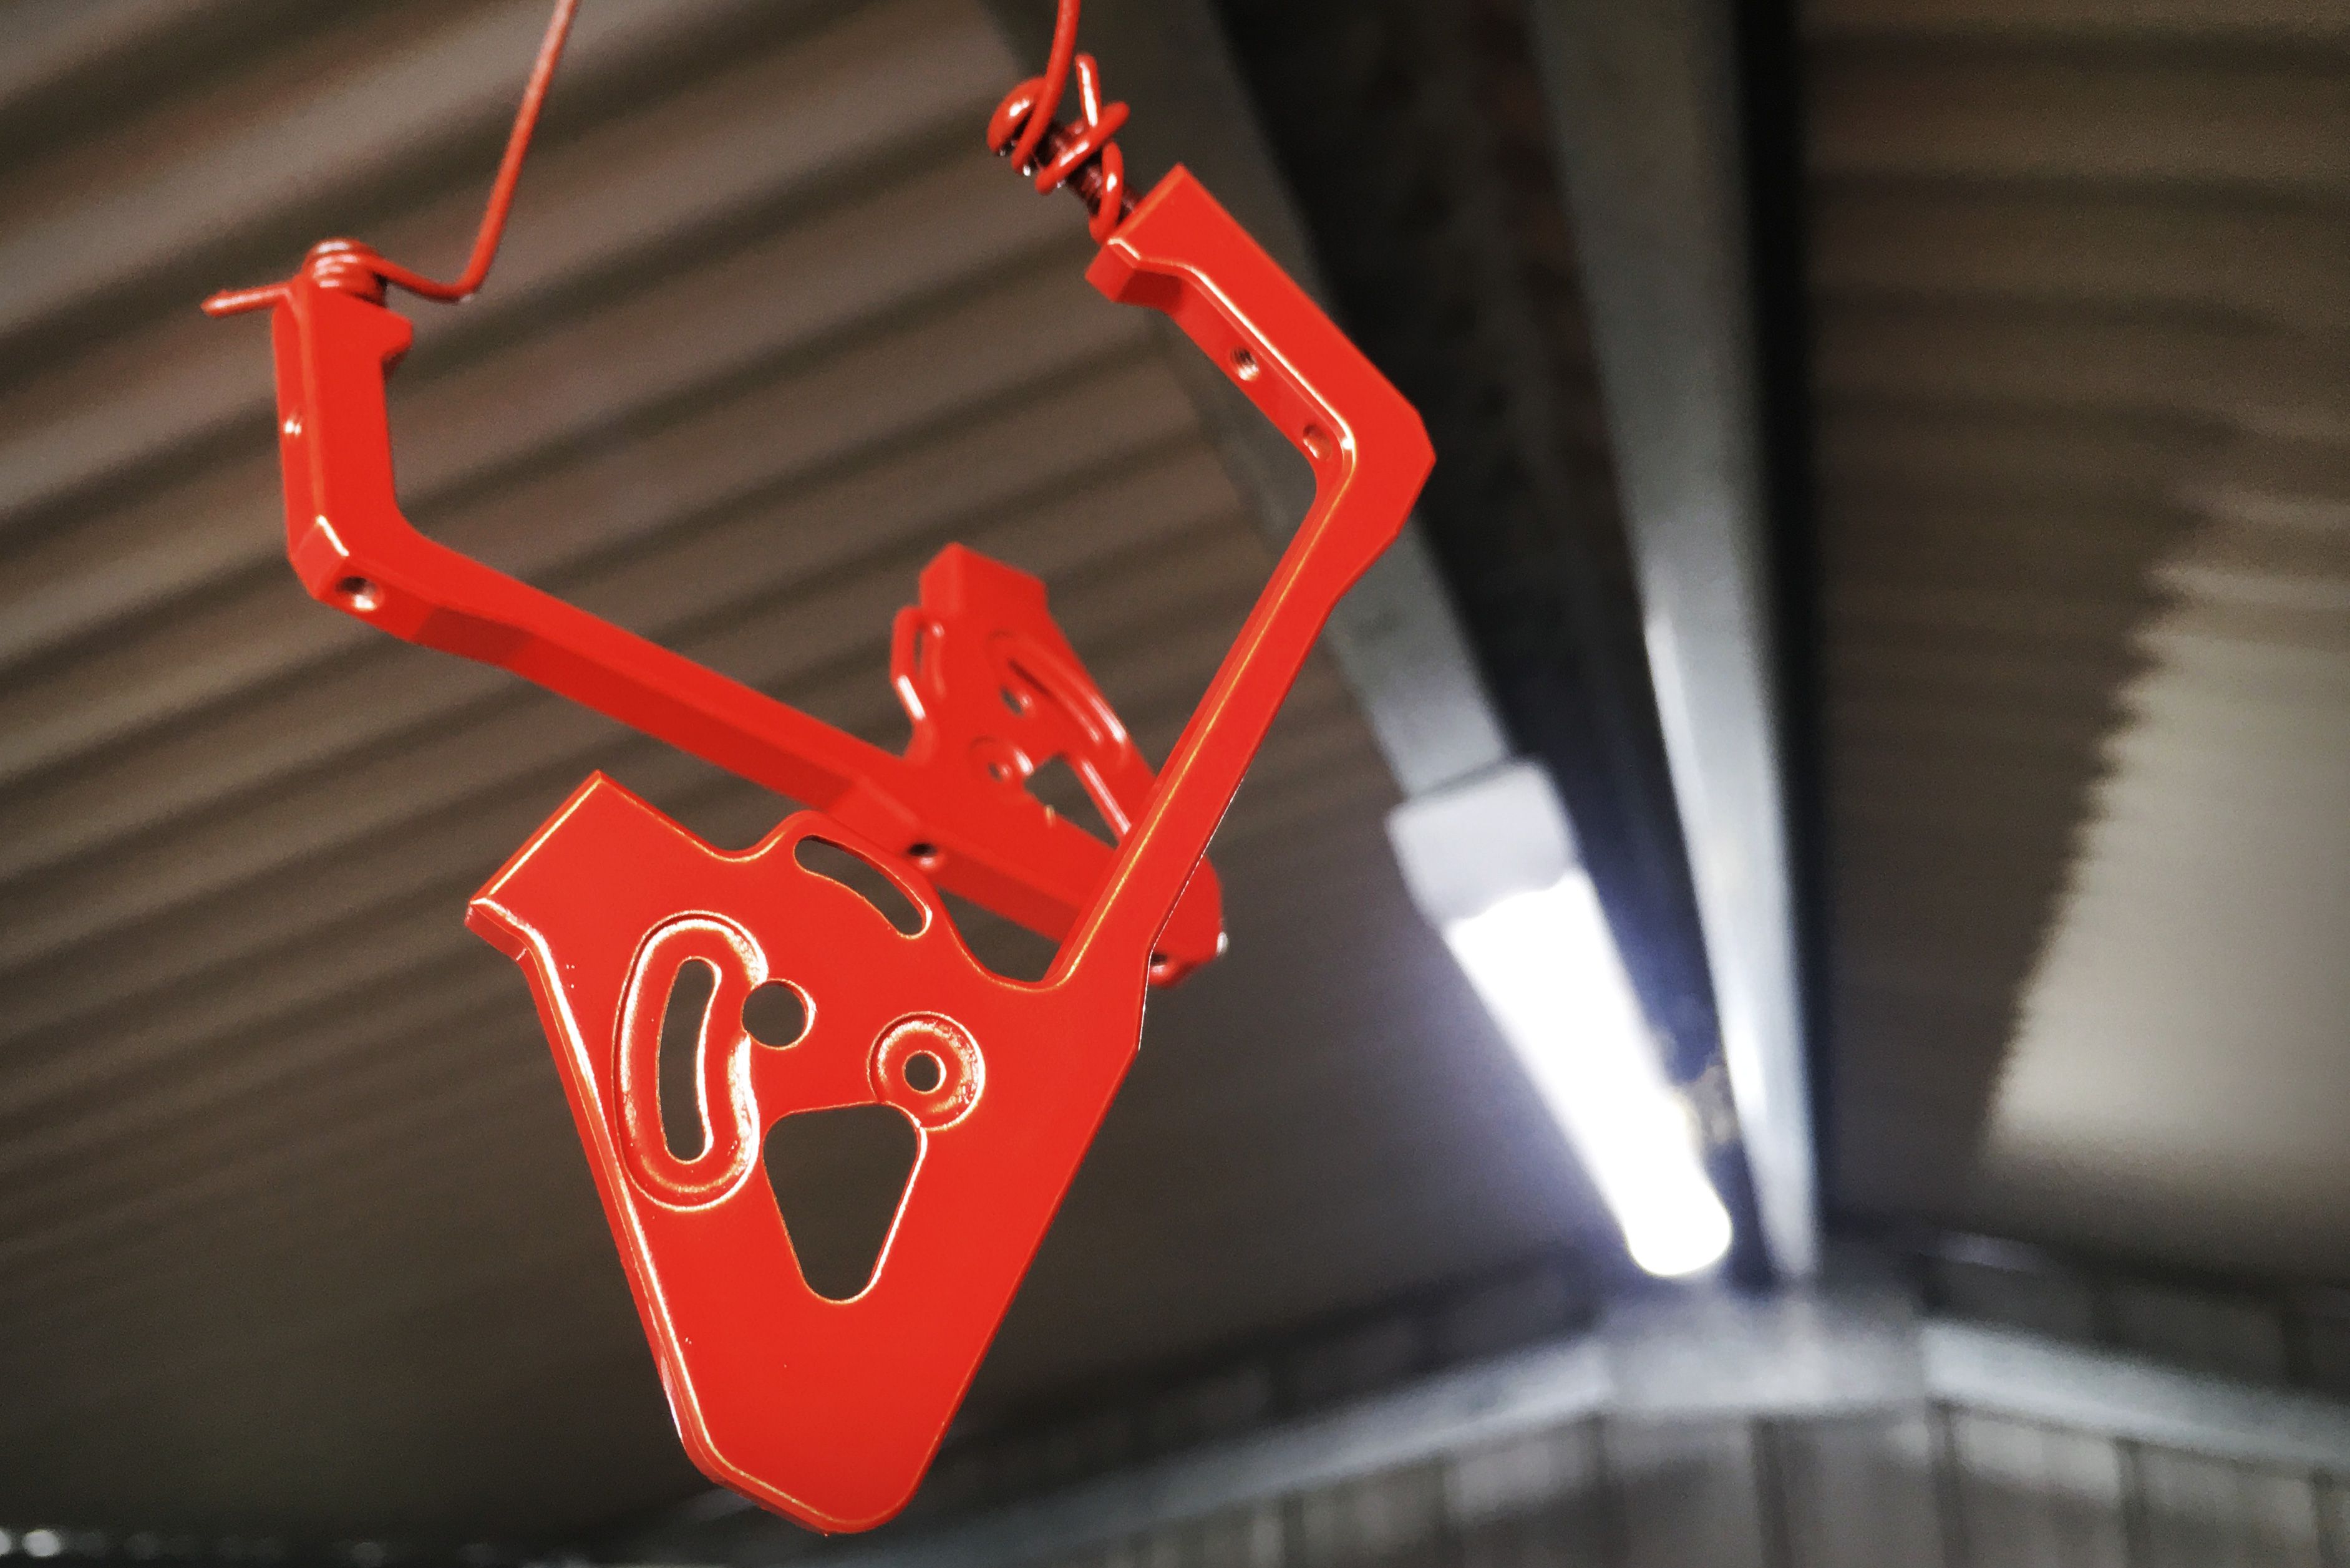
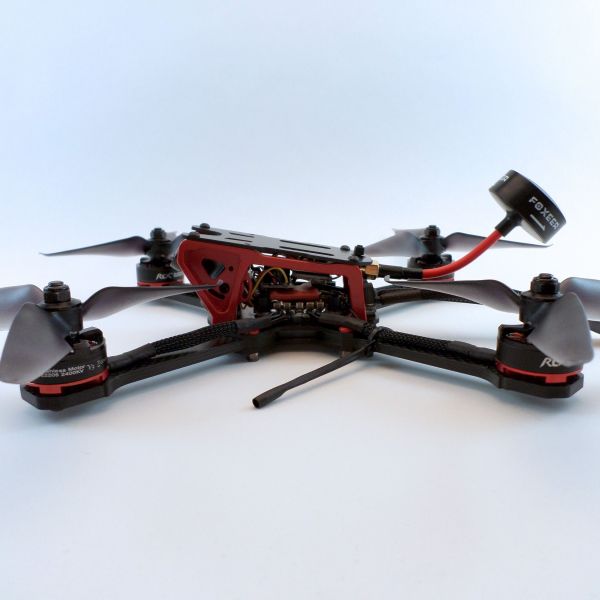
I really love the TransTEC frame - both the Whiffles and Drone Mesh builds inspired me to go with the Frog. I had my heart set on the race version but unfortunately they've stopped making it so I went with the Lite version (seperate arms). The thing in particular I like are the aluminium side brackets - there's lots of scope to add a splash of colour to suit the colour frame. In this instance, I've given the brackets a few coats of Cherry Red followed by a few coats of clear. Tip: Keep spray strokes lite and start/end the strokes away from the frame - this will help you avoid any blotches and pooling of paint
Colour Scheme
When it comes to quads, I'm definitely a style over substance kinda person - I'd much rather choose a component that matches the colour scheme build over a component that may be faster/better/cheaper (within reason of course!). Last build was purple so this time I am going red. Given the number of quad parts that are red and/or have red accents, it should be fairly easy to find components that will match nicely.

Motors
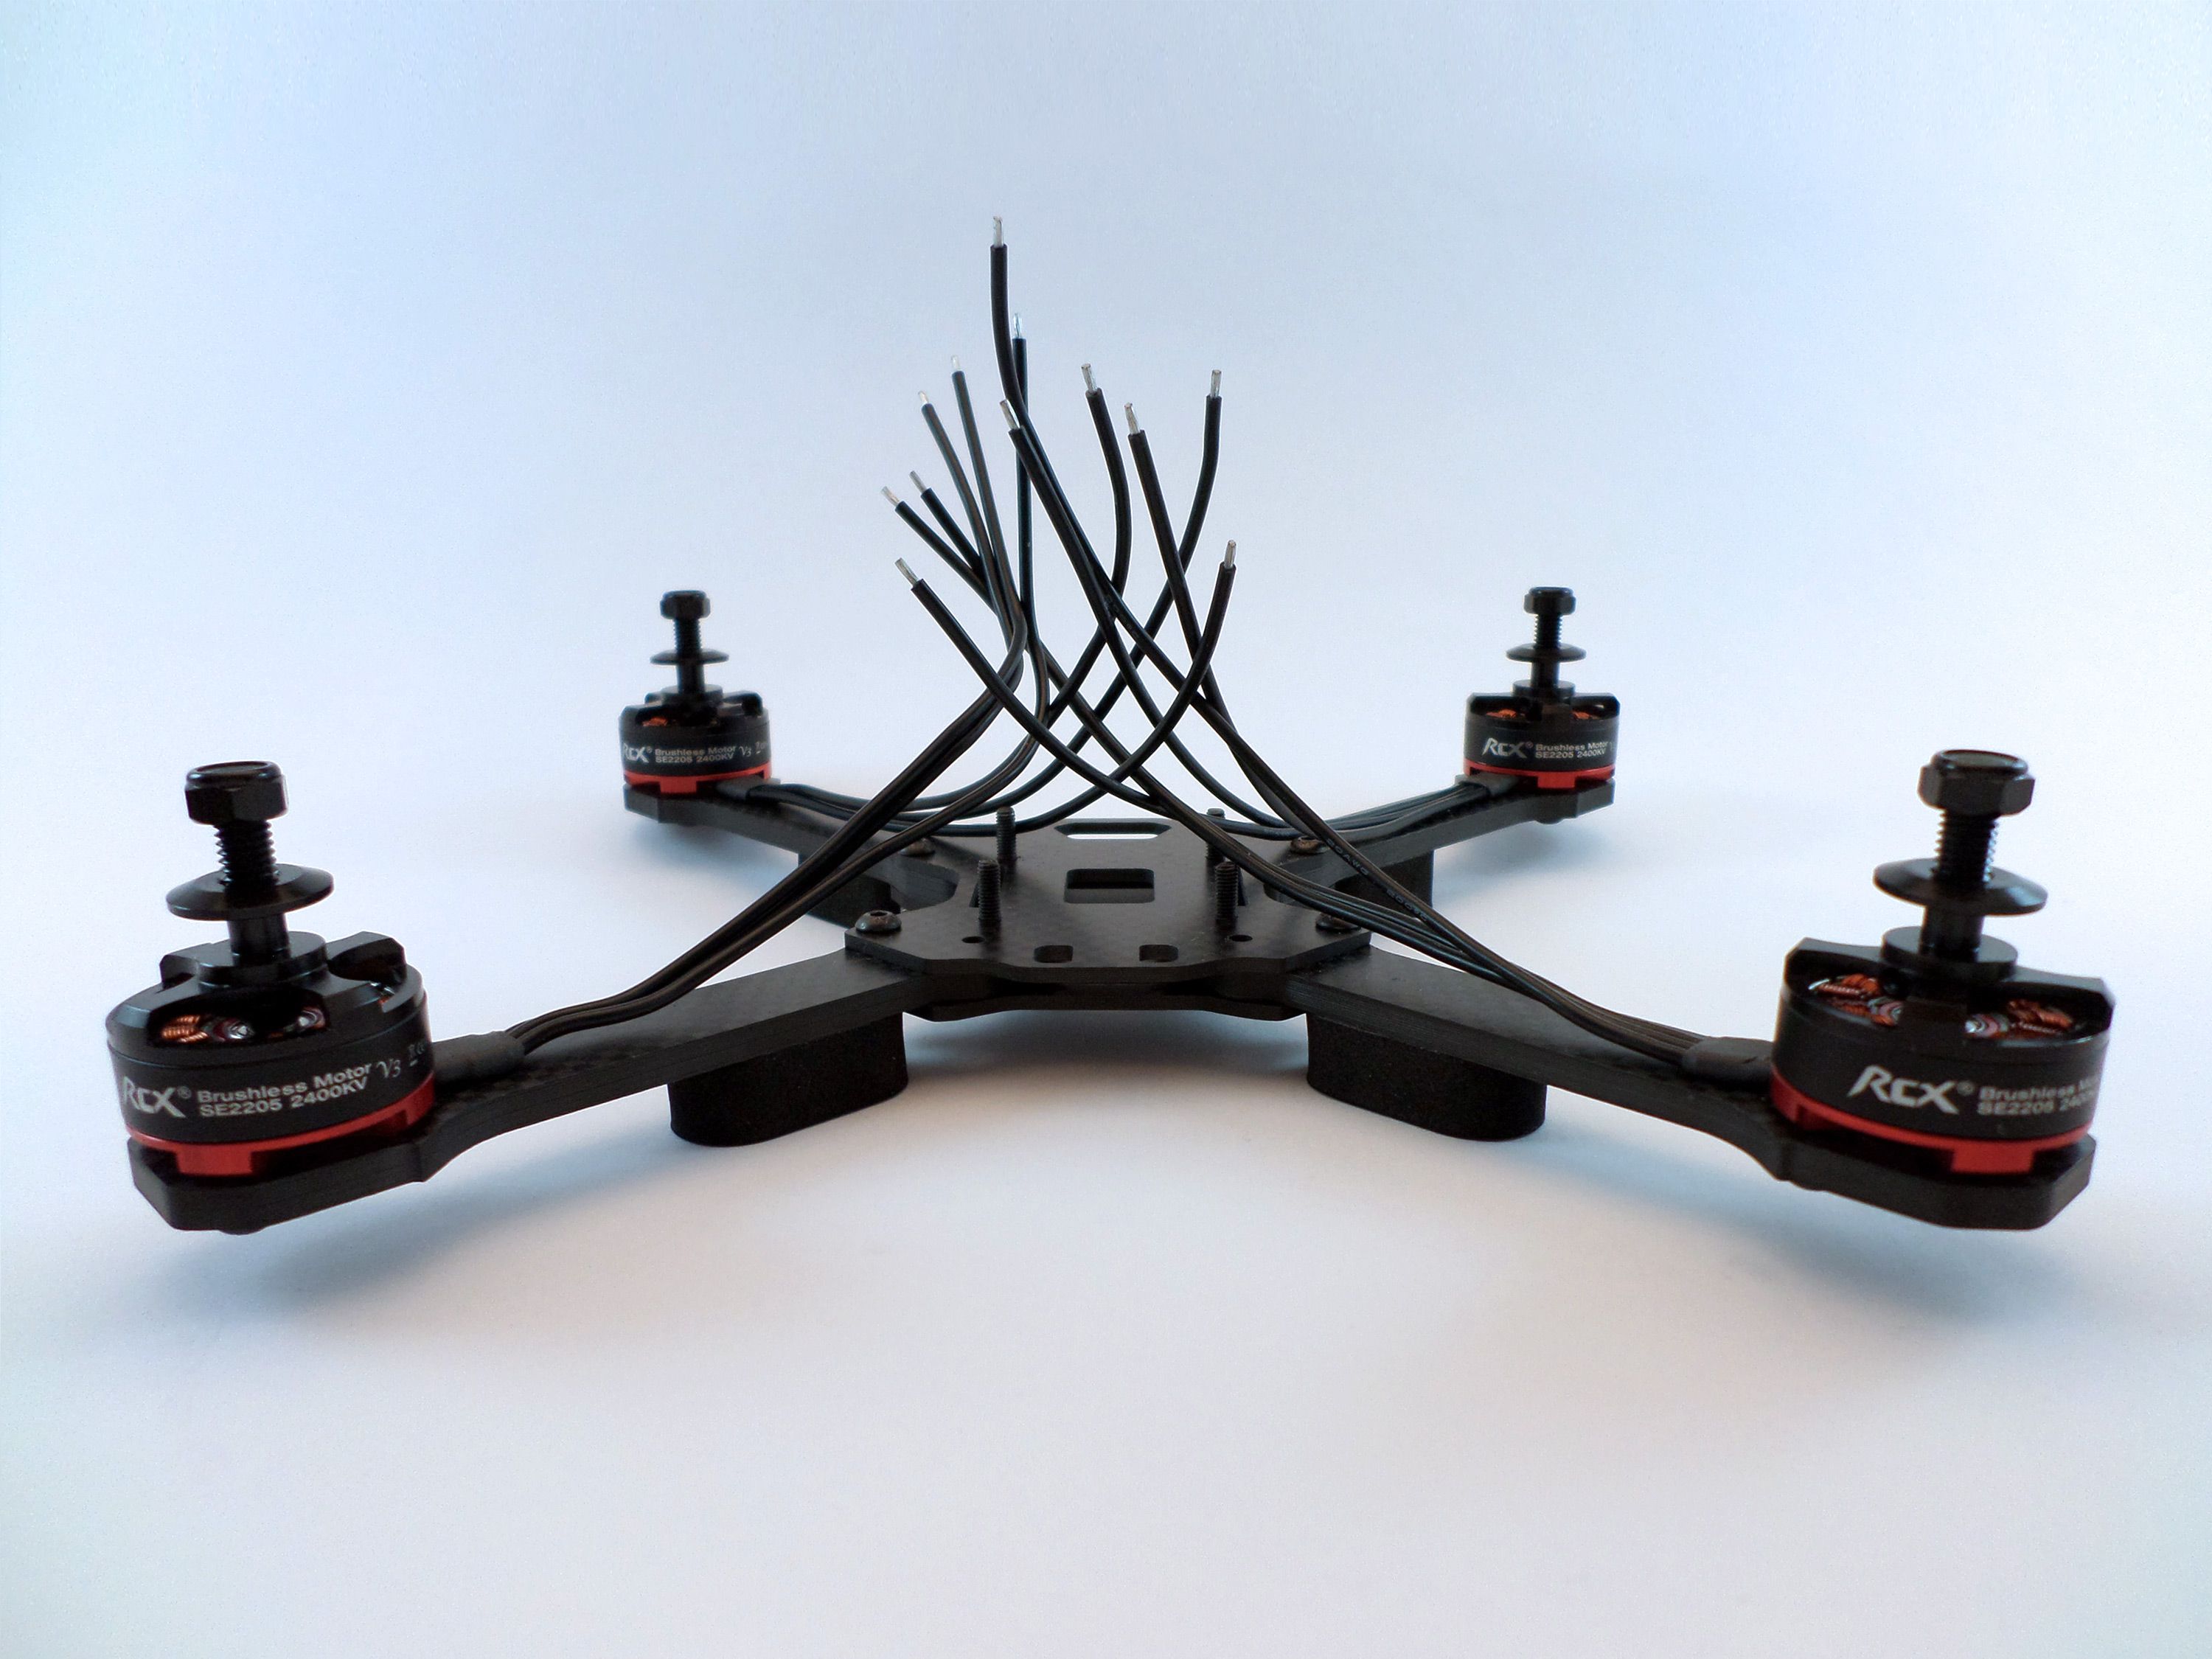
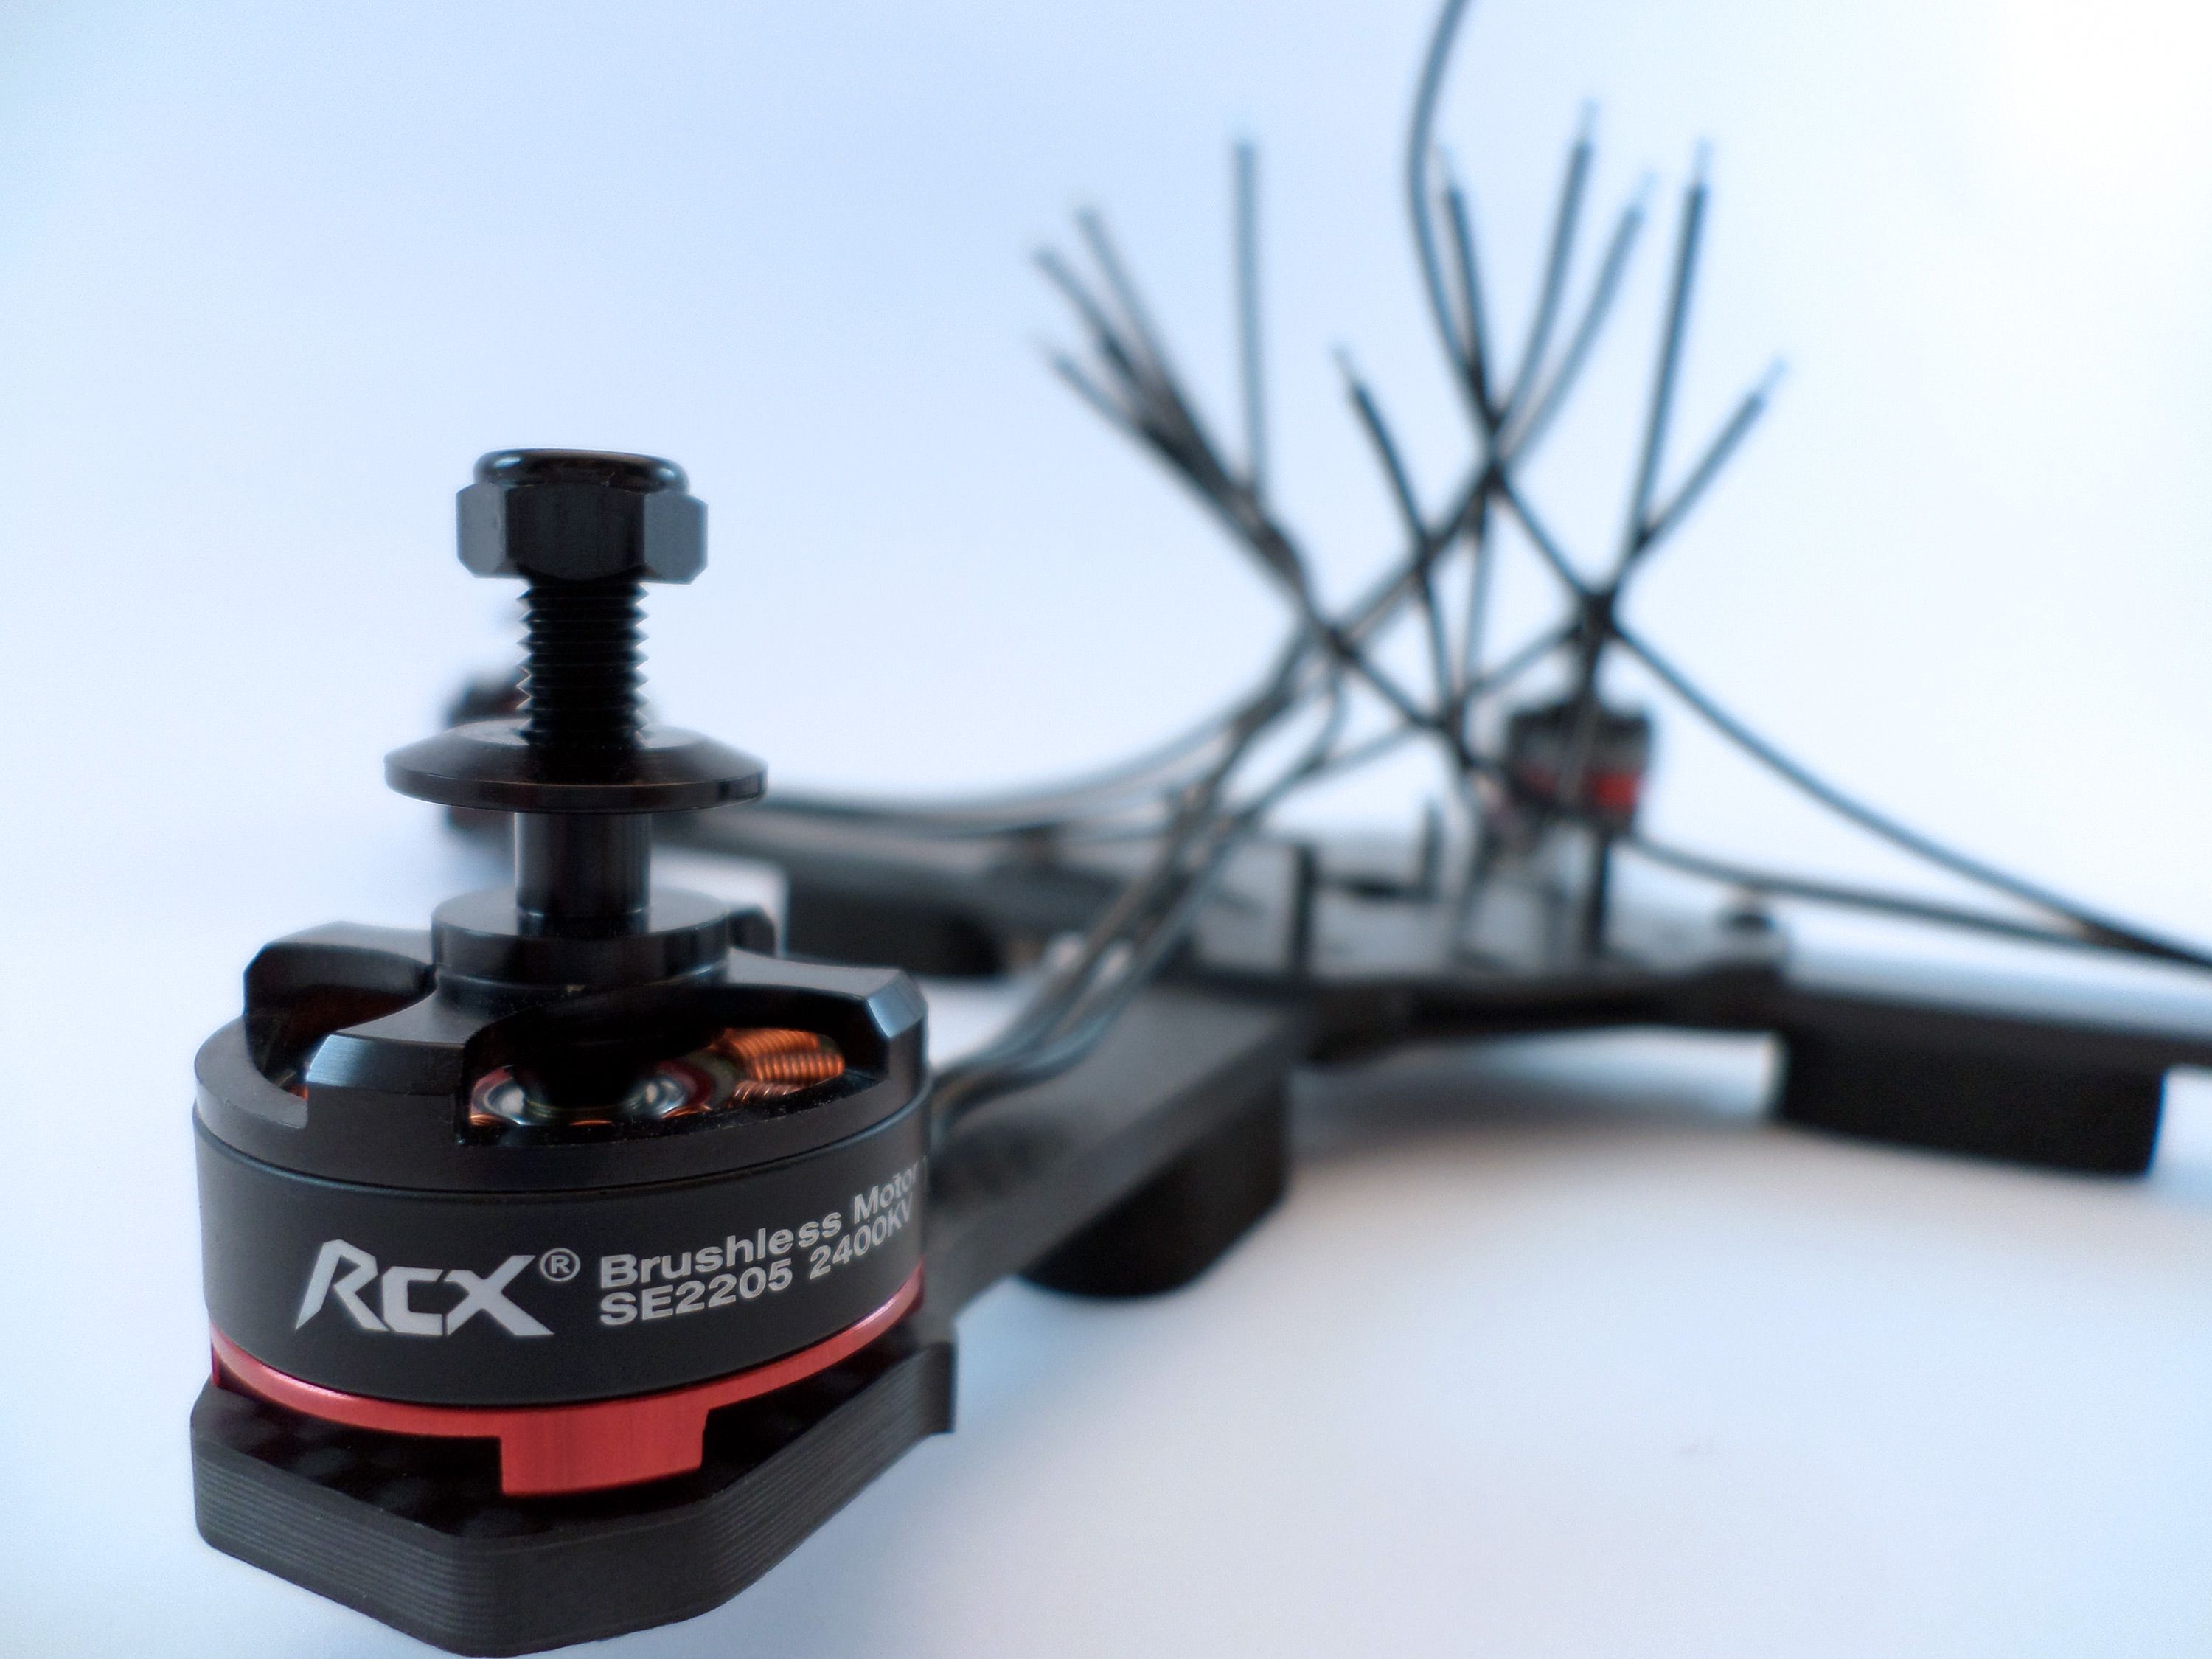
I really wanted the EMAX Red Bottoms for this build but couldn't justify the price. Furthermore, EMAX insist on including short wires on their motors which don't quite reach the stack in an all-in-one build. Ended up choosing the RCX SE2205 2400KV - these are a step up in power for me so looking forward to trying them out. They also come with very long wires which is gonna make things so much easier when it comes to soldering and adding the braided sleeves.
The Build
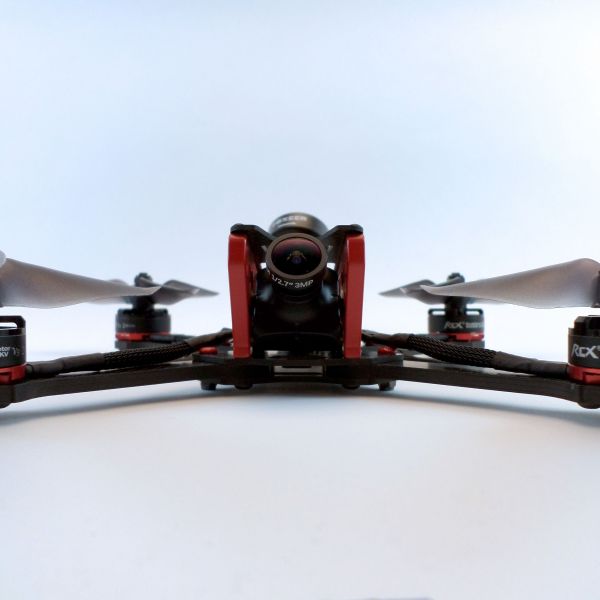
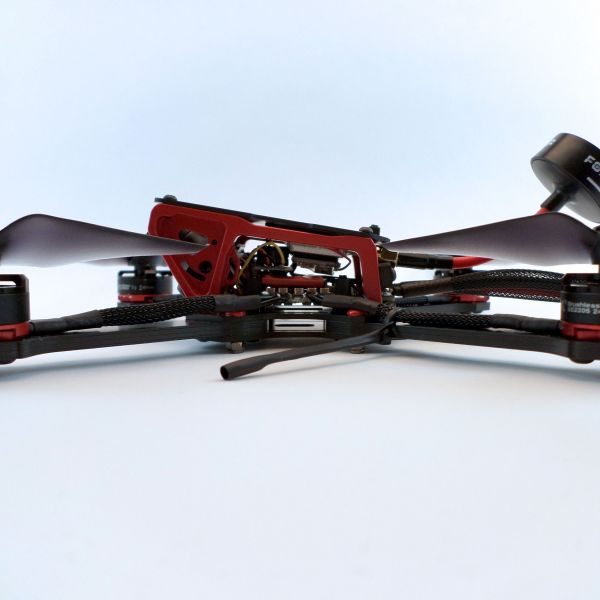
Everything that could have gone wrong with this build did! The Racerstar StarF4S AIO had a fried regulator which wouldn't power anything on the board - took me a week or so to figure this out. The clean wiring I had in mind (motor wires to pass under the AIO) had to be scrapped because it was too complex to implement with the change over of the board. I couldn't fit a capacitor because the VTX and Receiver were too large and finally, the camera sticks out a little more than I hoped due to its size.
Telemetry
The Racerstar StarF4S is a bit of a pain in the butt to get telemetry working with the FrSky XSR. Here is what you need to do:
- Connect SBUS to the SBUS pad
- Implement the SmartPort telemetry invert mod hack on the XSR
- Wire the telemetry wire on the XSR to the TX6 pad on the StarF4S
- Open BetaFlight and type this into the CLI:
resource MOTOR 5 NONE
resource LED_STRIP NONE
resource resource serial_tx 11 A01
Thanks to the dude who posted this in RCGroups.
Final Thoughts
I love the end result but damn it was a frustrating build - took me 4 months (half of which were waiting for replacement parts). In hindsight I would have chosen smaller components. Looking forward to giving it's maiden this weekend.
Update
Flies really nice but I've ditched the Avans and switched to DAL Cyclones (I get mine from Phaser FPV) as they are less fragile and give me slightly longer flight times.
Photos
Part List
Show stores (5)Is your VTX working pretty good with that board? I have bought the exact same combo, but was worried about the VTX being underpowered.
Another tip I have is to order the Droneracingparts or Pyrodrone version of this FC if you are in US. DRP if east coast. Pyrodrone if west coast. Then that is one less part you need to wait on Banggood shipping for.
I don't know who cloned who, or if they all just use the same manufacturer or something. I don't care. I just care about fast US shipping.
These actually have Blheli_32 ESC, so they are more like the slightly more expensive Tattoo version of the Racerstar FC :
https://www.droneracingparts.com/collections/flight-controllers/products/drp-edition-fire-f4-aio-flight-controller <-- this one seems to be backordered
http://pirofliprc.com/Sunrise-Siskin-30A-BLHeli-32Bit-4in1-Dshot1200-ESC-F4-AIO_p_4354.html
Looks great. I just ordered this frame and am concerned about VTX antenna routing. Yours looks good but I can't figure out how you did it... can you explain or post a closeup? Thanks!
Thanks for the feedback! I can't post a photo at the moment coz the quad is being repaired but in regards to the VTX antenna, I simply double zip tied the VTX to the top plate - one zip tie around a VTX itself (make sure you heat shrink it) and the other zip tie around the neck of the gold connector. This holds the antenna securely in place. The frame also comes with 2x carbon end/back pieces that affix to the aluminium. This is where the antenna can rest on for extra support. I didn't use this back piece because my FC battery pads were at the back and there was no room. I hope that helps!
Great work! And nice photography. I know what you mean about the long wires. I chose the DYS Storms for a recent build because of the wire length. How does it fly? I used the StarF3S and it's given me nothing but trouble. I had to add a capacitor to reduce the gyro noise and now it seems to have gone all wonky on me. I need to replace it.
BTW, I started with the Race Frog and it broke on a fairly light crash. I since switched to the "Lite" version and it's held up incredibly well. I think they discontinued it for a good reason. This has been my goto rig for quite some time. I just love this frame.
Thanks dude!
So far no major issues except for the VTX feed - it's a bit discoloured and jagged. I'm not sure if it's
a) bad wire solder
b) the regulator that the VTX power run through or
c) the fact that I might need to add a capacitor on the battery pads
It flew ok but I really need to change the props - the Avans looks sexy AF in photos but despite giving lots of grip, bend and break too easily.
Guides & Reviews
AirbladeUAV has done it again and this time they've brought long range to the 5" class! Based on the popular Transformer Mini, the new Transformer 5" Ultralight adopts a lot of the same design philosophies with larger props and more payload capacity. It can fly upwards of 20 minutes on a 4 cell Li-Ion battery pack and in ideal conditions it's got a range of over 4 to 5 miles. In this guide I'll walk..
Read moreWith the release of the DJI FPV Drone cinematic FPV has become a lot more accessible, but you certainly don't want to crash a $750 drone! The QAV-CINE Freybott is a compact, lightweight cinematic FPV drone that can take a hit and keep going. It's a lot safer to fly indoors and around people. With a naked GoPro or the SMO 4k you can capture some great stabilized footage. In this guide I'll show you..
Read more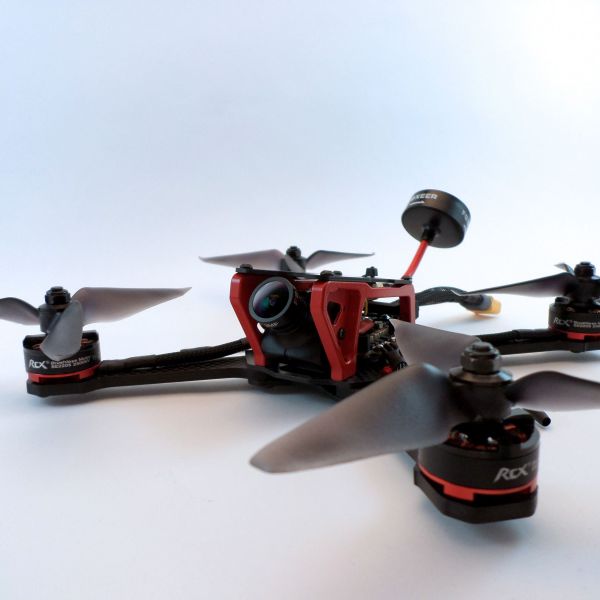




Good write up. I think there is one minor mistake though. I was trying to follow how you got telemetry to work. I did all the CLI commands the same, but I had to solder telemetry to LED pad, not TX6 pad.
Which UART is the LED pad set to in Betaflight?
The instructions I followed were from someone who was able to successfully get both Telemetry and Smart Audio to work. Smart Audio was in fact soldered to the LED pad and Soft Serial enabled in Betaflight. However I can't get Soft Serial to show up to reveal the LED pads.
First, you need to turn on softserial and telemetry features on configuration pane or with equivalent cli commands. Next you need to unmap LED pad, like shown in write up cli snippet. Then when you remap the LED pad to serial tx 11 with resource command (as shown in write up), it will show up as uart 11 on the ports pane.
I used the softserial from LED pad for SmartPort telemetry, because I was not able to do physical uninvert hack on my receiver. Softserial lets you uninvert in software.
I connected SmartAudio to normal TX6 pad. Because smartaudio isn't inverted like Taranis stuff, there was no issue with a hardware uart.
Some of this is covered in your build write up. I am not even sure if there is a mistake, or I am just not understanding correctly. This write up is at least 90% correct.
If you did uninvert hack on your receiver (maybe I missed that part), you can swap this and put telemetry on TX6 and SmartAudio on softserial UART 11. In that case the guide is 100% correct.
Just re-read the write up. Appears to be 100% correct just didn't apply to me, because I chose to use a different receiver.
I also figured out why I couldn't get soft serial to work - I forgot to type 'Save' into CLI! Doh!
Hi there, when i give the second and last command the cli says:NOTE: A01 already assigned to MOTOR 5.
Resource is set to A01
and no new port appears in the port section.
What am I doing wrong?
Allright, i did it just had to save, but instead of uart 11 in the port section it appears as SOFTSERIAL 1, is that right?
Allright, i did it just had to save, but instead of uart 11 in the port section it appears as SOFTSERIAL 1, is that right?