
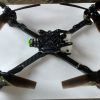
My first build was a Chameleon - great frame, but bad choice for a first timer: way too tight to comfortably route cables if you don't already have clearly in mind what goes where and how short you can make your cables.
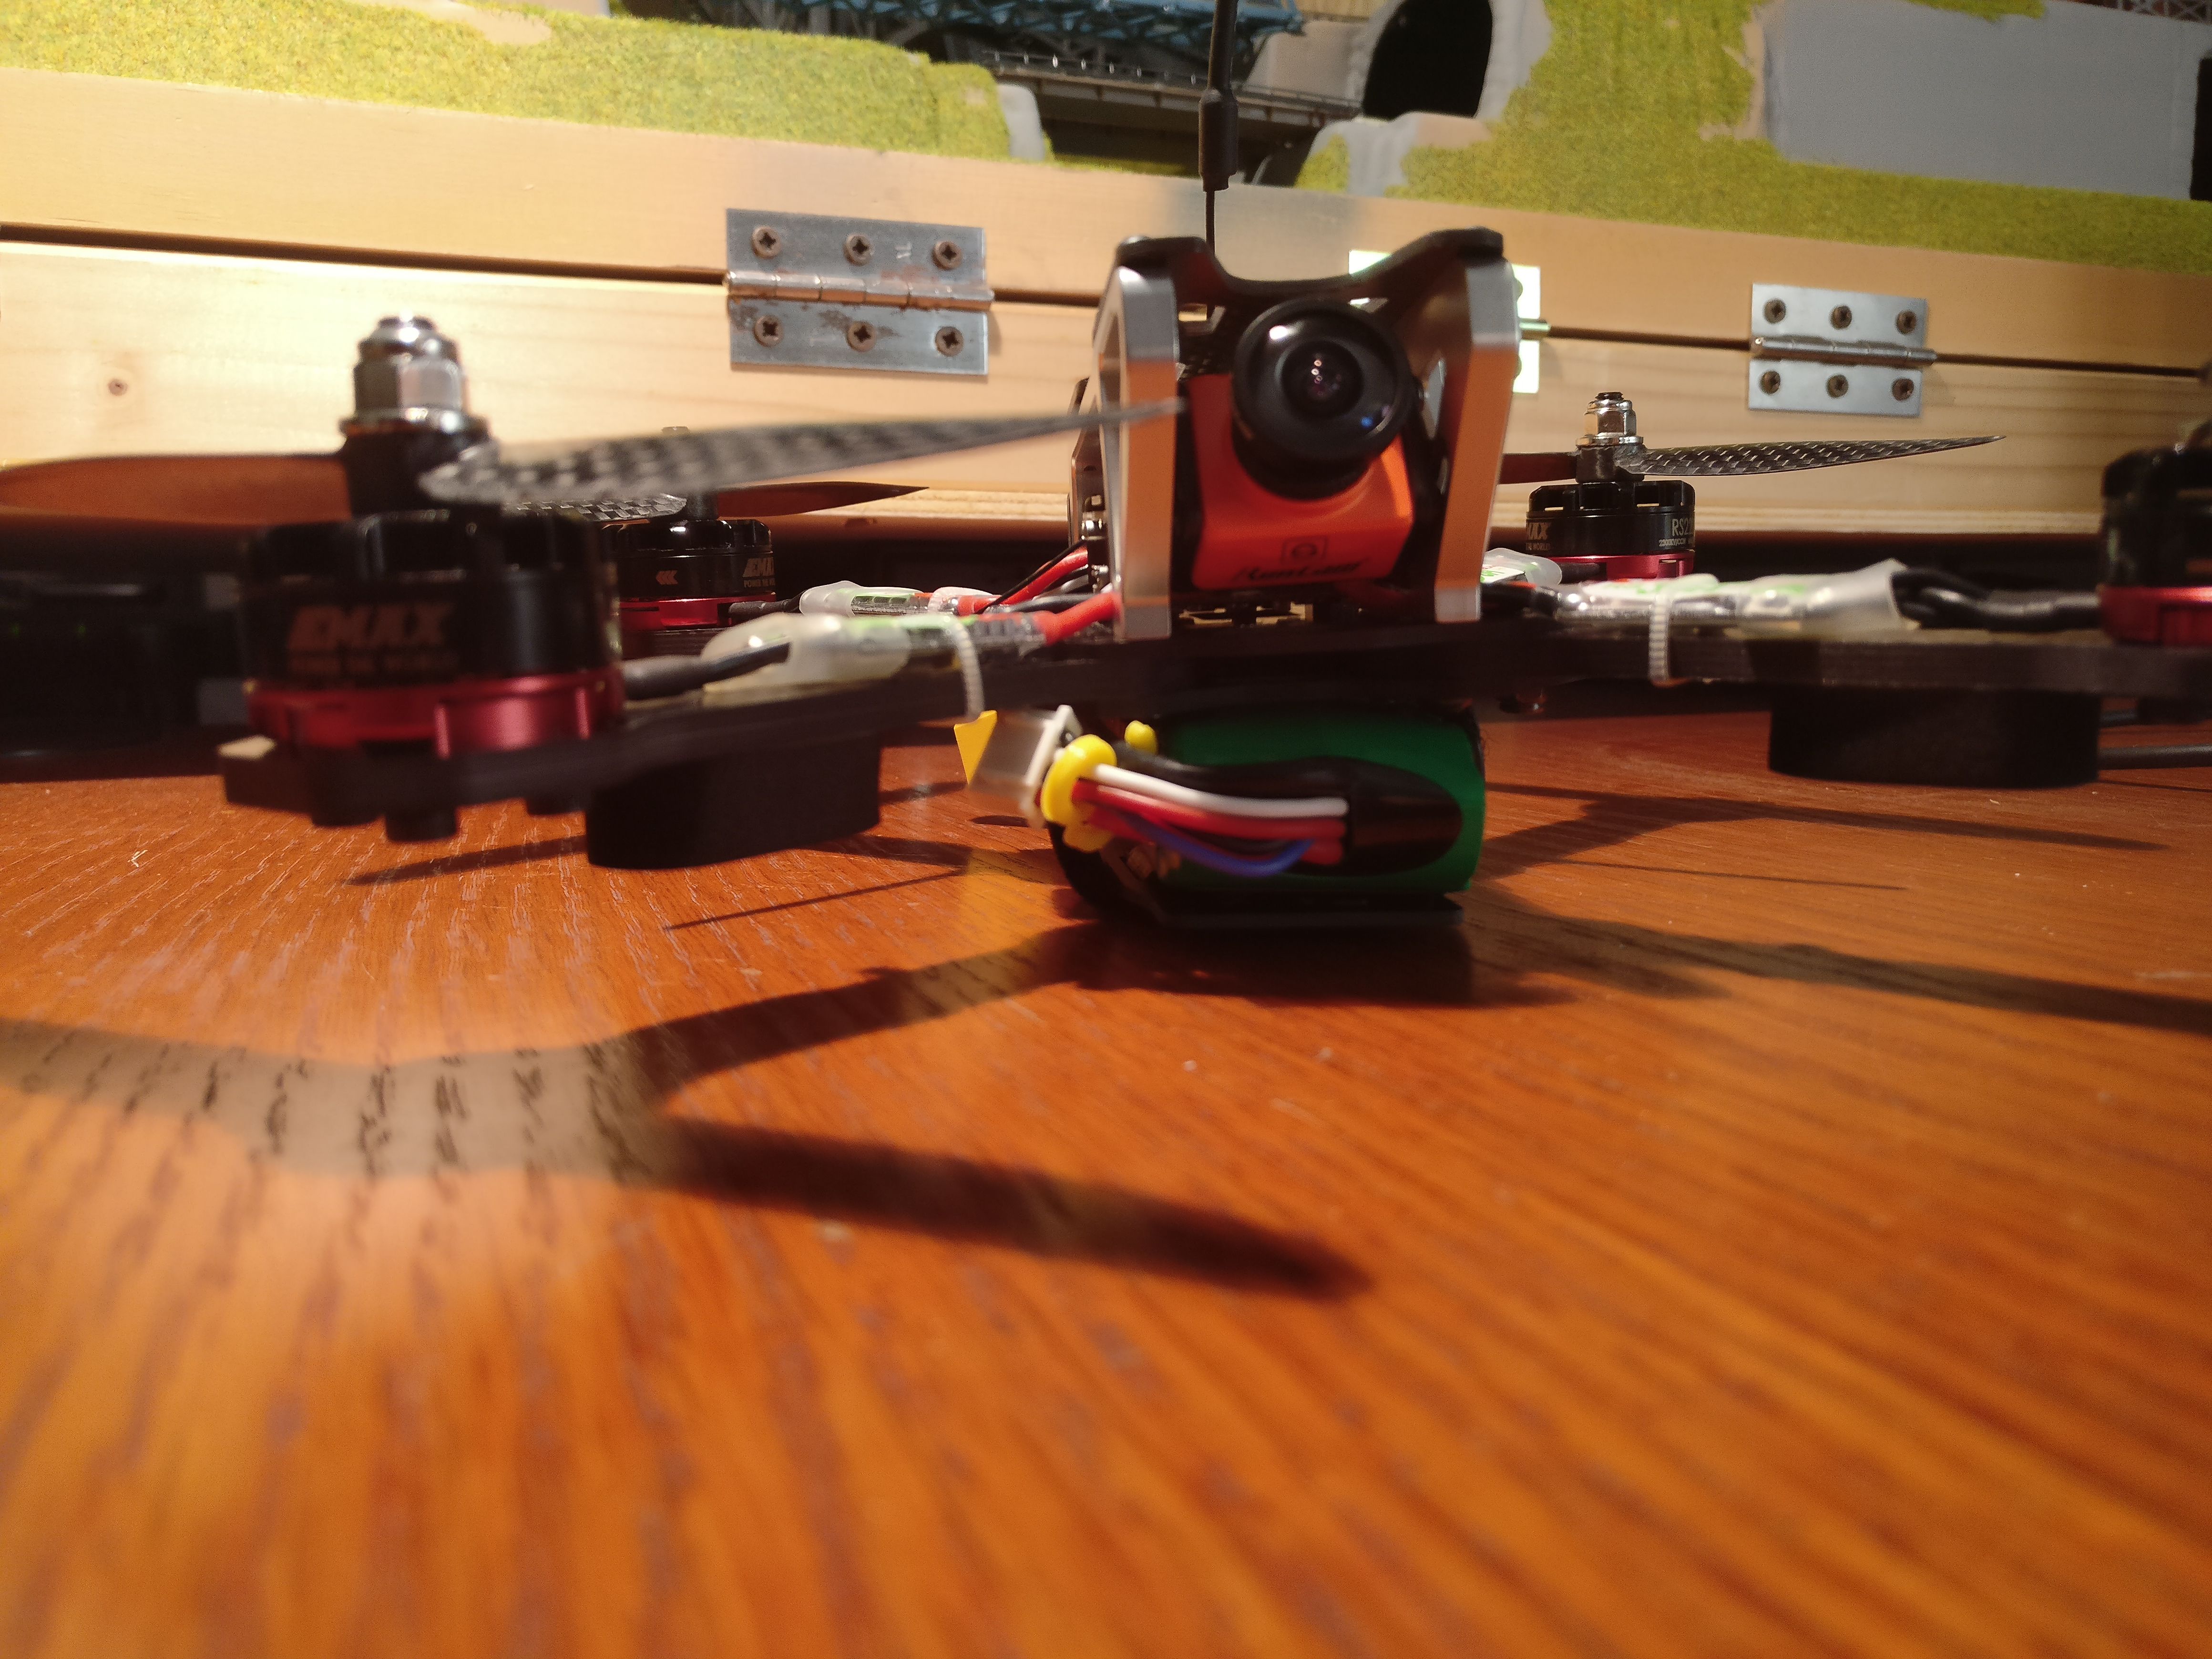
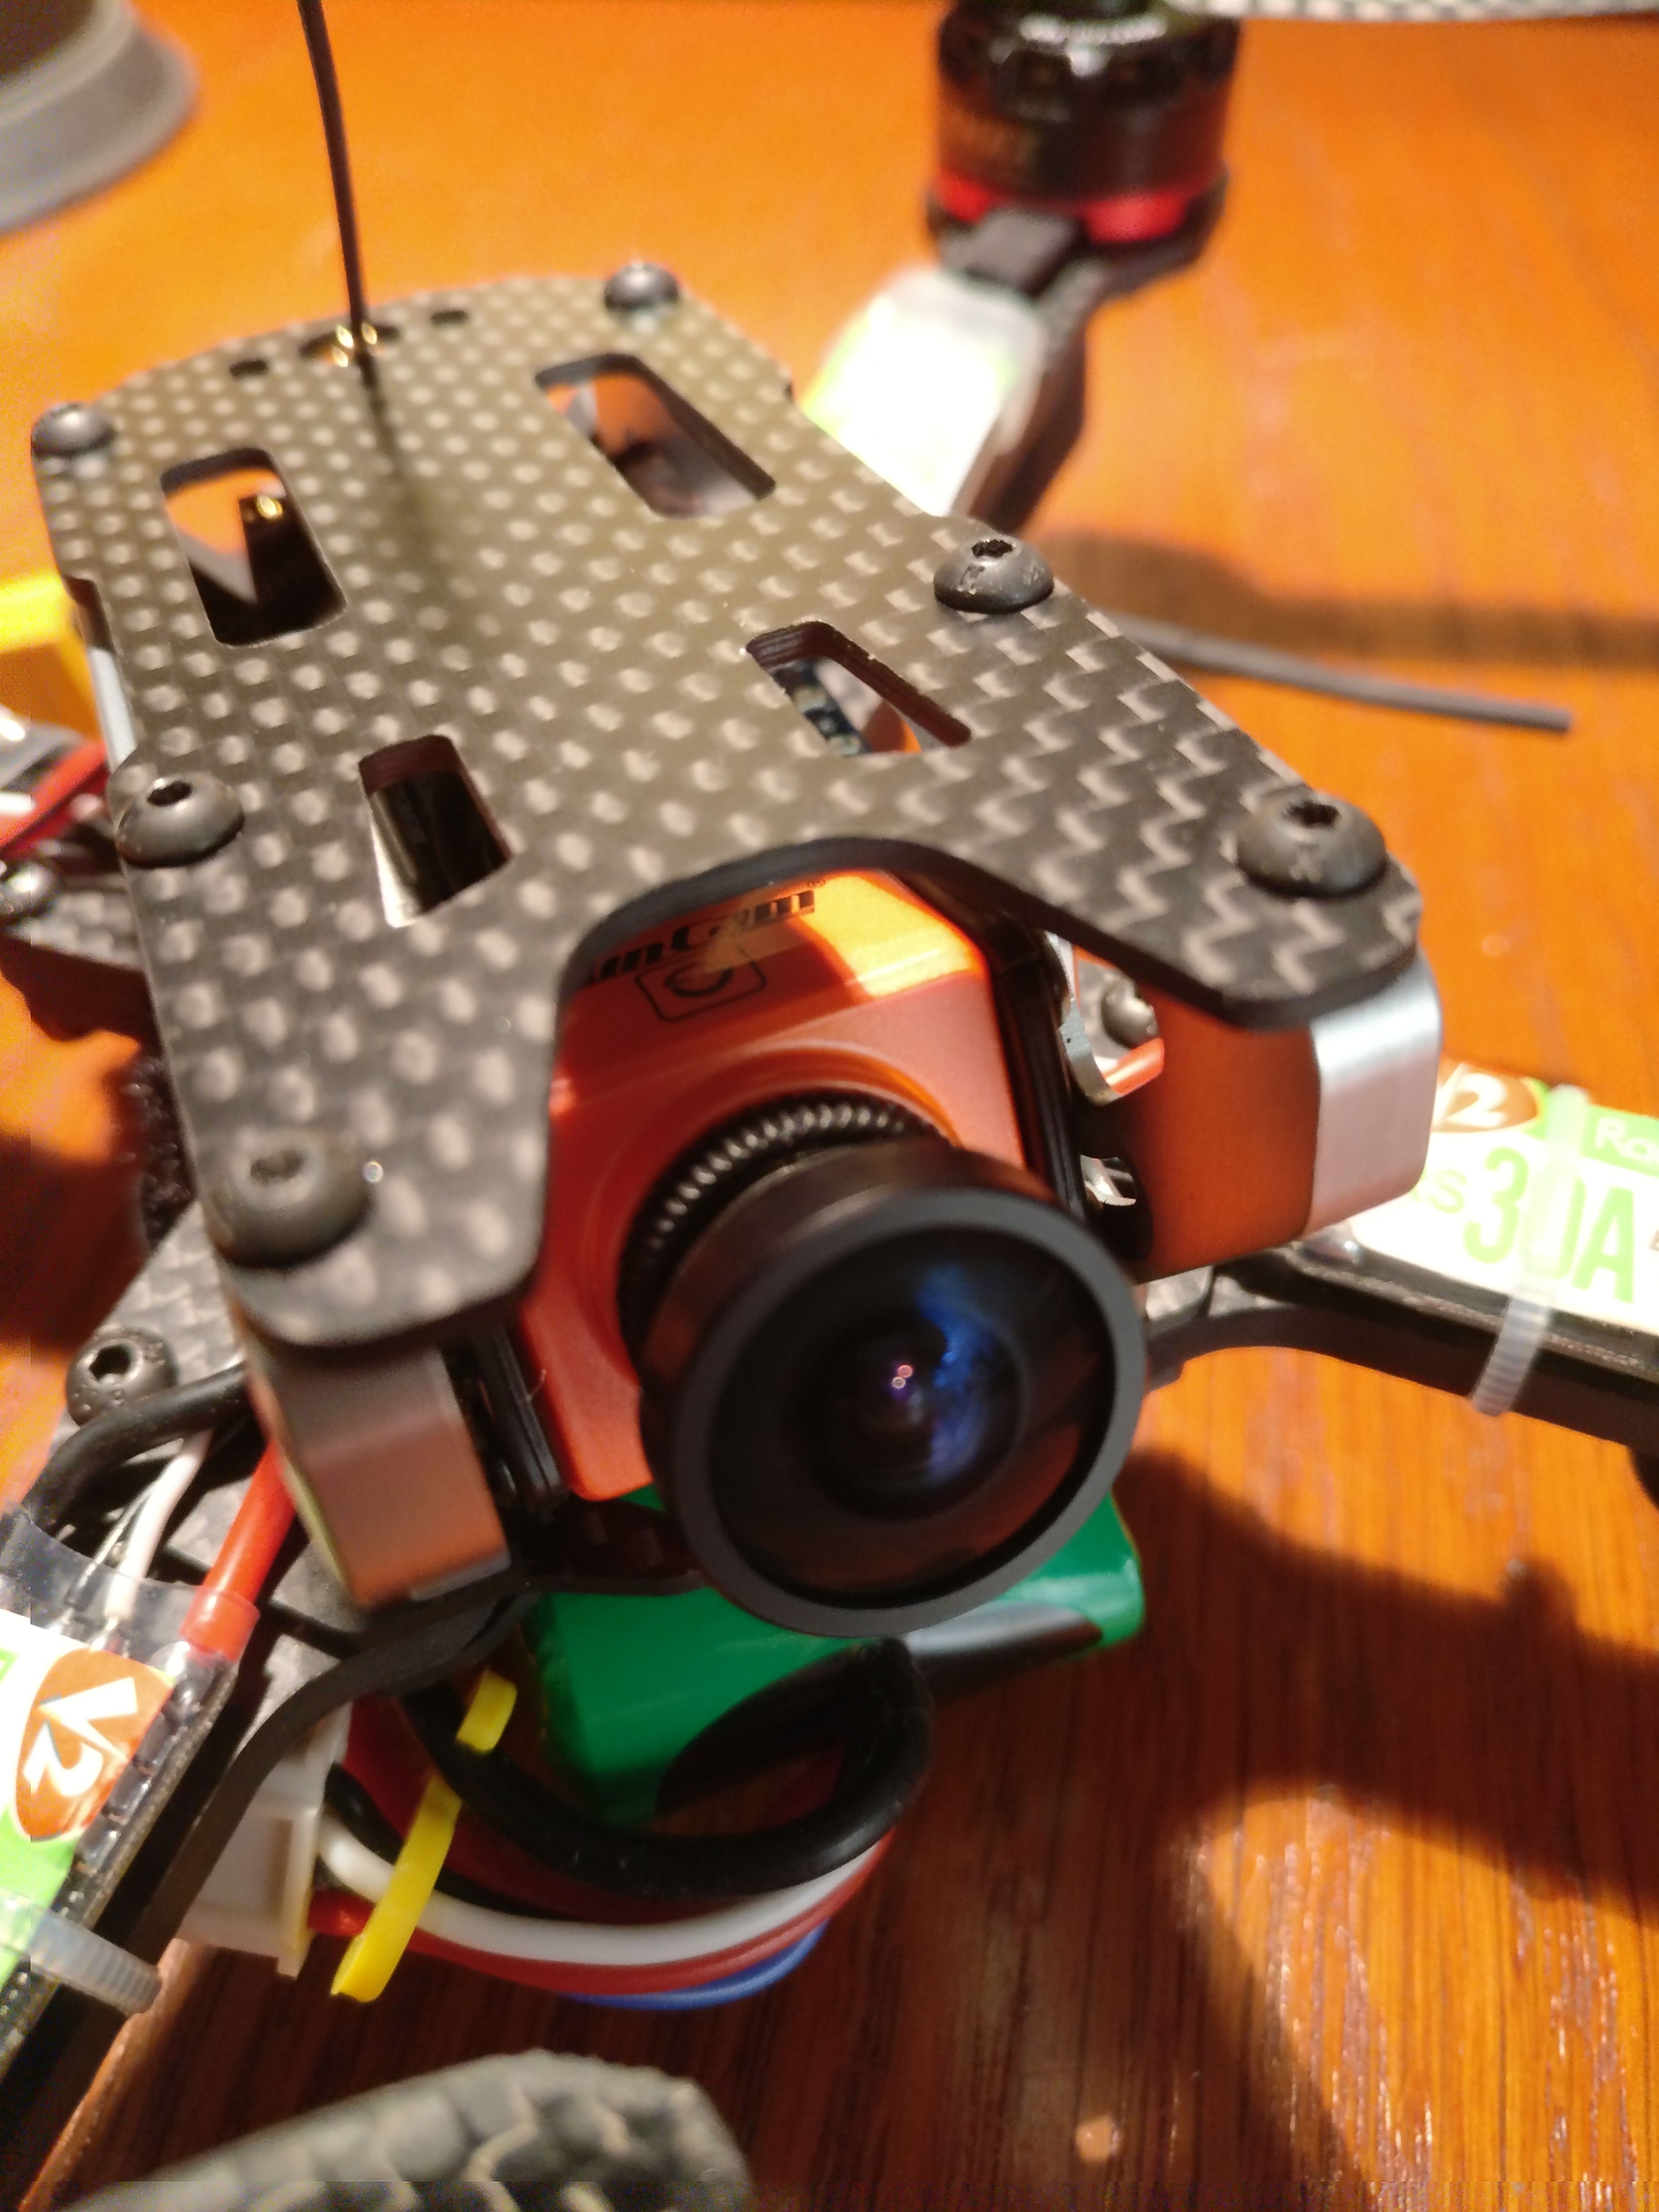
I liked the idea of recording HD footage, but not the one of having to remember to charge yet another device (especially since my GoPro has dying batteries). The RunCam Split seemed the most obvious choice, but I would have never fitted in the Chameleon. So I found the Frog!
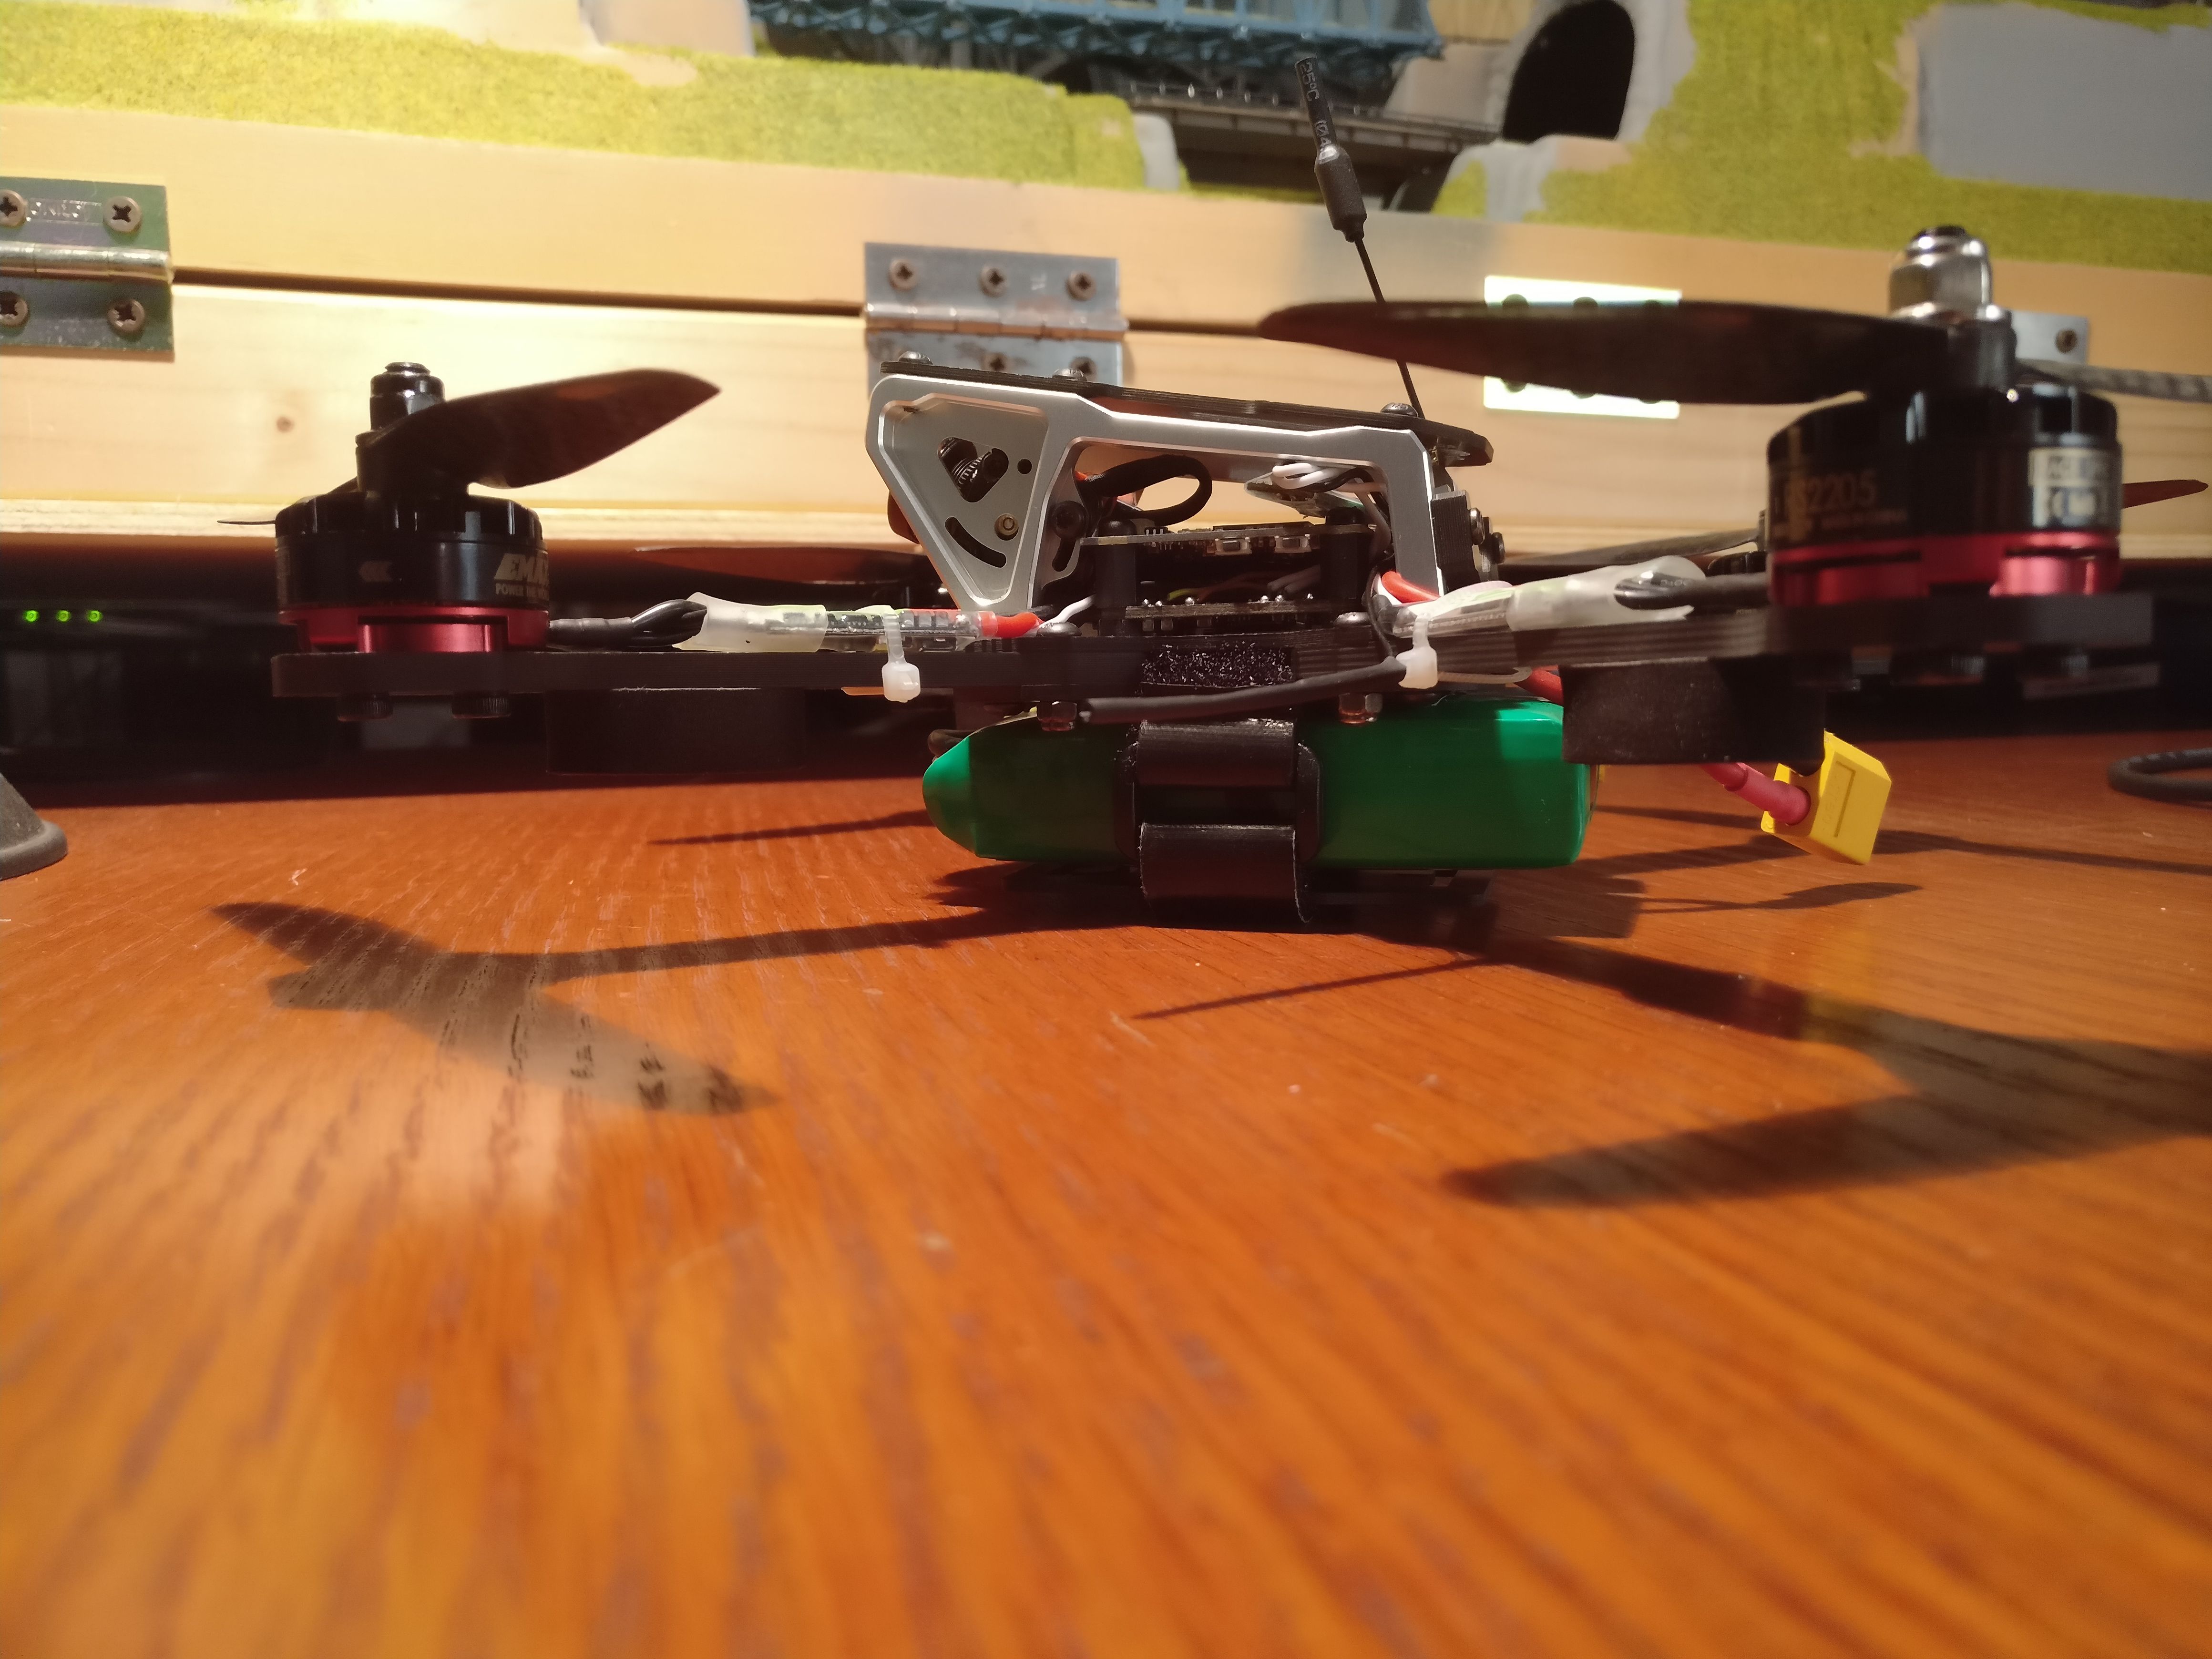
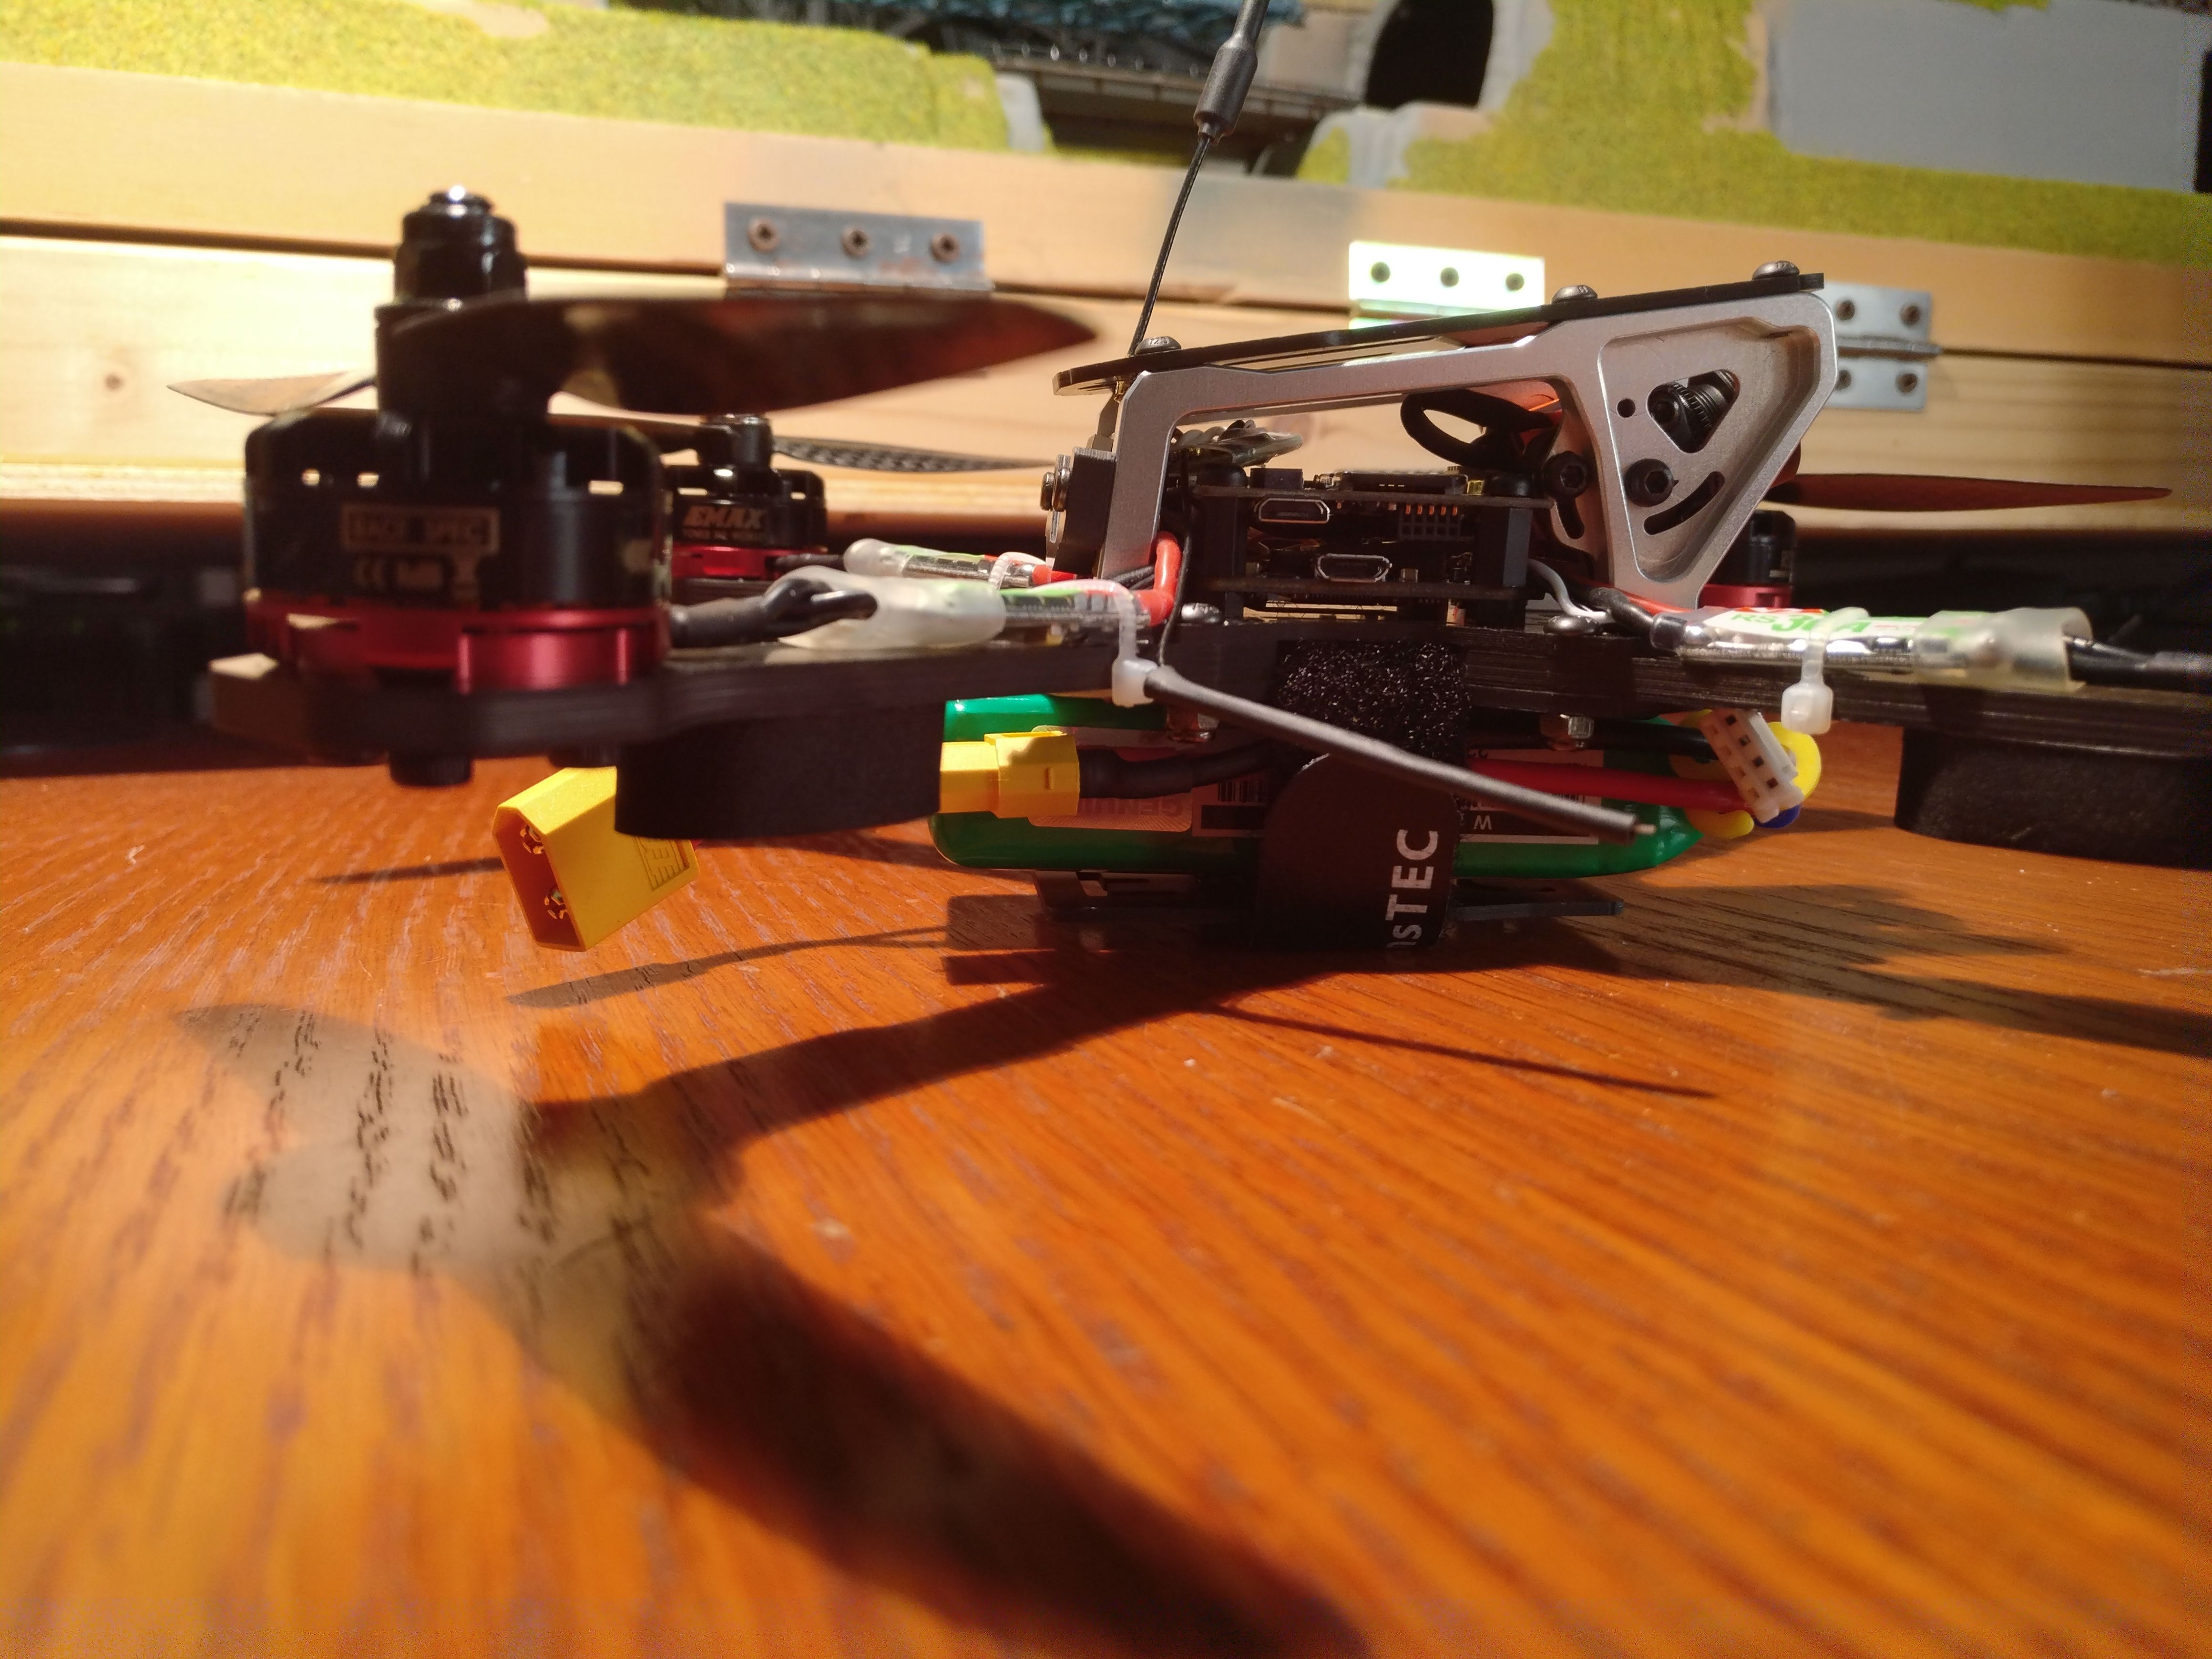
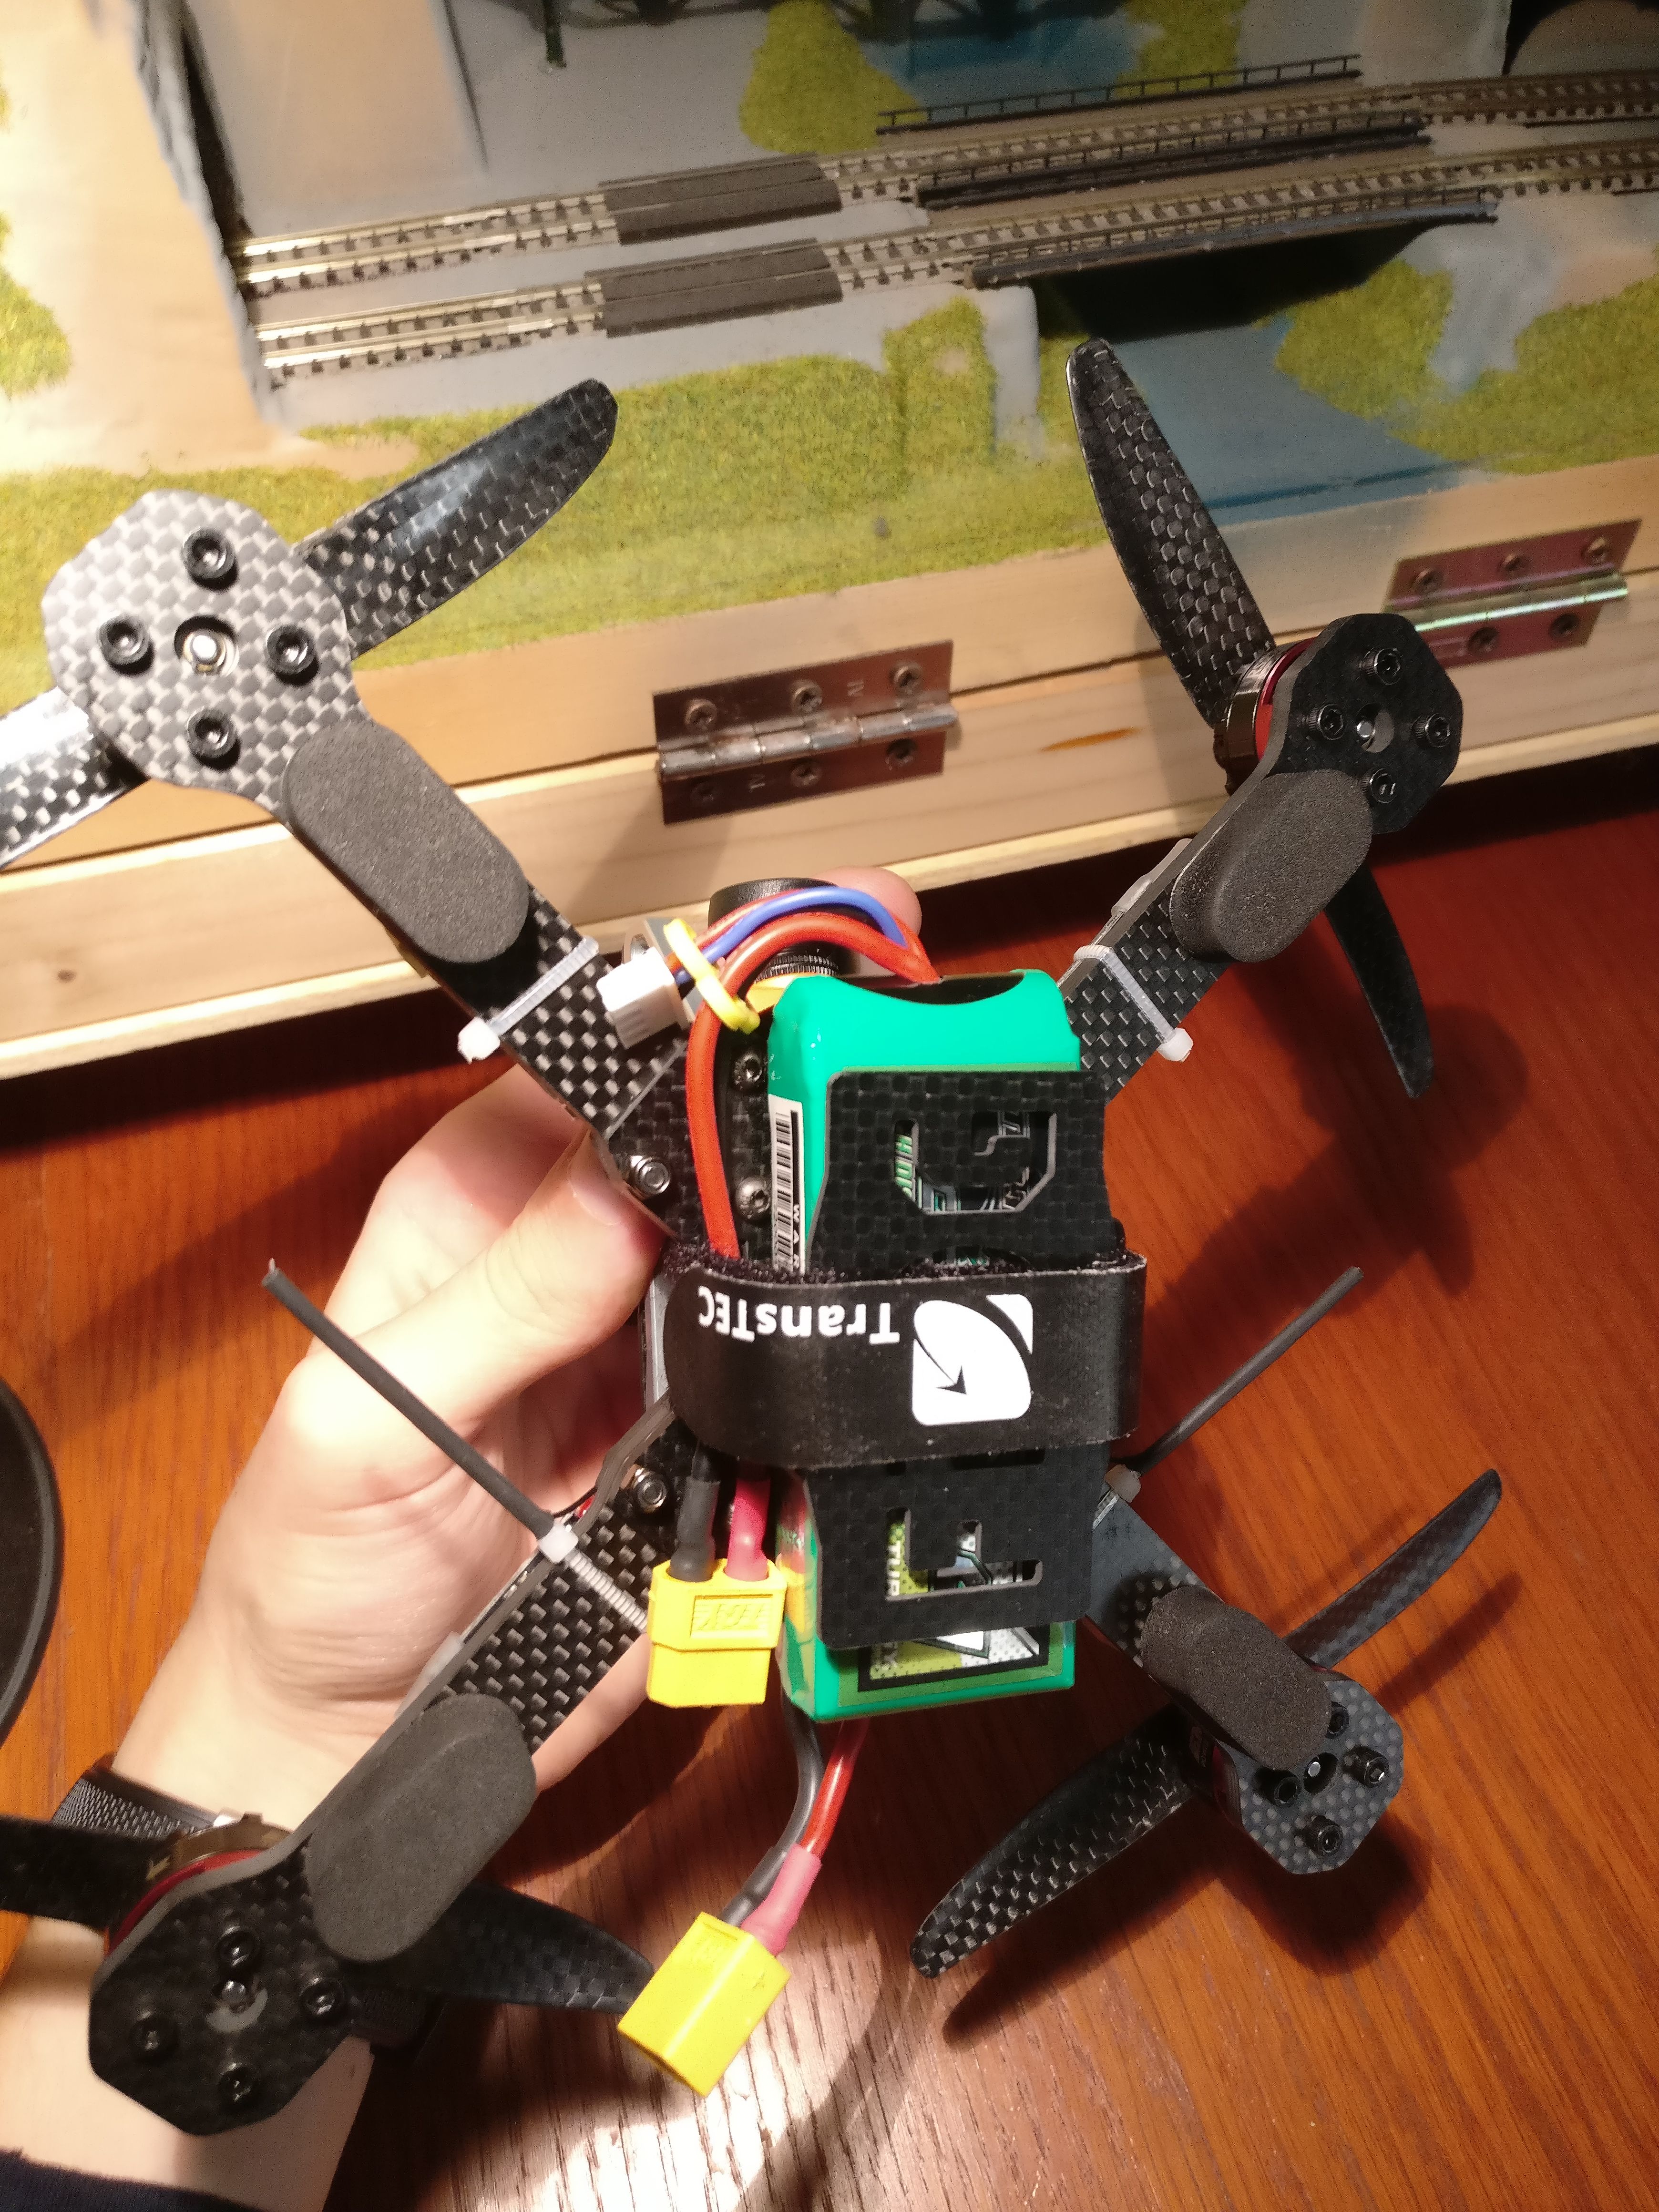
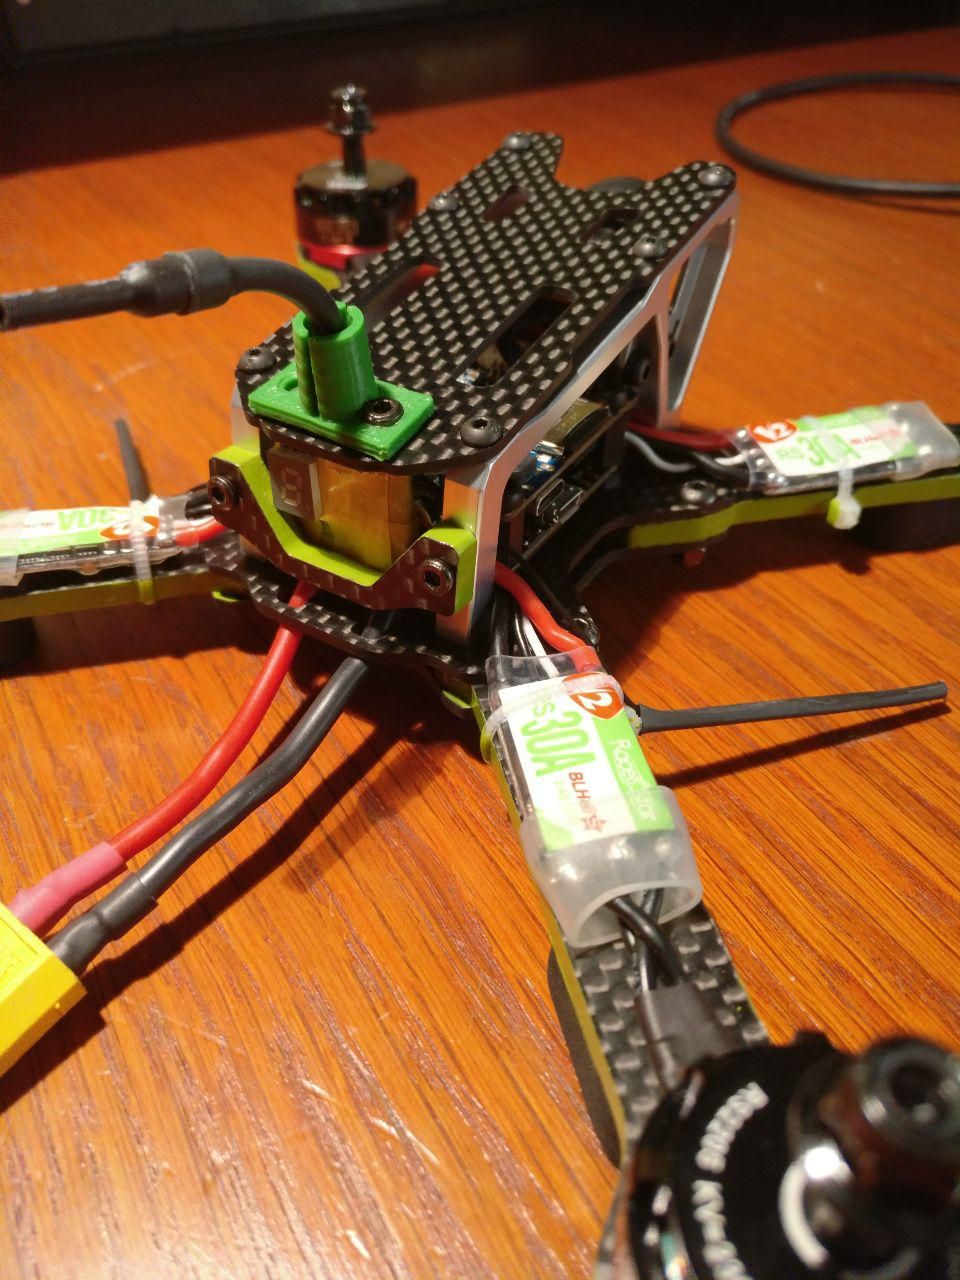
Coming from a tighter setup, it wasn't too difficult to find space for all the needed components (having chosen the Kakute F4 AIO surely helped a lot, and I opted for "classic" style ESC mounting in order to save space in the central cage for the Split's PCB); the biggest problem I encountered probably was that I cut the ESC power wires too short, and they pressed against the aluminium braces when mounting them. Resoldering them to an angle instead of perpendicularly to the FC/PDB let me gain the needed 1-2mm to relief tension.
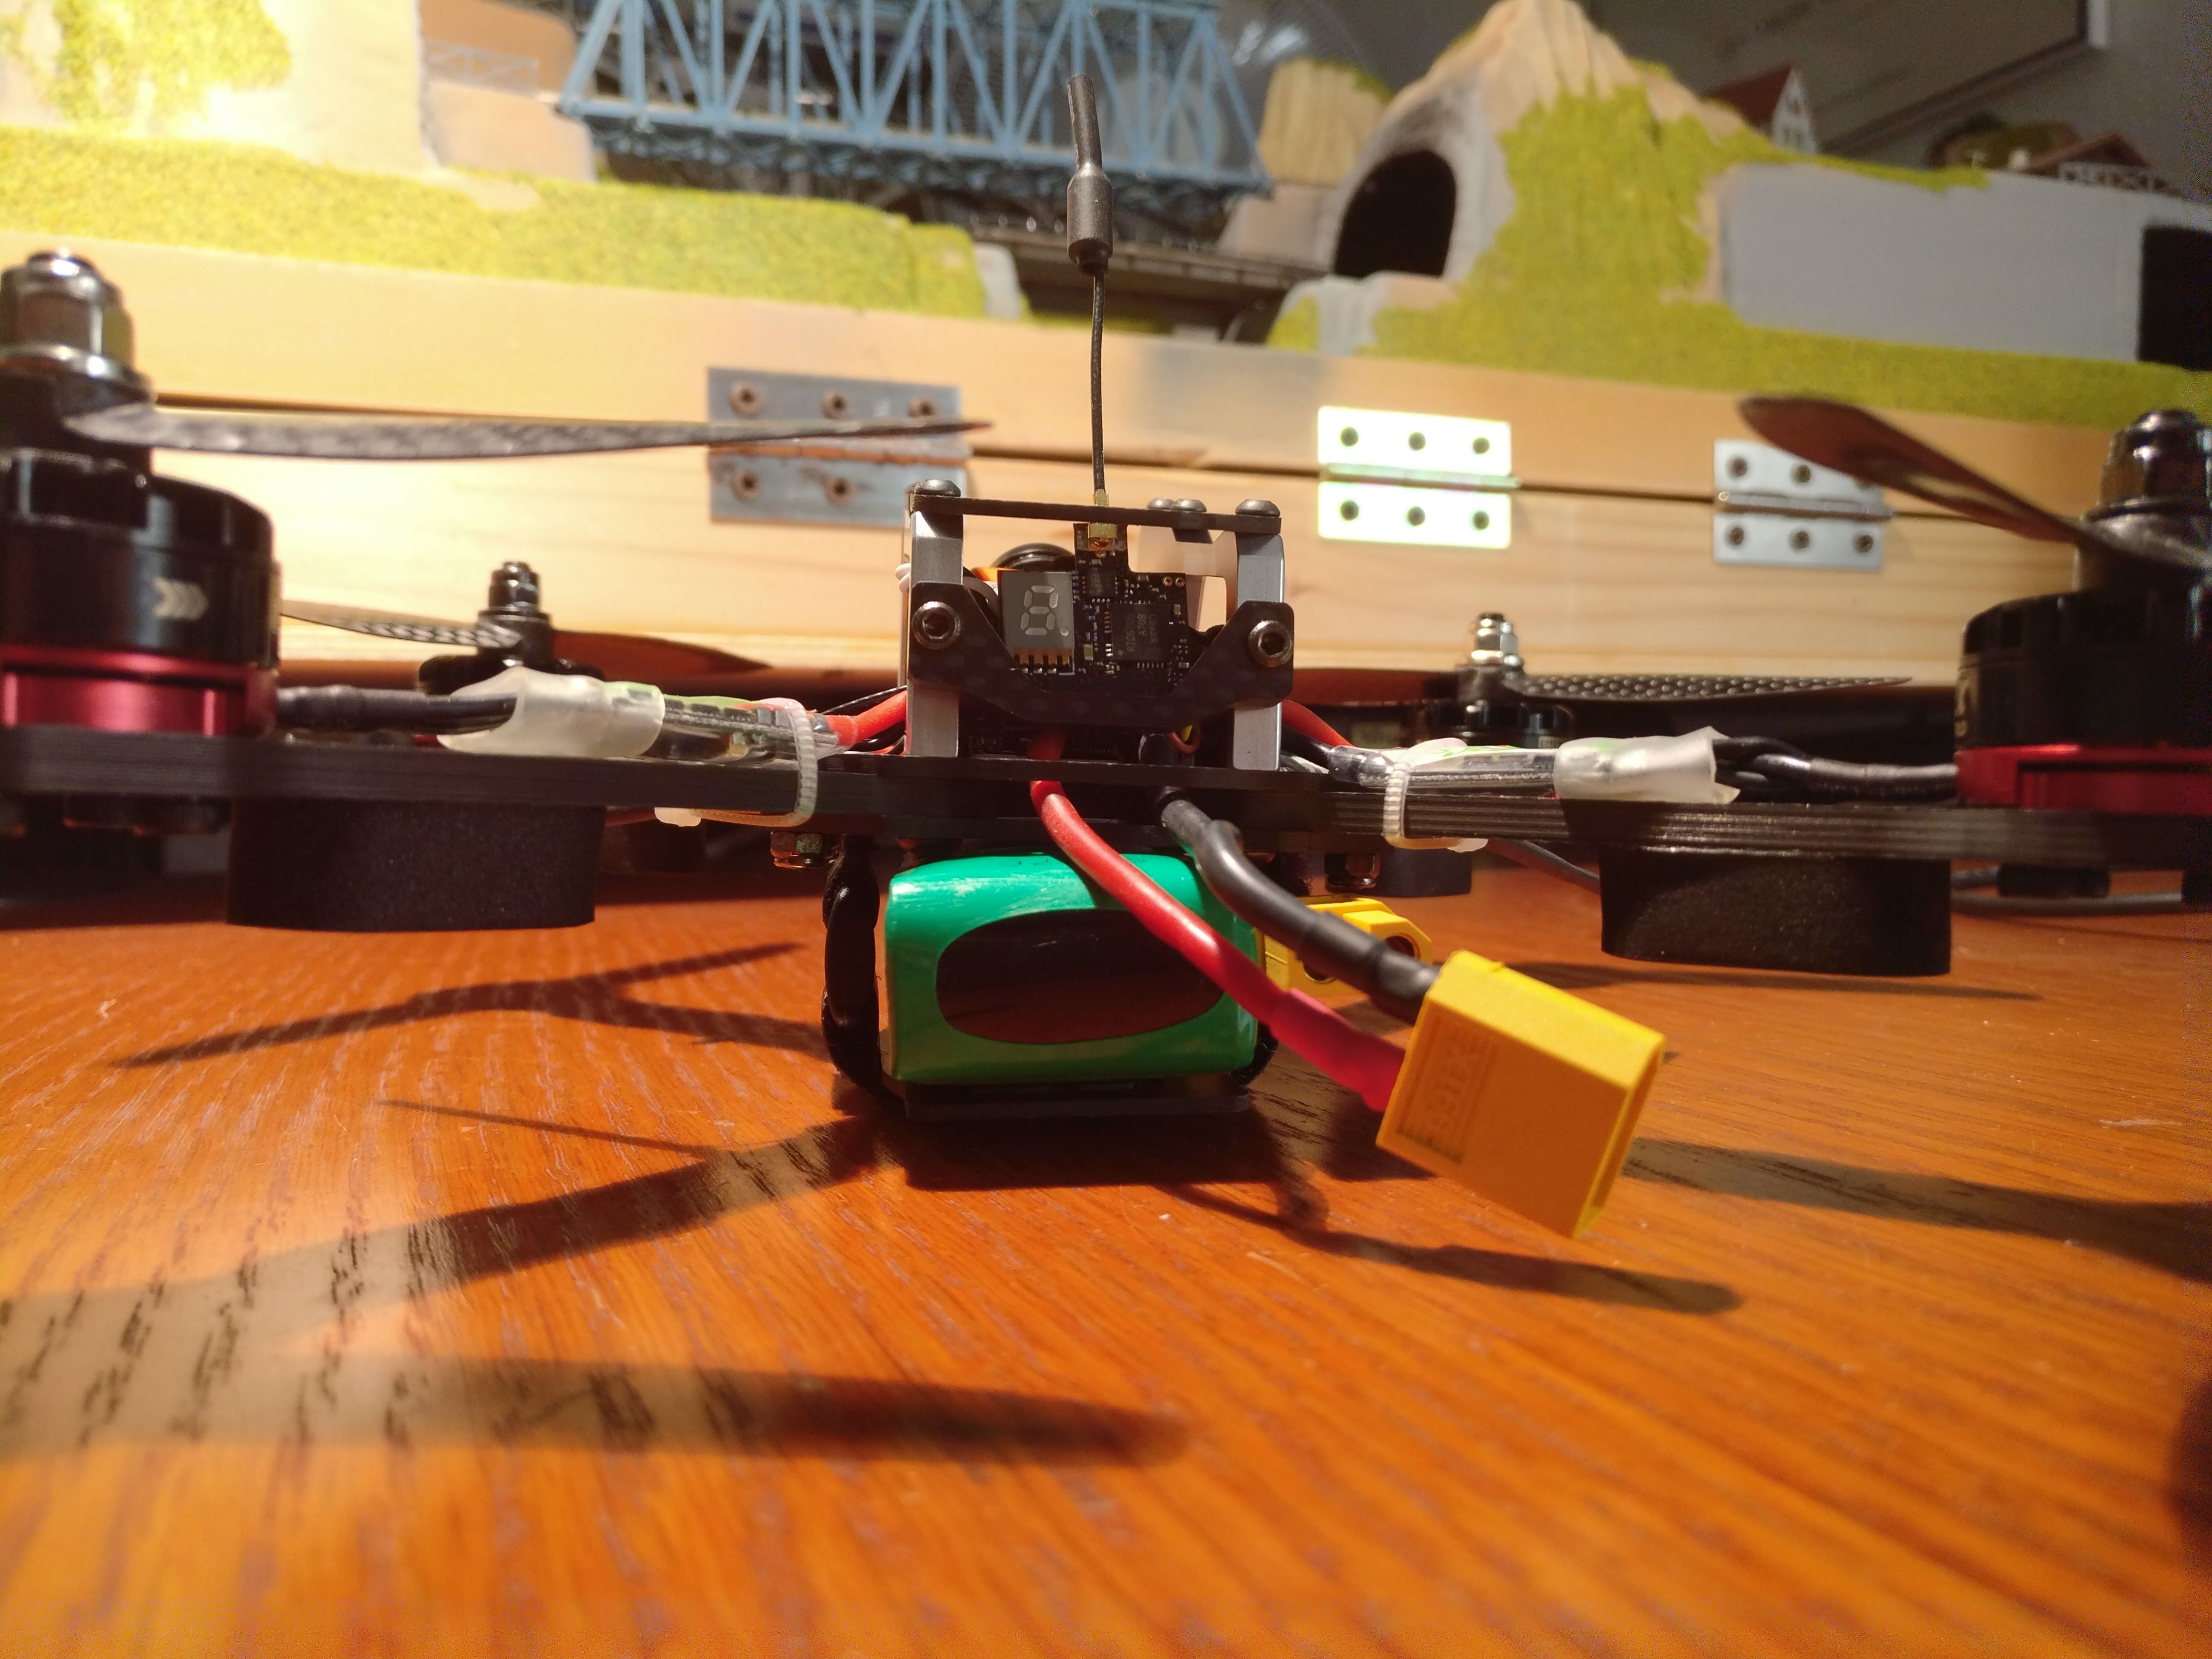
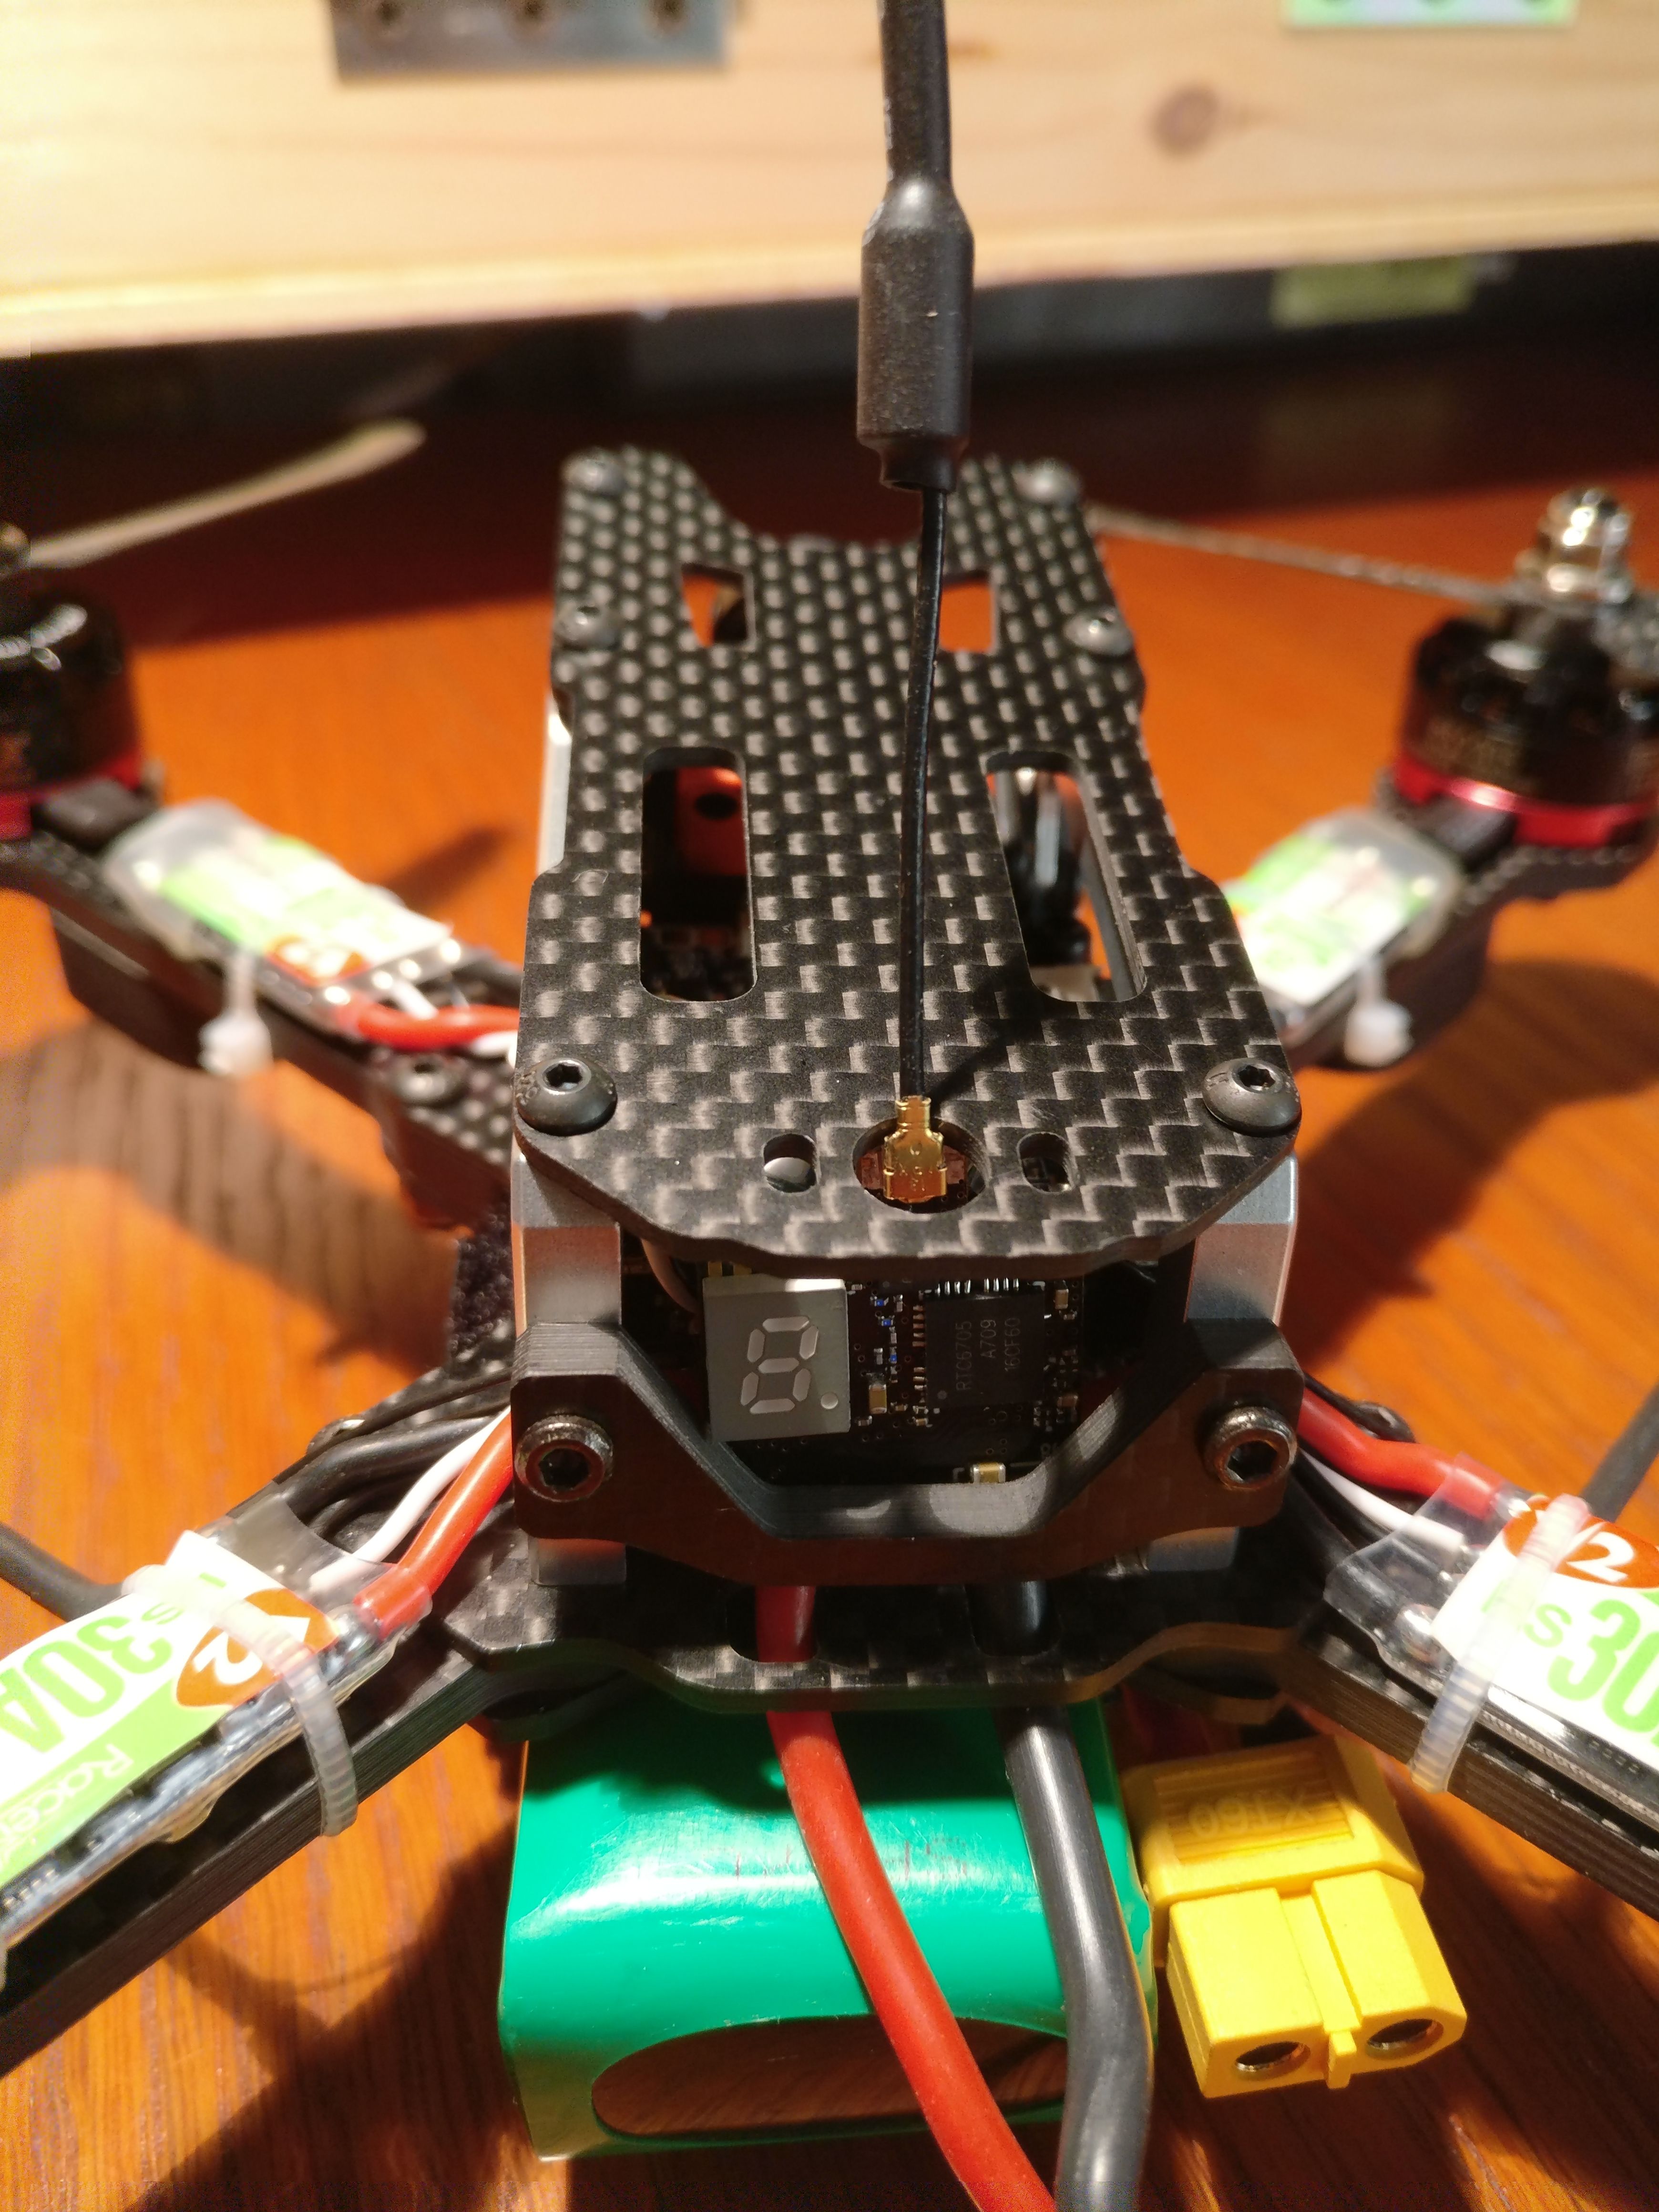
The Eachine VTX03 fits surprisingly well in the back, retained by one of those risers (the curved/front one) screwed in the LED's sockets. Note to reviewers: those small horizontal carbon plates with two screw holes are not for the back! Those are risers meant to be used to lift the central cage of another 4mm in case of need! I am a bit worried about the antenna and UFL connector being a somewhat exposed through the top plate, but the placing of the VTX is just too comfy to give it up. I bought some replacement antennas just to be sure.
What I learnt from this build
-
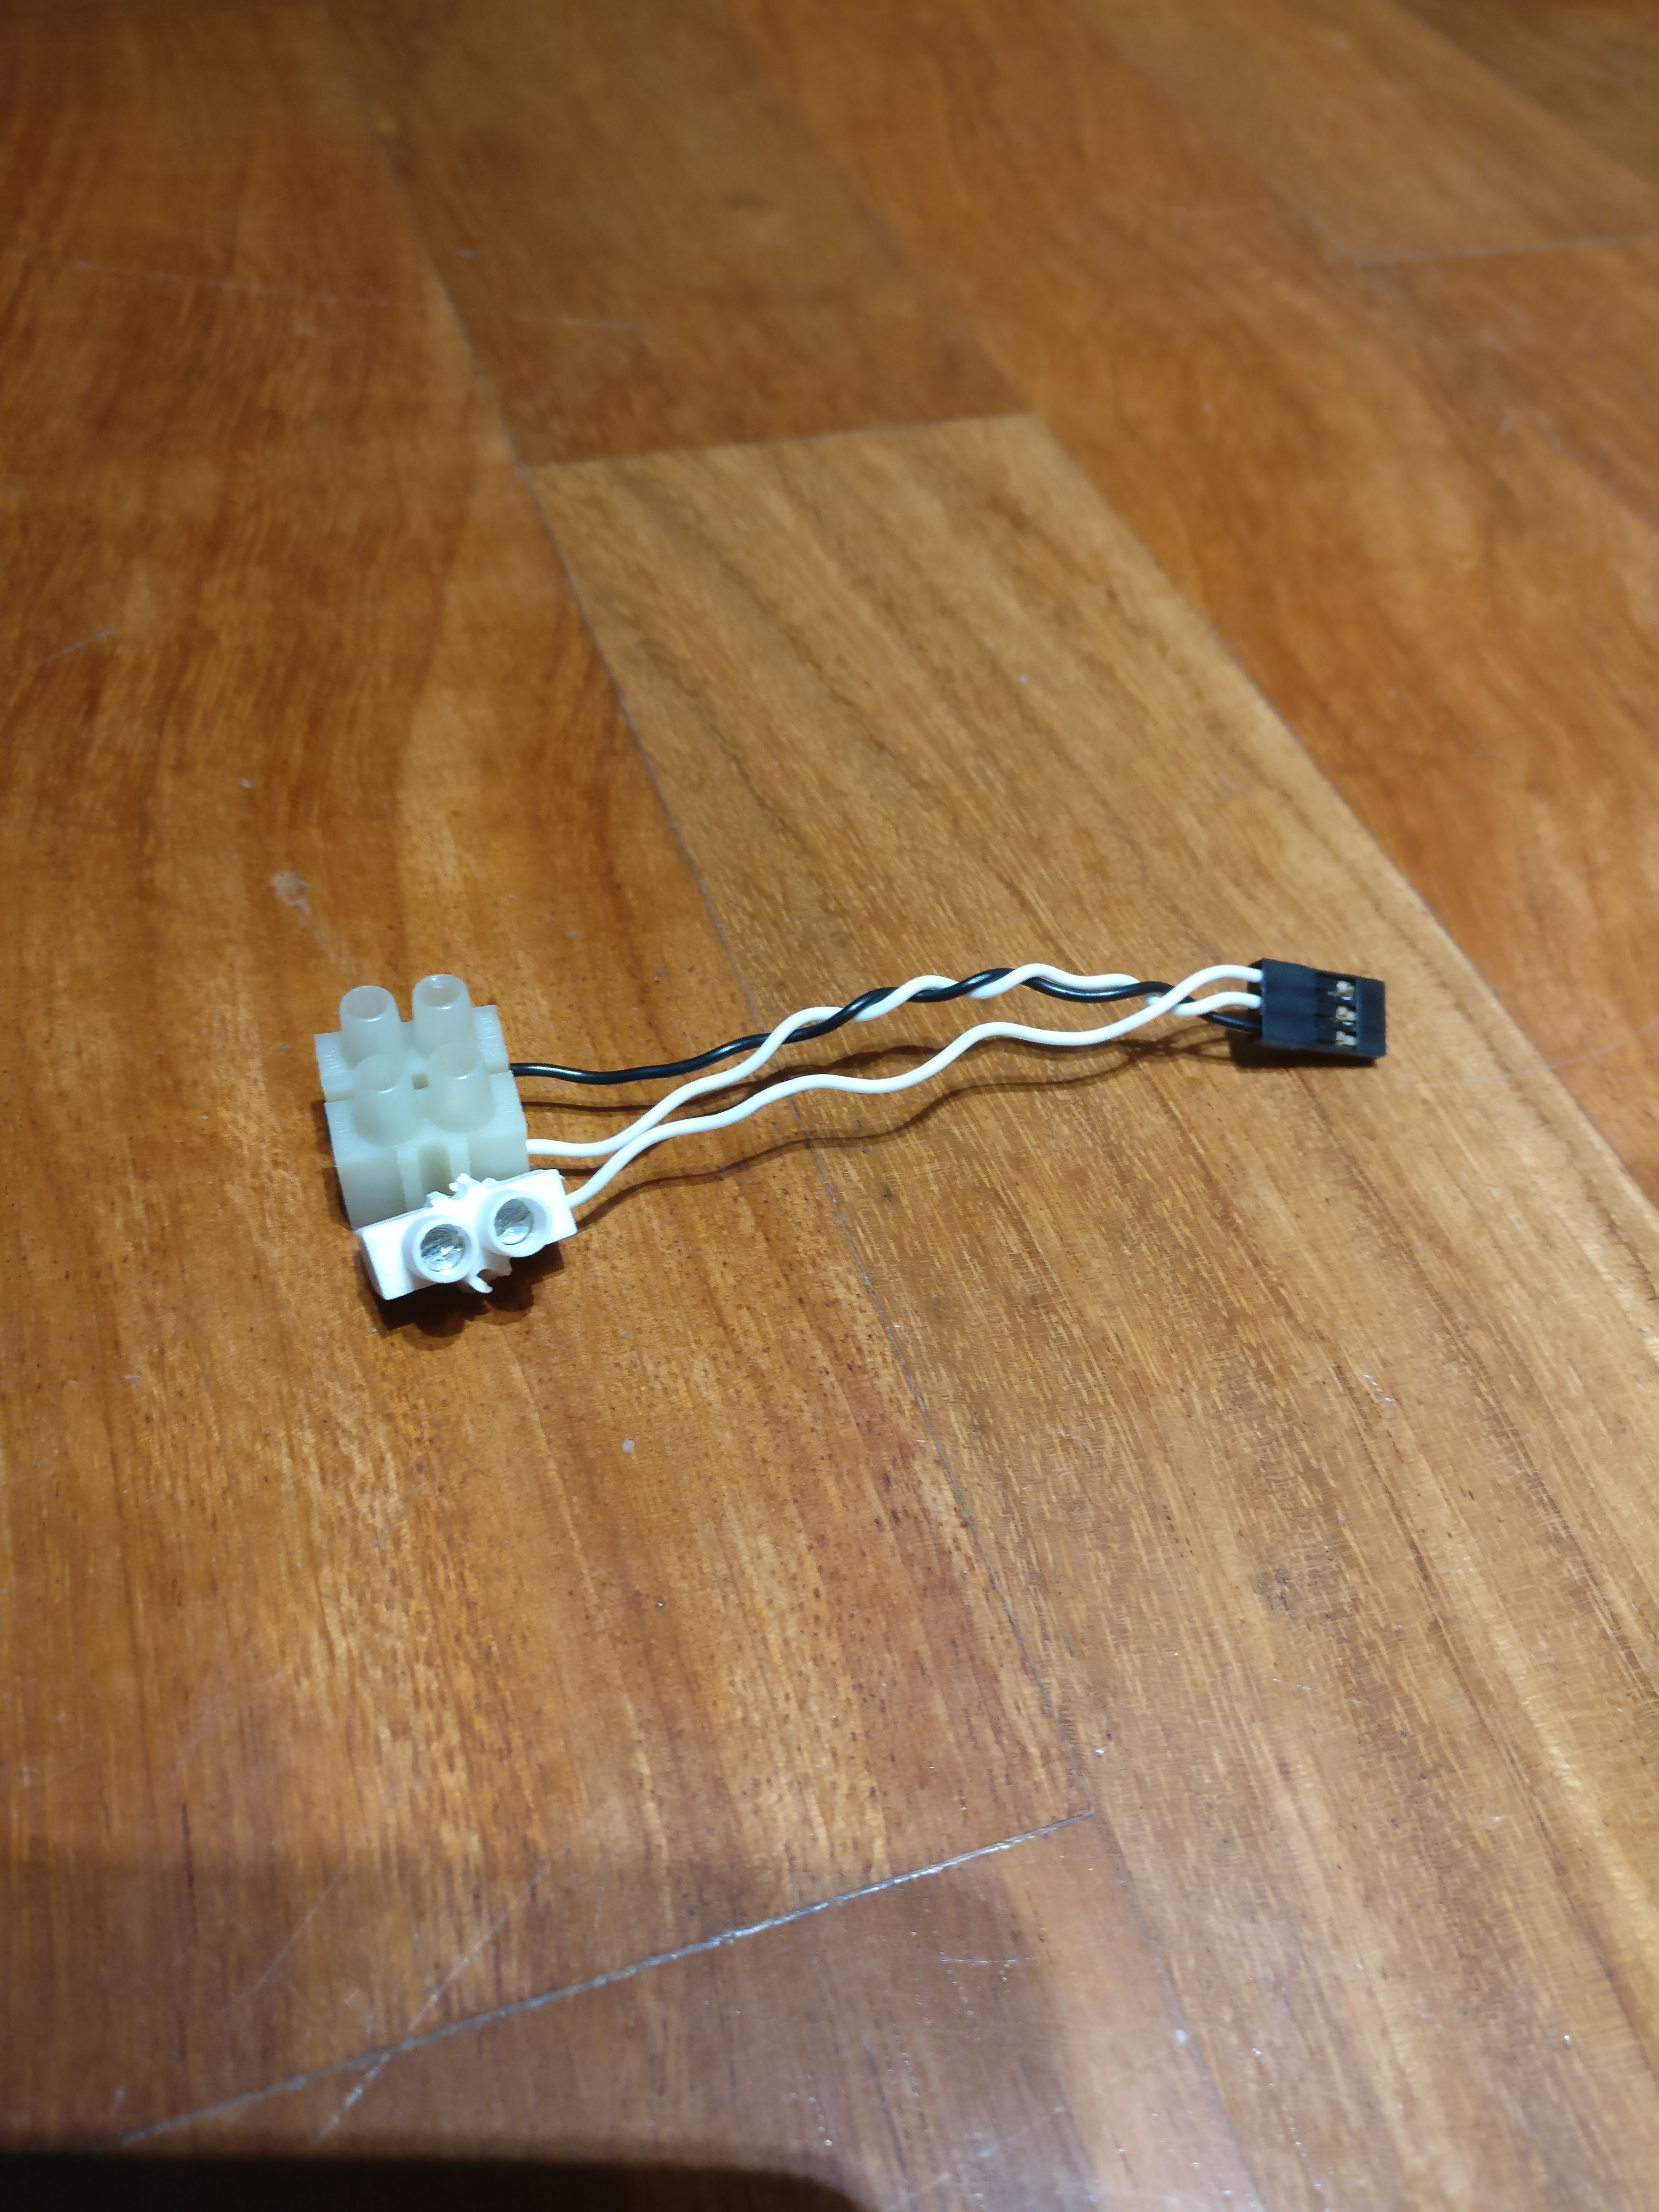
Flash your RX before installing it. I always thought that this was unnecessary as long as it binded and worked fine - but I just got proven wrong when my XM+ was not outputting RSSI on channel 16 as I read it should have done; it was apparently running a >2 yrs old firmware and I had to open up the finished quad and desolder the RX's cables. You may want to have an SPort programming cable handy (I thought it was useless to spend money on this, so I assembled an harness for my Taranis QX7 using leftover wire from ESC signal cables and connectors. A pic is attached for your gory curiosity.)
-
The RunCam Split's PCB has a longer side. The side with the 3-pin video connector protrudes over the mounting holes margin for another millimeter or two. In my case the orientation was quite forced, due to the pinout of the Kakute: video/power pads are exactly under where the Split's video connector is, and I din't want to route cable all over through the boards (Chameleon docet).
- DO NOT power the RunCam Split via USB & battery at the same time. The current revision lacks a reverse current protection diode and can potentially fry all of your stack. You can either add this diode (Google is your friend) or just remember to not plug in both power sources at the same time. Placing a small piece of tape and/or 3D-printed cap on the Split's microUSB connector may be a pretty good protection against doing so.
Stats
Weight (without battery & props): 324g
Thanks
- Whiffles' awesome build guide surely helped me a lot in choosing this frame and searching for caveats before ordering all the parts.
Bonus shots
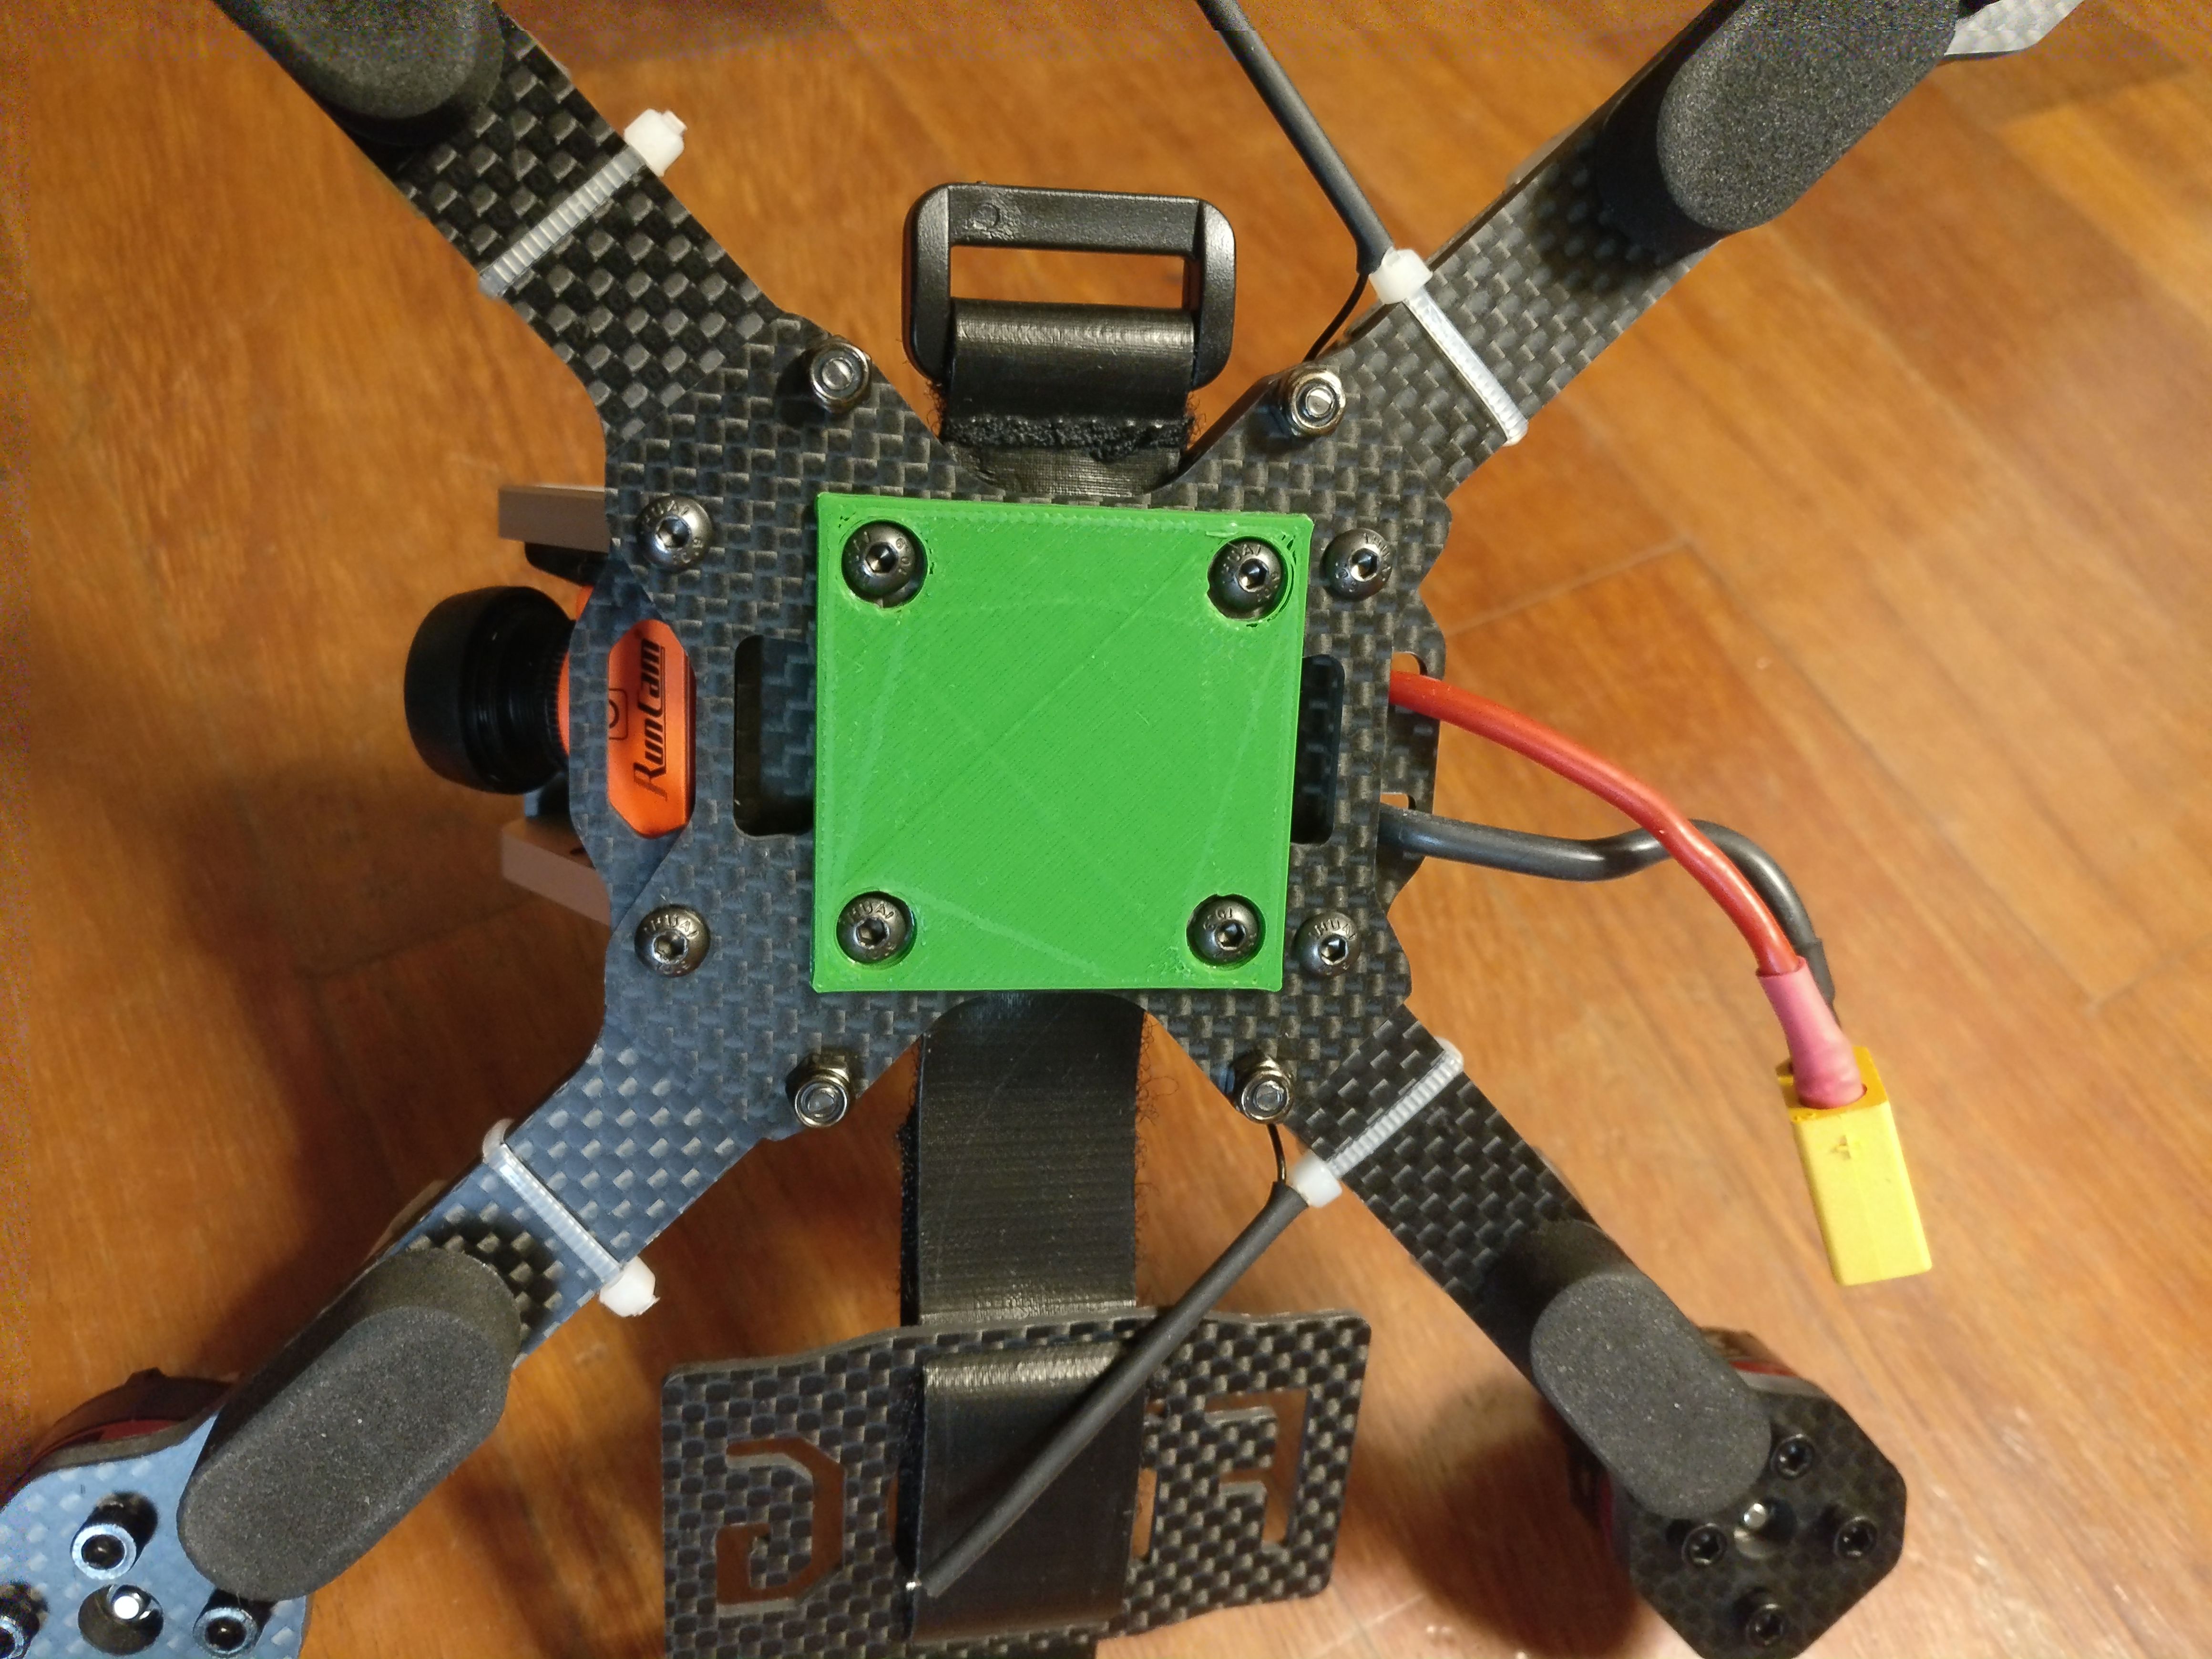
I decided that I wanted to try another new thing: painting the frame's edges. I bought some green nail polish (I read that most people use that to colour CF edges, and it in fact works quite well) and patched it around. The result is pretty cool, given that I did not disassemble or mask anything before or while painting.
To match the new green details I've also designed & printed an antenna base to screw on the back part of top plate. It should handle crashes quite well.
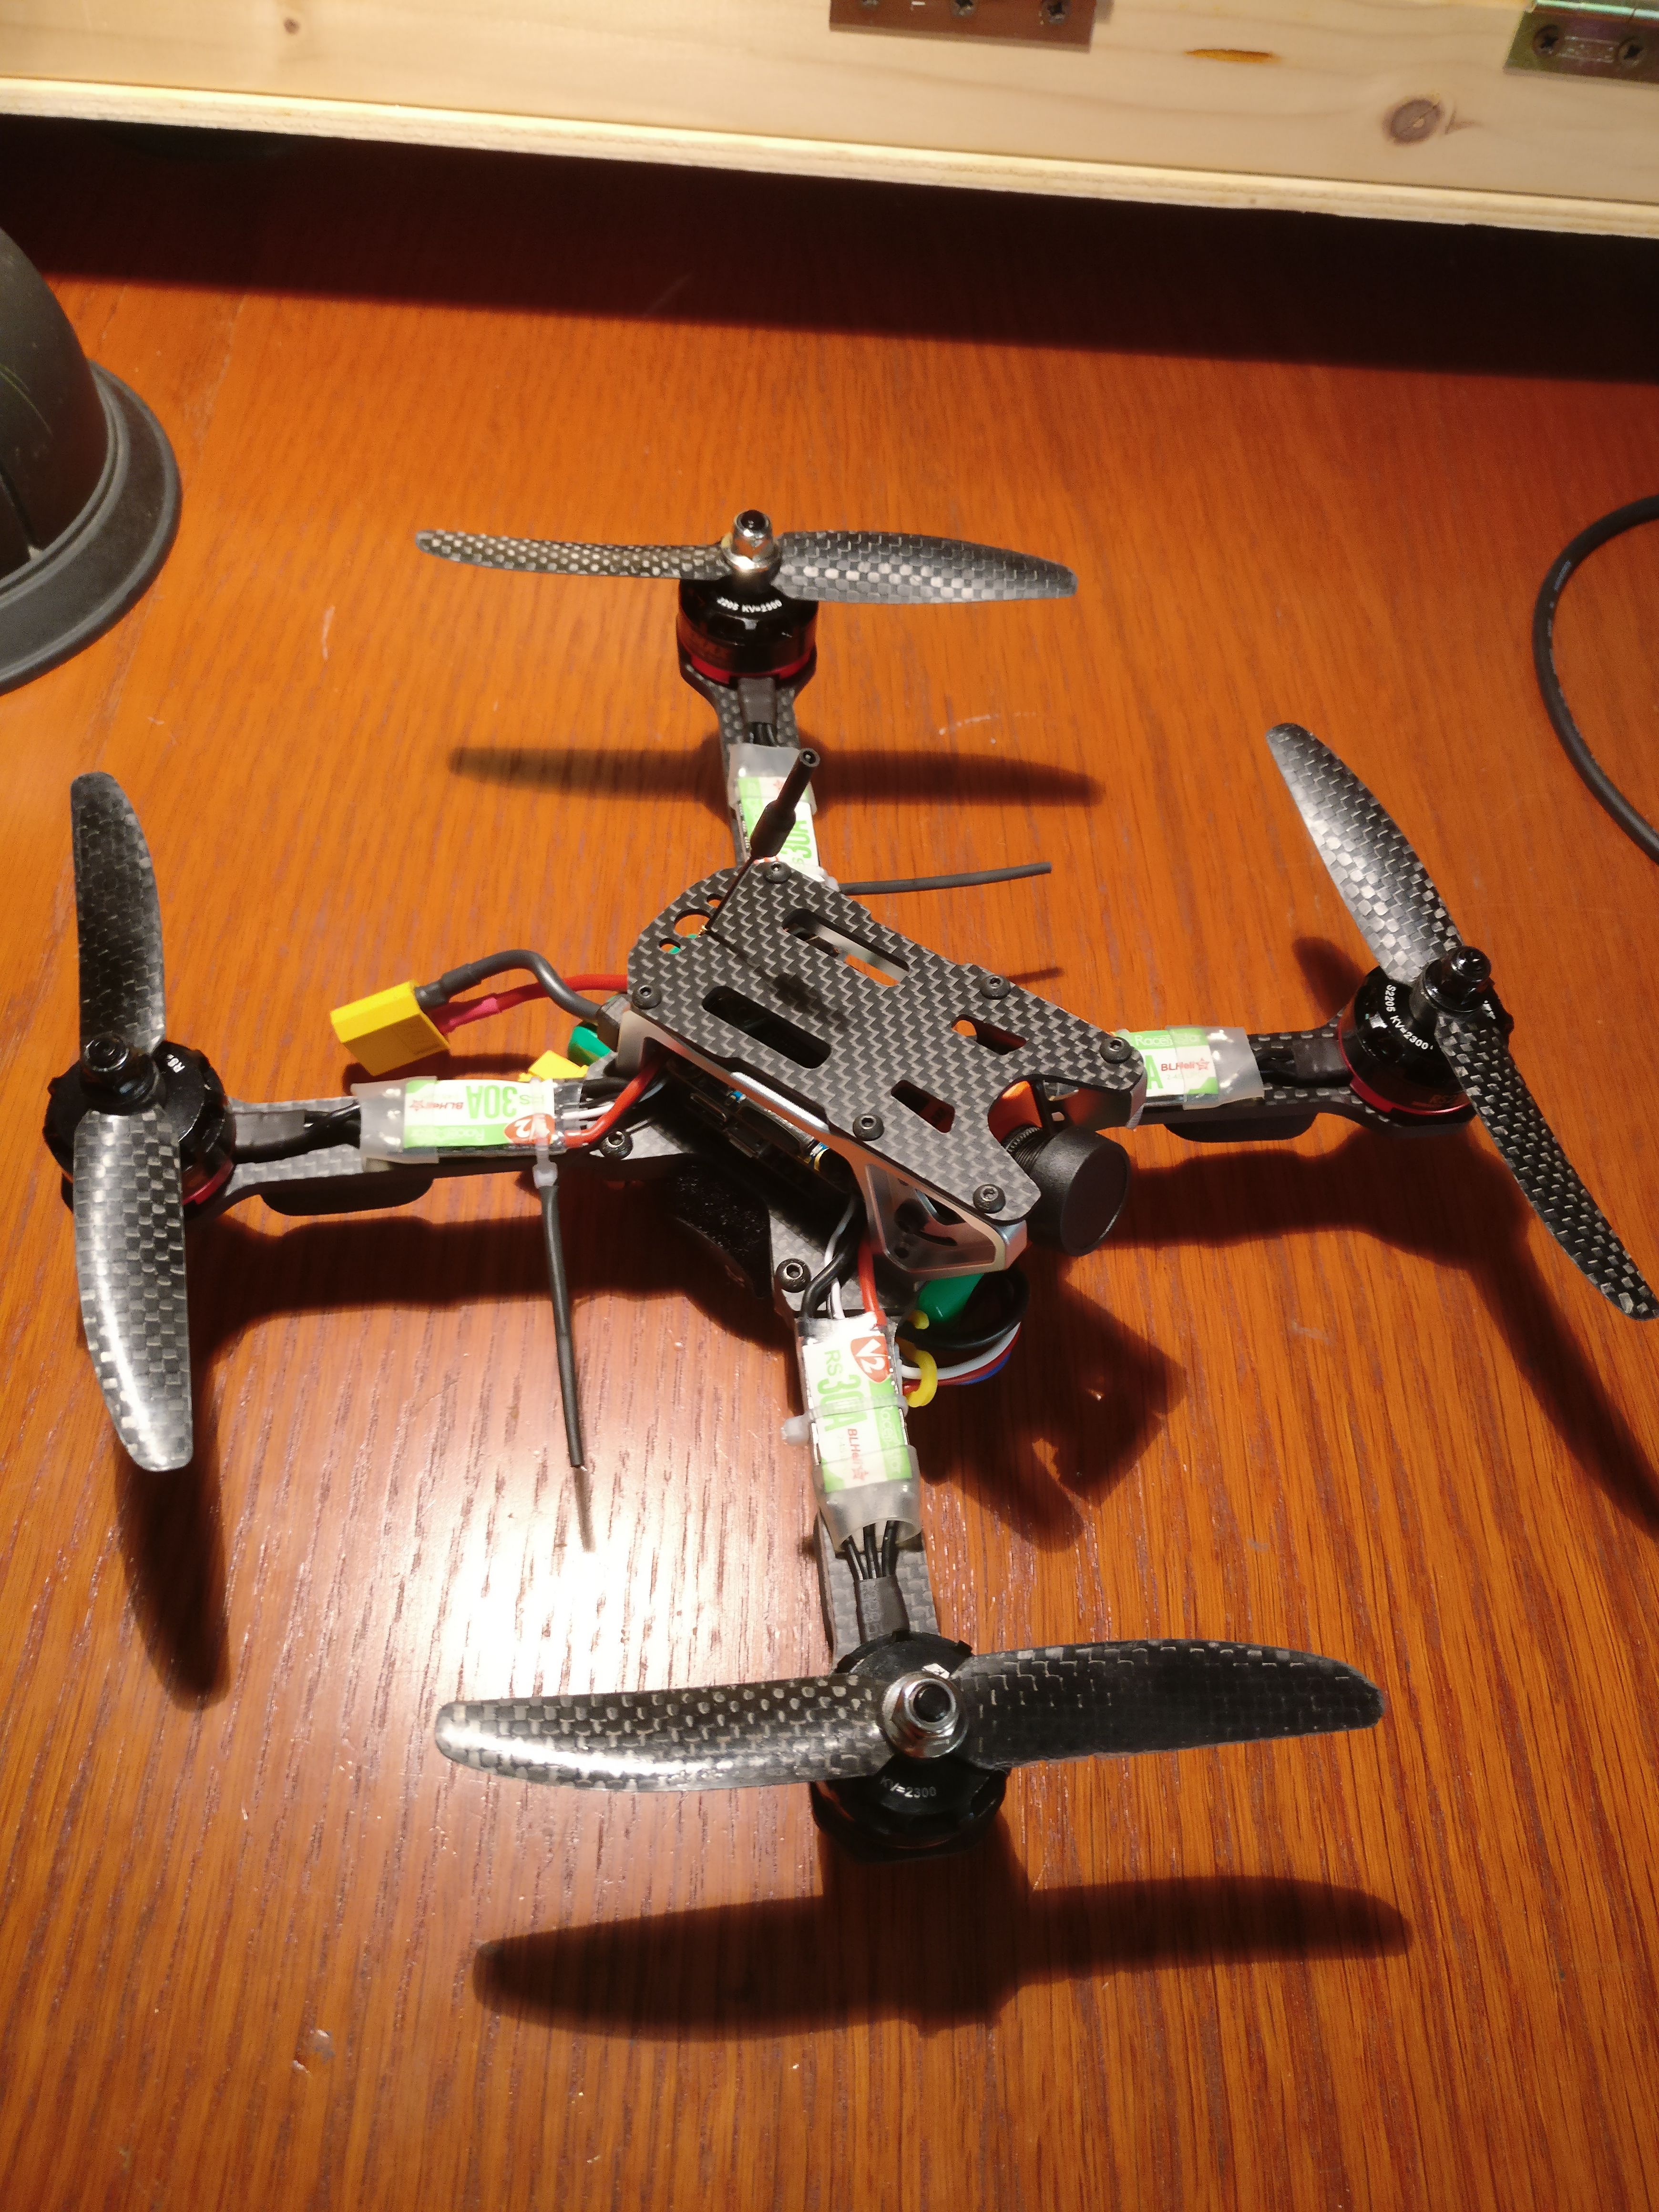
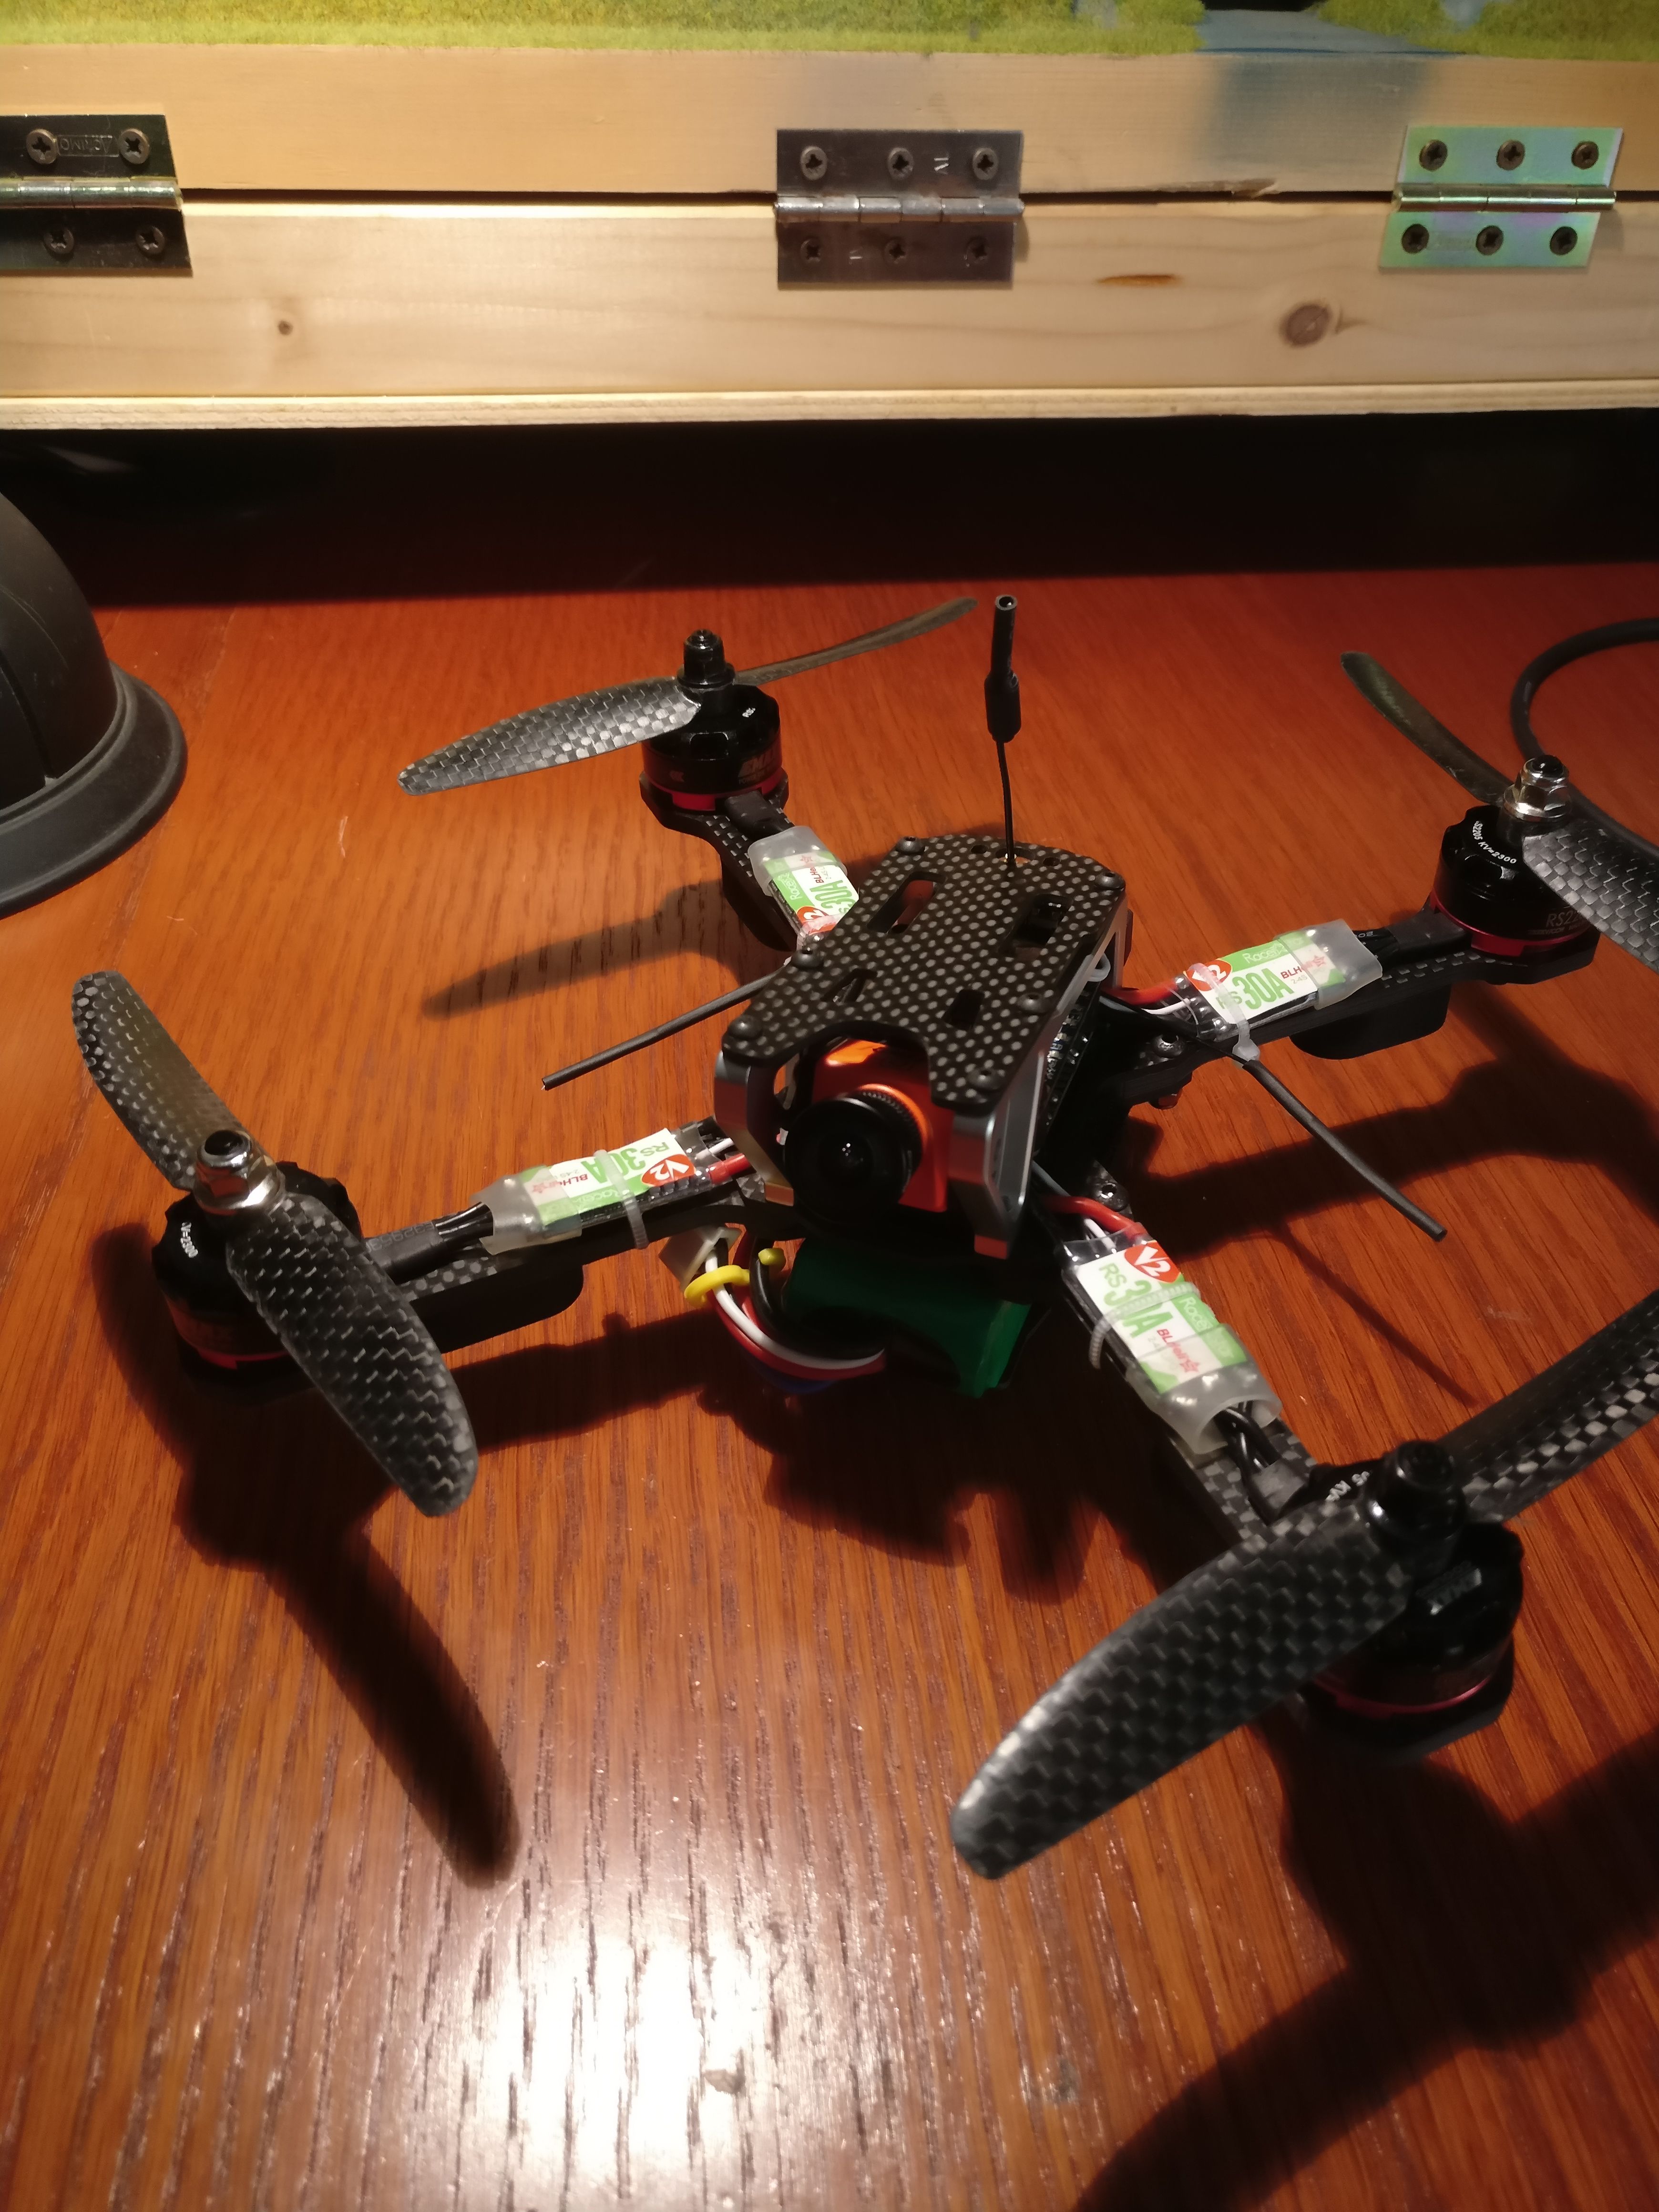
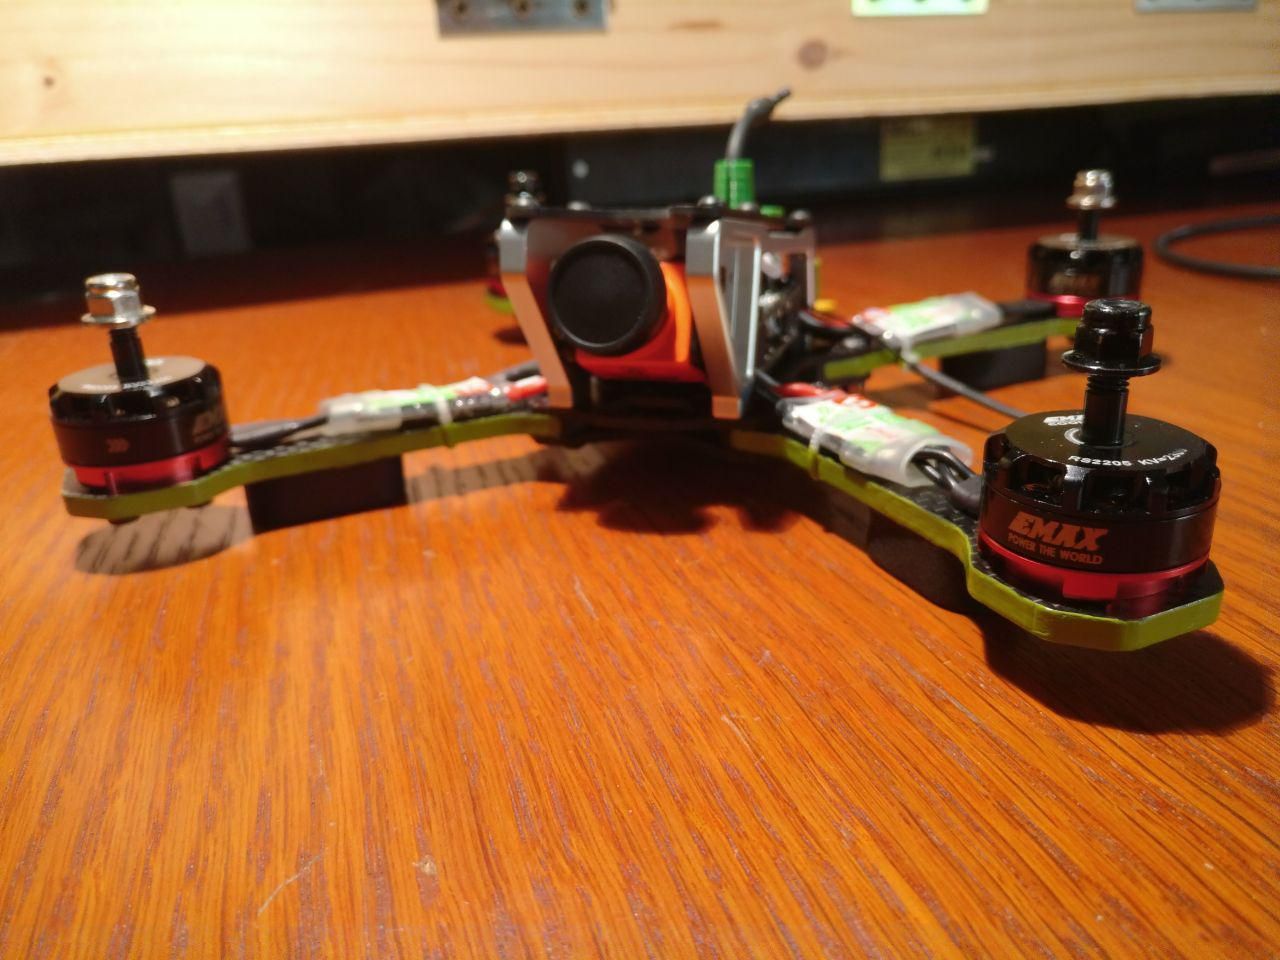
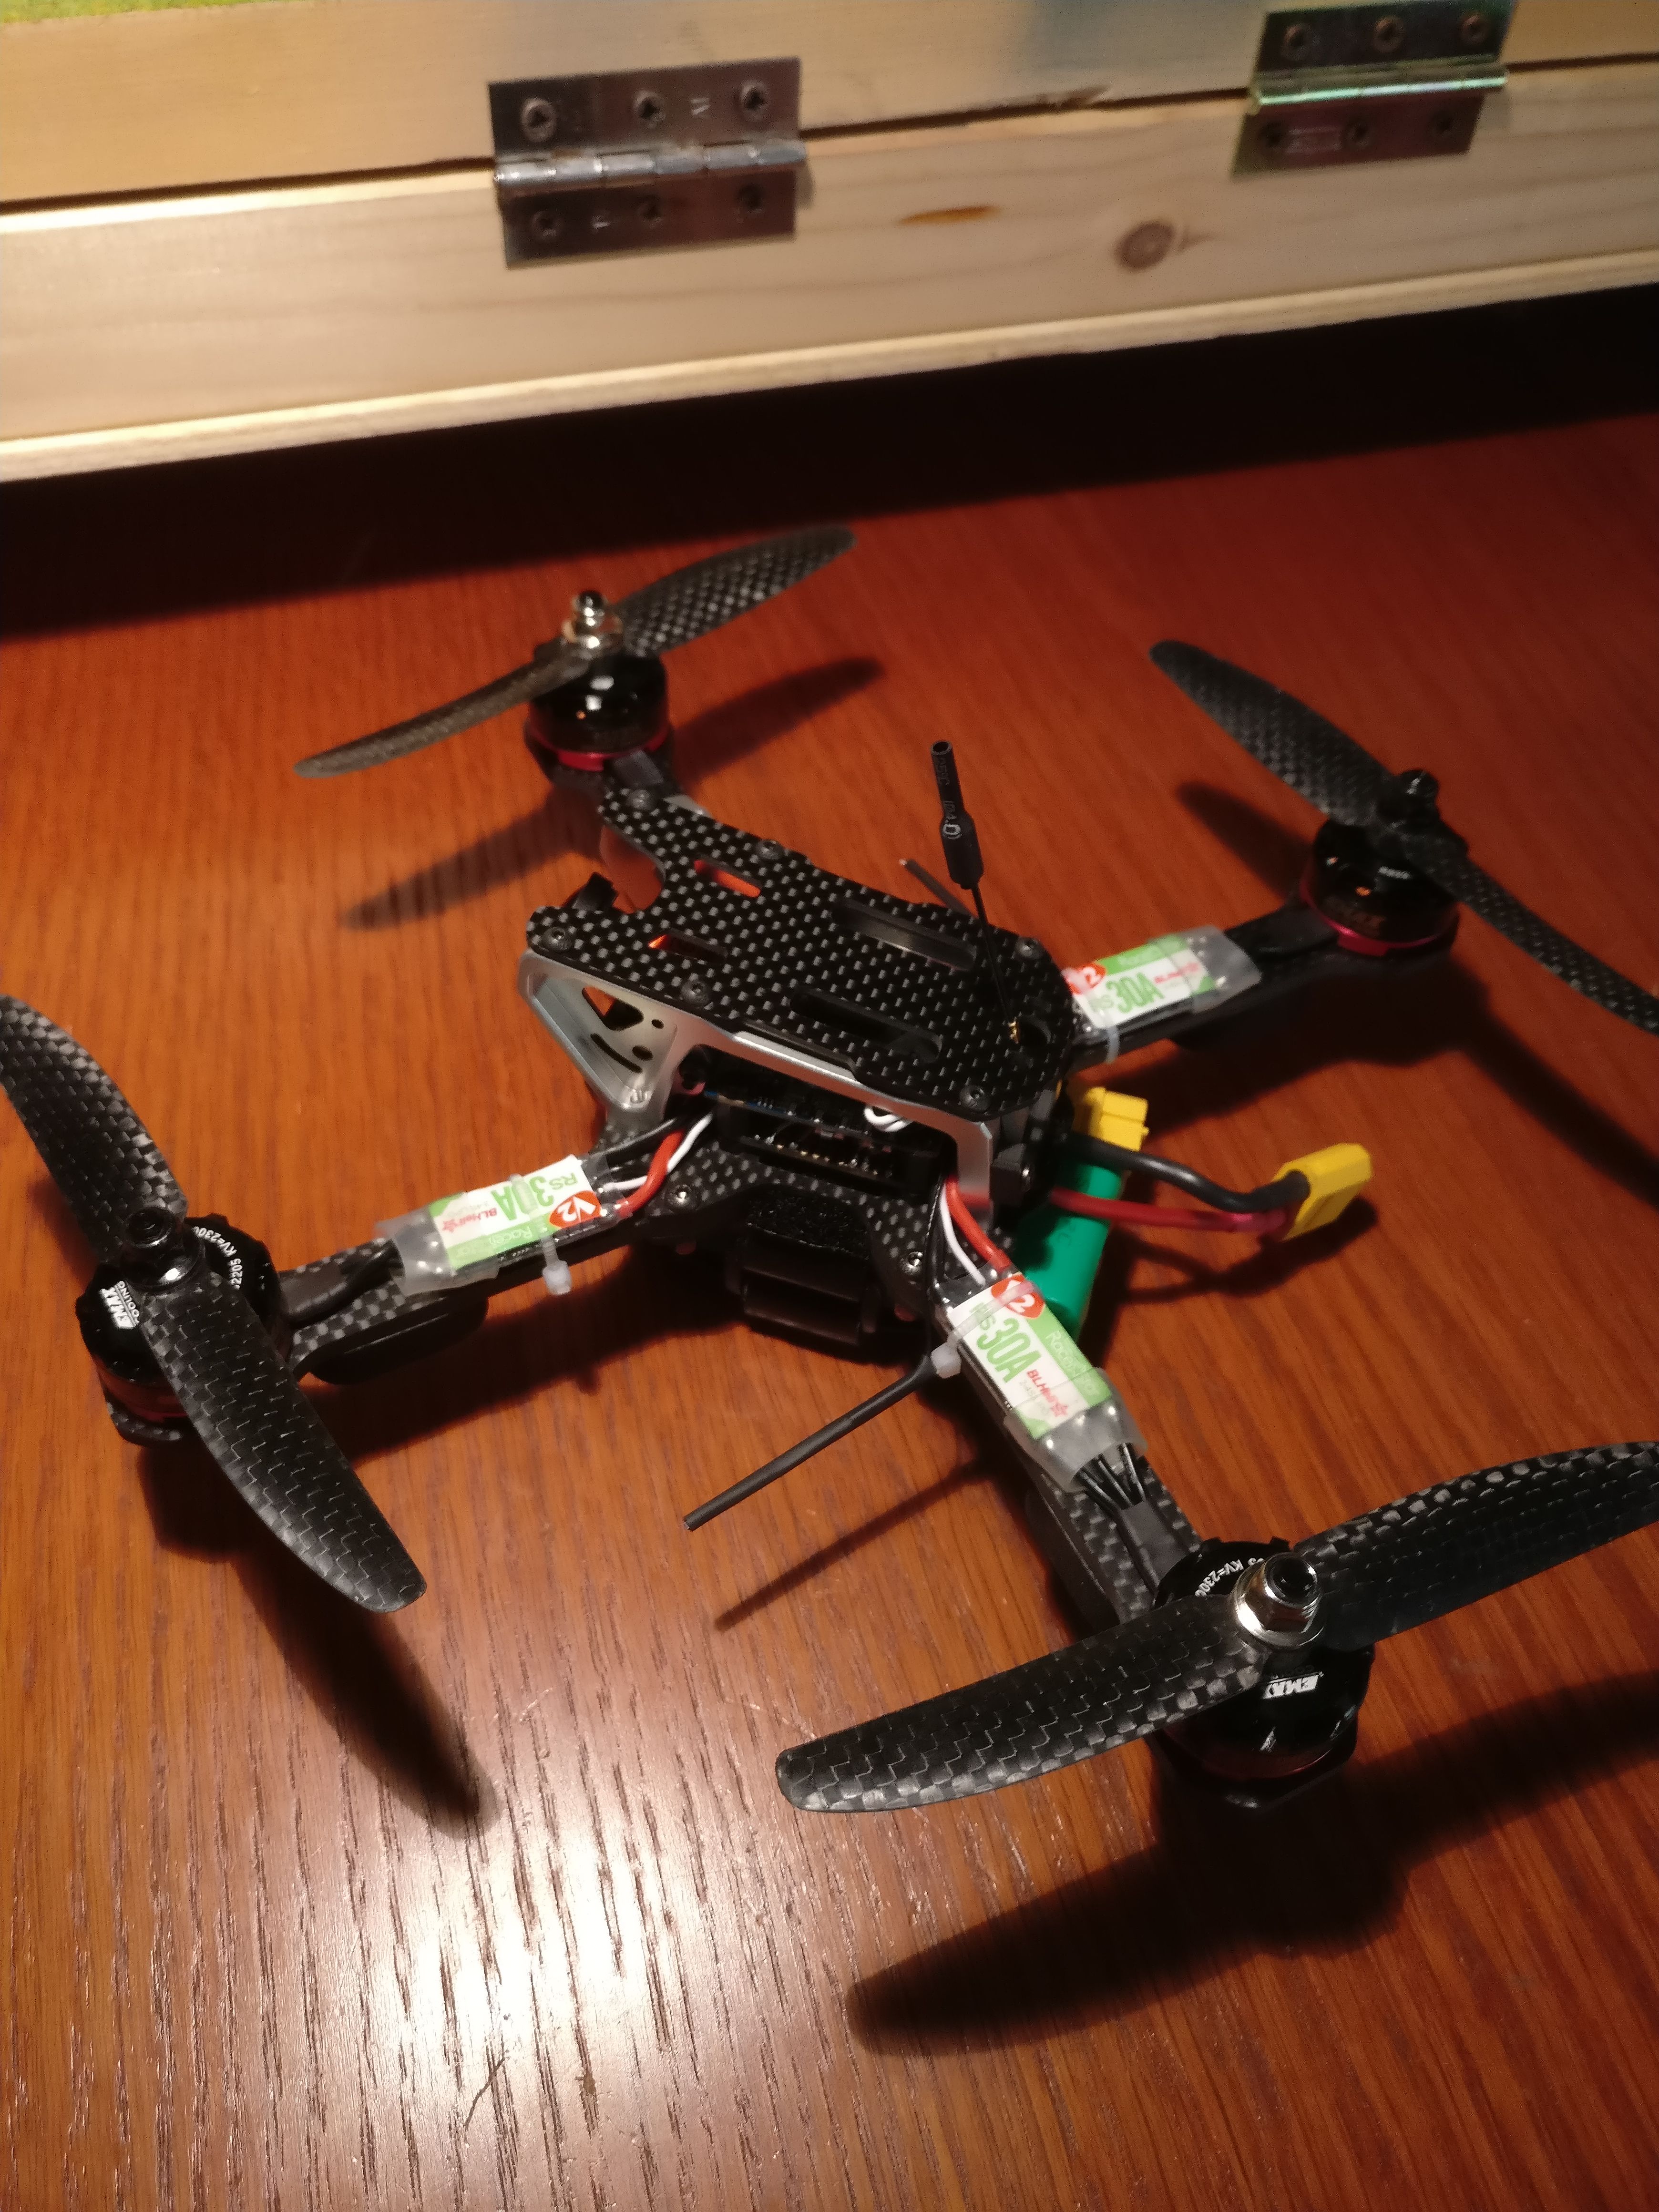
Photos

Part List
Show stores (4)
Very cool build! I see that you routed the battery connecter wires through the zip tie holes. Word to the wise: take them out (I know, you don't want to desolder them) and use those holes for a zip tie to keep battery ejection stress from ripping the pads off your FC.


I'm concerned as well, but the VTX fits so nicely there in the back that I find it difficult to relocate it somewhere else... For now I have shrinkwrapped the UFL joint and filled it with a dab of hot glue in order to stiffen it.
I'll take a look at your build!
EDIT: I applied the tip in the video and also printed a custom antenna base for increased protection against crashes. While I was at it I painted the frame's edges :)
Guides & Reviews

AirbladeUAV has done it again and this time they've brought long range to the 5" class! Based on the popular Transformer Mini, the new Transformer 5" Ultralight adopts a lot of the same design philosophies with larger props and more payload capacity. It can fly upwards of 20 minutes on a 4 cell Li-Ion battery pack and in ideal conditions it's got a range of over 4 to 5 miles. In this guide I'll walk..
Read more
With the release of the DJI FPV Drone cinematic FPV has become a lot more accessible, but you certainly don't want to crash a $750 drone! The QAV-CINE Freybott is a compact, lightweight cinematic FPV drone that can take a hit and keep going. It's a lot safer to fly indoors and around people. With a naked GoPro or the SMO 4k you can capture some great stabilized footage. In this guide I'll show you..
Read more


How much did it weigh with everything on it?