Hypertrain 1.1 motors and all kiss setup. Awesome-Sauce-Magillicutty
I have been waiting for the Kiss FW fix before getting started on this and with the 119B FW for the ESCs it seems that this gives a 'green light' for this build. Check it out Holmes, this is going to be awesome! No big rush to complete this if you read the timeline below as I have a good working Alien that this reverb will replace. I really like the TBS FPVision PDB/VTX/OSD and I had to jump thru an extra hoop to make it fit but I like it so much I didn't think twice about the extra work.
2018-1-26
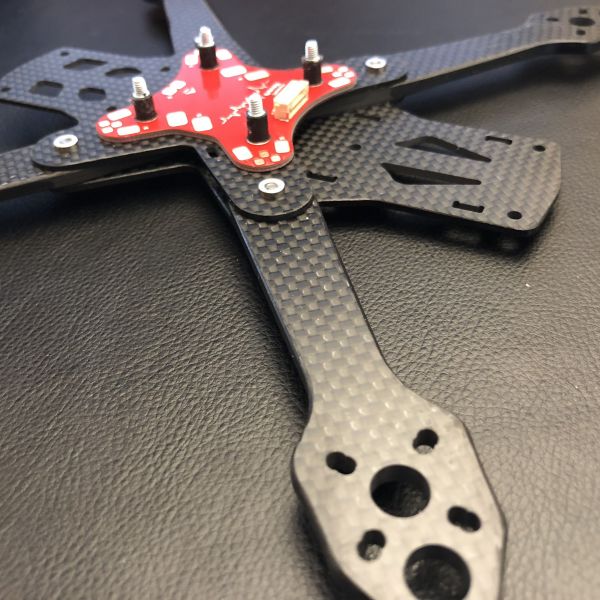
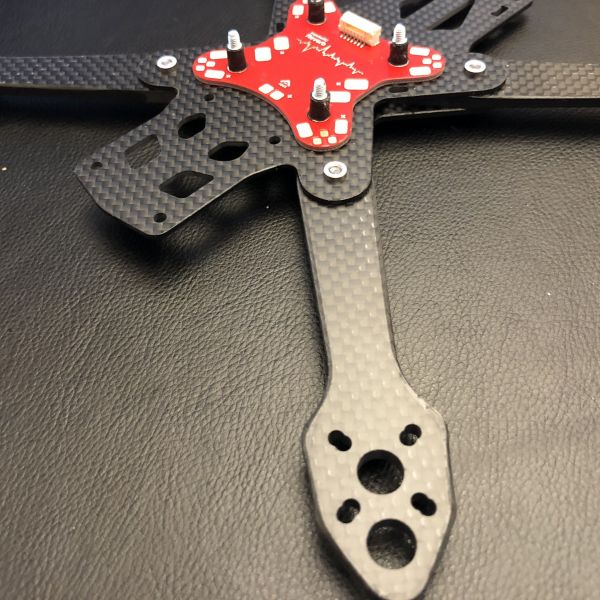
Built the frame, quick and easy! (Freeking solid!) used blue locktight on the bolts.
2018-1-27
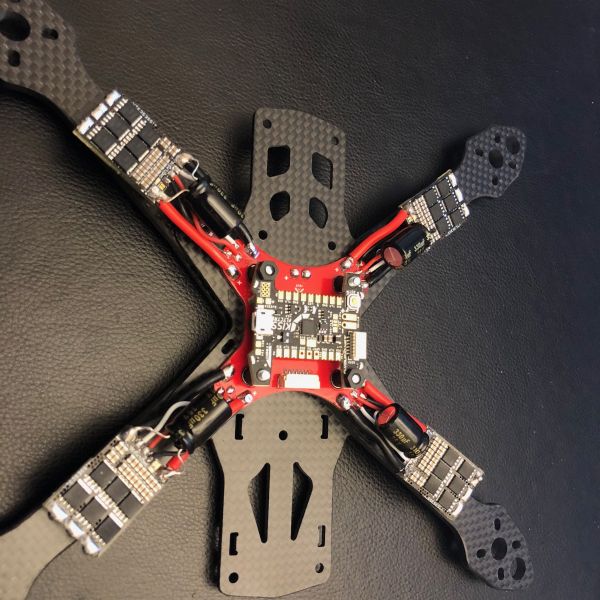
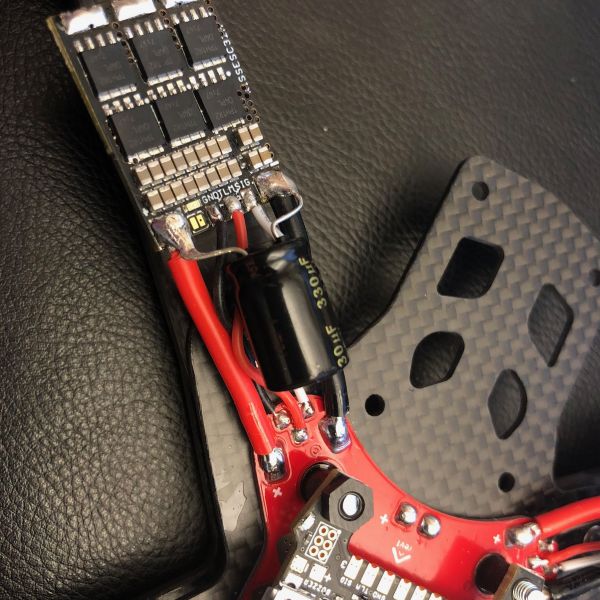
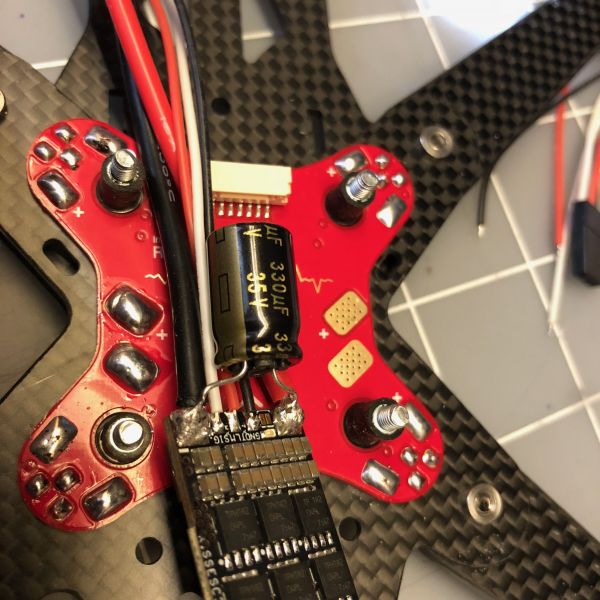
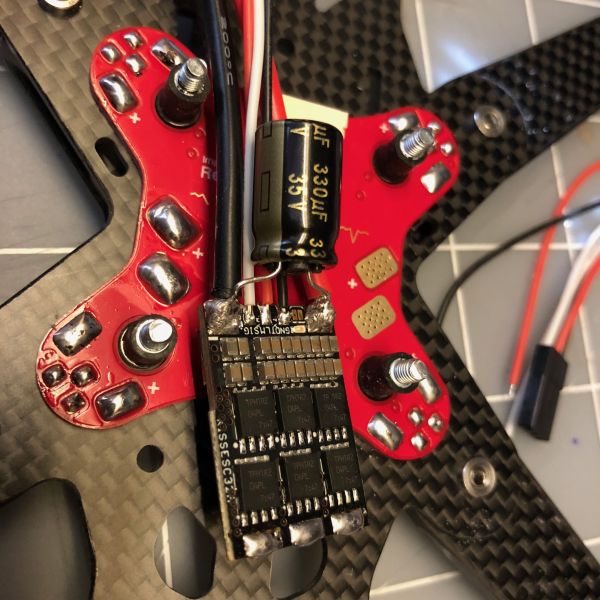
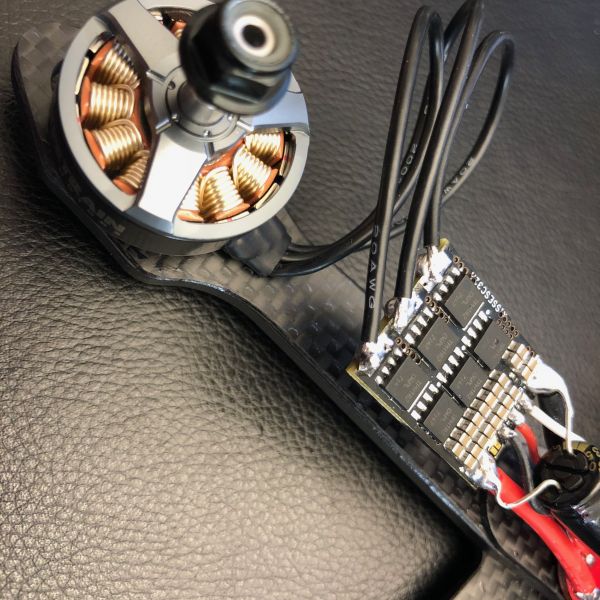
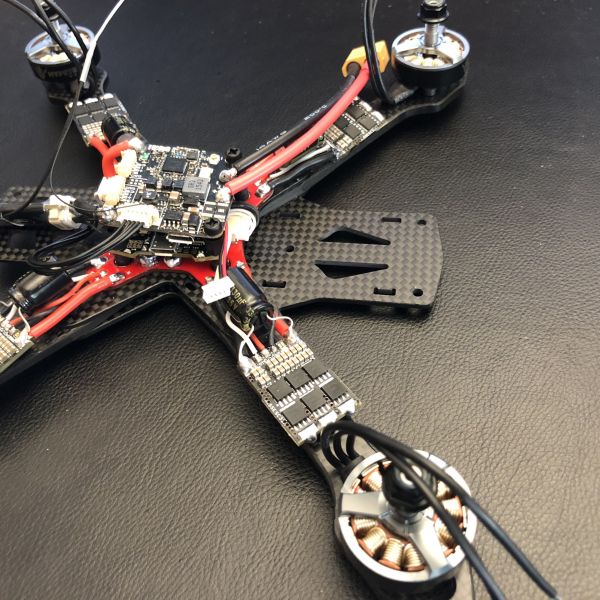
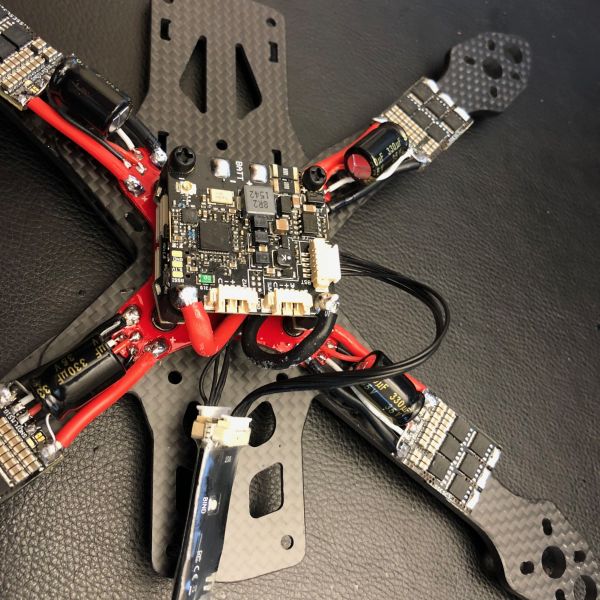
Soldered the capacitors to ESCs to PDB. ESC signal and telem wires connection at the PDB is close, I figured that there must be an order to the soldering - I did the innermost wire last so the others would not get burned by the iron.
2018-1-30
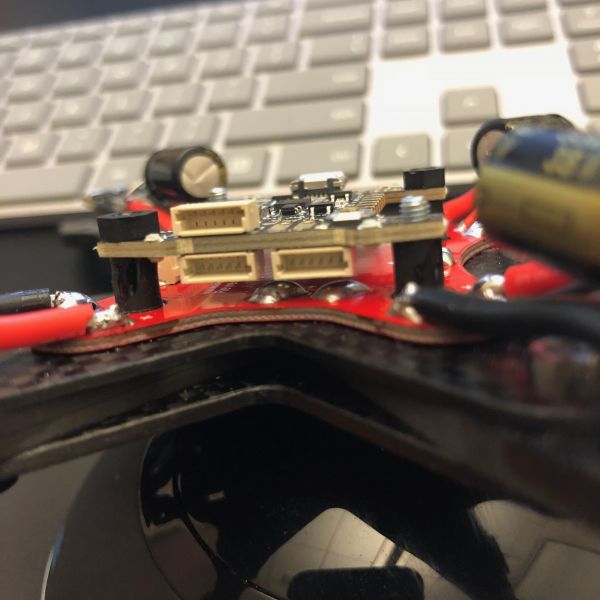
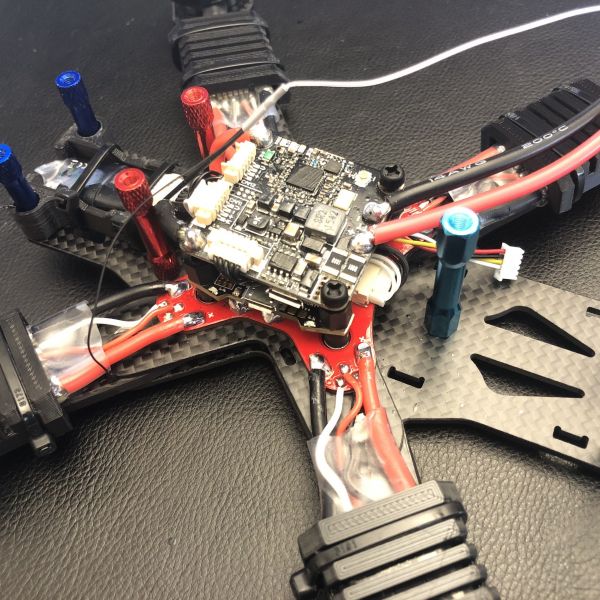
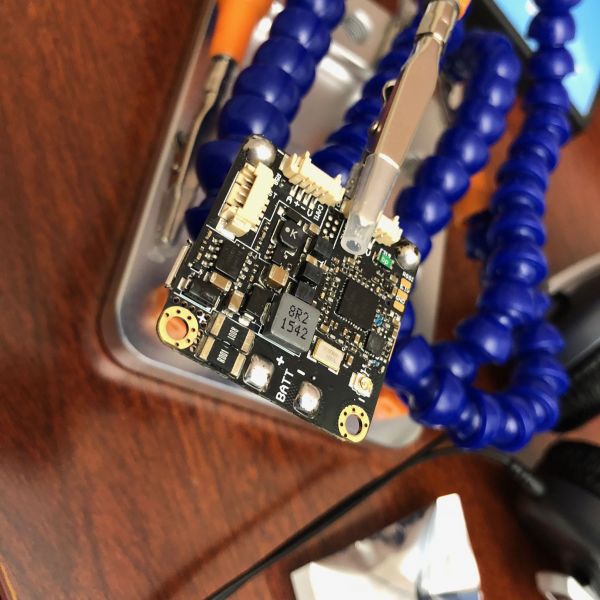
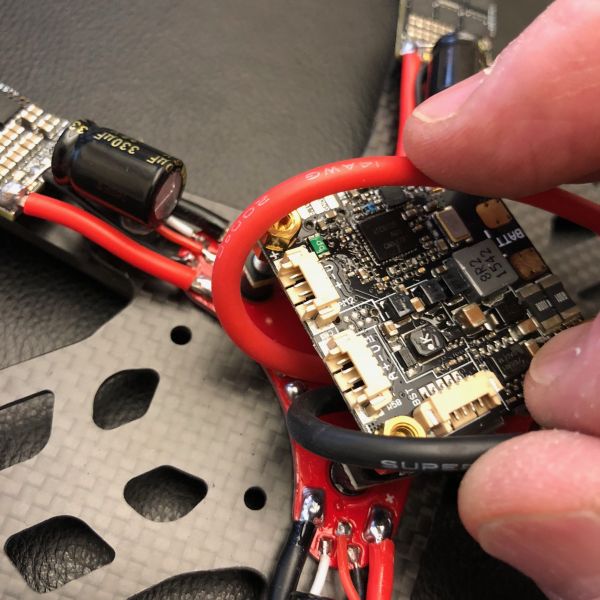
waiting on the Fpvision, this will determine the flight controller position (clearance issues on the bottom side of the FC - plastic connectors that are on the bottom are right on top of the battery solder points (see photo) as battery power will be introduced to the VTX then be directed to the PDB.)
2018-2-13
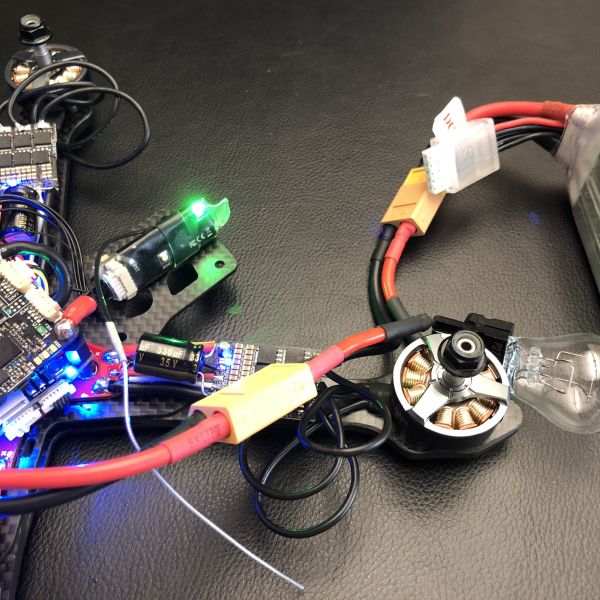
wire in the FPVision power to the main PDB and power from batt connector, install wires from the PDB to the FC, de-pin and re-pin the correct connectors for the camera, re-orient the crossfire dipole antenna and then reseal (better than original) the receiver. Lastly, temporarily solder the motors for rotation check before final heat shrink and also complete smoke check - ALL GOOD!
2018-2-21
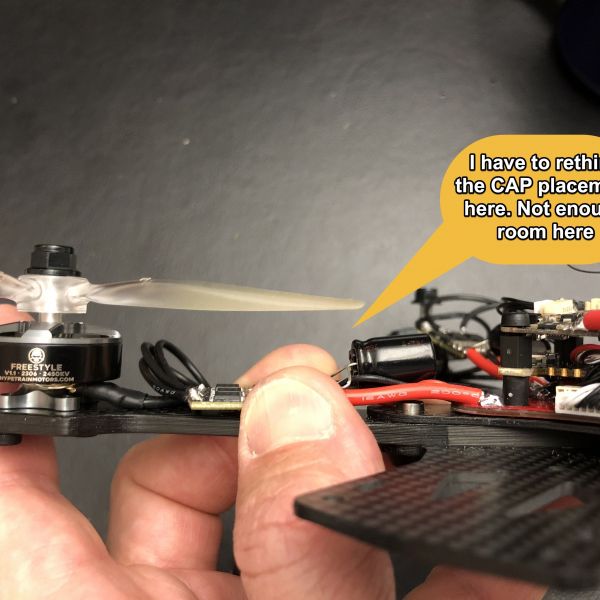
move the location of the capacitors, solder the motor leads, heat shrink the ESCs, mount the receiver, and route the receiver wires to the VTX. BAH! the pillar for the receiver antenna mounts are the wrong length. now on order and this will be delayed again as I await parts.
2018-2-25
AAAHHHHHhhh!!I killed my Alien - this was the only/primary quad! - completely destroyed. Now it's time to get this thing done.
2018-2-26
OK, it's done. A few things I am not happy with and will change soon; 1 The video antenna, I have a 3d printed mount on the way. 2 The capacitors.. I will probably mount a larger single one behind the camera (the most available room in this location). 3 the power cable routing to the pdb/vtx, i will figure something out better at a later time. (i typically tinker with these quads until they seem 'perfect' to me, this takes time)
anyway, done - upgraded the FC and ESC firmware and plugged in some PIDs that I think will be a good starting point and added the rates that work well for me. TIME TO FLY!
Photos
Part List
Frame |
ImpulseRC Reverb Body Kit
Crowncityfpv.com
|
$38.99 |
Flight Controller |
KISS FC V2 - 32bit Flight Controller
(62 builds)
Flyduino.net
|
$65.96 |
ESCs |
4 x KISS ESC 2-6S 32A (45A limit) - 32bit brushless Motor Ctrl
(17 builds)
Flyduino.net
|
$115.68 |
Motors |
Hypetrain Freestyle 2306 2450KV Motor (V1.1)
(96 builds)
Store.rotorriot.com
|
$19.99 |
FPV Camera |
Foxeer Predator Mini 1.8mm/2.5mm CMOS 1000TVL/20mS Latency 4:3 Super WDR Function FPV Camera w/ OSD
(106 builds)
Banggood.com
|
$28.99 |
FPV Transmitter |
TBS Powercube FPVision
(13 builds)
Team-blacksheep.com
|
$99.95 |
Antenna |
TBS Triumph 5.8GHz RHCP FPV Antenna Set (SMA Male)
(191 builds)
Getfpv.com
|
See Site |
Receiver |
TBS Crossfire Micro RX V2
(288 builds)
Team-blacksheep.com
|
$34.95 |
Did not know you could connect a Crsfx micro\nanoreciever just to the BST port on the Fpvision. I would have thought you need to conenct ch1 and 2 to RX\TX on a UART. Did you need to do any other setup to get that to work?
YES! That is one of the reasons that I love the setup. Everything seems to be intended to work together! Nothing else was needed, it was as if the FC, RX, ESCs and VTX understood that they were connected and acted acordingly! Love it! Thru the OSD I have the ability to change many things as well as my camera settings.
any tips for the kiss fc?
well... I love them! I prefer to use them as they just seem to work. I don't have to mess around figuring things out or searching for schematics or asking questions. Once I have this quad all sorted out I can share my settings/PIDs/Rates if you want them. With this setup shown here, I have only soldered the receiver and buzzer to the FC - like 6 wires. There are harnesses that connects the FC to the VTX and another from the PDB to the FC. Super clean
Guides & Reviews
AirbladeUAV has done it again and this time they've brought long range to the 5" class! Based on the popular Transformer Mini, the new Transformer 5" Ultralight adopts a lot of the same design philosophies with larger props and more payload capacity. It can fly upwards of 20 minutes on a 4 cell Li-Ion battery pack and in ideal conditions it's got a range of over 4 to 5 miles. In this guide I'll walk..
Read moreWith the release of the DJI FPV Drone cinematic FPV has become a lot more accessible, but you certainly don't want to crash a $750 drone! The QAV-CINE Freybott is a compact, lightweight cinematic FPV drone that can take a hit and keep going. It's a lot safer to fly indoors and around people. With a naked GoPro or the SMO 4k you can capture some great stabilized footage. In this guide I'll show you..
Read more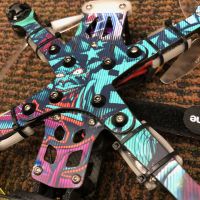
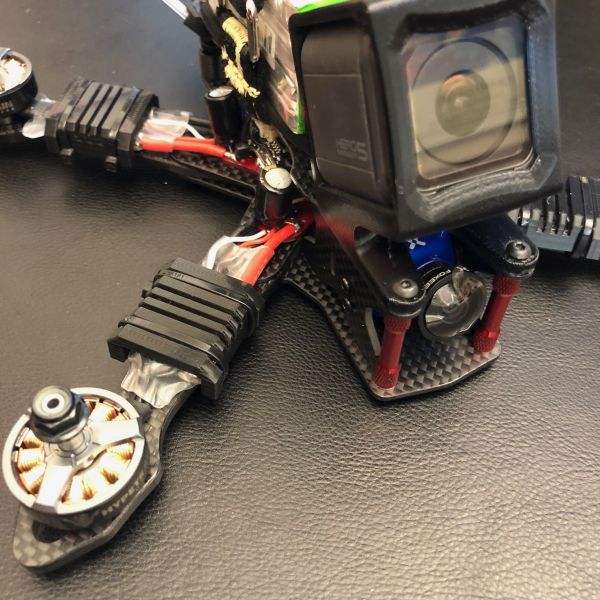
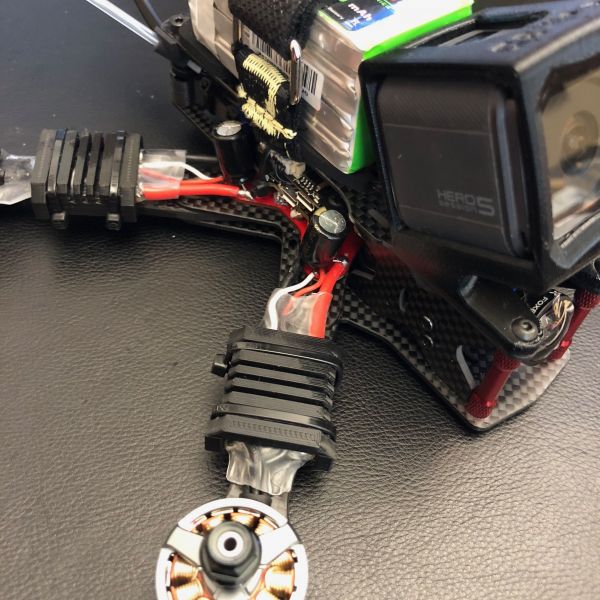
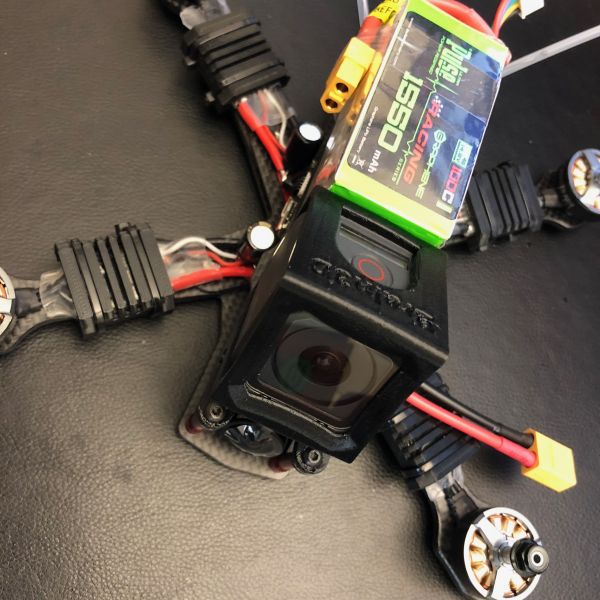
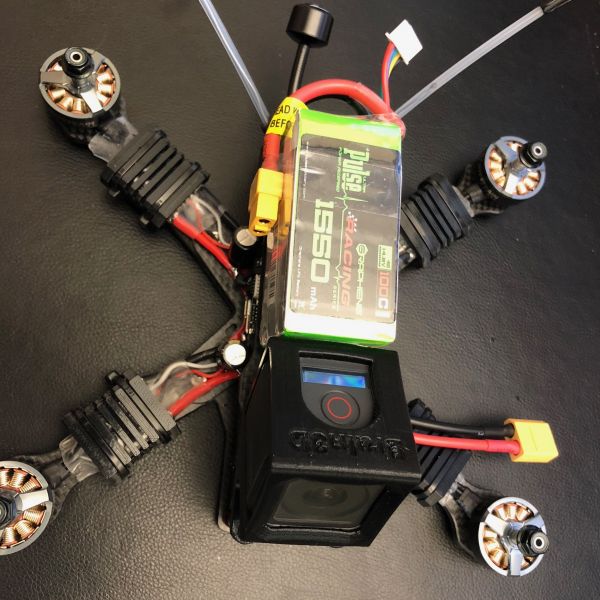
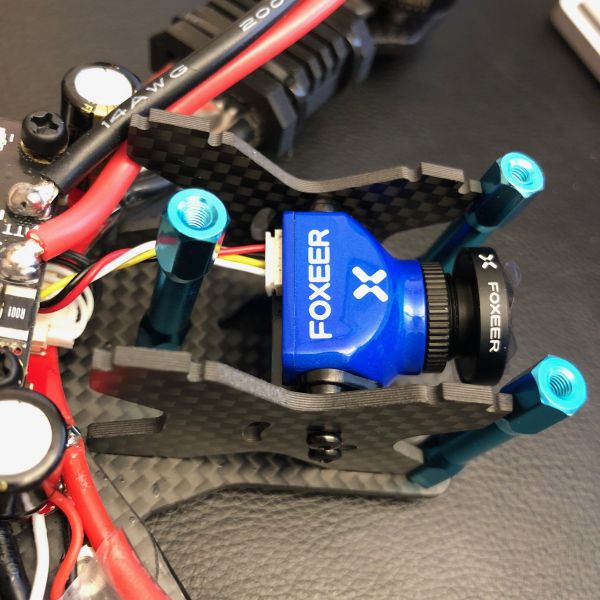
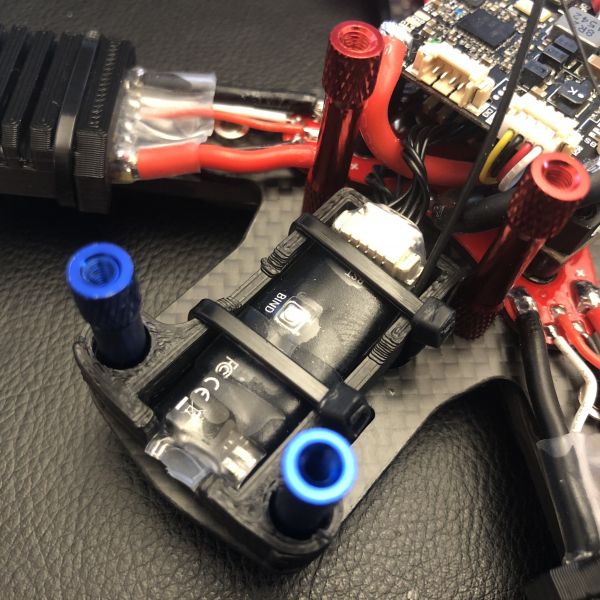
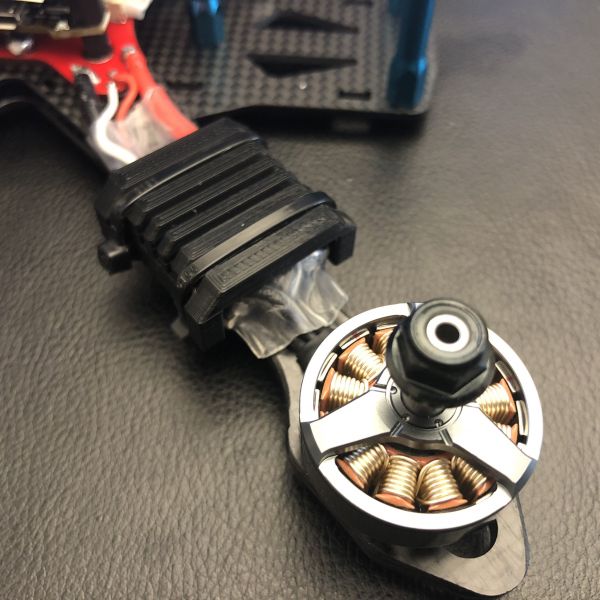


Nice build! What standoffs did you use? Where did you find the exact lengths for the Reverb?
Sorry, cant remember. i had the parts purchased quite a while ago. i remember that i measured what was supplied in the kit then searching for the standoffs. i do remember that one of the sizes was hard to come by.
Yes, that's the point! I am looking for the shorter SO (24.5 mm) for a while but did not find them. Is it possible to check the length at your build? :) The three front SO (30mm) are easy to find..
Thanks for your reply mate.
I belive that I purchased the 25mm and rubbed them on sandpaper to fit.