RipTide 5" F4 True X with Turtle Hump
 By shutupshake on Nov 01, 2017
Build goals:
- BF3.2 ready
- DSHOT commands ready
- Durable design
- Good crash recovery
- Reliable, proven components
Summary:
This will be my third full build. This is meant to be a sort of upgraded clone of my last build here: https://rotorbuilds.com/build/3595. I want to take full advantage of the benefits of Betaflight 3.2 including: turtle mode, crash recovery, dynamic filtering, etc. Since I will most likely be flying this over the winter, in the dome, it needs to be able to take a beating.
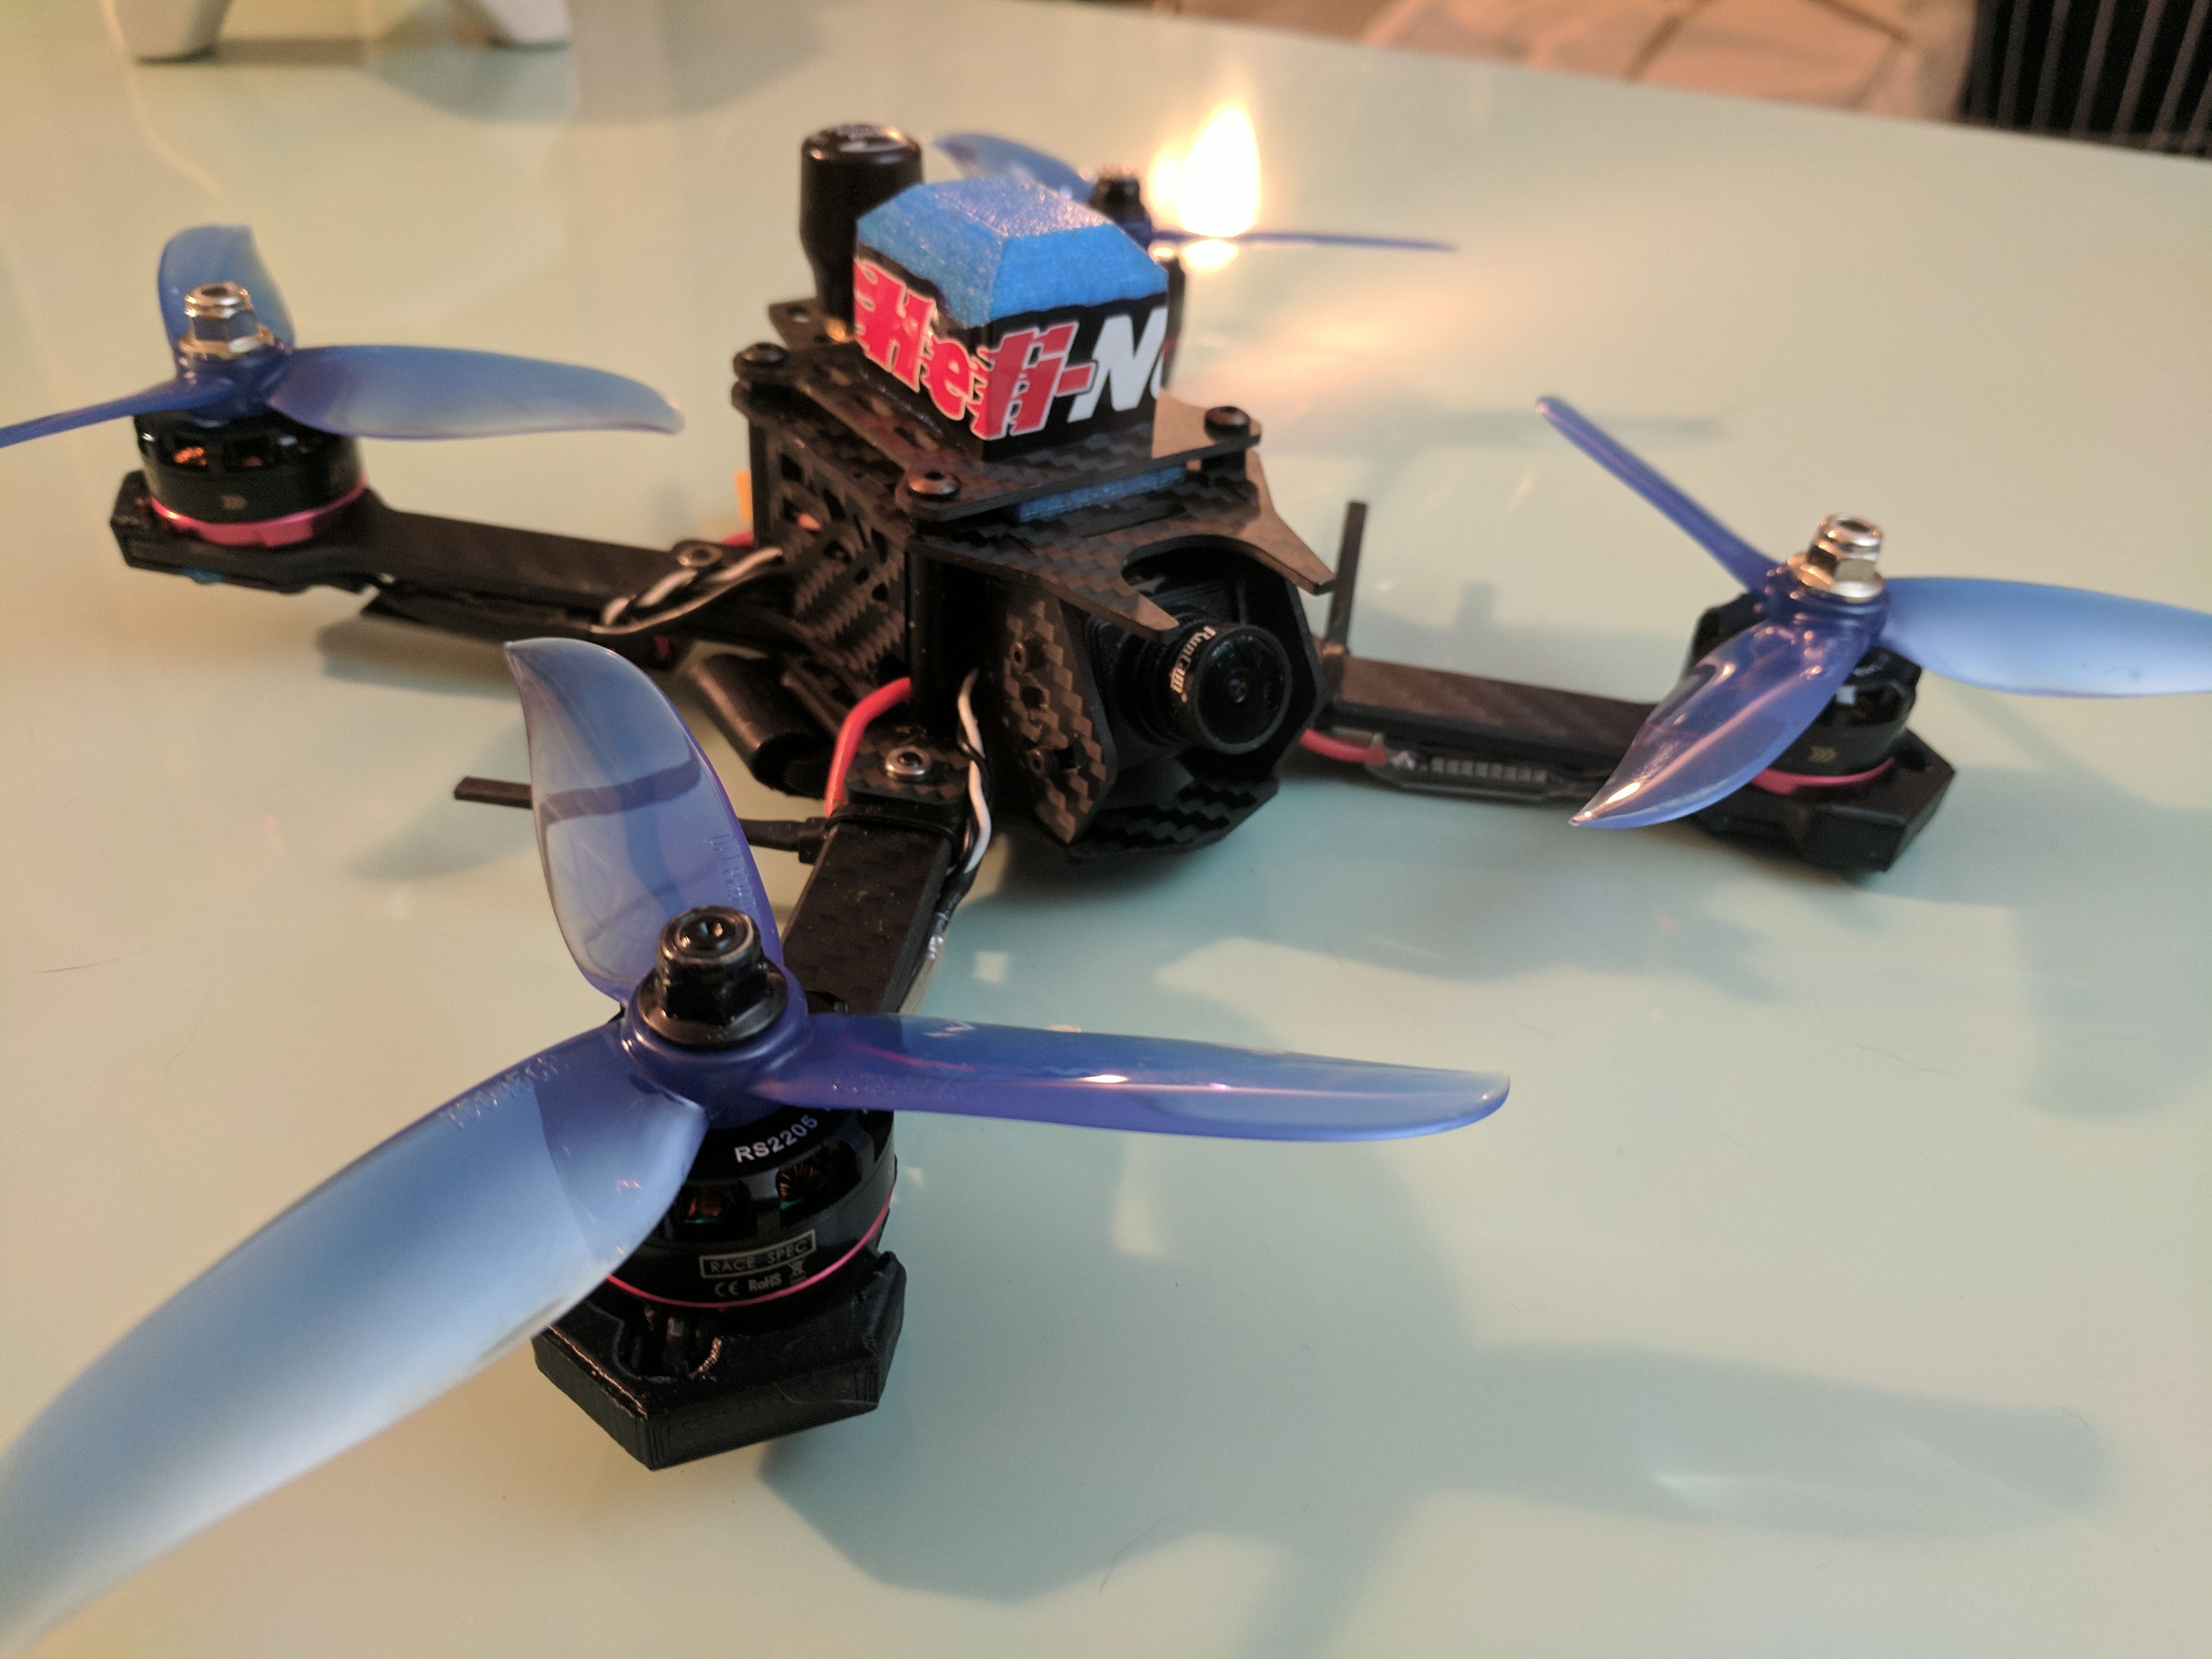
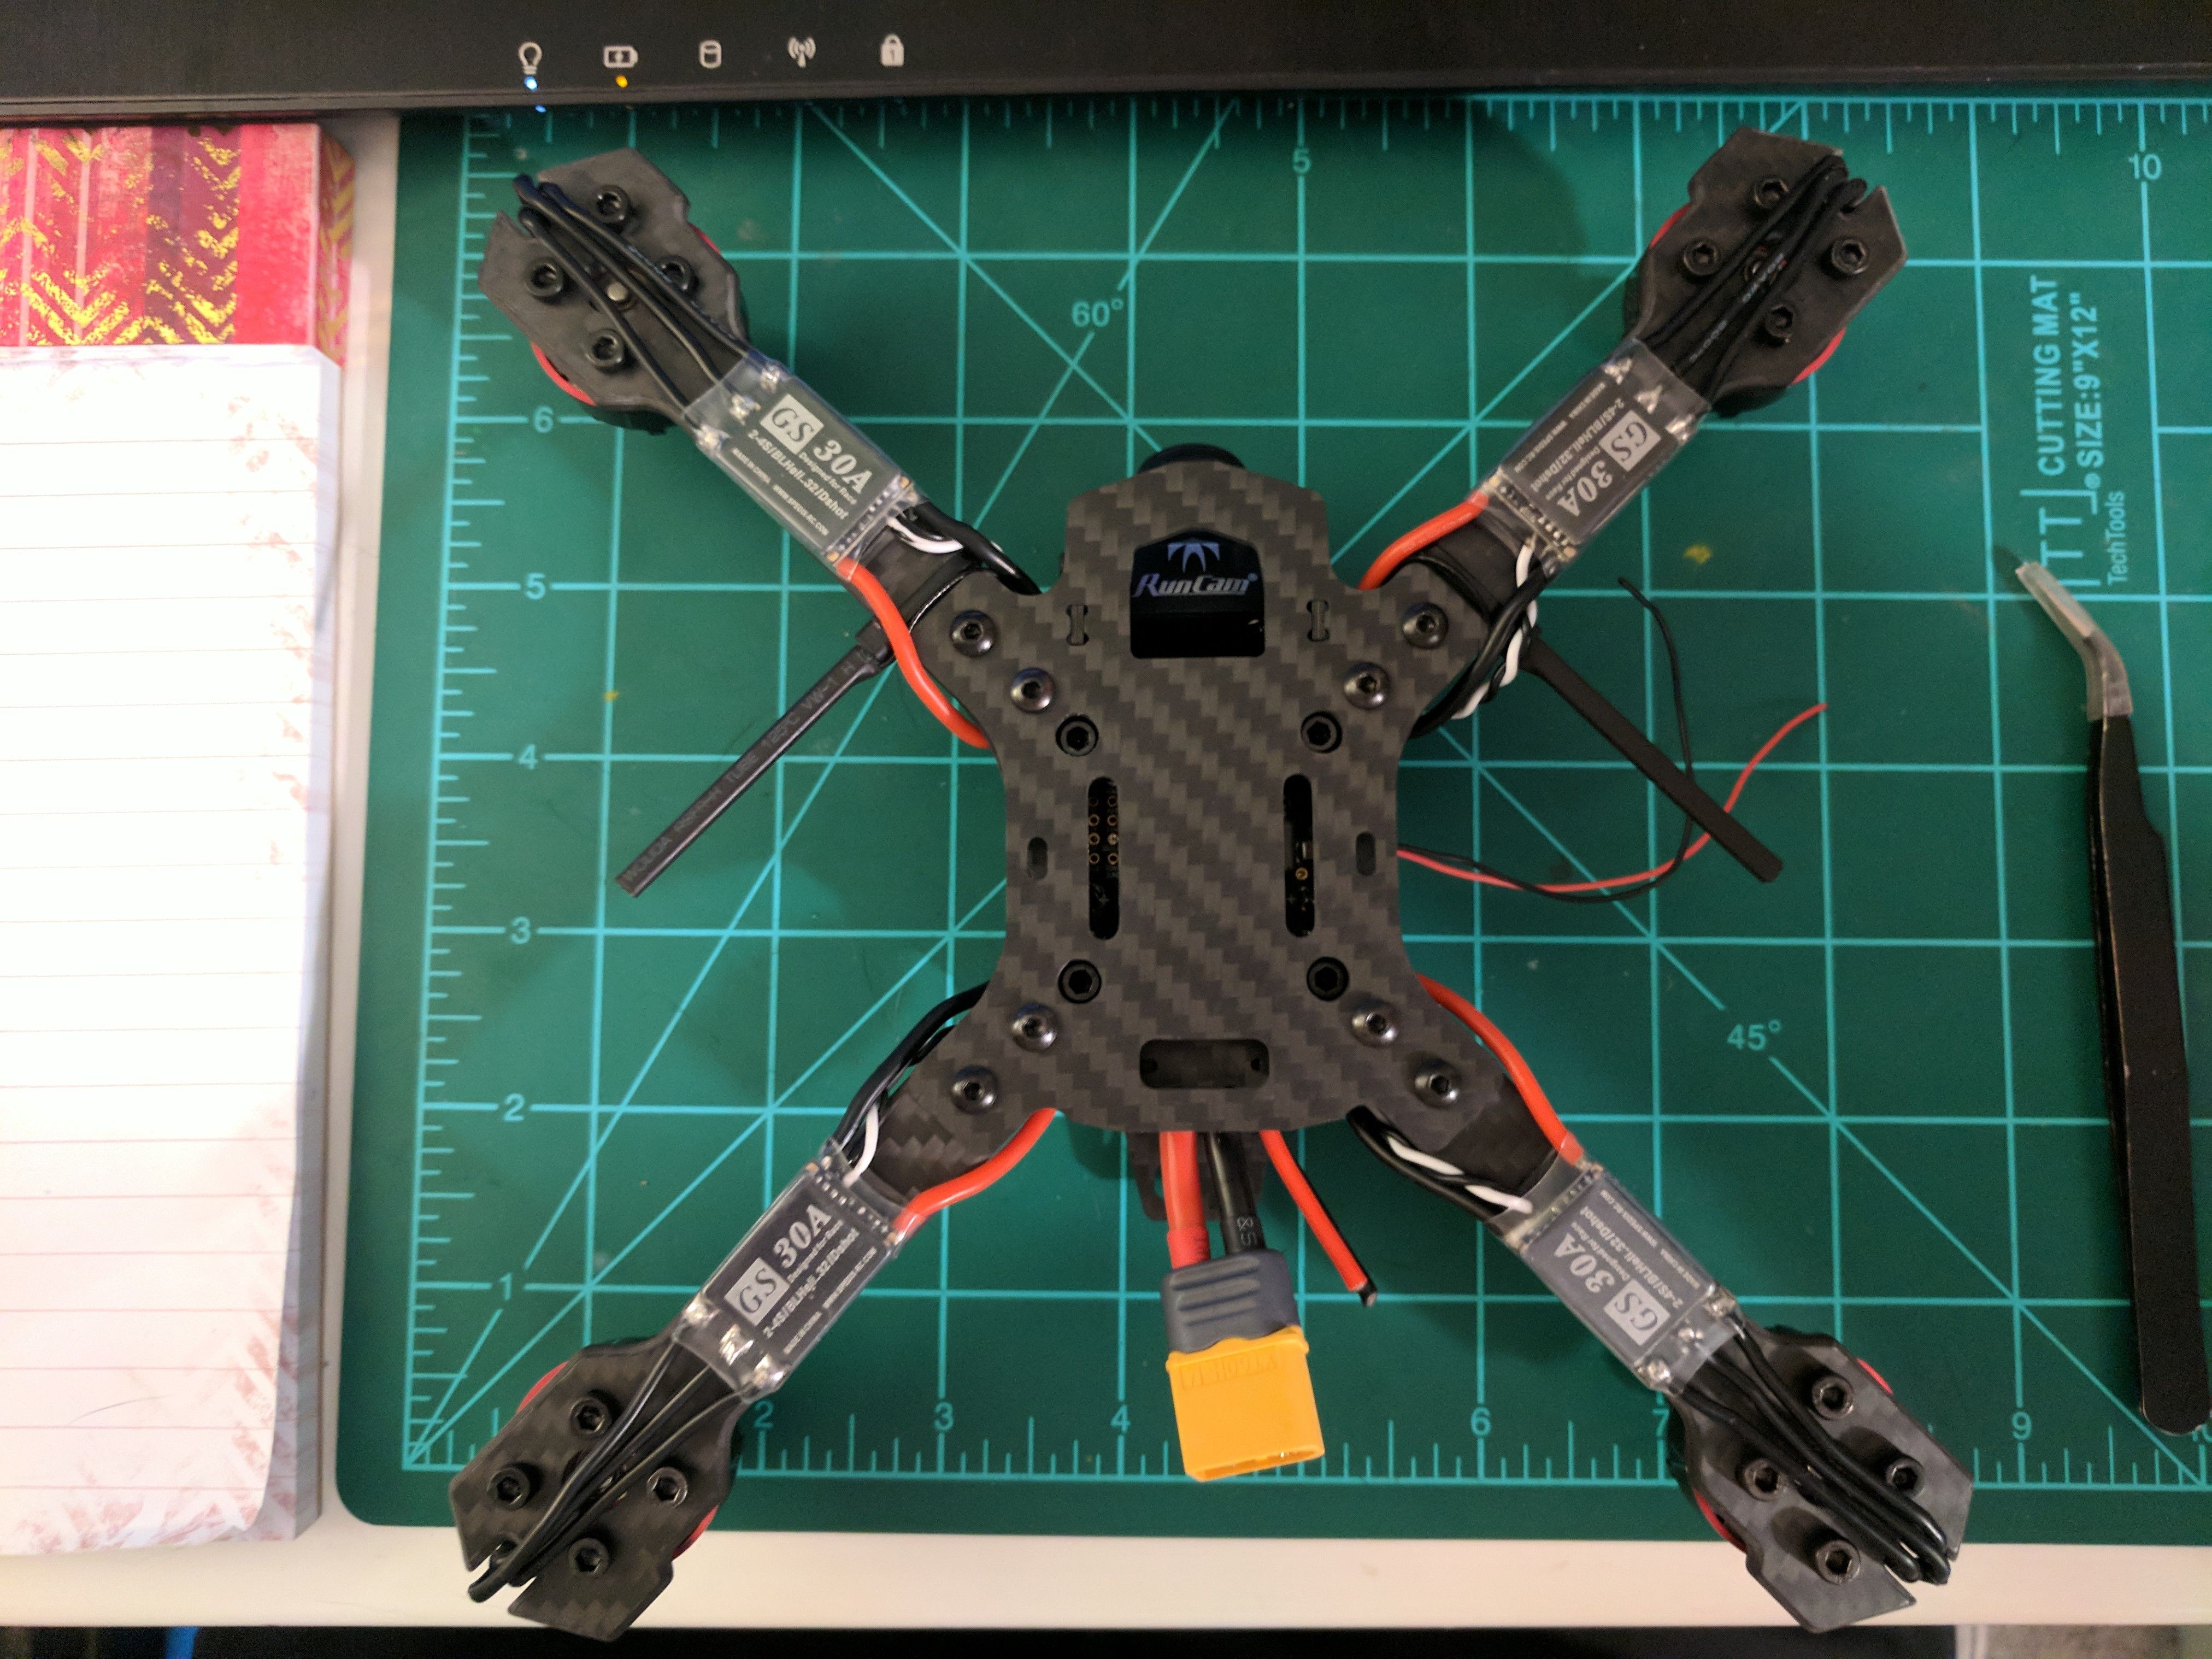
Frame: I am sticking with the WhitenoiseFPV Riptide frame. He's released a light weight version, but I decided I'm not ready for the ultralite life just yet. Plus I think this frame will take a beating without breaking arms. The top plate is a little weak, but we'll see how big of a deal that is.
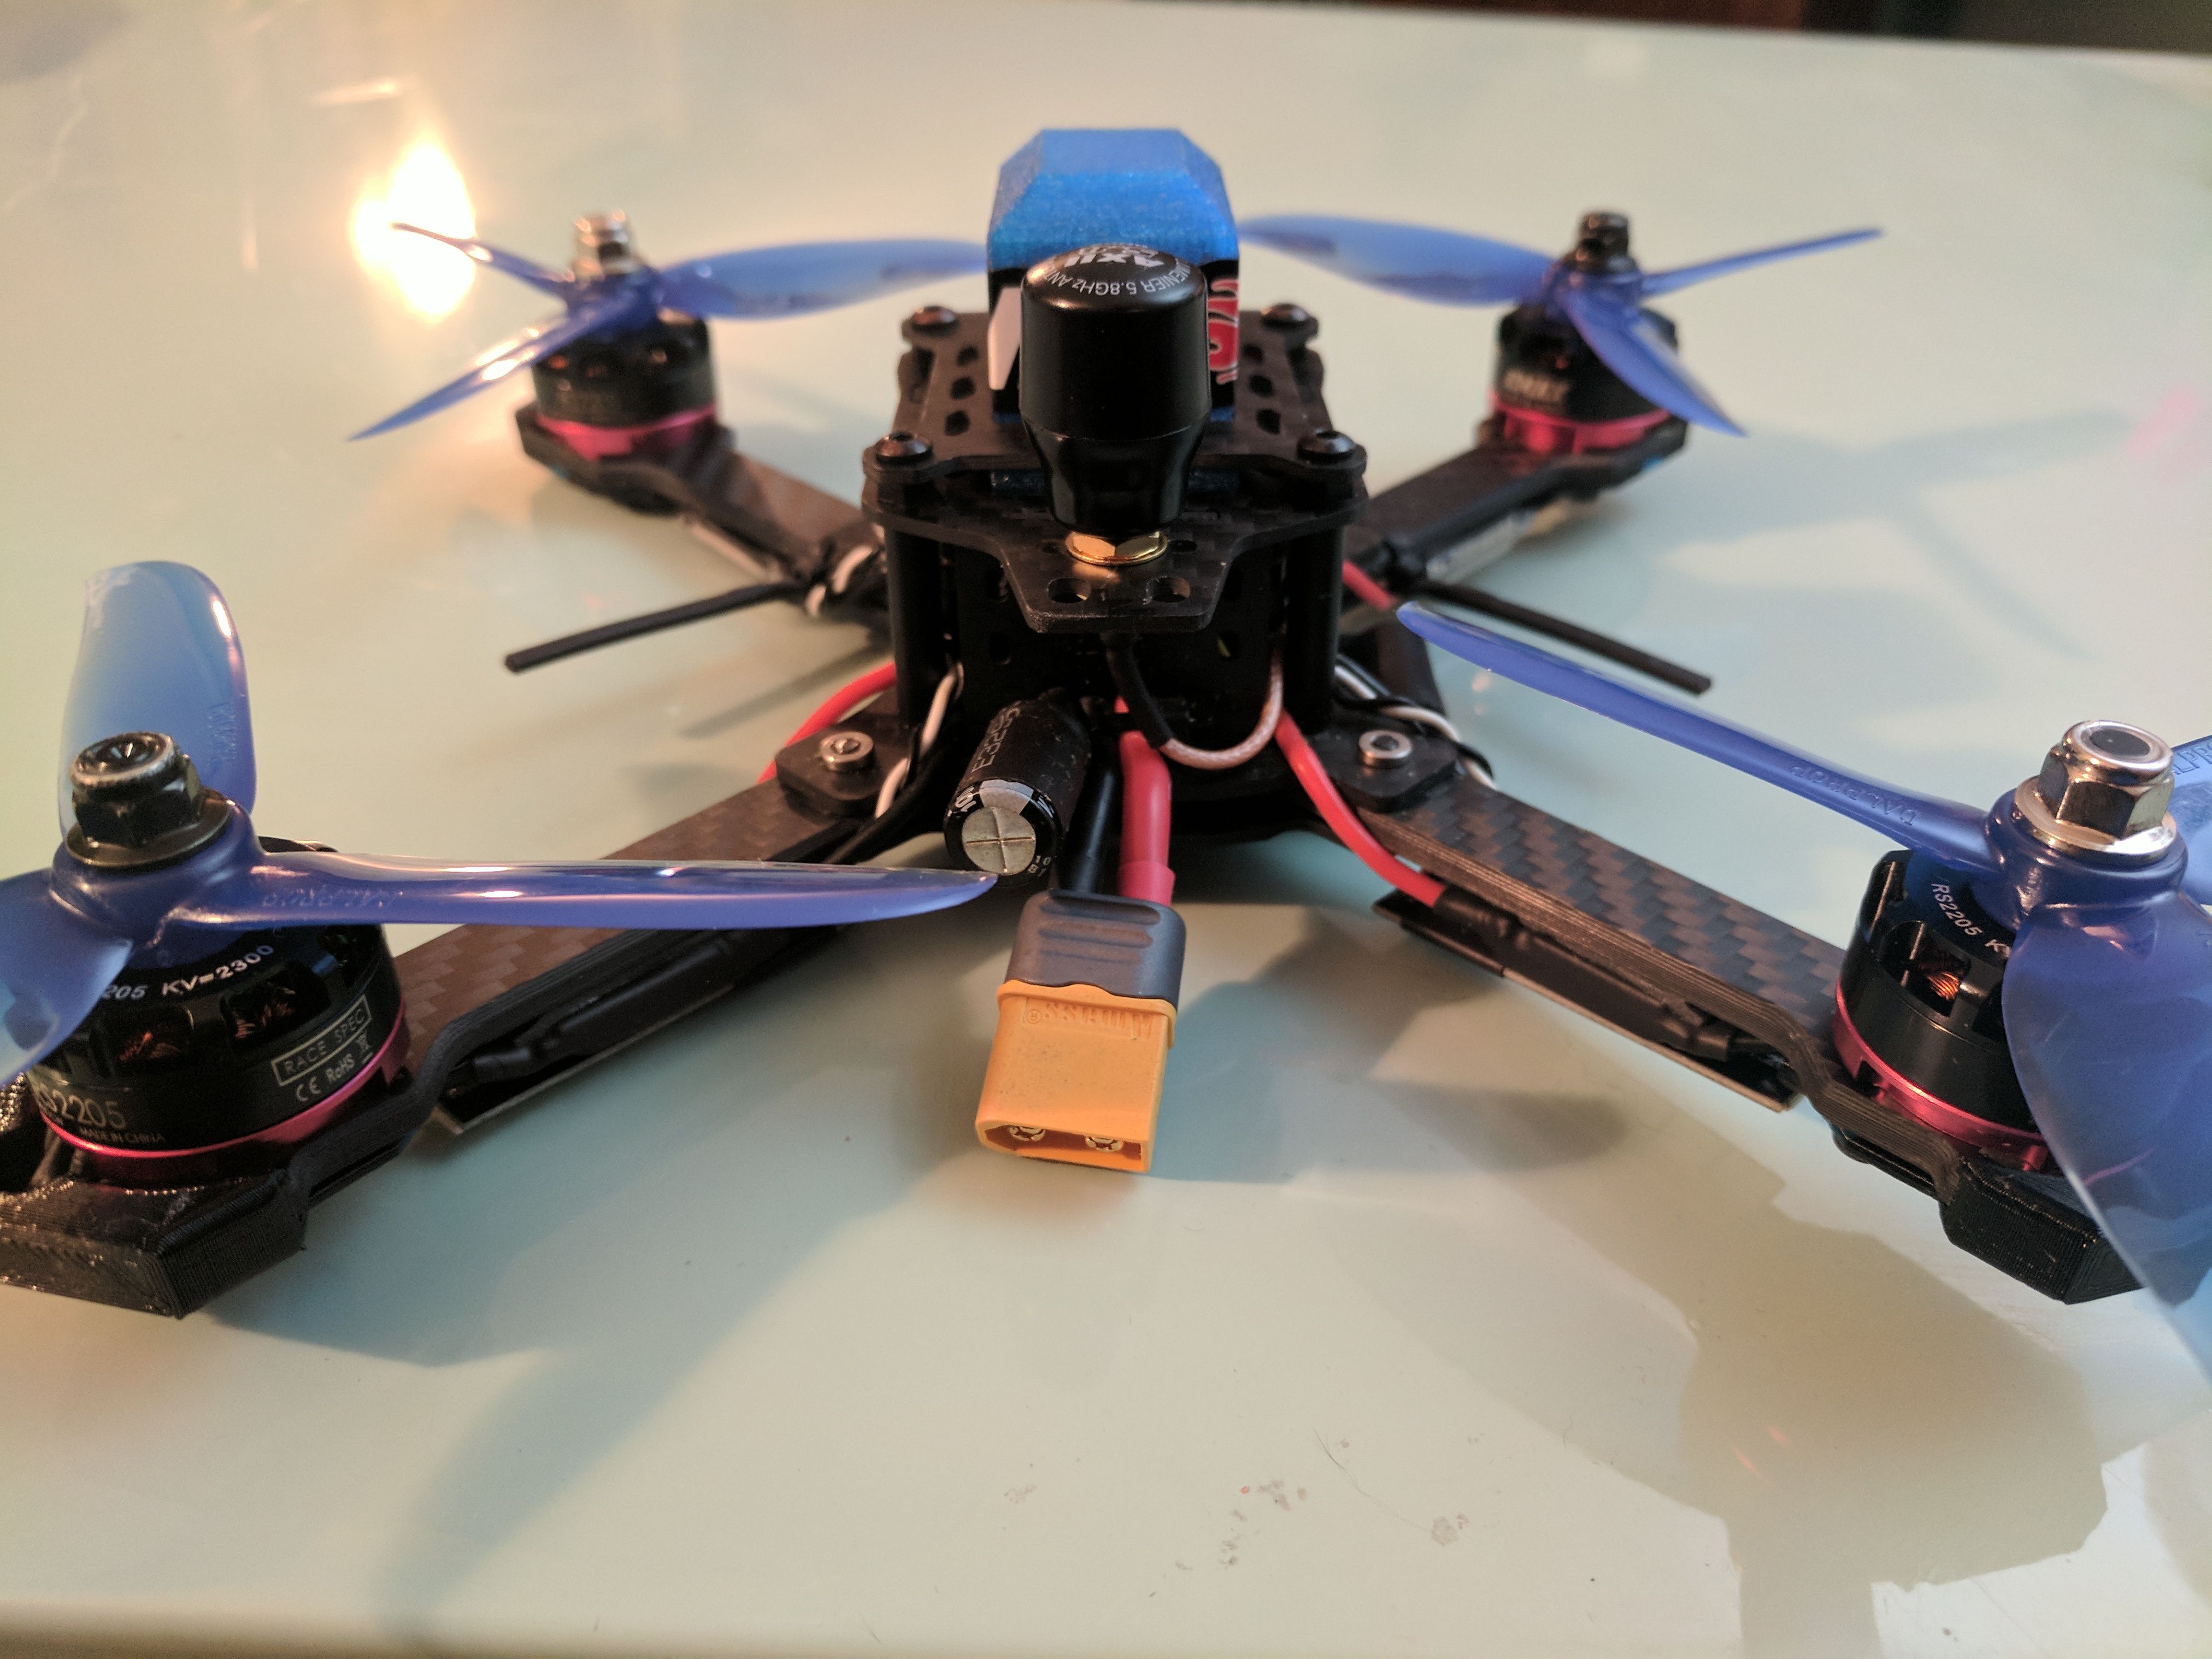
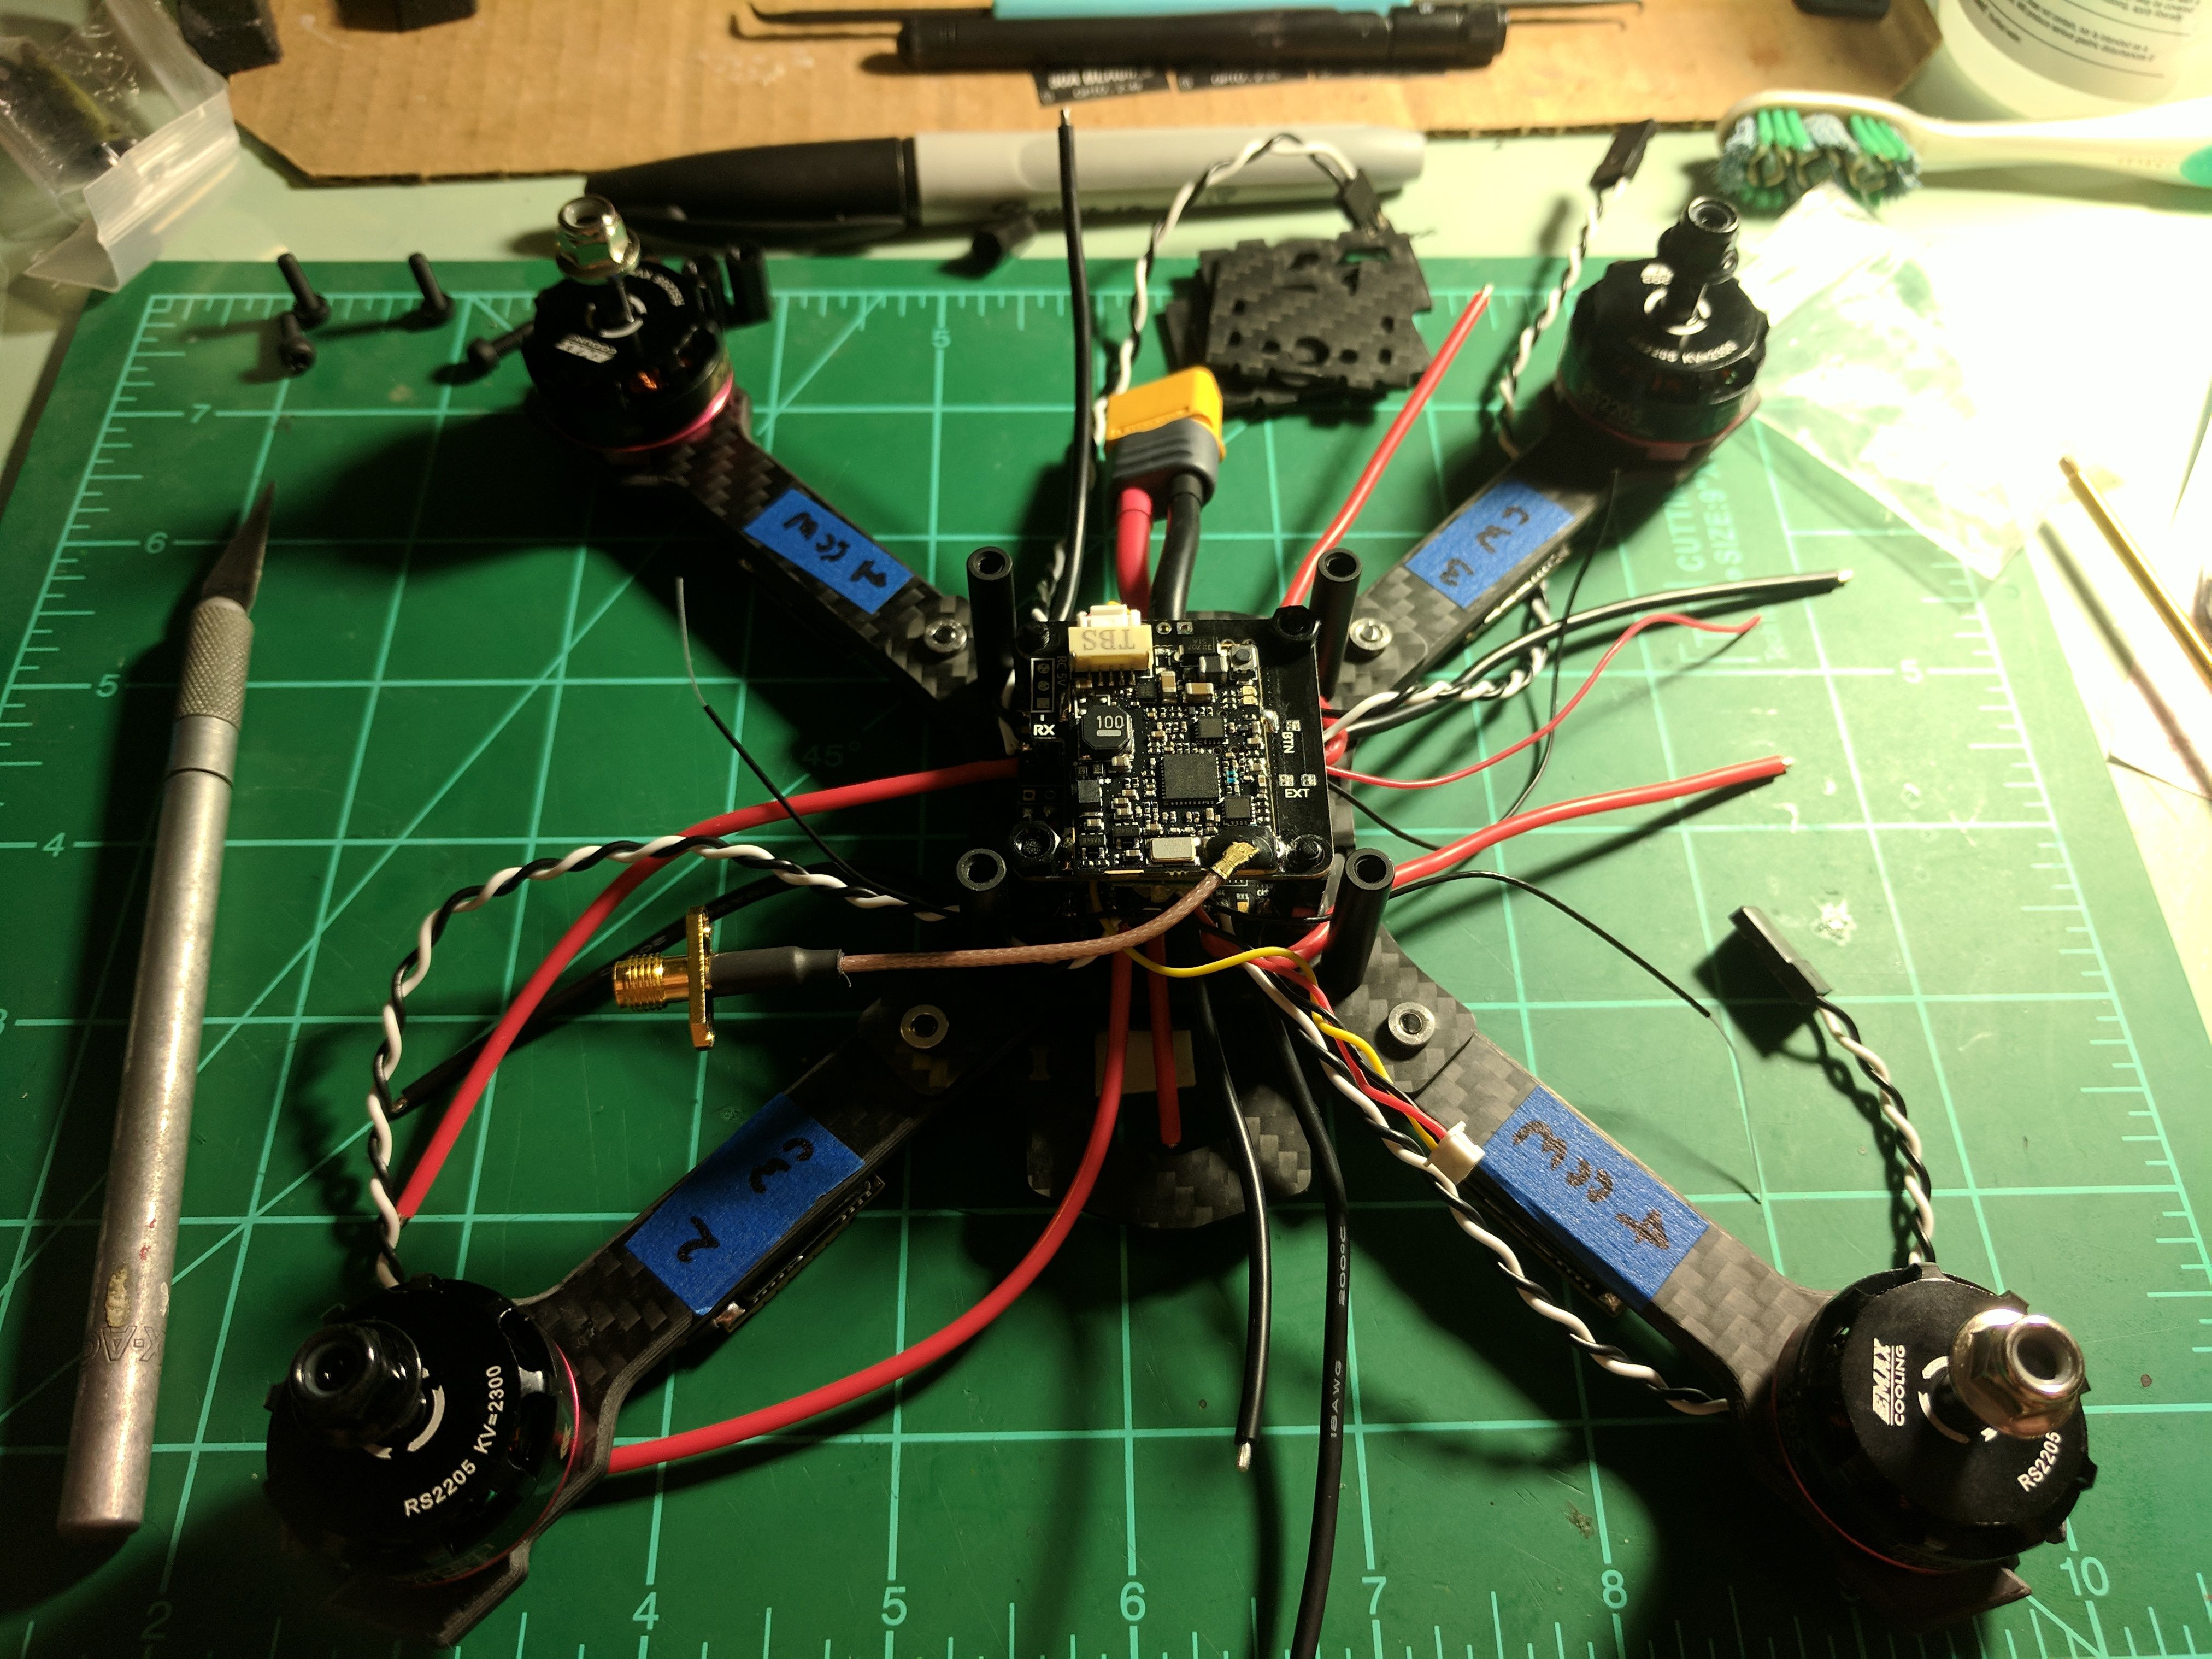
FC/PDB: I am liking the BFF3 I put in my last build, but I need POWER for all the BF3.2 stuff. So I went with the Betaflight F4 FC/PDB. Same BF quality with an F4 chip. Good for short stacks.
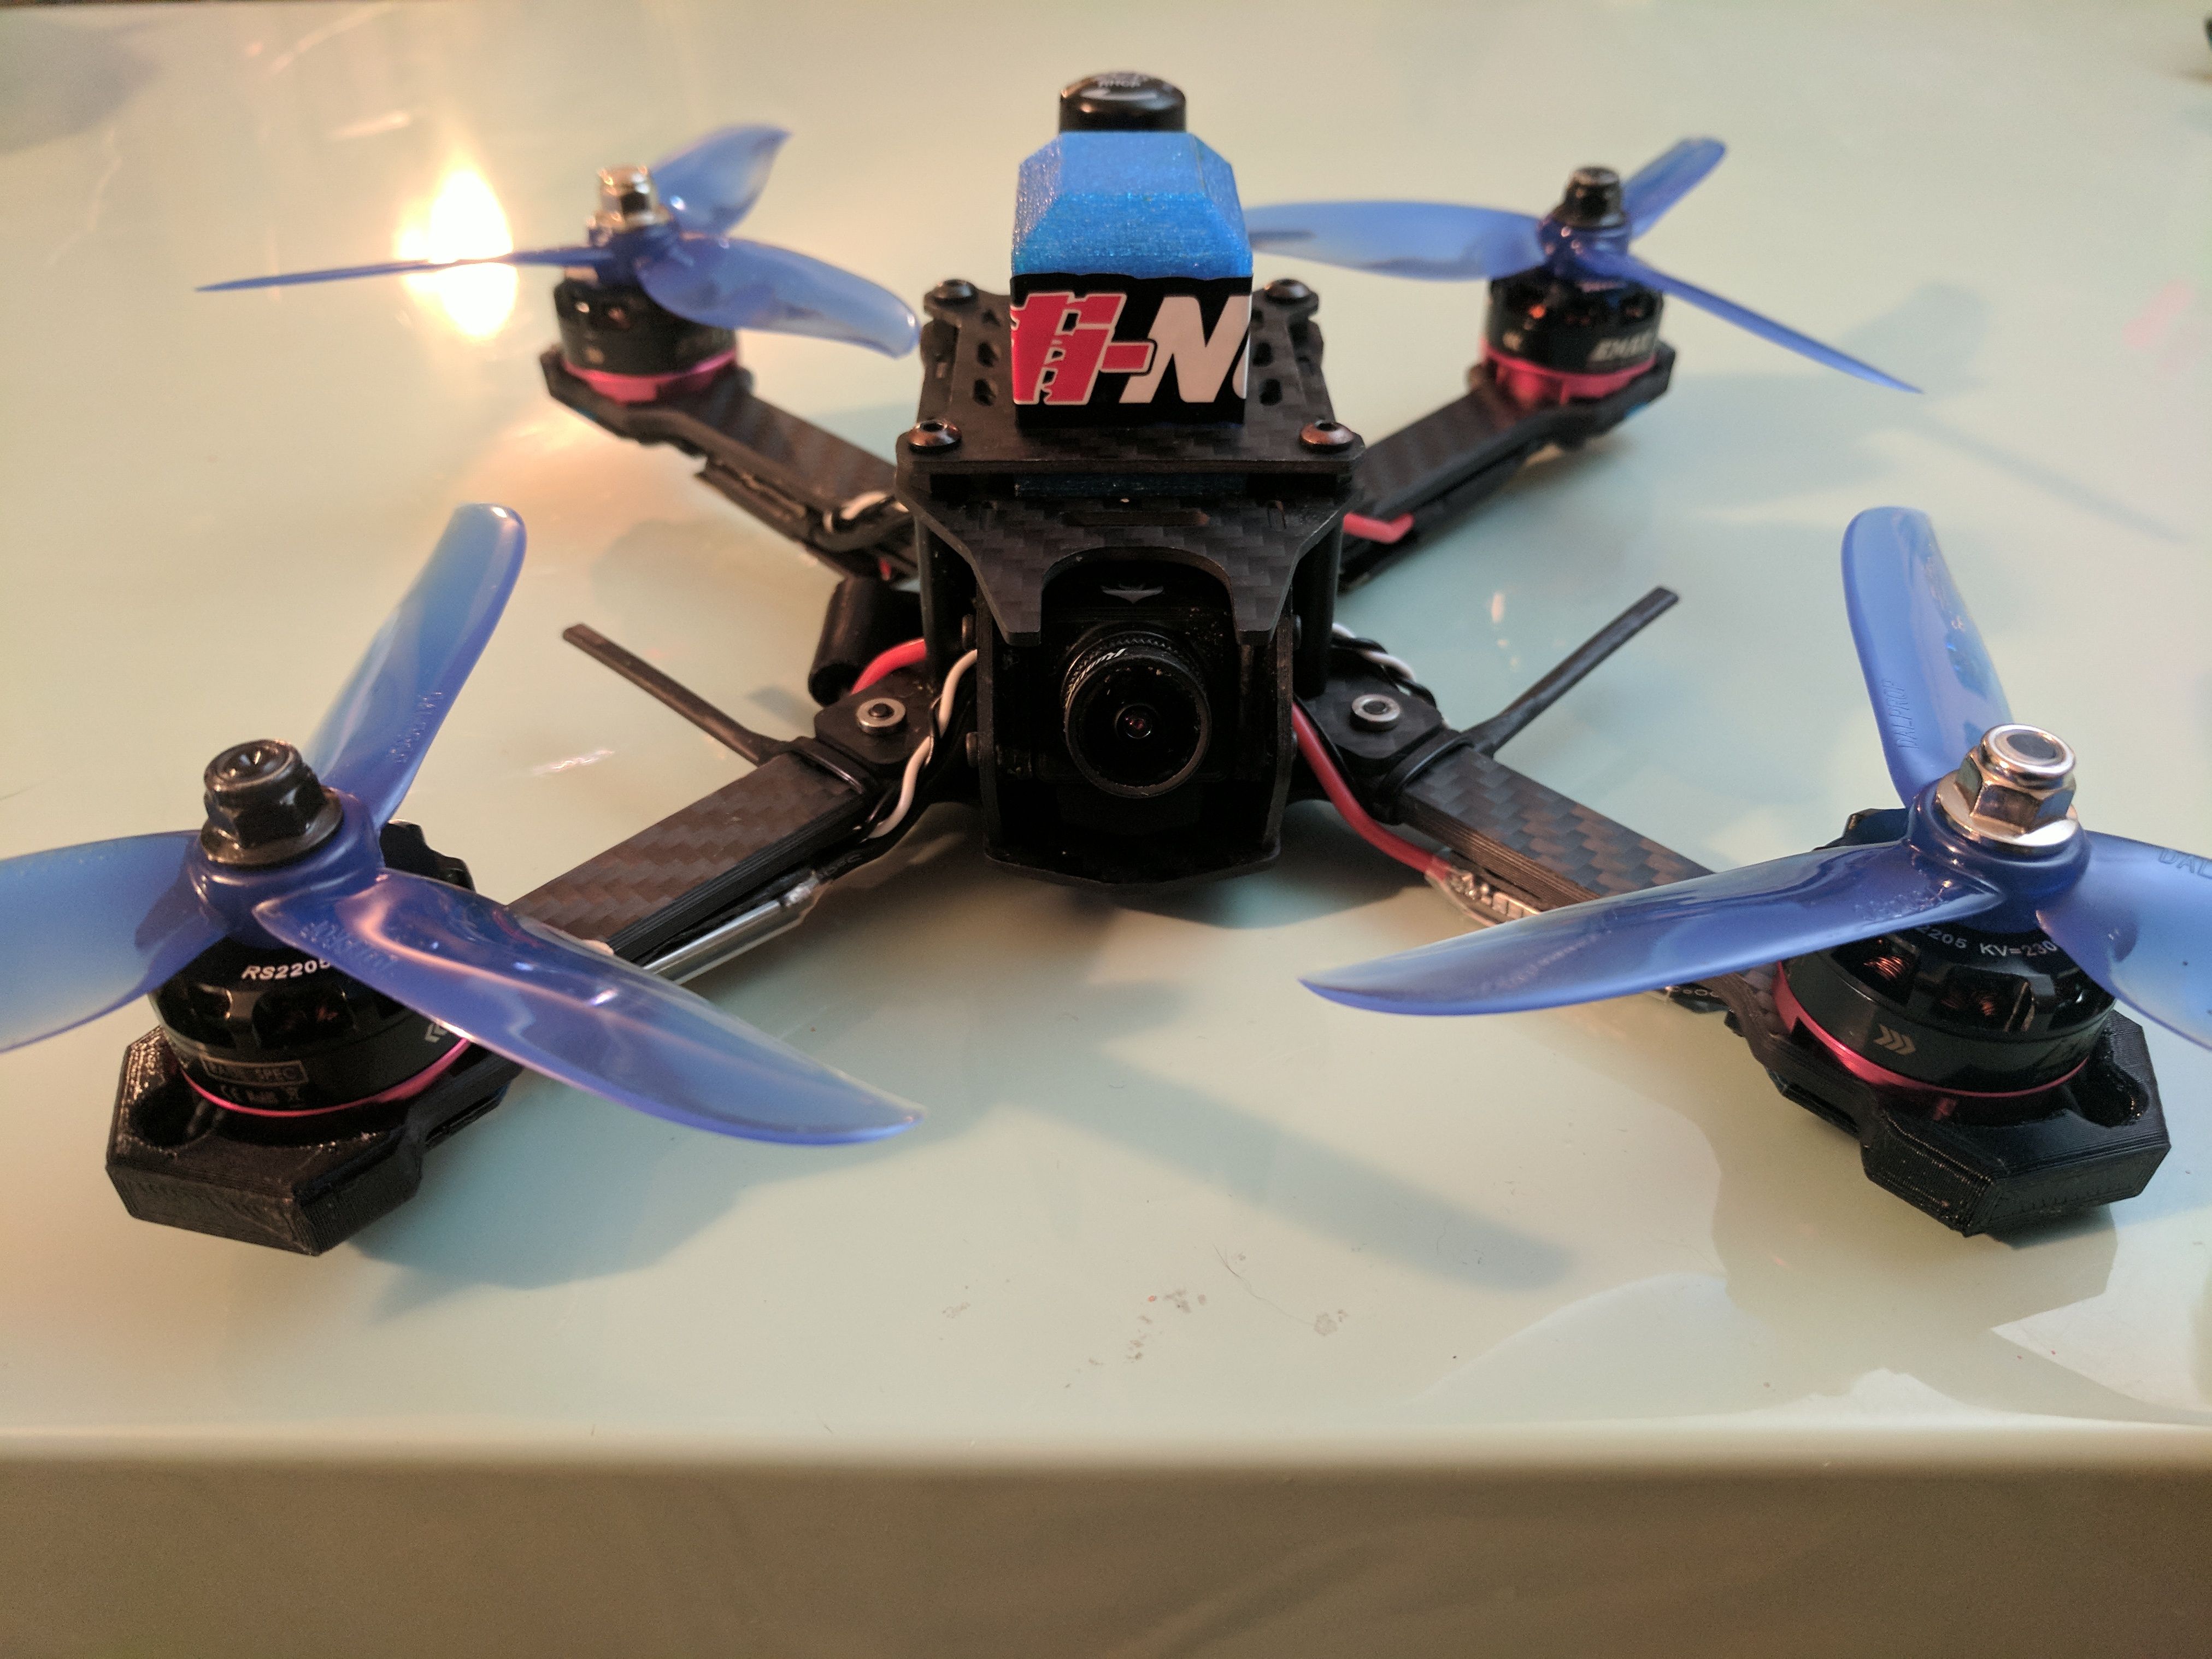
Motors: I continue to struggle with motors. I eventually opted to stick with the Emax RS2205 2300 kv motors because I still want this build to mostly be a clone of my previous build. Sticking with the same motors should help with that, tho I expect this build will fly slightly different (better hopefully). After this winter, I will reconsider motors. I am thinking of moving to the Heli-Nation Apex 1 Team 2206 motors, which are reliable BrotherHobby motors.
Props: Like the motors, I am sticking with the DAL 5045Cs for now in order to maintain some similarity between my builds.
ESCs: I decided to be an early adopter and picked up some Spedix GS30A BLHeli_32 ESCs. We'll see how great they are. Unfortunately after recently reading up on them and BLHeli_32 in general, DSHOT1200 is unstable and the use of DSHOT commands is iffy. I will need to be careful when setting them up because people have been reporting the ESCs causing motors to burn up on the bench. My initial flights have yielded no issues.
VTX/RX: Like my last build, I am sticking with the TBS Unify Pro Race mounted on the WhitenoiseFPV VTX/RX mounting board. It stacks nicely above my FC and SmartAudio is life-changing. Like the last build, I am using the FrSky XM+ with the antennas mounted off the front arms.
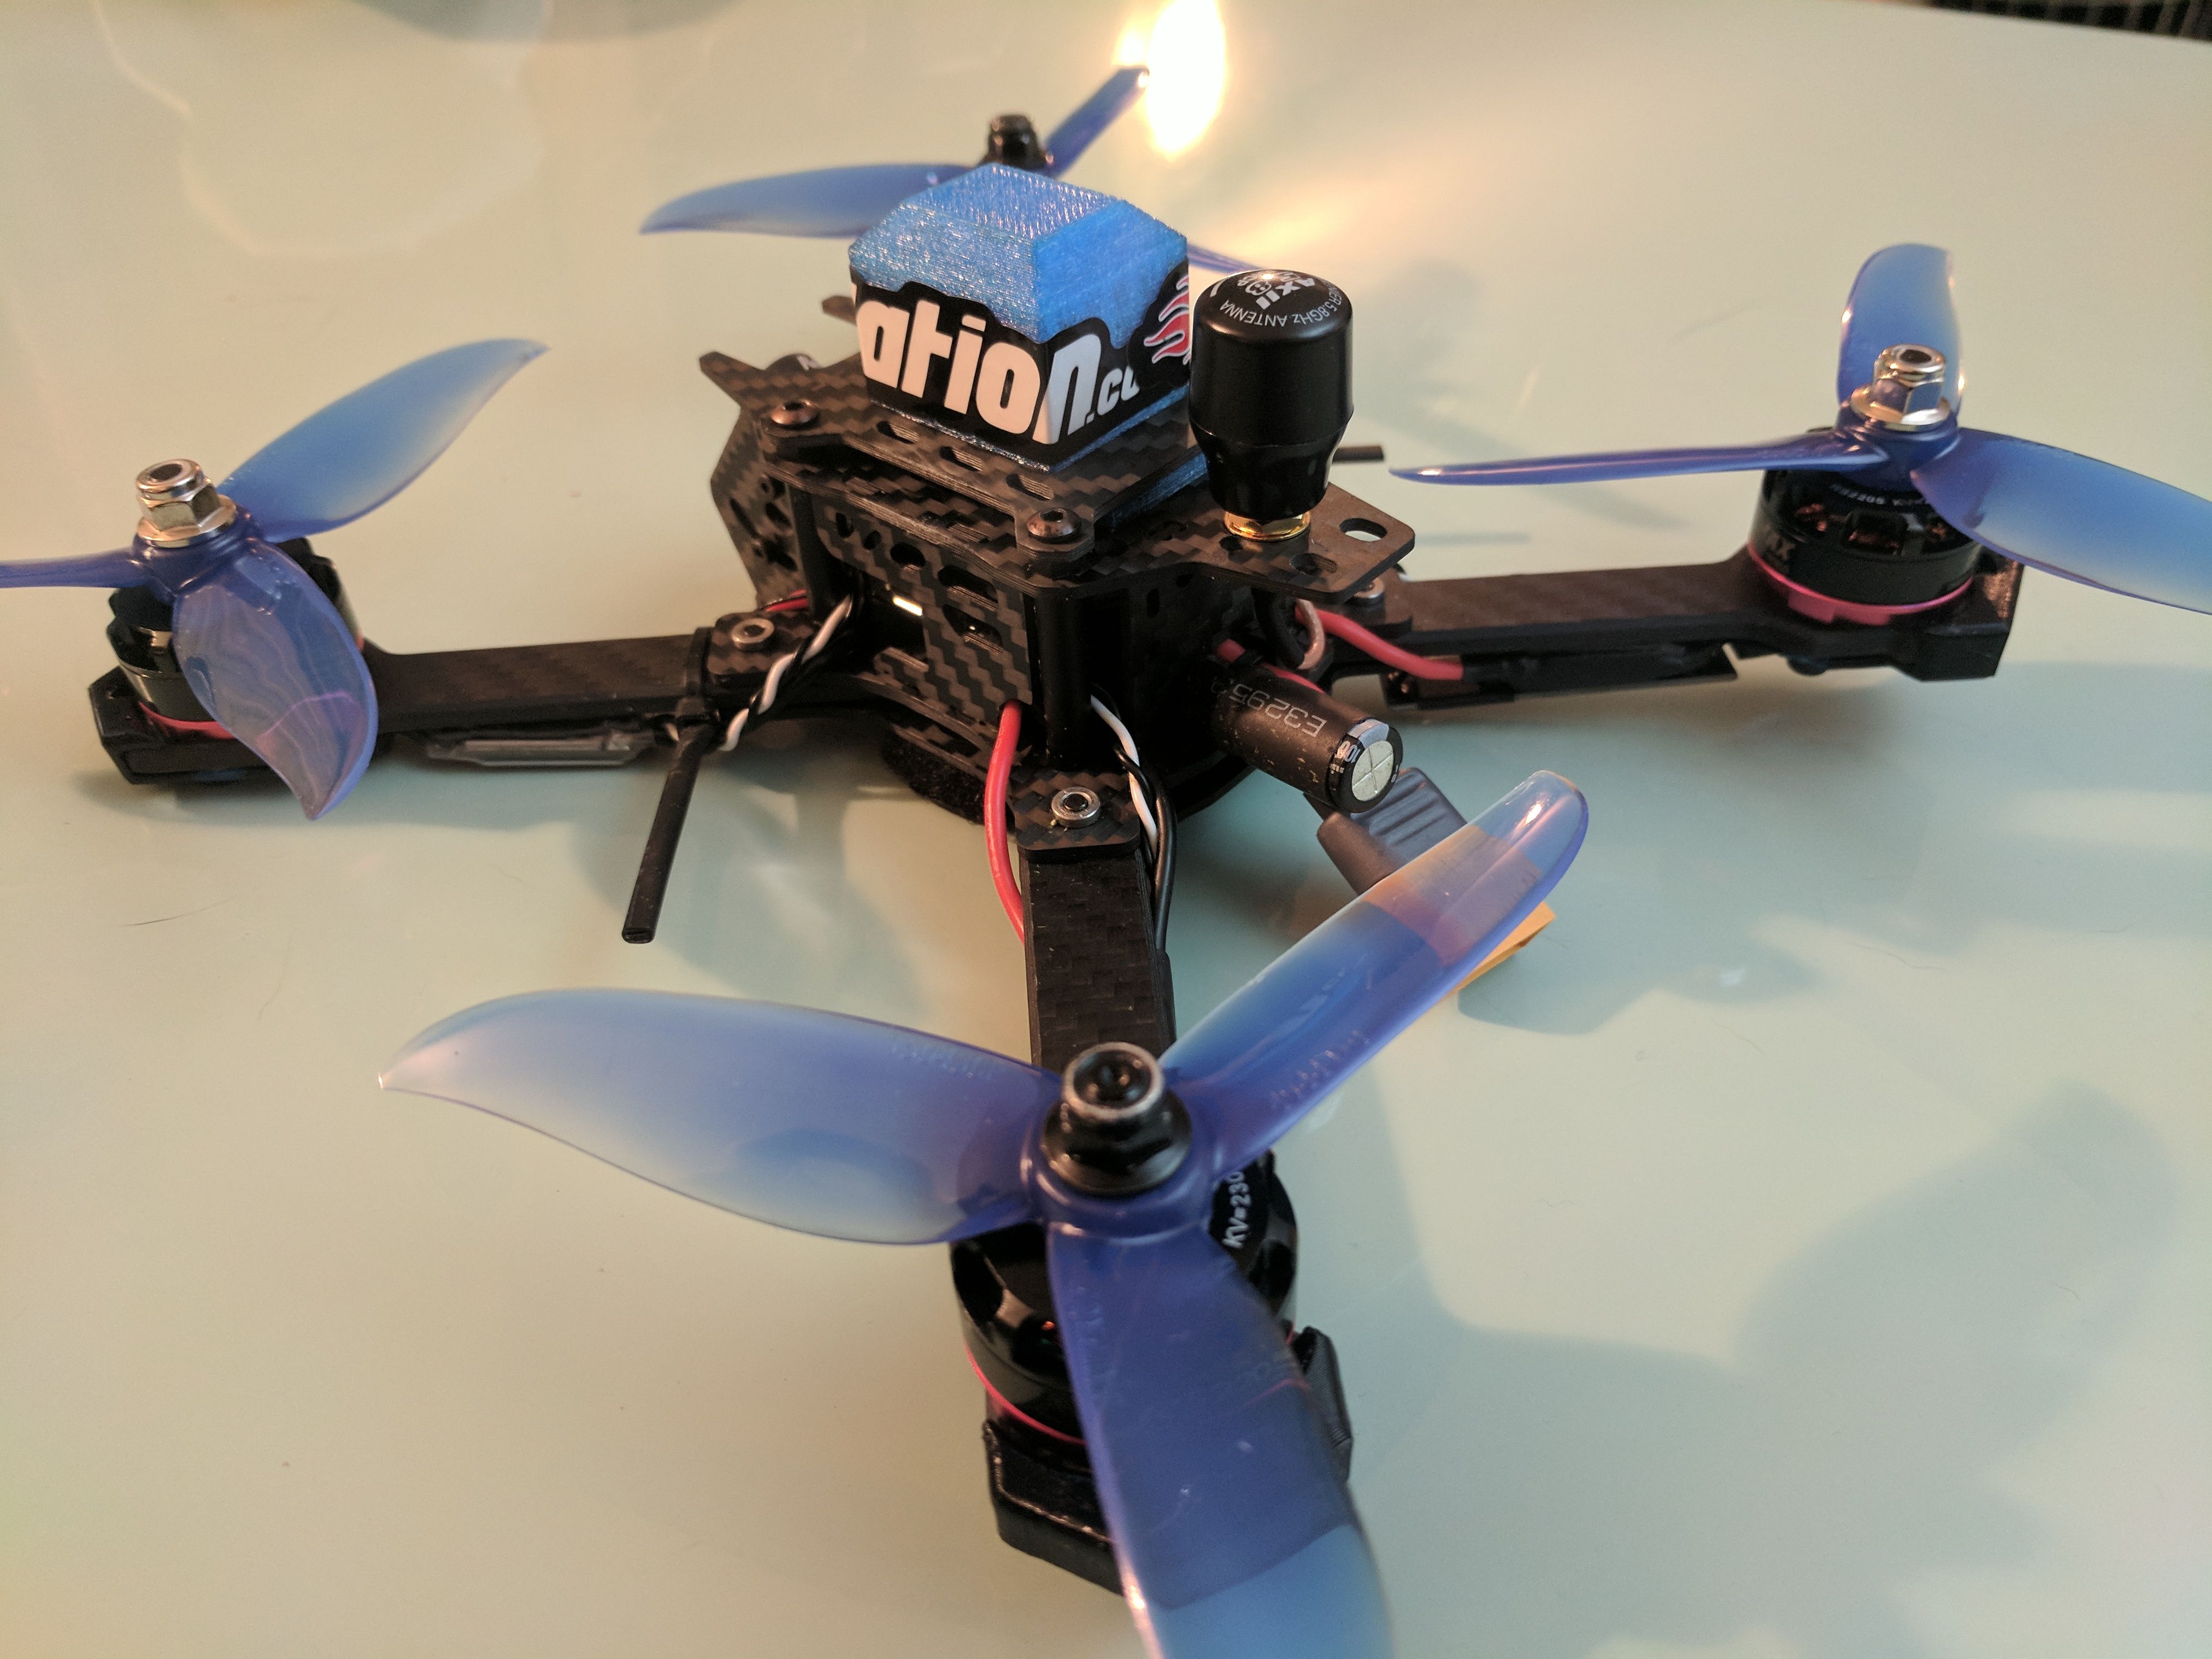
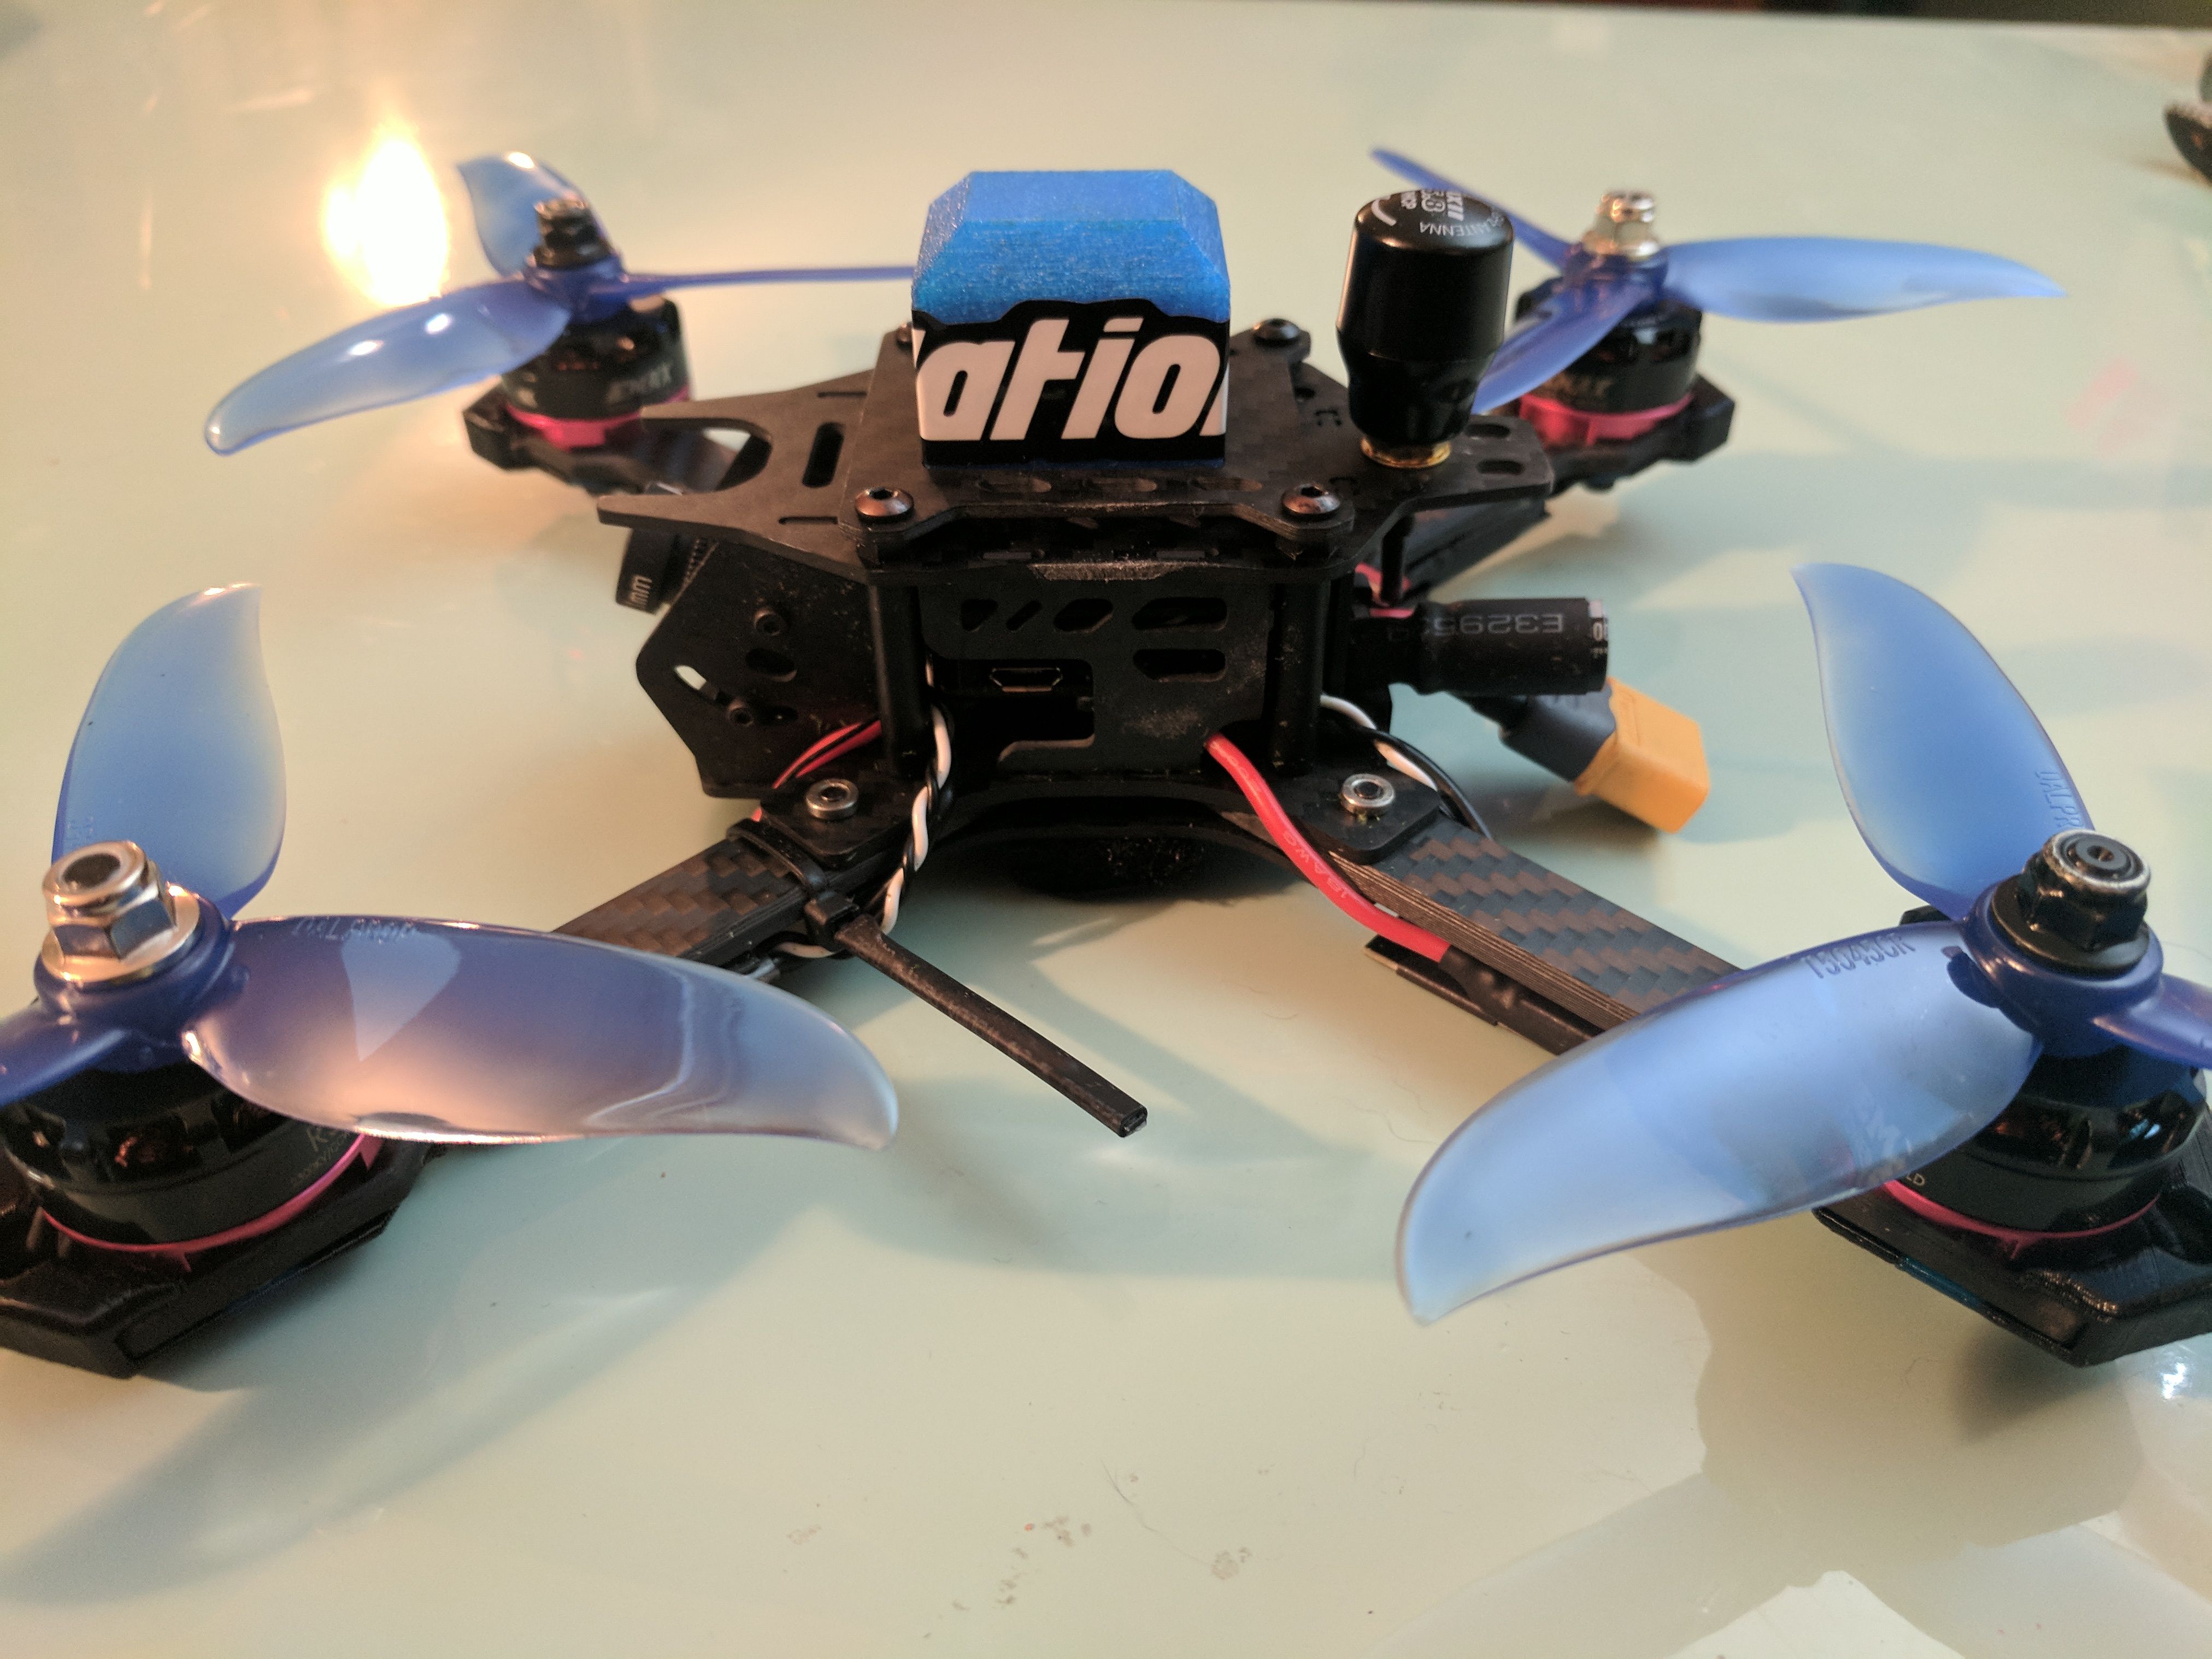
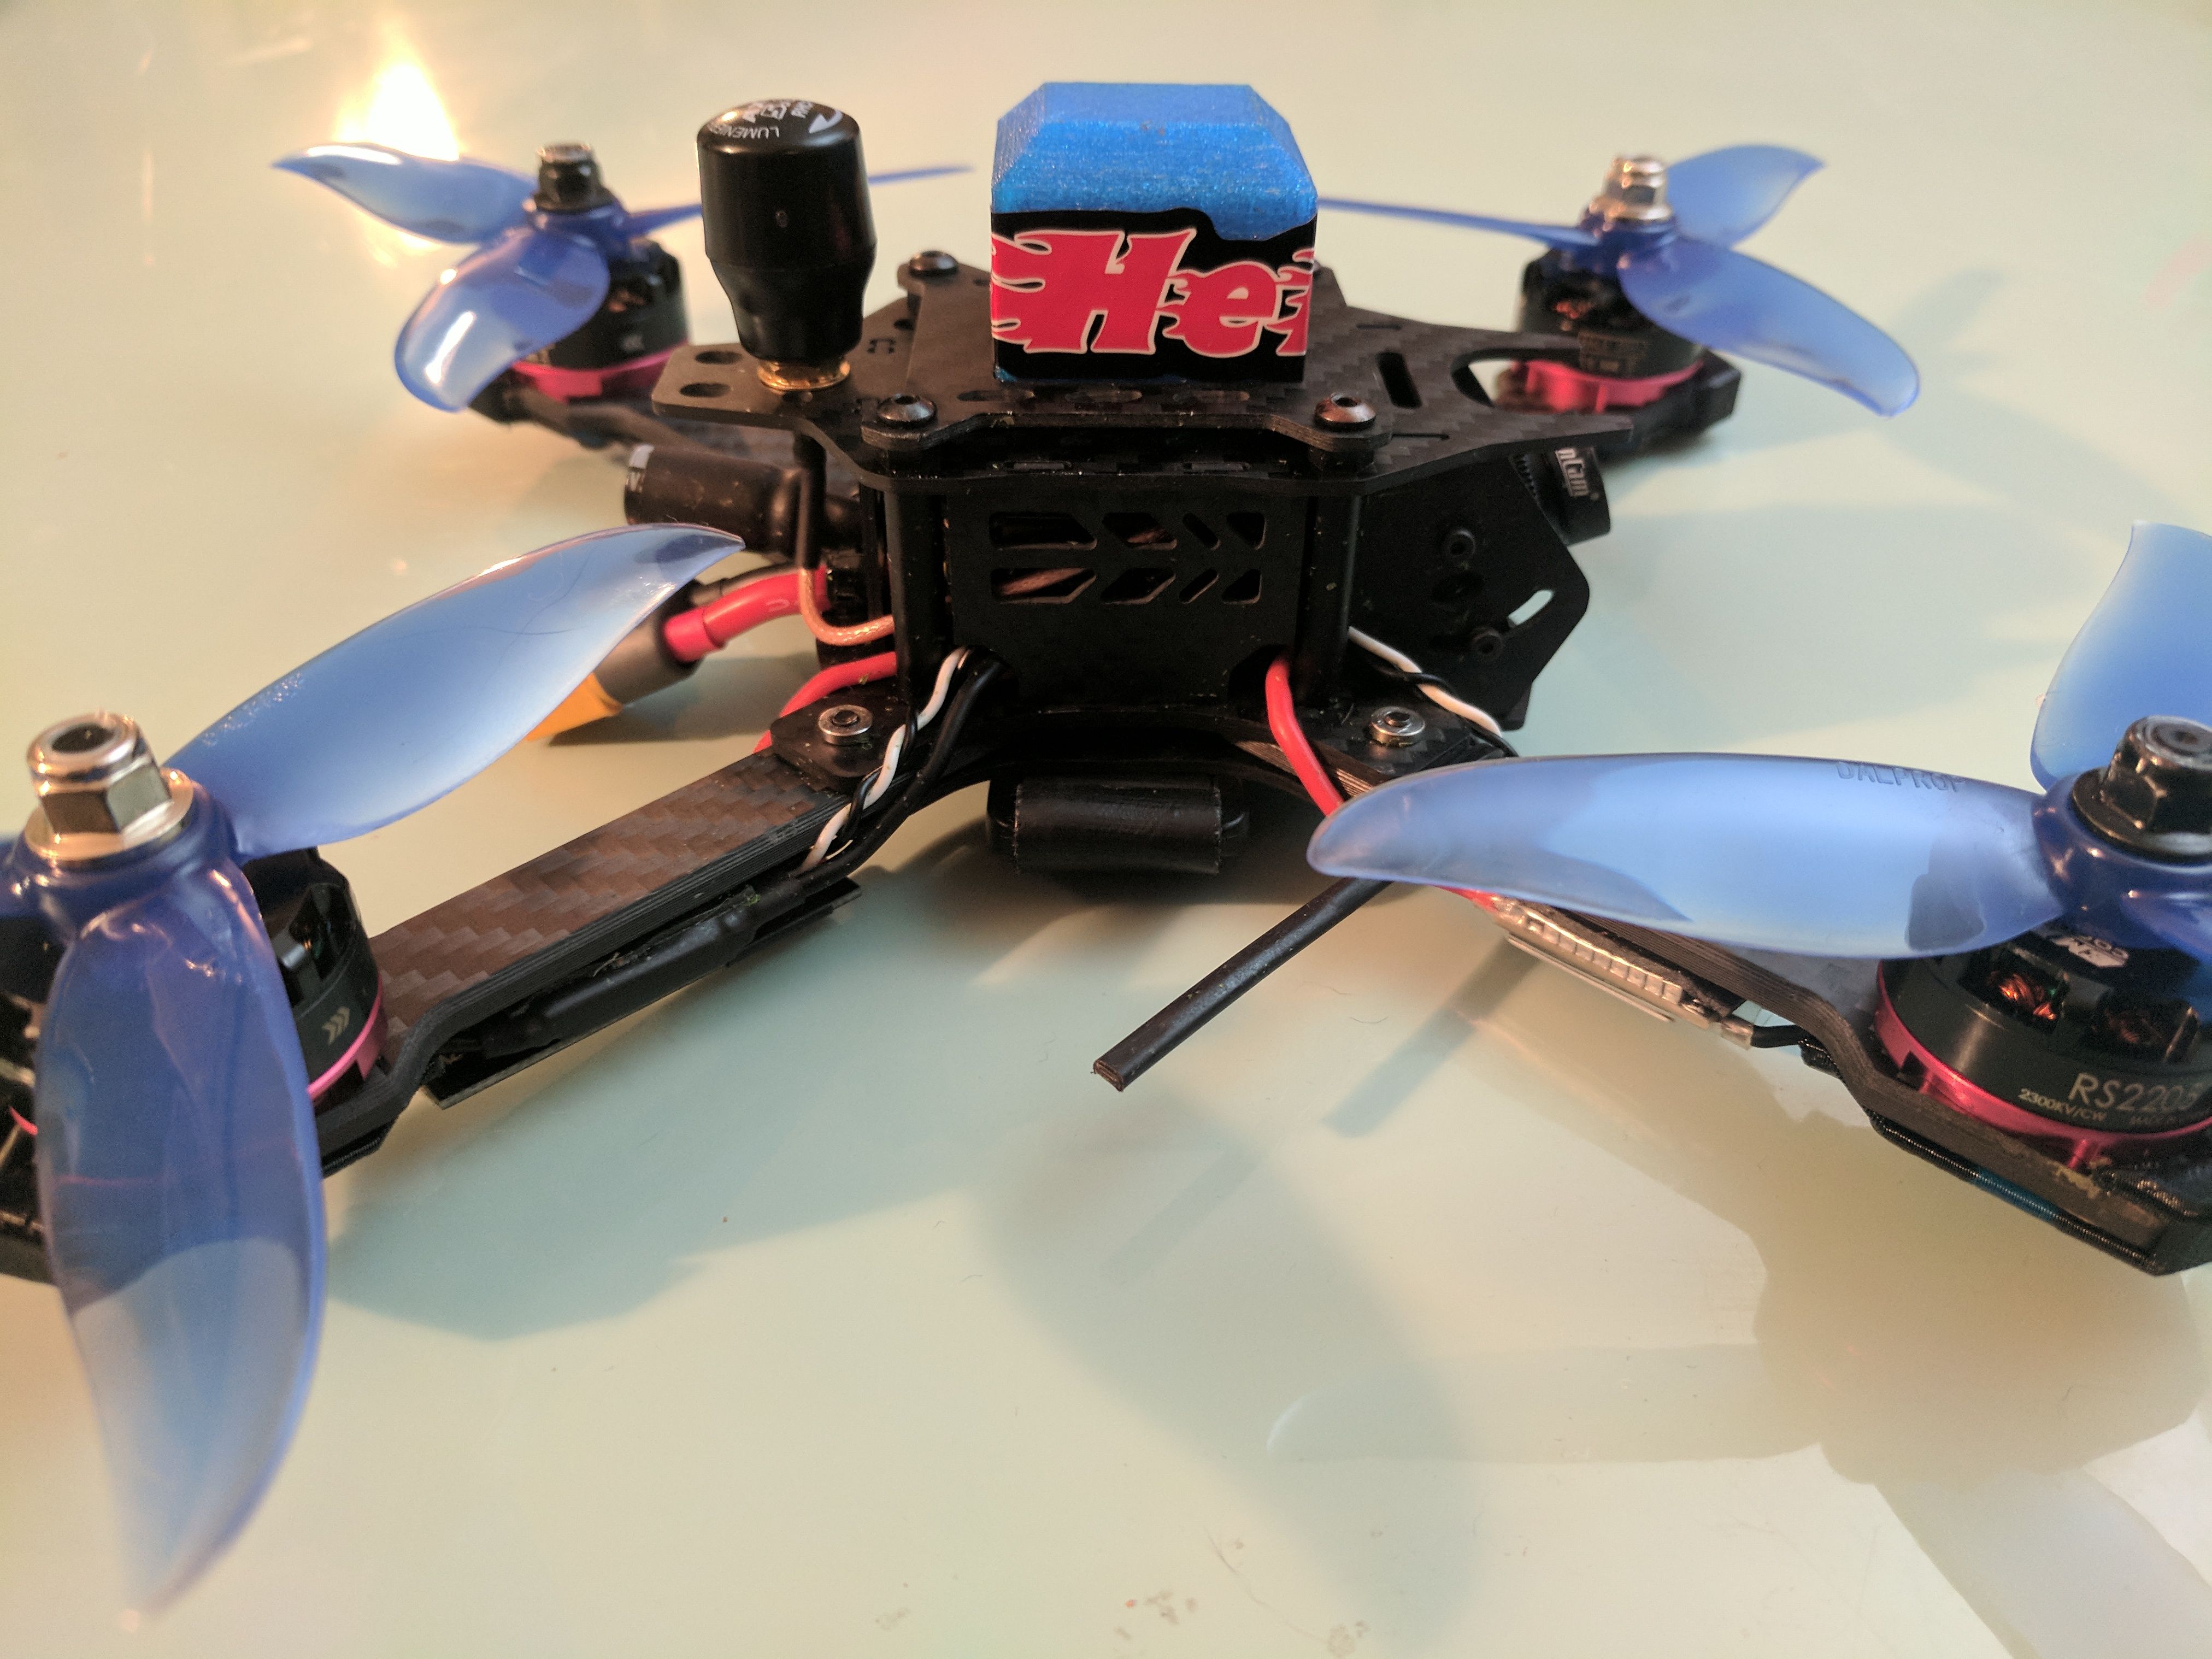
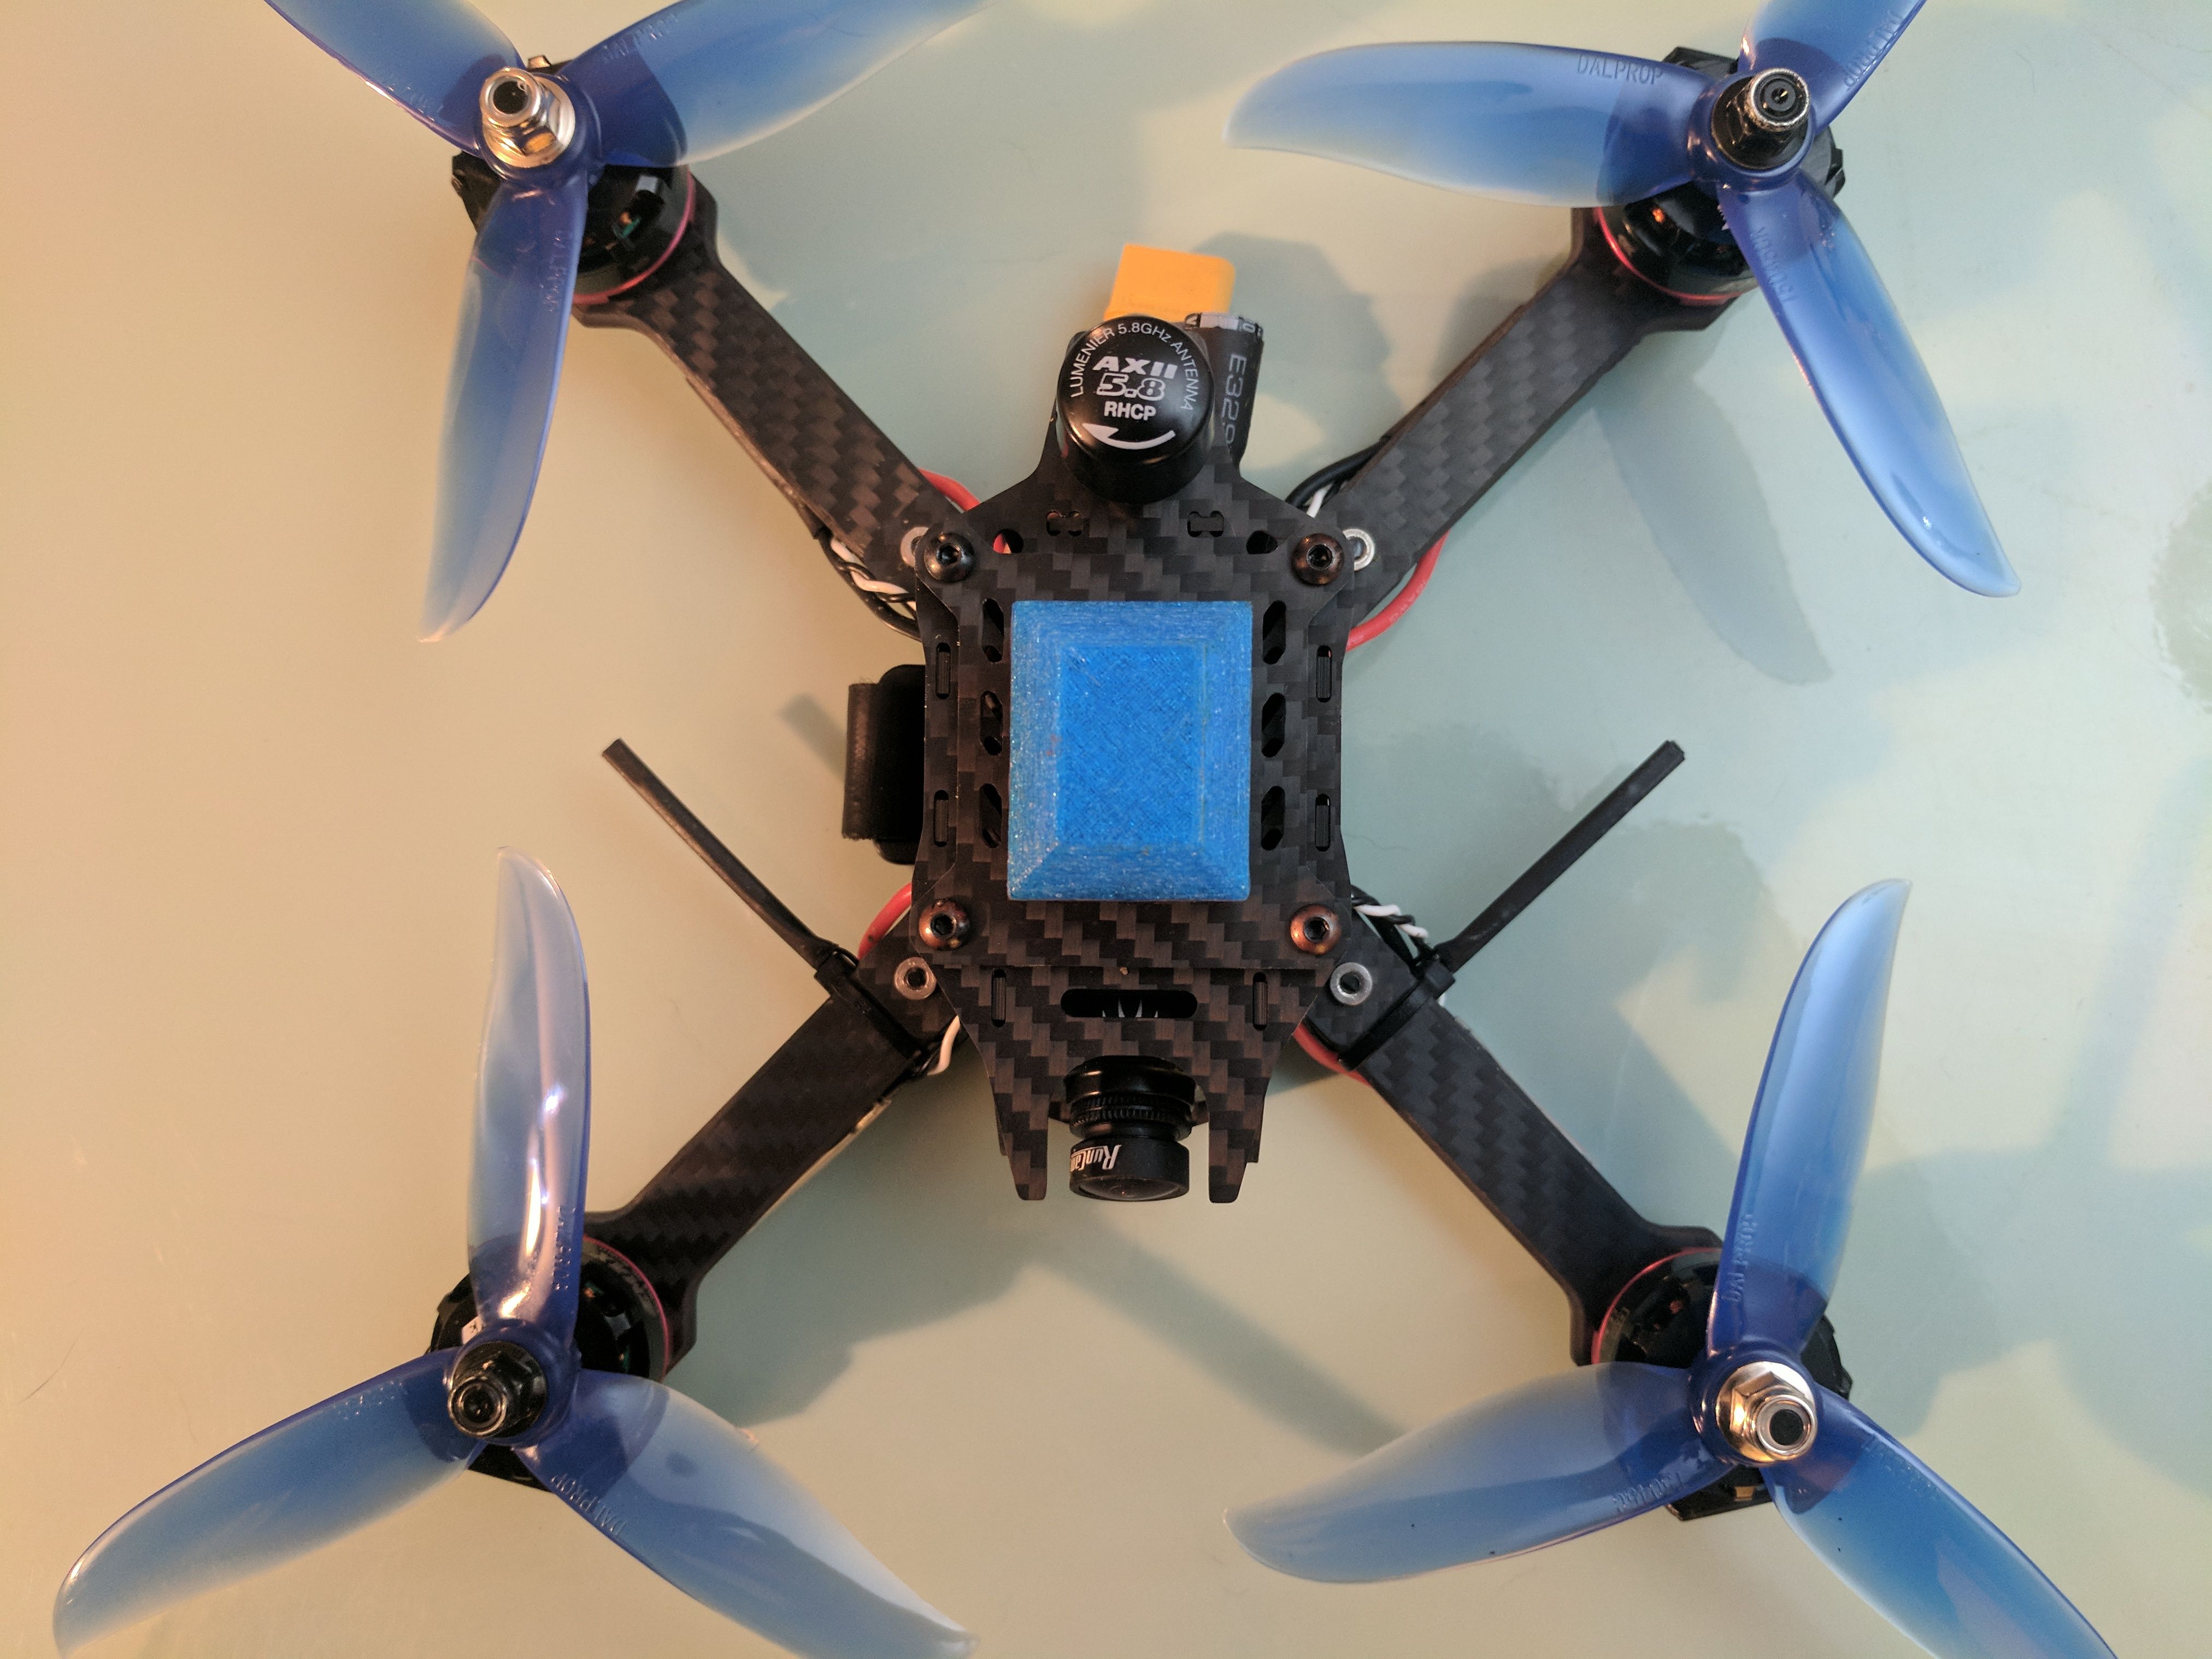
Antenna: I got a set of Lumenier/TrueRC stubby AXII antennas. I want to try them out because they seem more robust and crash-resistant than the Foxeers I used on my last build (depending on how they are mounted). This greatly affects crash recovery. The antenna will be protected from damage by a turtle hump mounted to the top plate and any crash won't knock the antenna into the prop line.
Camera: I am still not on board with the micro cameras yet. I have seen too many people break them at races after very light crashes. But I do like that they are more recessed than the normal cameras. An in-between is the Runcam Swift Mini. Additionally, the Mini has three mounting holes on each side of the case, allowing for very secure mounting to the frame. My issue with the Runcan Swift on my current build is that no matter how well I mount it to the frame, the camera will rotate on the single screw sometimes during a crash, which throws off my flying. Unfortunately, the mini is not meant for this frame and I had to jury rig some spacers to make it fit, but it is very secure now.
Battery: Right now I use 1300 mAh graphenes on my other build. They seem to provide sufficient juice for how I fly. So I will continue to use them for now. If I start to get low voltage issues, I will switch to 1550s.
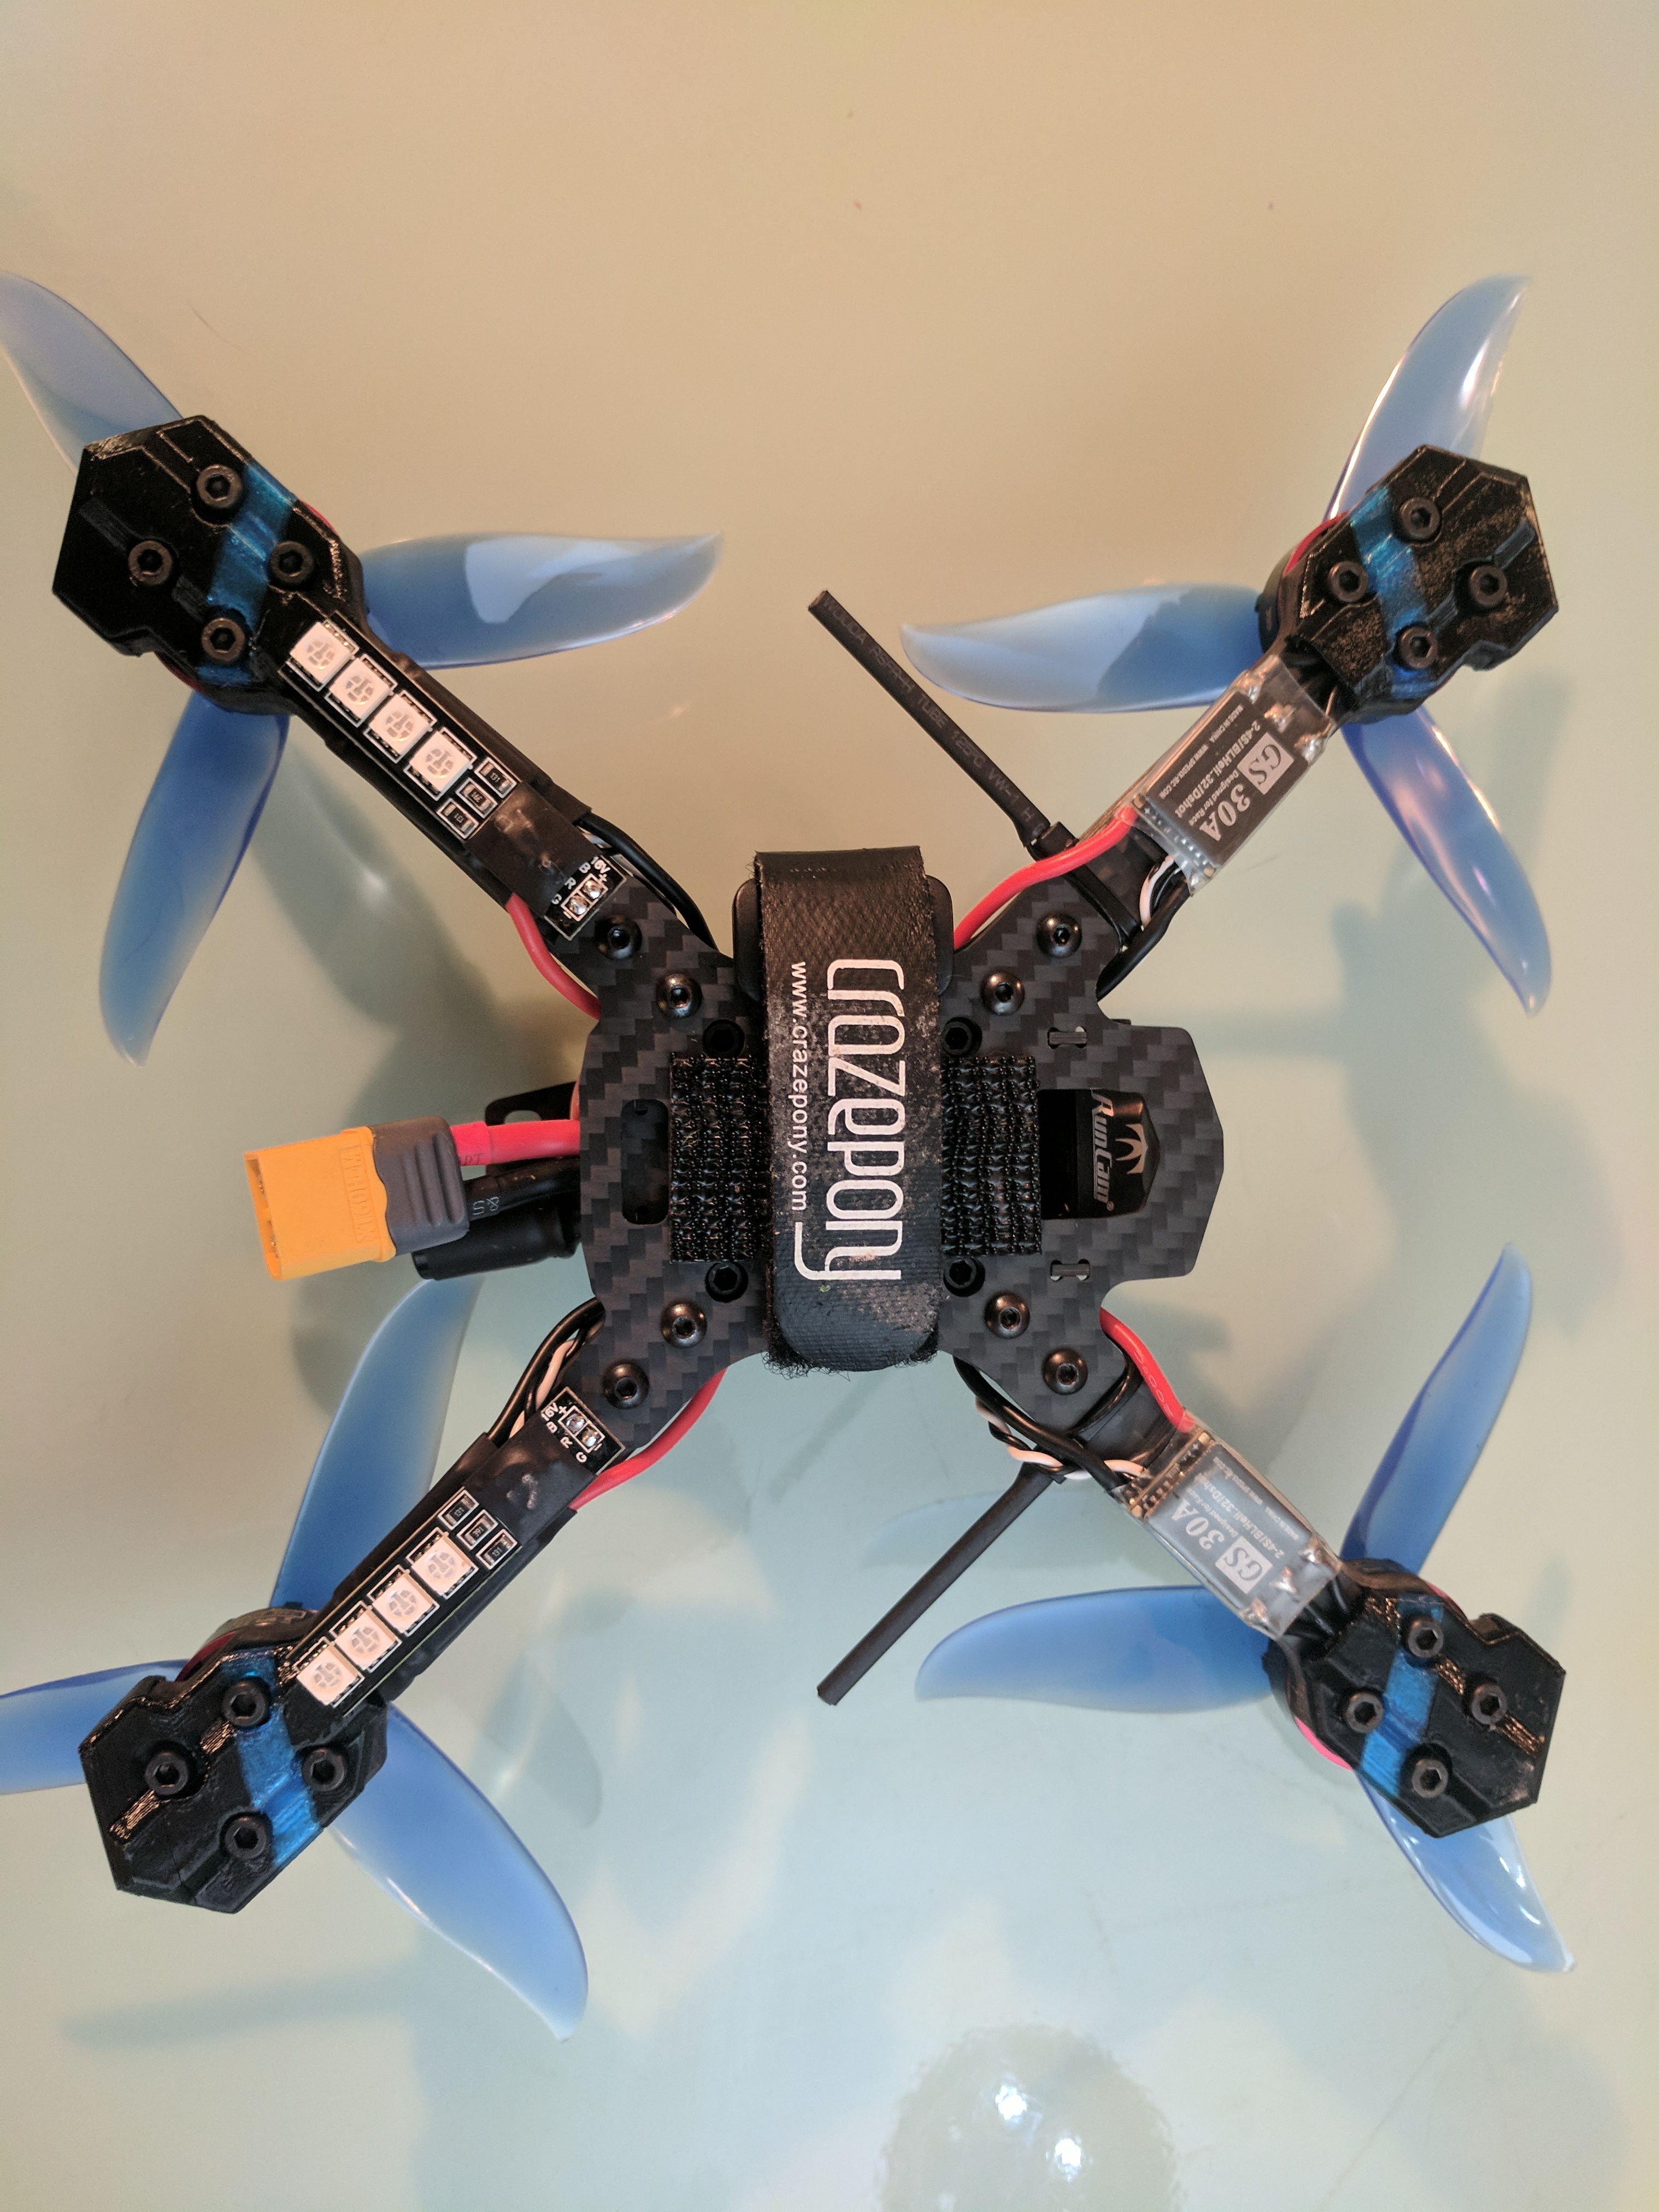
LEDs: I added a 16V LED strip to the bottom of each rear arm. The strips pull voltage directly from the ESC power connections. LEDs are essential for dome racing.
Building
The arms came beveled on this frame and I opted not to treat the edges of the carbon like I did on my last frame. This build will have more of a uniform black look.
I started by creating the spaghetti bowl that is the FC/PBD, soldering on the battery leads, ESC power wires, ESC signal wires, VTX wires, camera wires, and RX wires. I then connected the RX to the FC and bound it to the radio. soldering the ESCs was an issue. The Spedix ESCs have the motor wires and power wires on different sides. The motor wire pads are presumably on the top where the heat sink is mounted. The power/signal wire pads on are on the bottom. This forced me to size my wires while the arms were attached, but remove the arms to solder the power and signal wires on. After slipping the arms back on, I could size and solder the motor wires. I opted not to use electrical tape to wrap the ESCs. instead I heat-shrinked the ESCs and mounted to the arms with double-sided foam tape.
I designed and had printed a TPU "turtle hump" that fits the GoPro mounting plate. The purpose of the hump is to assist in the use of turtle mode. If the quad lands on its back in a crash, the hump will keep at least one set of props well enough clear of the ground to easily flip it over using the turtle mode reverse motors function. Also the stubby axii on the rear of the top plate mounts near the turtle hump, which will protect the antenna from damage.
Photos


New Message for shutupshake