
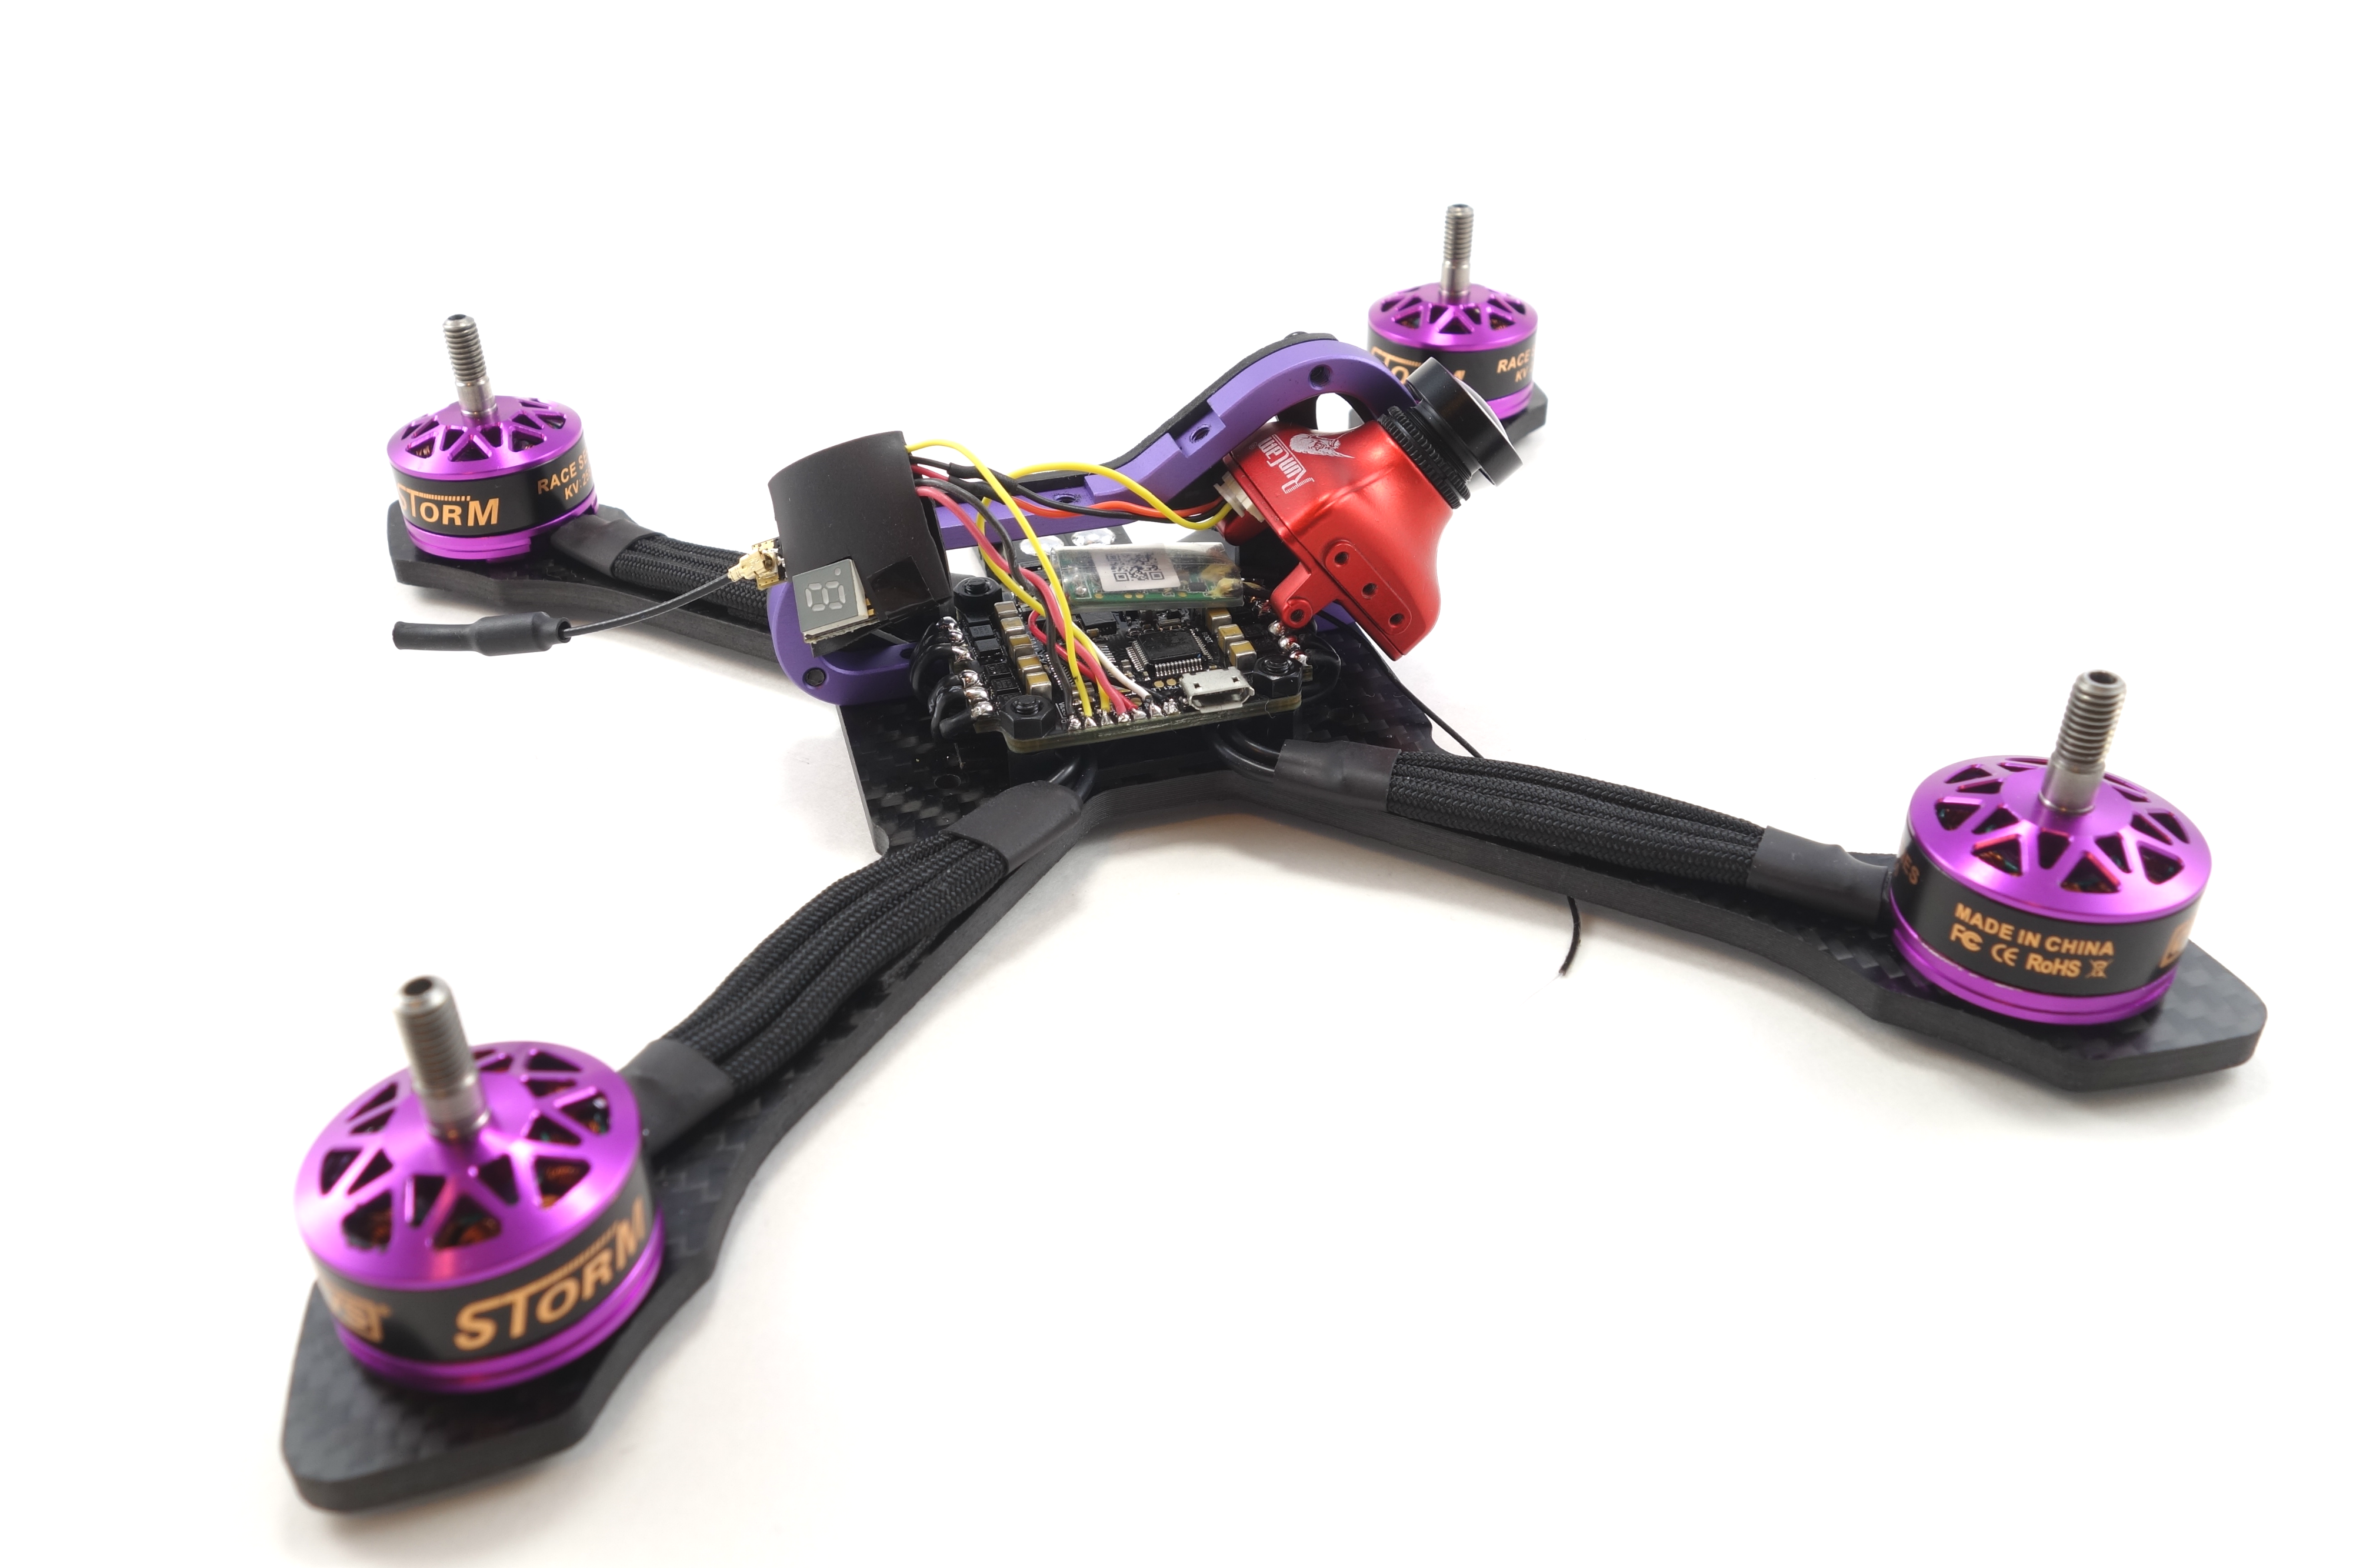
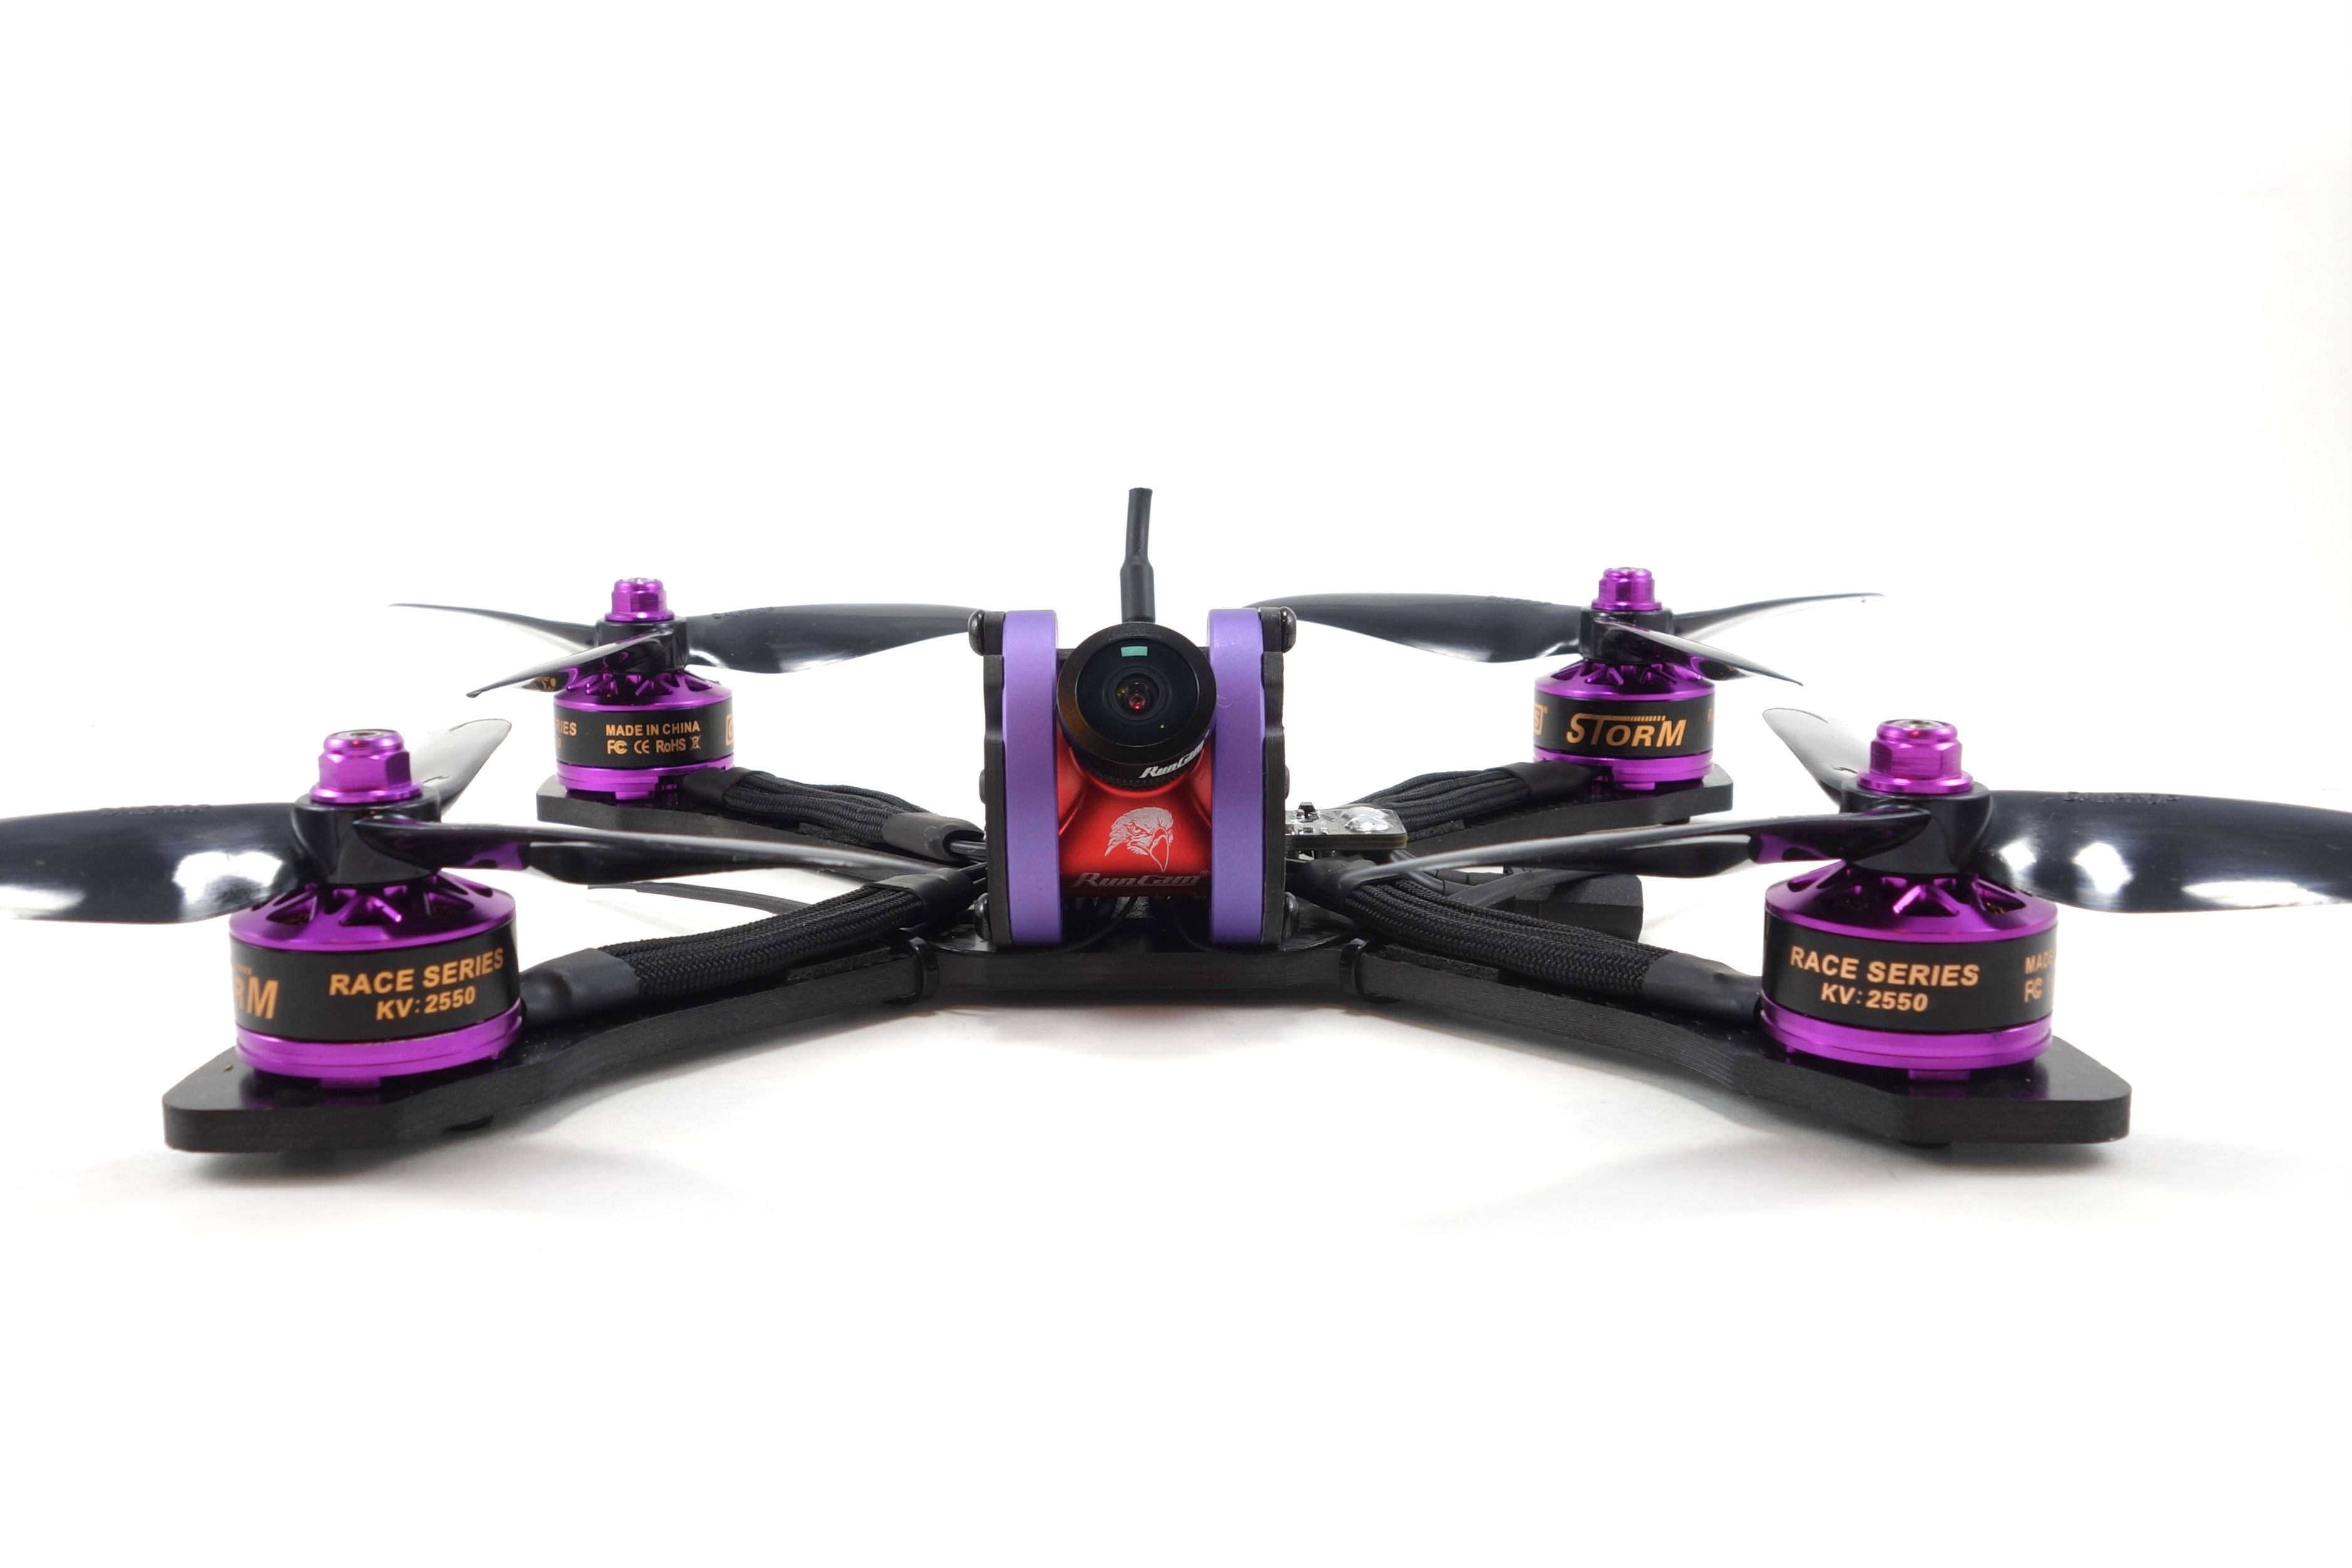
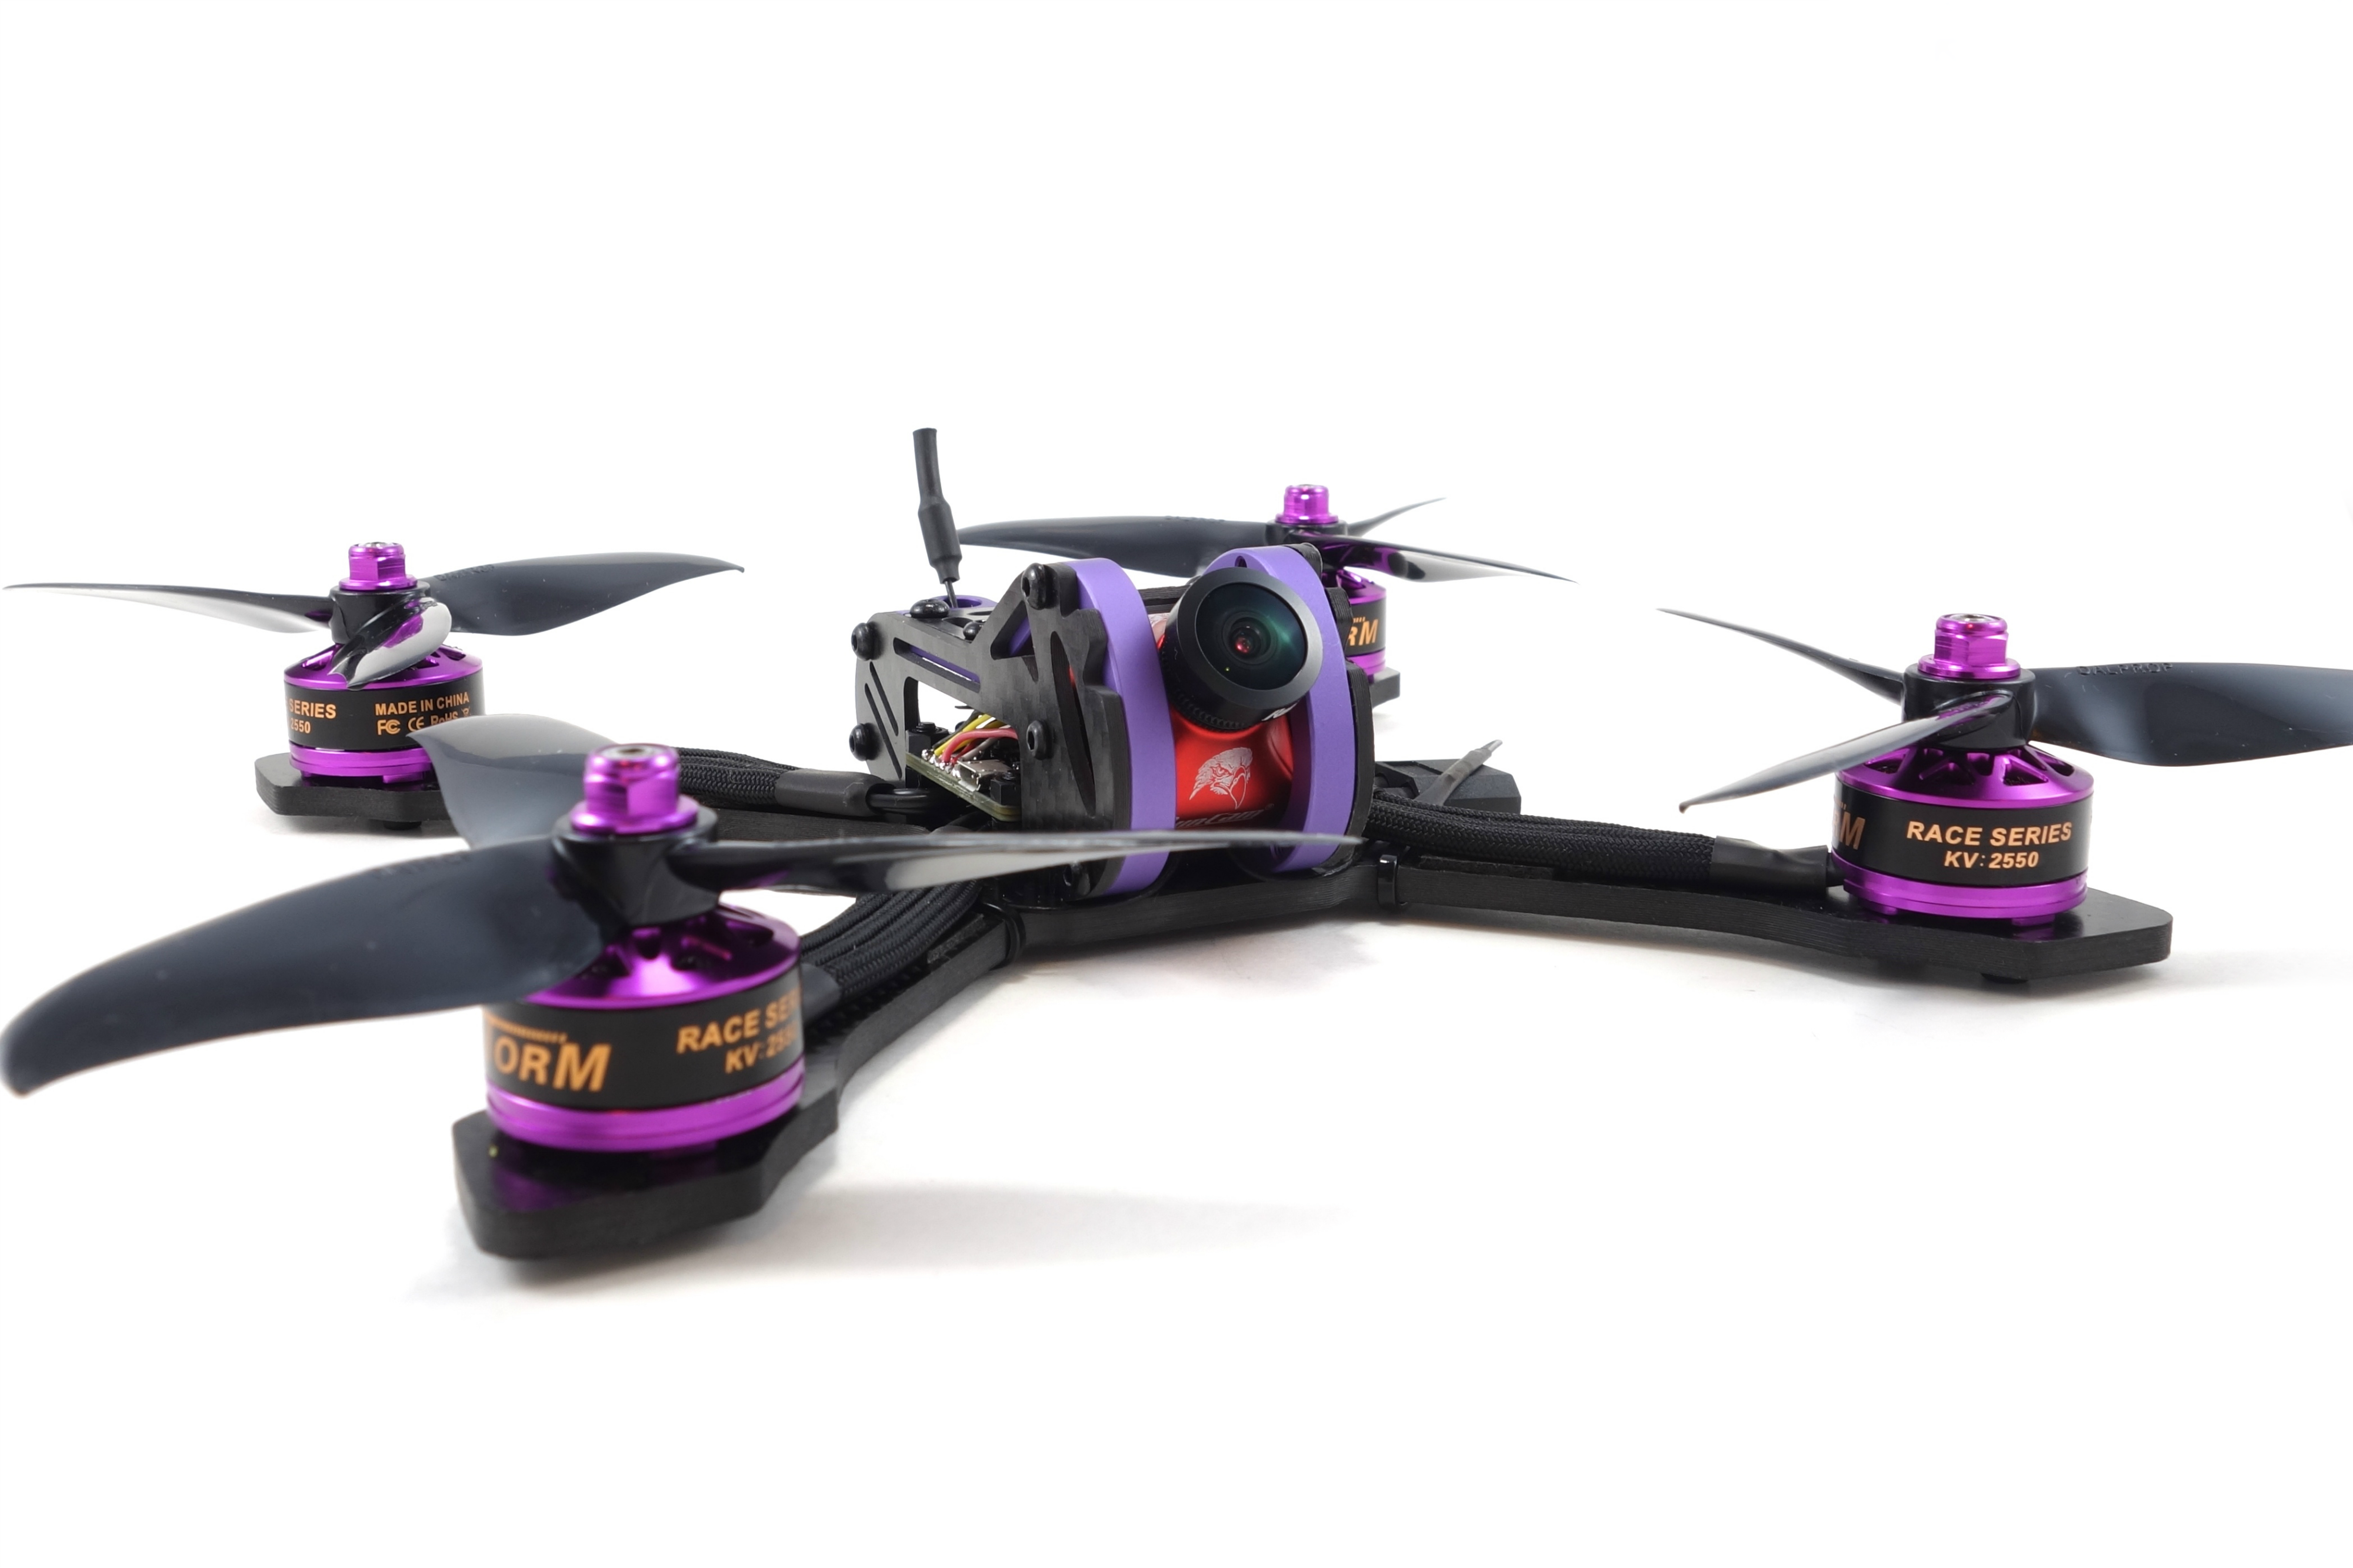
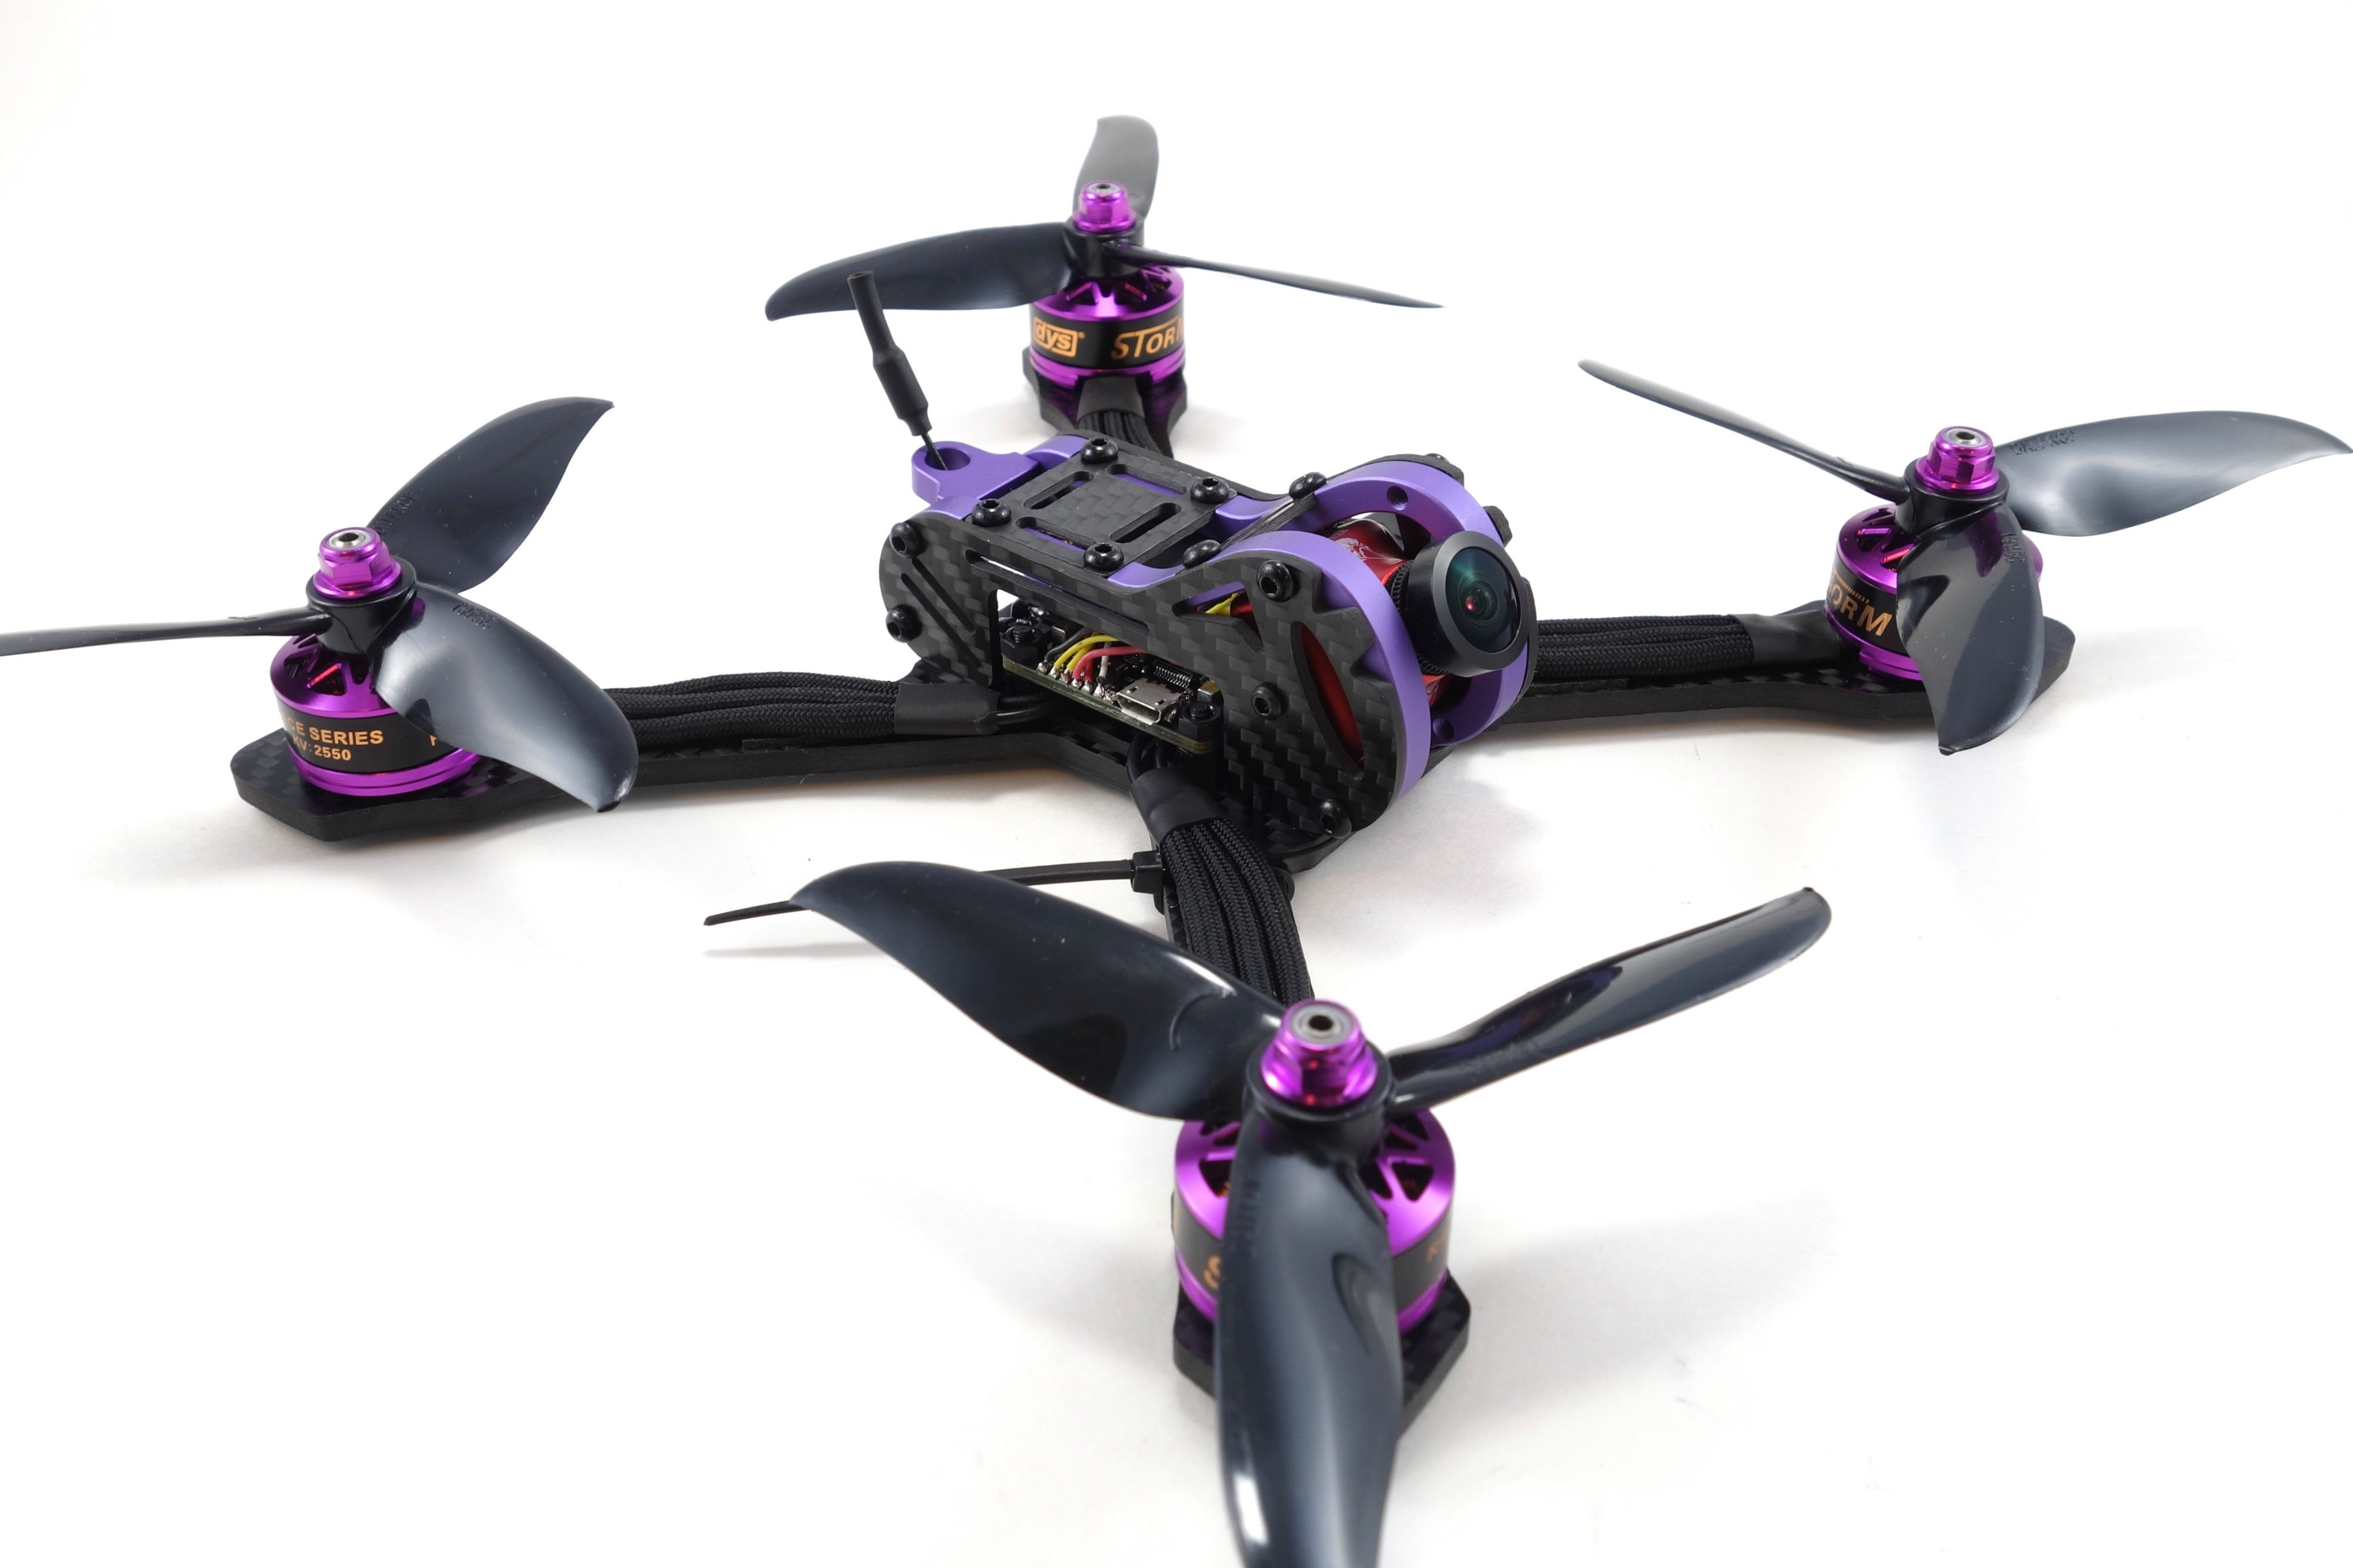
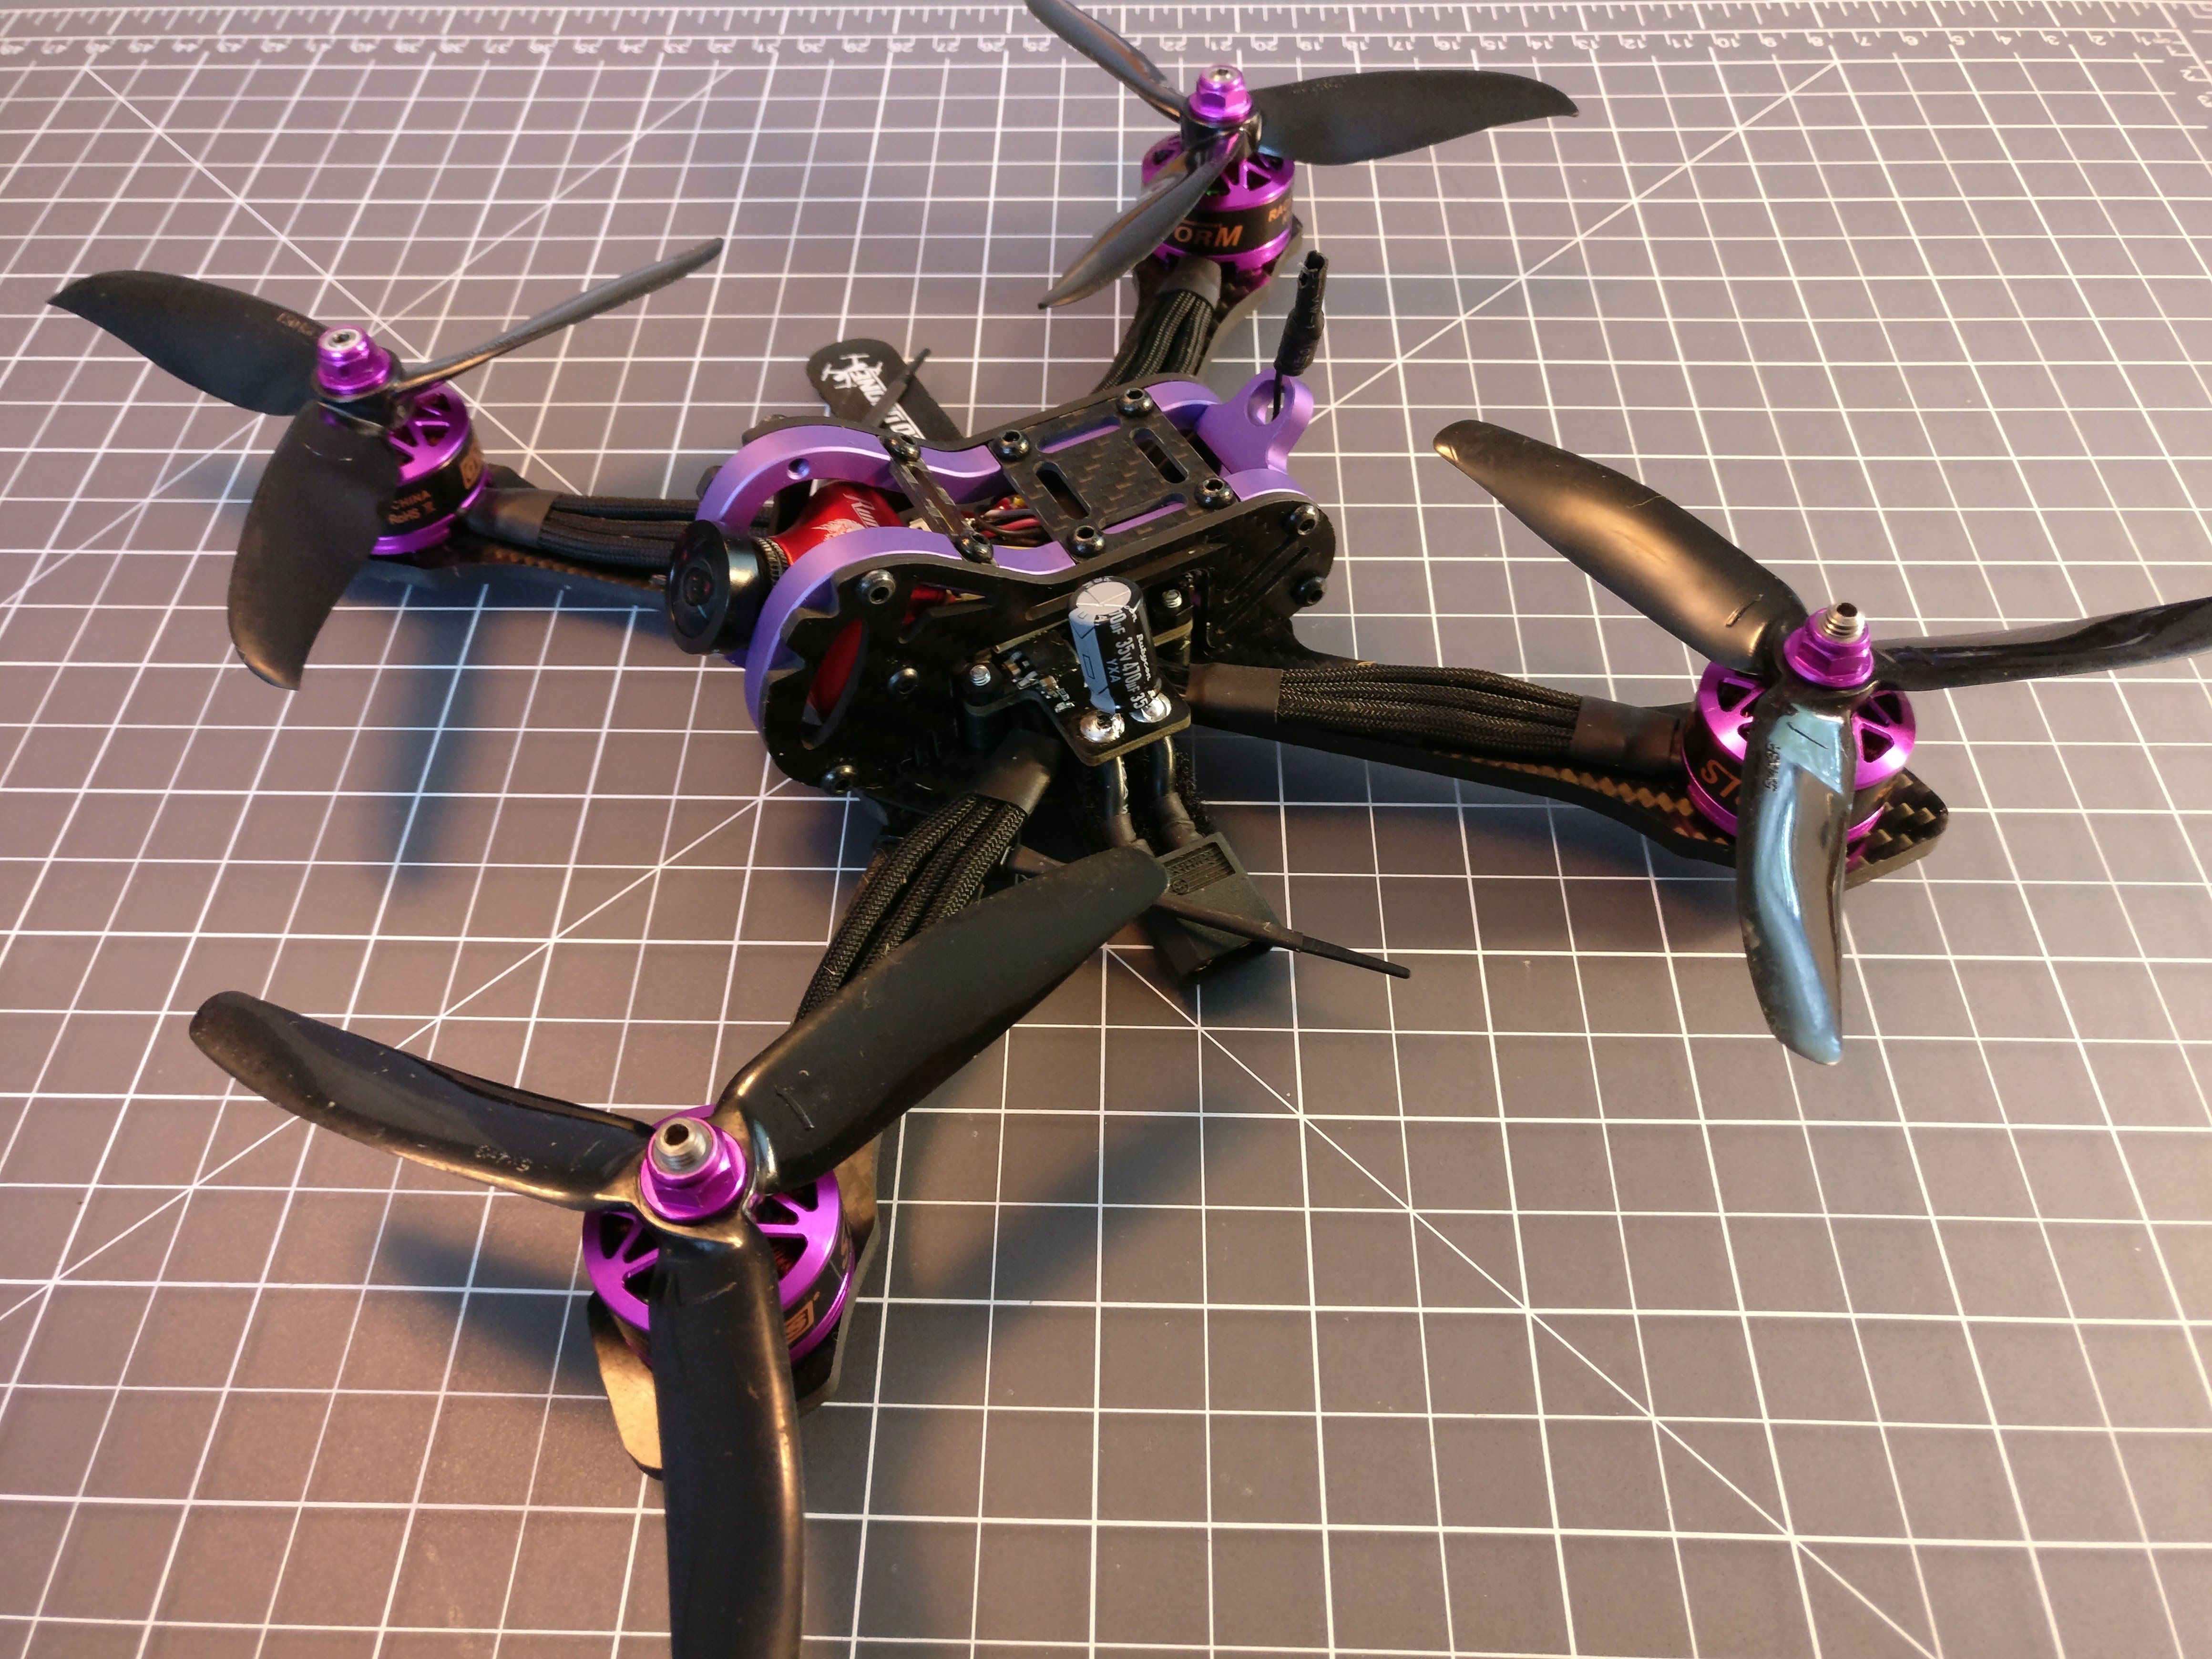
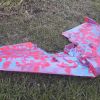
This is a budget frame with a curved aluminum chassis. While the carbon quality isn't spectacular, it's slightly thicker than 4mm, so that should translate to higher durability. It's a really tight fit, but the stack is well protected. Also, because of this, you're limited to an AIO flight controller/ESC board or a PDB flight controller with individual ESCs. I don't think you can fit two boards, a VTX and RX in there. Other than that this is a great looking, compact frame.
| Dry weight | 328g |
| Build difficulty | Easy - Moderate |
Wiring the Motors
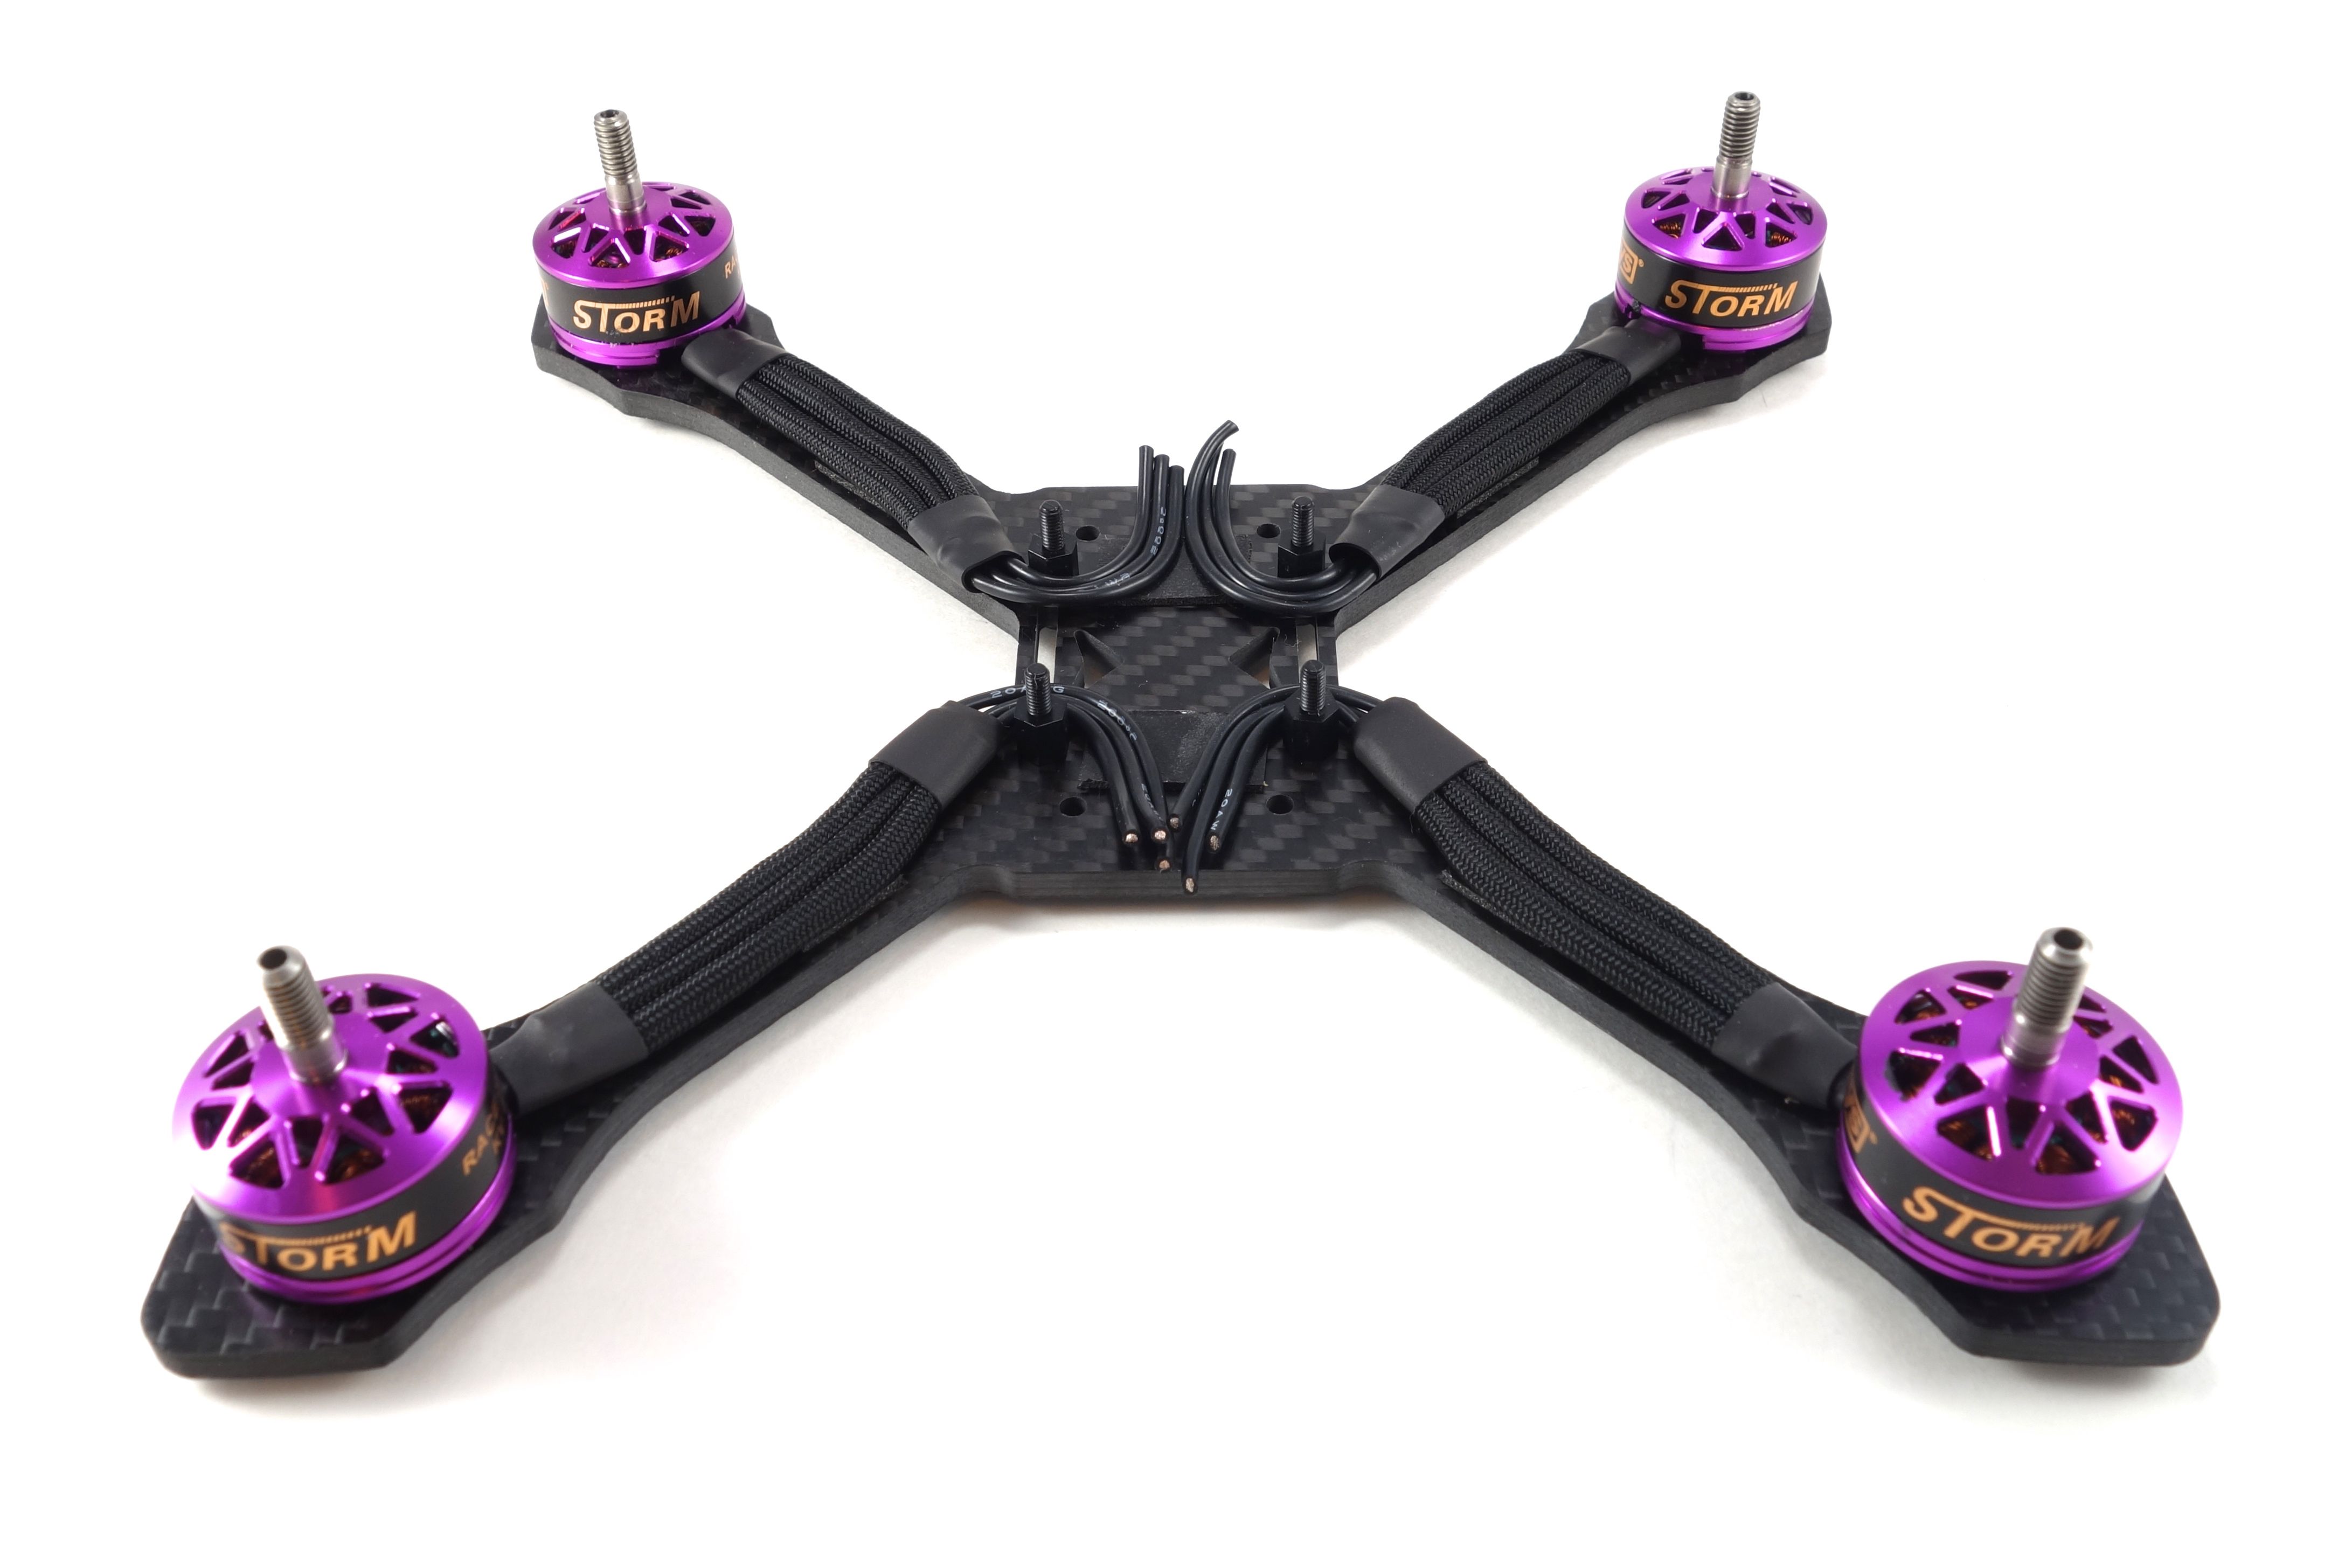
I chose the DYS Storms not only to match the purple, but for the long wires. I don't know why more motor manufacturers don't use longer wires, especially with the influx of 4-in-1 boards on the market. The first thing you'll want to do is screw the motors to the arms. I generally start with a couple screws each so I can loosen them later. This is mainly to get the shrink tube over the paracord and flush with the base of the motors. If you aren't using paracord you can go ahead and screw all the motors down with blue loctite.
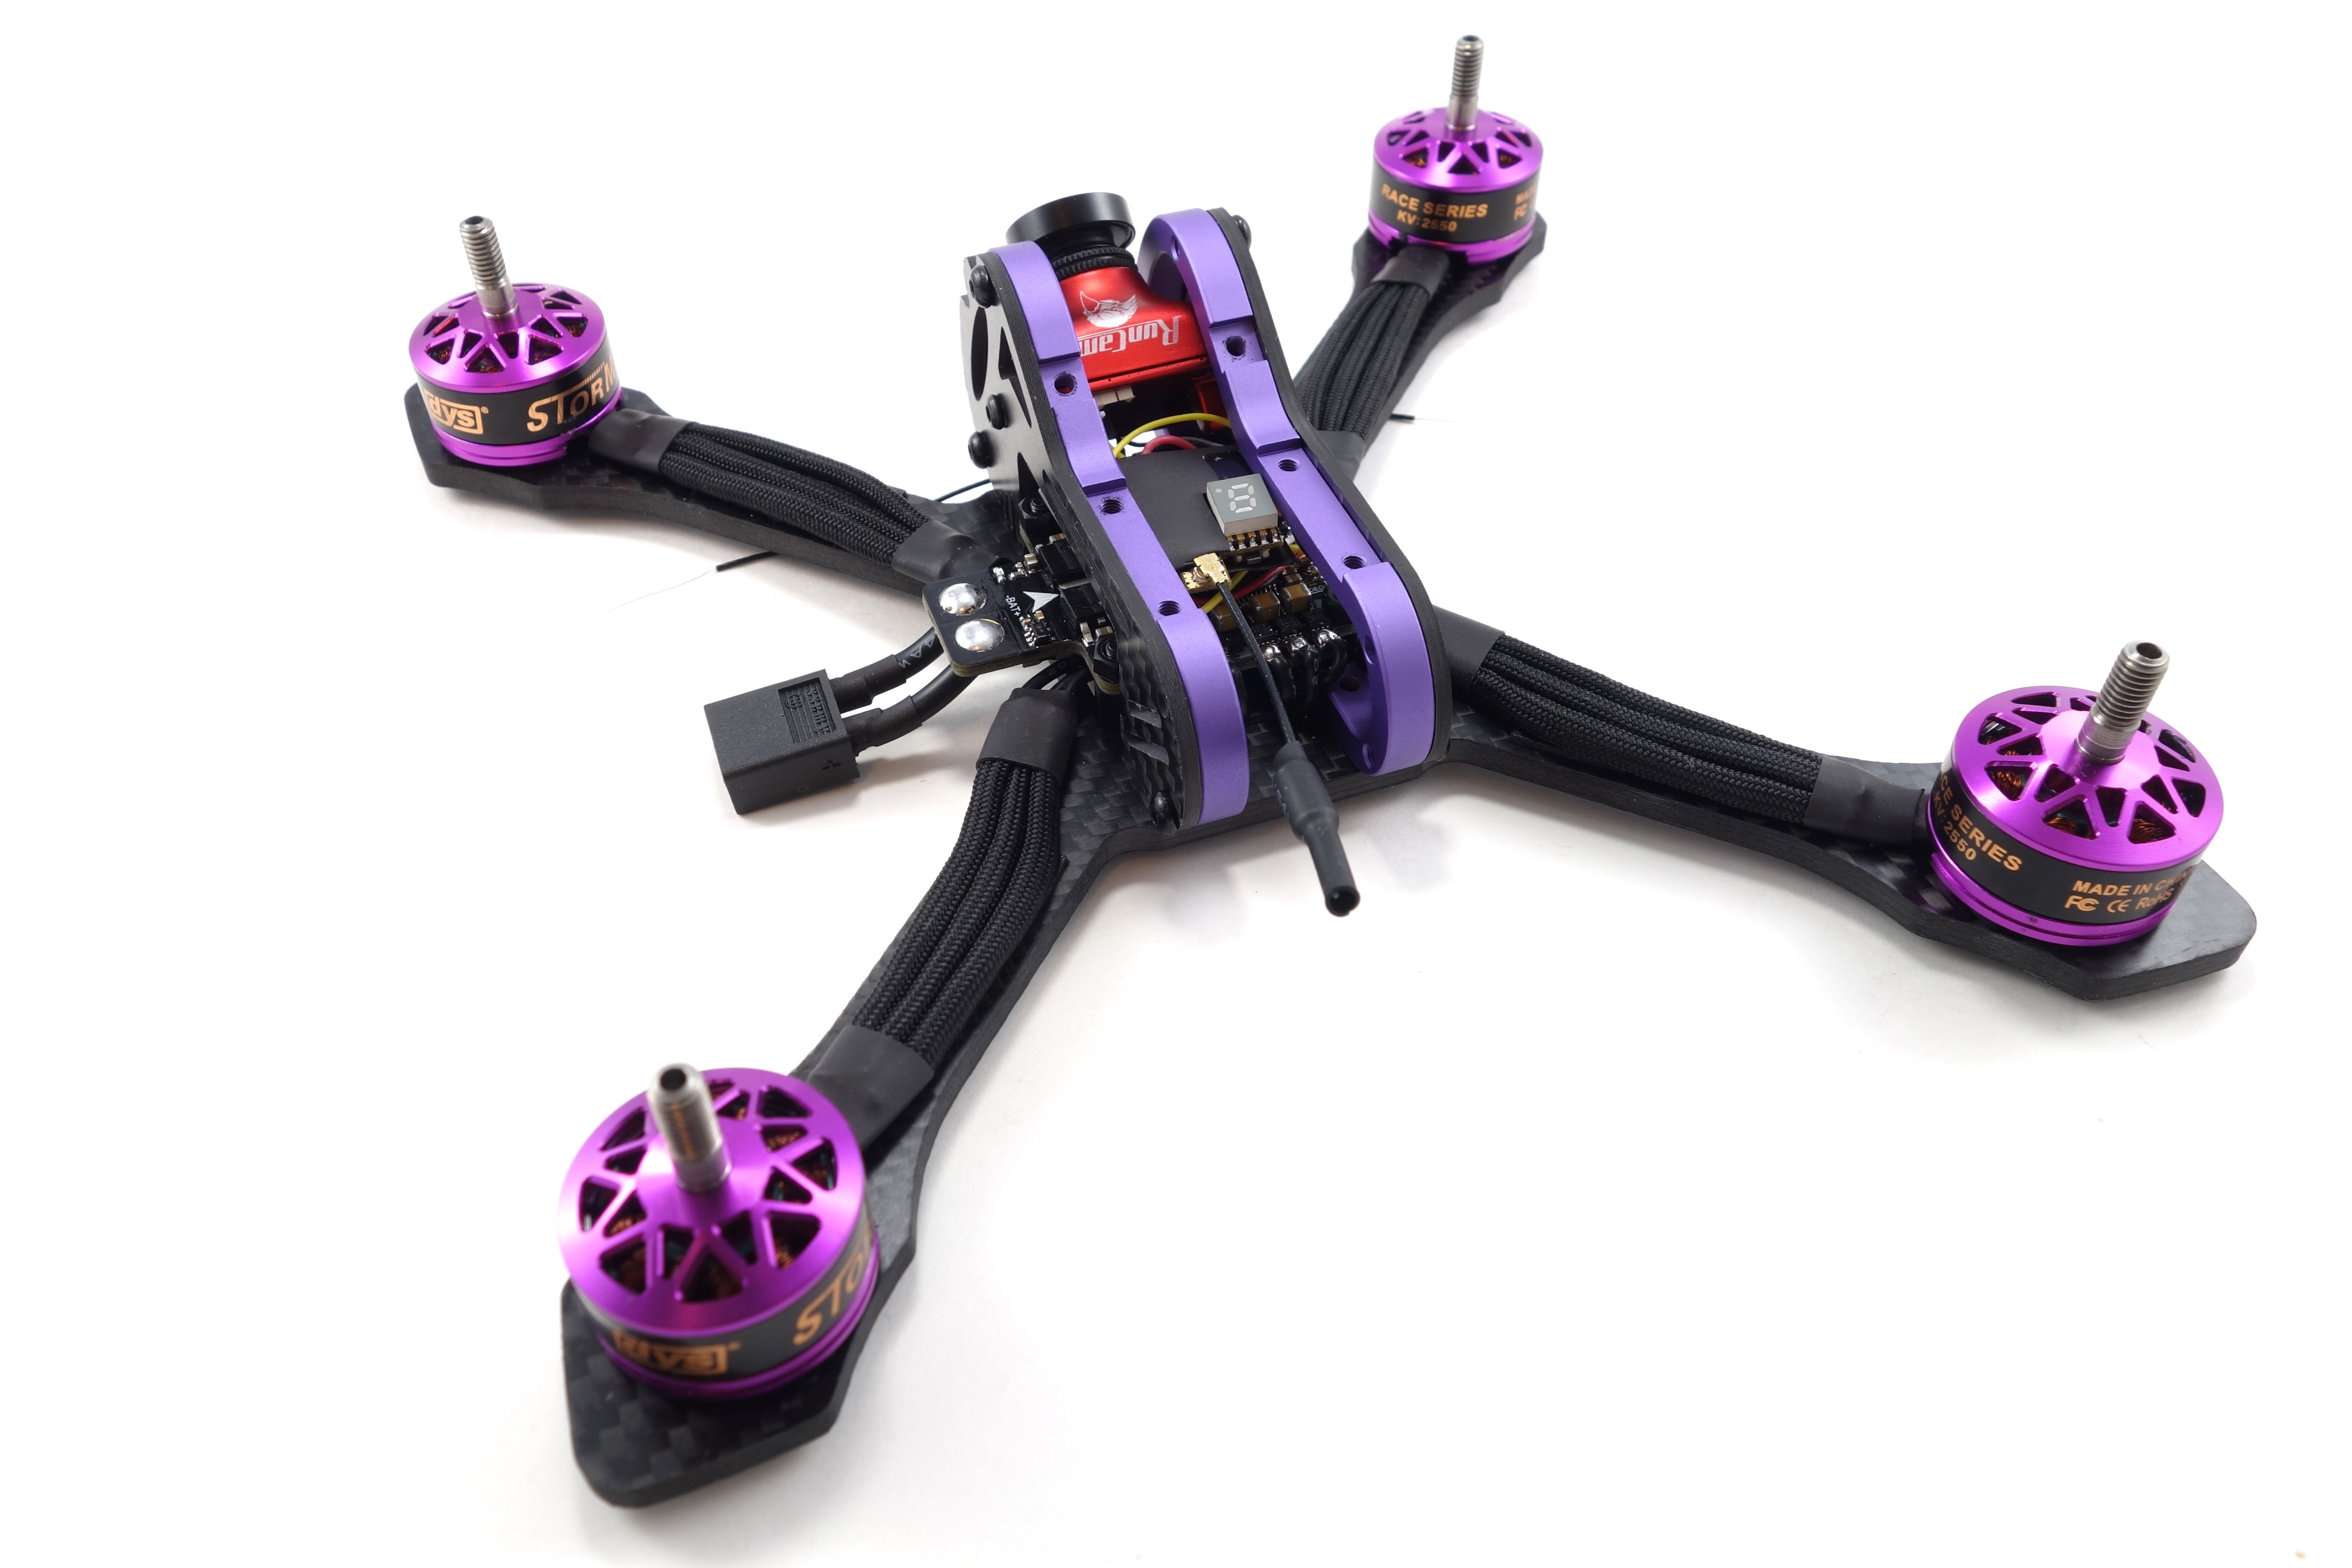
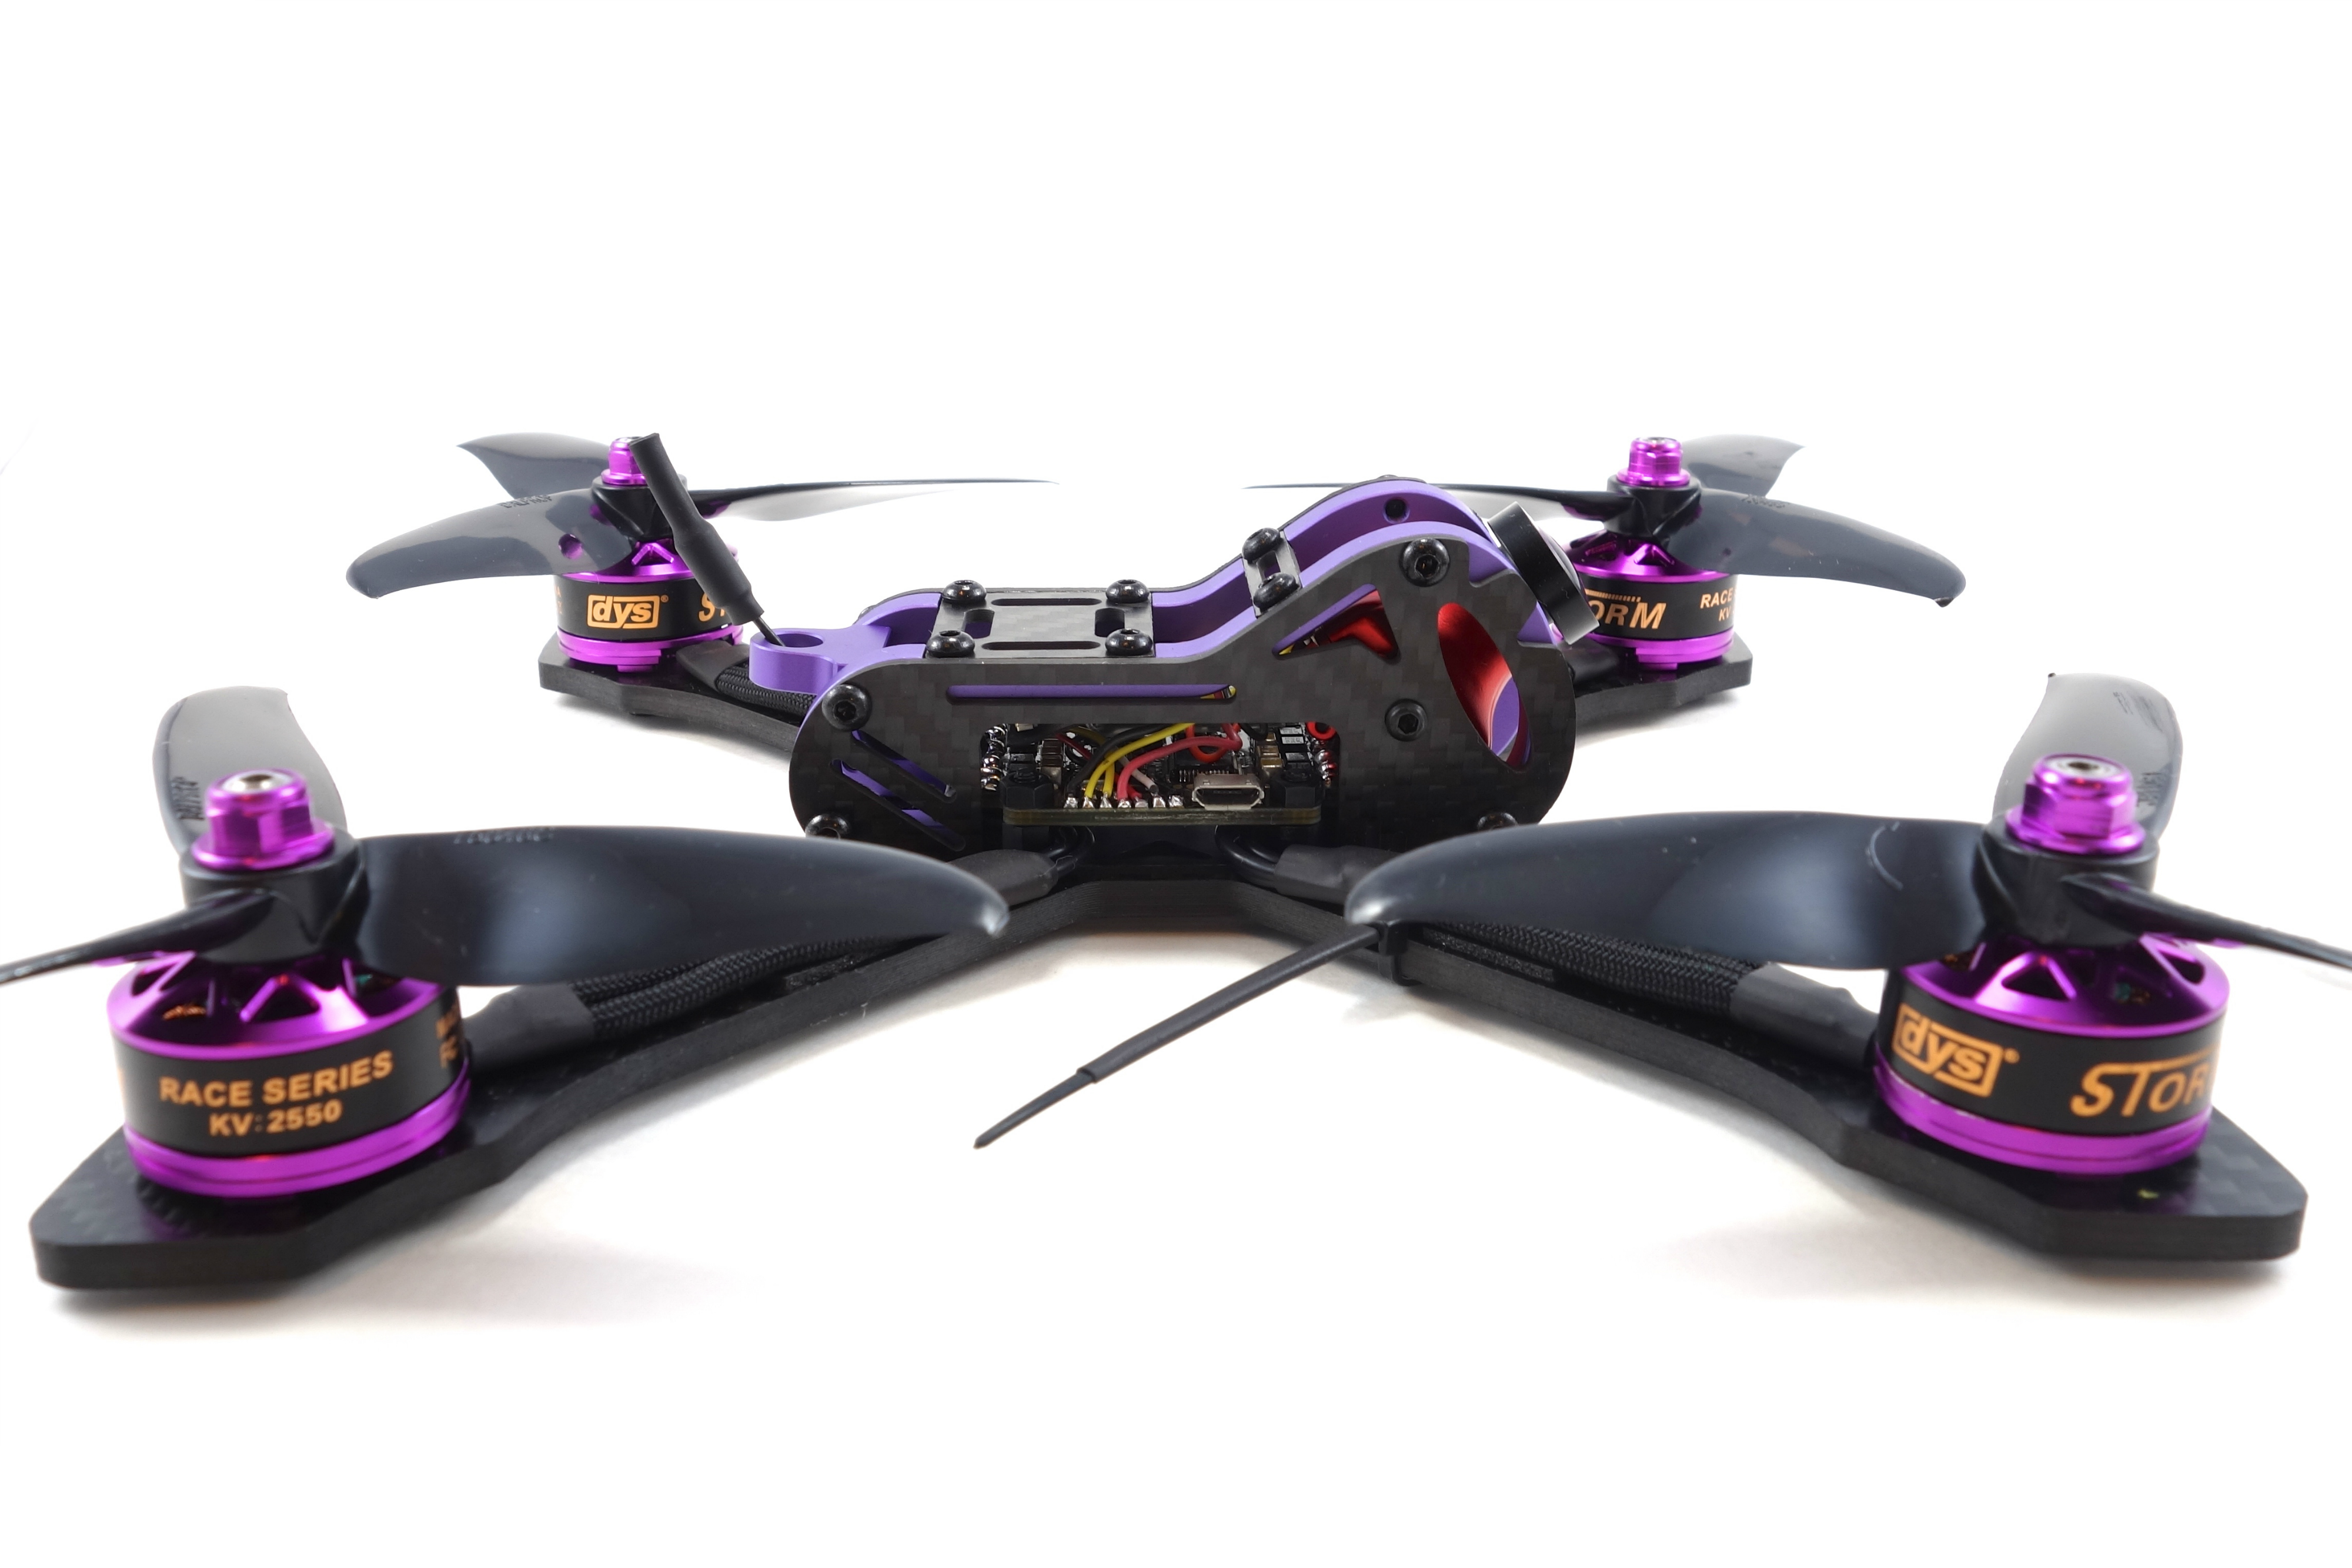
You might notice that the flight controller is designed for a rear-facing power lead and and front-facing USB. This isn't good because it'll be impossible to connect to your computer after the build is complete. The best way to mount it is to rotate it 90 degrees with the USB and power tab to the sides. You'll need to run your motors wires under the board, but the end result is much cleaner.
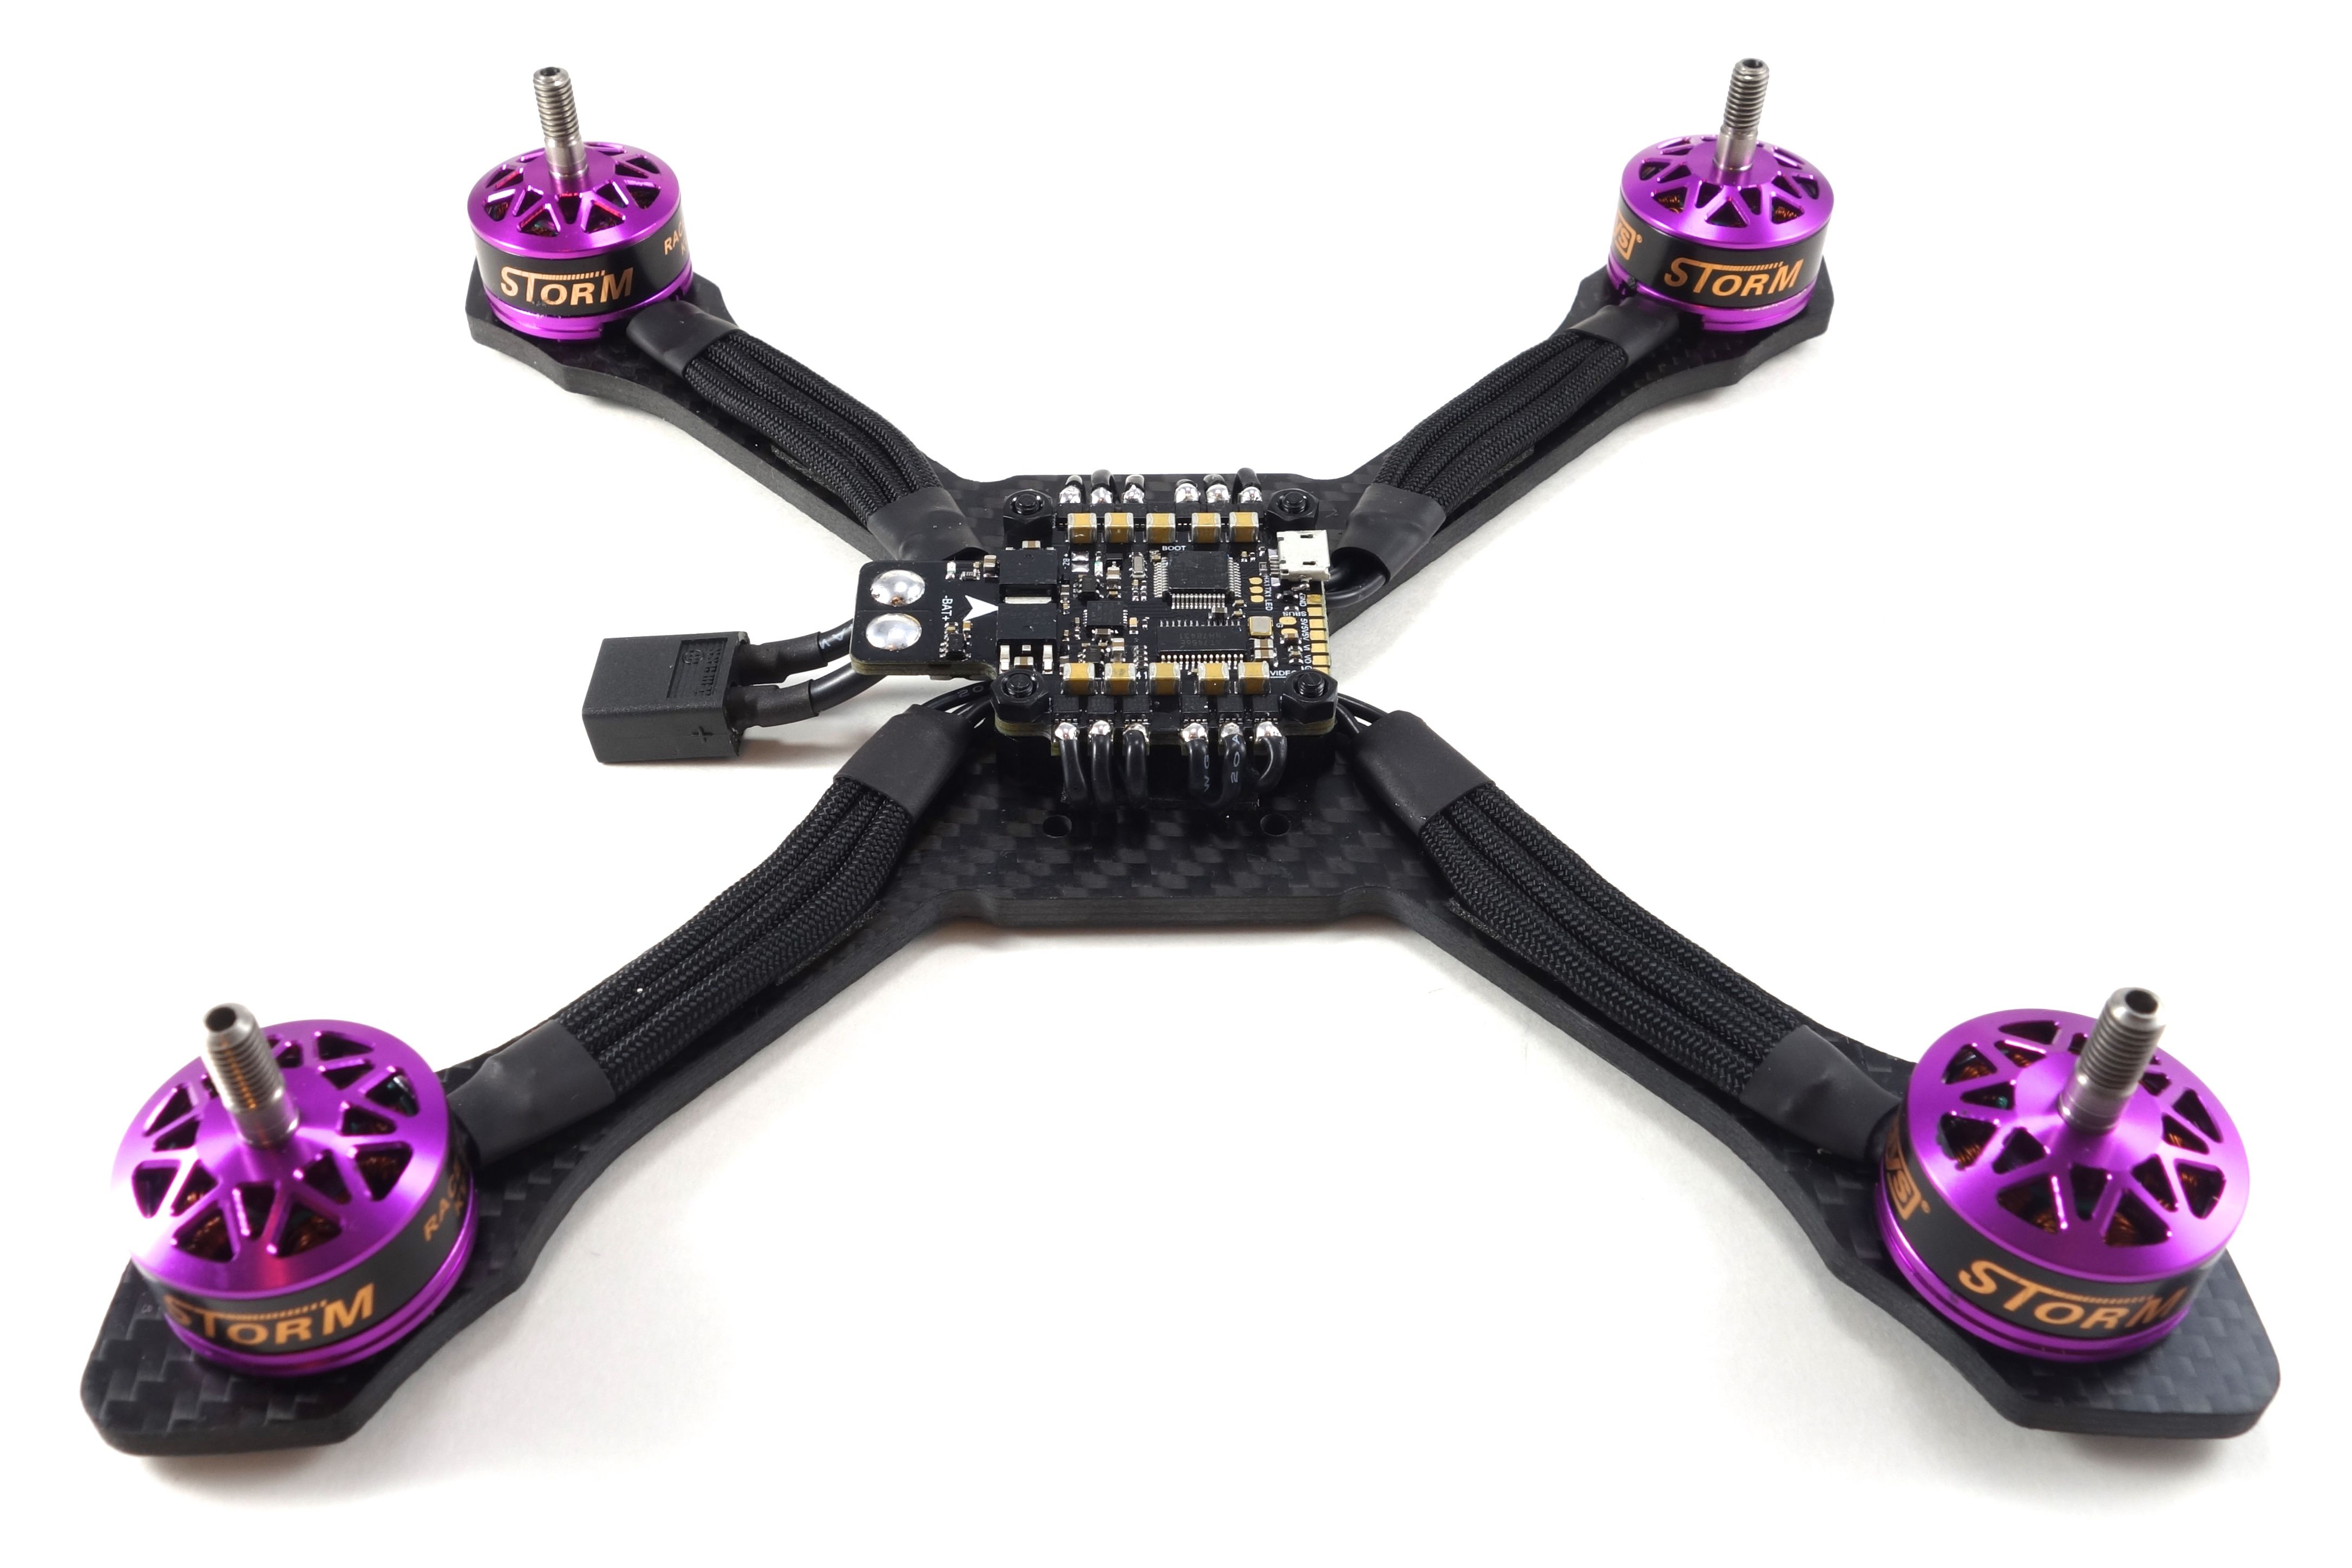
Before soldering the motors it might be a good idea to add the XT60 connector to the power tab. Snip two pieces of 12awg or 14awg wire to about 2cm and solder them to your XT60. Slide some shrink tube over the joints and melt it on. Now mount the flight controller to the frame and bend the power leads up into the circular wells holding them in place with the weight of the frame. Add some liquid soldering flux and fill the pools until you've got a nice smooth dome covering the wires.
Now can dress up the motor wires with paracord or wire mesh or just tape them down to the arms. The wires need to enter under the flight controller and around the standoffs. I found them a little easier to manage with some double sided tape on the baseplate. This will keep them out of the way when you mount the flight controller. Cut the wires to the edge of the frame and bend them back up to each pad with some tweezers to solder.
Wiring the RX and FPV gear
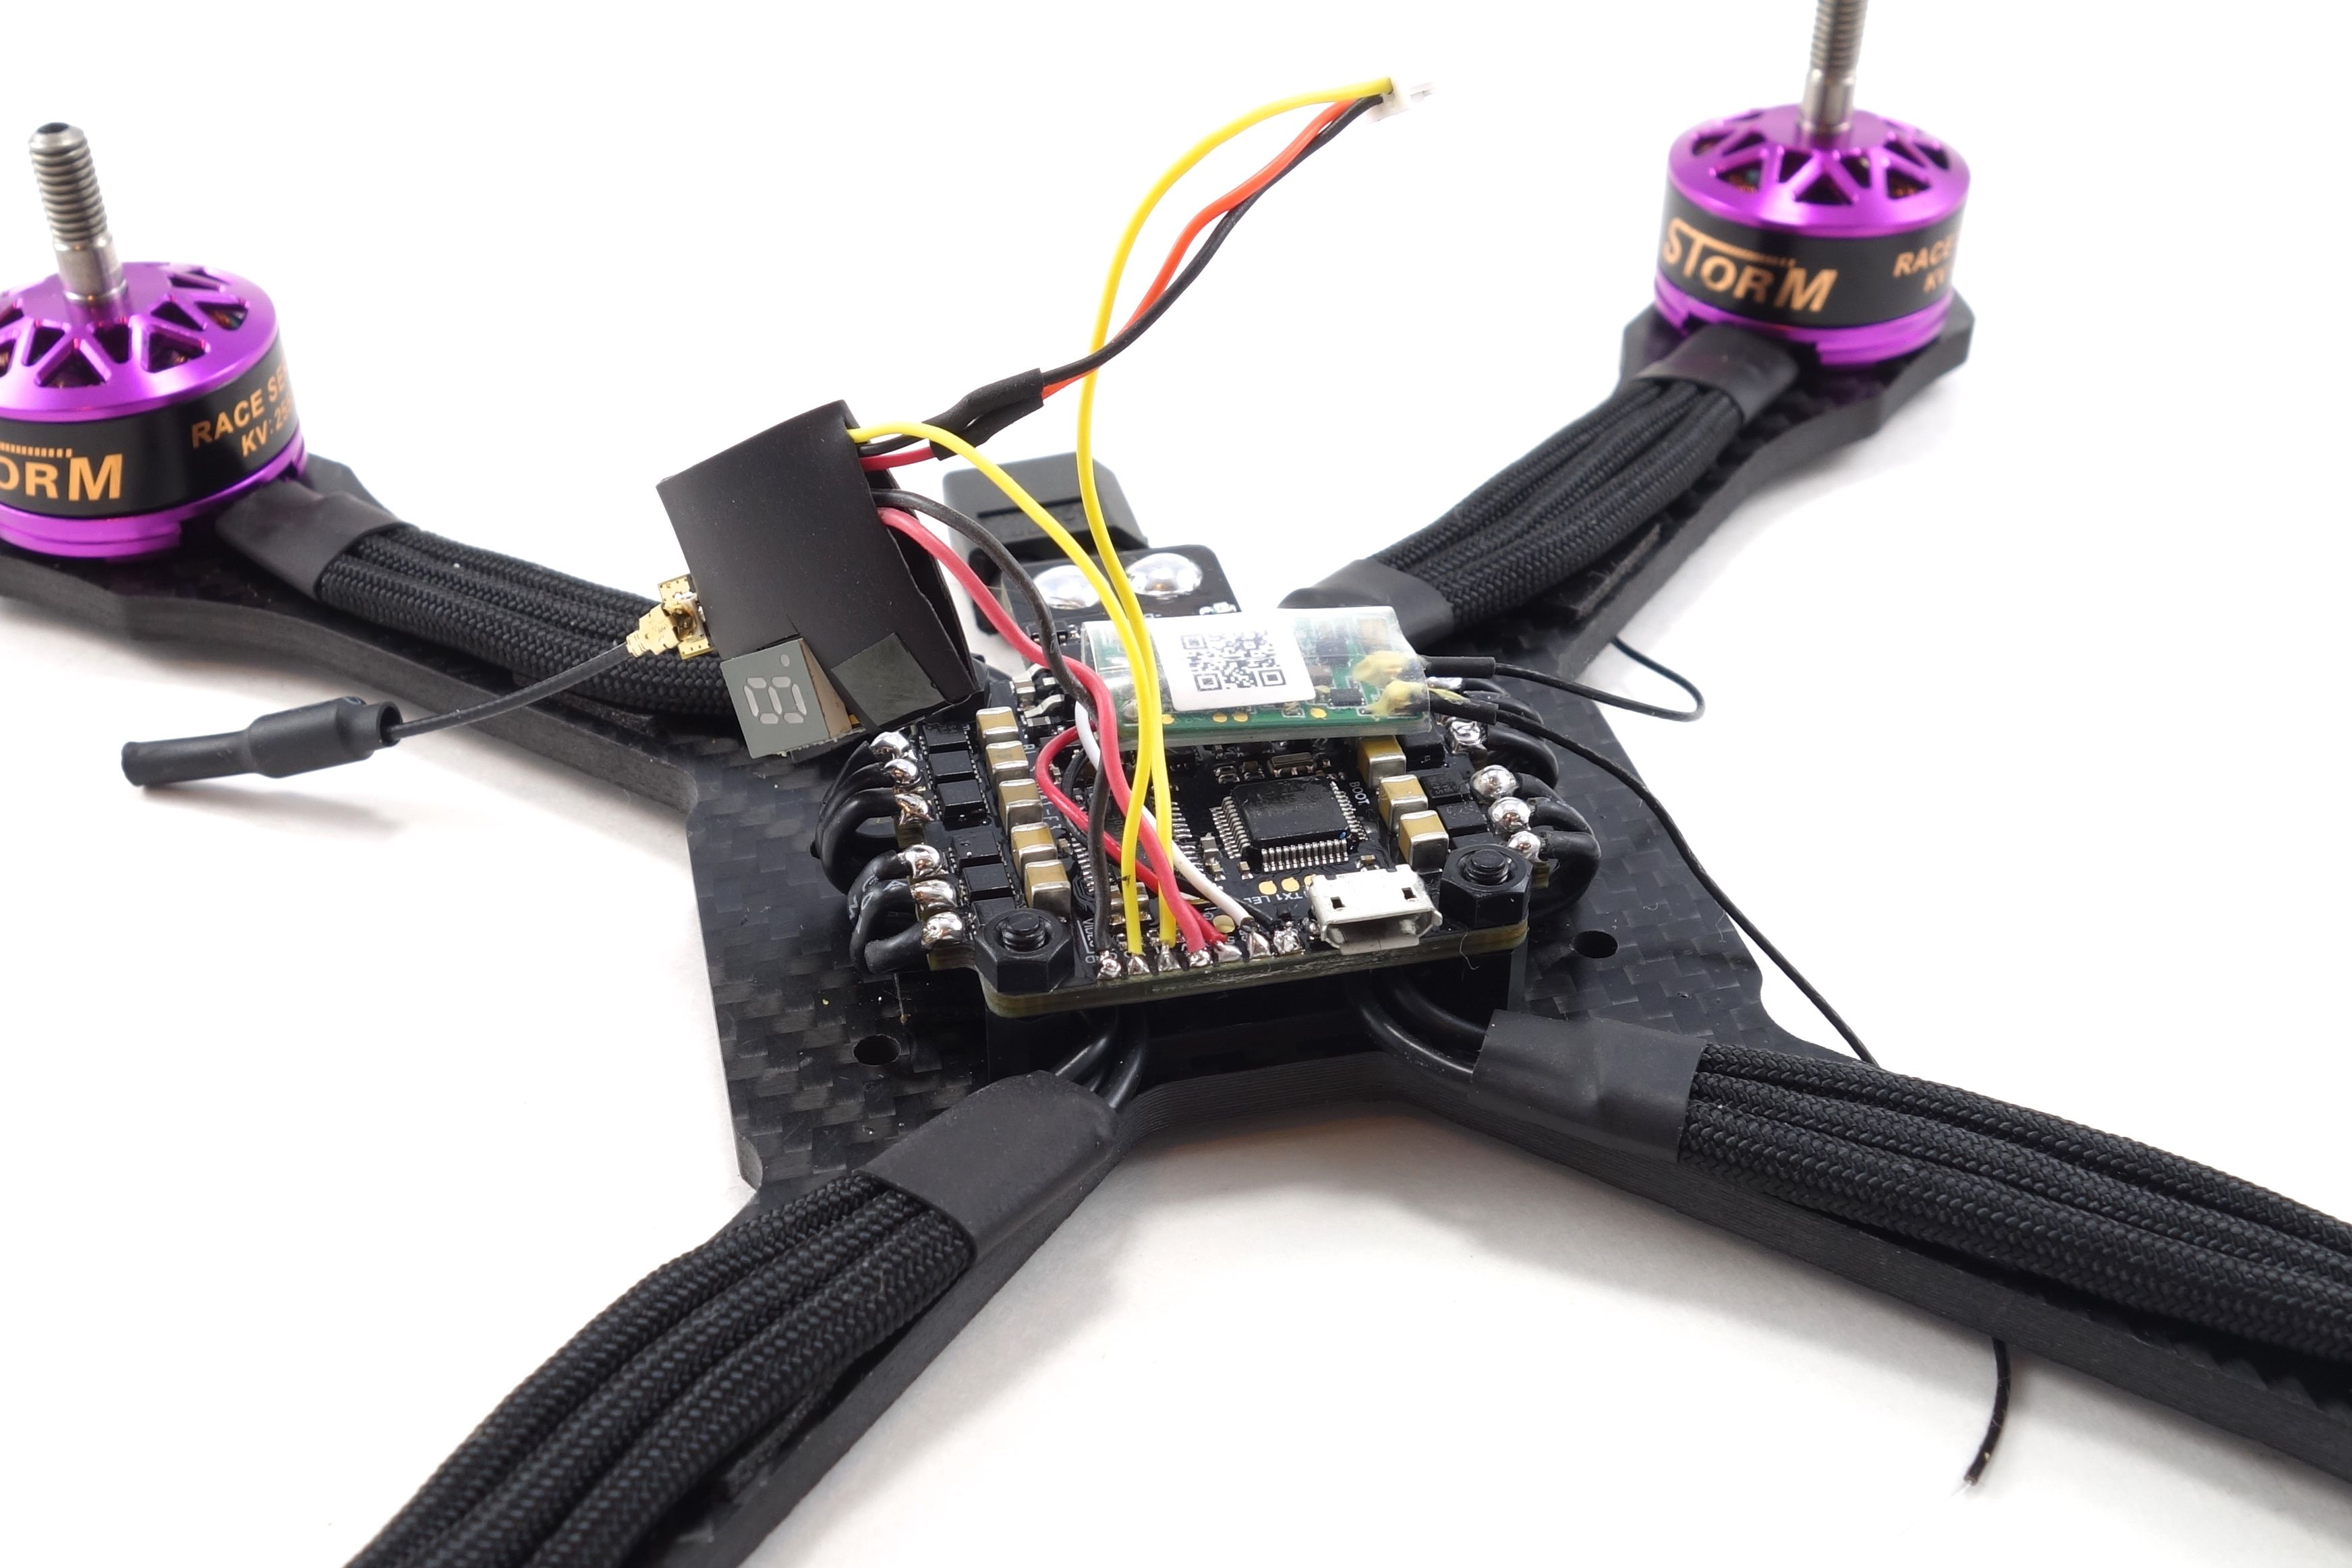
Wire the RX according to the photos. Once you've got it in place you should bind it to your transmitter. Double check your main power leads for continuity and power up your rig. Don't forget this step because you don't want to bury your RX only to dig it out later to bind.
Protect your VTX with some large shrink tube or electrical tape. There's a good chance it'll short in that tight aluminum space. Solder the VTX power input to the flight controller and relay 5v to the camera through VTX. This ensures you won't need to doubling up any wire on those tiny flight controller pads. Attach your camera to a single side panel to cut the wire to size, but don't build the entire canopy. It won't go on in one piece, so you need to attached it one side at a time. Once you've wired the VTX and camera you should apply power to set your VTX channel before you close everything up. After everything is in place you can shrink tub the RX antennas to zipties on the arms.
BetaFlight Configuration
A few adjustments need to be made to accommodate our board layout. First you'll want to update your firmware. I chose Betaflight 3.2. Once you've done that go to the Configuration tab, find "Board and Sensor Alignment" and if your power tab is on the left as I did you need to enter "90" beside "Yaw Degrees". Leave everything "Default" on the right. Save and reboot and confirm that the orientation is correct by moving your quad and watching the 3D model on the Setup screen.
I decided to go "props-out" on this build. What that means is the typical clockwise/counter-clockwise configuration is reversed. So motor 1 (back right) is CCW and motor 2 is CW and so-forth. What this does is is push the props out like a breaststroke swimmer. The advantages are that you'll push away from trees or gates rather than pull in and you won't pull grass and debris in toward your lens. The disadvantage is you'll spray grass all over your stack, but this frame does a nice job of covering the stack. To set this up you just need to ensure the motors are spinning the proper direction and, if you're using Betaflight 3.2, go to the Configuration tab, look for the Mixer with the quad image and select "Motor direction is reversed".
Since we rotated the flight controller the motor positions won't match the ESC diagram. What's great about BetaFlight is that you can re-arrange them via the CLI. What I normally do is open the motors tab (without props!), apply battery power to the rig and spin each motor. I take note of which motor is spinning and where it should be then I go to the CLI and type "resource" to get the resource IDs. Then it's just a matter of re-mapping them to the proper positions. Here is what I used:
resource MOTOR 1 B09
resource MOTOR 2 A02
resource MOTOR 3 B08
resource MOTOR 4 A03
Here is a general checklist to follow when configuring BetaFlight:
- Flash firmware to the latest version.
- Configure battery settings for voltage and current monitoring.
- Use resource commands to order the motors.
- Use BLHeli Configurator to set motor rotation.
- Bind TX/RX and ensure the Receiver tab is properly configured.
- Set switches to arm and change modes.
- Configure OSD.
- Set your rates.
- Use camera OSD to adjust your camera settings
Conclusion
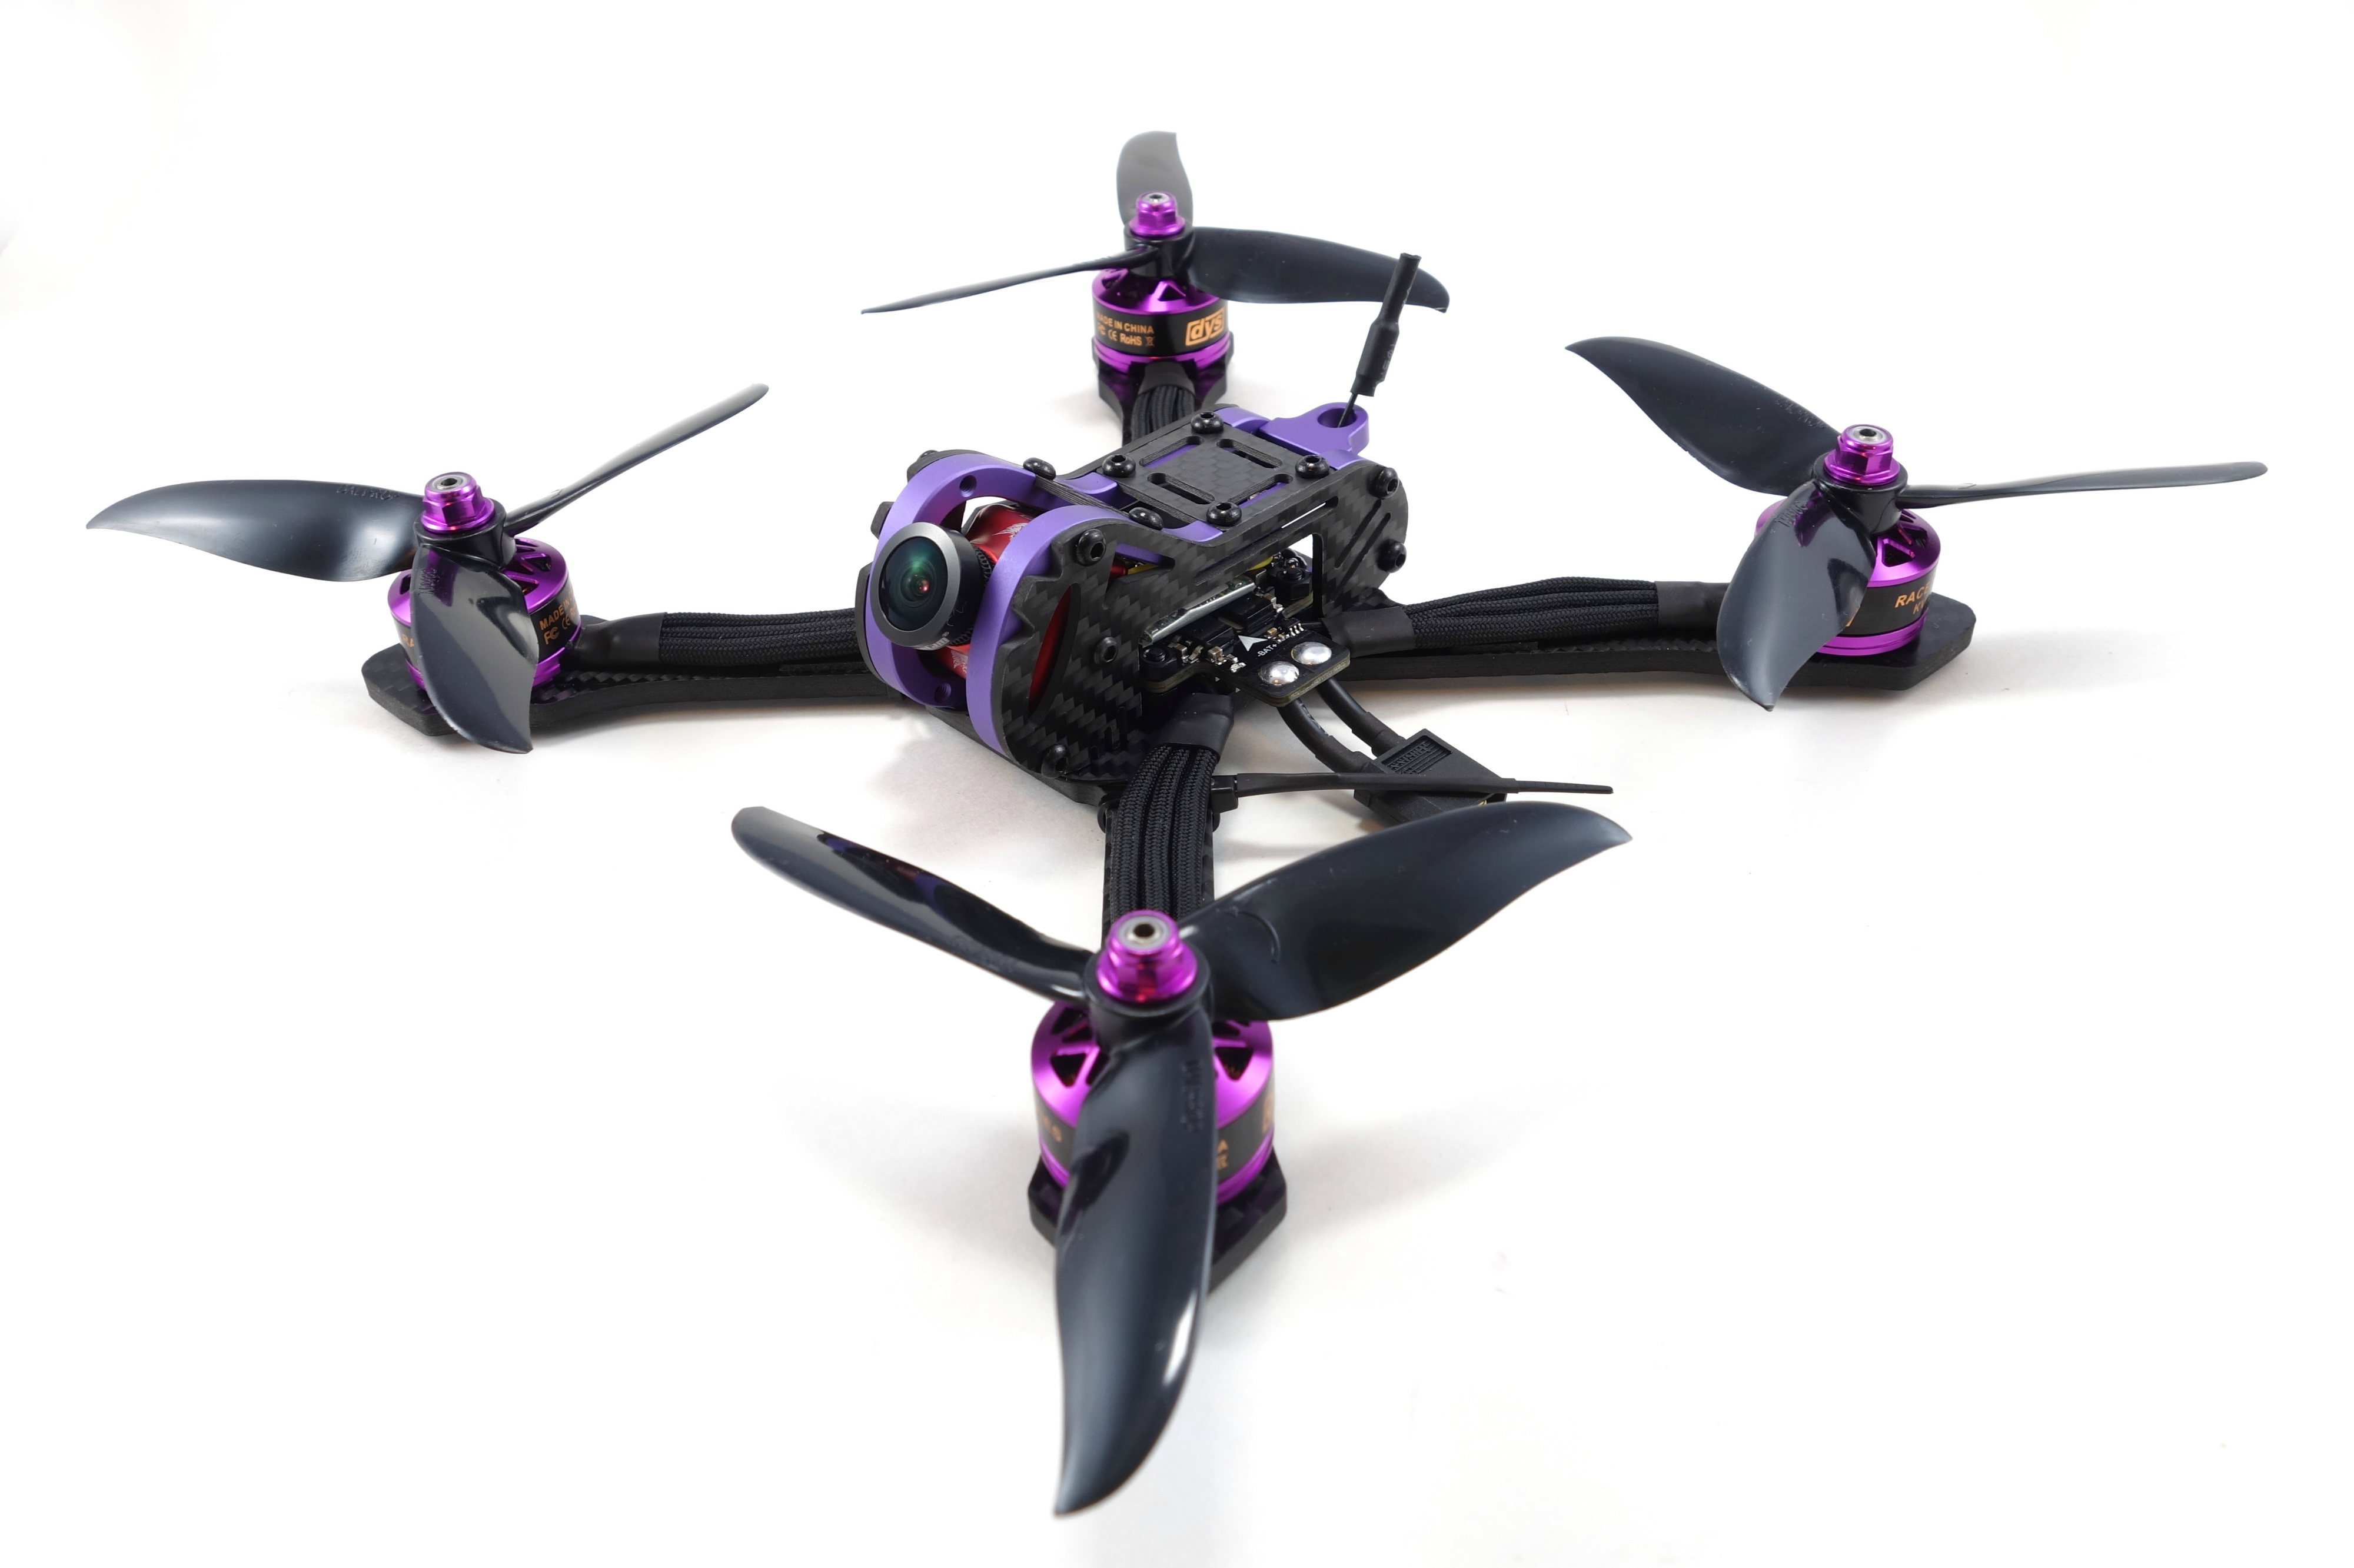
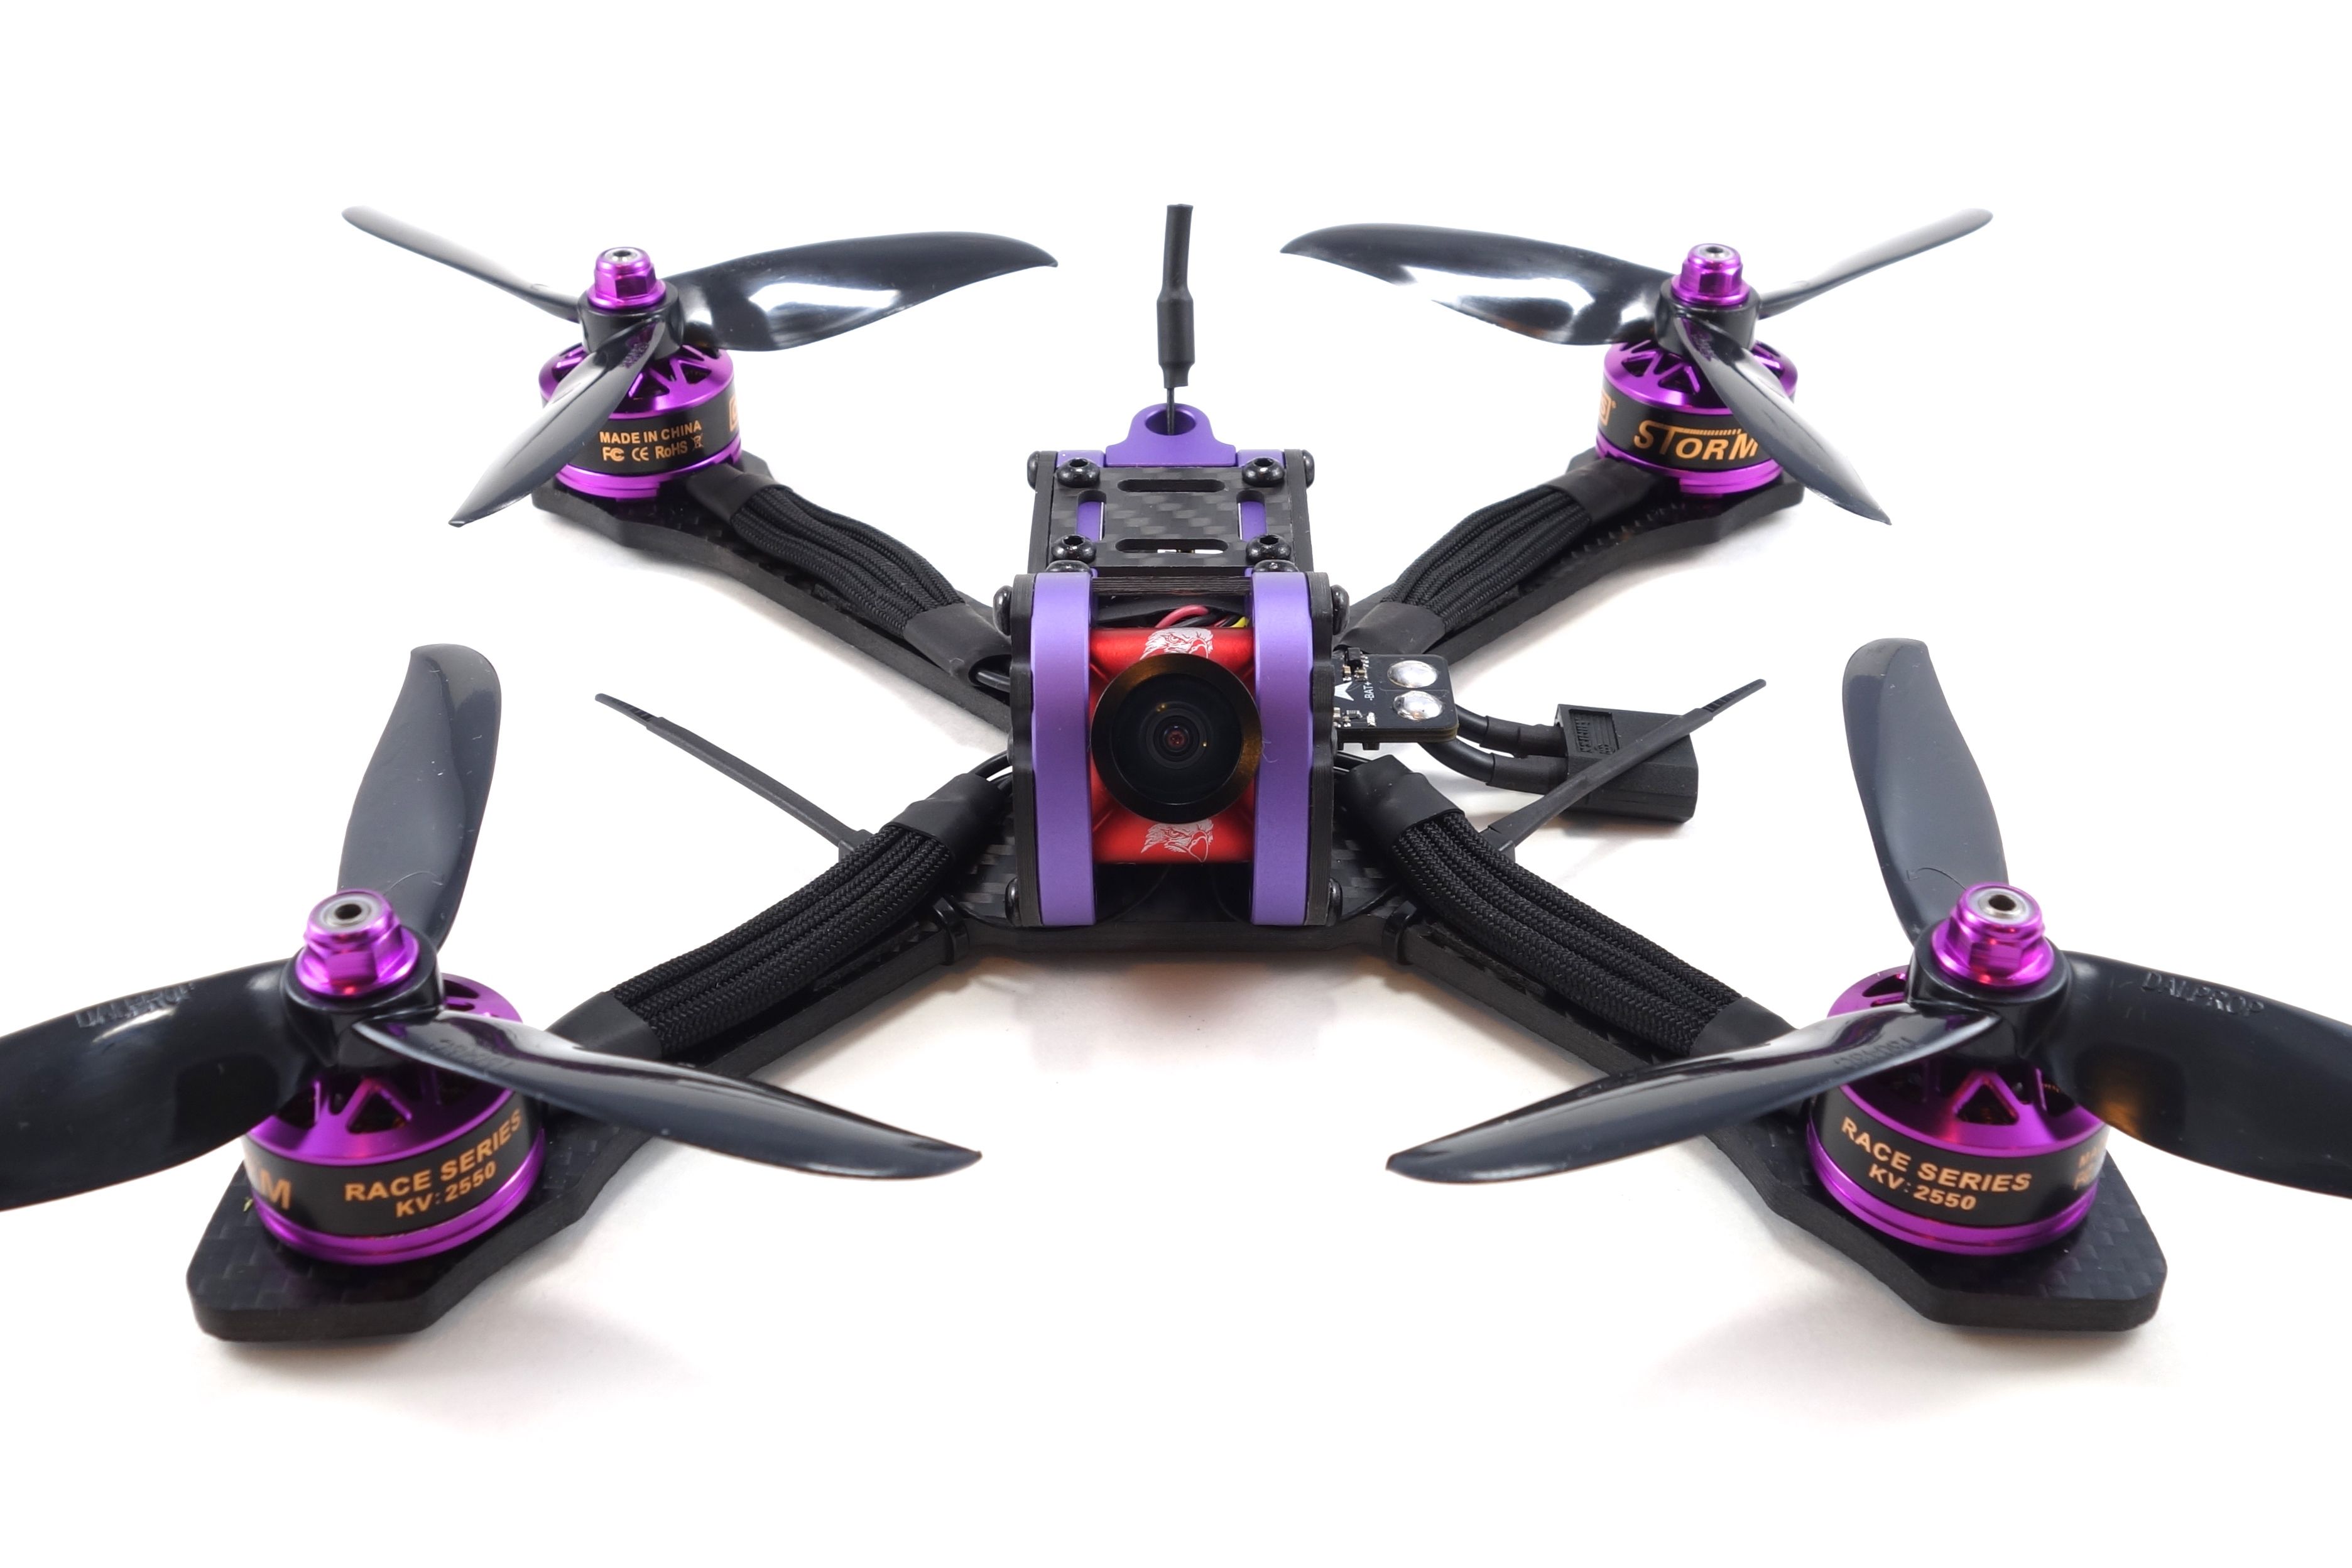
This is a neat frame. The canopy is very compact, even more compact than the Japalura. I prefer the look over the Japalura, but the carbon quality isn't quite there. Armattan excels in that department. Since this is a more compact frame, the lens is quite exposed. You can avoid this with a 1.8mm lens, but that option doesn't exist for the Eagle 2. You'll need to use a different camera such as the Runcam Swift 2. This isn't a lightweight build weighing in at 328g, but these 2207 motors provide more than enough power to carry an HD cam. All-in-all this was a pretty easy build. I loved that I didn't need to extend the motor wires and the AIO board saved a fair bit of time.
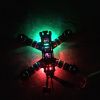
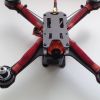
Photos


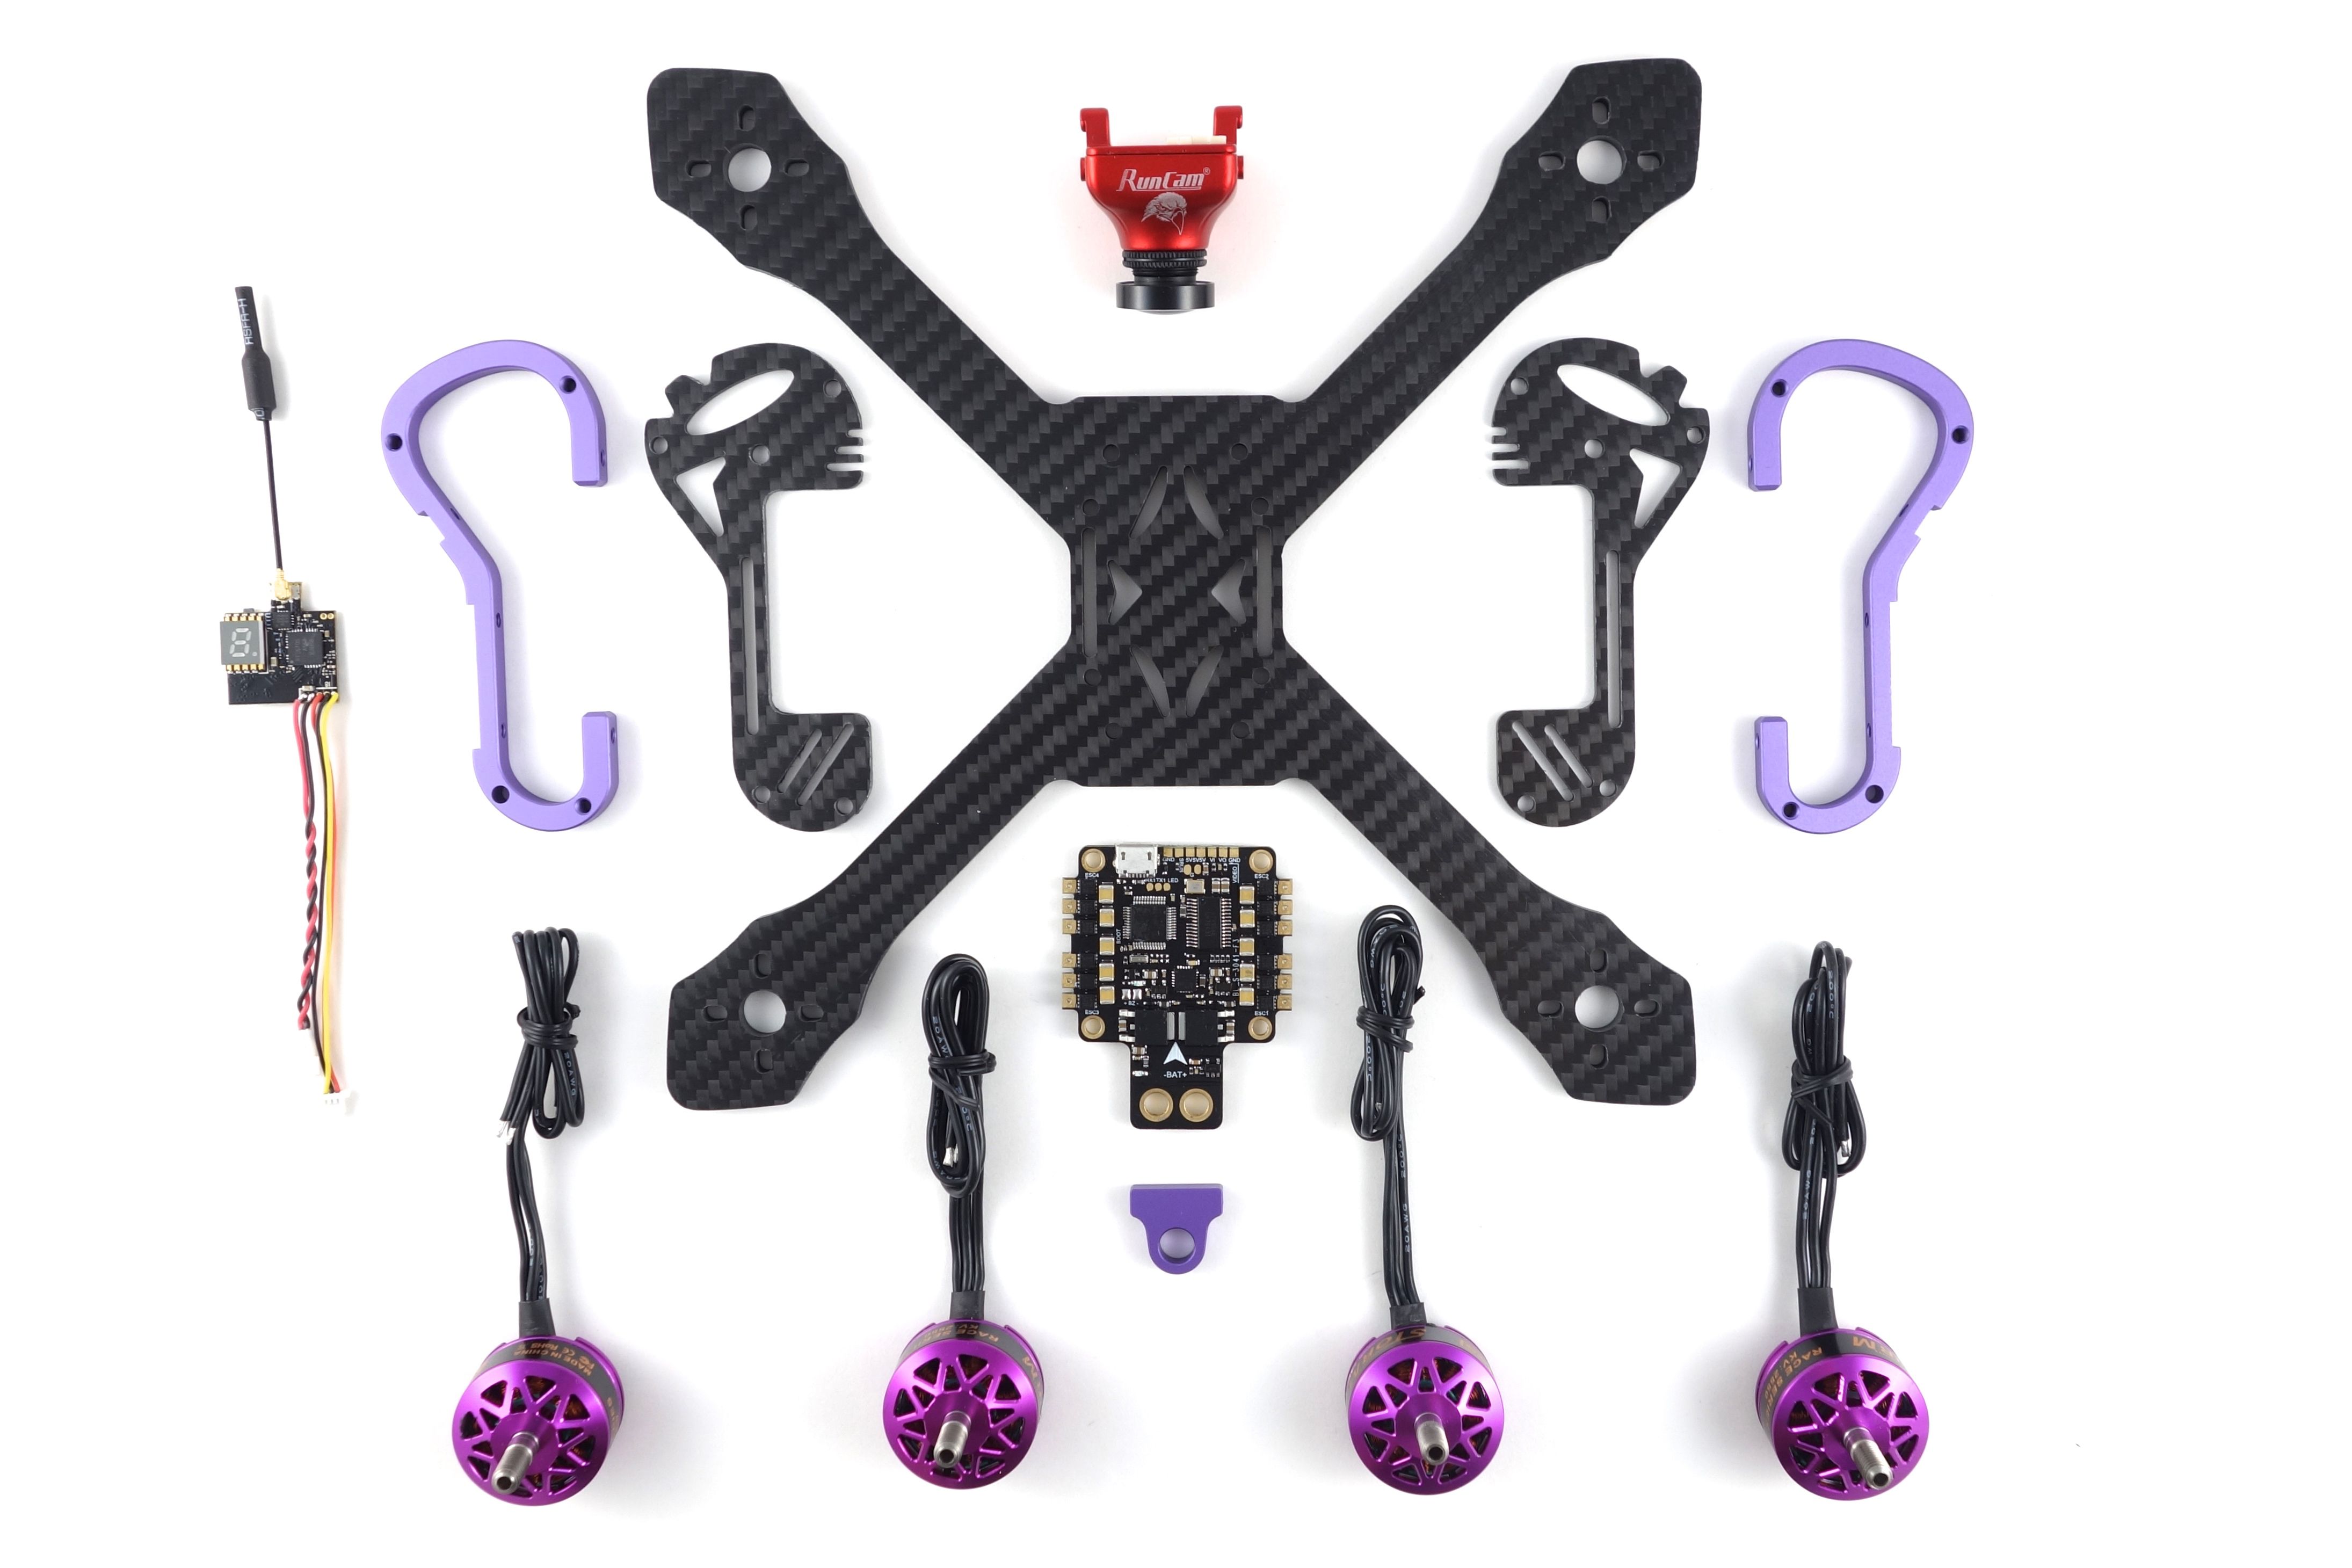
Part List
Show stores (1)
Just ordered this frame and fc 2600kv motors foxeer cam eachine vtx
Can't wait this will be my first build and my first brushless wish me luck

I had been struggling with some slight roll twitching on this rig, but I just added a 470uF capacitor and it flies like a dream! I added the link to the part list under Misc Parts. Now I absolutely love this quad. The Eagle 2 looks fantastic and these motors have ton of power. I'll be sure to post some video and DVR soon.

I'm copying your build but with Zmx x20 motors and Runcam Swift 2. I'm also using single bigger wire mesh. I cannot figure out how to properly mount the battery. Would you mind sharing a picture with the battery mounted?
I'd stay away from the wire mesh. It's too rigid and breaks apart too easily. If you want to use a single piece try Paracord Battlecord. That'll fit all 3 wires and it's a much better material. The battery is easy. Just pass the strap through the slots on the bottom plate. I found that a more narrow strap works best. I'll try to take a photo when I've got a chance.
Awesome build, I see your parts listed above, found that it's very difference is the flight controller and Escs, you used 4 in 1 esc with build in F3 flight controller, In fact, most of pilots would like to use single flight controller and four single Escs, just like this pilots recommended many flight controllers like RMRC, Crazepony F3, Acro Naze32 Rev 6 flight controller etc. on his blog http://www.rcdronegood.com/flight-controller-board-comparison/, would you tell me what's the advantages of 4 in 1 esc with build in F3 flight controller? Thank you.

What happened to the parts list with prices and links to stores? Can't find it anywhere on any build
very clean build as always! What type or size in mm is the paracord you used? And is it possible to squeeze 20awg motor wires in even thinner paracord?
This is 550 paracord and you may be able to squeeze 20awg into a slightly thinner size, but I'd get some 6mm braided mesh instead. I'll be switching to that going forward to eliminate the need to sleeve each individual wire.

I see they now have the Realacc Purple 150. The weight of the frame is a little to heavy for my liking for a three inch though.
Beatiful build brother!! Let me know how you like those motors!

Great post, unrelated, it appears that the profile picture is broken on the website. http://i.imgur.com/AxUNv35.png (see the top right)
Great build as always! I've ordered parts for a similar build :) Do you know what awg the motor wires are? The motors I've ordered does not have long wires so I will need to extend them.

That's clean. I like the way you routed the motor wires. I hope it holds up to amp draw of those 2207's. Keep us posted.
Veryyy niiiiiiice build! <3
What do you think about the same build with a Transtec Frog (or ideally Transtec Lightning) for main usage in freestyle?
And, maybe with a Runcam Split... there is a lot of space to store it =)
The nice thing about the TransTEC Frog is the weight. Mine weighs more than 50g lighter with the EMAX RS220S motors. I haven't tried the Lightning, but it appears to be just as light. I think it comes down to personal preference. The thing to keep in mind with the Split is the lens position. If it's set too far back you'll end up with your frame in the video. I know it's been done on the Frog, but there will be a little frame in the footage. That might be remedied with the right lens. I don't think you'll get a Split on the Purple215 due to the limited stack space.
Another nice clean build and write up! Let us know how the Racerstar AIO board works out. Looks like a great option for slammed builds.


Hi,
i have same board and RX but i can't get it to work ... ( seems like no signal from rx ).
How did you mapped ports ?
What protocole should i use ( SBUS ? IBUS ? )?
If you're running the XM+ then you want SBUS. Did you solder to the SBUS pad? If so I believe that's UART3. Be sure to check "Serial RX" on the Ports tab.
Yes, i have soldered it to SBUS pad, tried all UARTs on Ports Tab - no success...
I'm wondering if there is a way to check if it's problem with RX<=>FC or RX<=>TX or Tx Module <=> TX ( i have Turnigy 9xr ).
RX and TX Module seem to bind ok ( solid green on RX and Solid red + blinking green on Tx Module ).
Did you choose SBUS on the Configuration tab as well? I've never tried running an FrSky receiver from a Turnigy, but if you've got the green bind light then it should be bound.
Yes, SBUS in config. Also trying with gps serial port, but no luck...
I'm not sure the GPS port would work because it's not inverted. You need to use the inverted Sbus pad for any FrSky receiver. Have you successfully used the FrSky module to run another FrSky receiver? So the symptoms are just not inputs in the Receiver tab when bound and powered up?
Yes, no inputs, and looks like its bound.
I have no other FrSKy receiver to test it... I think there is no other option, than to buy one just to test Tx < = > Tx module comunications.
Do you know anybody with an FrSky transmitter? Maybe you can try that. Otherwise I'd maybe try another receiver.
Nope, thanks anyway.
I think i will just find a way to test rx and tx somehow ;)
Let me know what you figure out.
I will.
Ok, got it!
Flashed my Turnigy 9XR with newest er9x firmware ( build # 820 ) and after changing procole on tx to XJT and rebinding it started working ;)
For anynone struggling - right settings are RX on UART3, SBUS Receiver and that's all ;)
Thanks for your help.